Step 1 of 15 in Publish a Digital ID and product passport
Create a certificate on certificate management
Step-by-step guide to adding and managing certificates manually, linking them to materials and suppliers, and uploading supporting documents.
Under review. This page is published while we check it against the live app, so some details may have changed.
Screenshots may be out of date.
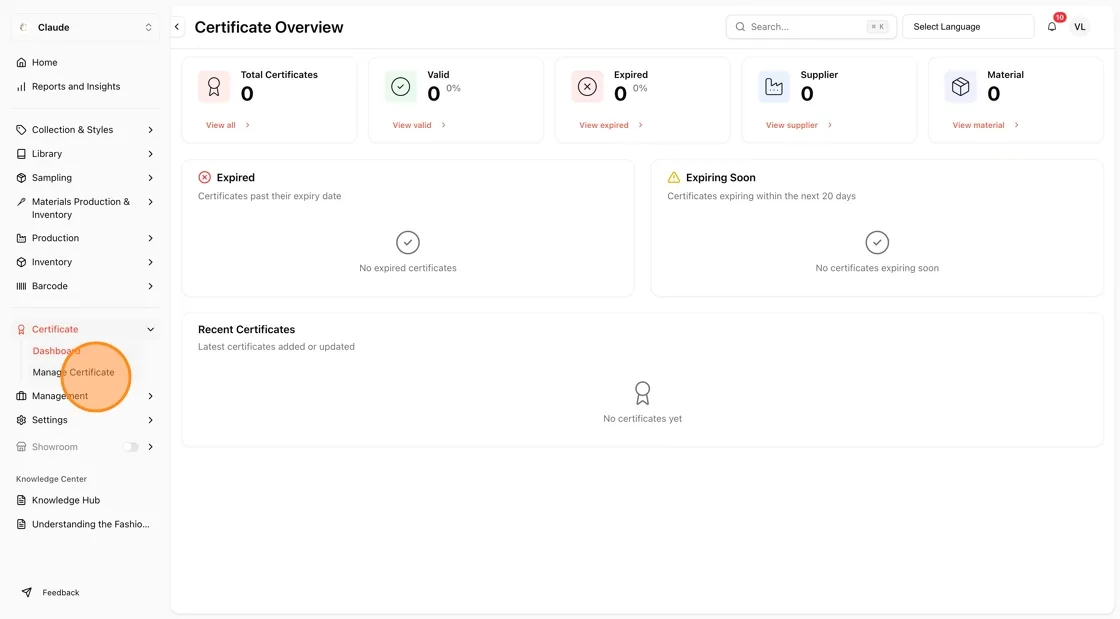
In the left sidebar, click on Certificate to expand the menu, then click Manage Certificate.
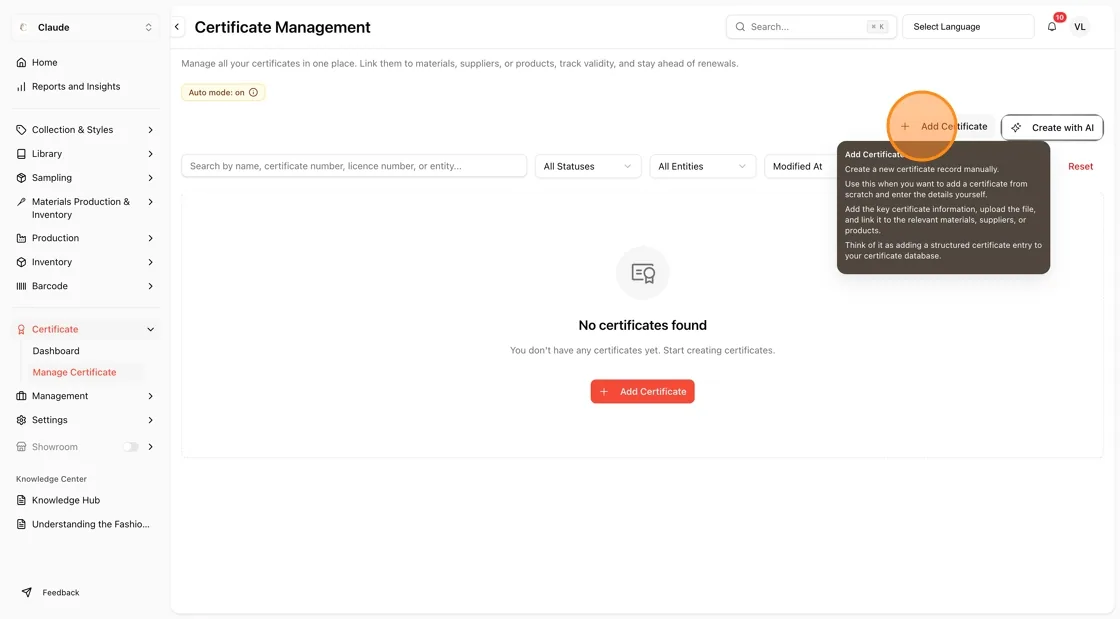
On the Certificate Management page, click the + Add Certificate button in the top-right area.
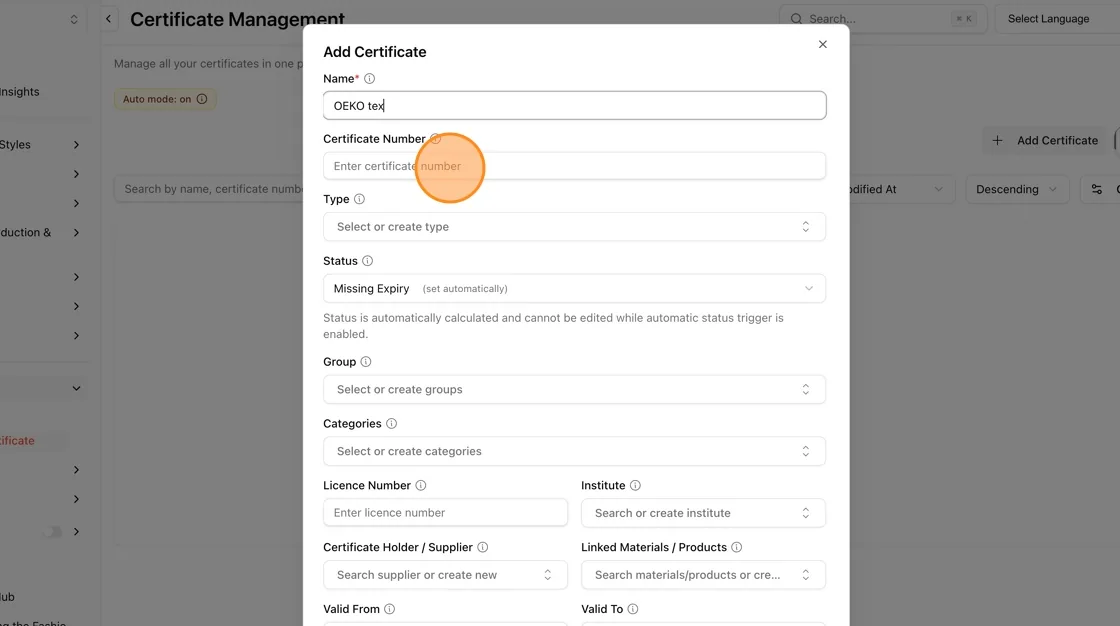
In the Add Certificate dialog that appears, type the certificate name in the Name* field (required)
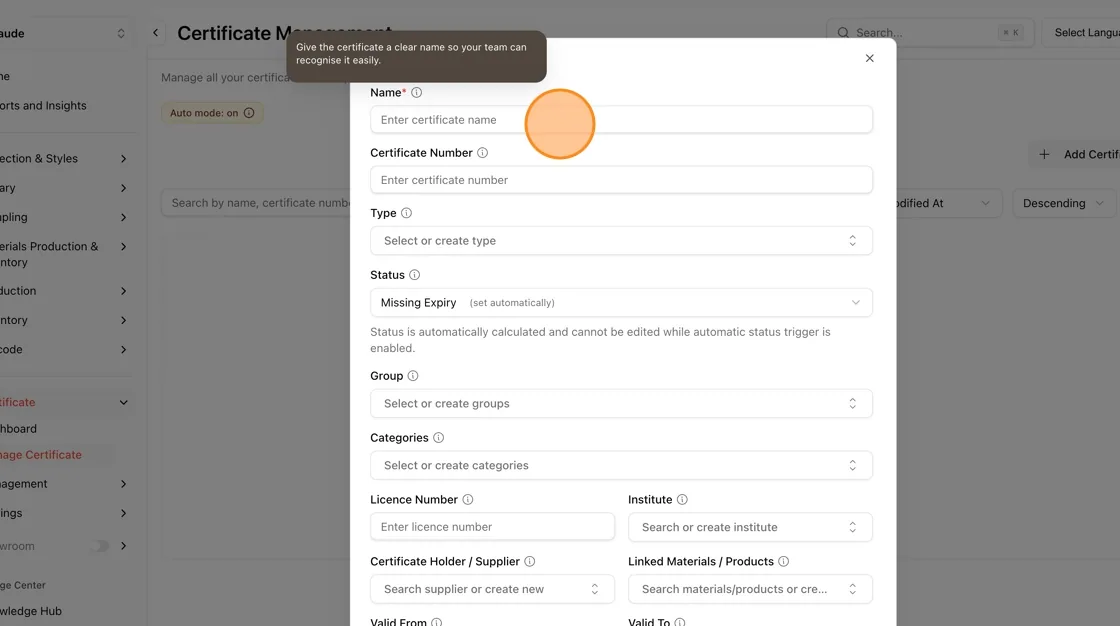
In the Certificate Number field, enter the certificate number.
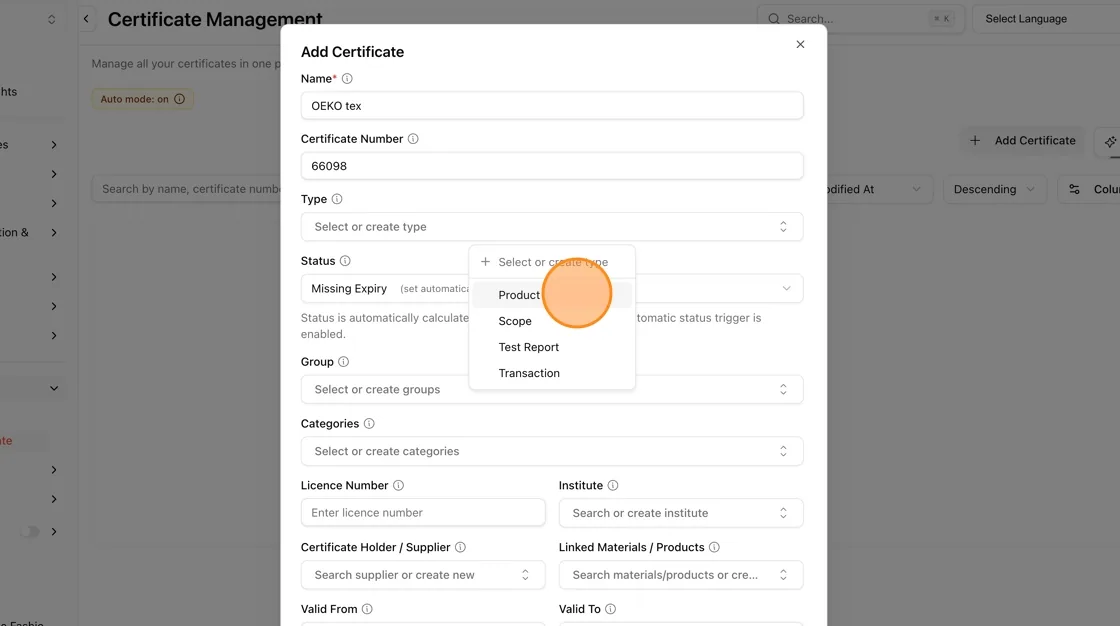
Click the Type dropdown and select or create a type from the available options: Product, Scope, Test Report, or Transaction.
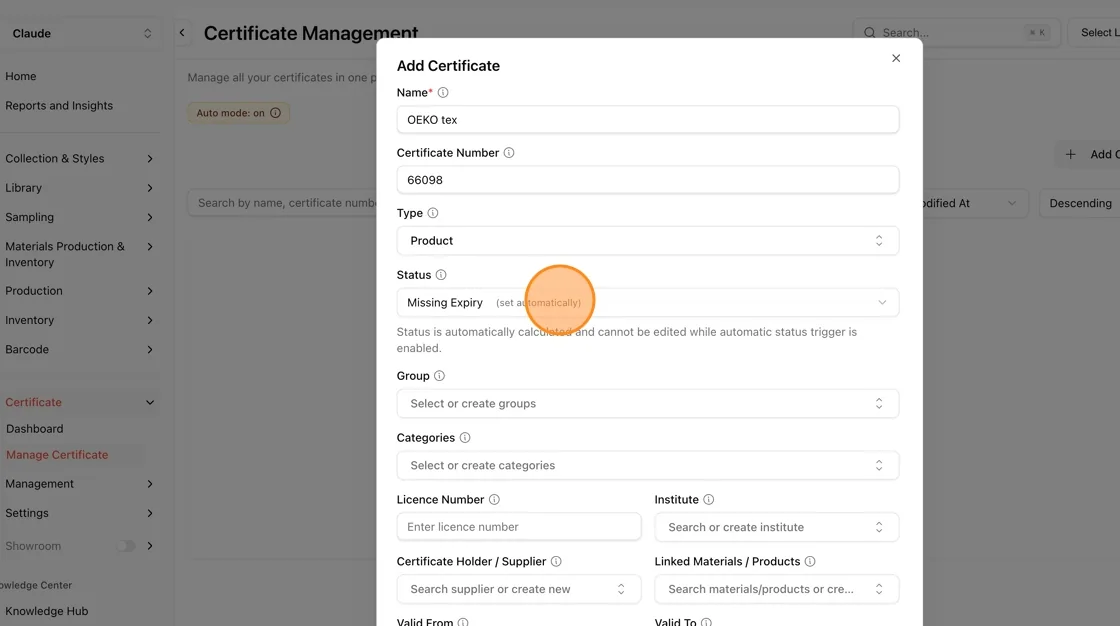
The Status field is automatically set (e.g., Missing Expiry) and cannot be edited manually while Auto mode is enabled. This is calculated based on validity dates.
Click the Group dropdown and select an existing group or type to create a new one.
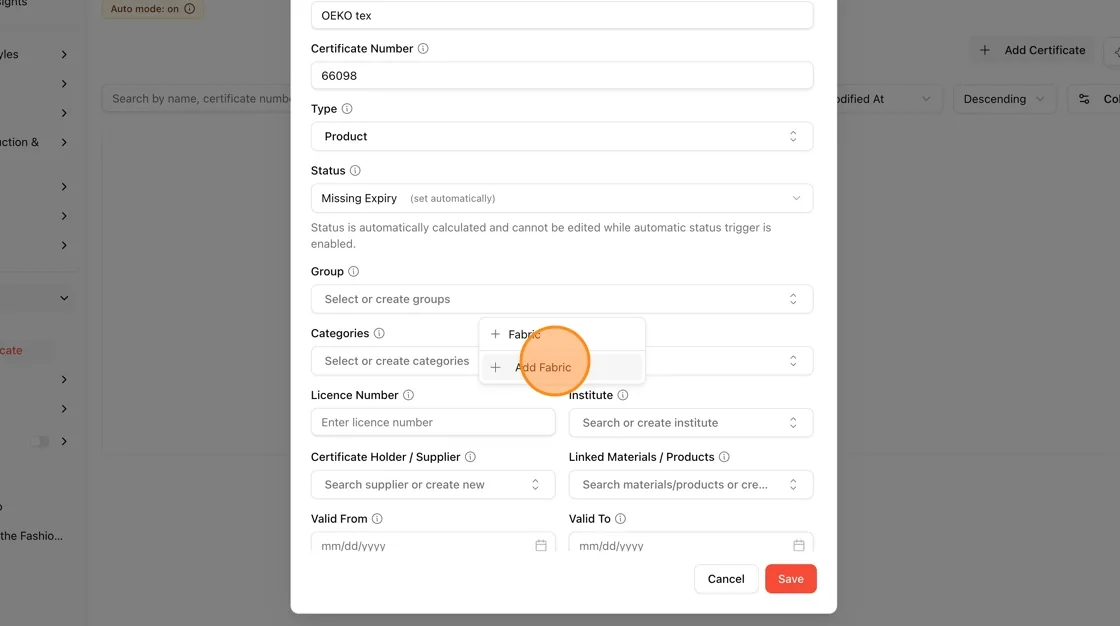
Click the Categories dropdown and select or create a category. Example: PDF.
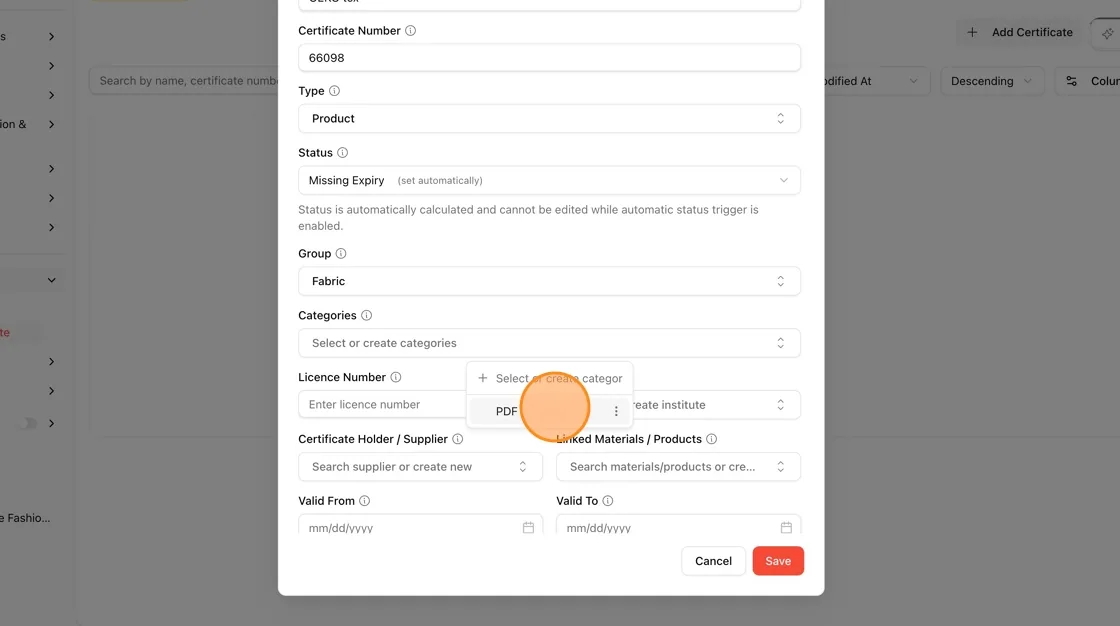
In the Licence Number field, enter the licence number associated with the certificate.
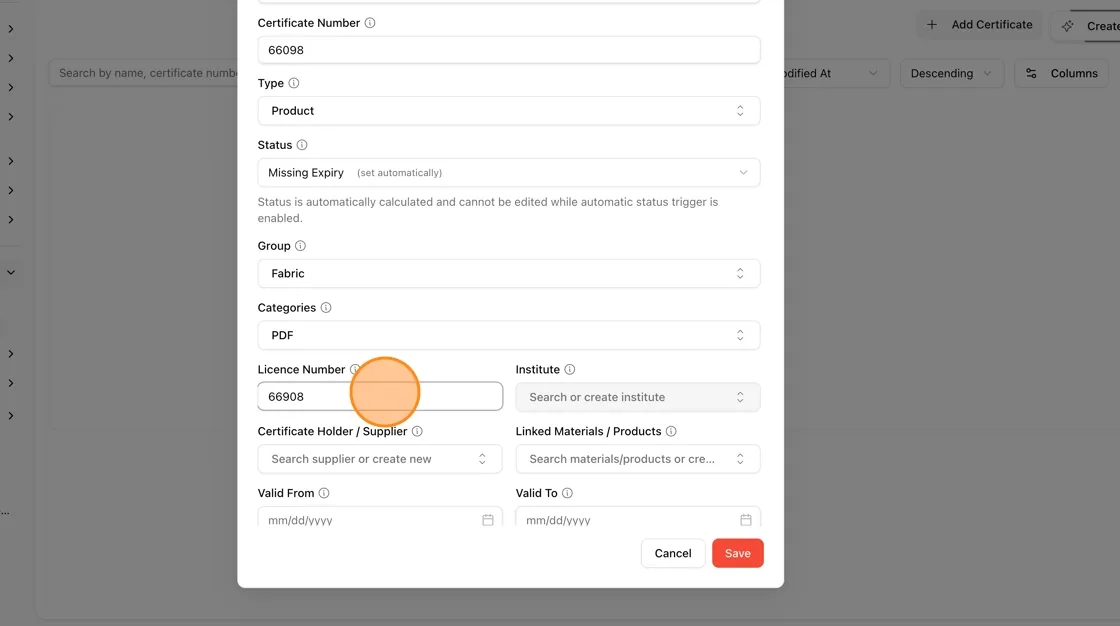
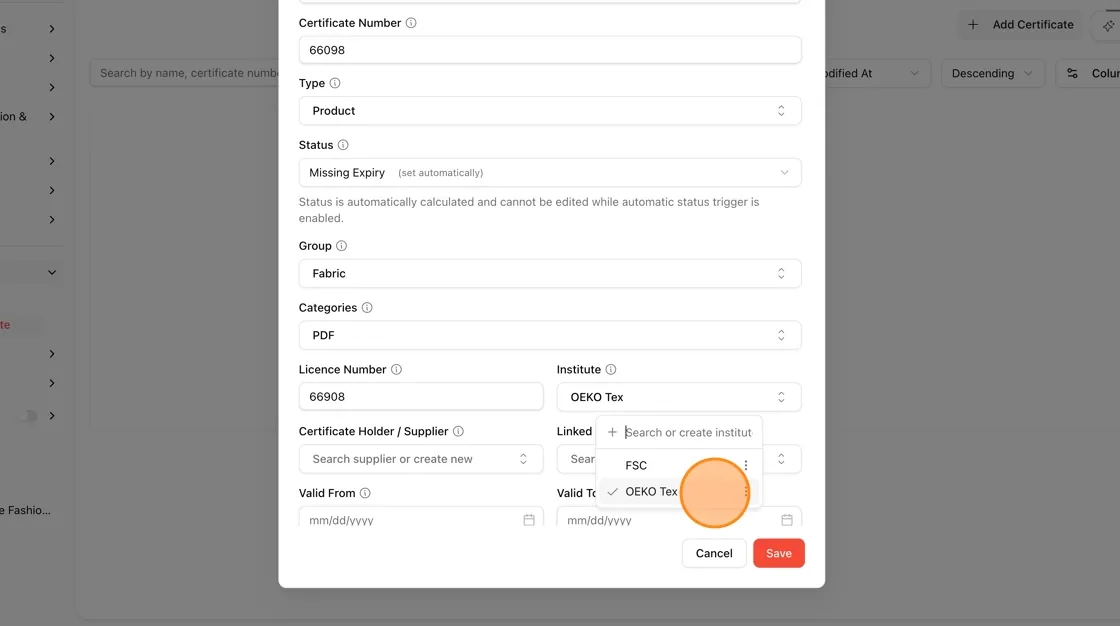
In the Institute field, search for an existing institute or type to create a new one. You can also select an existing option if available.
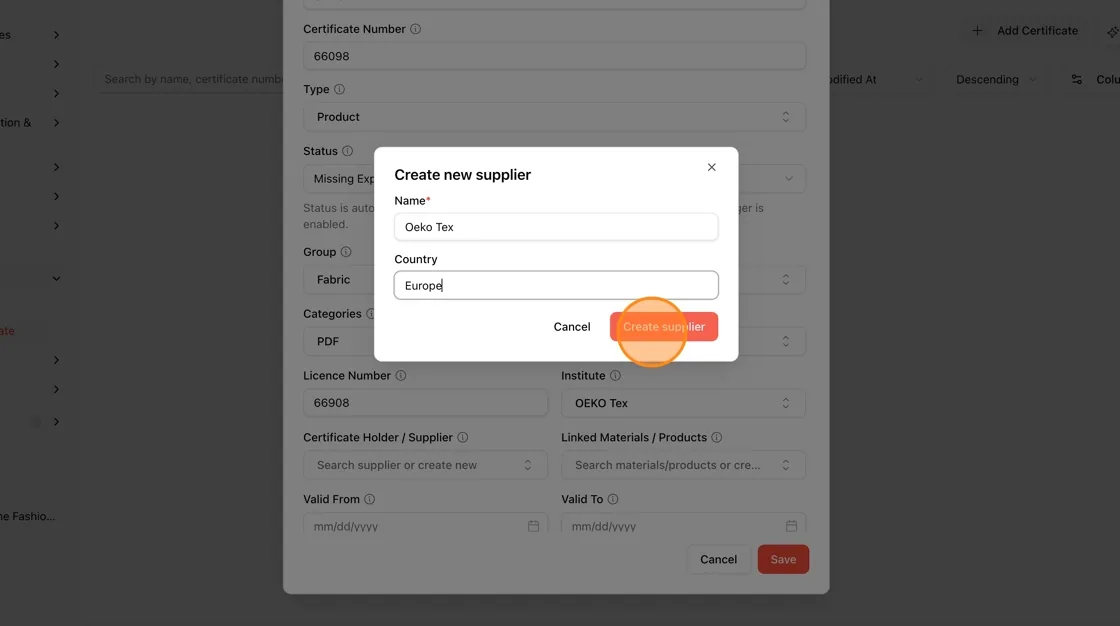
Click the Certificate Holder / Supplier field and search or create a new supplier.
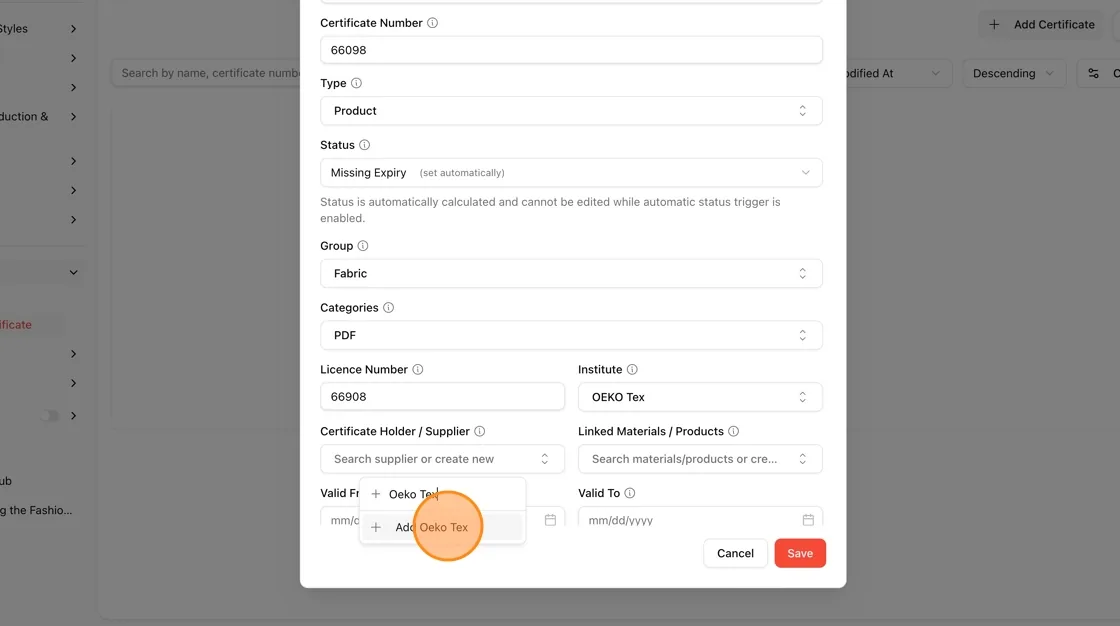
If creating new, a Create new supplier dialog appears. Enter the supplier Name and Country, then click Create supplier.
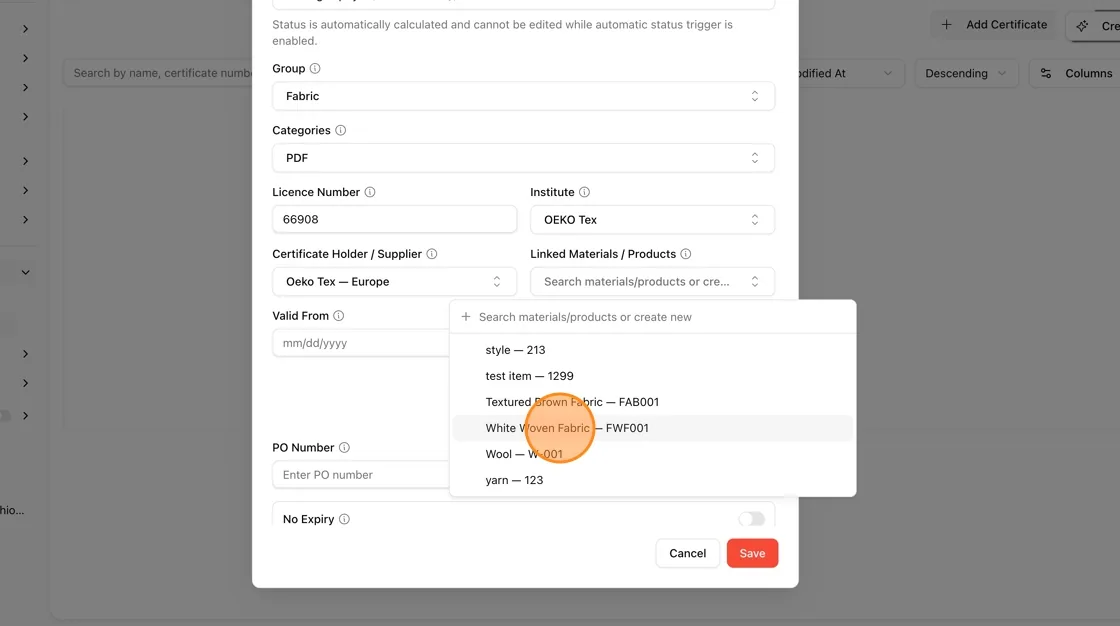
Click the Linked Materials / Products field and search or select the relevant material or product.
A warning may appear if the selected product belongs to a different supplier than the chosen holder — this is informational.
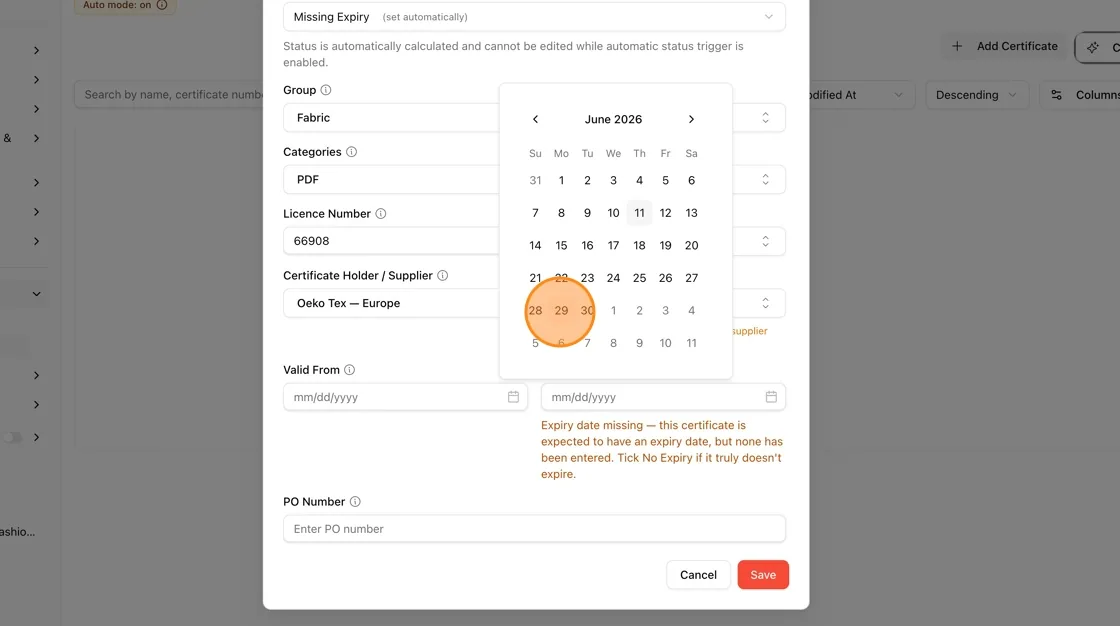
Click the Valid From date field and select the start date from the calendar picker.
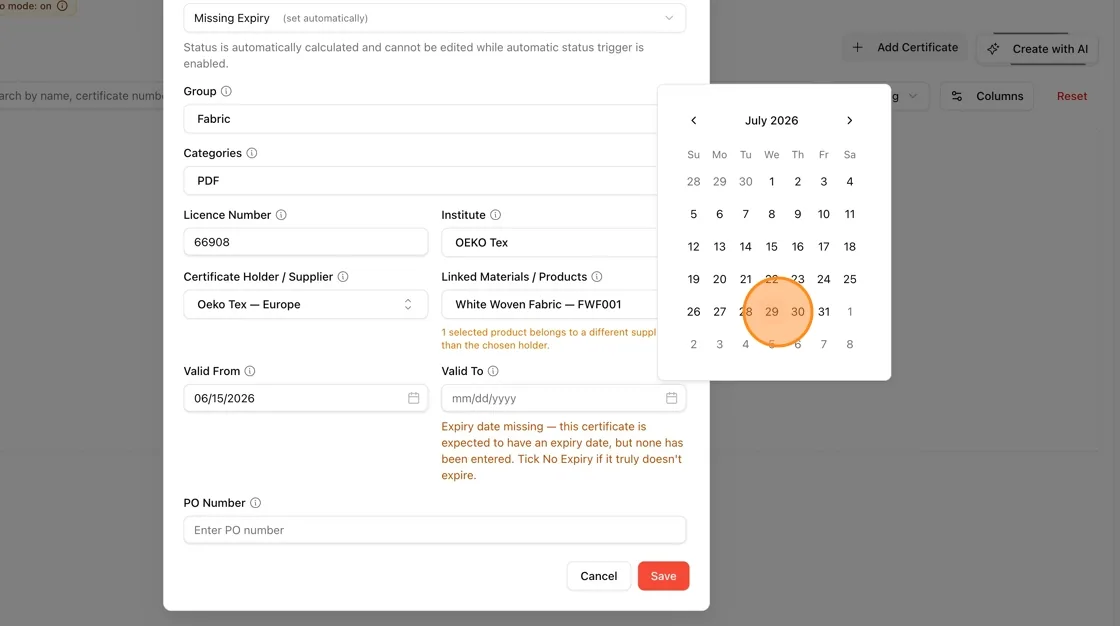
Click the Valid To date field and select the expiry date from the calendar picker.
If no expiry date is entered, a warning is shown: Expiry date missing. Toggle No Expiry if the certificate truly does not expire.
Optionally enter a PO Number.
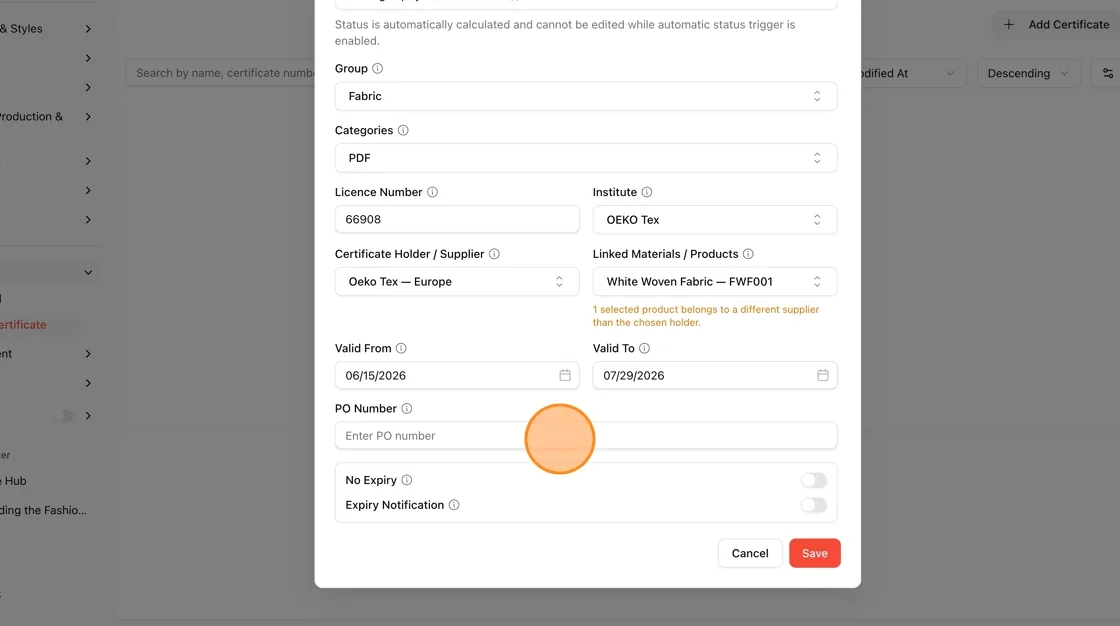
Toggle No Expiry if the certificate has no expiry date. Toggle Expiry Notification (on) to receive alerts before the certificate expires.
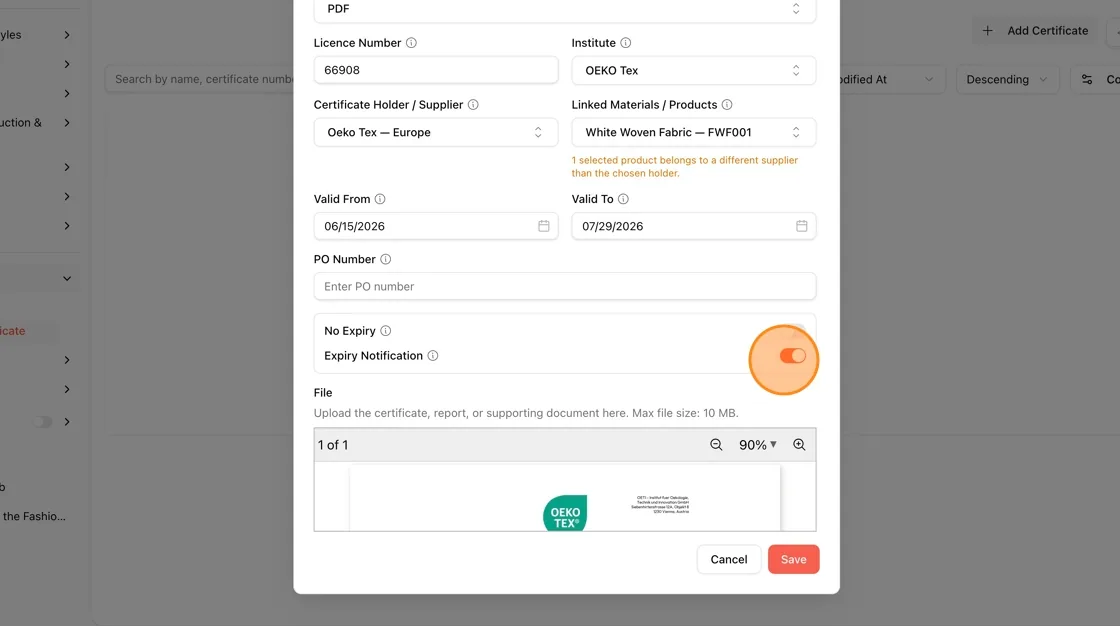
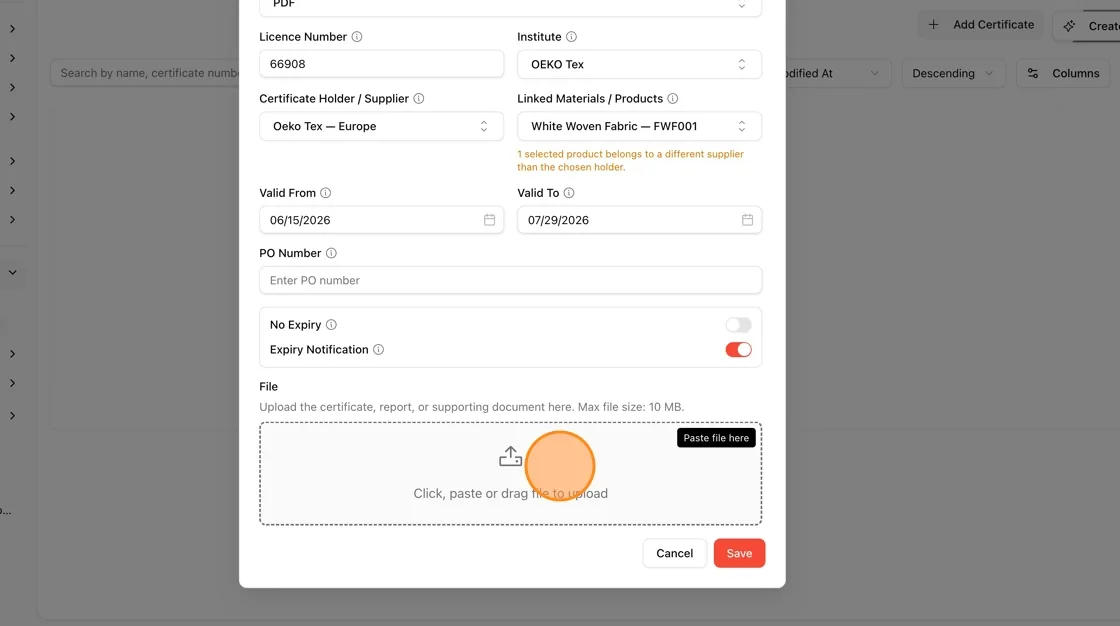
In the File section, click, paste, or drag the certificate file into the upload area. Maximum file size is 10 MB. Supported formats include PDF. A preview of the uploaded document will appear.
Review all entered details, then click the Save button (red) at the bottom-right of the dialog.
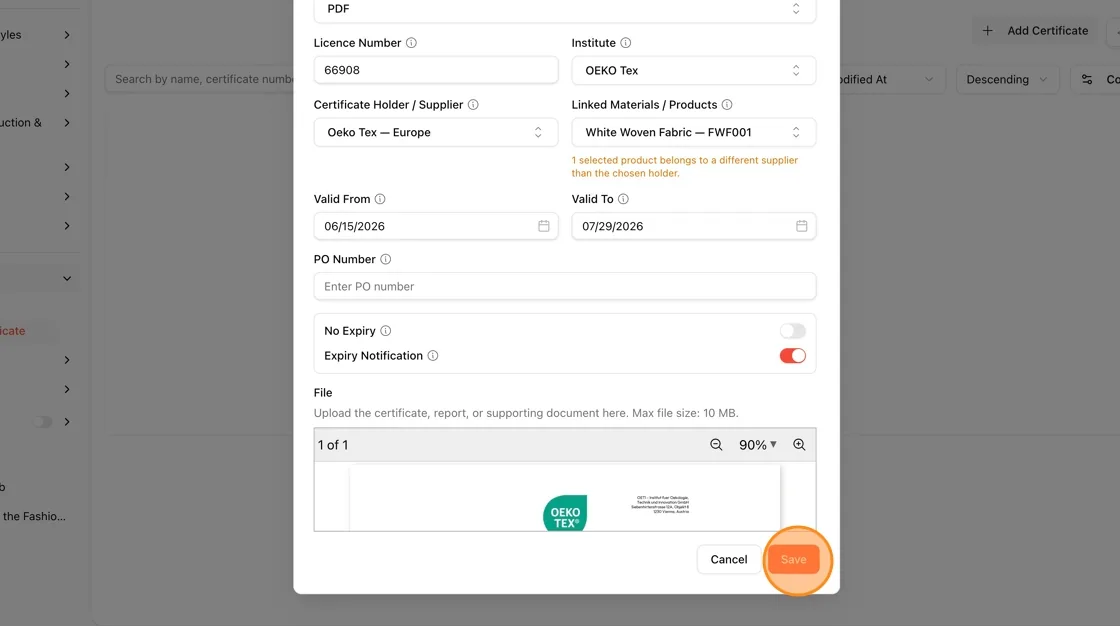
A success notification Certificate created successfully appears at the top of the screen. The new certificate now appears in the Certificate Management list with all details.
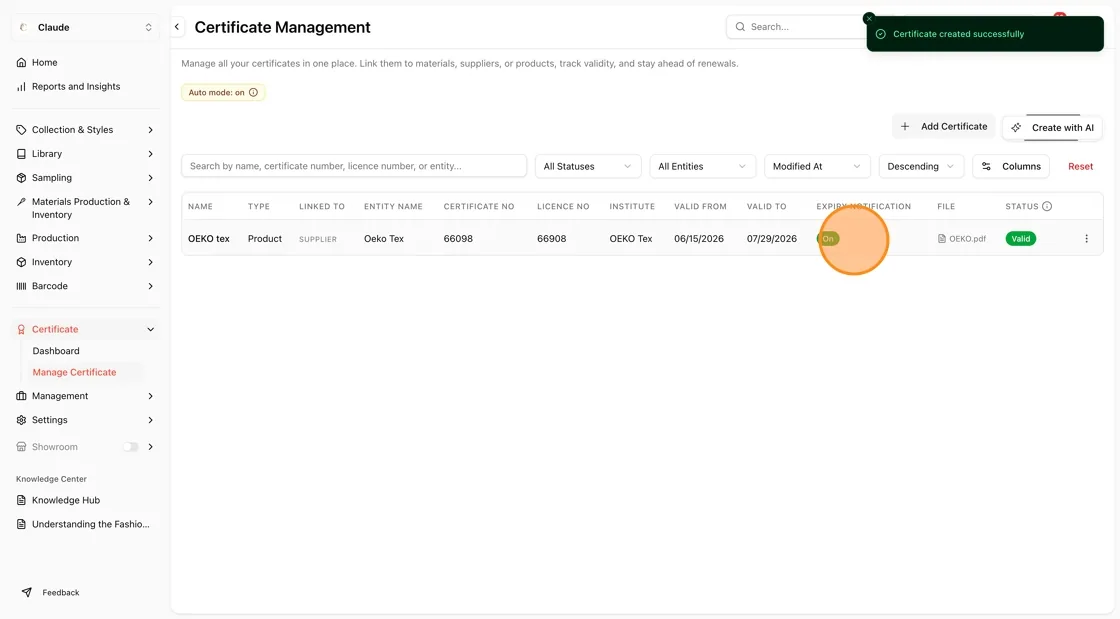
Manage certificate
Step-by-step guide to using the row actions menu on the Certificate Management page to view, edit, preview, download, or delete a certificate record.
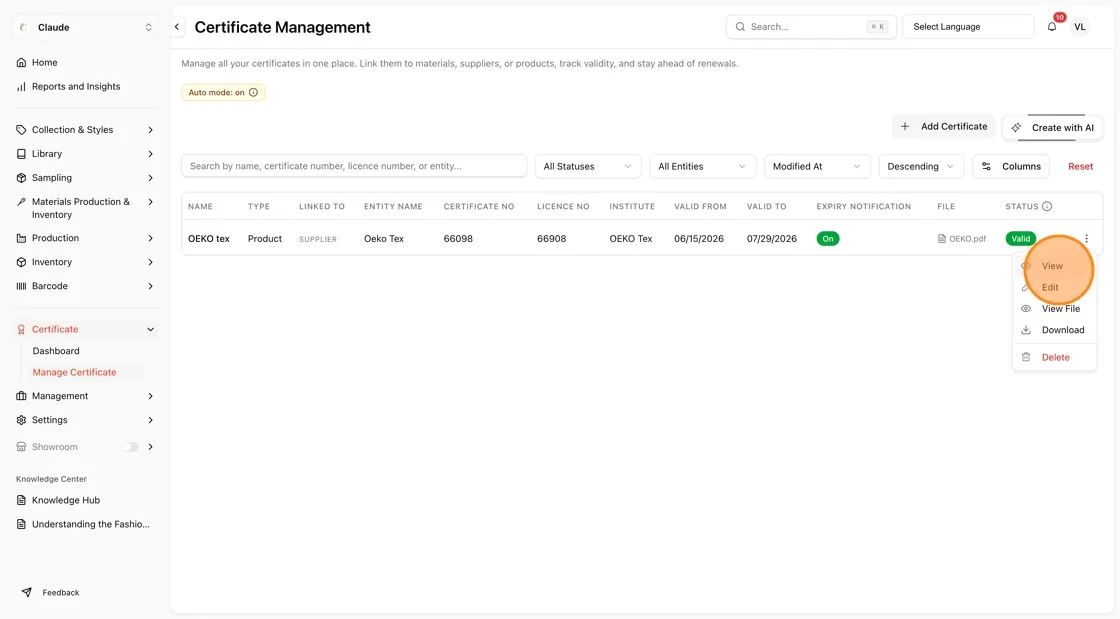
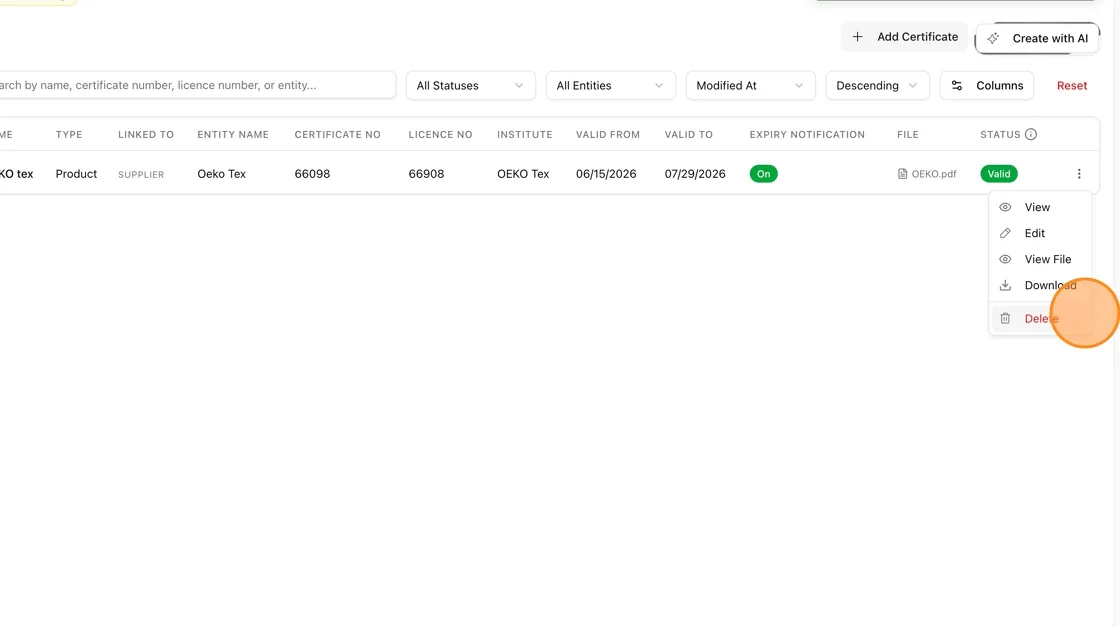
On the Certificate Management page, locate the certificate row you want to manage and click the three-dot (⋮) icon at the far right of that row.
Click View from the dropdown menu to open a summary of the certificate.
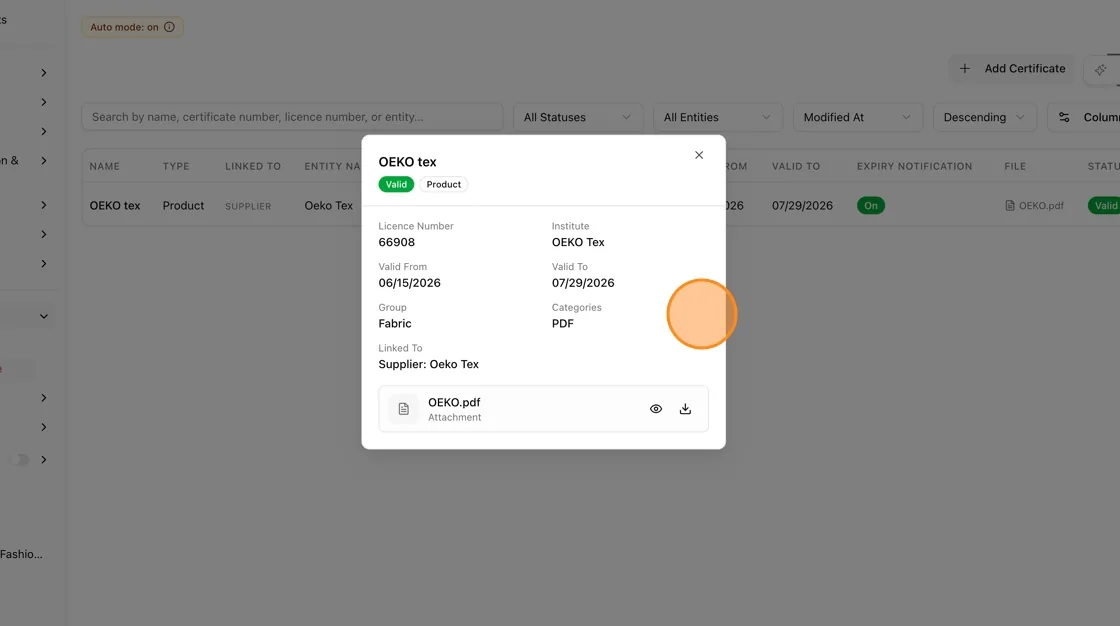
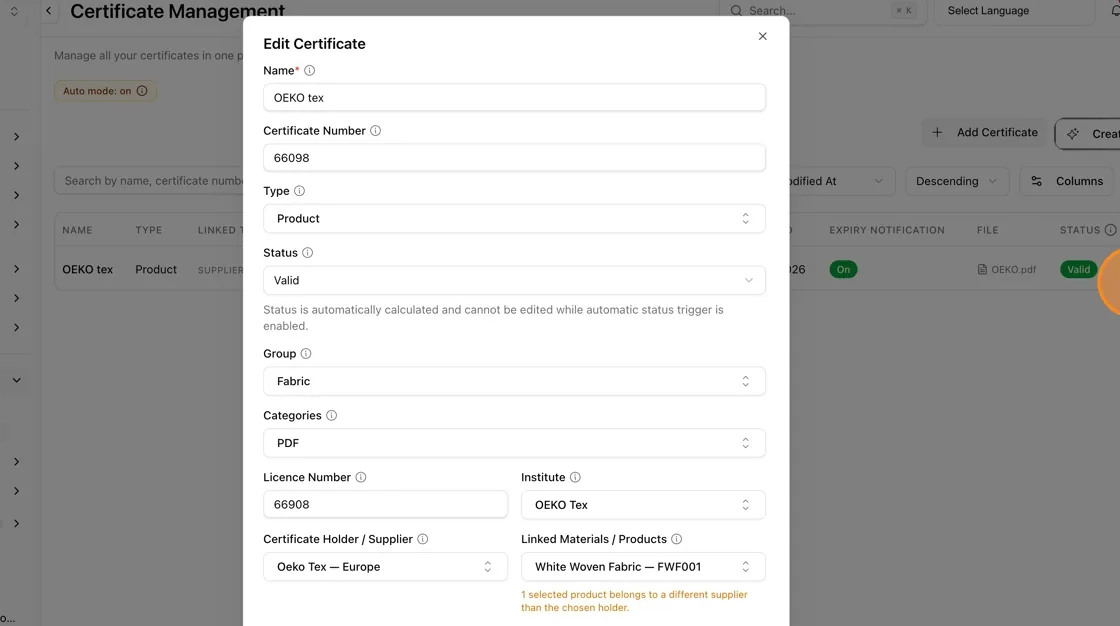
Click Edit to open the certificate form and modify any of its details, such as name, dates, supplier, or linked materials.
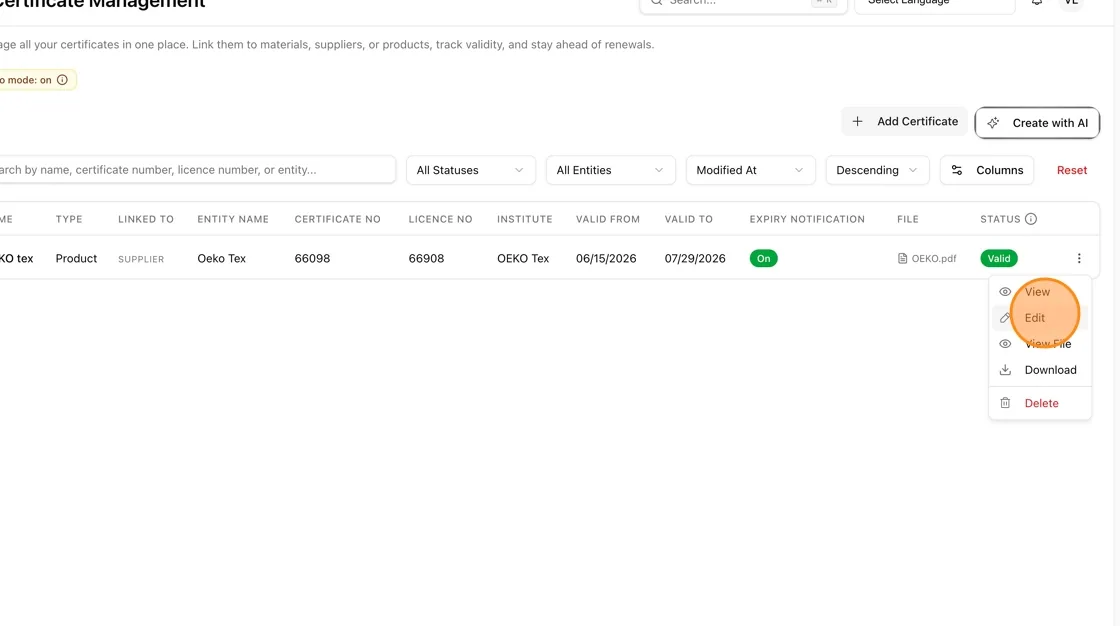
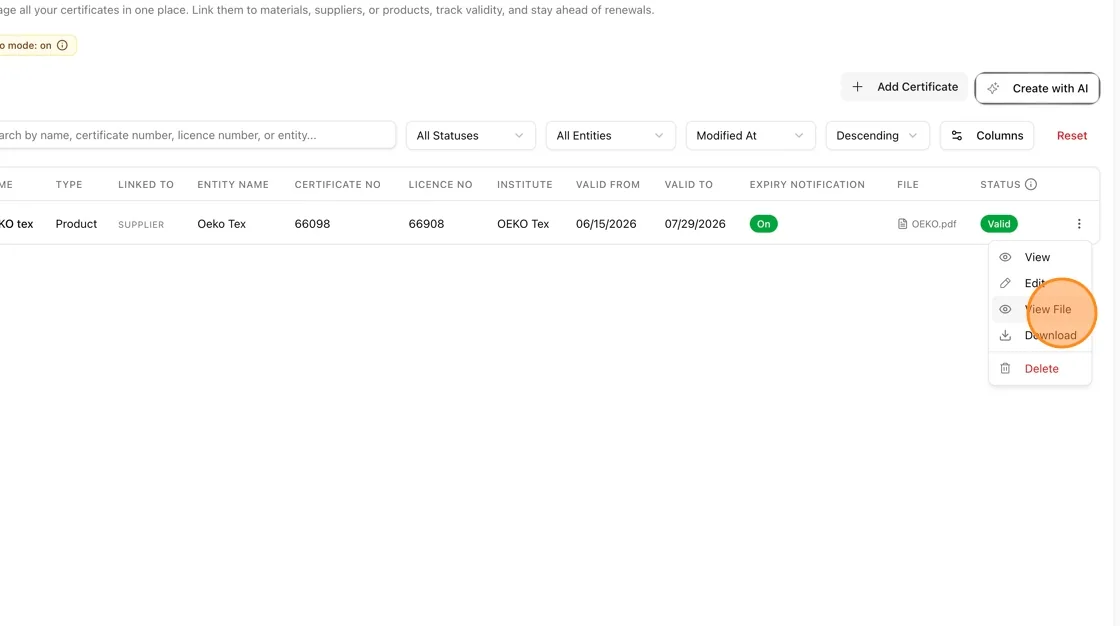
Click View File to preview the uploaded certificate document.
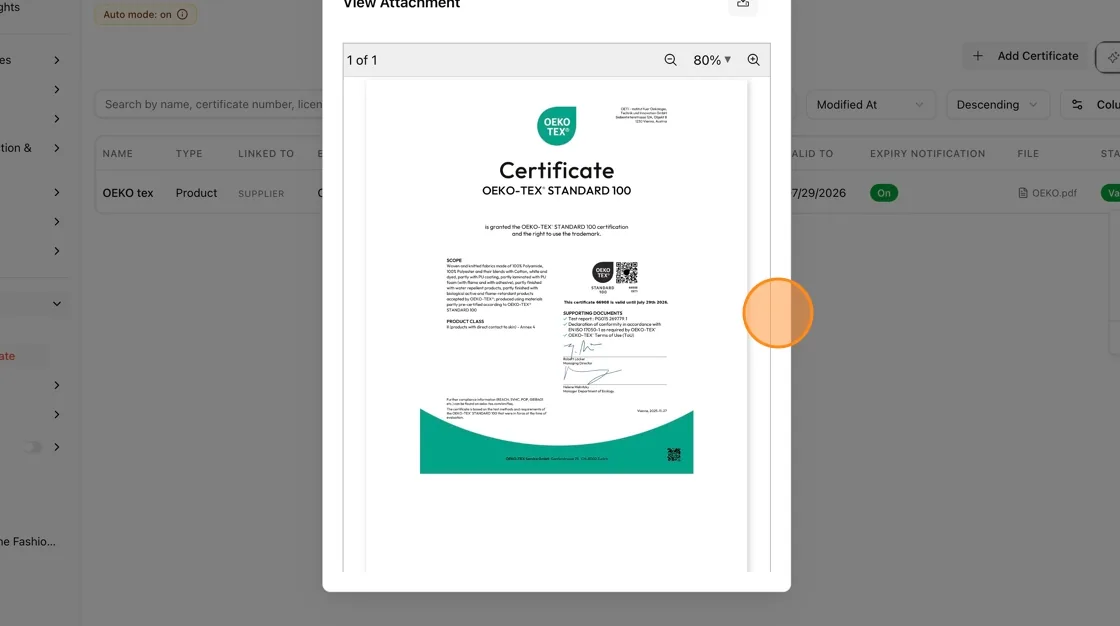
The View Attachment window opens, displaying the certificate document. Use the zoom controls to adjust the preview size, and the share icon in the top-right to share the file.
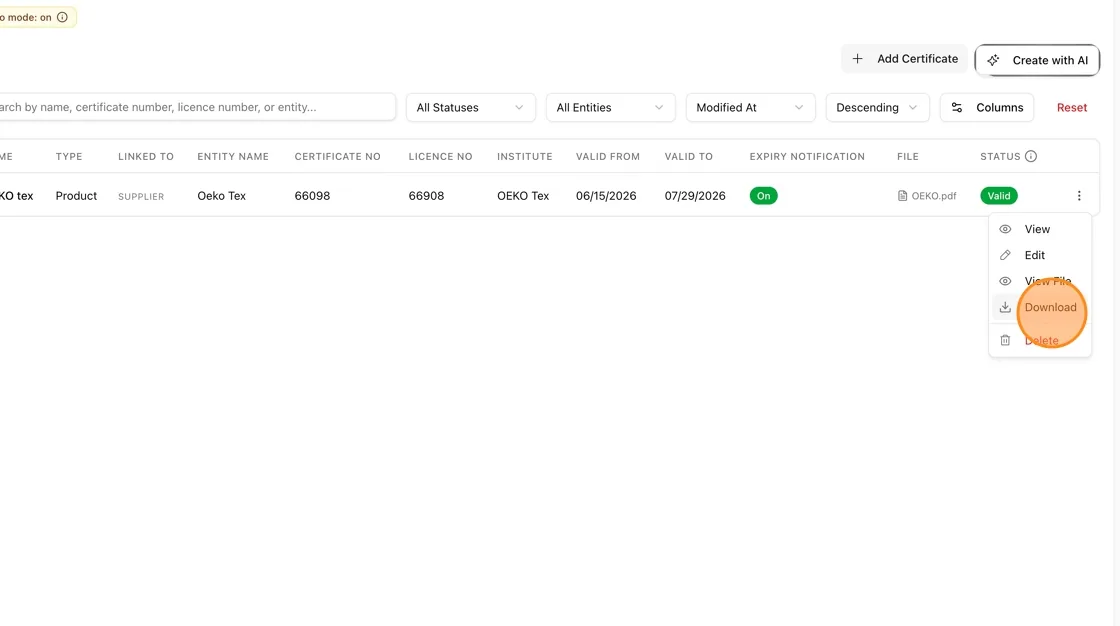
Click Download to save the certificate file to your device.
Click Delete (shown in red) to remove the certificate from your records.
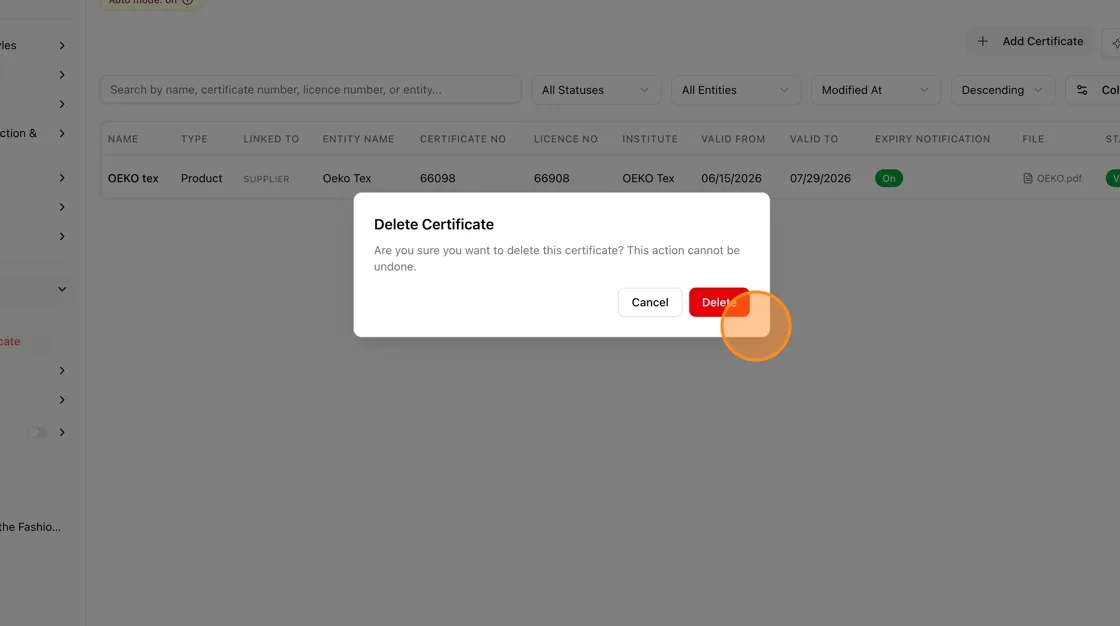
Click Delete to permanently remove it, or Cancel to keep the certificate.