Create certificates with AI in certificate management
Step-by-step guide to using the Create with AI feature to auto-extract certificate details, resolve unmatched suppliers and institutes, and review the resulting dashboard data.
Under review. This page is published while we check it against the live app, so some details may have changed.
Screenshots may be out of date.
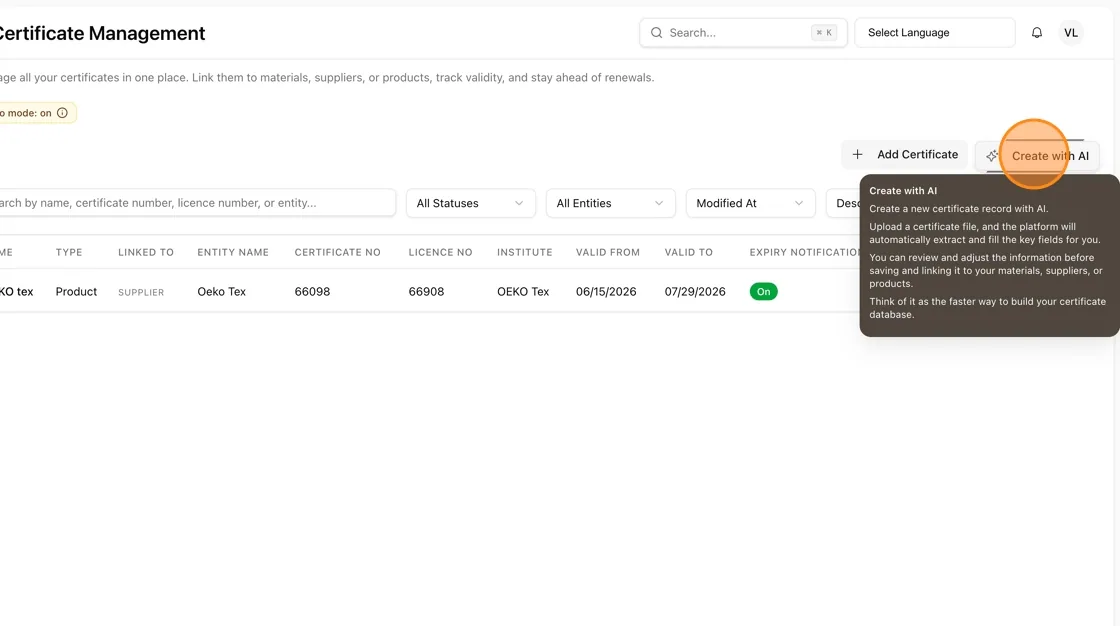
On the Certificate Management page, click the Create with AI button in the top-right area, next to Add Certificate.
Create with AI lets you create a new certificate record automatically. Upload a certificate file, and the platform will extract and fill in the key fields for you. You can review and adjust the information before saving and linking it to materials, suppliers, or products. Think of it as the faster way to build your certificate database.
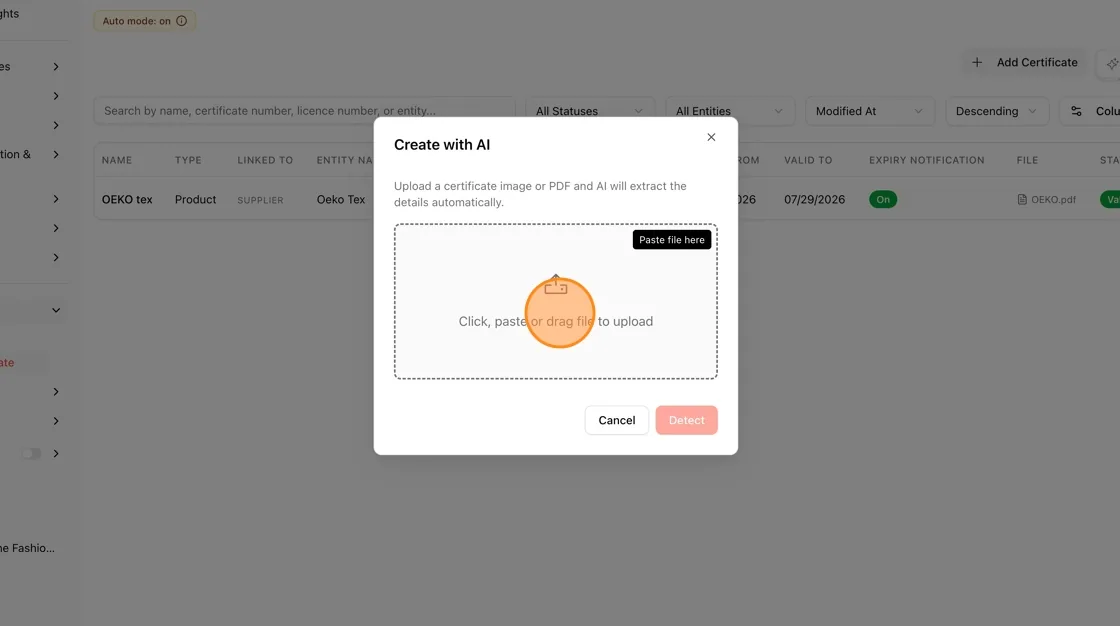
In the Create with AI dialog, click, paste, or drag the certificate image or PDF into the upload area.
Once the file is uploaded, click the Detect button to let the AI extract the certificate details.

After detection, the form auto-populates with extracted details such as Licence Number, Valid From, and Valid To dates. Review the Status, Group, and Categories fields as needed.
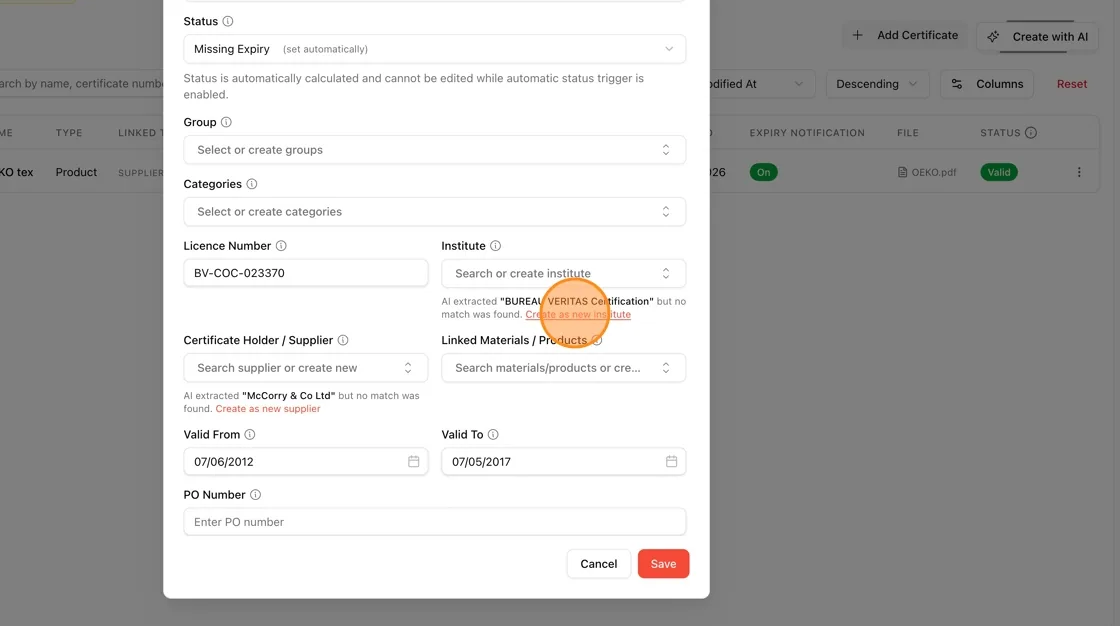
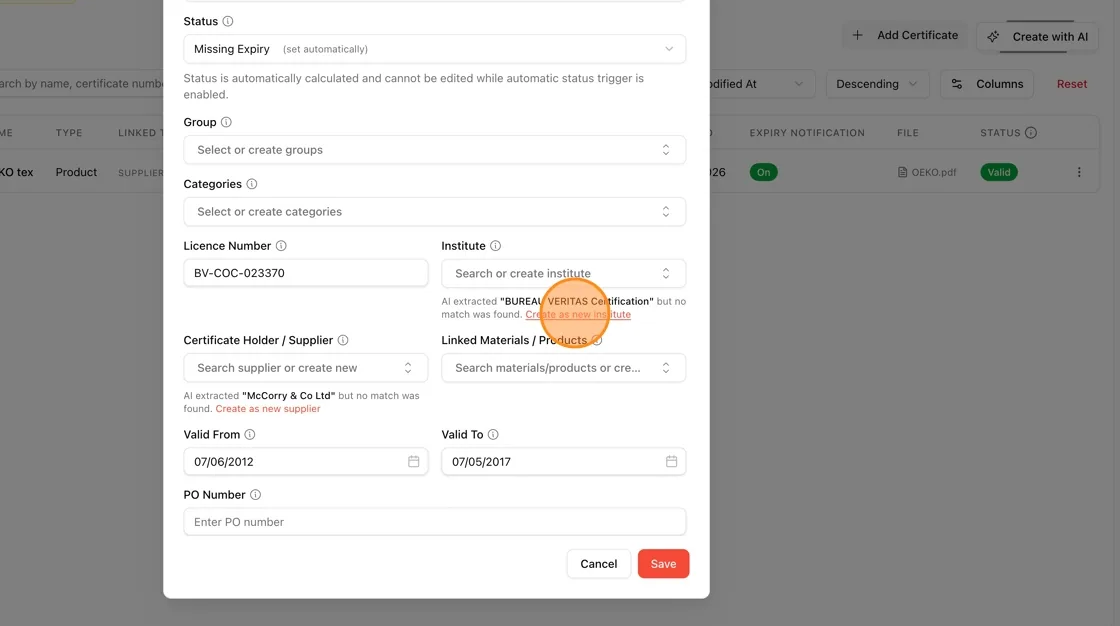
Click Create as new institute to add it.
Note: If the AI extracts an institute name that doesn't match an existing record, a message will appear stating no match was found. Users can create it based on an AI suggestion.
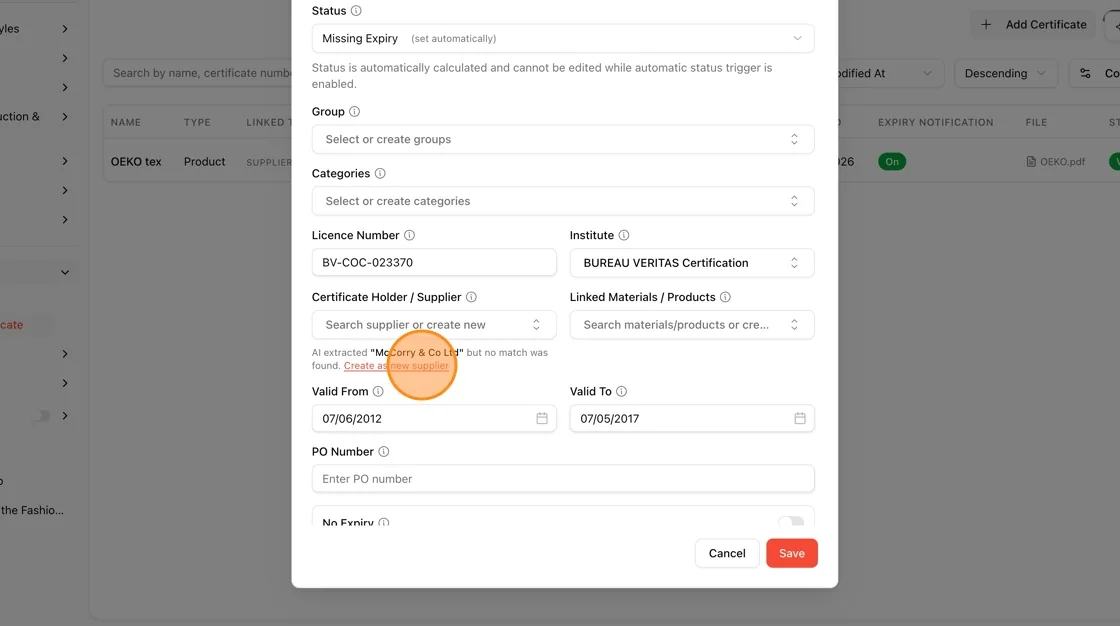
Similarly, if the AI extracts a supplier name with no existing match, click Create as new supplier underneath the Certificate Holder / Supplier field.
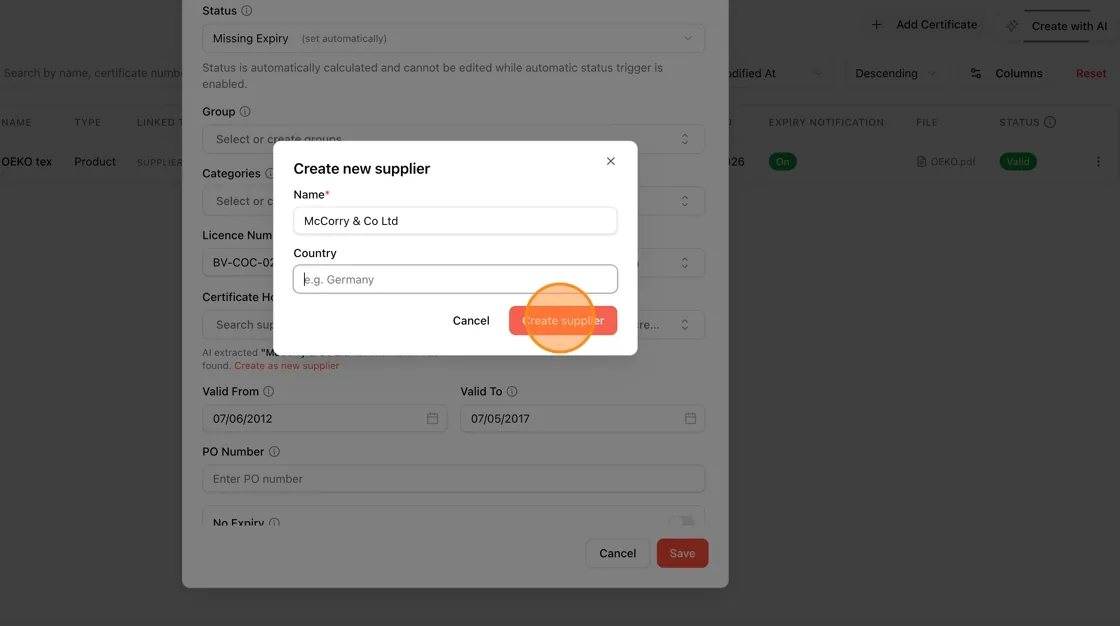
In the Create new supplier dialog, confirm or edit the Name field and optionally enter a Country, then click Create supplier.
After all fields are reviewed and corrected, click Save to add the certificate to your records.
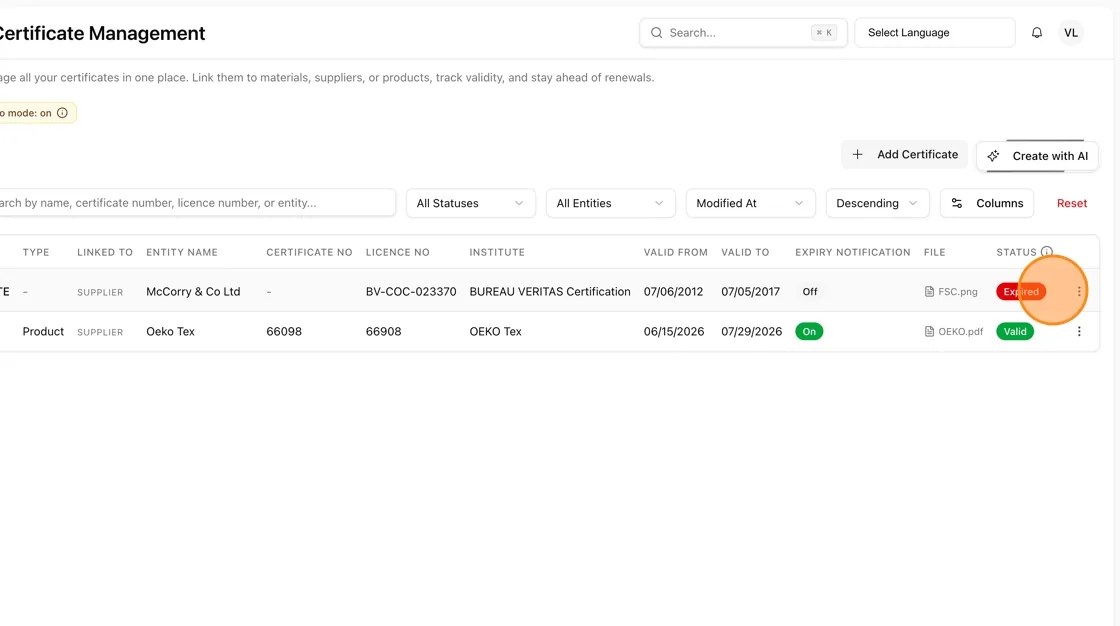
The new certificate now appears in the Certificate Management table along with its Status.