
Integrate and sync product data in Vestis Atlas
Select the Atlas Integration
Under review. This page is published while we check it against the live app, so some details may have changed.
Screenshots may be out of date.
Connecting Vestis Atlas to Vestis platform
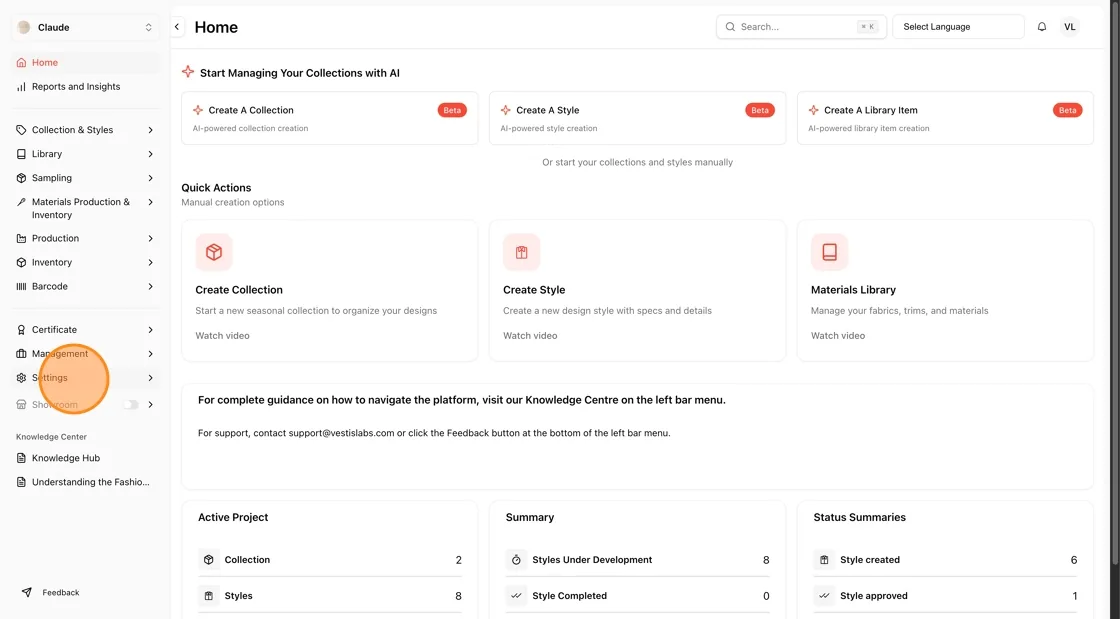
Open Settings
- From the Home screen, locate the left-hand navigation sidebar.
- Click Settings near the bottom of the menu
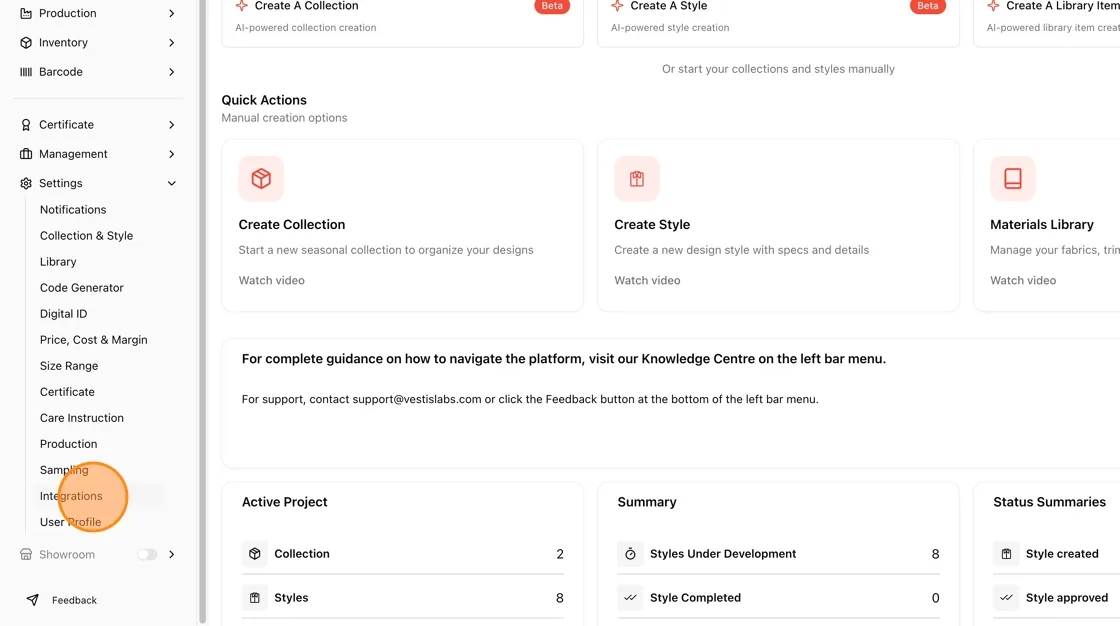
Open Integrations
- The Settings menu expands to show a list of sub-sections. Click Integrations near the bottom of this list.
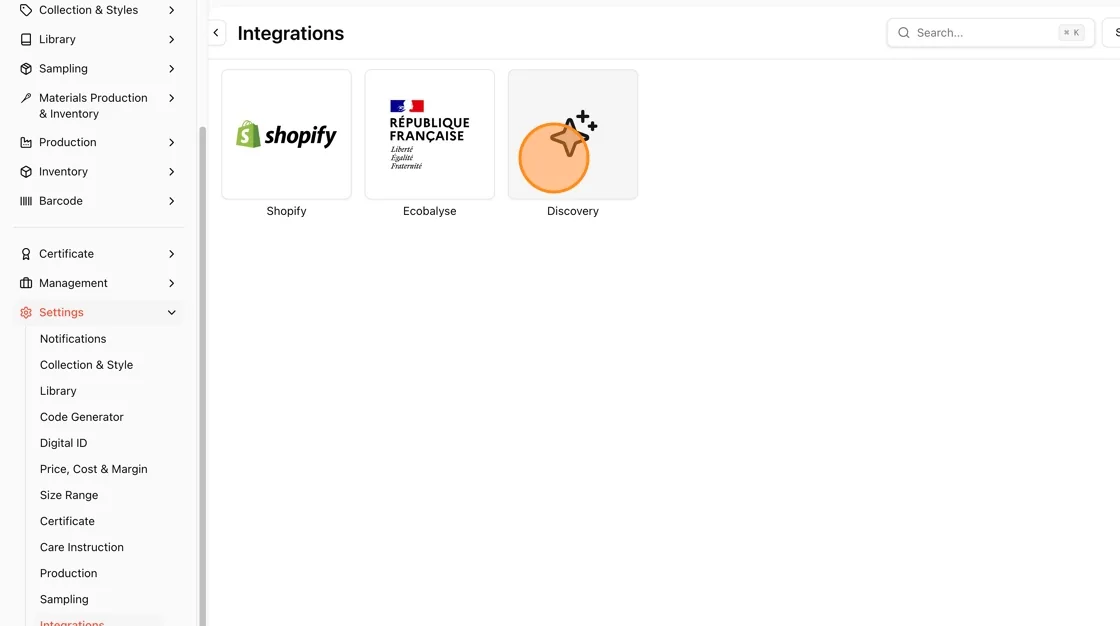
Select the Atlas Integration
- The Integrations page displays the available third-party connections: Shopify, Ecobalyse, and Atlas.
- Click the Vestis Atlas tile to open its setup page.
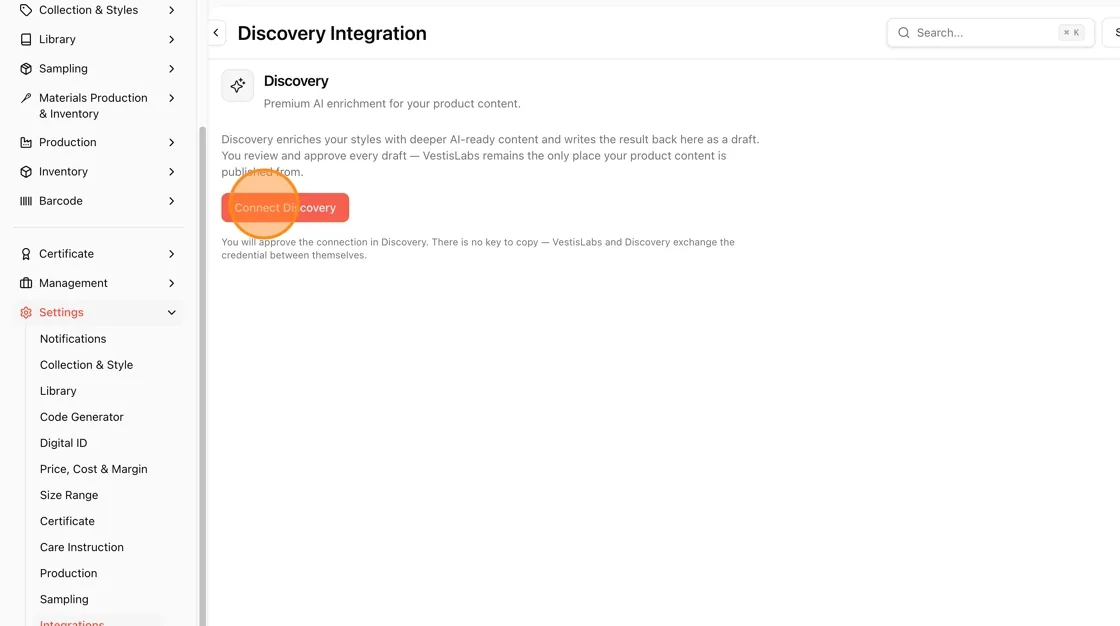
Start the Connection
- On the Atlas Integration page, read the short description: Atlas enriches your styles with deeper AI-ready content and writes the result back as a draft. You review and approve every draft — Vestis Platform remains the only place your product content is published from.
- Click Connect Vestis Atlas. There is no API key to copy — Vestis Platform and Atlas exchange the connection credential automatically between themselves.
Sign In to Atlas
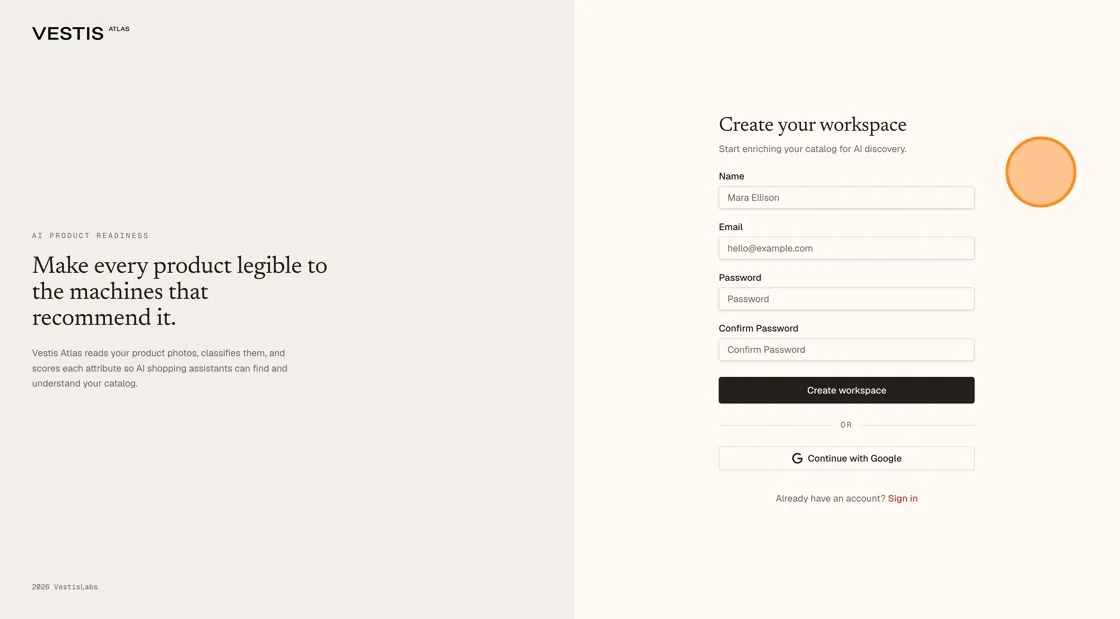
You are redirected to the Atlas sign-in page.
If you haven't created an account yet, you need to register through the platform.
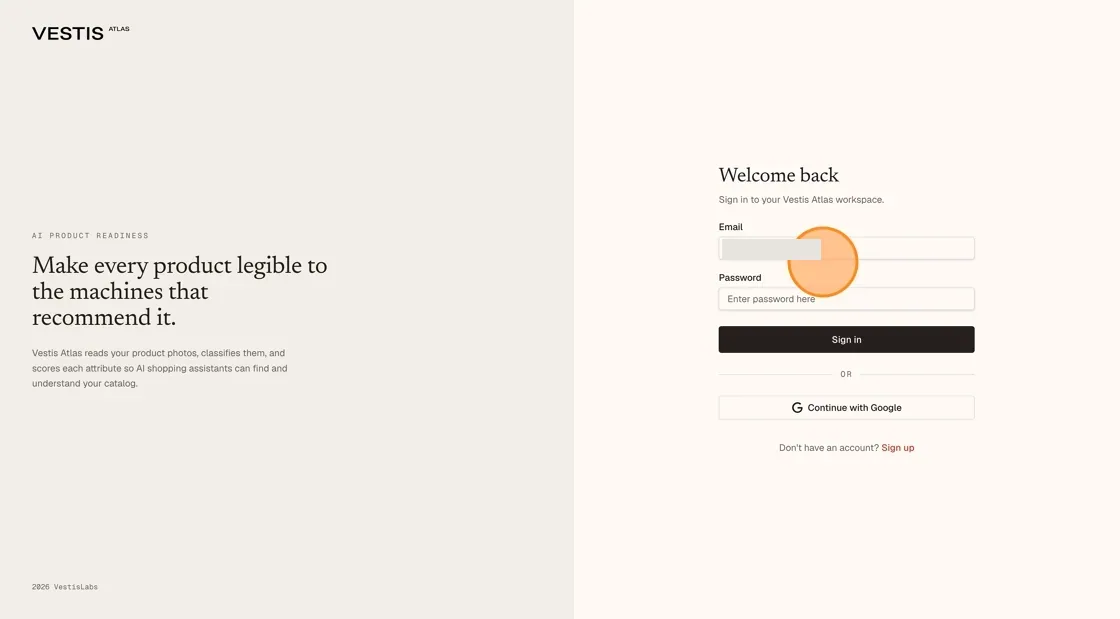
Complete Sign In
- Enter your password in the Password field (or use the Continue with Google option instead).
- Click the Sign in button to authenticate and authorize the connection.
Confirm the Connection
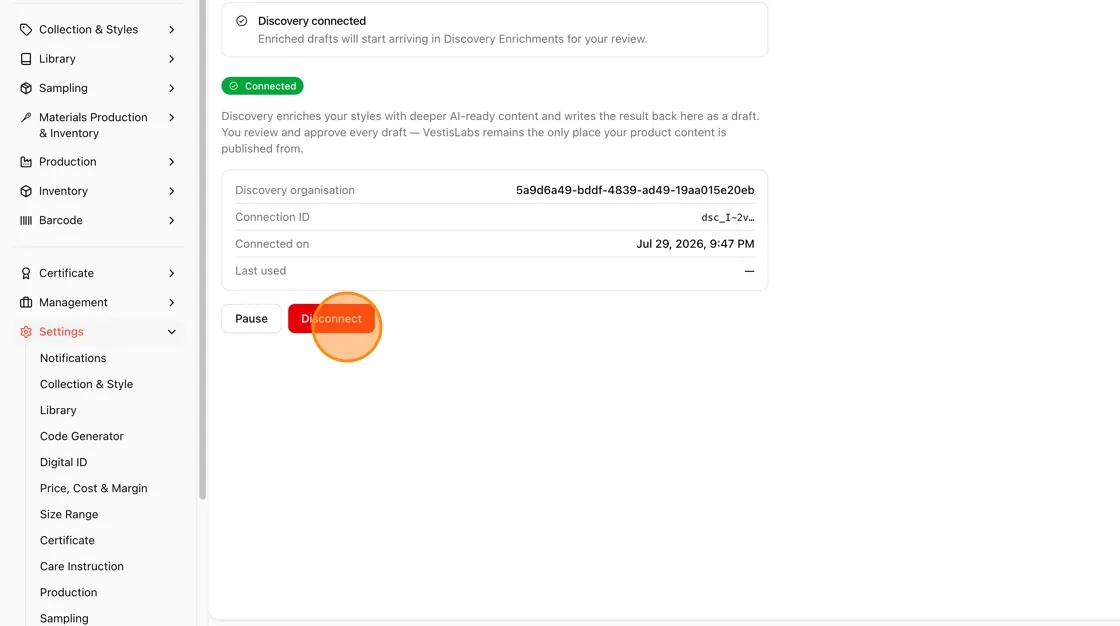
You are returned to Vestis Platform, where a "Vestis Atlas connected" confirmation.
The red Disconnect button, shown here, can be used at any time to remove the integration.
Pause the Connection (Optional)
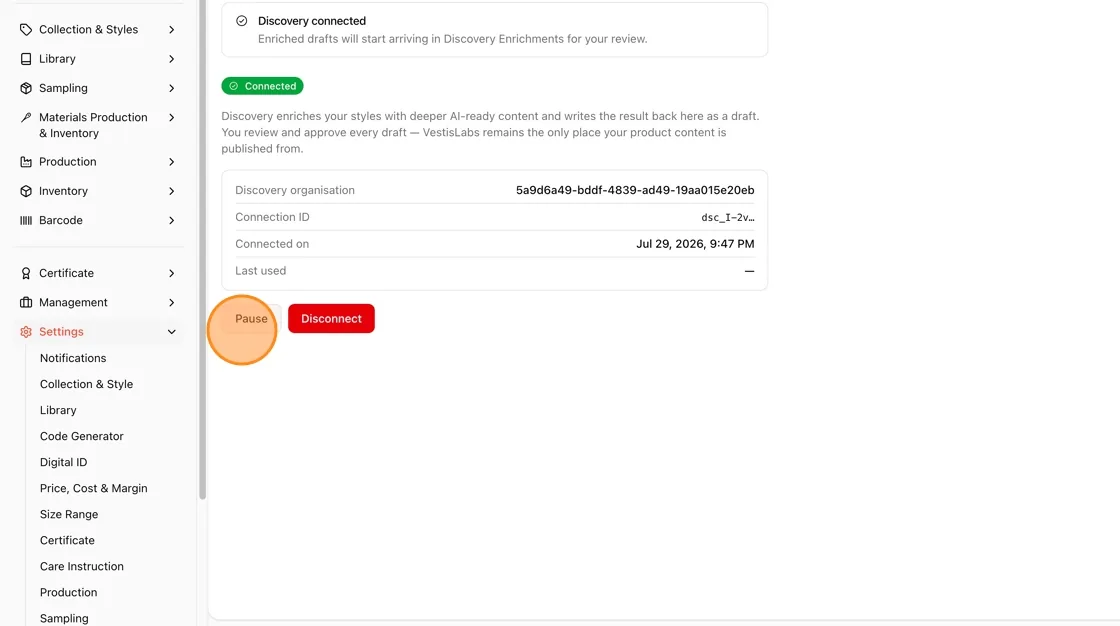
- Use Pause if you want to temporarily stop Atlas from receiving new product data without fully disconnecting the integration. You can resume the connection later from this same screen.
Importing products into Atlas
Open the Atlas Dashboard
- Navigate to the Atlas site directly. Click Open dashboard.
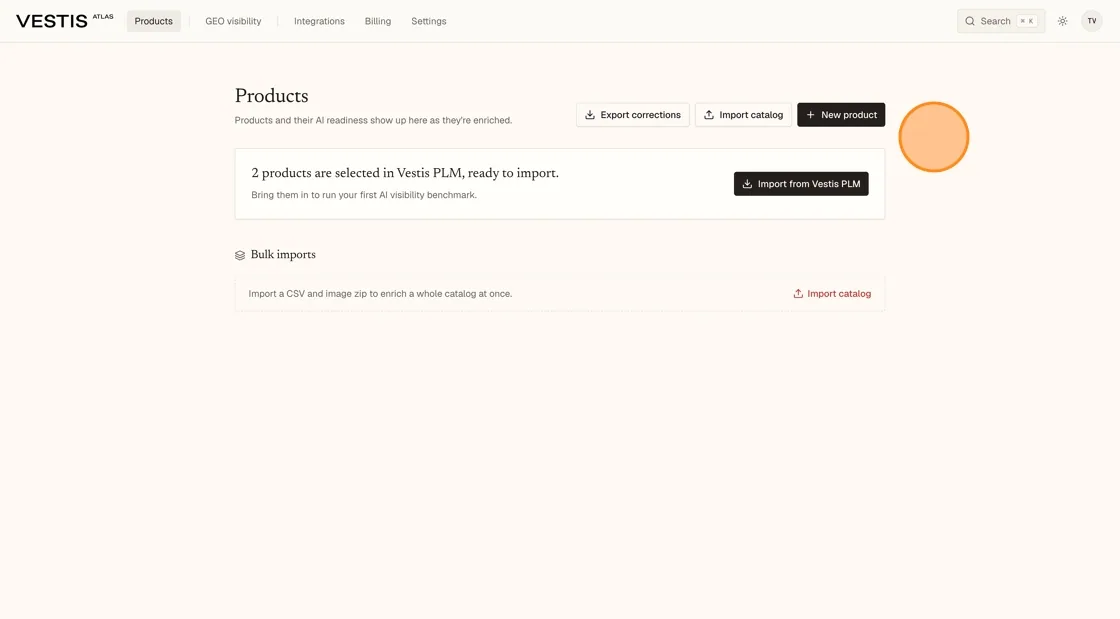
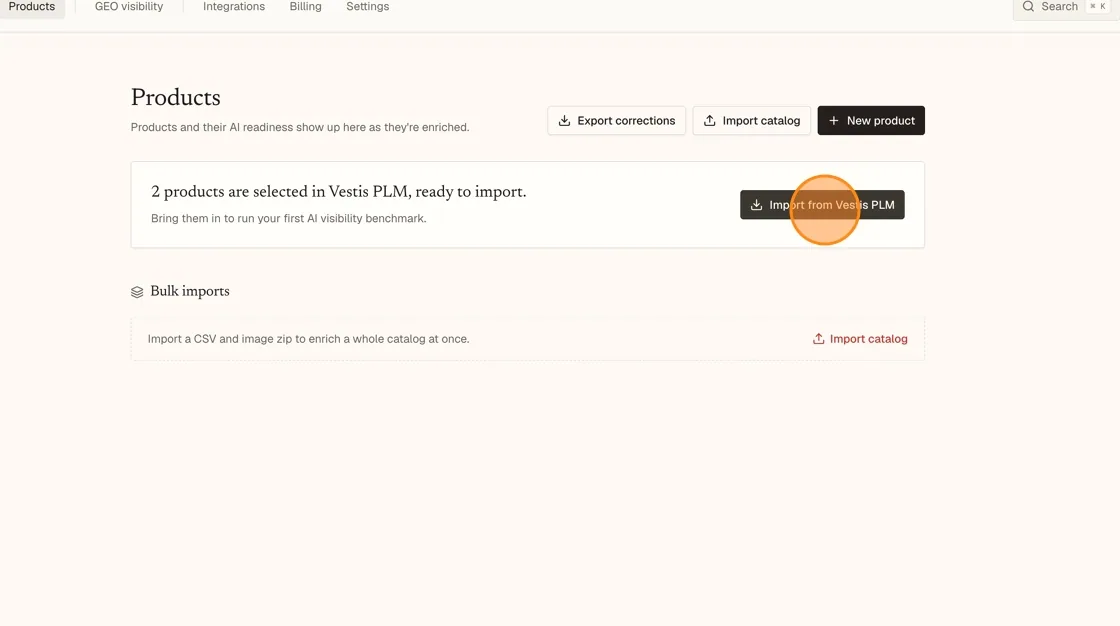
Import from Vestis PLM
- Click the Import from Vestis PLM button to pull the products you selected in Vestis Platform into Atlas for AI enrichment.
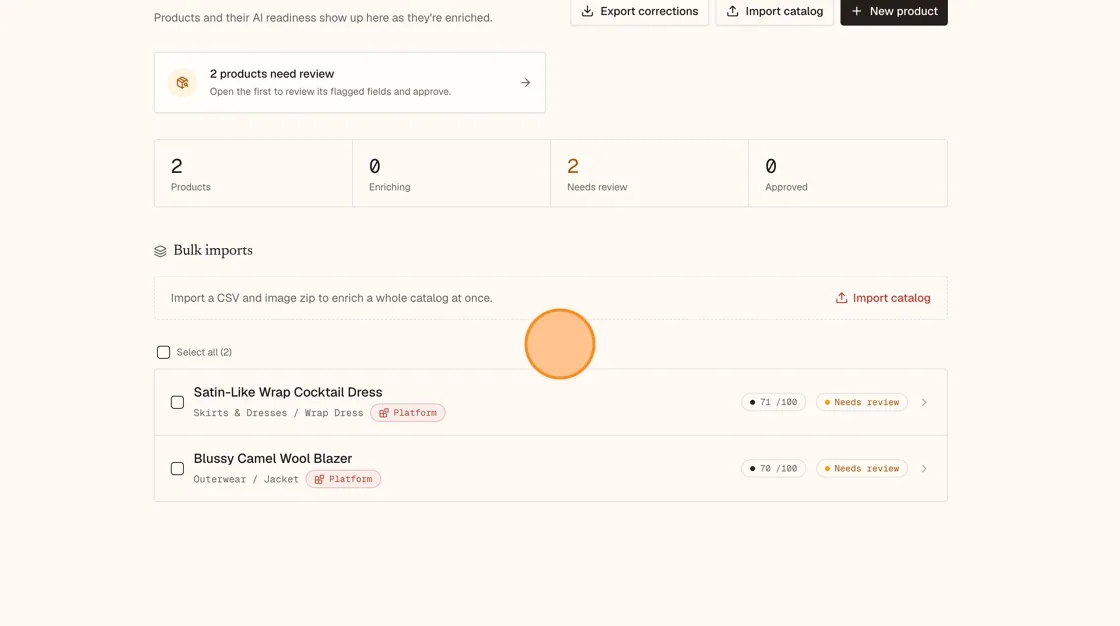
Monitor Enrichment Progress
Once imported, the newly added products show an "Enriching" status while Atlas AI analyzes their photos and generates structured content.
You can also start a bulk import from this screen using the Import catalog option on the right, covered in the next section.
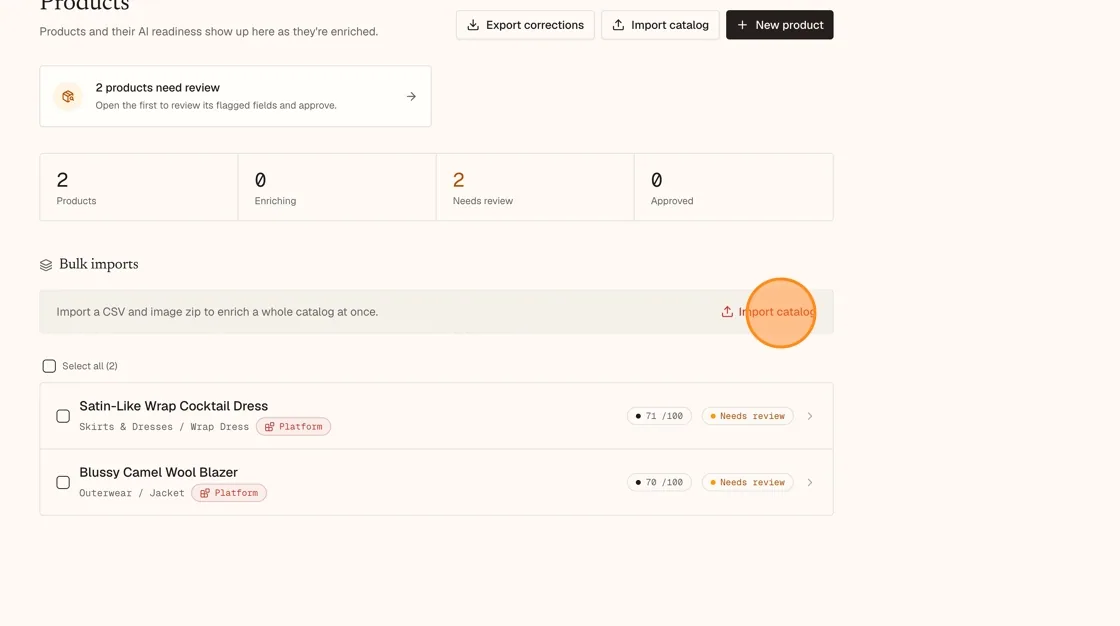
Bulk importing via CSV
Bulk Import Option
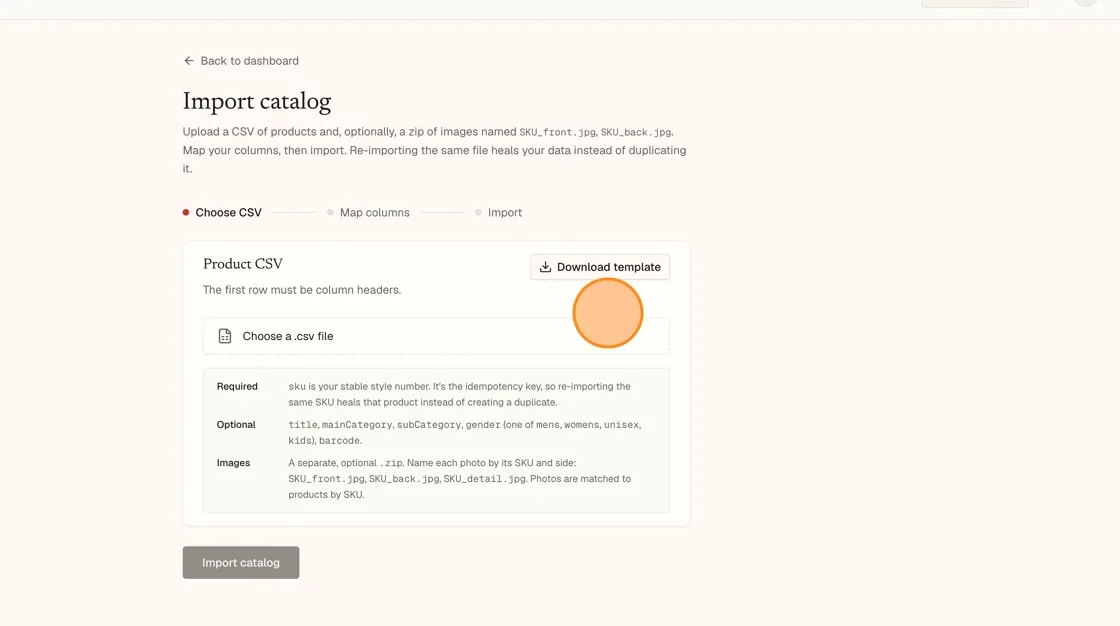
- For larger catalogs, click Import catalog under the Bulk imports section instead of importing products one at a time.
Upload a Product CSV
- On the Import catalog screen, click "Choose a .csv file" to upload your product list. The first row of your file must contain column headers.
- Required column: sku — this is your stable style number and acts as the idempotency key, so re-importing the same SKU updates (heals) that product instead of creating a duplicate.
- Optional columns: title, mainCategory, subCategory, gender (mens, womens, unisex, or kids), and barcode.
- Images: you may also attach a separate .zip of product photos, naming each file by SKU and side — for example SKU_front.jpg, SKU_back.jpg, SKU_detail.jpg. Photos are matched to products by SKU.
- Use Download template if you need a starting CSV file with the correct headers. Once your file is selected, click Import catalog to proceed through Choose CSV → Map columns → Import.
Pause, resume or disconnect Atlas
SettingsIntegrationsVestis Atlas
Once connected, the Vestis Atlas page shows a Connected badge and a list with the Vestis Atlas organisation, a Connection ID, Connected on and Last used.
- Pause stops Atlas from reading your styles or sending drafts. The badge changes to Paused. Content you already approved stays published.
- Resume turns the connection back on straight away, without approving it again.
- Disconnect removes the connection completely. A confirmation, Disconnect Vestis Atlas?, explains that approved content stays published and that reconnecting needs approval in Vestis Atlas again.
Tip
To stop Atlas for a while, use Pause rather than Disconnect.
If the connection fails
When you return from Atlas without a connection, a Vestis Atlas was not connected message explains why, for example that the connection was not approved or that the attempt expired and you need to start again. Click Connect Vestis Atlas to try again. If the page shows Finishing up, wait a moment and click Check again.
Note
The Vestis Atlas tile only shows when Atlas is switched on for your brand. Without it, this page redirects to a message that Vestis Atlas is not enabled for this brand.