
Step 5 of 9 in Run a sampling round
Manage sampling statuses
Create, rename, recolour and delete the sampling statuses of your brand, and see which default statuses are locked.
Sampling statuses show where each sample is in your process. Your brand starts with a set of default statuses, and you can add your own in the Manage Sampling Statuses window.
SamplingSample ManagementStatus of a sampleManage Statuses
Permission: SAMPLING_VIEW,SAMPLING_UPDATE
Default statuses
These statuses exist for every brand and are locked: they can neither be renamed nor deleted, because the sampling health and the dashboard counts depend on them.
- Created
- Requested
- In Production
- Completed
- Shipped
- Delivered
- Cancelled
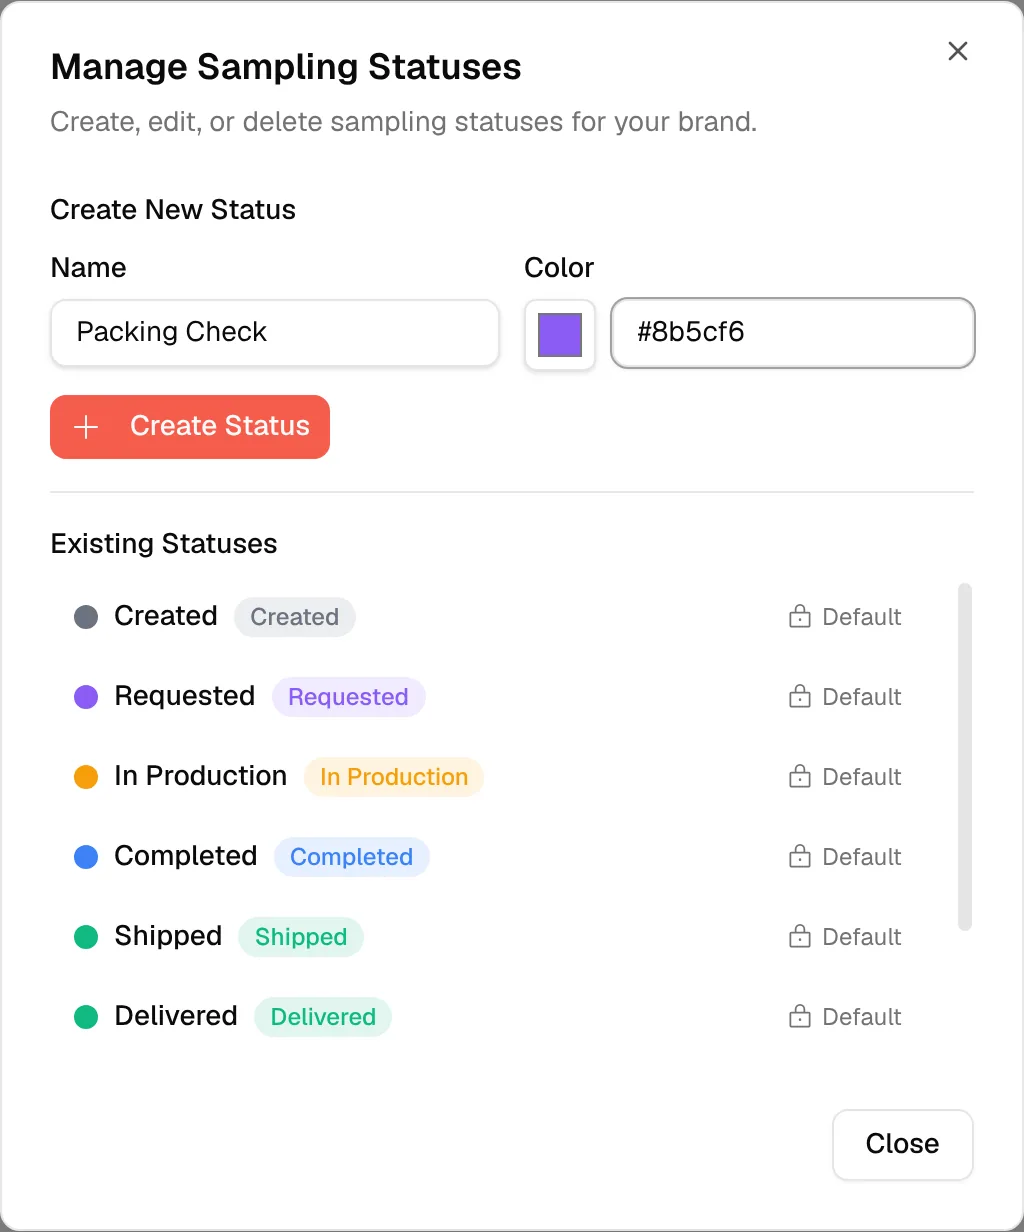
In the list, a locked status shows a padlock and the word Default.
Open the window
Open the status list
In Sample Management, click the status of a sample in the table, or click Change Status on a card in the kanban view. In the Sample Details window, click Update Status.
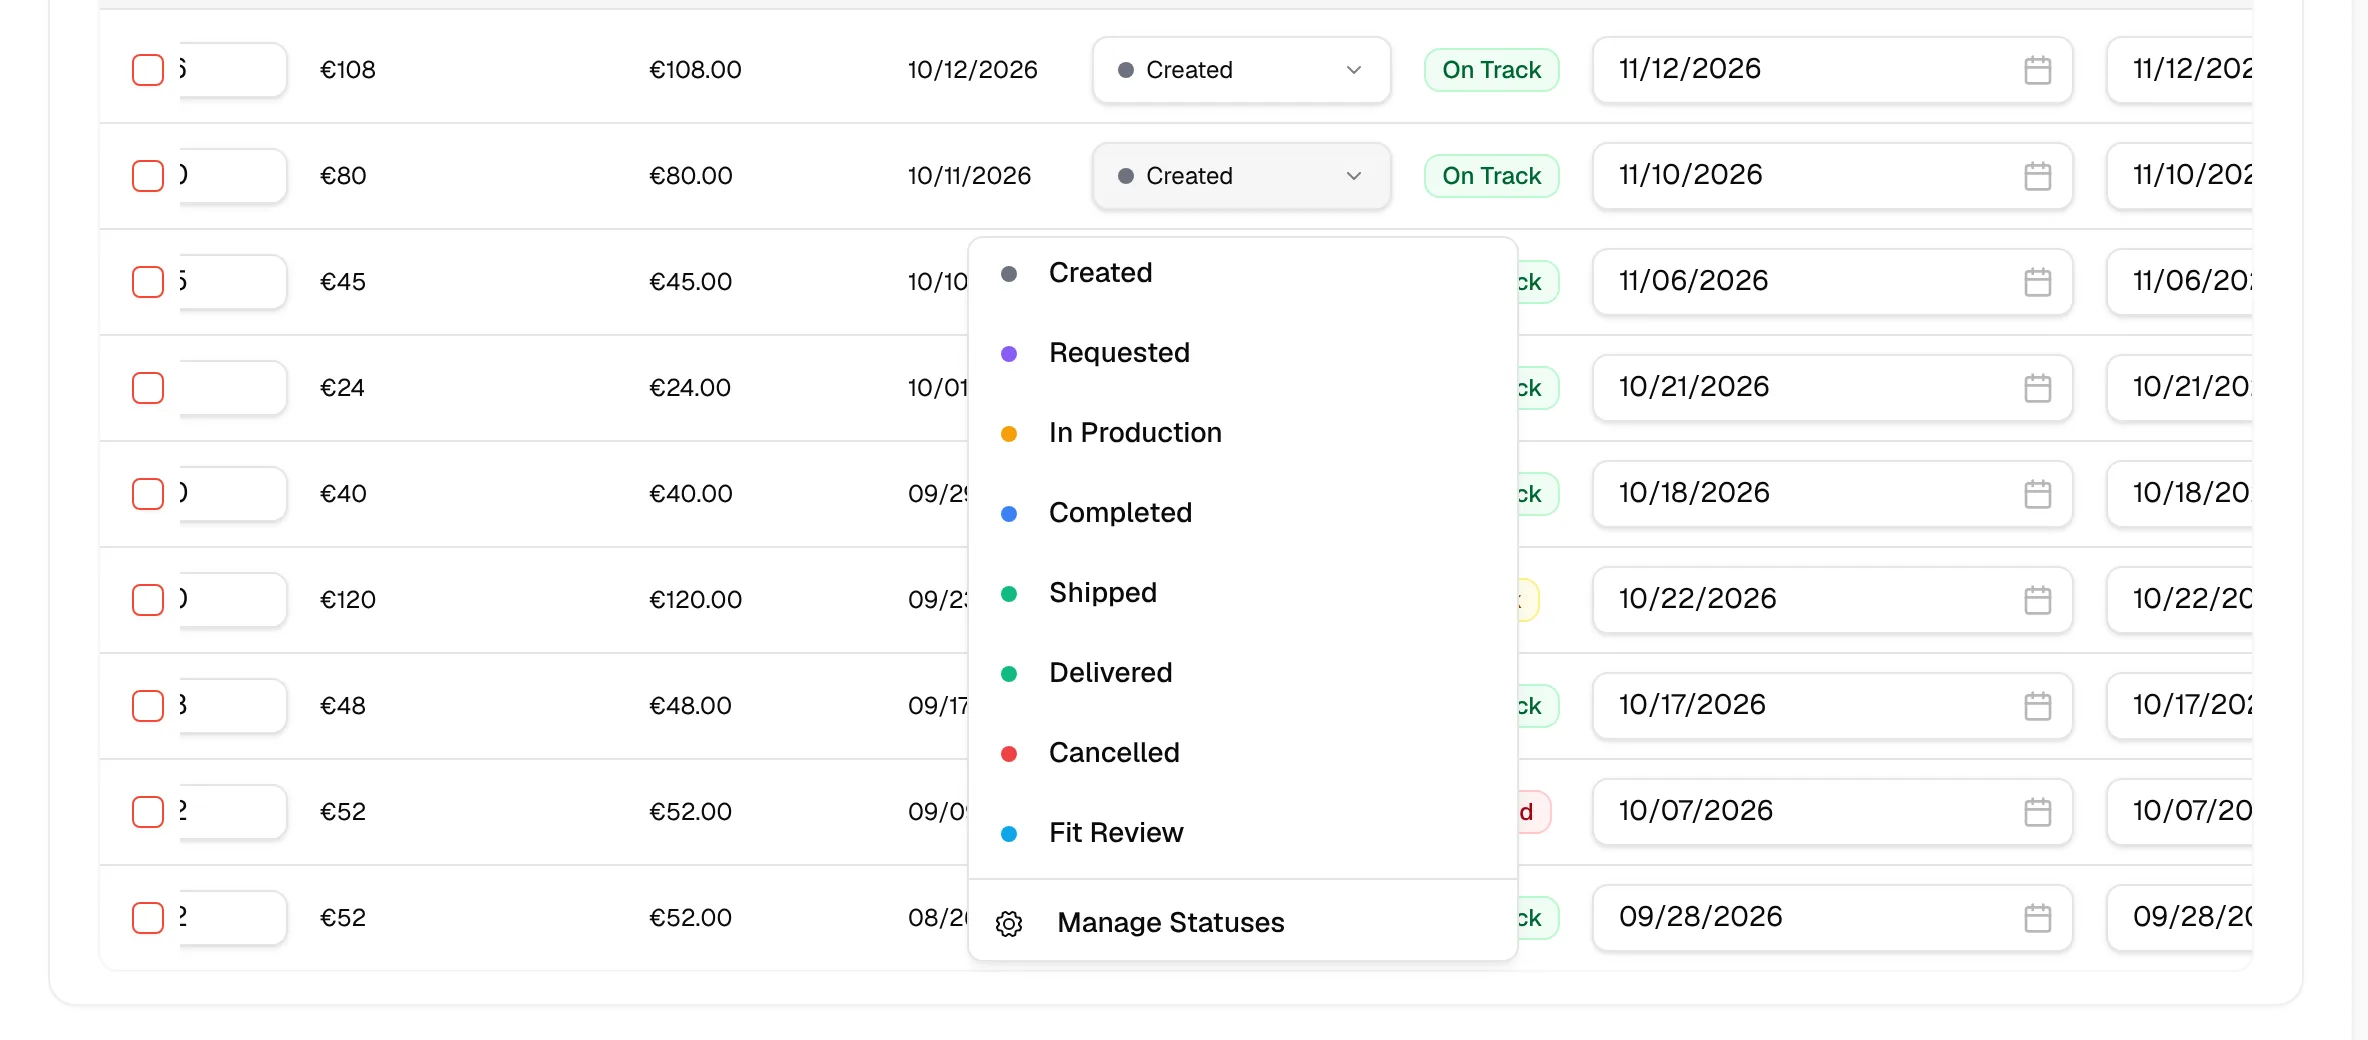
Click "Manage Statuses"
At the bottom of the list, click Manage Statuses. The Manage Sampling Statuses window opens with the text Create, edit, or delete sampling statuses for your brand.
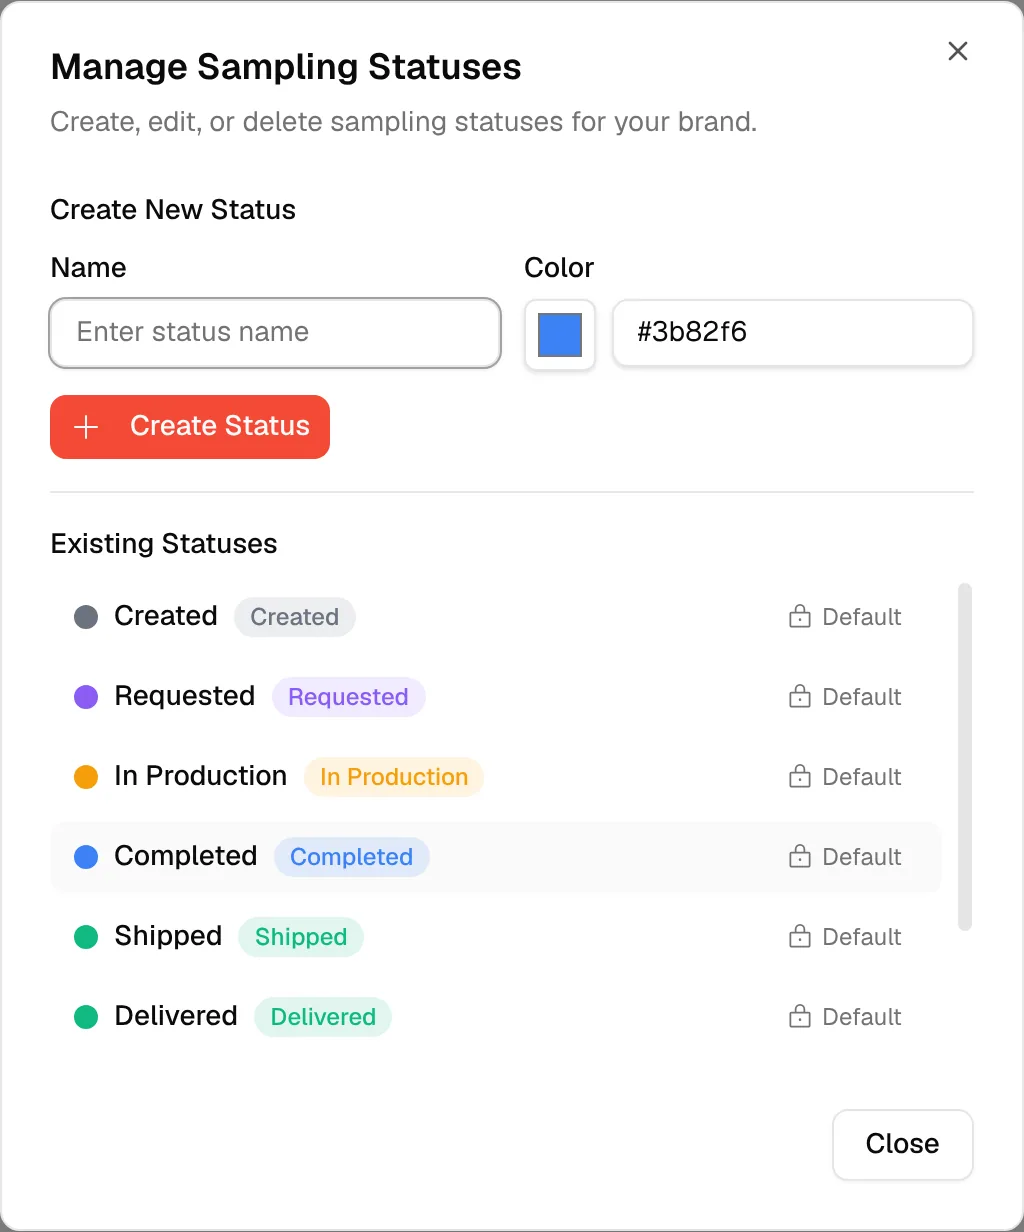
Create a status
Enter a name
Under Create New Status, type the name in Name. The name is required.
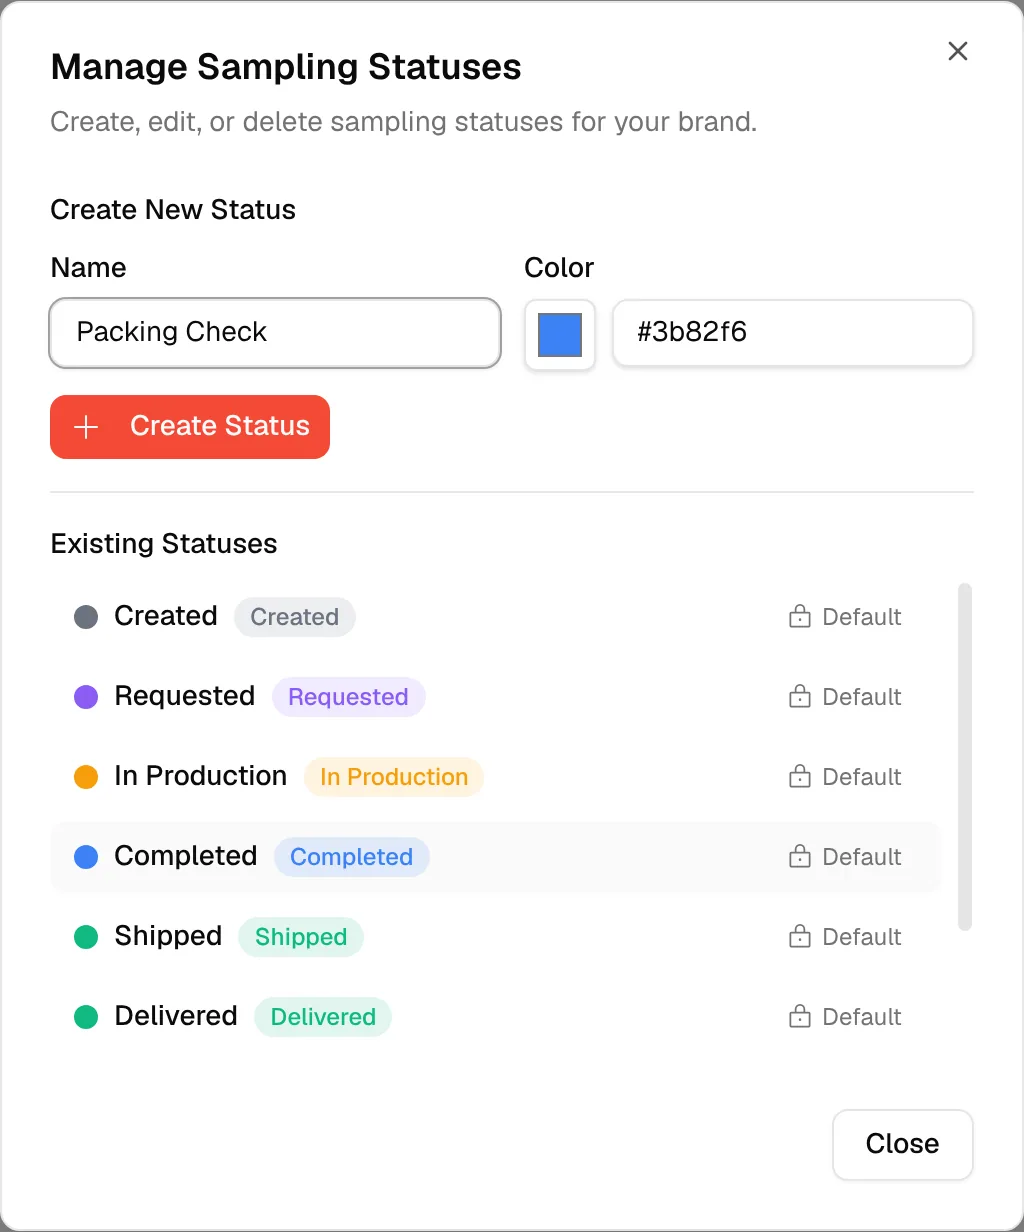
Choose a colour
In Color, pick a colour with the colour picker or type a hex code such as #3b82f6. The colour must be a valid hex value.
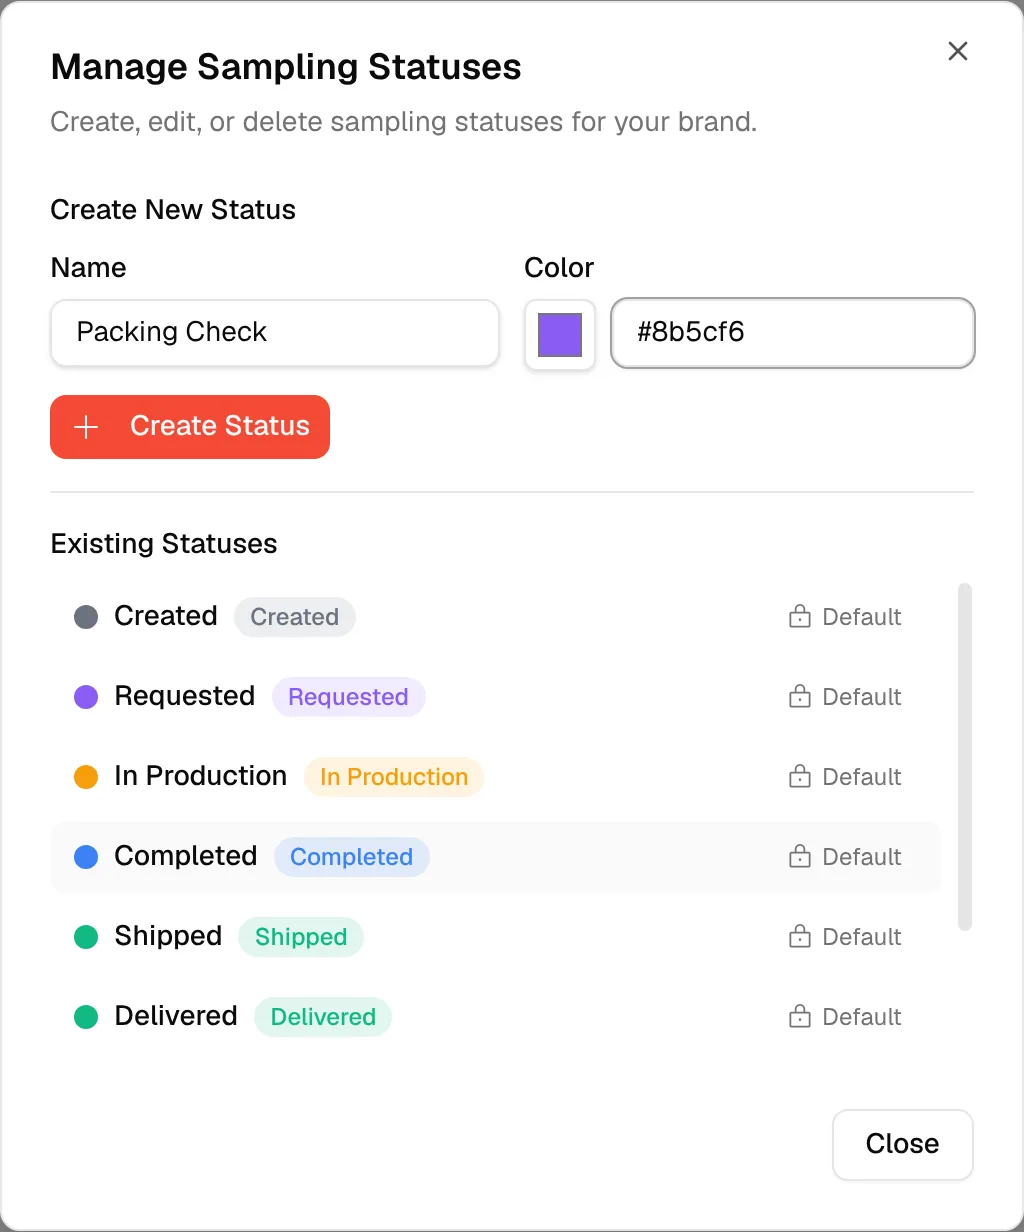
Click "Create Status"
Click Create Status. A message confirms that the status was created, and it appears under Existing Statuses and in every status list.
Edit a status
Open the status actions
Under Existing Statuses, click the actions menu at the end of the status. Locked default statuses have no menu.
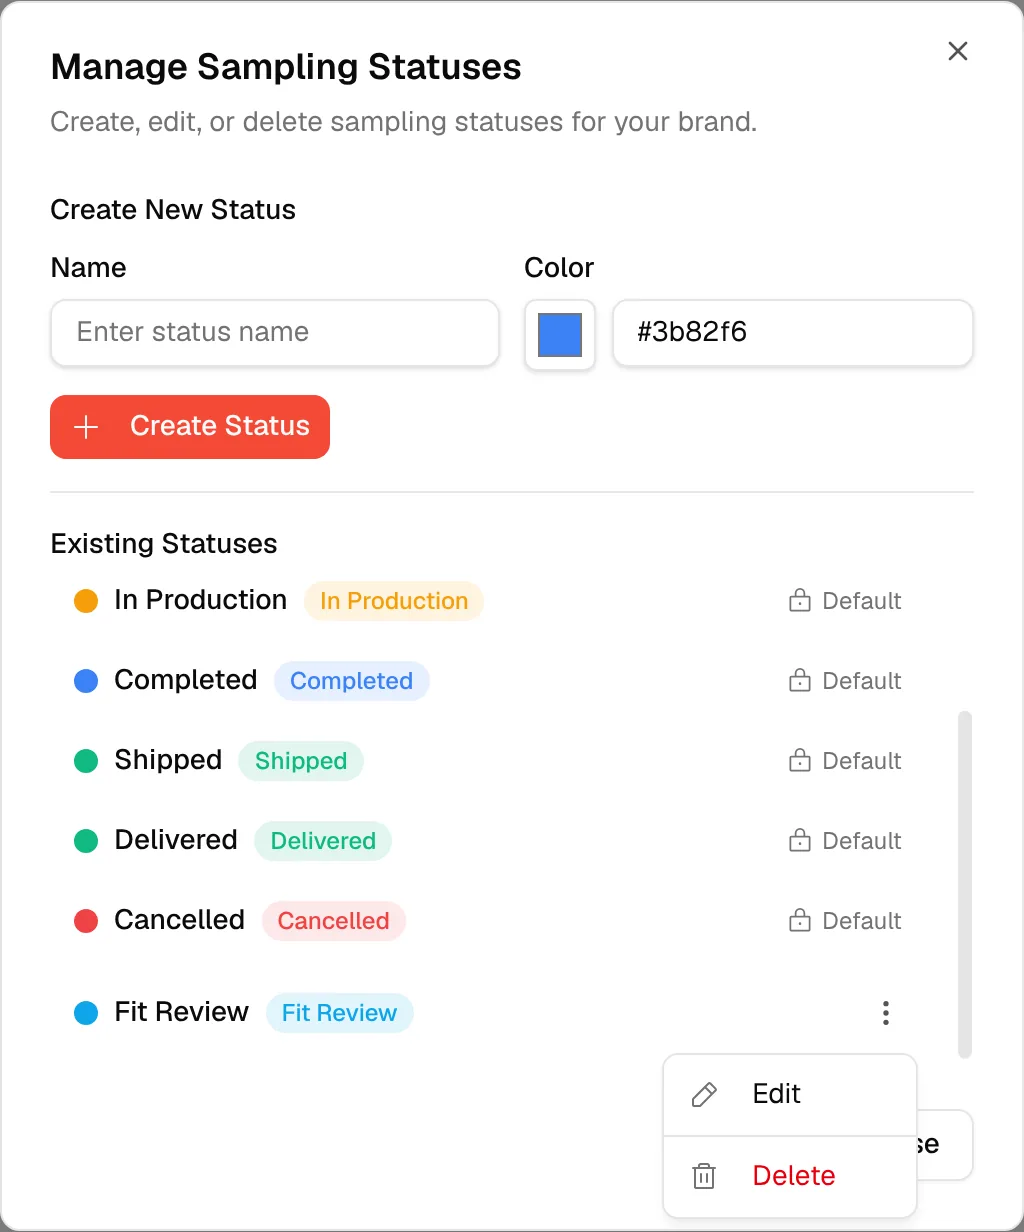
Select "Edit"
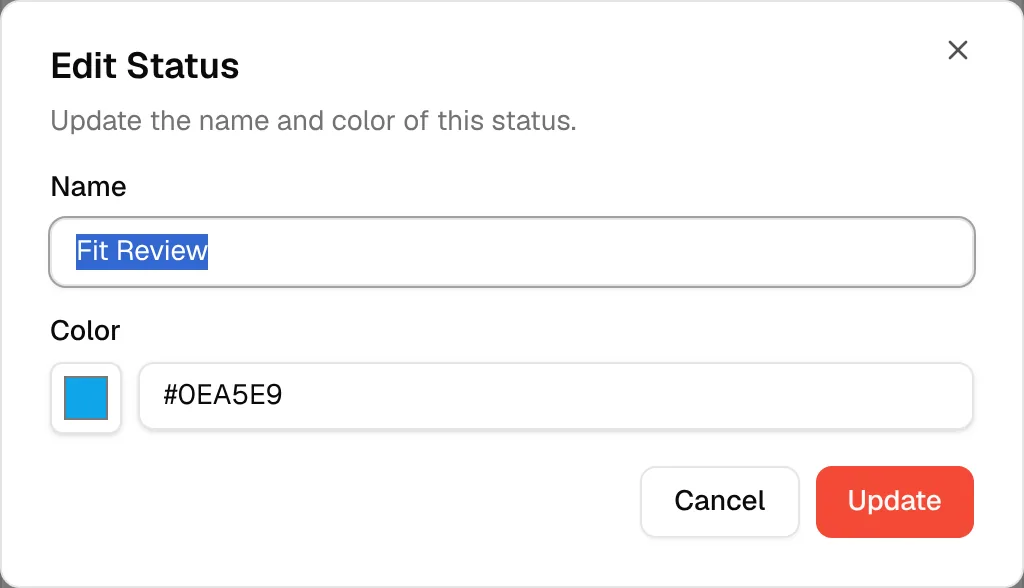
In the Edit Status window, change the Name or the Color, then click Update. Click Cancel to leave without saving.
Delete a status
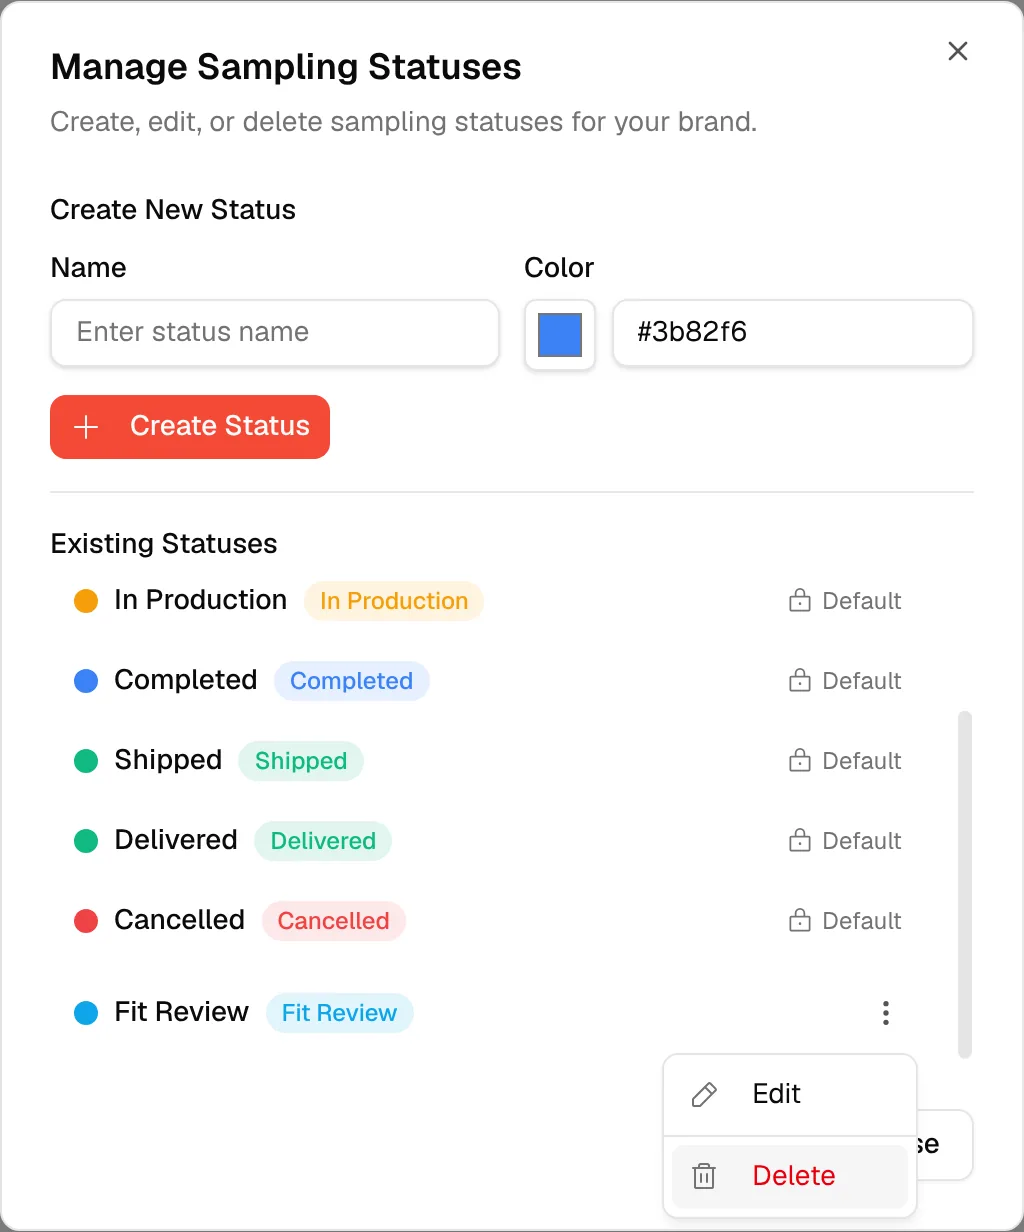
Select "Delete"
Click the actions menu of the status and choose Delete.
Confirm the deletion
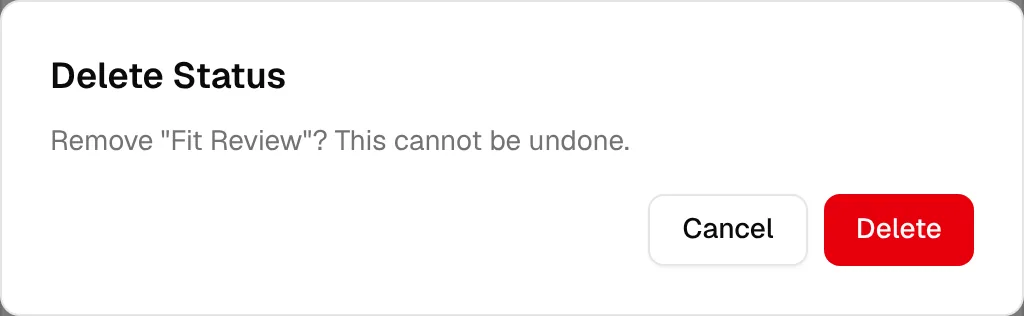
The Delete Status window asks Remove "name"? This cannot be undone. Confirm to remove the status.
Note
If you type a name or colour and then close the window, you are asked to confirm that you want to discard your changes.
Click Close when you are done. If your brand has no statuses, the list shows No statuses created yet.