
Step 9 of 15 in Publish a Digital ID and product passport
Create custom pages
Users can create and update a Custom page through the custom page.
Under review. This page is published while we check it against the live app, so some details may have changed.
Screenshots may be out of date.
Users can create and update a Custom page through the custom page. The custom page can be used to create an About Us Page, Production Background Story Page, etc.
Permission: PRE_SALE_CONTENT
SettingsDigital IDCustom Pages
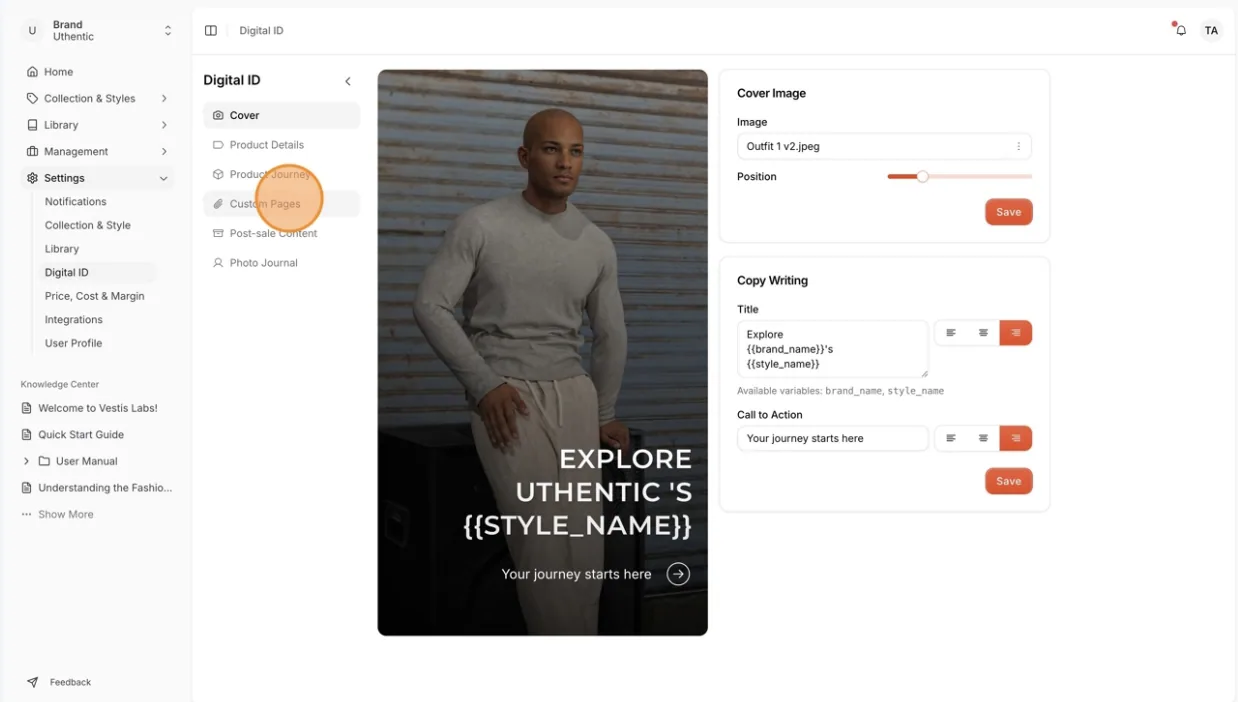
To access the Custom Page, go to Settings…
To access the Custom Page, go to Settings > Digital ID on the left bar menu . Select Custom Pages.
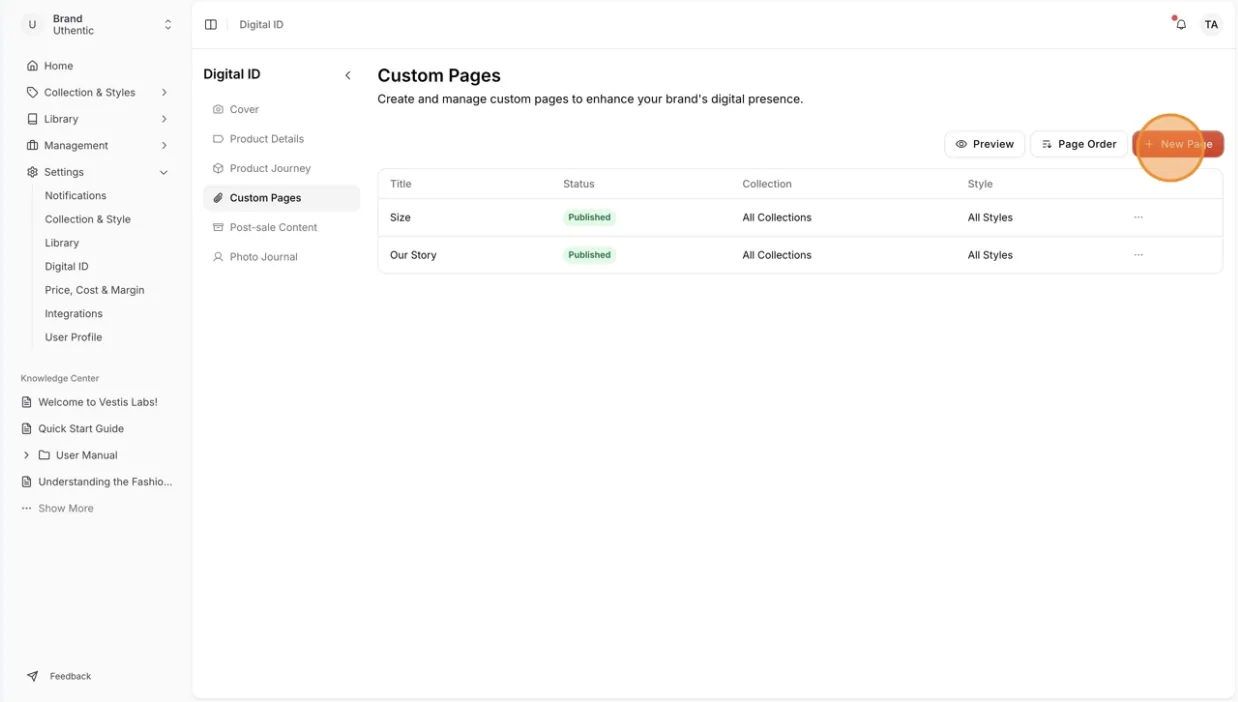
Click "+New Page" on the top right hand of the custom page.
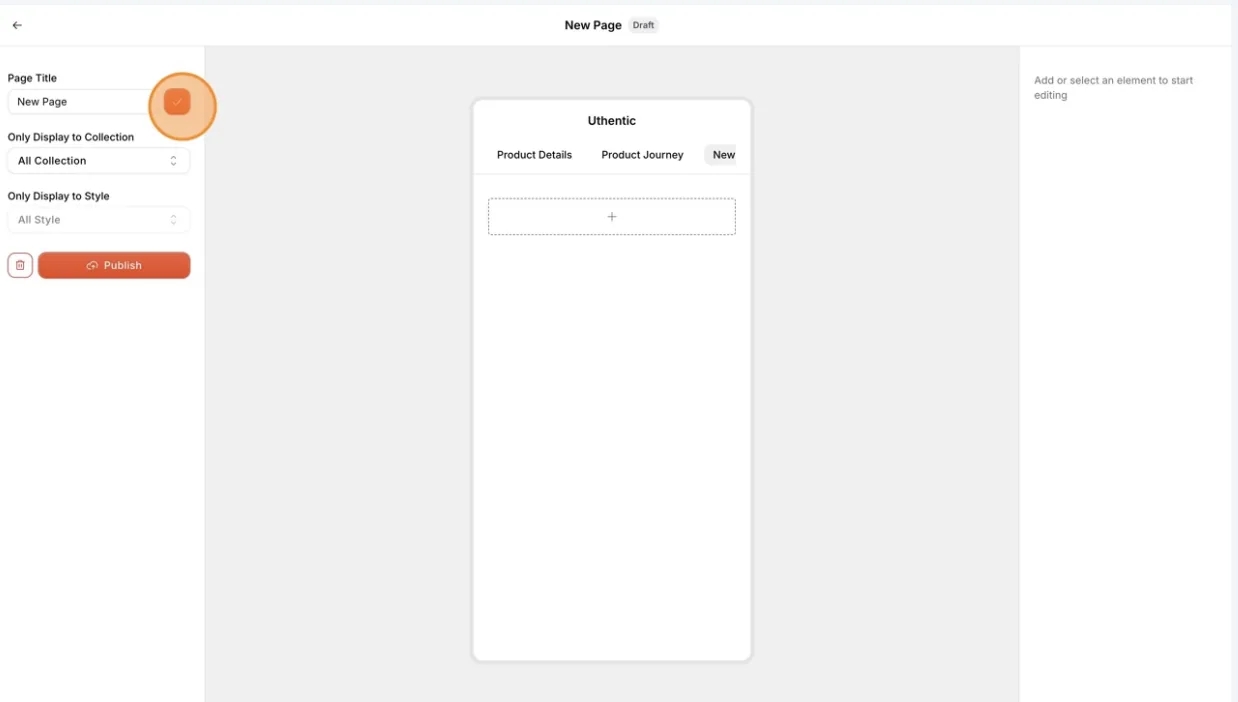
Page Title: Enter the page title of the custom page.
Select the checkmark icon next to the page title field to save the page title field.
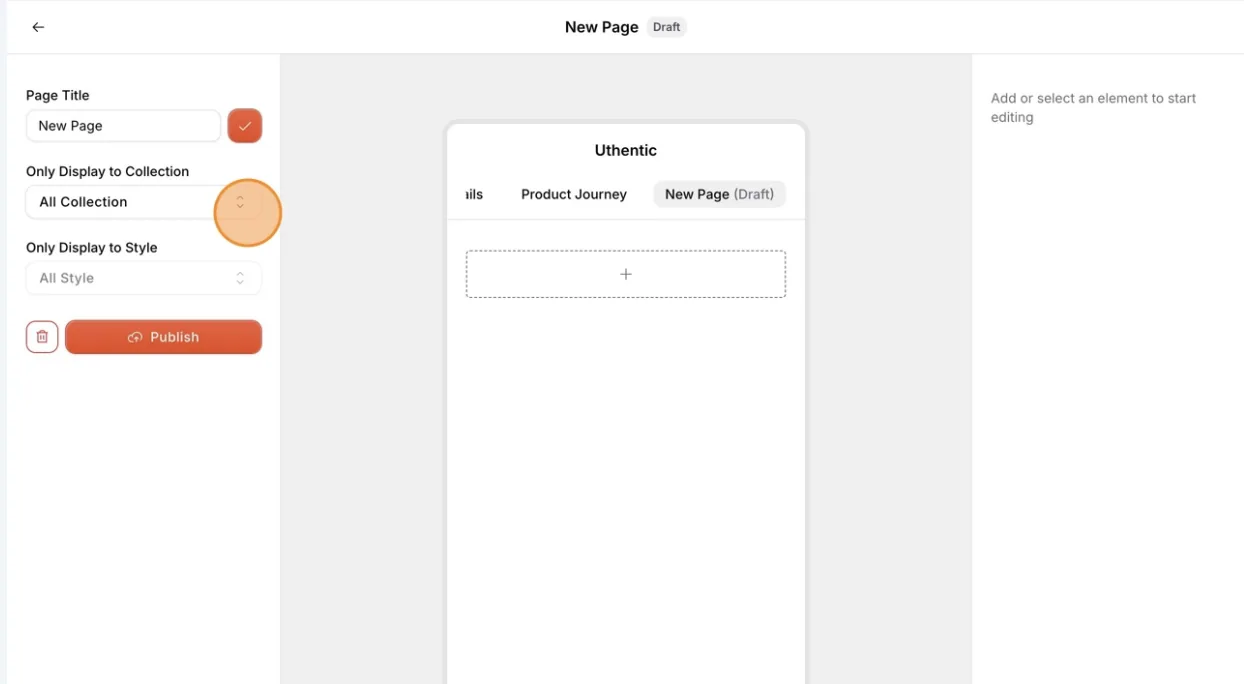
Users can select the custom page to be…
Users can select the custom page to be displayed on the digital ID for all collections, and all styles will be automatically included. For other options, it is only displayed on the digital ID for one of the collections and styles.
To add text to the custom page, there are two options:
- Add text: Enter the content in the text box.
- Add rich text content: Write the content or text that includes formatting elements, such as bold, italics, font sizes, and paragraph alignments on the right-hand section.
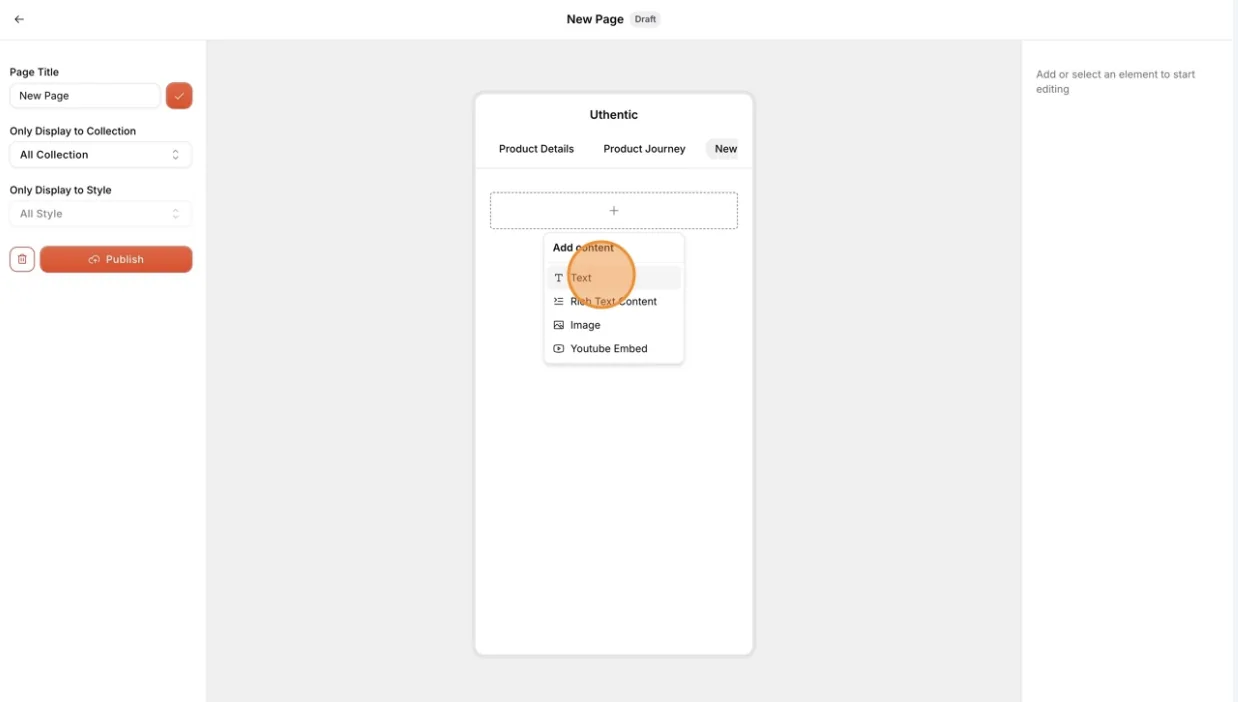
Select + > Text on the dropdown options and enter your content in a text box.
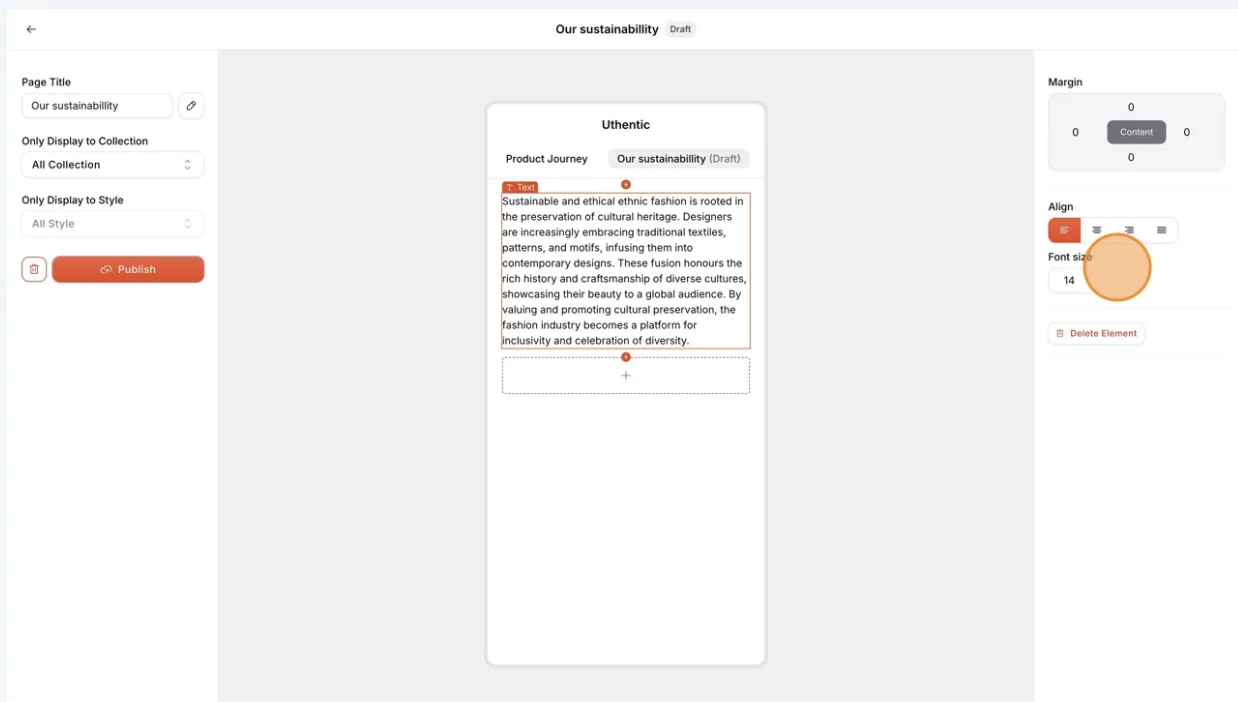
You can edit and adjust the text format for the content margin by entering the number , align paragraph, Font Size, and delete element.
Select + > Add rich text content on the dropdown options.
Start to write the content on the right-hand section, and adjust the text formatting using bullet points, bold text, italics text, settings the font sizes, and paragraph alignments.
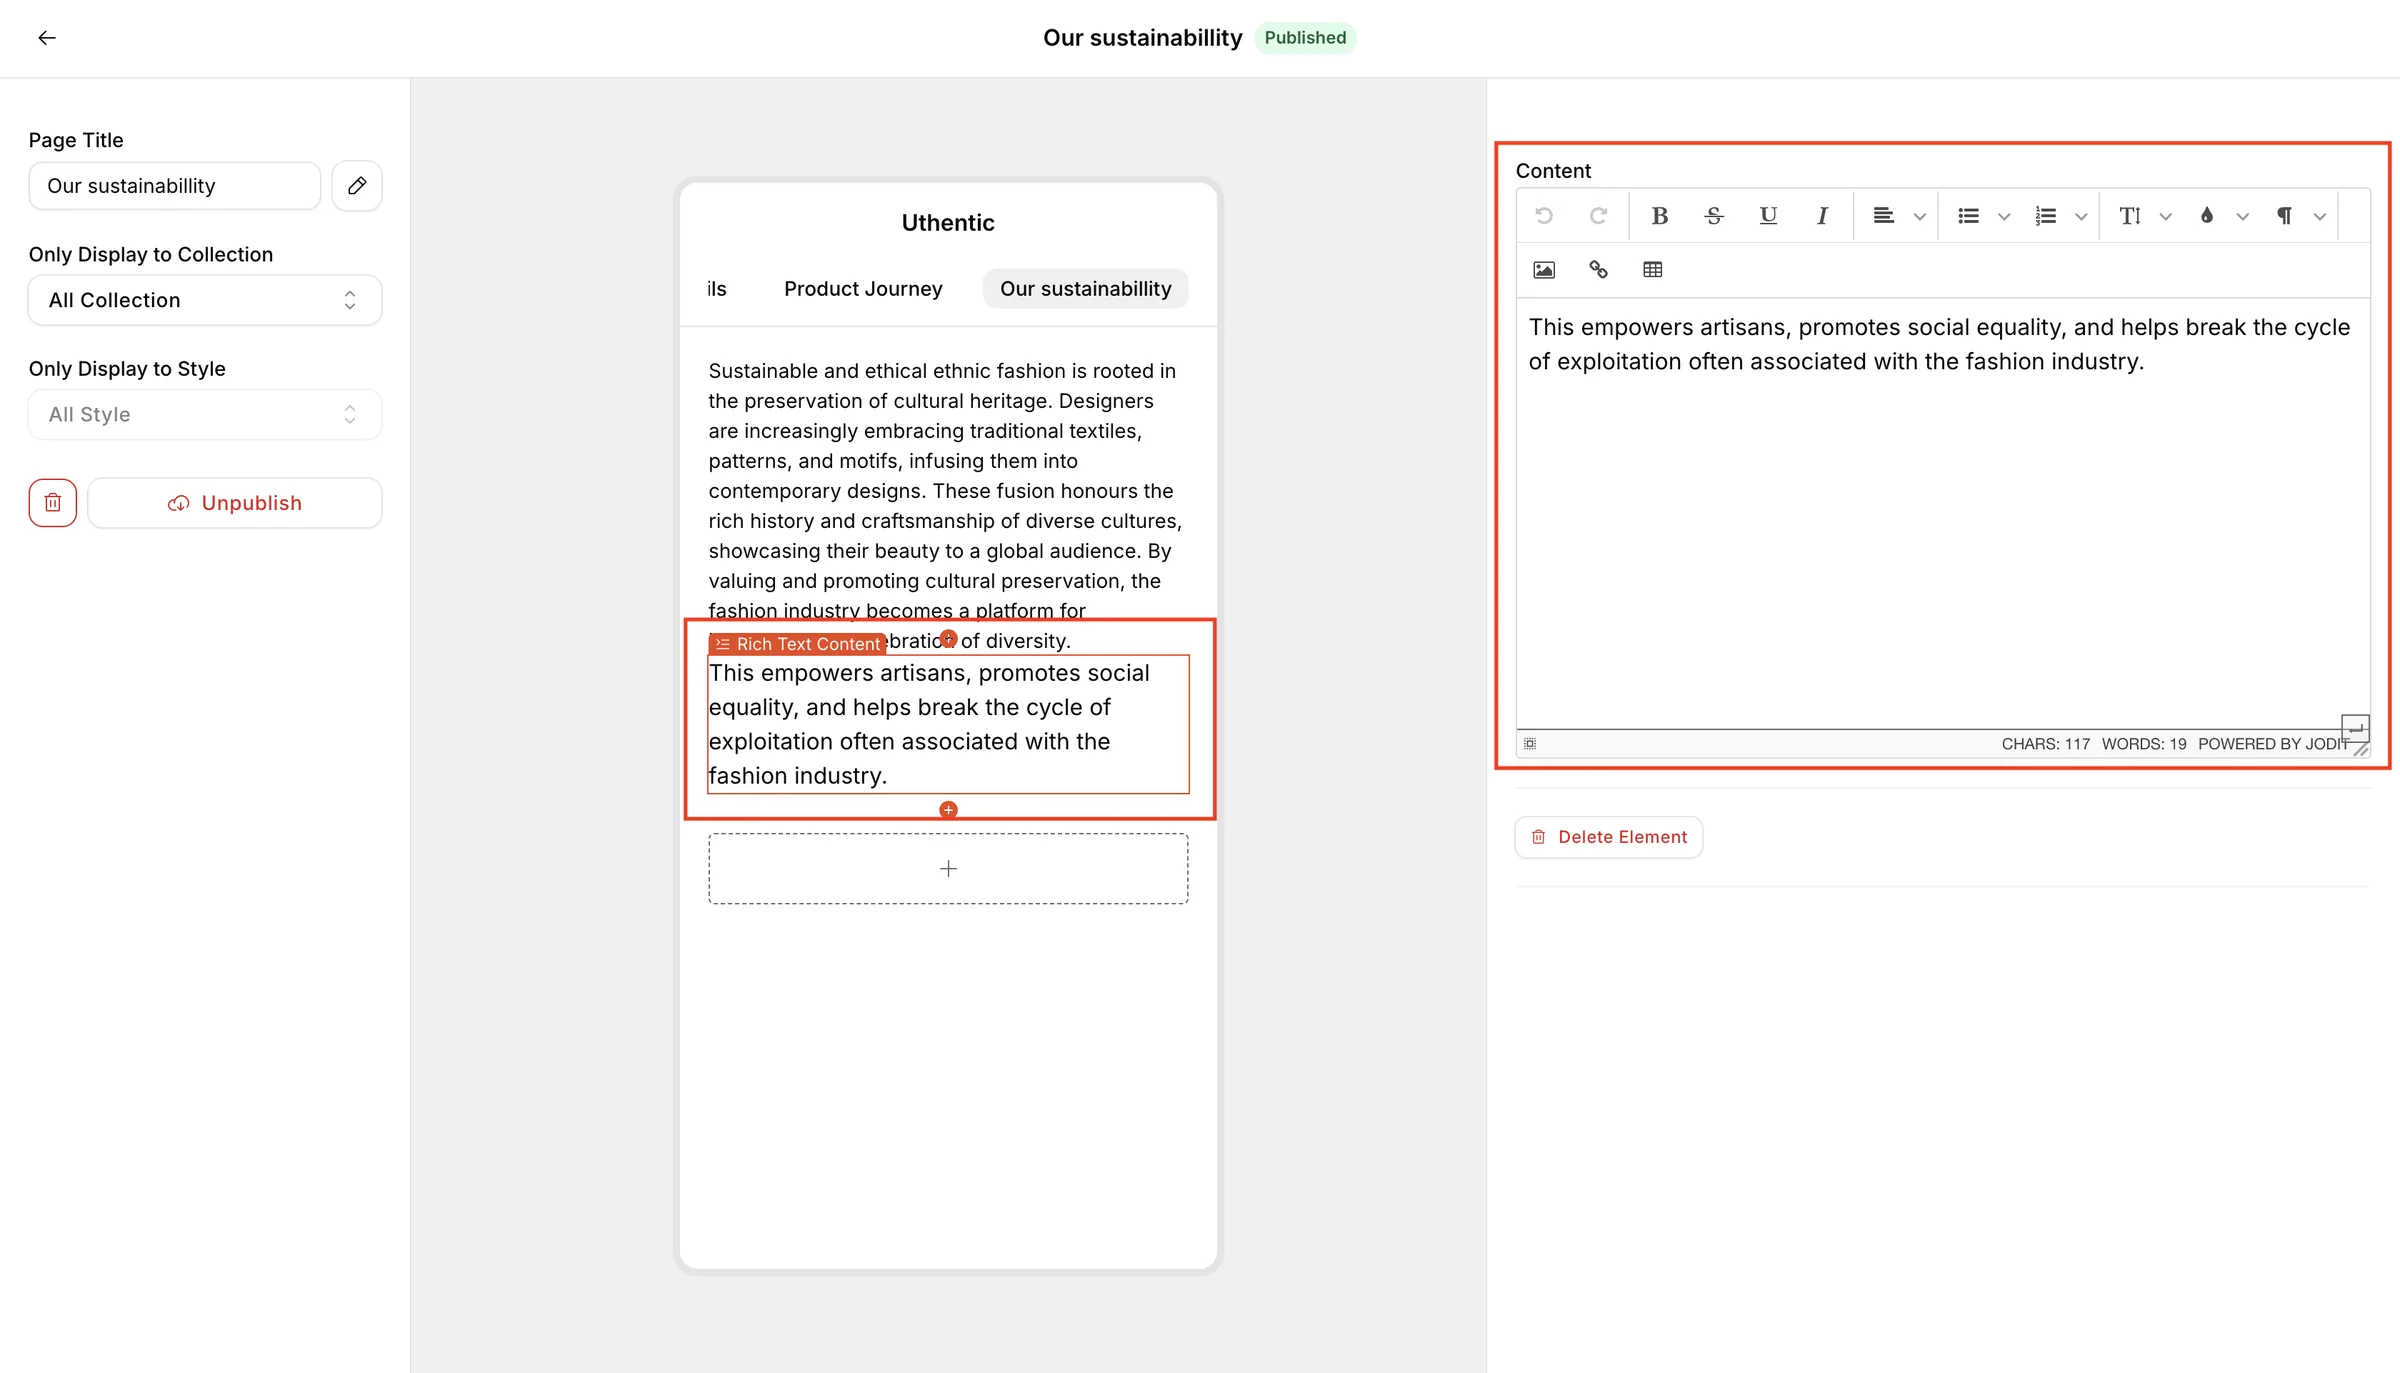
Nb: Users can create multiple content for the custom page. To add content in between the other, select the small orange circle with a + sign in the highlighted box.
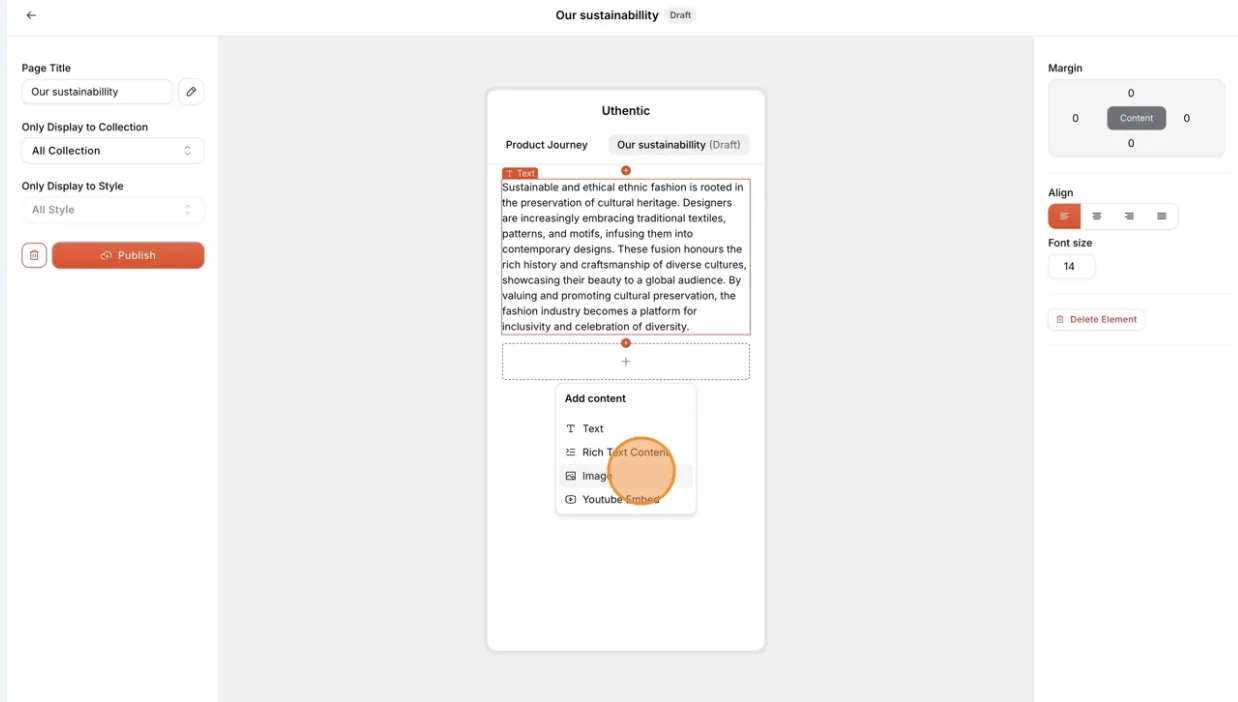
To add an image to the custom page, select + > Image on the dropdown options.
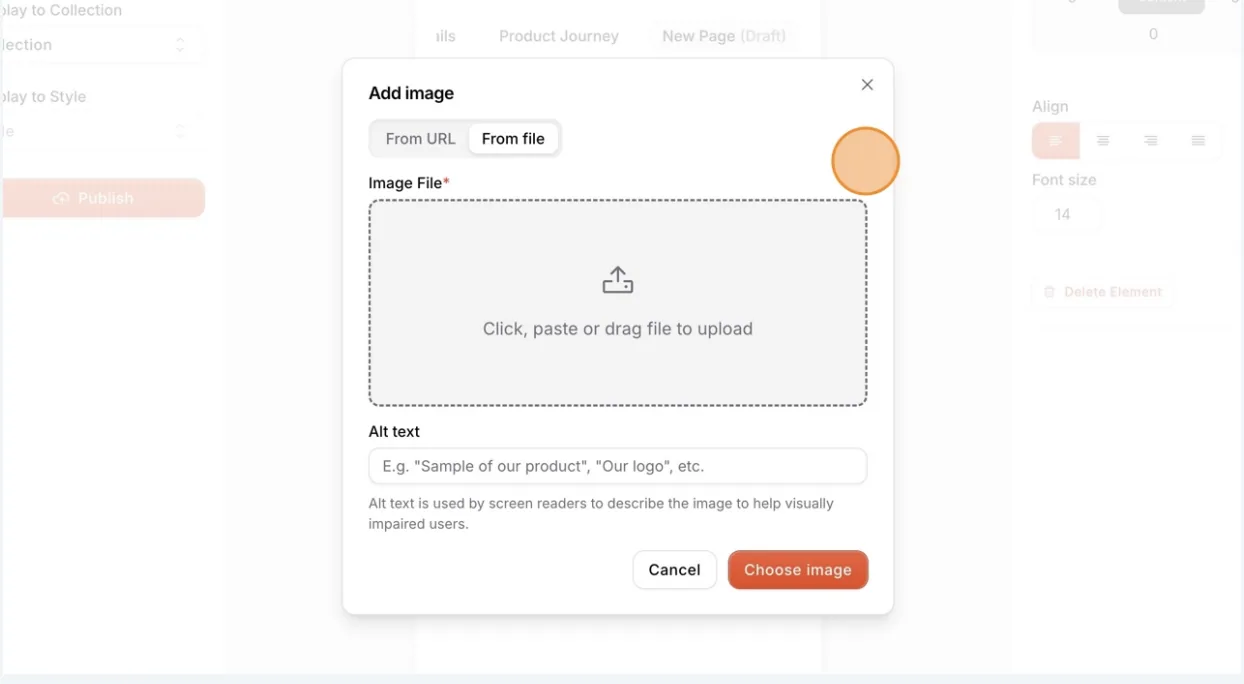
Users can select to upload the image from URL or File.
The Alt Text is to be used by screen readers to describe the image to help visually impaired users. select Choose Image.
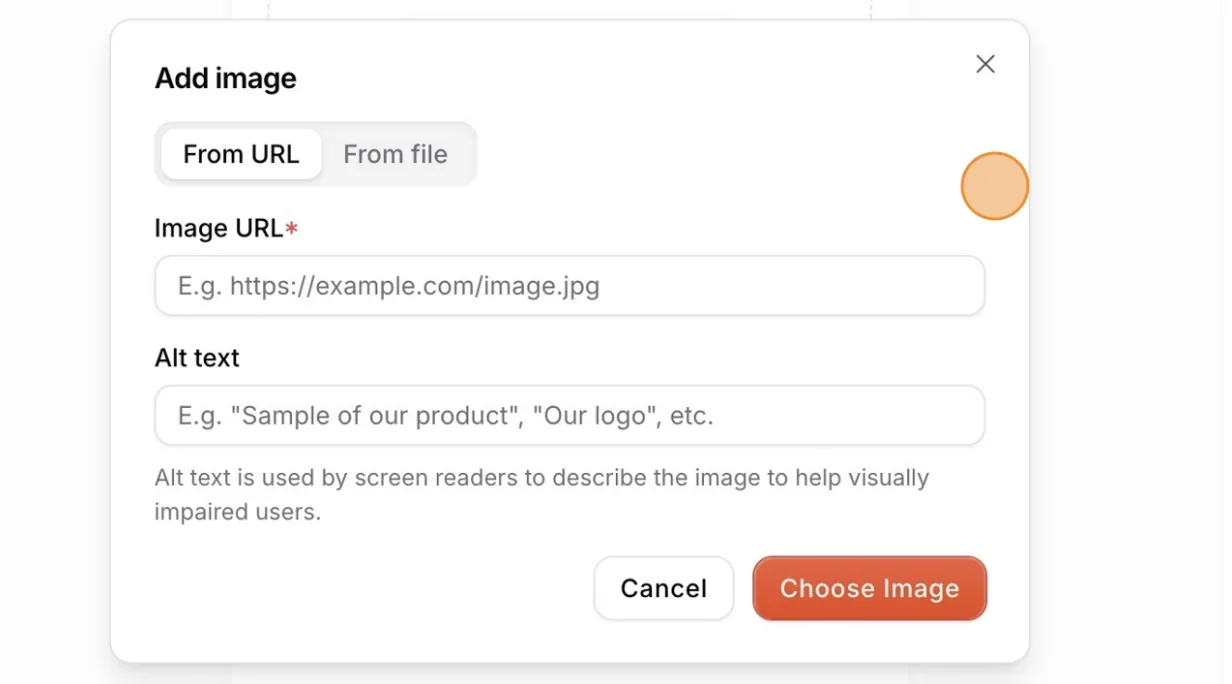
Image specification:
- Any image file can be selected. Click, paste or drag the file into the upload area.
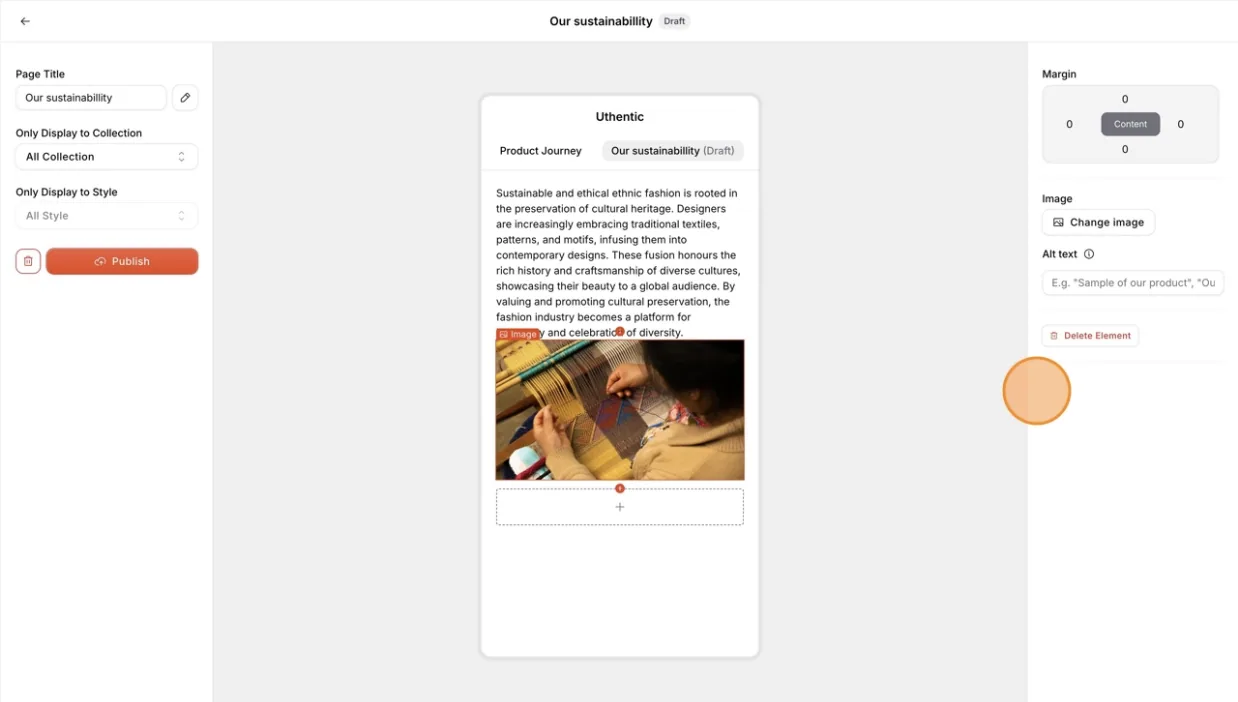
On the right section, you can change the Image, write the Alt Text, or delete the element.
To add a video from YouTube to the…
To add a video from YouTube to the custom page, select + > YouTube Embed on the dropdown options.
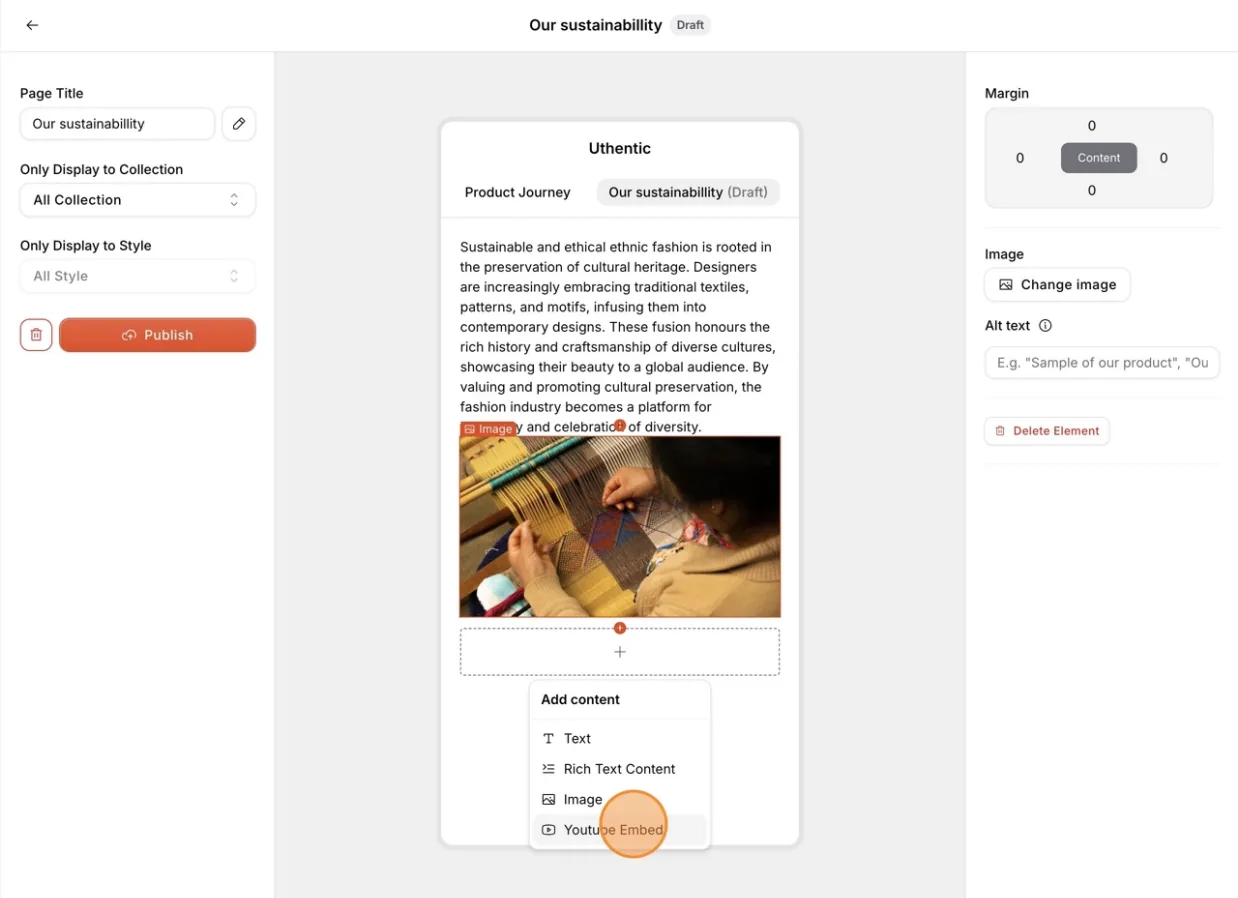
Enter the YouTube Embed and select Add Video.
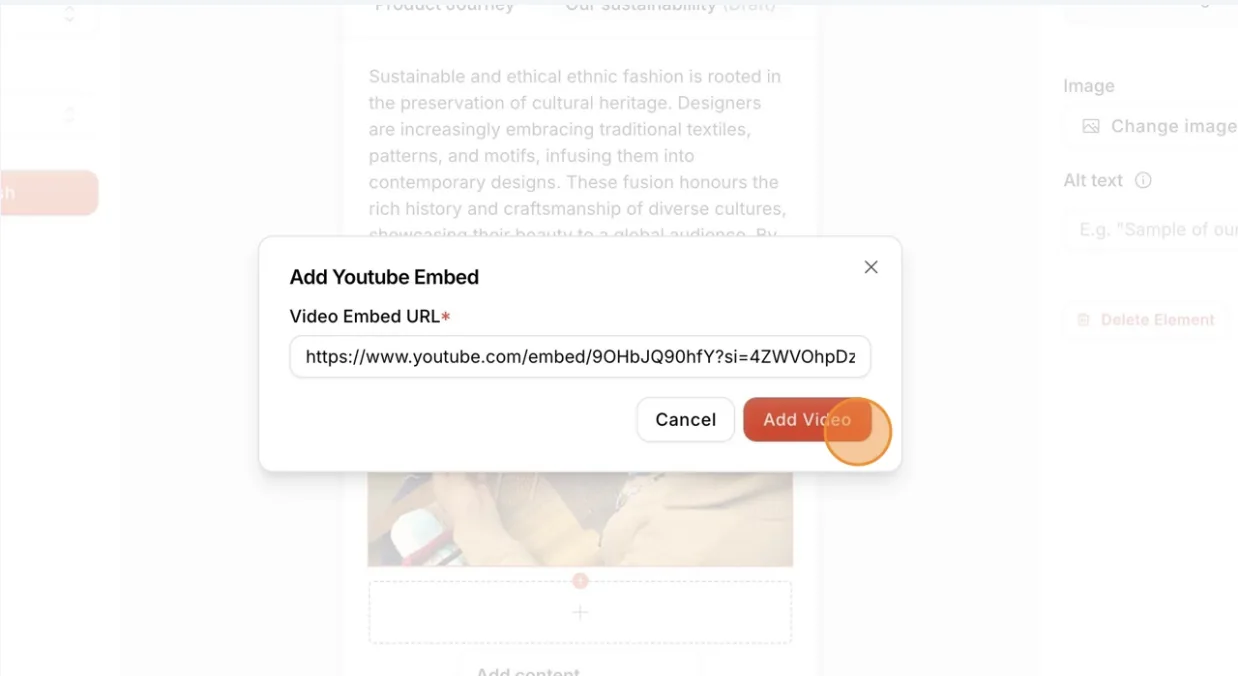
On the right section, you can change the YouTube embed video or delete the element.
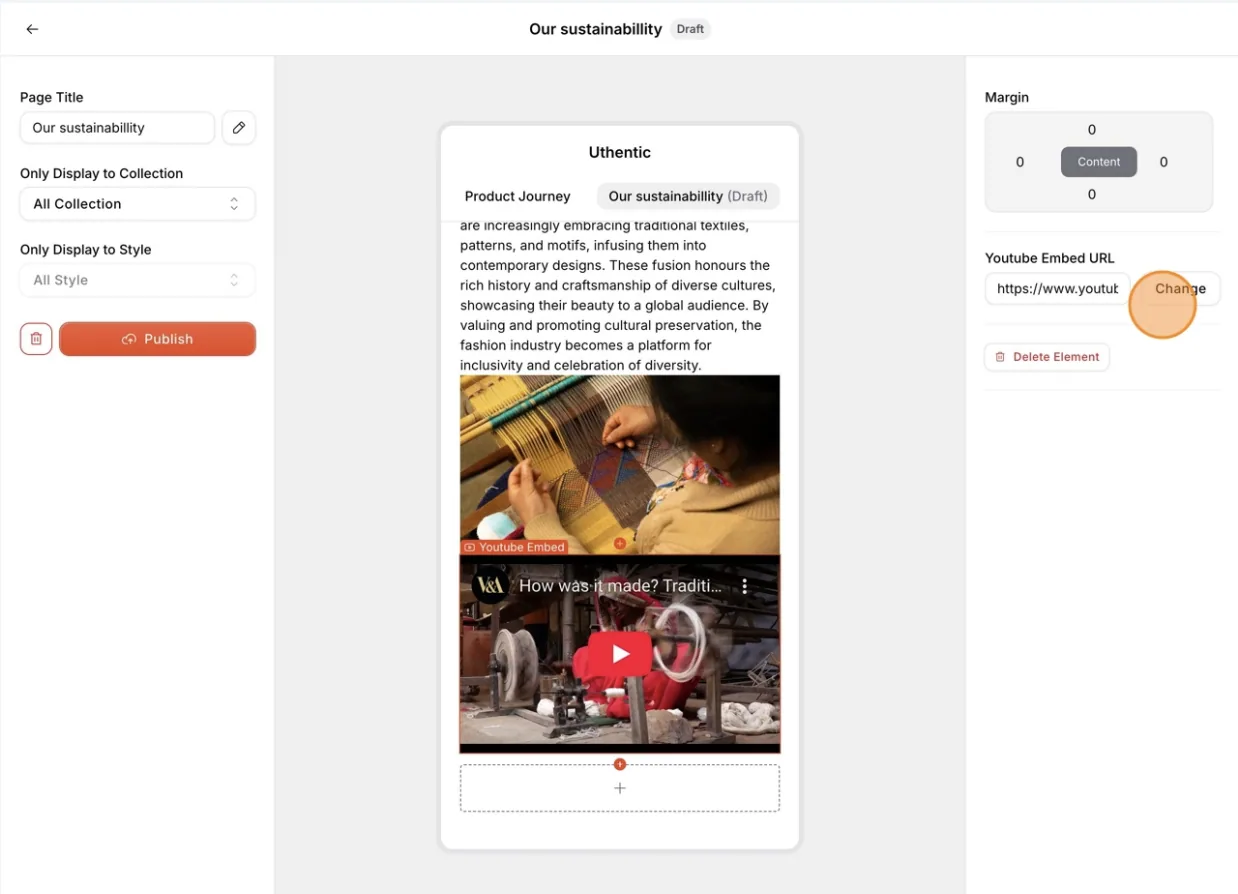
Text, image and video changes are saved as a draft automatically. The page title and the collection and style selections show a confirmation message, for example Title saved or Data has been saved successfully.
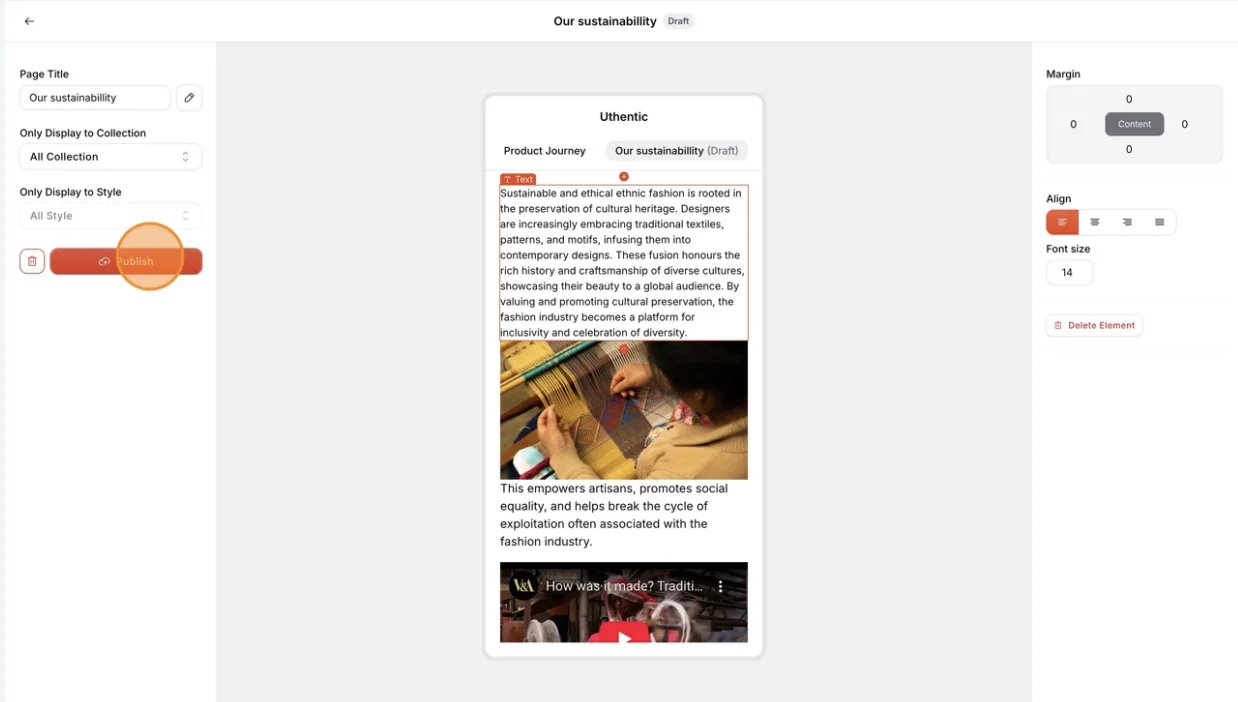
Users can publish the content from the custom page to be displayed in the Digital ID.
Select Publish on the left side of the page. Users can unpublish the content by selecting Unpublish.
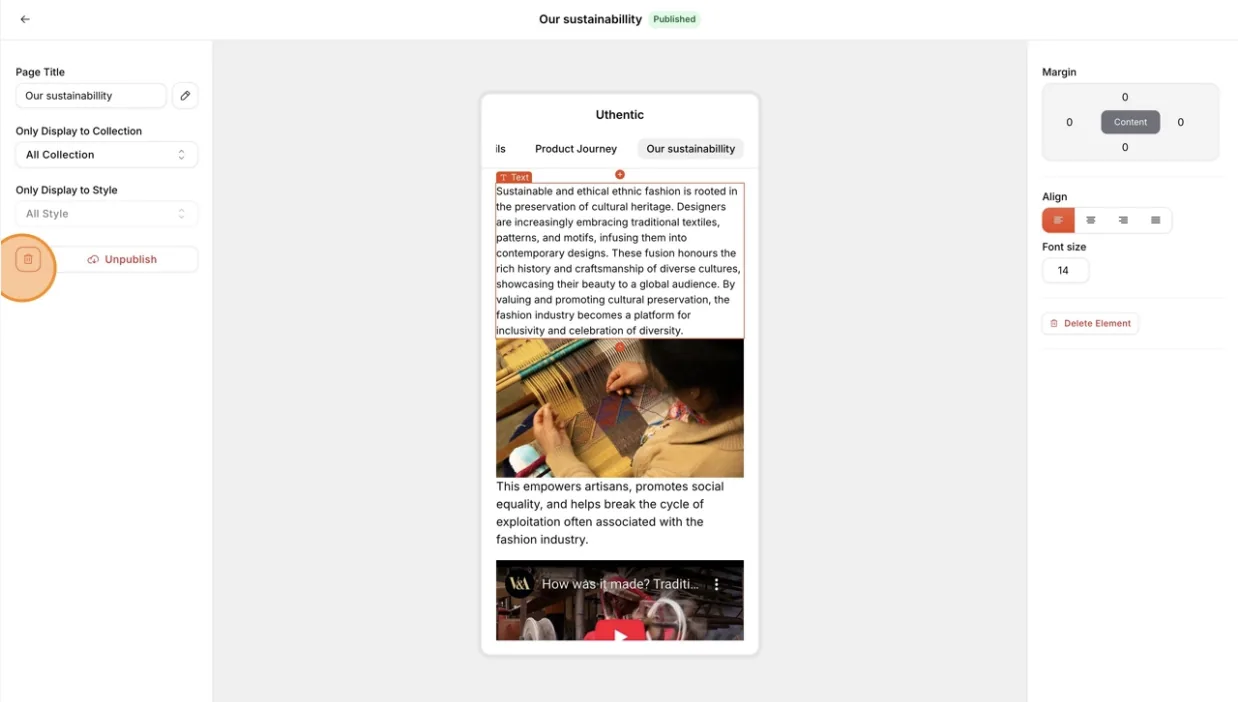
Select the trash icon to remove the selected custom page from Vestis Labs.
Publish, revert and delete
- Publish: Click Publish and confirm in the Publish Changes window. The page shows Published next to its title and customers see it straight away.
- Draft changes: Once a page is published, later edits are kept as a draft. A Draft Changes Detected card appears with Publish Changes and Revert. Revert goes back to the published version.
- Delete an element: Select the element, then click Delete Element and confirm.
- Delete the page: Click the trash icon and confirm in the Delete Page window. This cannot be undone.
- Back to the list: Click the arrow at the top left of the editor.
Note
A page shown to All Collection and All Style appears for every style. Choosing a collection first unlocks Only Display to Style.