Create supplier
This guide explains how to create supplier companies in Vestis Labs and manage supplier user access for all manufacturing partners you collaborate with.
Under review. This page is published while we check it against the live app, so some details may have changed.
Screenshots may be out of date.
ManagementSupplierNew
Permission: CREATE_SUPPLIER, VIEW_SUPPLIER
Introduction & best practice
To collaborate efficiently with your suppliers in Vestis Labs, you first need to set up their supplier company profiles. We recommend beginning by creating the supplier company. This allows you to organise your product data, prepare your styles, and ensure all relevant information is ready before granting access.
Create supplier
Open Supplier
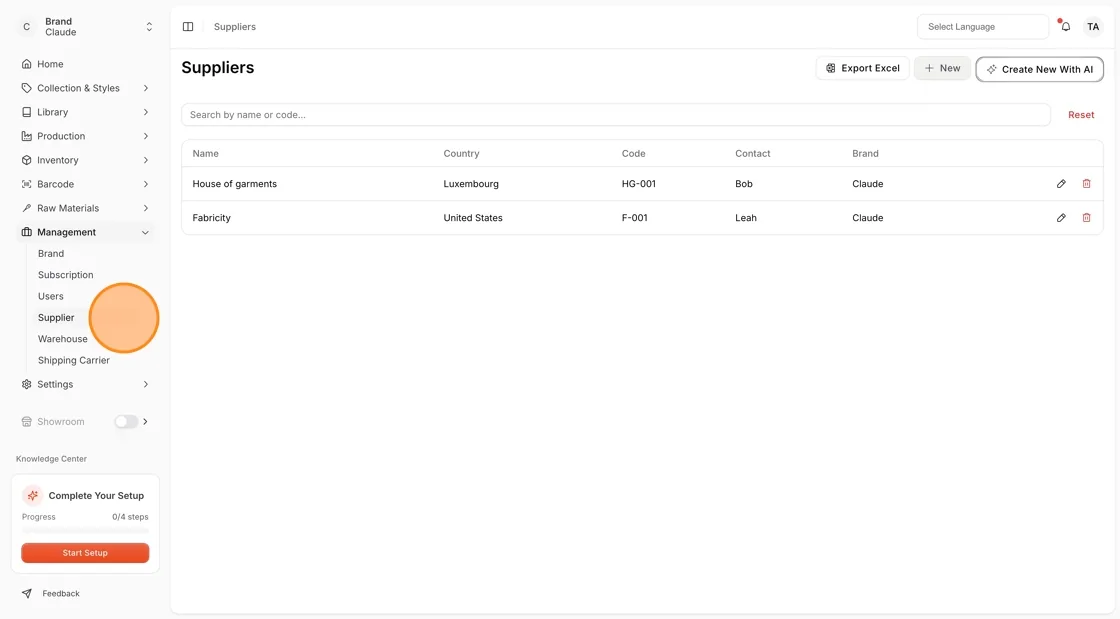
Navigate to Management → Supplier from the left sidebar to open the Supplier Page.
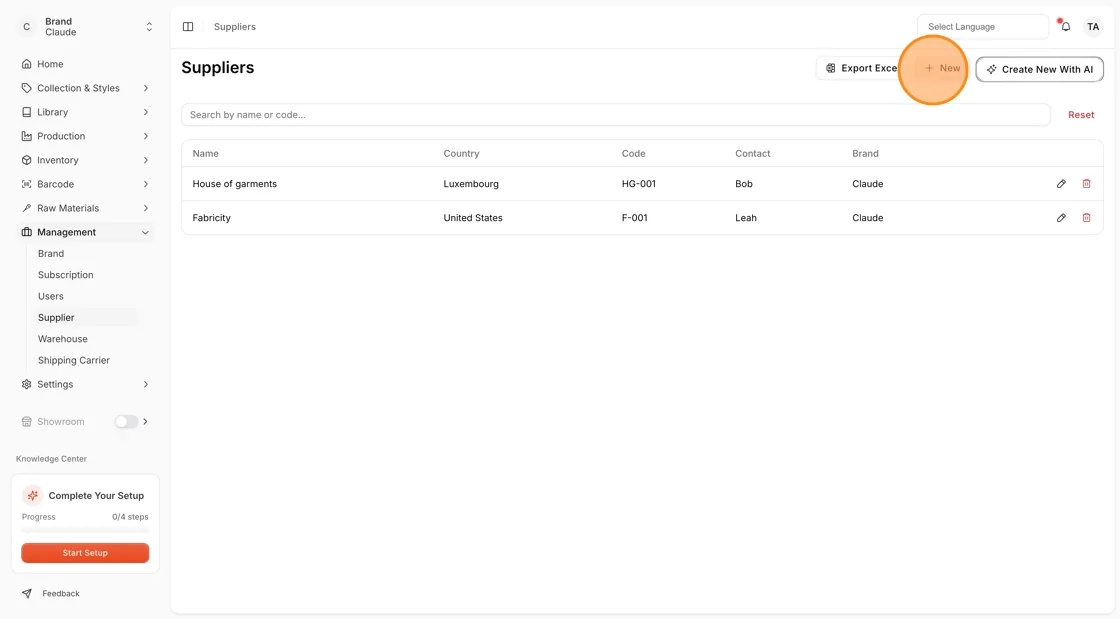
Click "New"
Click New in the upper-right corner. The Create Supplier window opens with the tabs Details, Contact, Certificates, Media and Operational.
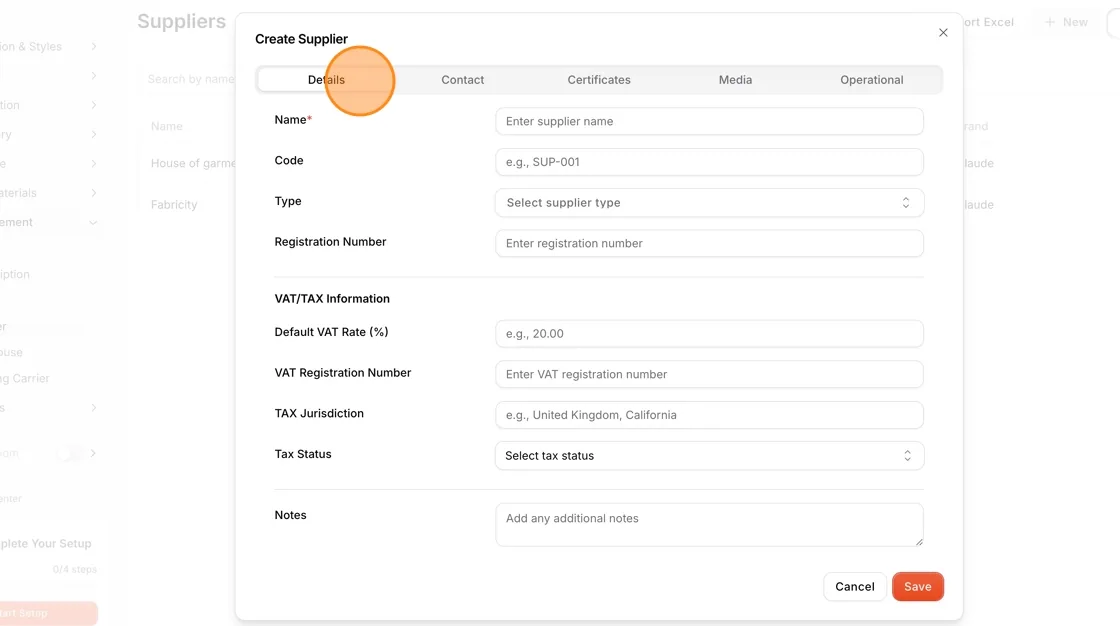
Fill in the Details tab
Only Name is required.
- Name: type the supplier's name.
- Company Legal Name: type the registered name.
- Code: type the supplier's code. This could be the internal identifier for the supplier or the official identification code.
- Type: select the type of supplier, for example fabric supplier, factory or yarn supplier. You can also add a new type.
- Registration Number: type the supplier's registration number.
- Default VAT Rate (%), VAT Registration Number, TAX Jurisdiction and Tax Status: the VAT and tax information.
- Notes: type additional information about the supplier.
Add contact information
Open the Contact tab.
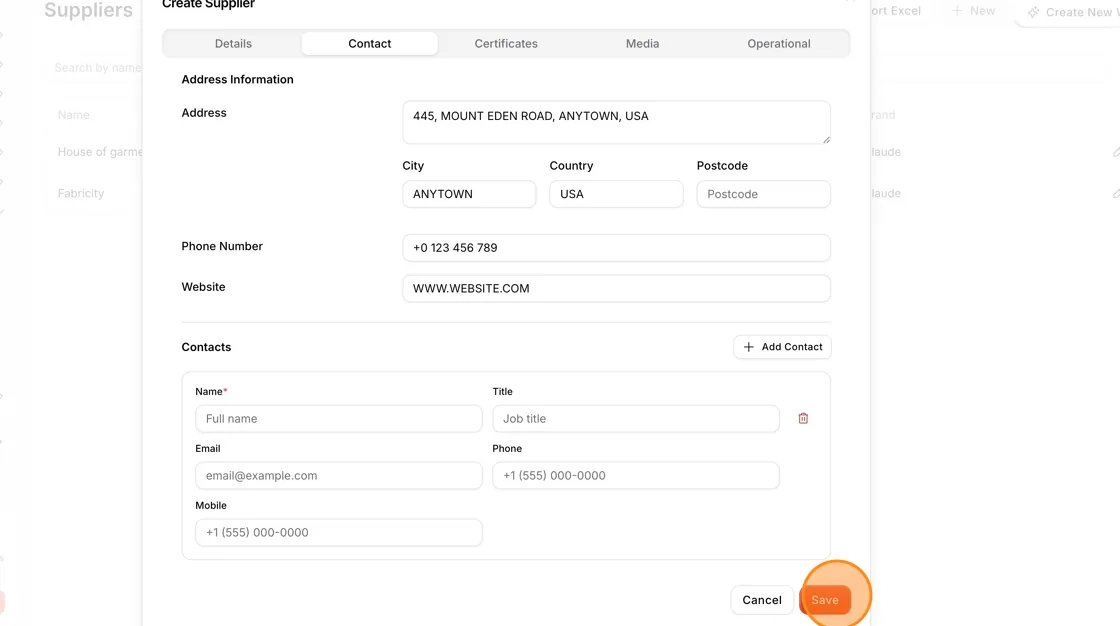
- Address, City, Country and Postcode: type the supplier's address.
- Phone Number and Website: type the supplier's phone number and website.
Note
Fill in both City and Country to preview the supplier's location on the map. Without both, a warning tells you the supplier will not appear on the global map.
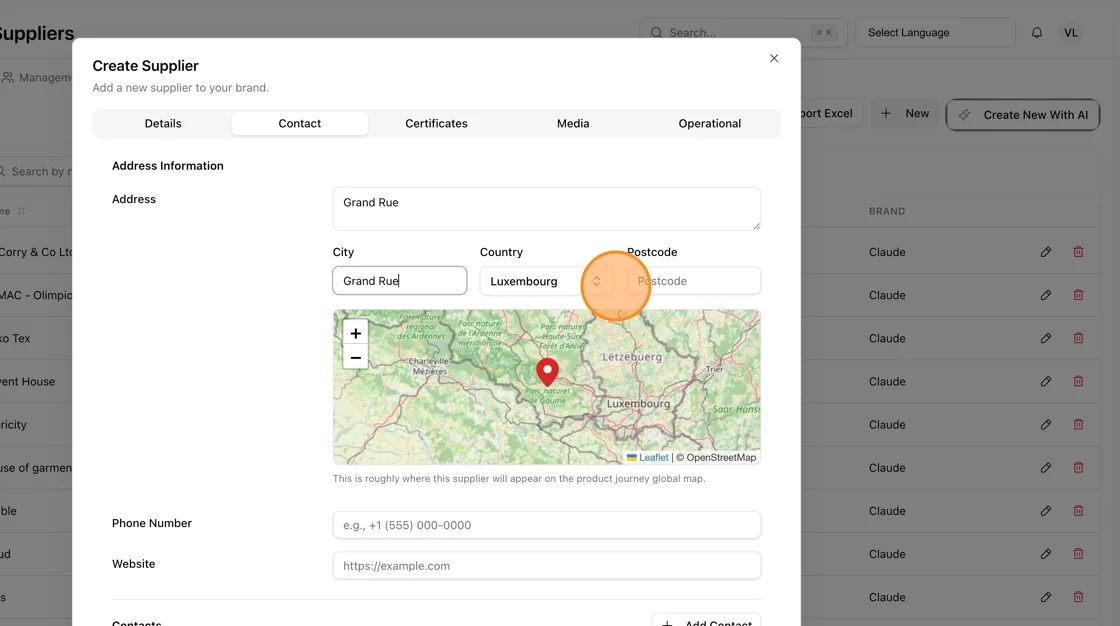
Once City and Country are filled in, a live map preview displays a pin at the approximate location. This is roughly where the supplier will appear on the product journey global map. If the location is not recognised, the supplier is still saved but does not appear on the map.
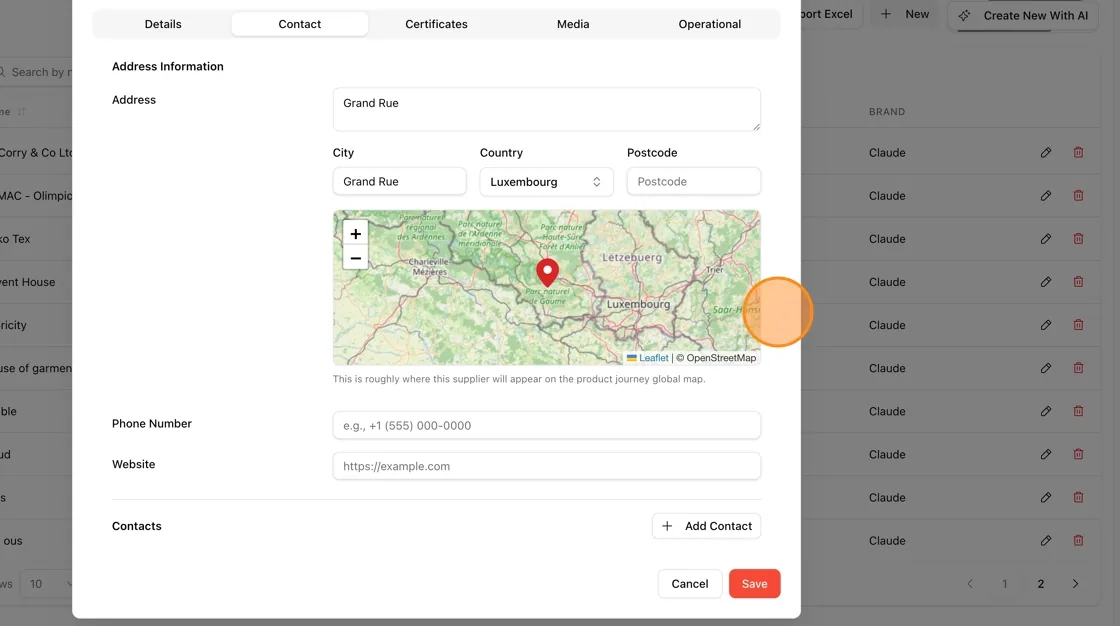
To add multiple contacts to the supplier, scroll to the Contacts section and click Add Contact.
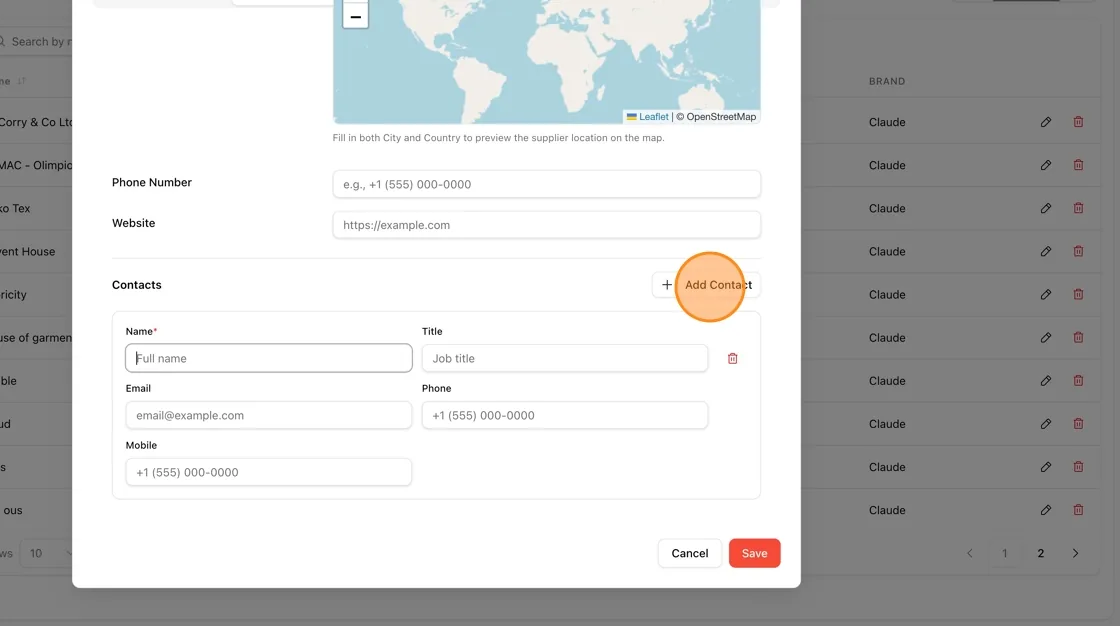
A contact card appears with these fields: Name (required), Title, Email, Phone and Mobile. Click the trash icon to remove a contact.
Link certificates
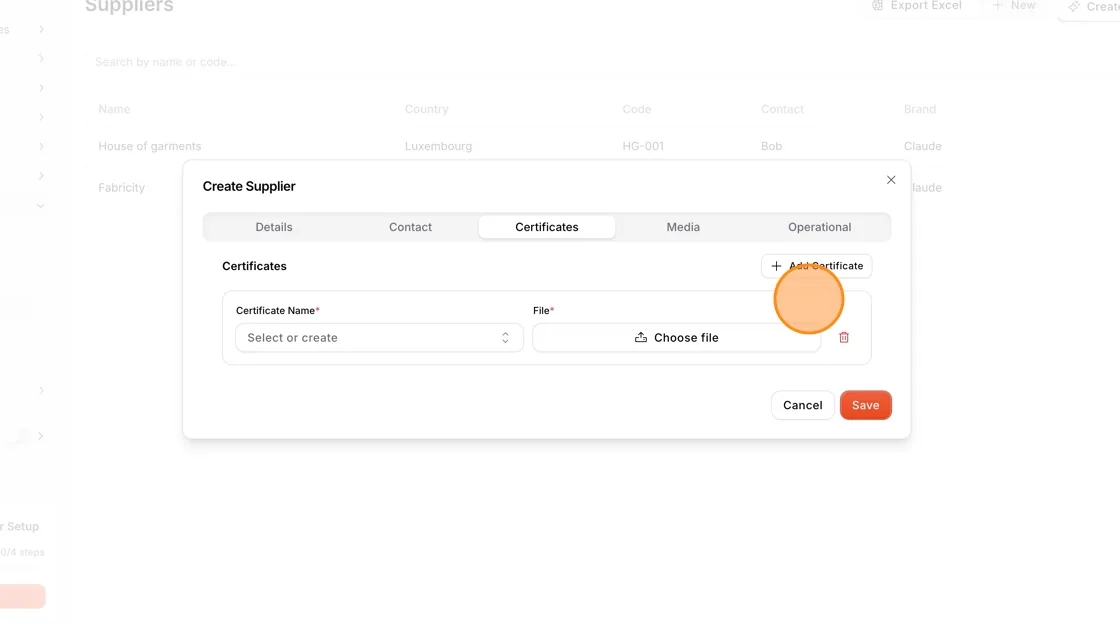
Open the Certificates tab. A new supplier must be saved first. Until then the tab says Save first to manage certificates. After saving, open the supplier again and click Link Existing to link a certificate you already have, or Create New to add one.
Note
If you subscribe to the plan with the Certificate Management module, you can manage all certificates in the module and just link them here. The certificates are shown on the Digital ID for transparency if you subscribe to the Digital ID (DPP) module.
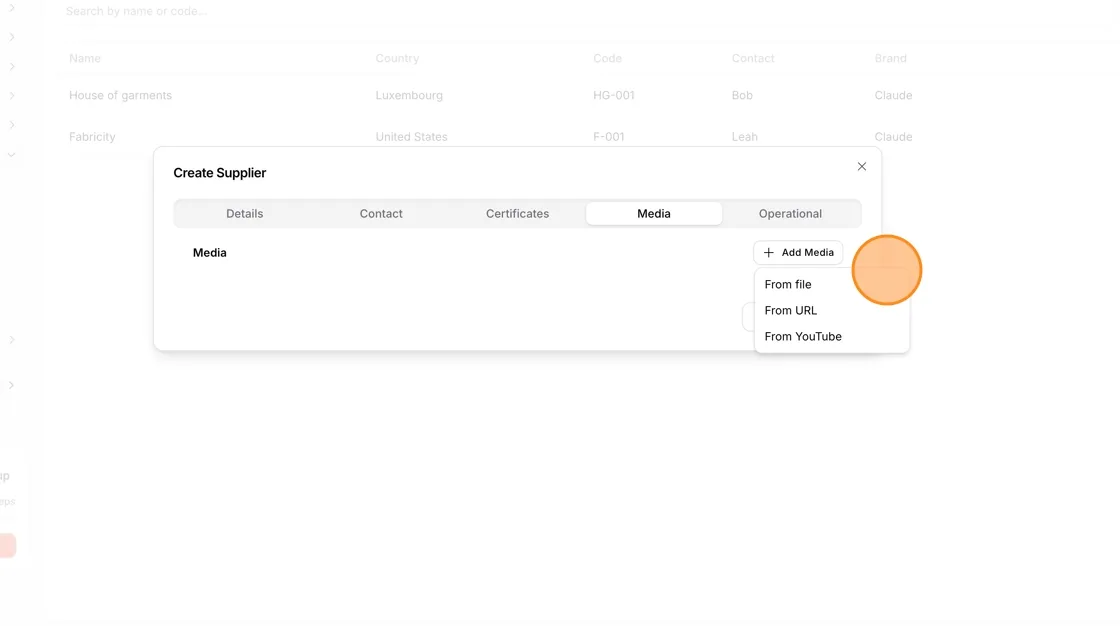
Add media
Open the Media tab and click Add Media. Choose From file, From URL or From YouTube. Enter a Media Title and then the file, the Media URL or the YouTube Embed URL. All of these are required for each media item.
We recommend a URL or YouTube link to save space.
Note
These media assets are shown on the Digital ID for transparency.
Add operational information
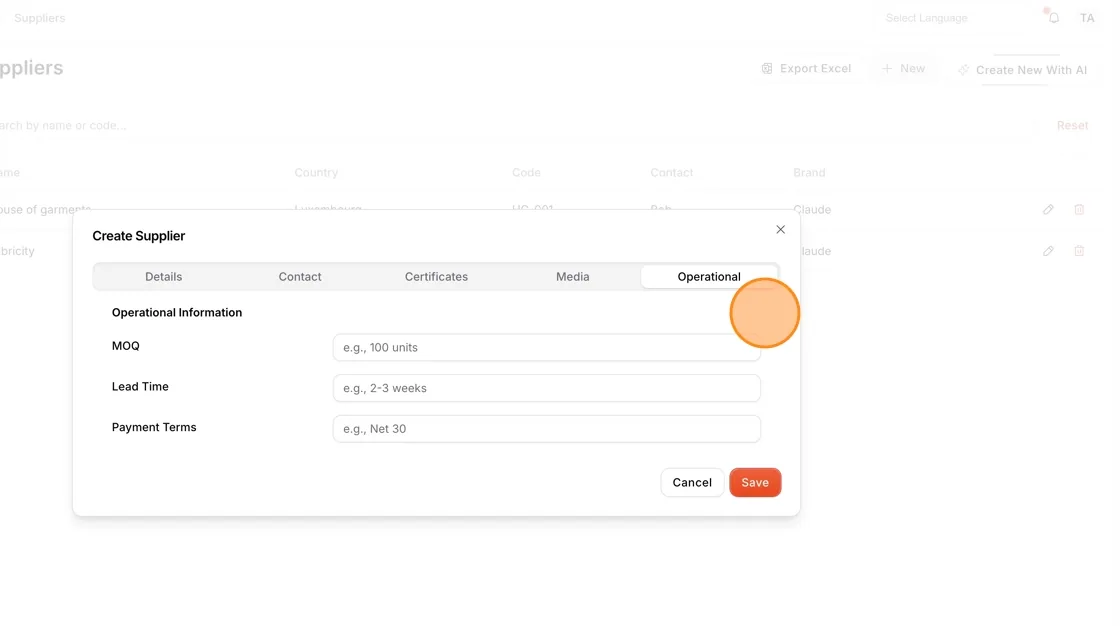
Open the Operational tab to enter the MOQ and its unit, the Lead Time and its unit, and the Payment Terms.
Save the supplier
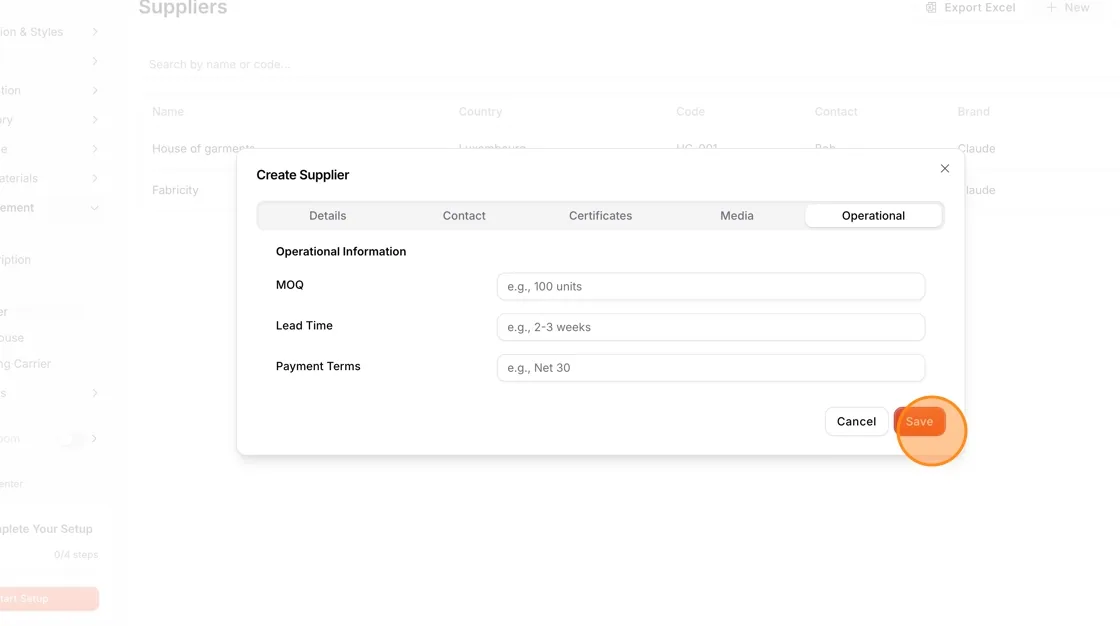
Click Save to finish. Click Cancel to close the window without saving. You see Supplier created successfully.
Note
You can also create a new supplier when creating a style in the Supplier/Factory section, or when creating a material in the library.
Create supplier with AI generator
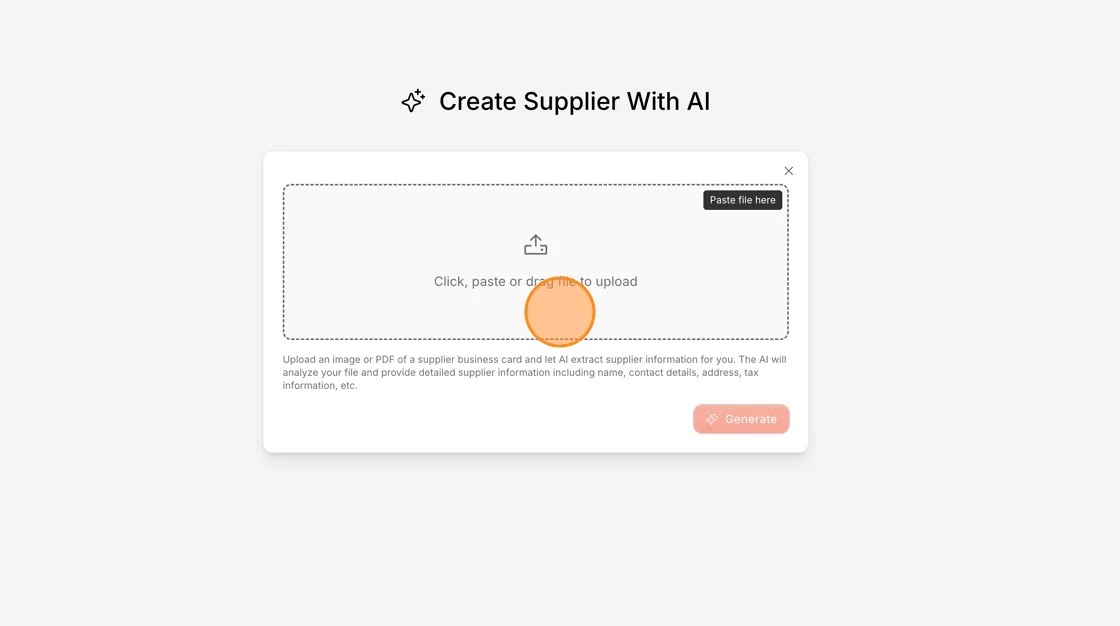
Click "Create New With AI"
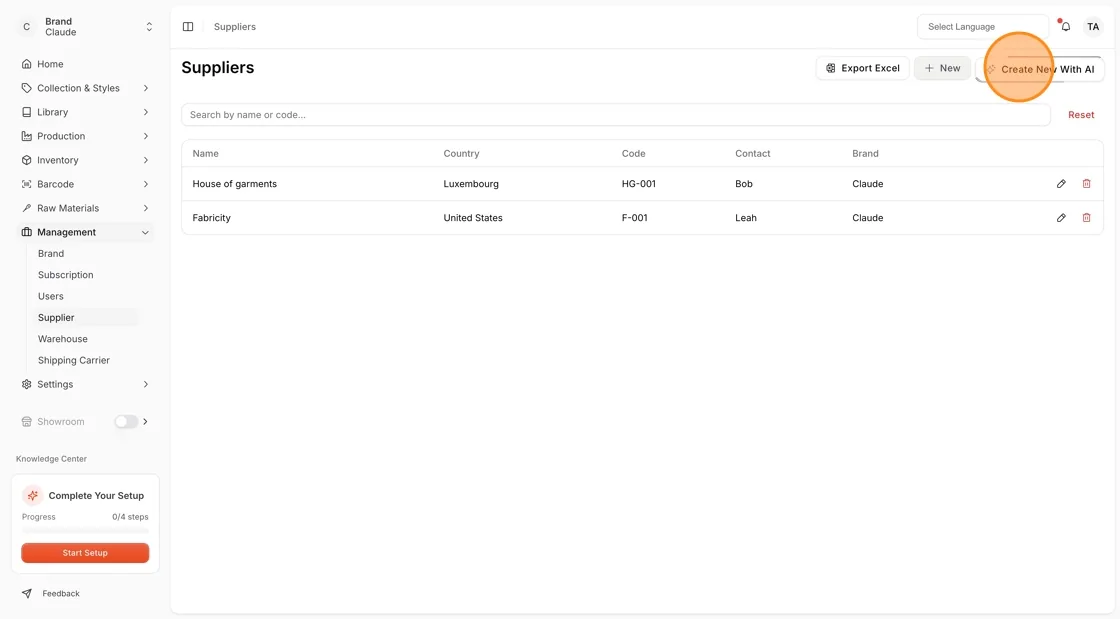
On Management → Supplier, click Create New With AI in the upper-right corner.
Upload a file
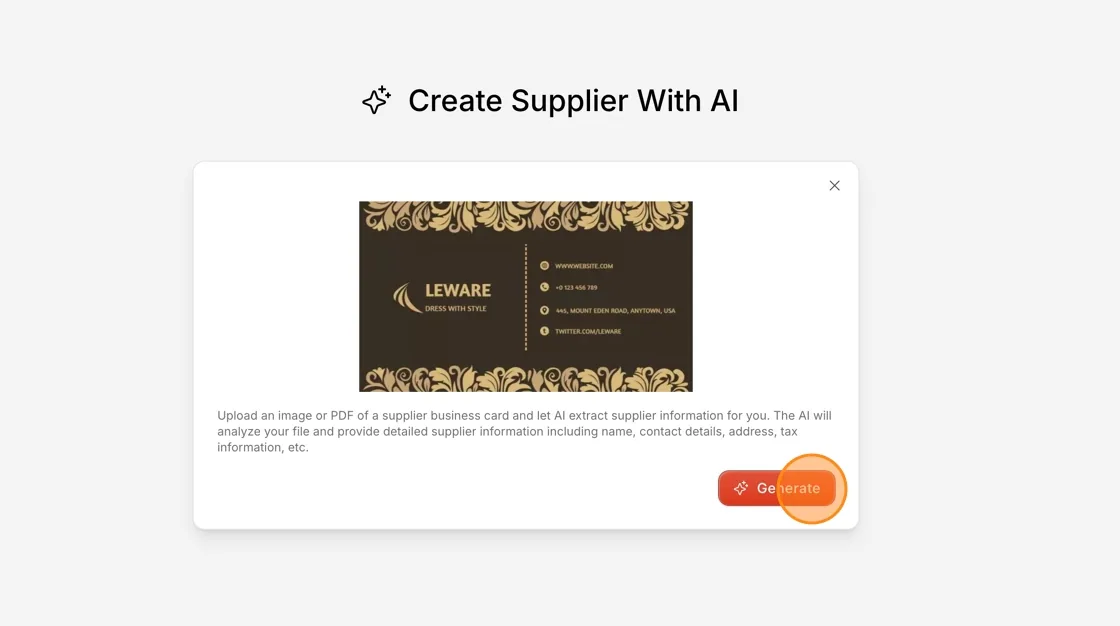
Upload an image or PDF of a supplier business card and let AI extract supplier information for you. The AI analyses your file and provides details including name, contact details, address and tax information.
Click "Generate"
Click Generate to start.
Review and save
The information from the file fills in the Create Supplier window. Check it, then click Save.