
Add a production batch
Create a production batch for a style: name it, set the production date, choose the colours and enter the quantities for each colour and size.
Under review. This page is published while we check it against the live app, so some details may have changed.
Collection & StylesStyles(your style)ProductionBatch Production
Permission: UPDATE_PRODUCT,VIEW_BRAND_PRODUCTION,VIEW_STYLE
Open the Styles page
To access the Production page of a style, select Collection & Styles → Styles from the left sidebar to view the full list of styles.
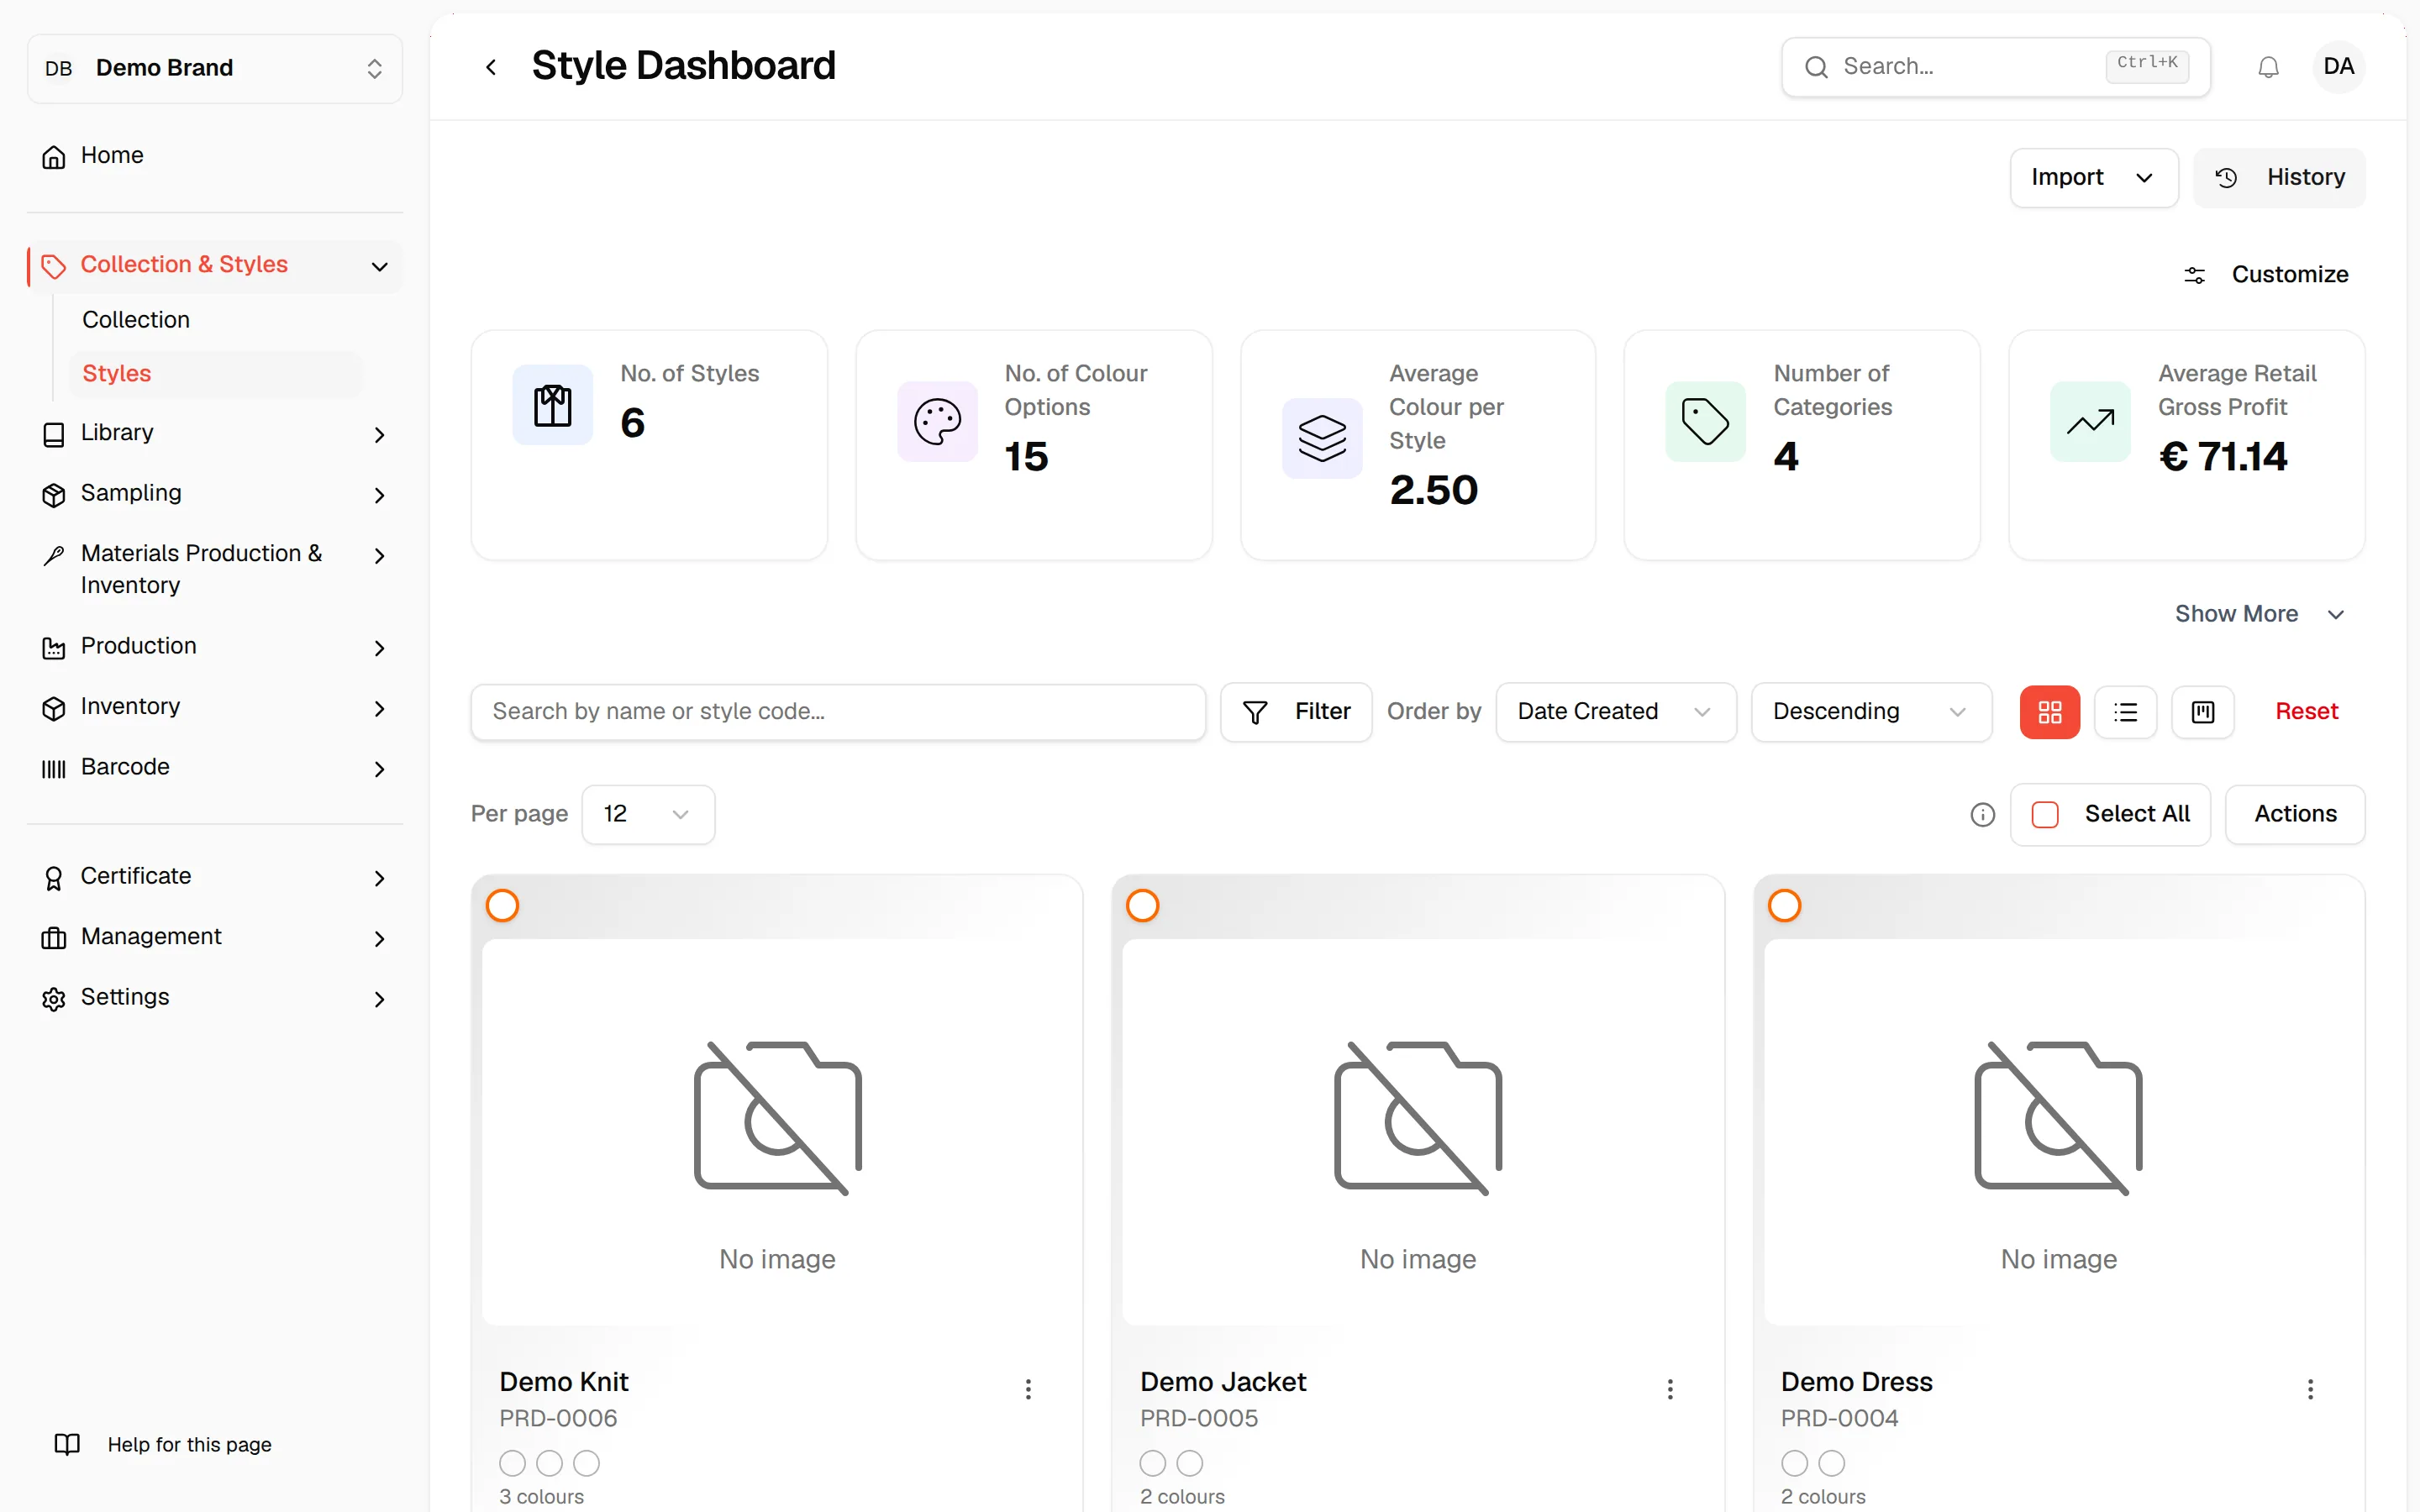
Select the style and go to Production on the style menu.
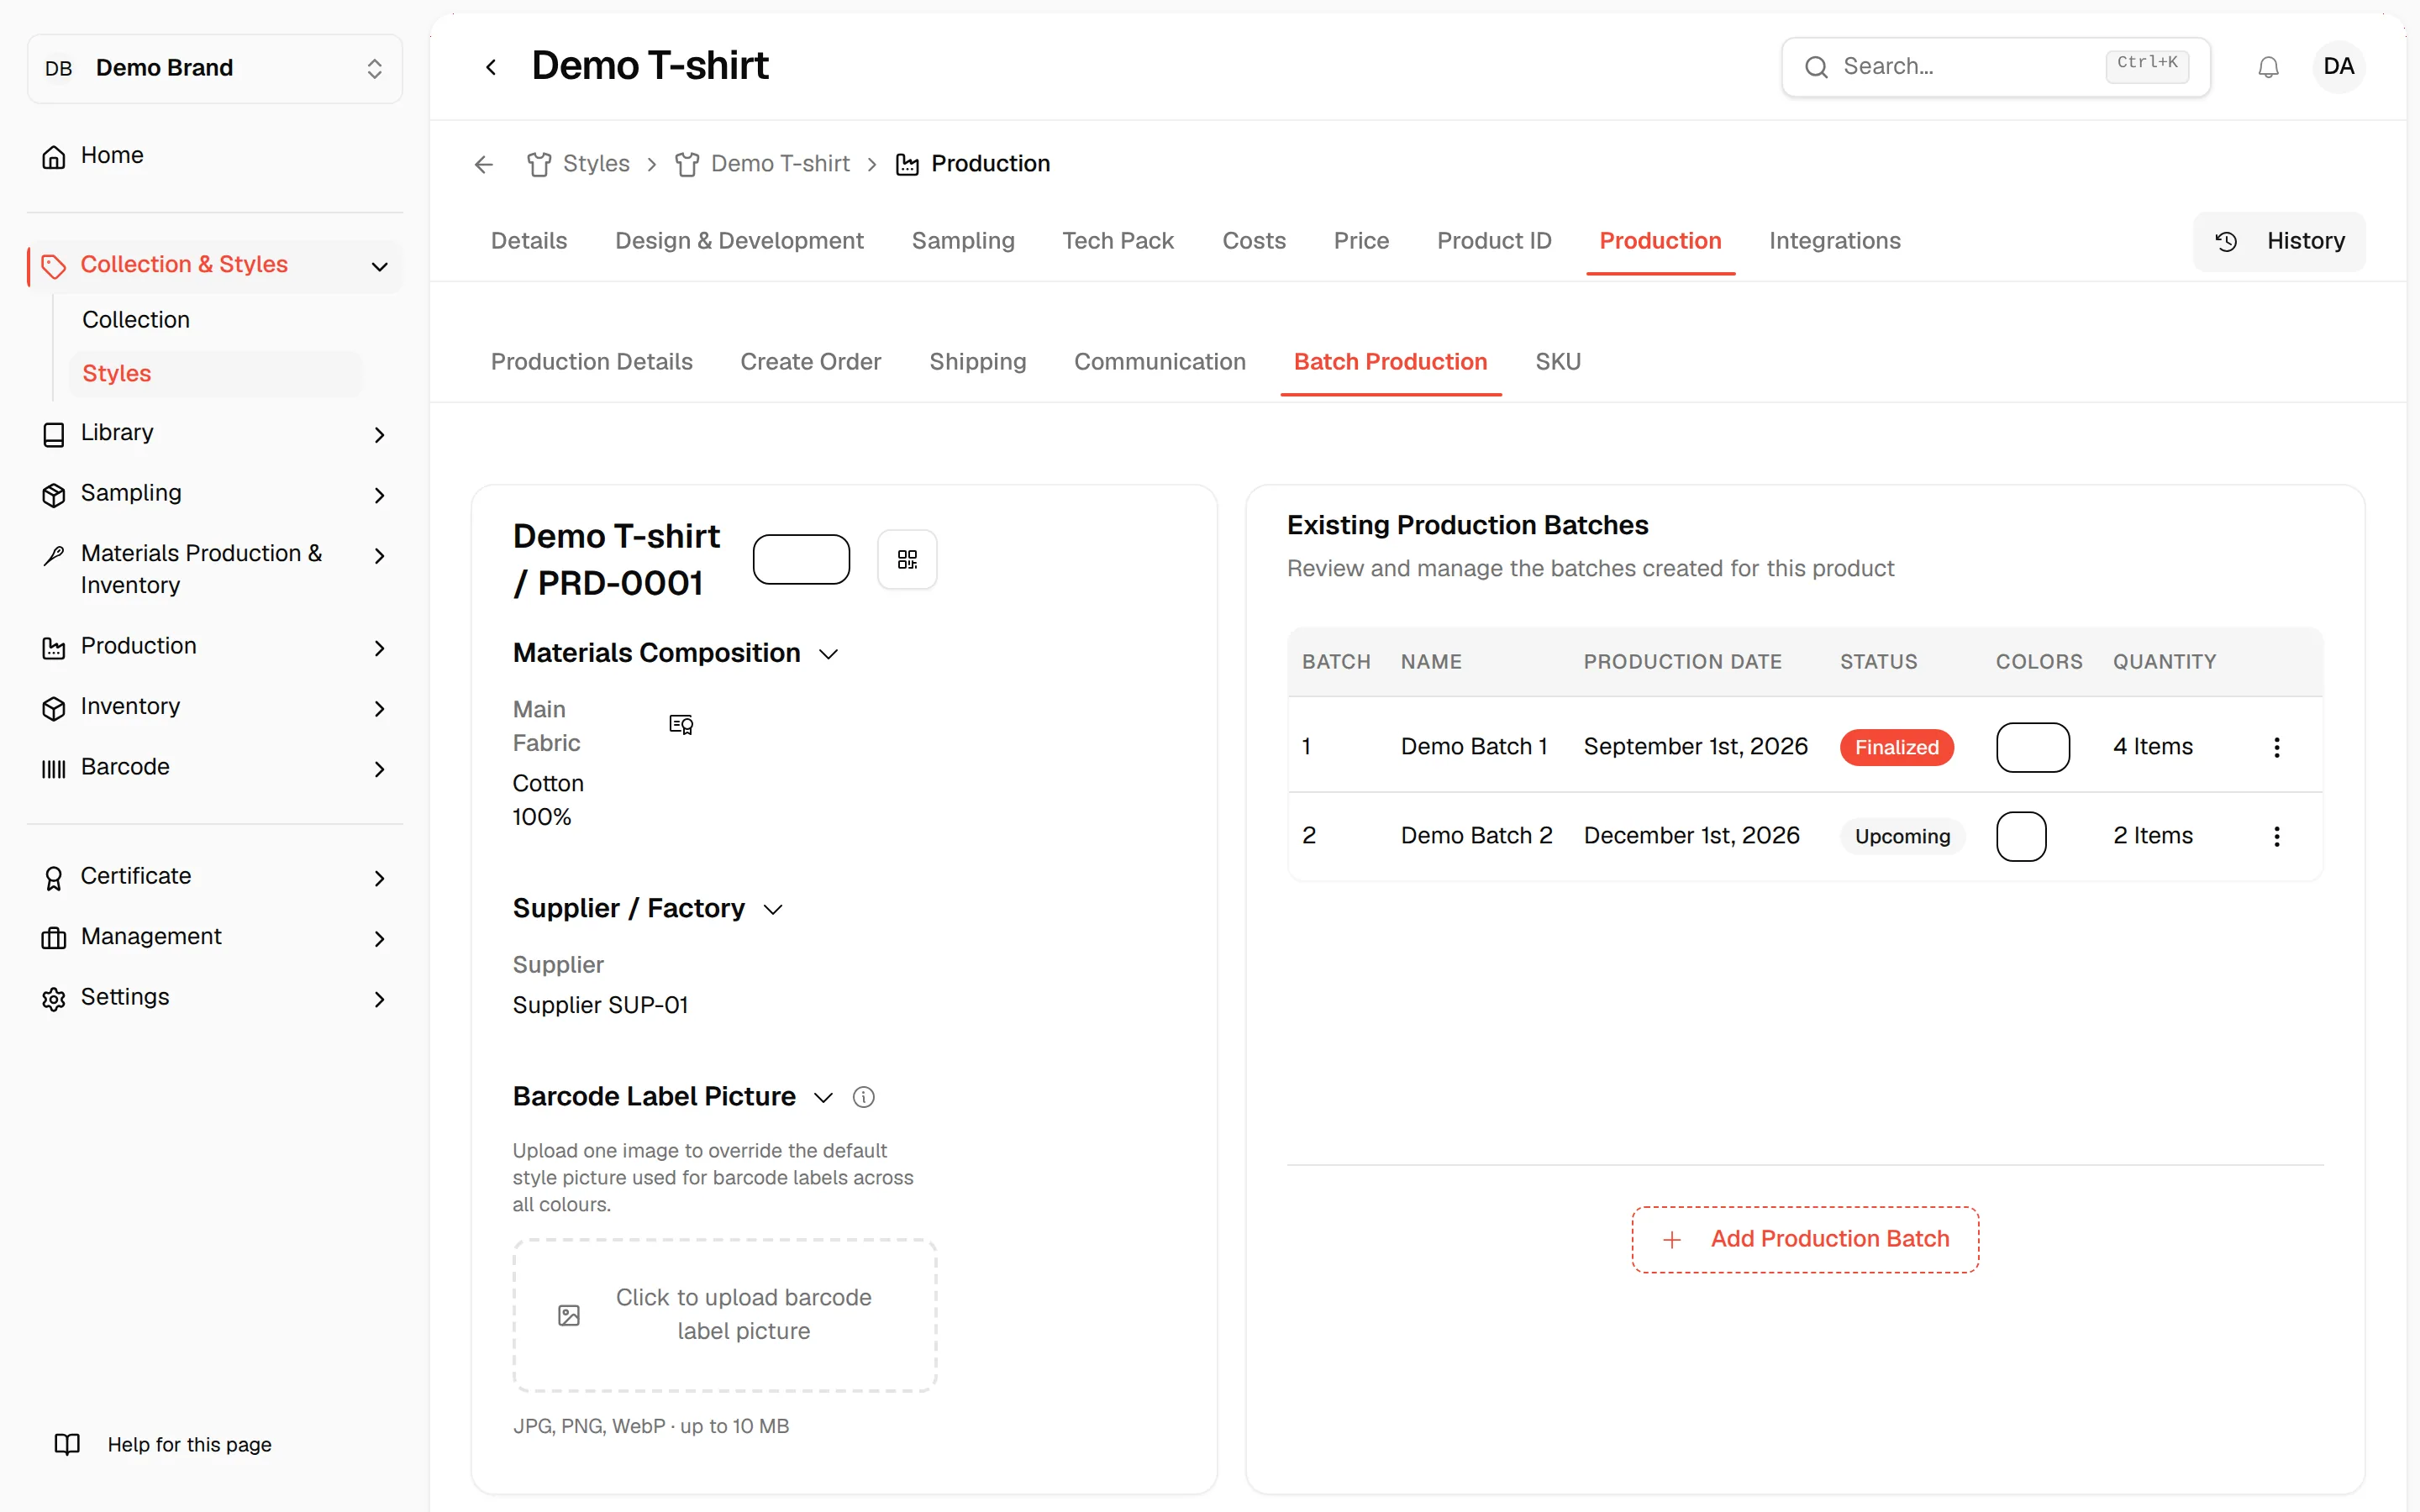
Select Add Production Batch in the Production Batch section on the right side of the page.
In the Create New Production Batch window, fill out all the required fields.
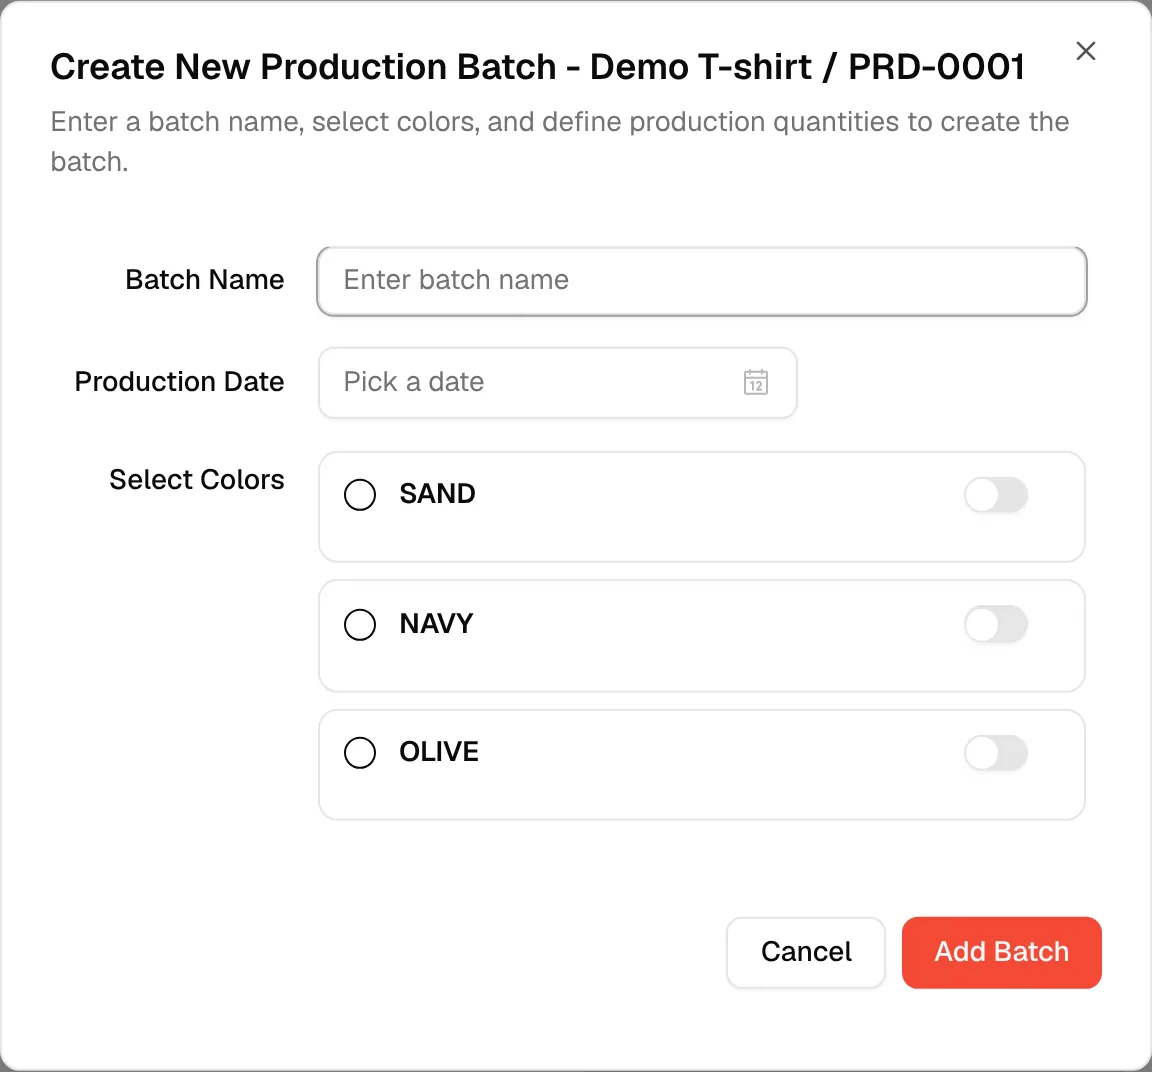
Batch Name: Enter the production batch name. It is required.
Production Date: Click the date field (it shows Pick a date) and choose the date on the calendar. It is required.
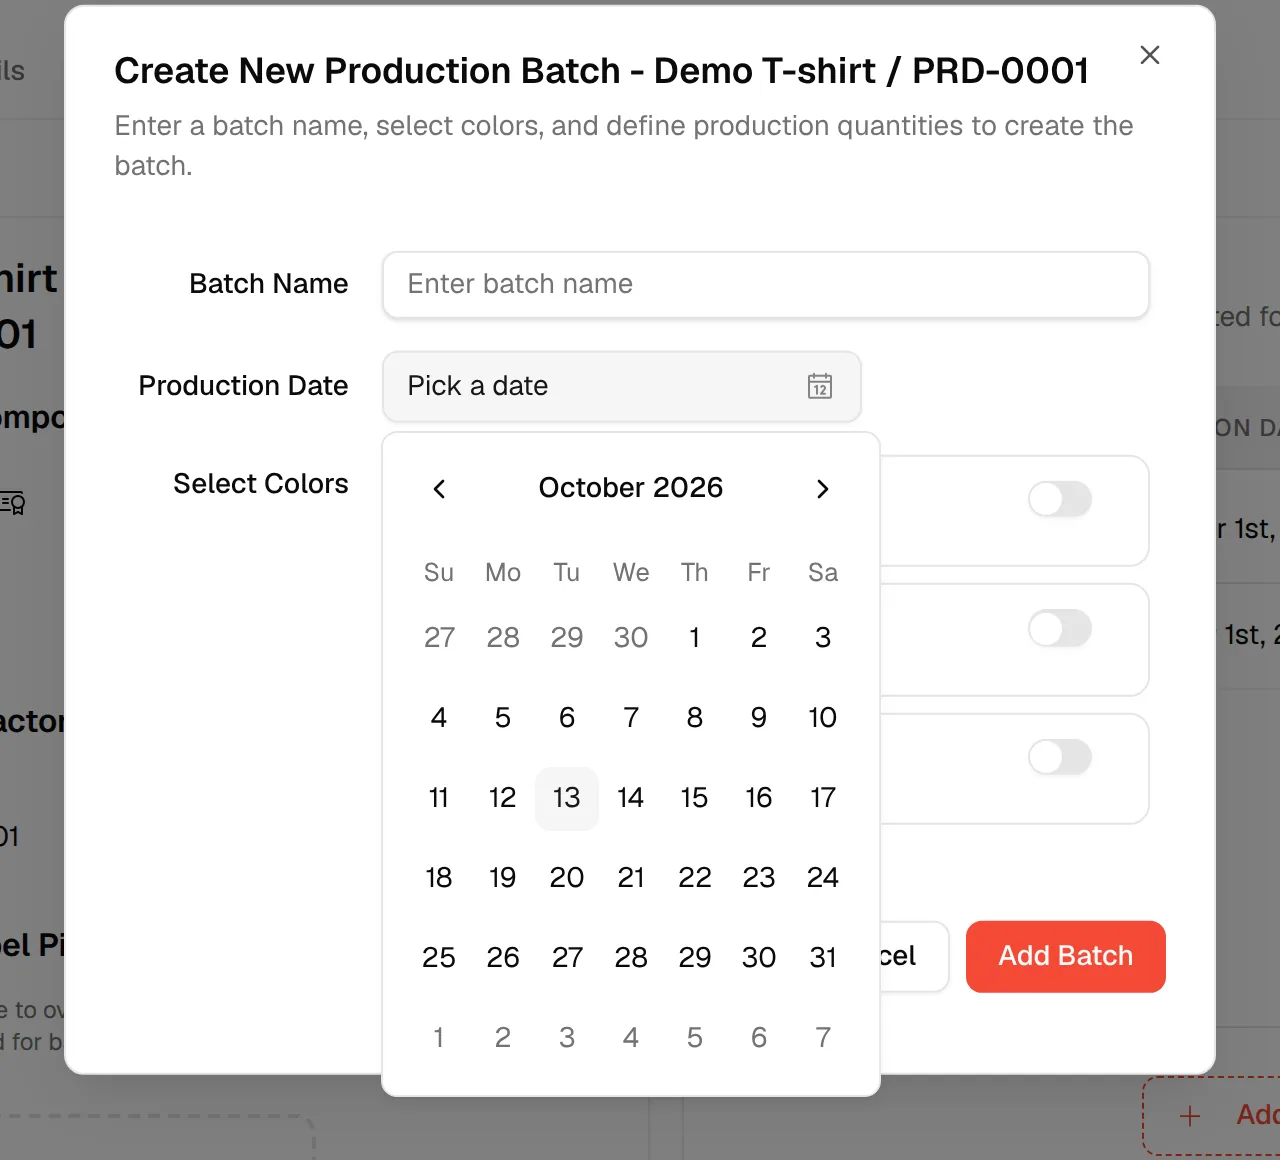
A date in the future makes the batch Upcoming; a date today or in the past makes it Finalized.
Select the colours of the style production batch.
Turn on the switch next to each colour you want in the batch, then enter the Production Quantity. If the style has a size range, enter a quantity for each size. Open Additional Quantity Configuration for Retail to enter the extra quantity for Retail (and for Shopify, when your brand is connected to Shopify). At least one colour must be selected and the total quantity must be above zero.
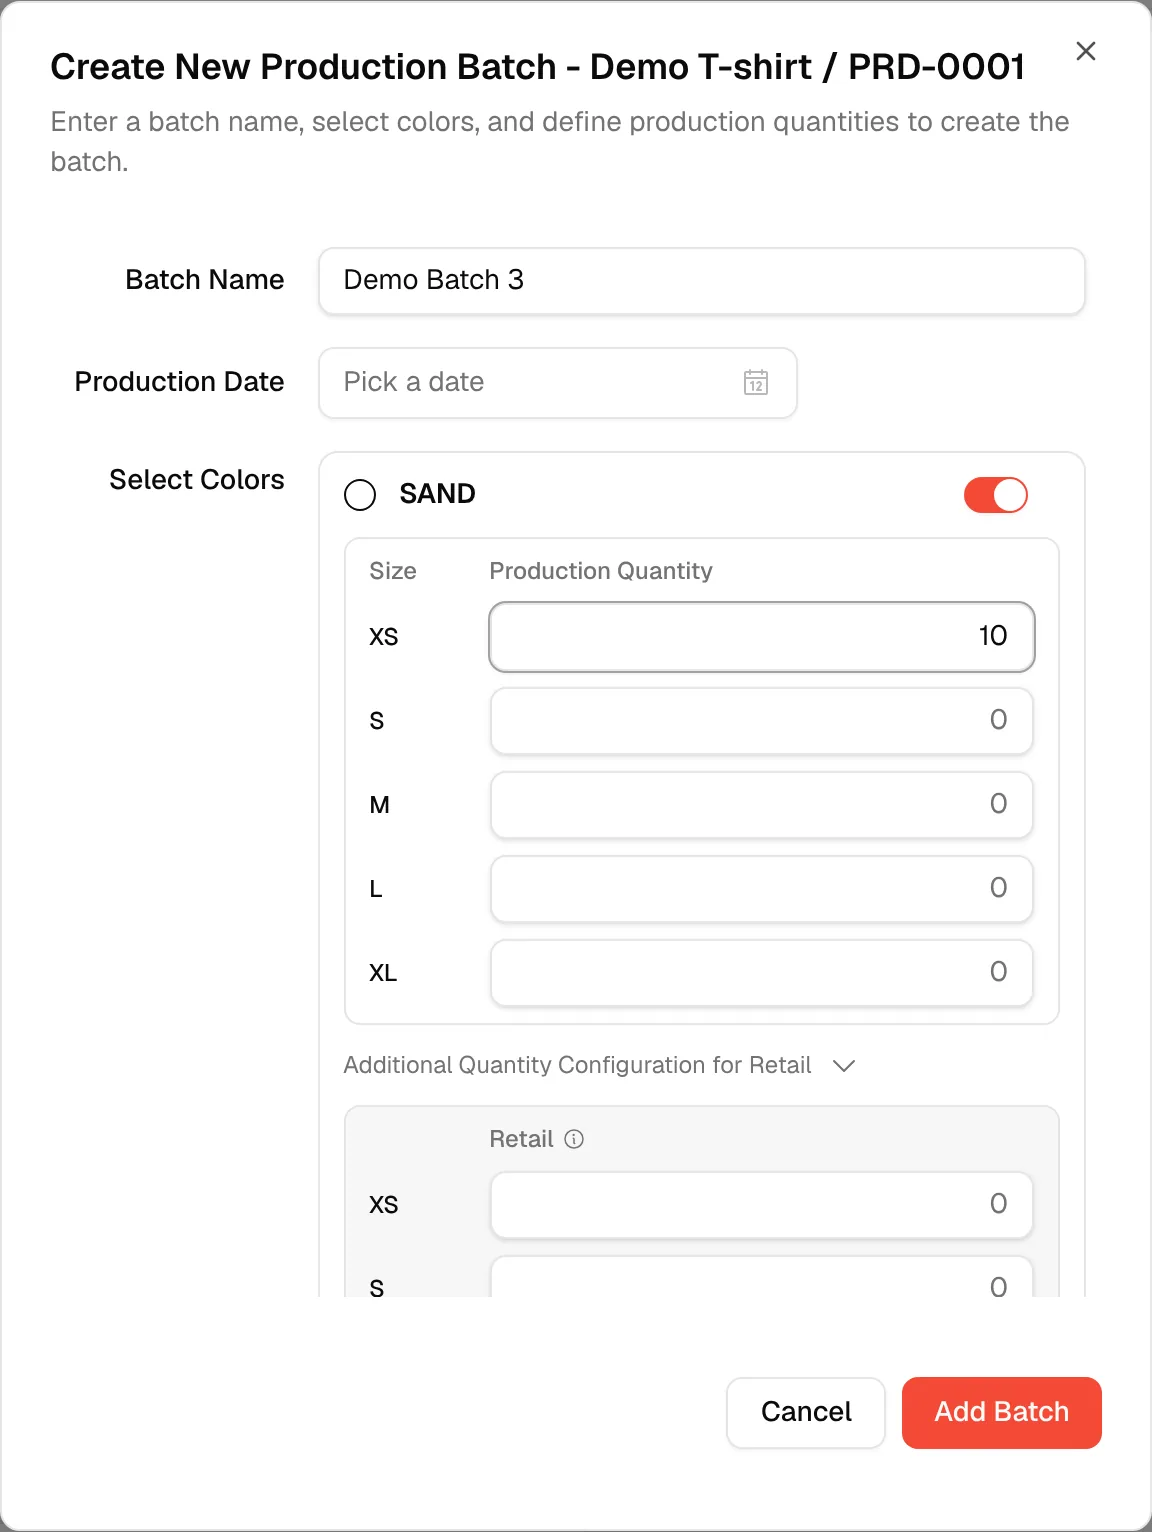
Click "Add Batch"
Click Add Batch at the bottom right of the window to create the batch. The message "Batch has been created" confirms it.
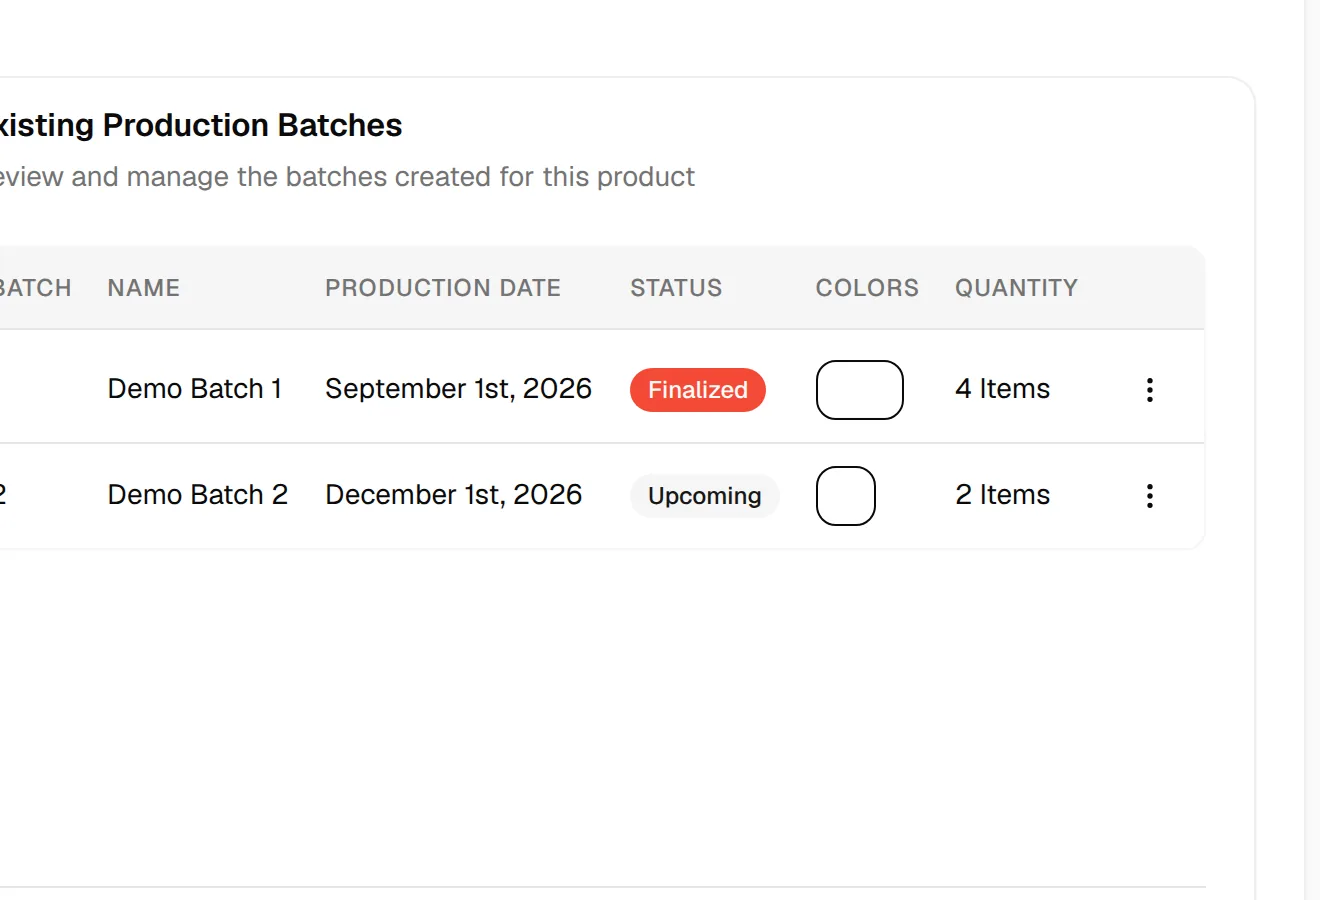
Three dots to select the following action for the selected Production Batch.
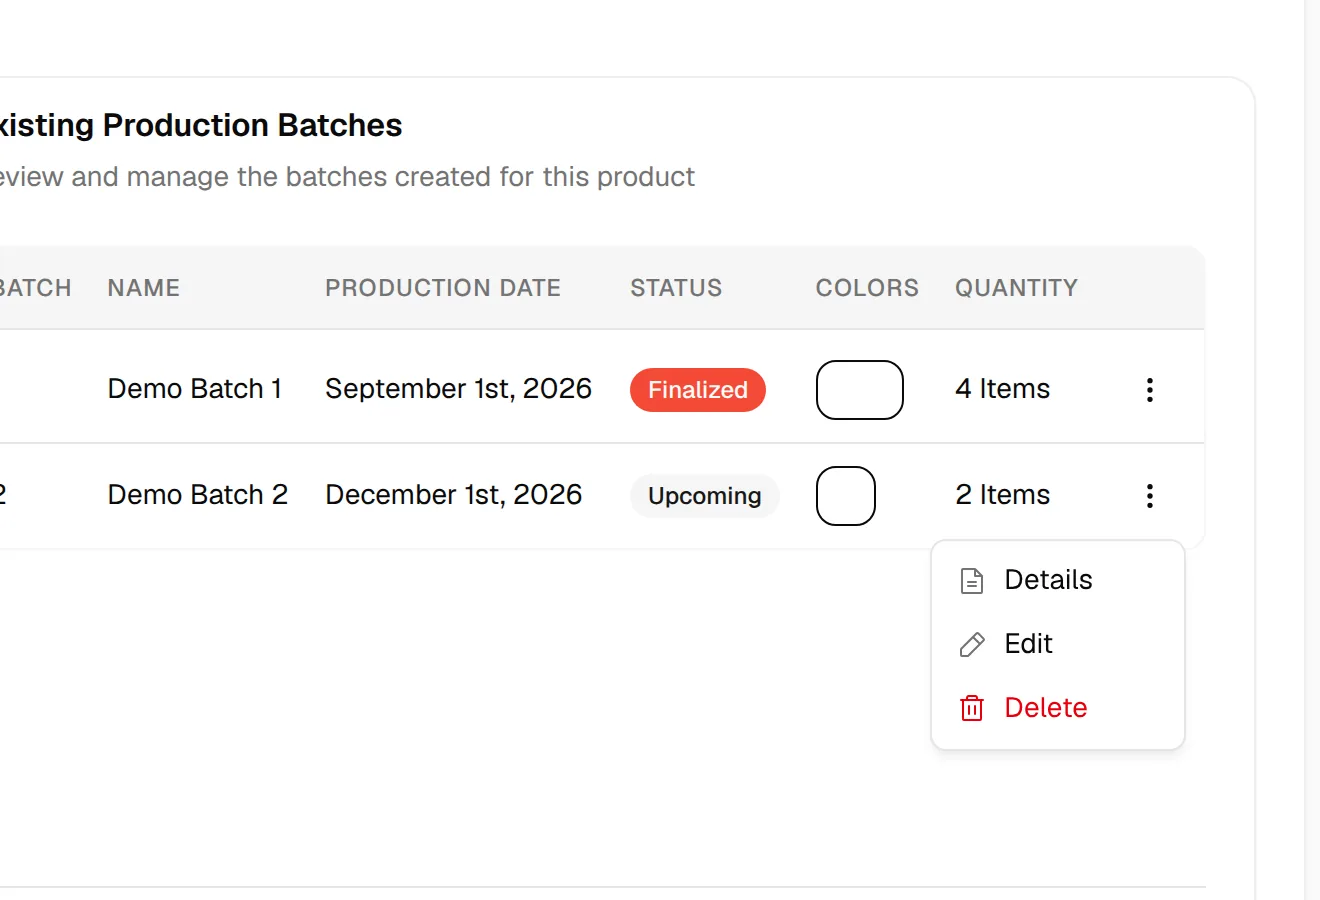
Edit: allows users to edit the batch. The button in the window reads Update Batch.
Delete: removes the batch. Vestis asks you to confirm before it deletes.
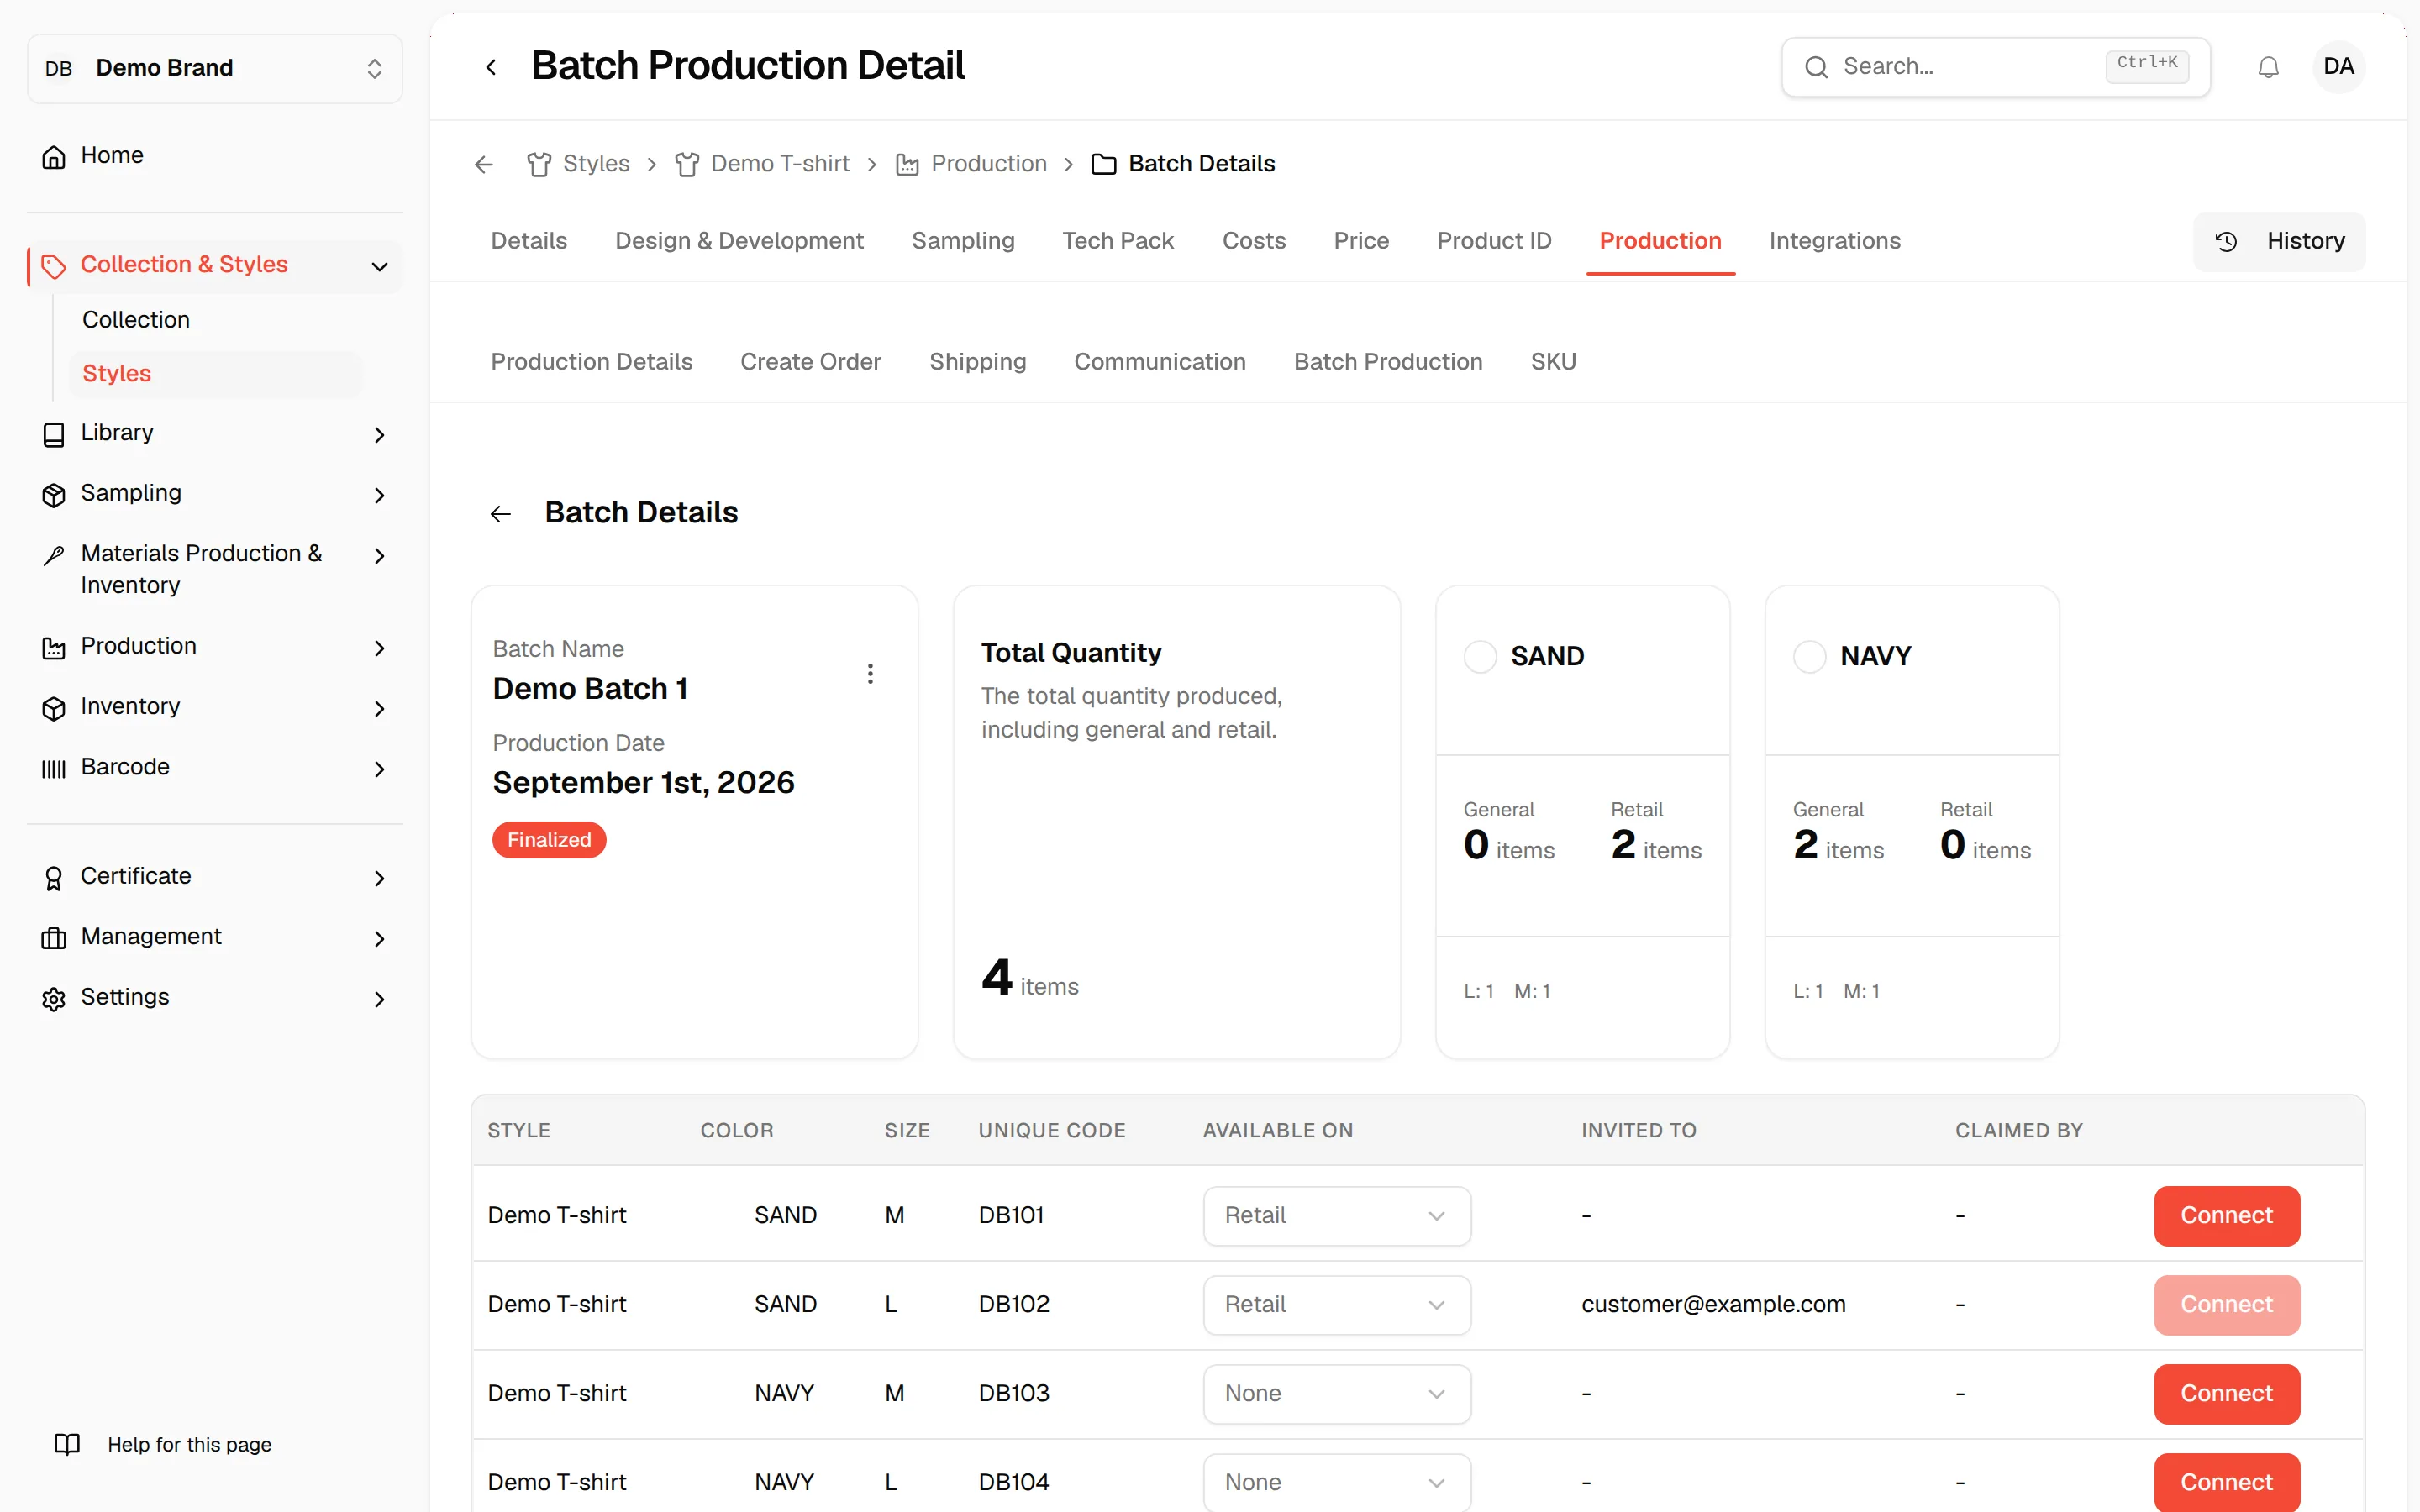
Details: opens the batch. Here you can see the claim of each Product ID by the customer. To connect a Product ID, select Connect and enter the customer email address. The invitation to claim the product is sent to that email.
Shopify inventory
When your brand is connected to Shopify and you enter a Shopify quantity above zero, the form can also show Sync Inventory to Shopify. Turn it on to send the Shopify quantities to the inventory of the linked Shopify product. If a colour does not exist in Shopify yet, the form warns "New Shopify variants will be created" and lists the new colours. If the style is not linked yet, the switch is disabled and asks you to link the style on the Integrations page first. When Shopify inventory is already synced for the style, the form says so and updates stock automatically.