Warehouse management
This article outlines best practices for setting up and managing warehouse configurations in Vestis Labs to support accurate inventory tracking, efficient stock control, and smooth…
Under review. This page is published while we check it against the live app, so some details may have changed.
Screenshots may be out of date.
Warehouse management – admin setup
This article outlines best practices for setting up and managing warehouse configurations in Vestis Labs to support accurate inventory tracking, efficient stock control, and smooth operational workflows across your supply chain.
Introduction & best practice
Warehouse management in Vestis Labs helps you define and organise the physical or virtual locations where inventory is stored and managed. By setting up warehouses such as central warehouses, regional distribution centres, production locations, or third-party logistics (3PL) facilities.
Well-defined warehouse setups enable accurate allocation of inventory, clearer visibility of stock levels, and improved coordination between teams involved in planning, production, and fulfillment. Each warehouse can be configured to reflect its specific role in your operations, ensuring data consistency and operational clarity.
Step by step guide
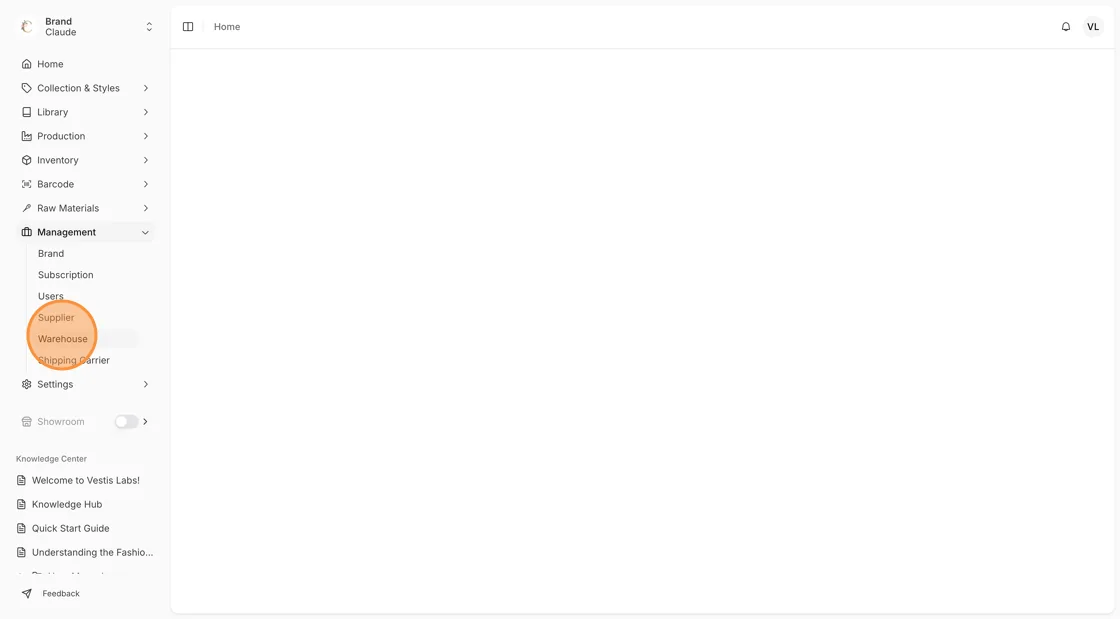
ManagementWarehouse
Permission: VIEW_BRAND_PRODUCTION, VIEW_STYLE_INVENTORY
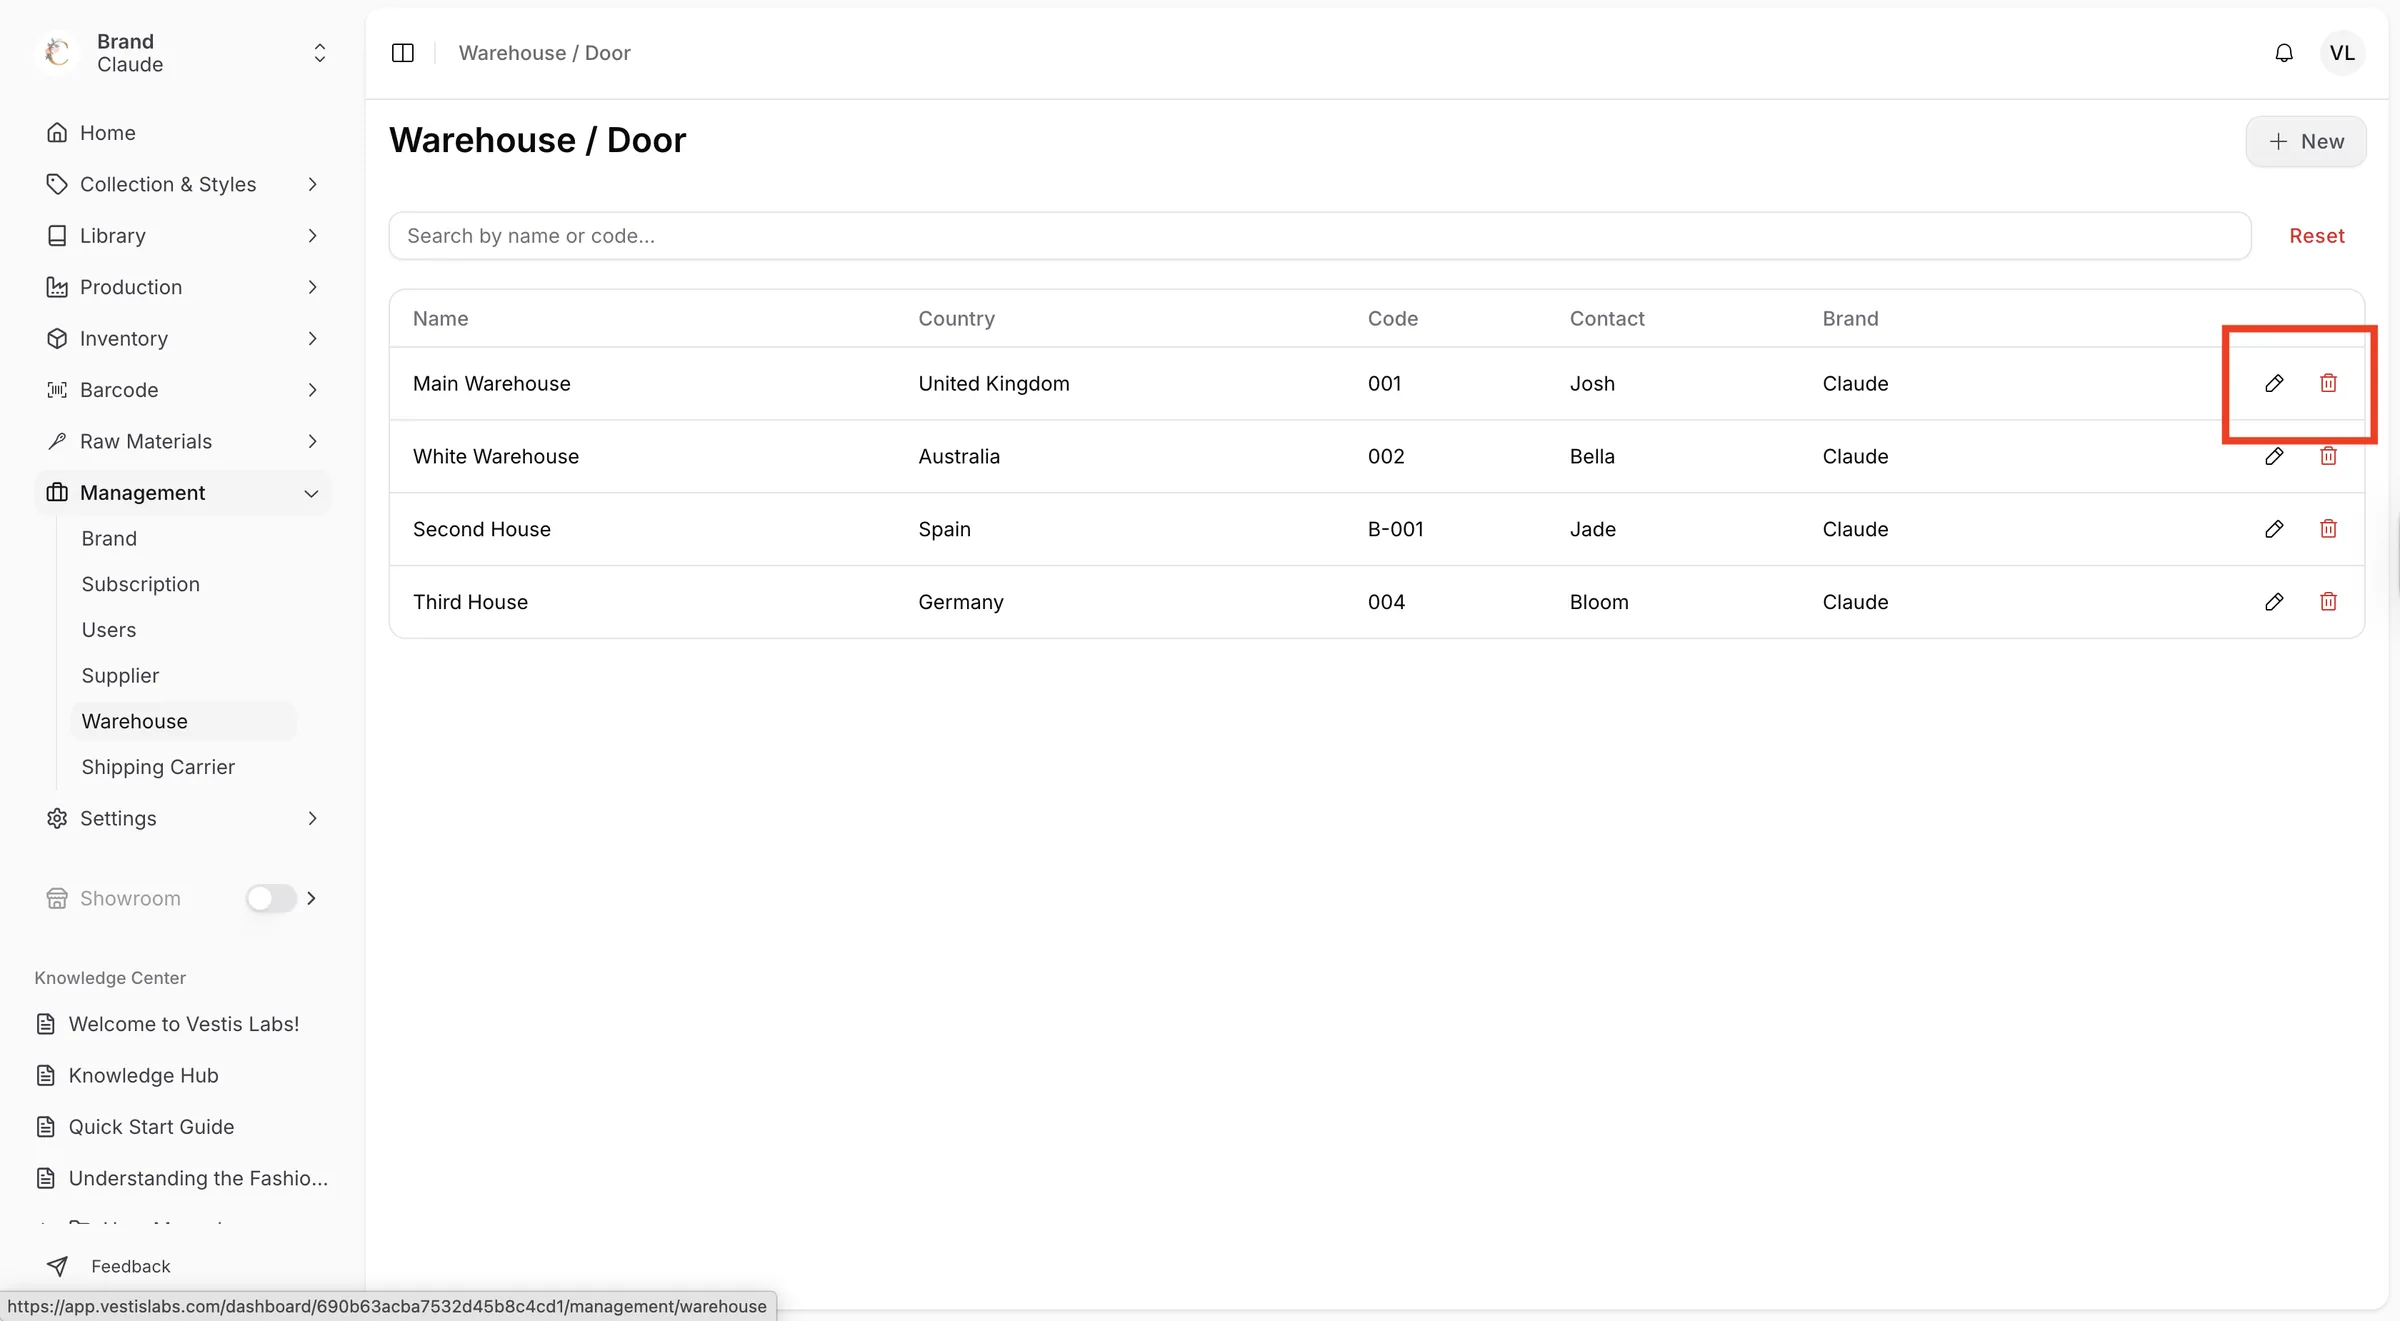
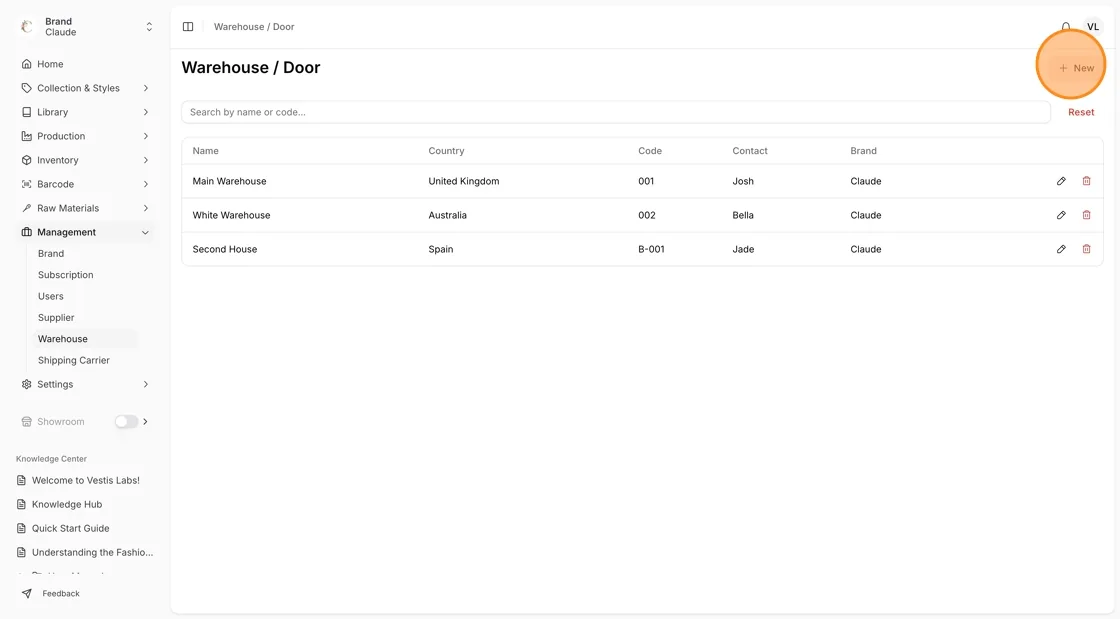
Navigate to Management → Warehouse. The list shows the Name, Country, Code, Contact and Brand of each warehouse. Type in Search by name or code... to find a warehouse, and click Reset to clear the search and sorting.
Click New to create a new warehouse. You need the Update brand production or Update style inventory permission. If there are no warehouses yet you see No warehouse created, with Add New.
Complete the warehouse details:
- Name – Enter the warehouse name. Required.
- Code – Enter the warehouse code.
- TAX/VAT – Specify the applicable tax or VAT information.
- Registration Number – Enter the official registration number.
- Address – Enter the full warehouse address.
- Website – (Optional) Enter the warehouse website URL.
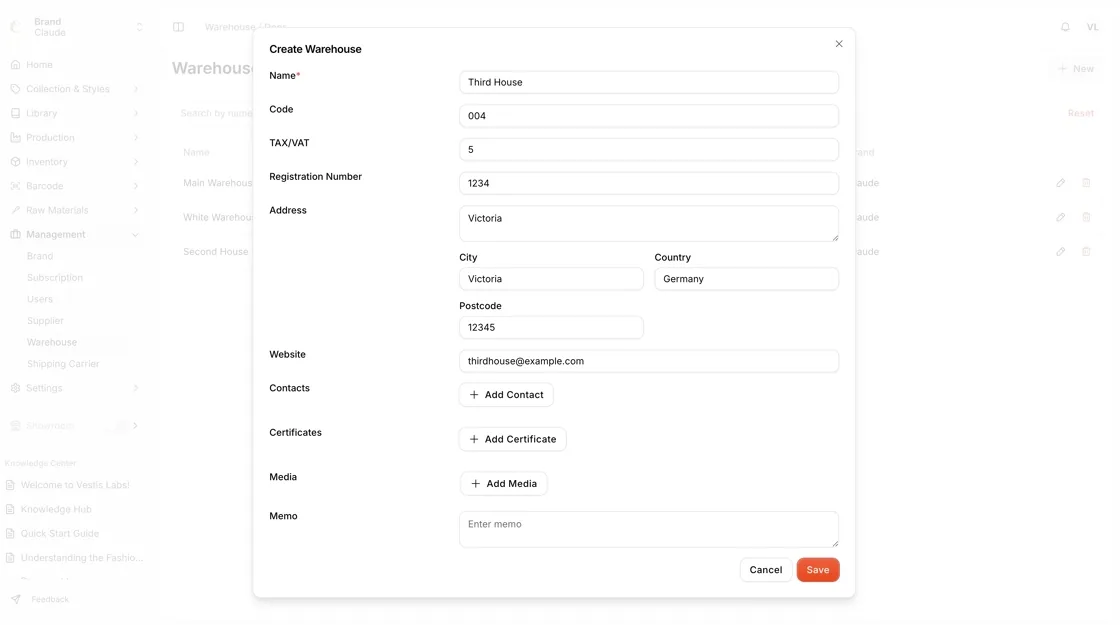
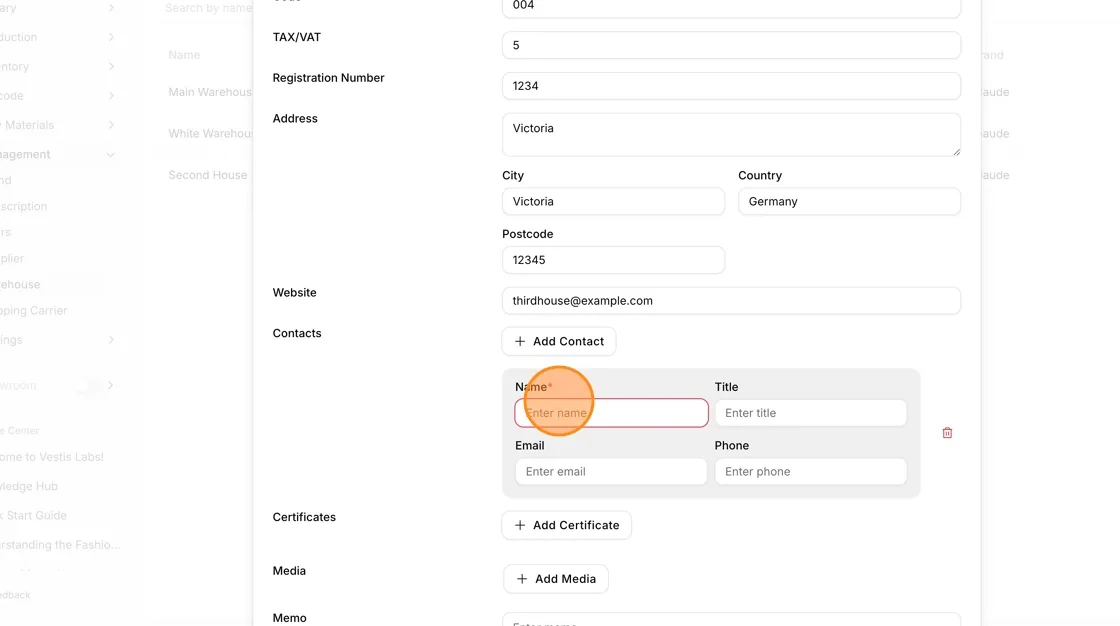
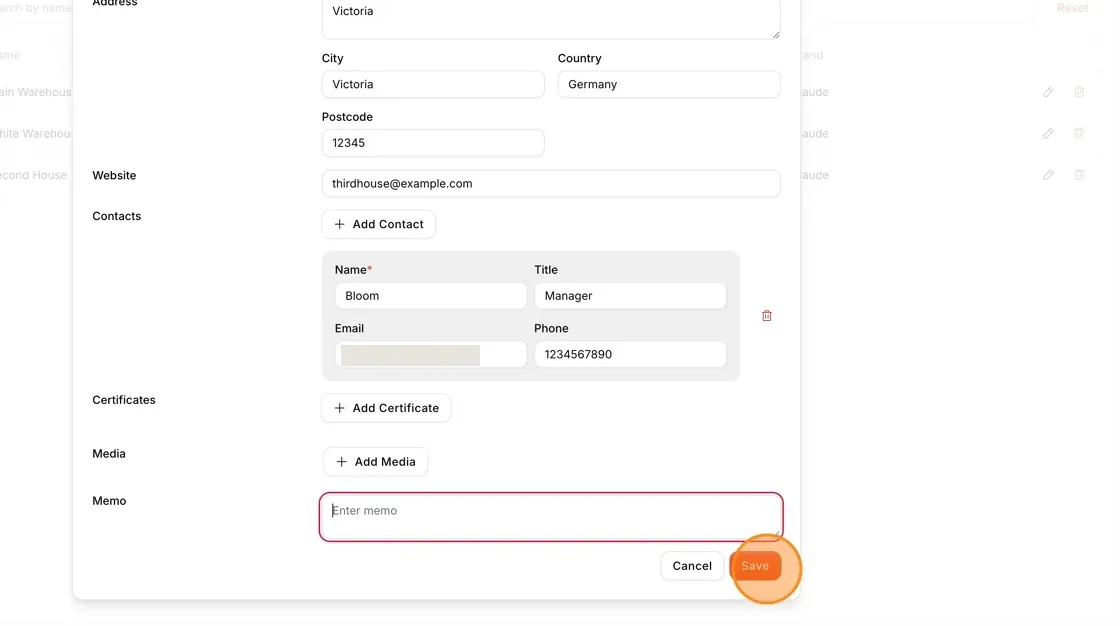
Click Add Contact to add a new contact person.
Complete the contact information:
- Name
- Title
- Phone
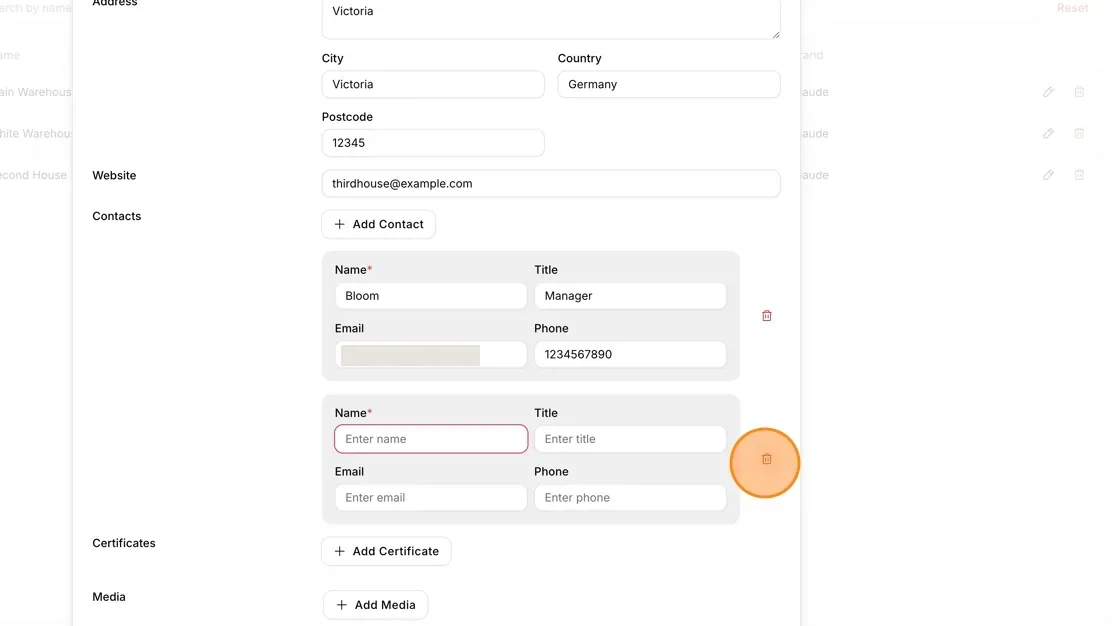
Click the trash icon to delete the contact information.
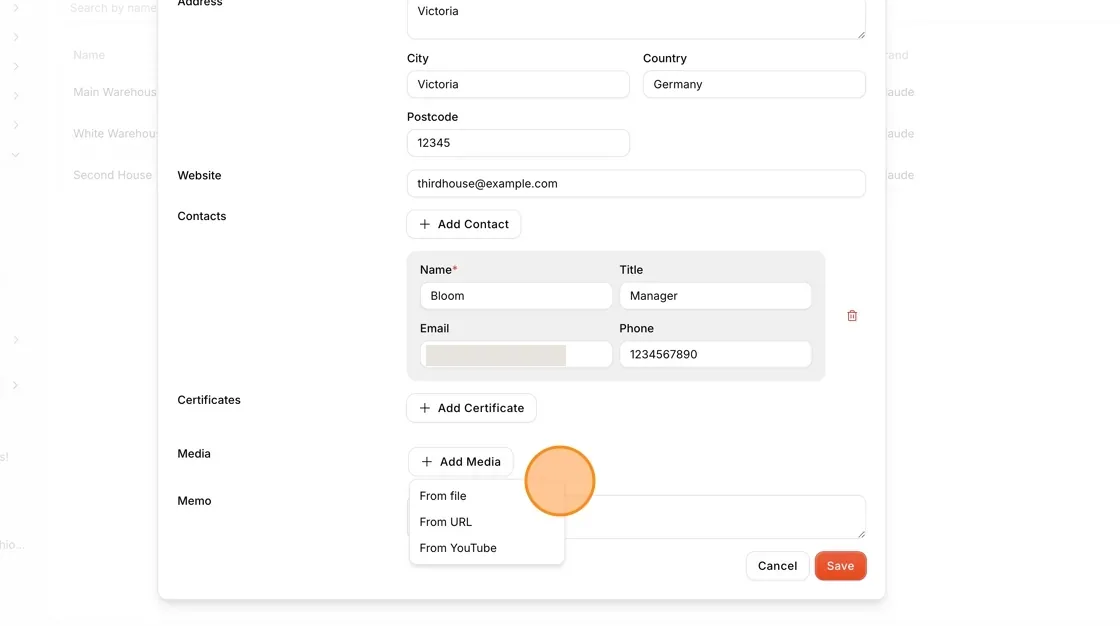
Click Add Media and choose a media source:
- File
- URL
- YouTube (link from YouTube Embed)
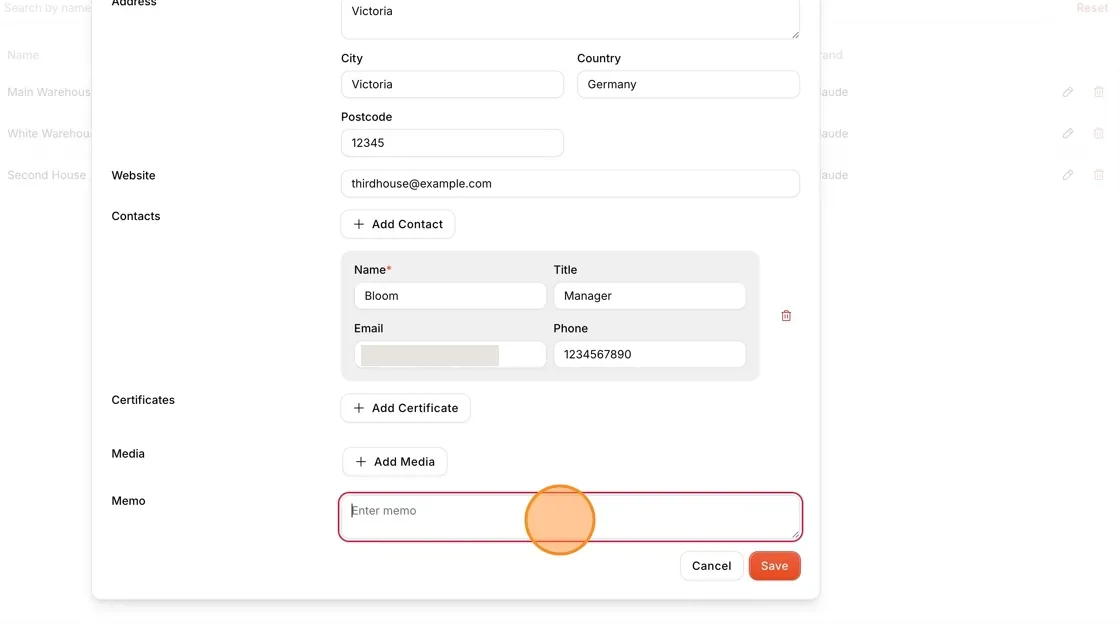
Enter any additional warehouse details in the Memo field.
Click Save to finish creating the warehouse. You see Warehouse created successfully. Click Cancel to close without saving.
Click the pencil icon (Edit) to edit warehouse information in the Update Warehouse window, then click Save.
Click the trash icon (Delete) to delete the warehouse, then click Delete to confirm.