
Step 10 of 12 in Stock materials and finished goods
Inventory allocation rules
Create allocation rules that automatically allocate or reserve stock when payment, production, shipping, inventory or priority conditions are met.
Under review. This page is published while we check it against the live app, so some details may have changed.
Allocation Rules automatically assign stock based on conditions. A rule has one or more conditions about an order and one or more actions, such as allocating available stock or sending a notification.
InventoryRules & AutomationAllocation Rules
Permission: UPDATE_STYLE_INVENTORY
Note
Allocation rules help you automatically assign stock to orders based on priority, customer type, order value, and inventory levels, as the page itself describes.
Create an allocation rule
Click "Create New Rule"
Click Create New Rule. If you have no rules yet, you can click Create First Rule instead.
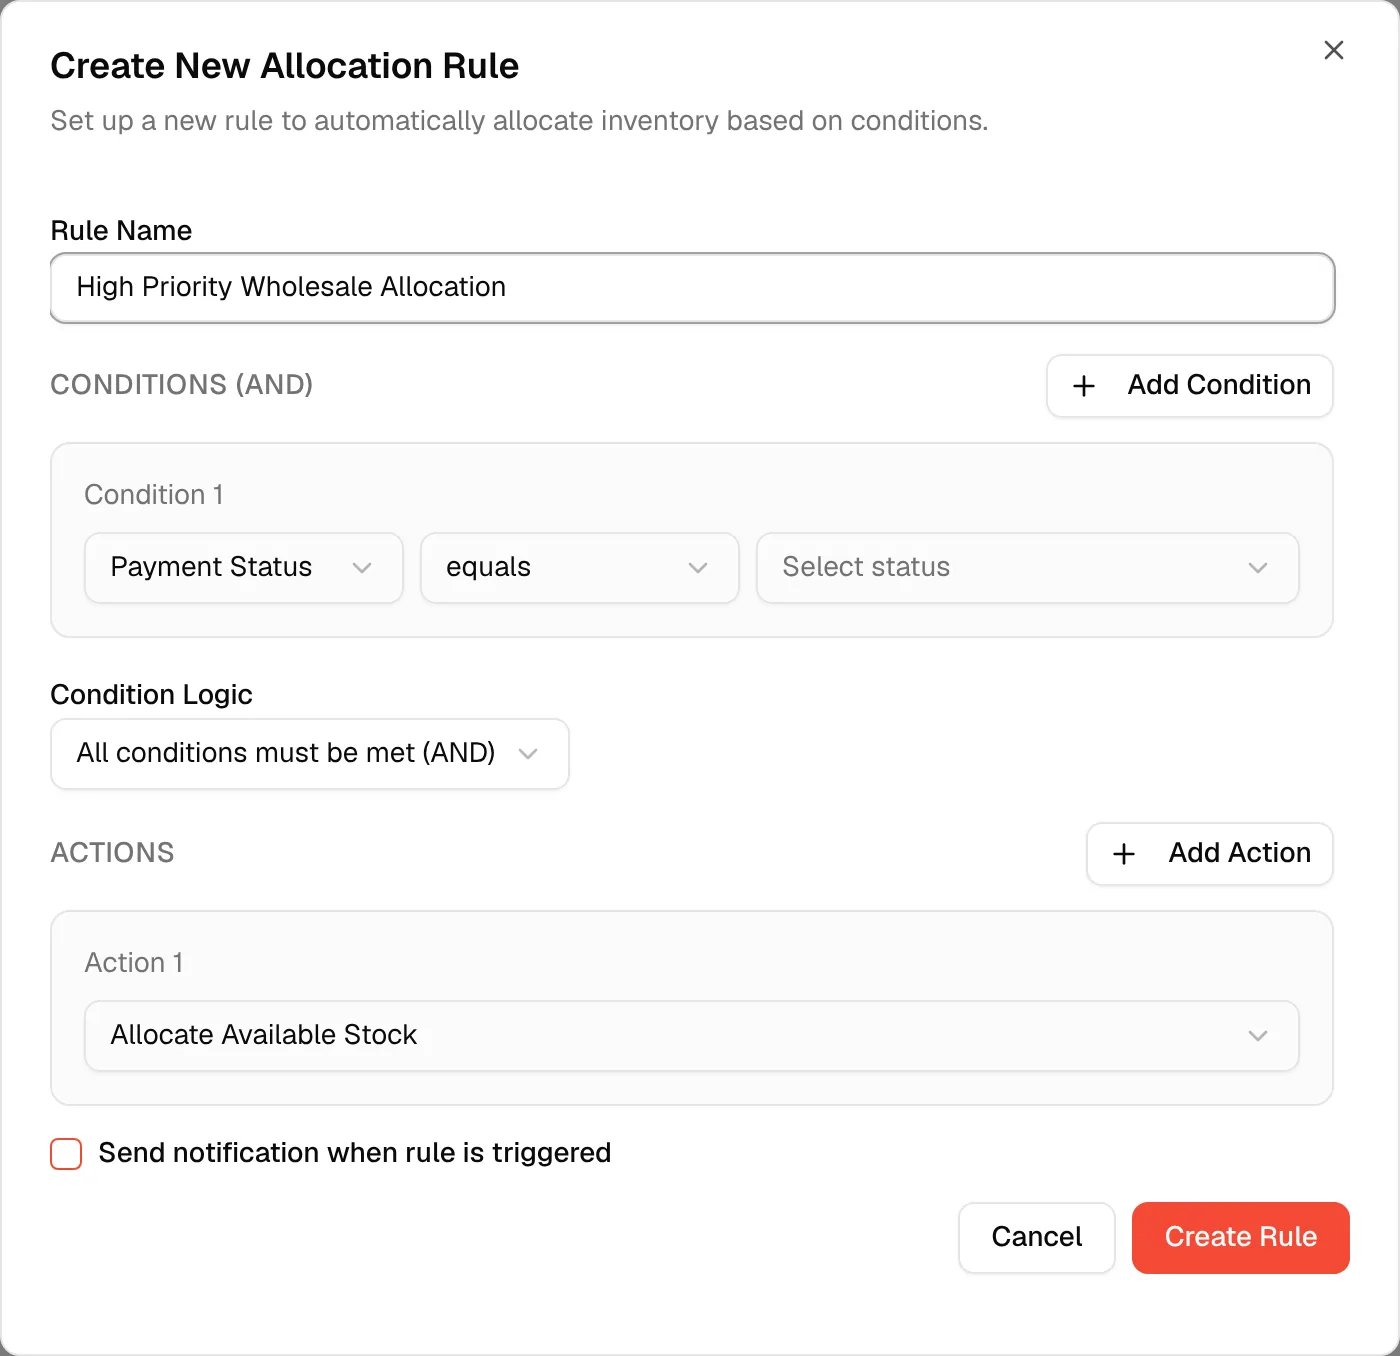
Enter the rule name
In Rule Name, type a name, for example High Priority Wholesale Allocation. This field is required.
Add a condition
In the first condition, select what to check: Payment Status, Production Status, Shipping Status, Inventory Status or Order Priority. Then select an operator: equals, does not equal or contains.
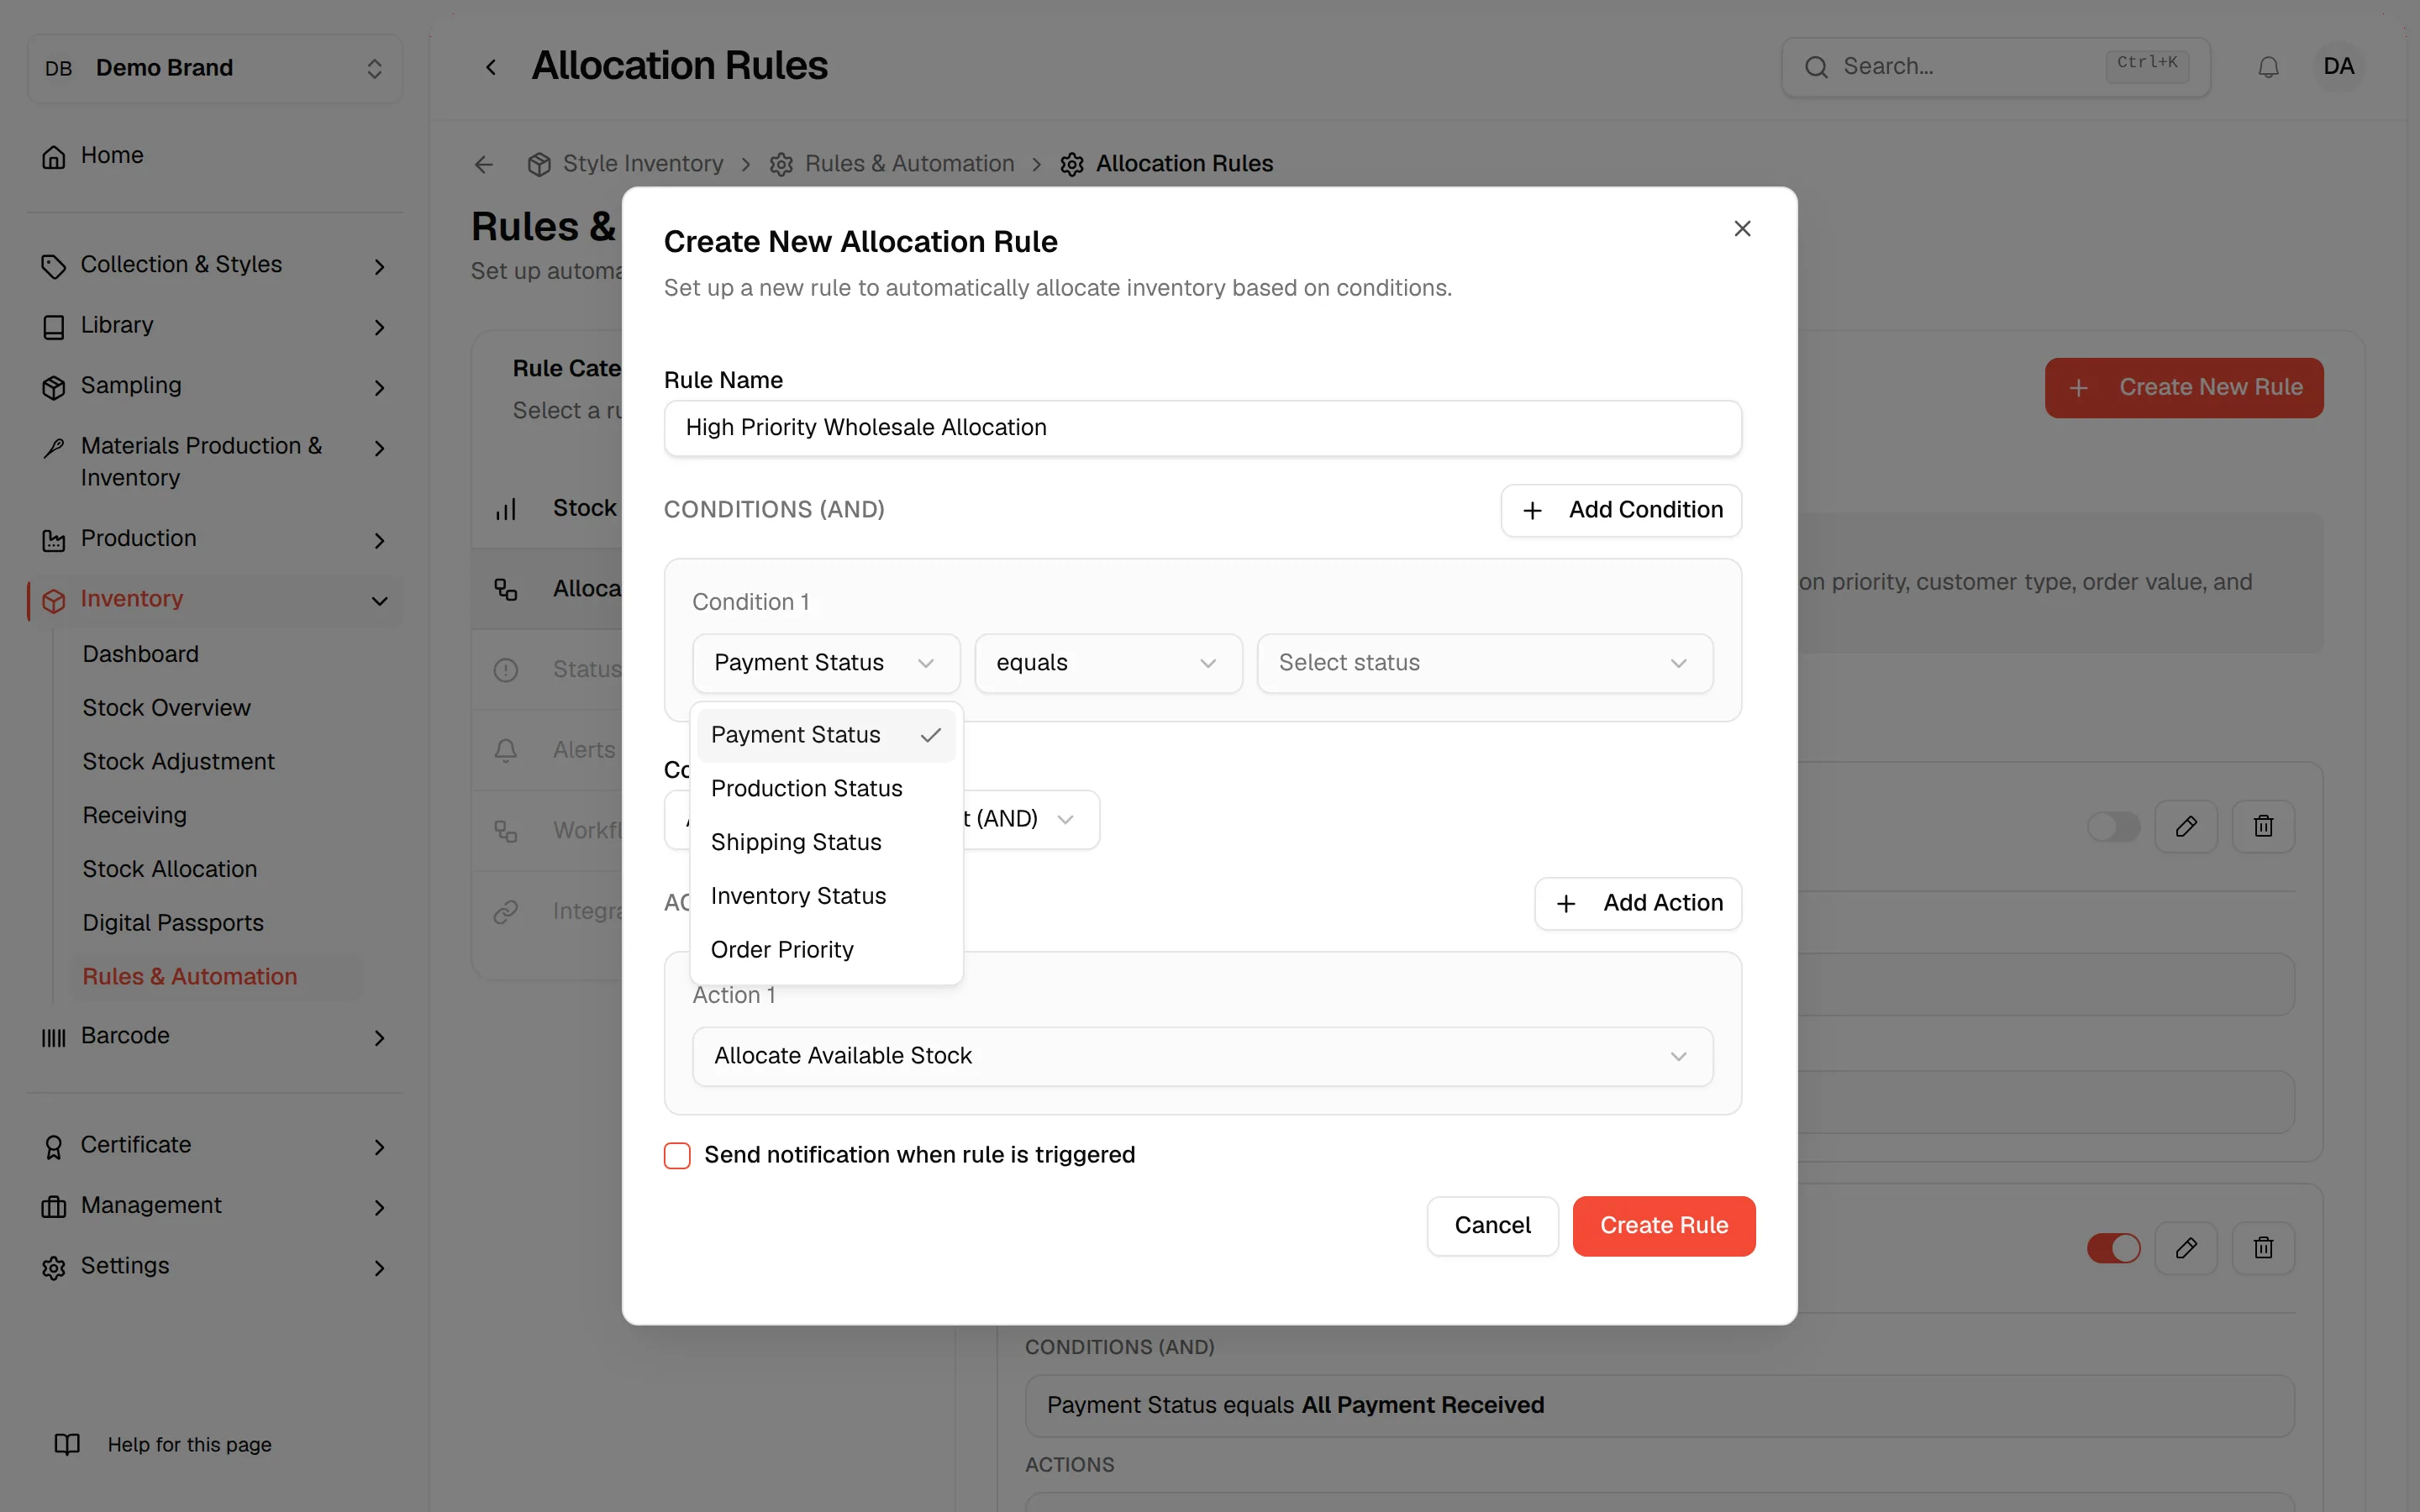
Select the value
Select the value to compare with. What you can choose depends on the condition:
- Payment Status: Pending, Due, All Payment Received, 1st Payment Received.
- Production Status: PO Created, Production Started, Production Complete, Shipment Due, Cancelled, Delayed.
- Shipping Status: Shipped from Factory, In Transit, Delivered.
- Inventory Status: In Stock, Low Stock, Out of Stock, Overstock.
- Order Priority: one of your priorities.
Add more conditions (optional)
Click Add Condition to add another one. When there is more than one, use Condition Logic to choose All conditions must be met (AND) or Any condition can be met (OR). At least one condition is required.
Choose the actions
Under ACTIONS, select an action: Allocate Available Stock, Allocate Reserved Stock, Reserve Stock or Send Notification. Click Add Action for more. At least one action is required.
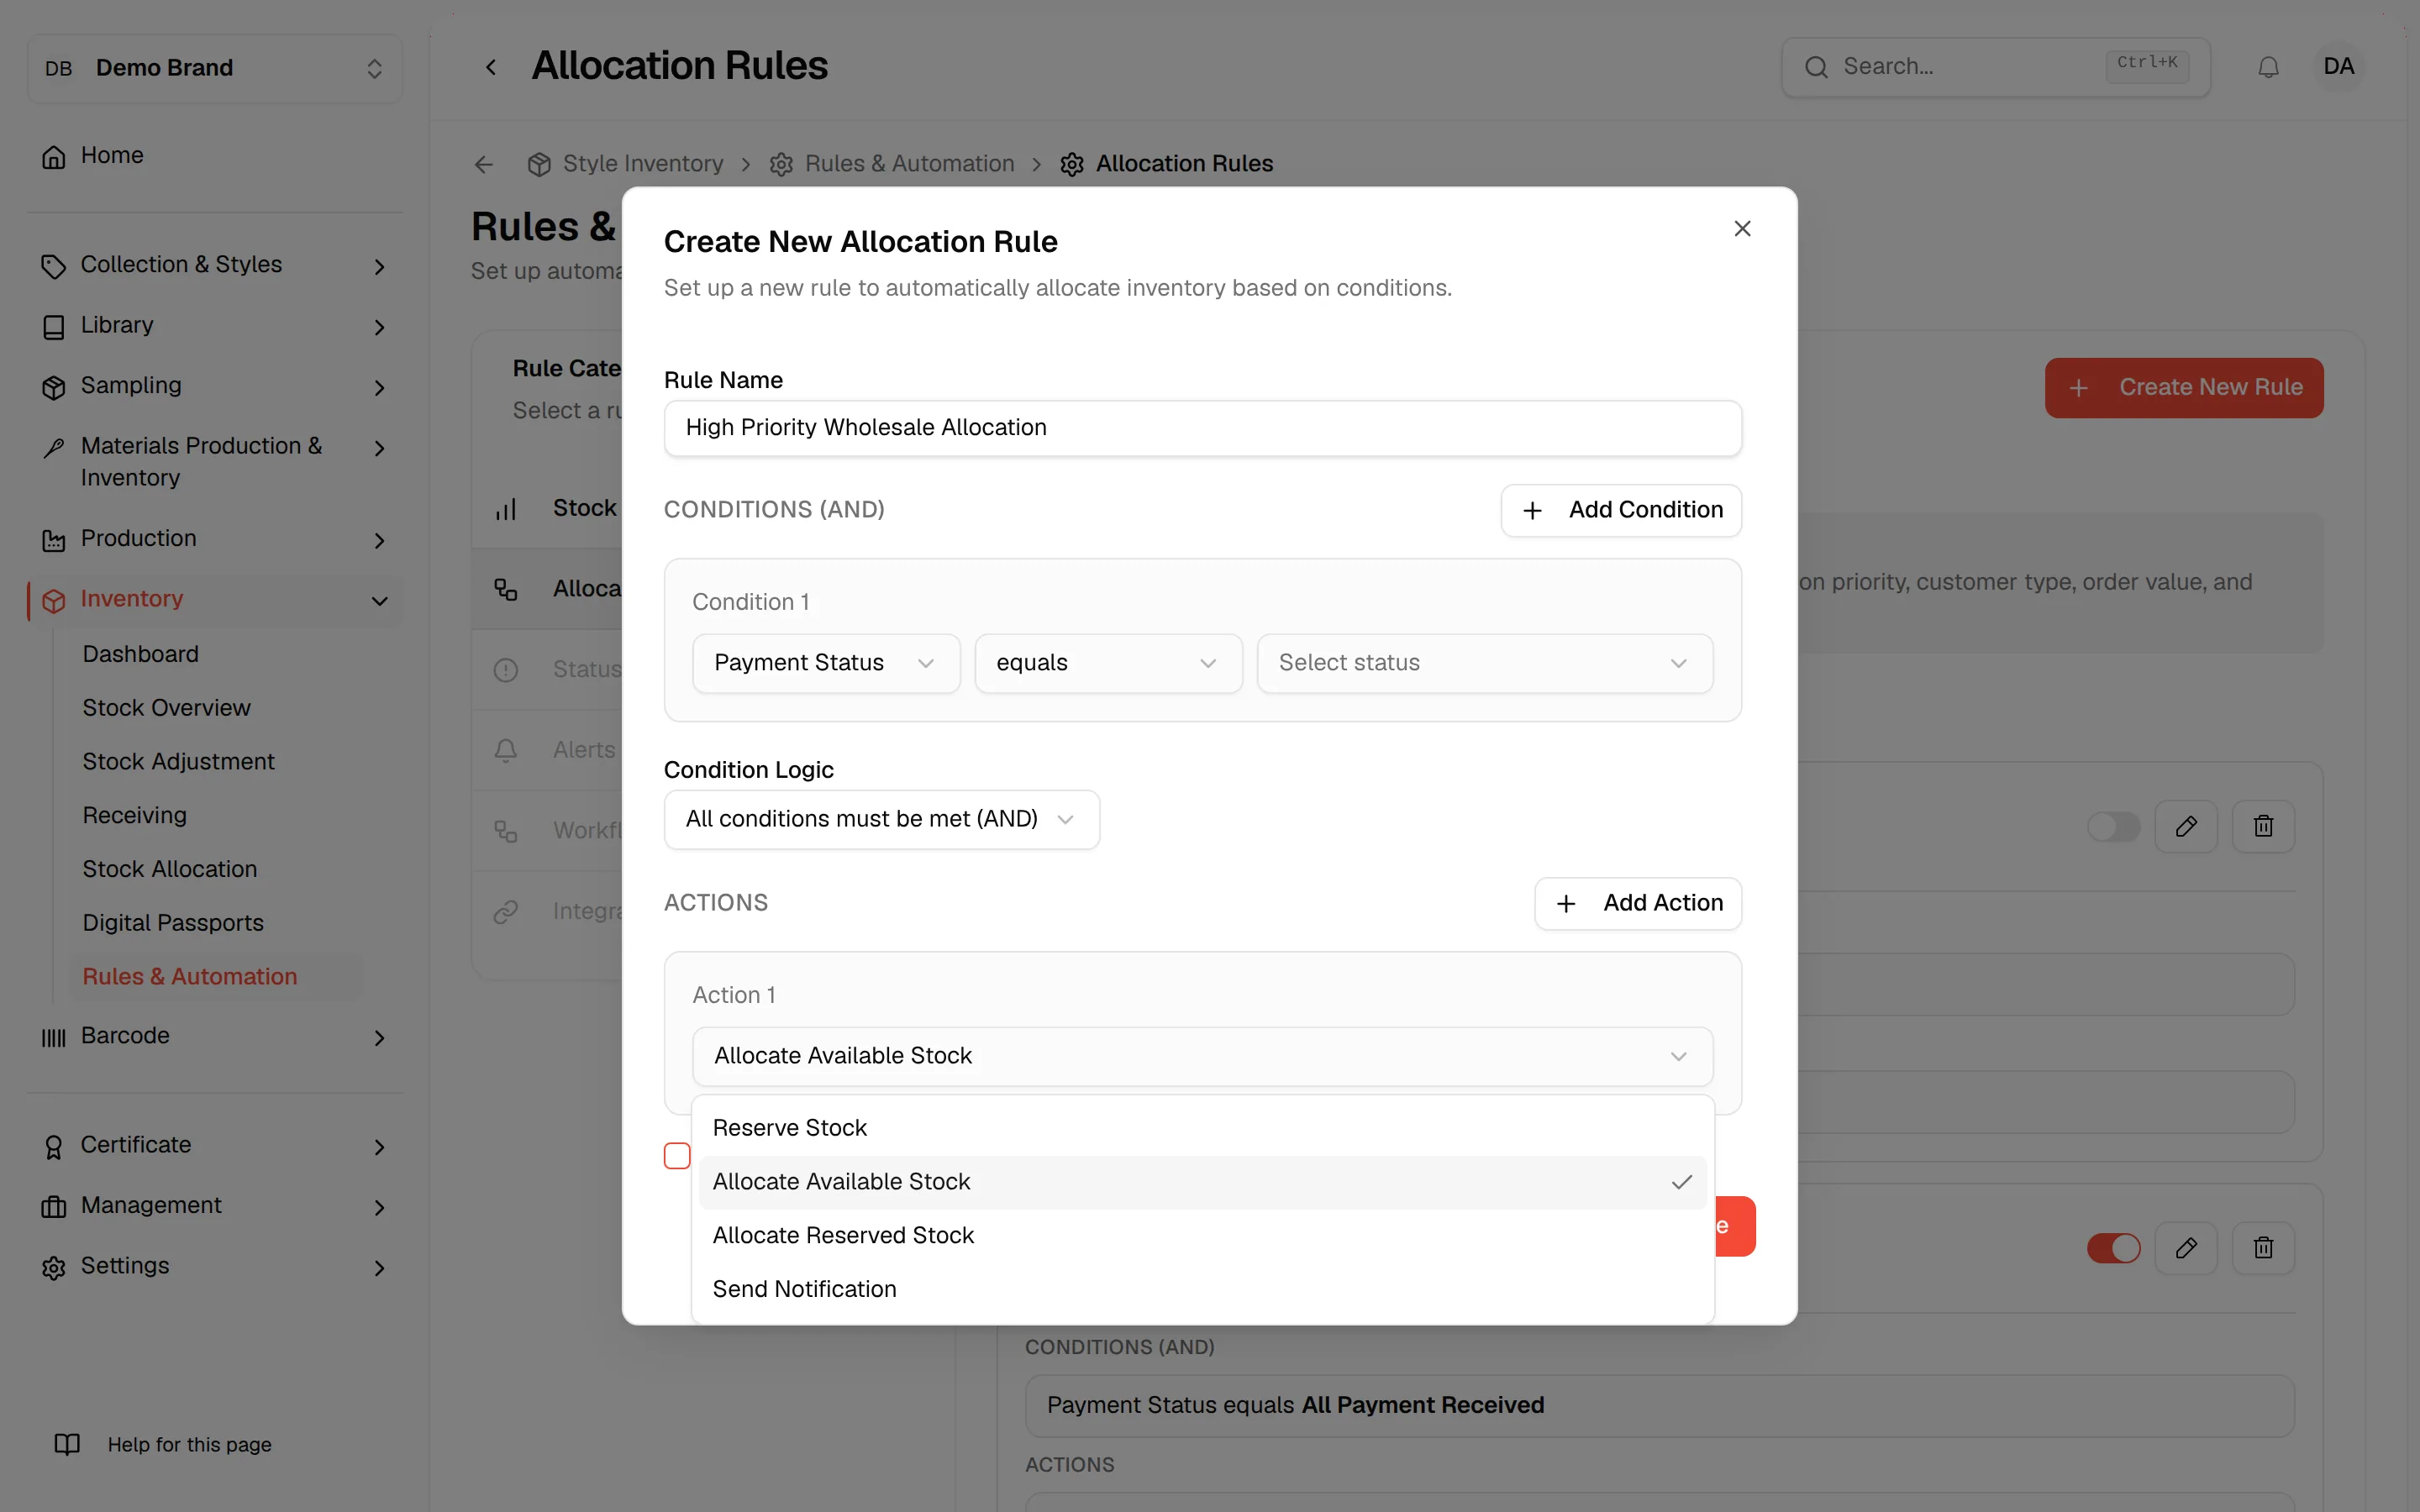
Turn on notifications (optional)
Check Send notification when rule is triggered.
Click "Create Rule"
Click Create Rule. Click Cancel to close without saving.
New rules start switched on and appear under Your Allocation Rules.
Manage your rules
Each rule shows its conditions and actions.
- Use the switch to turn the rule on or off.
- Click the pencil icon to edit it. In Edit Allocation Rule, click Update Rule to save.
- Click the bin icon to delete it. Delete Rule asks you to confirm.
When there are no rules, the page shows No allocation rules yet.