
Collection attribute settings
This article outlines best practices for setting up and using collection attributes in Vestis Labs to support consistent structuring and classification of your collections and the styles…
Collection attributes – admin setup
This article outlines best practices for setting up and using collection attributes in Vestis Labs to support consistent structuring and classification of your collections and the styles within them.
Introduction & best practice
Collection attributes in Vestis Labs help organise and define key information across your collections, ensuring clarity and alignment throughout your product development workflow. By assigning attributes—such as collection type, theme, region, drop number, or market—you enable structured data that enhances filtering, reporting, and cross-team collaboration.
While collection attributes are optional, using them is highly recommended to support scalability and maintain organised data across growing collections. Clear attribute definitions in Admin ensure consistent usage, improved searchability, and a more efficient workflow across teams.
Step-by-step guide
Create collection attribute
Users can create a Collection attribute in two ways:
- Through the Collection Attribute page
- Through the Create Collection page.
Through the collection attribute page
SettingsCollection & StyleCollection Attribute
Permission: VIEW_COLLECTION_ATTRIBUTE,CREATE_COLLECTION_ATTRIBUTE
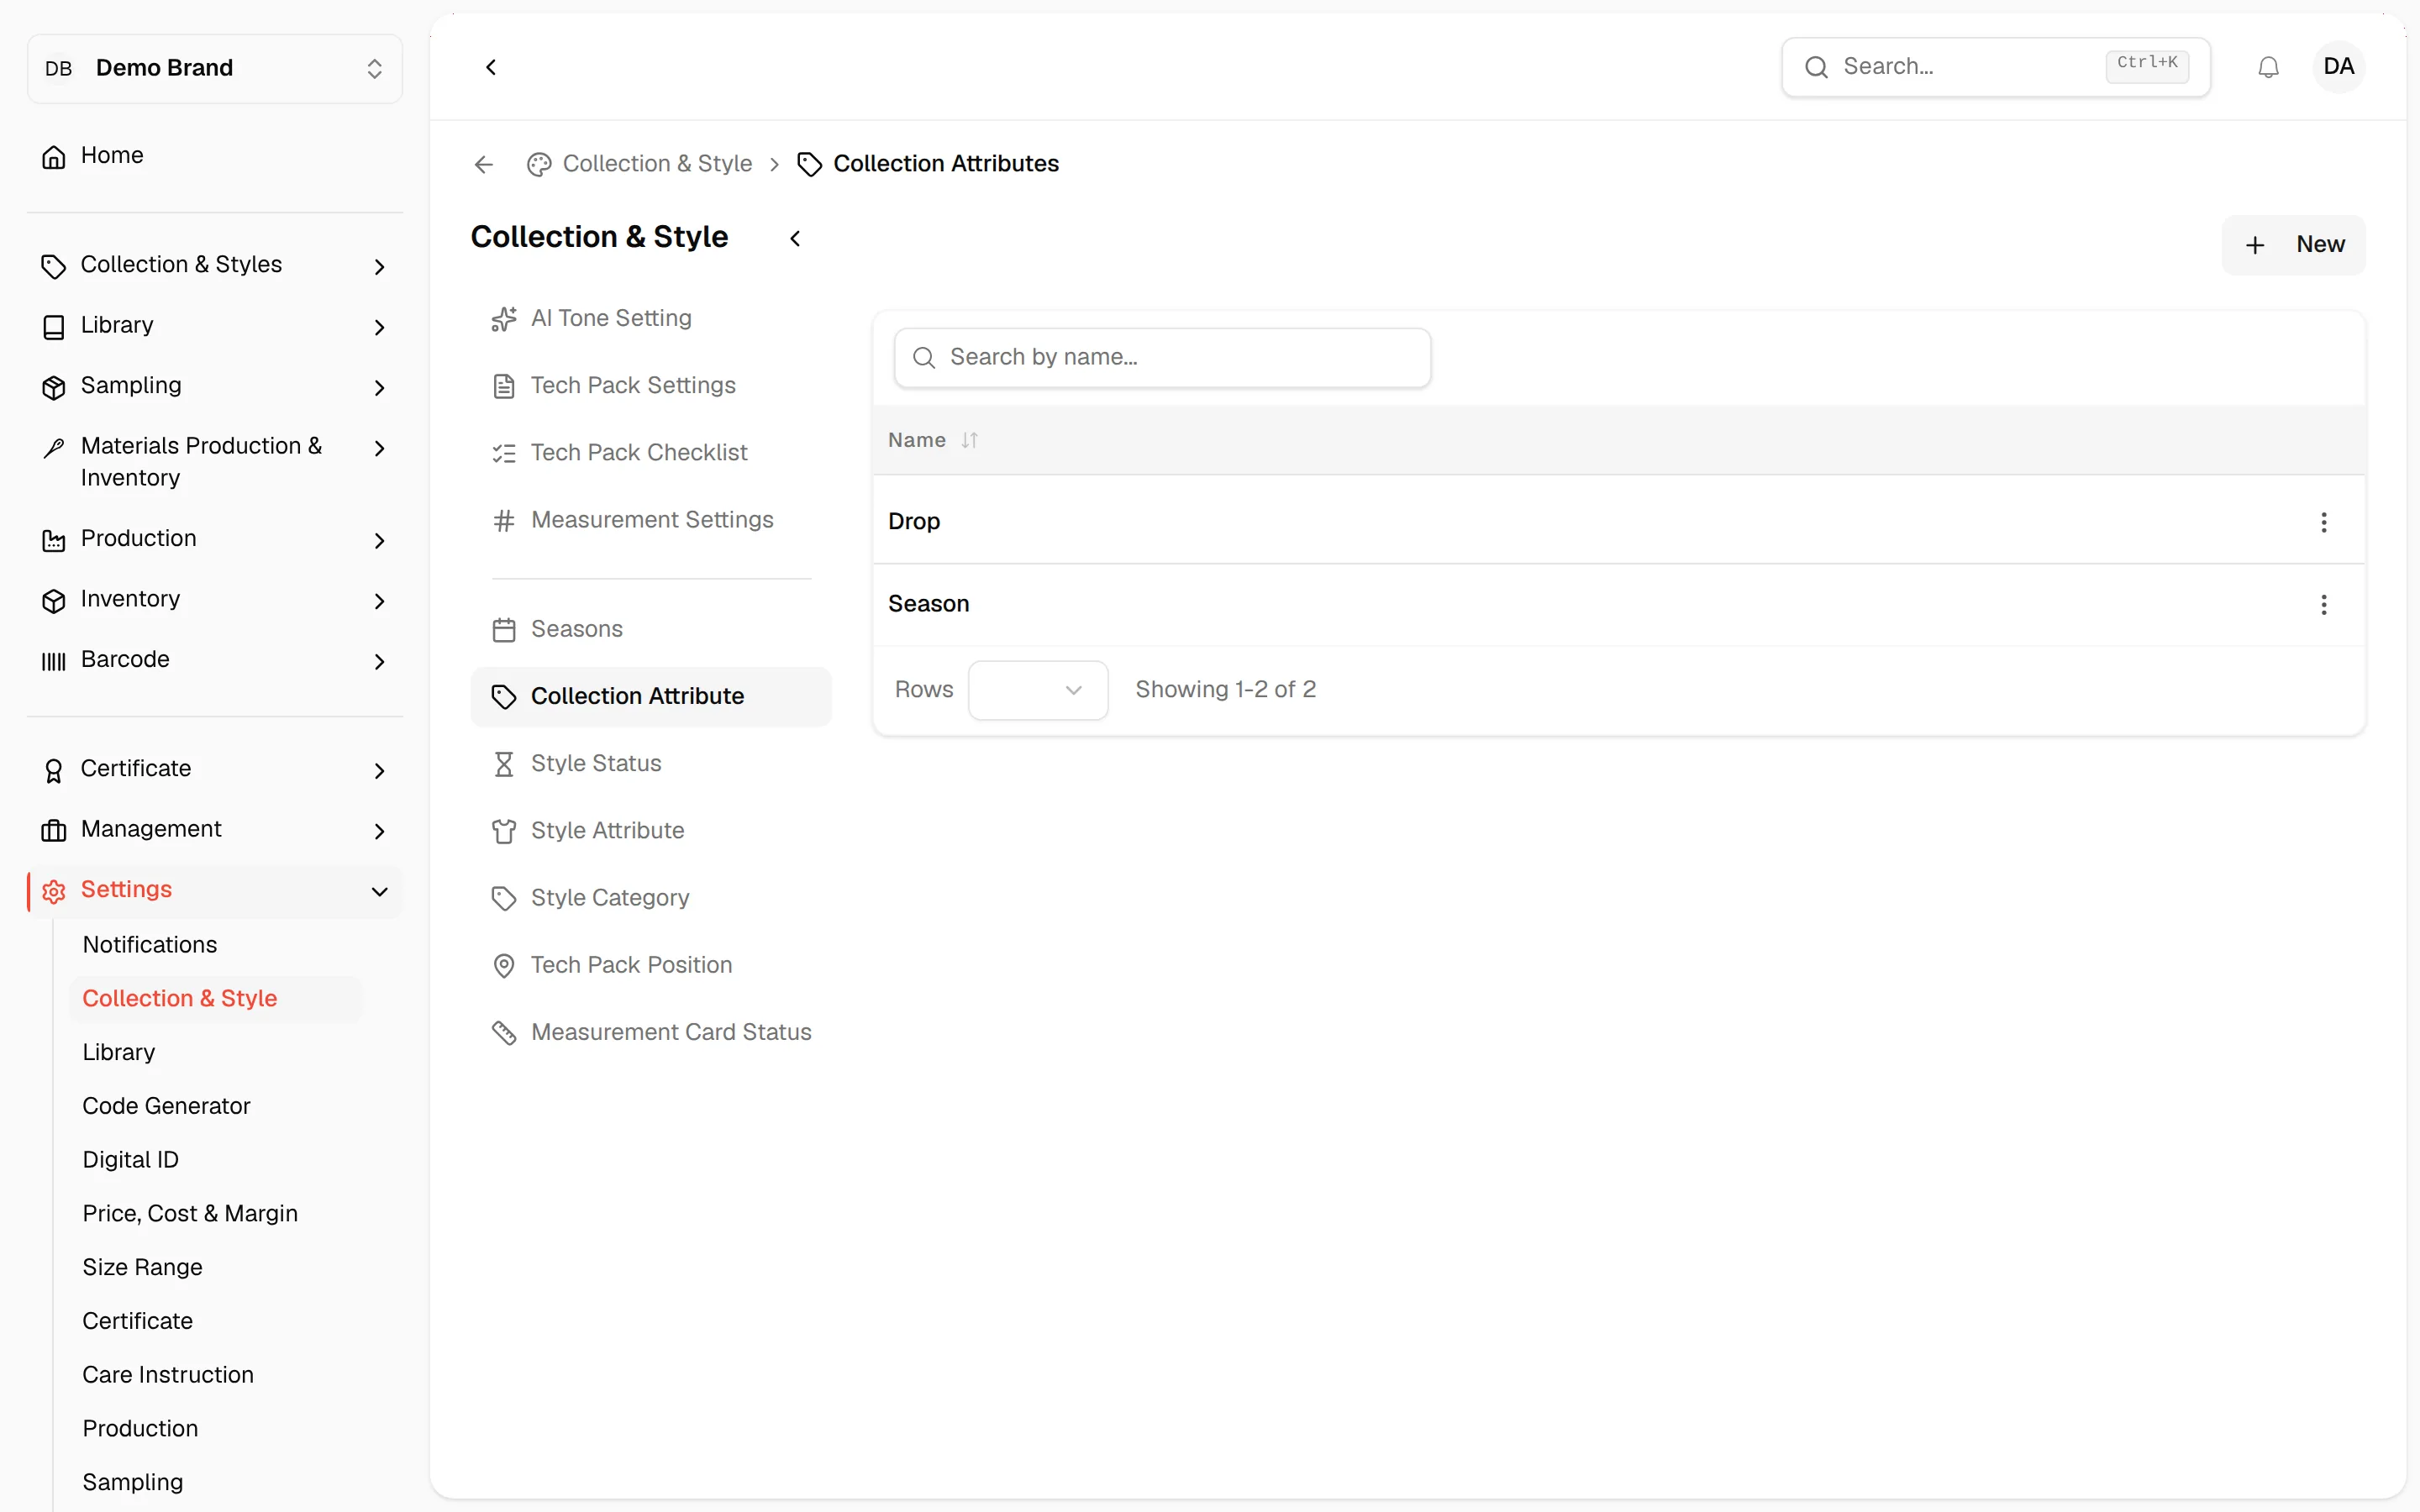
Navigate to Settings > Collection & Style. Select Collection Attribute.
- Click the 'New' button - a Create Collection Attribute page will show up.
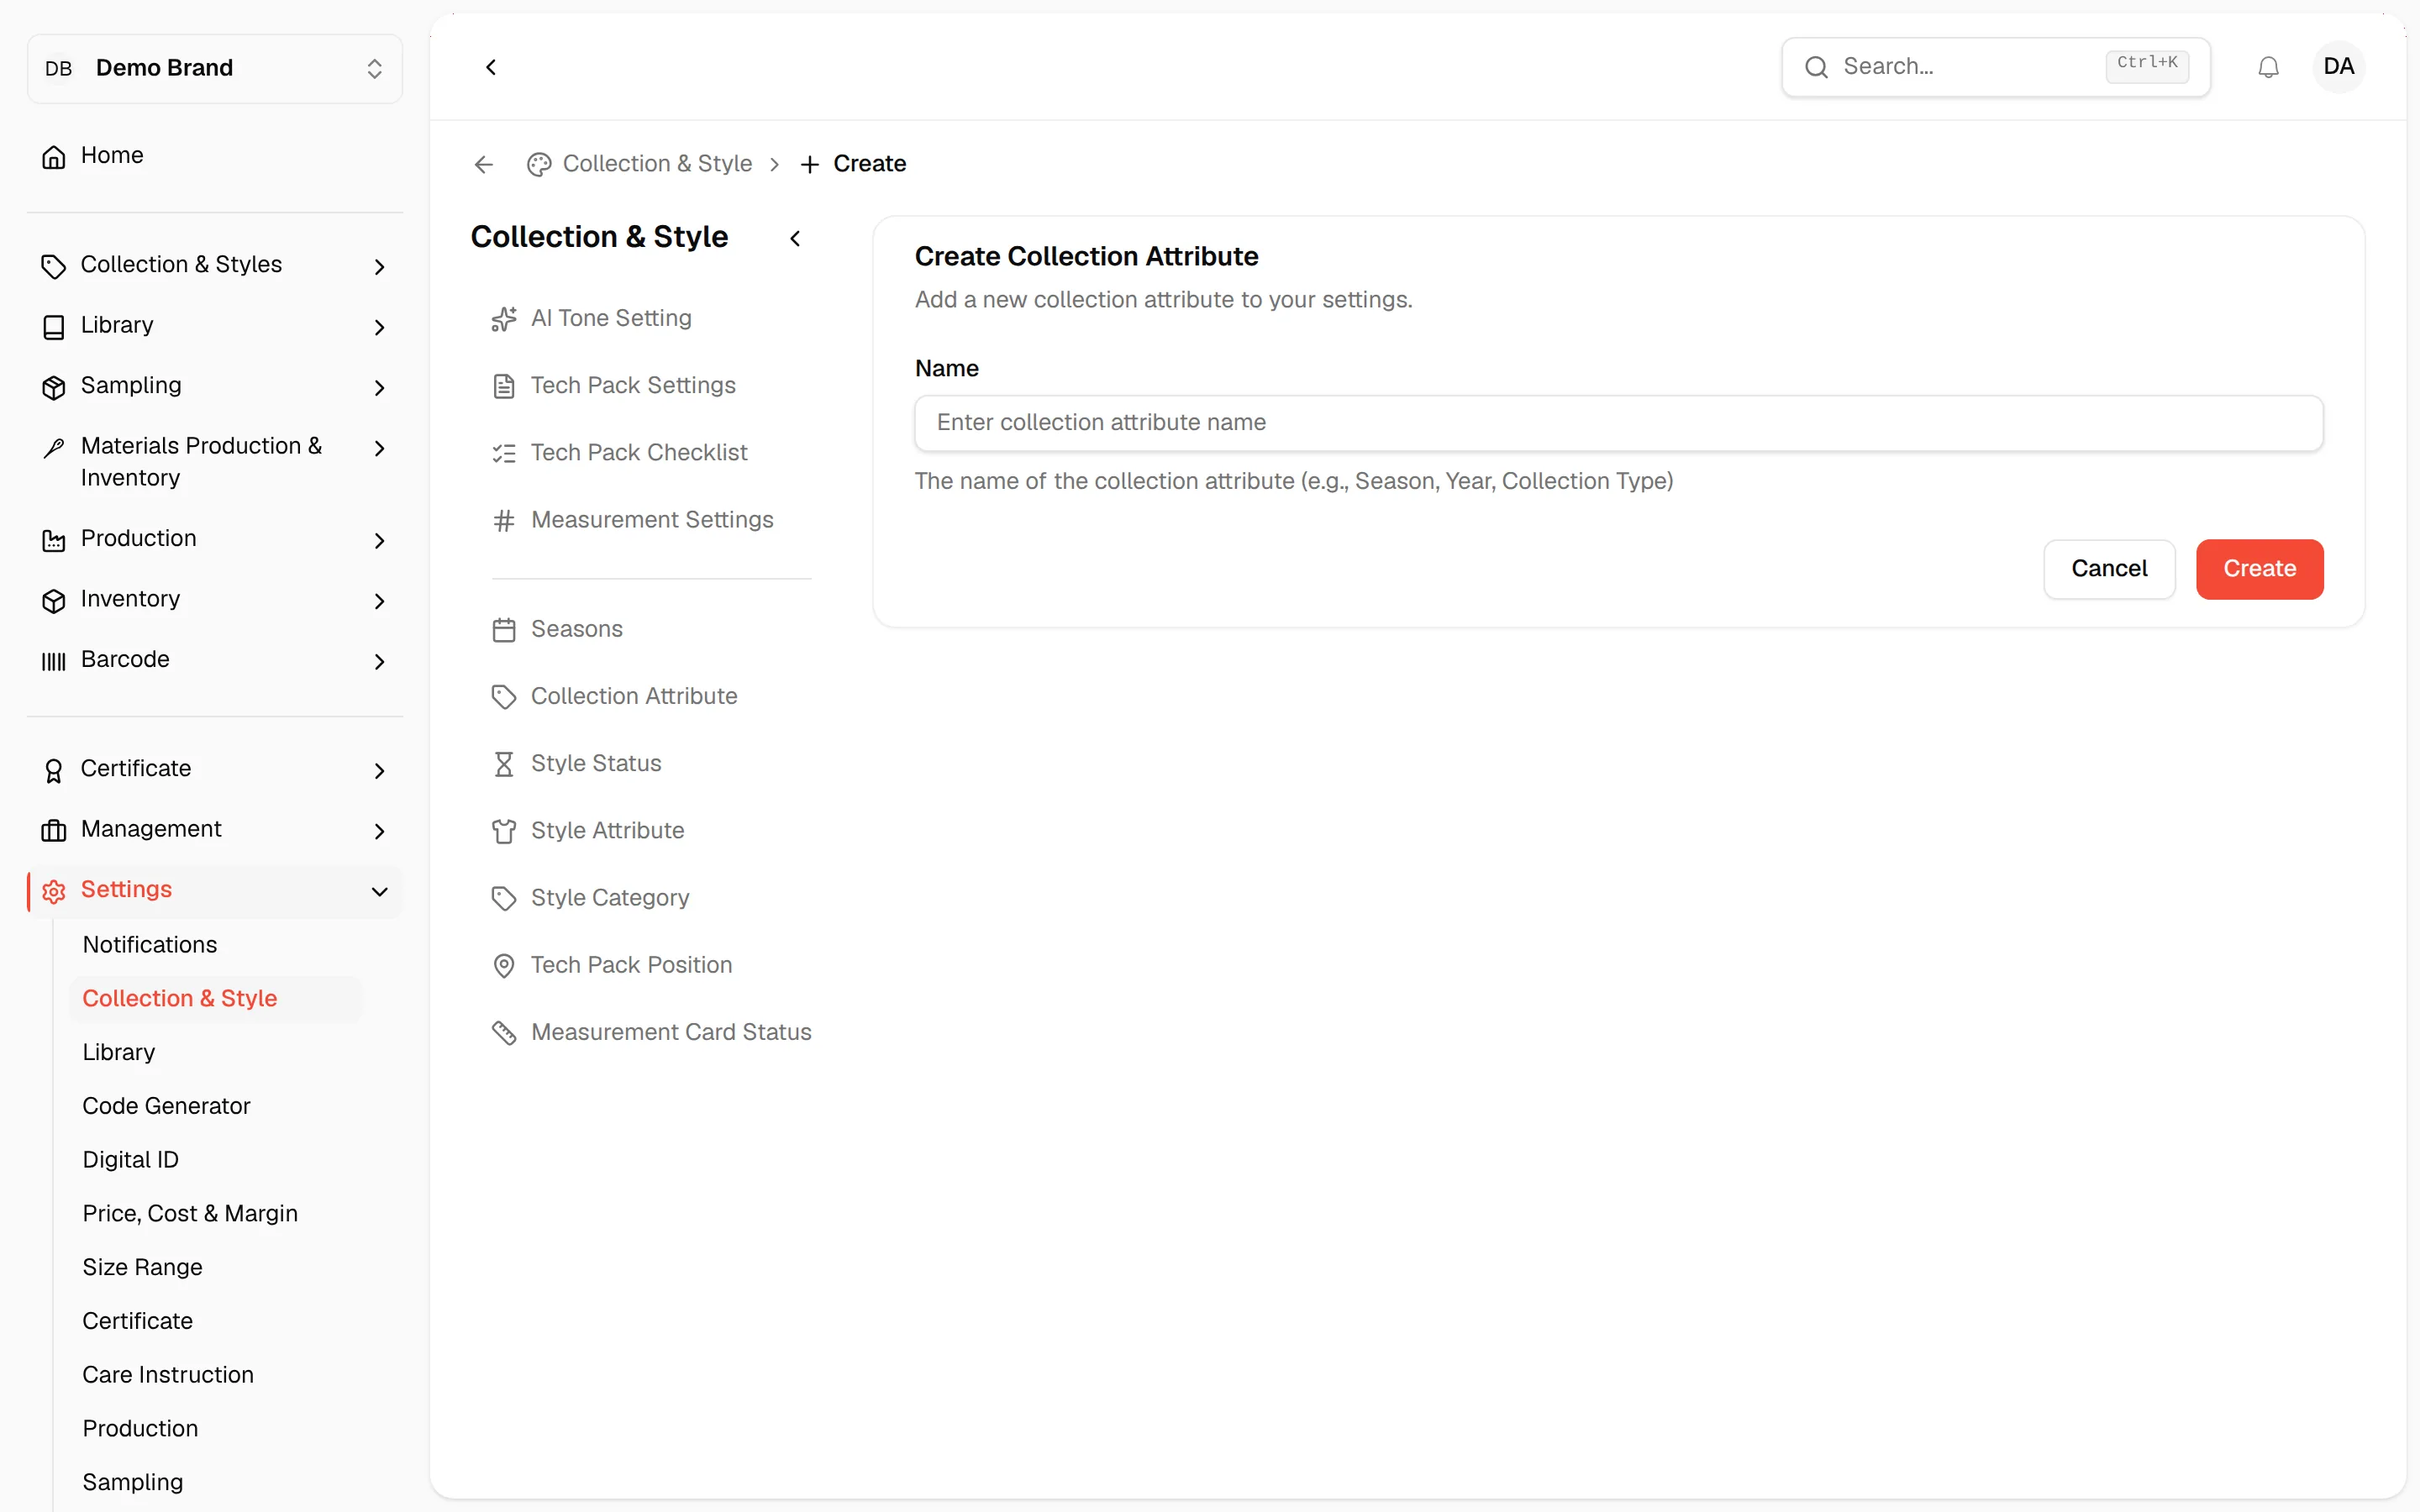
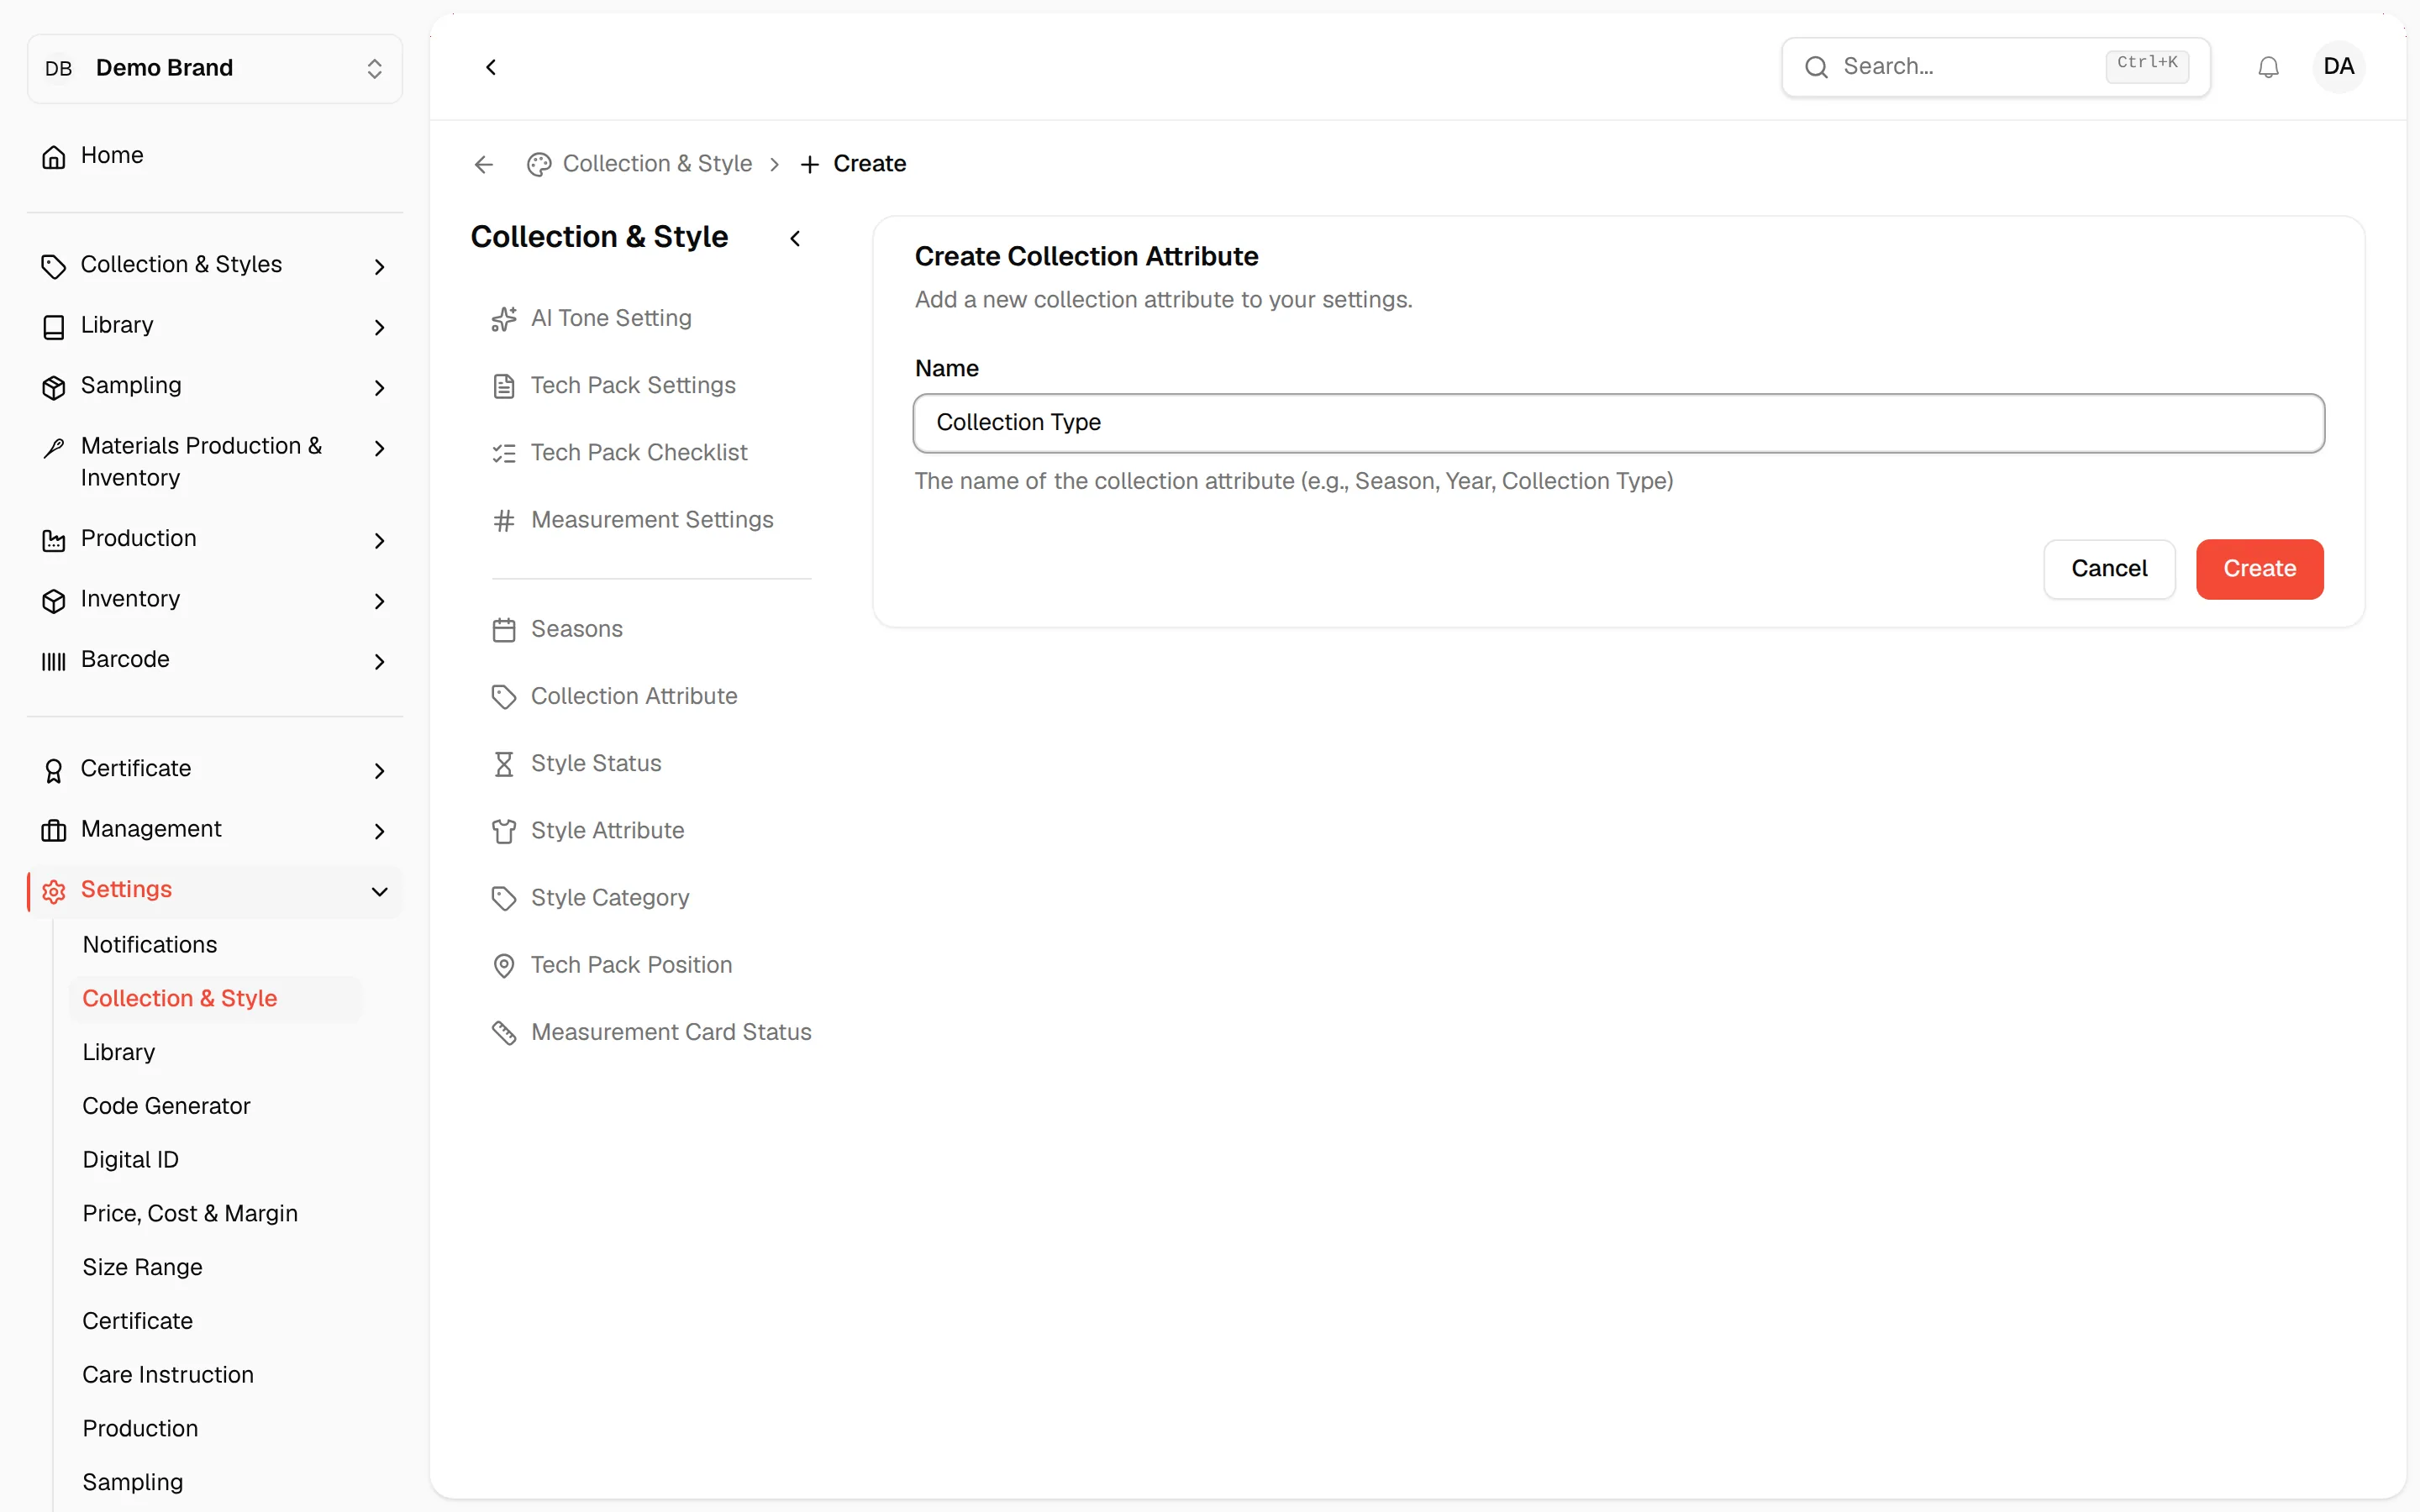
- Name - *mandatory (for example Season, Year or Collection Type)
- Click Create to finish
Edit collection attribute
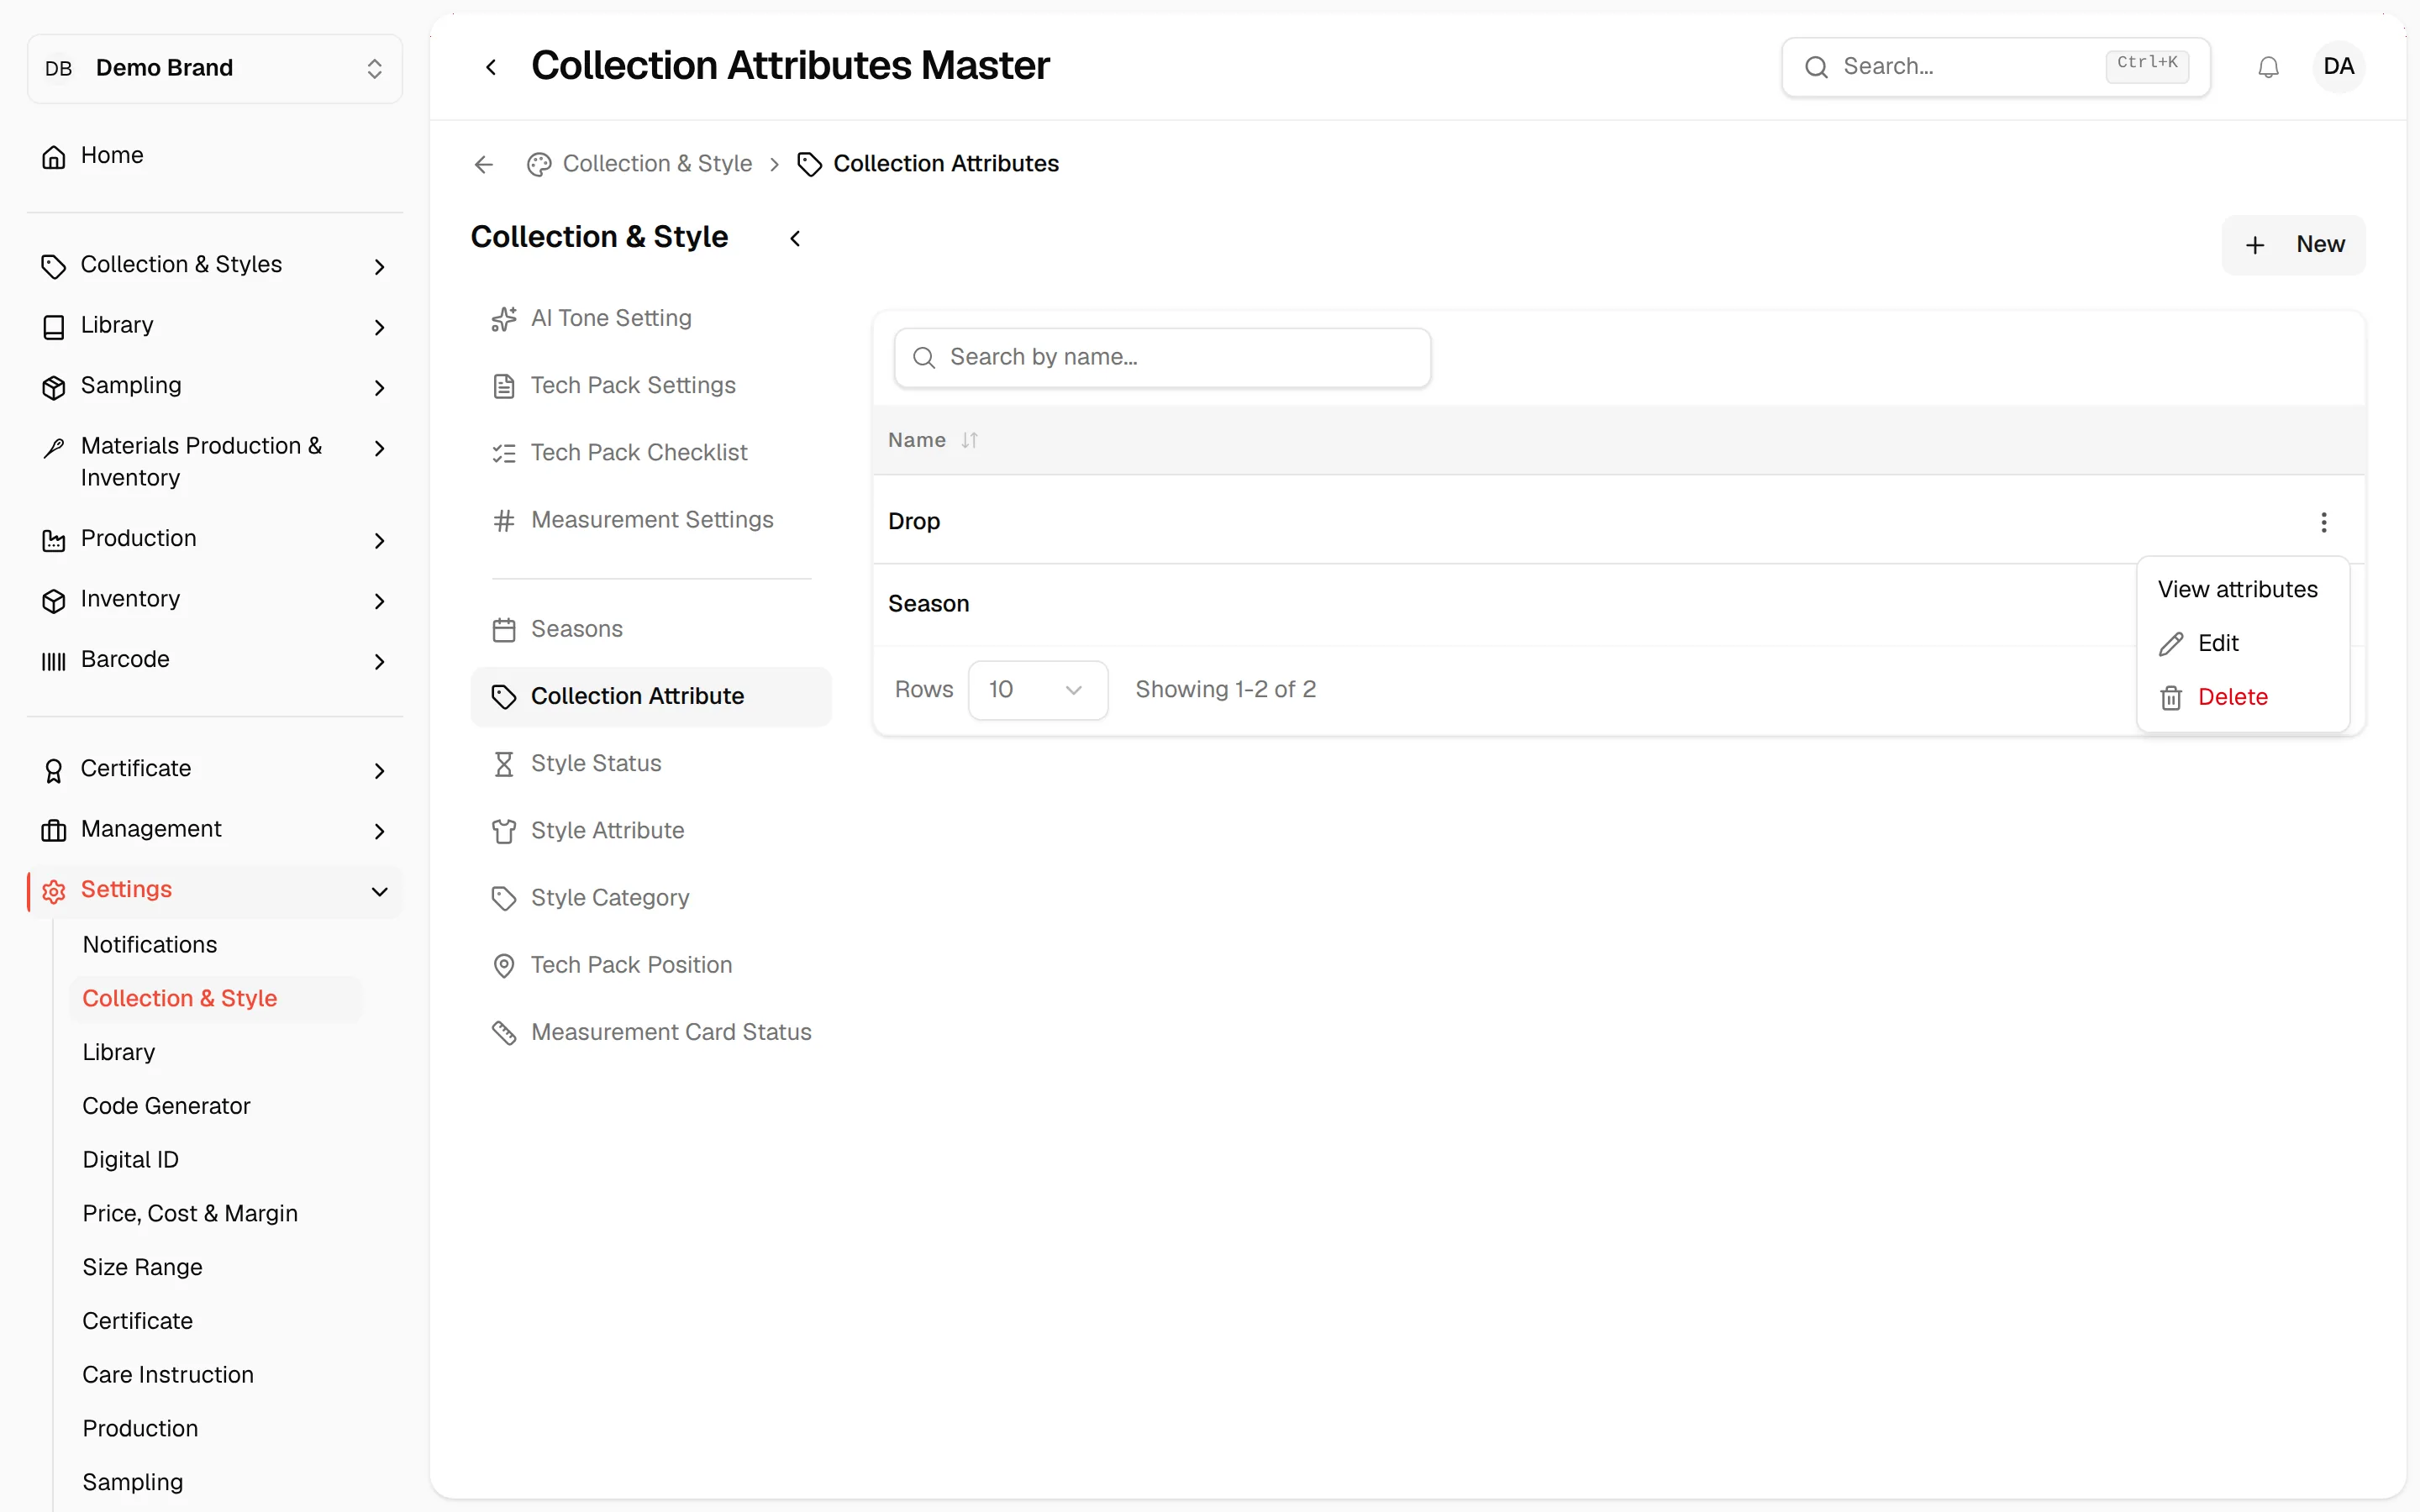
- Click the three-dot menu in the attribute's row and select Edit
- The Edit Collection Attribute page will open
- Change the Name and click Update to finish
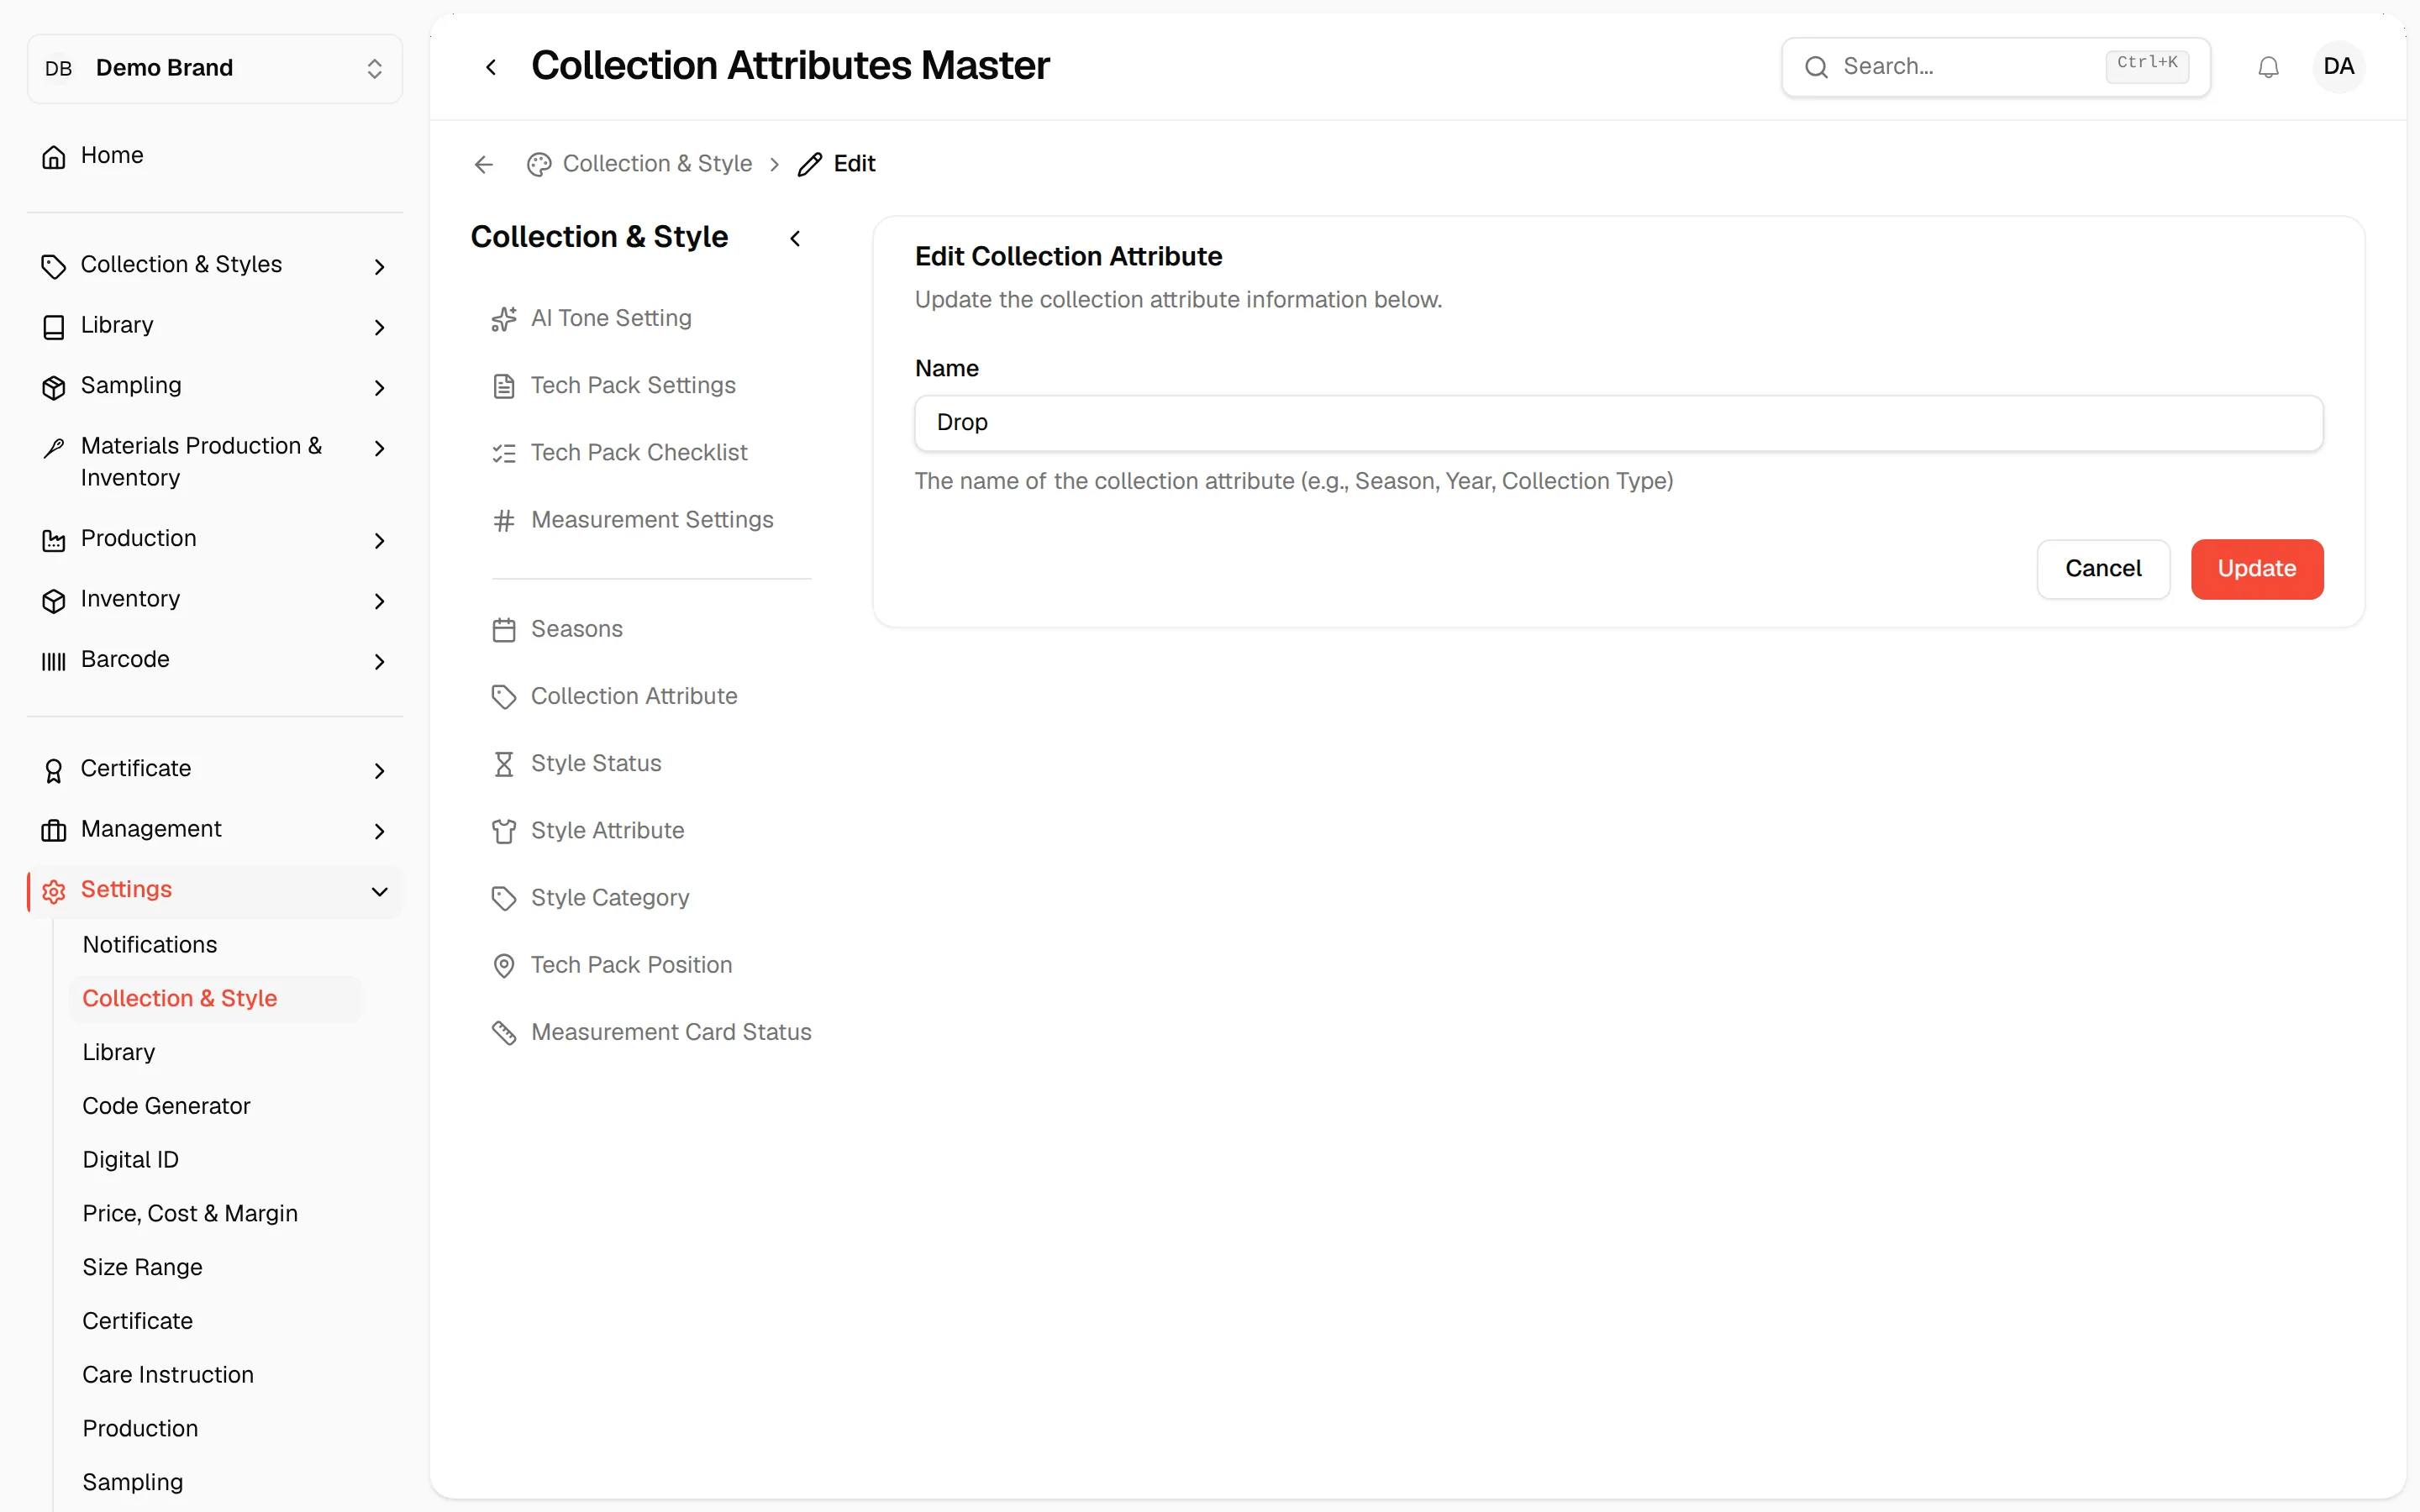
View collection attribute
This means that when you want to create a new Collection Attribute, you must first choose an Attribute Master (a main category or grouping). After selecting the appropriate Attribute Master, you can add a Collection Attribute to that group.
- Click the three-dot menu in the attribute's row and select View attributes
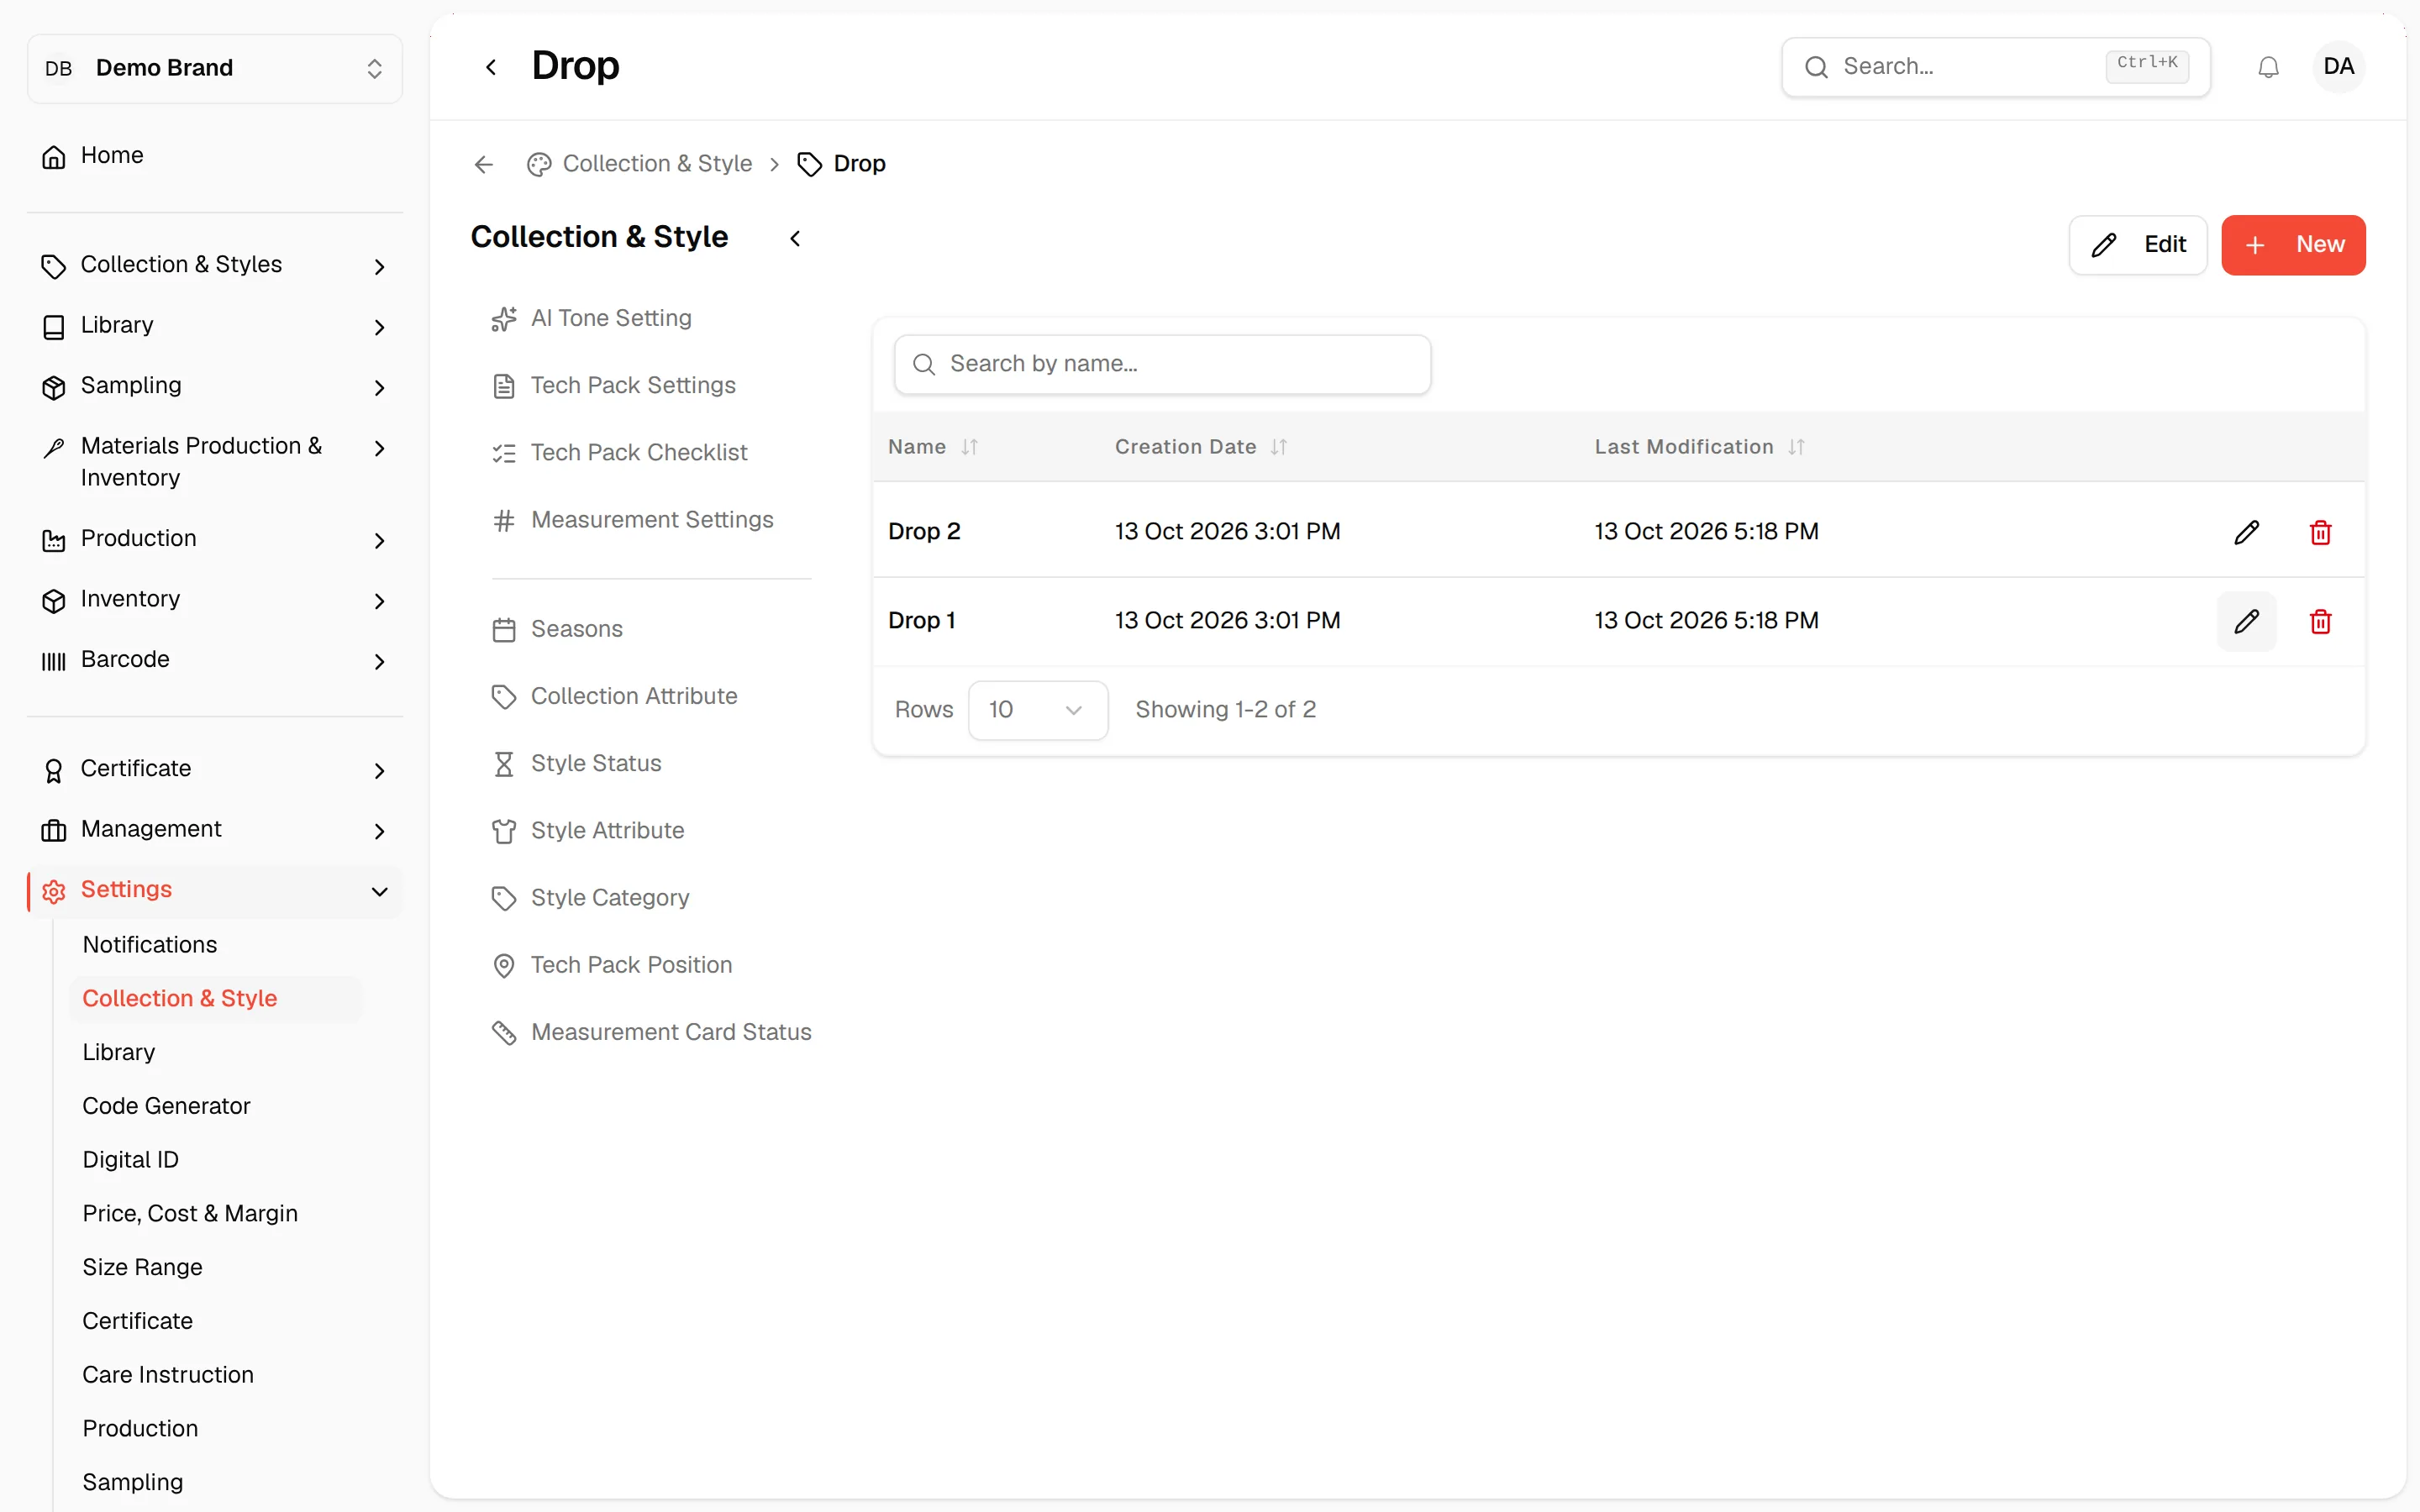
- Click the 'New' button - a Create Collection Attribute Child window will show up under the selected Main Attribute collection.
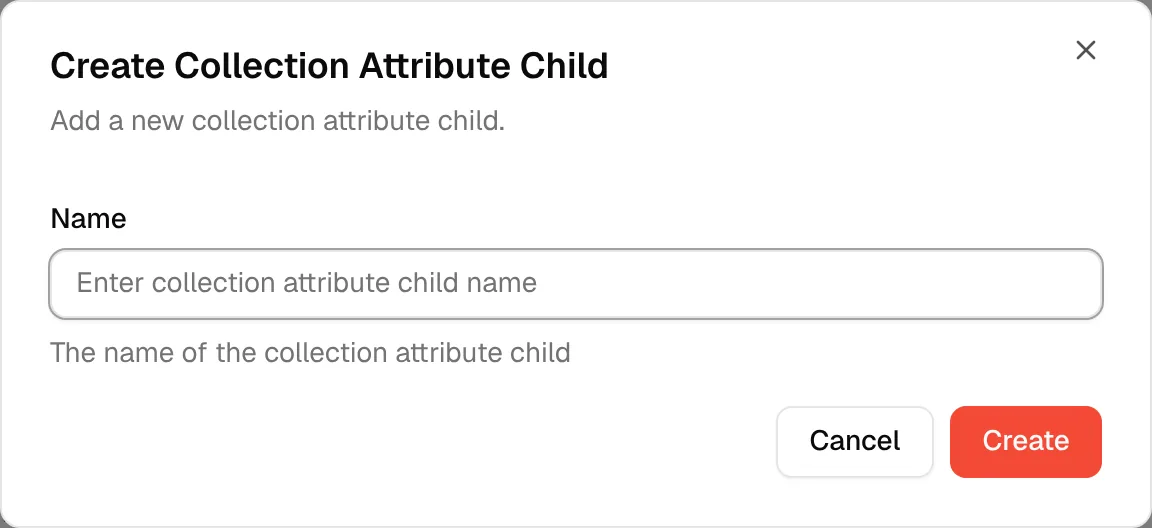
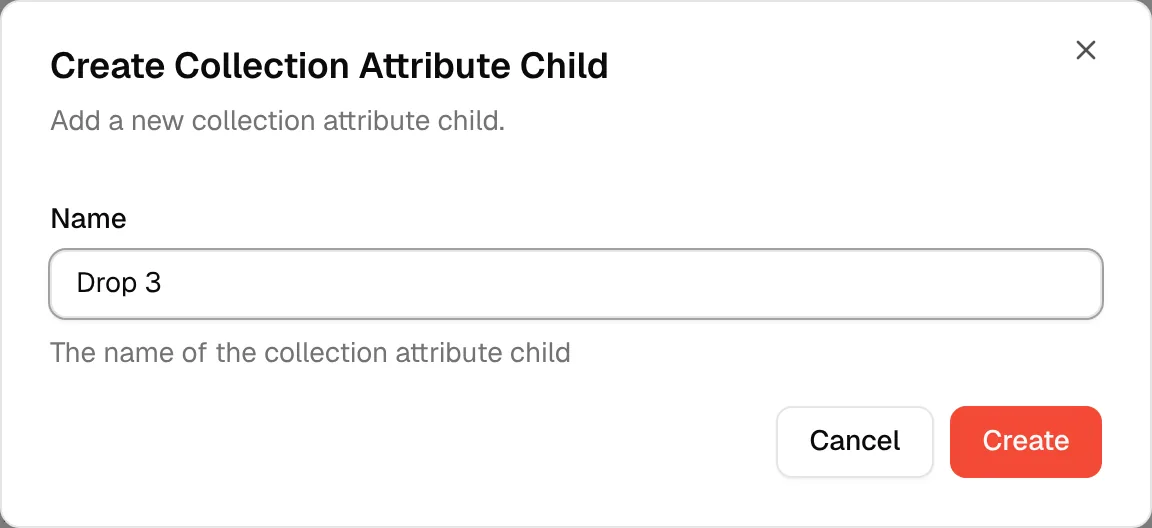
- Name - *mandatory
- Click Create to finish
To change or remove an attribute inside a main attribute, use the pen icon (edit) or the trash icon (delete) in its row. Editing opens an Edit Collection Attribute Child window with the Name field and an Update button. The table also shows Creation Date and Last Modification.
Delete collection attribute
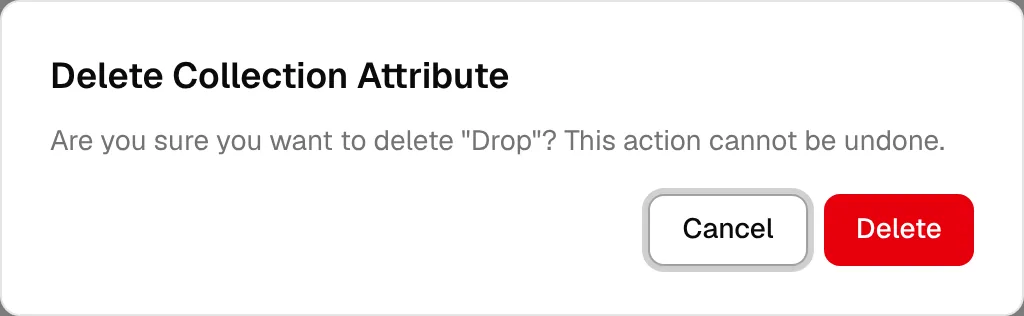
Click the three-dot menu in the main attribute's row and select Delete, then click Delete in the Delete Collection Attribute confirmation. This cannot be undone.
Note
Edit, New and Delete only appear when your role has the matching collection attribute permission.
Through the create collection page
Navigate to the Collection Attributes field in the Create Collection page.
- Click Add Attribute - the Add Collection Attribute window opens
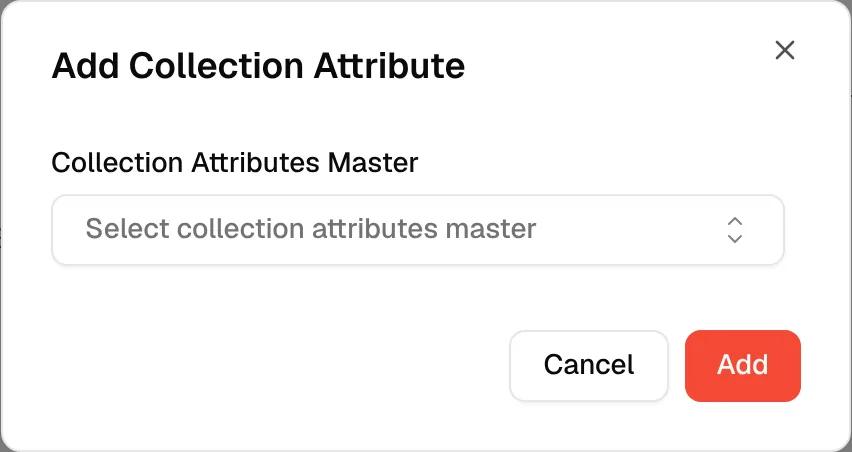
- Select a Collection Attributes Master in the first field. To create a new master, type its name and choose the Add option in the list
- Select a Collection Attribute in the second field, or create a new one the same way
- Click Add to attach the attribute to the collection
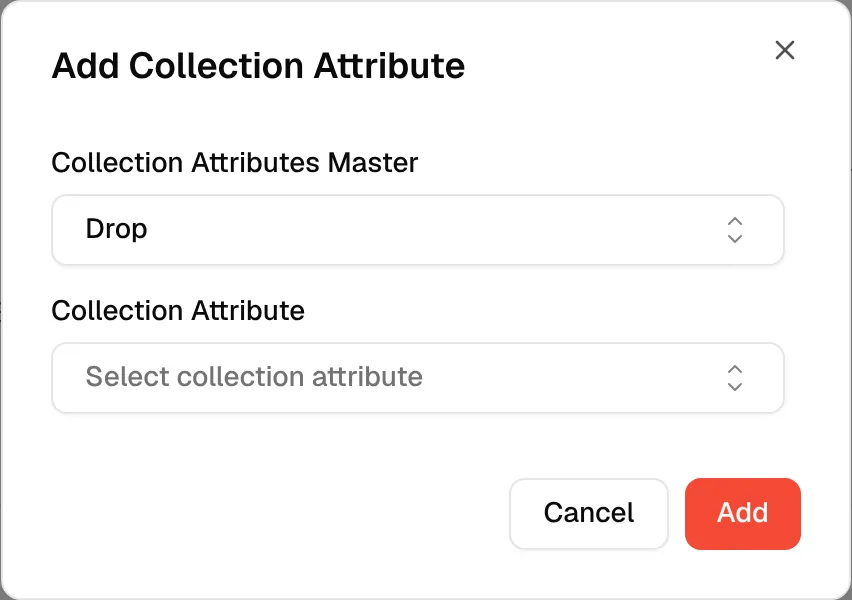
Nb: Users can create and assign multiple Collection Attributes to a Collection.