
Manage created measurement library
The Manage Created Measurement Library feature in Vestis Labs helps users efficiently organize, update, publish, unpublish, and maintain measurement templates used across products and…
Under review. This page is published while we check it against the live app, so some details may have changed.
Screenshots may be out of date.
The Manage Created Measurement Library feature in Vestis Labs helps users efficiently organize, update, publish, unpublish, and maintain measurement templates used across products and styles. This section allows teams to manage measurement cards, grading rules, size charts, and related notes from a centralized library.
Open the Measurements page from the Library menu.
- Select the measurement card you want to manage.
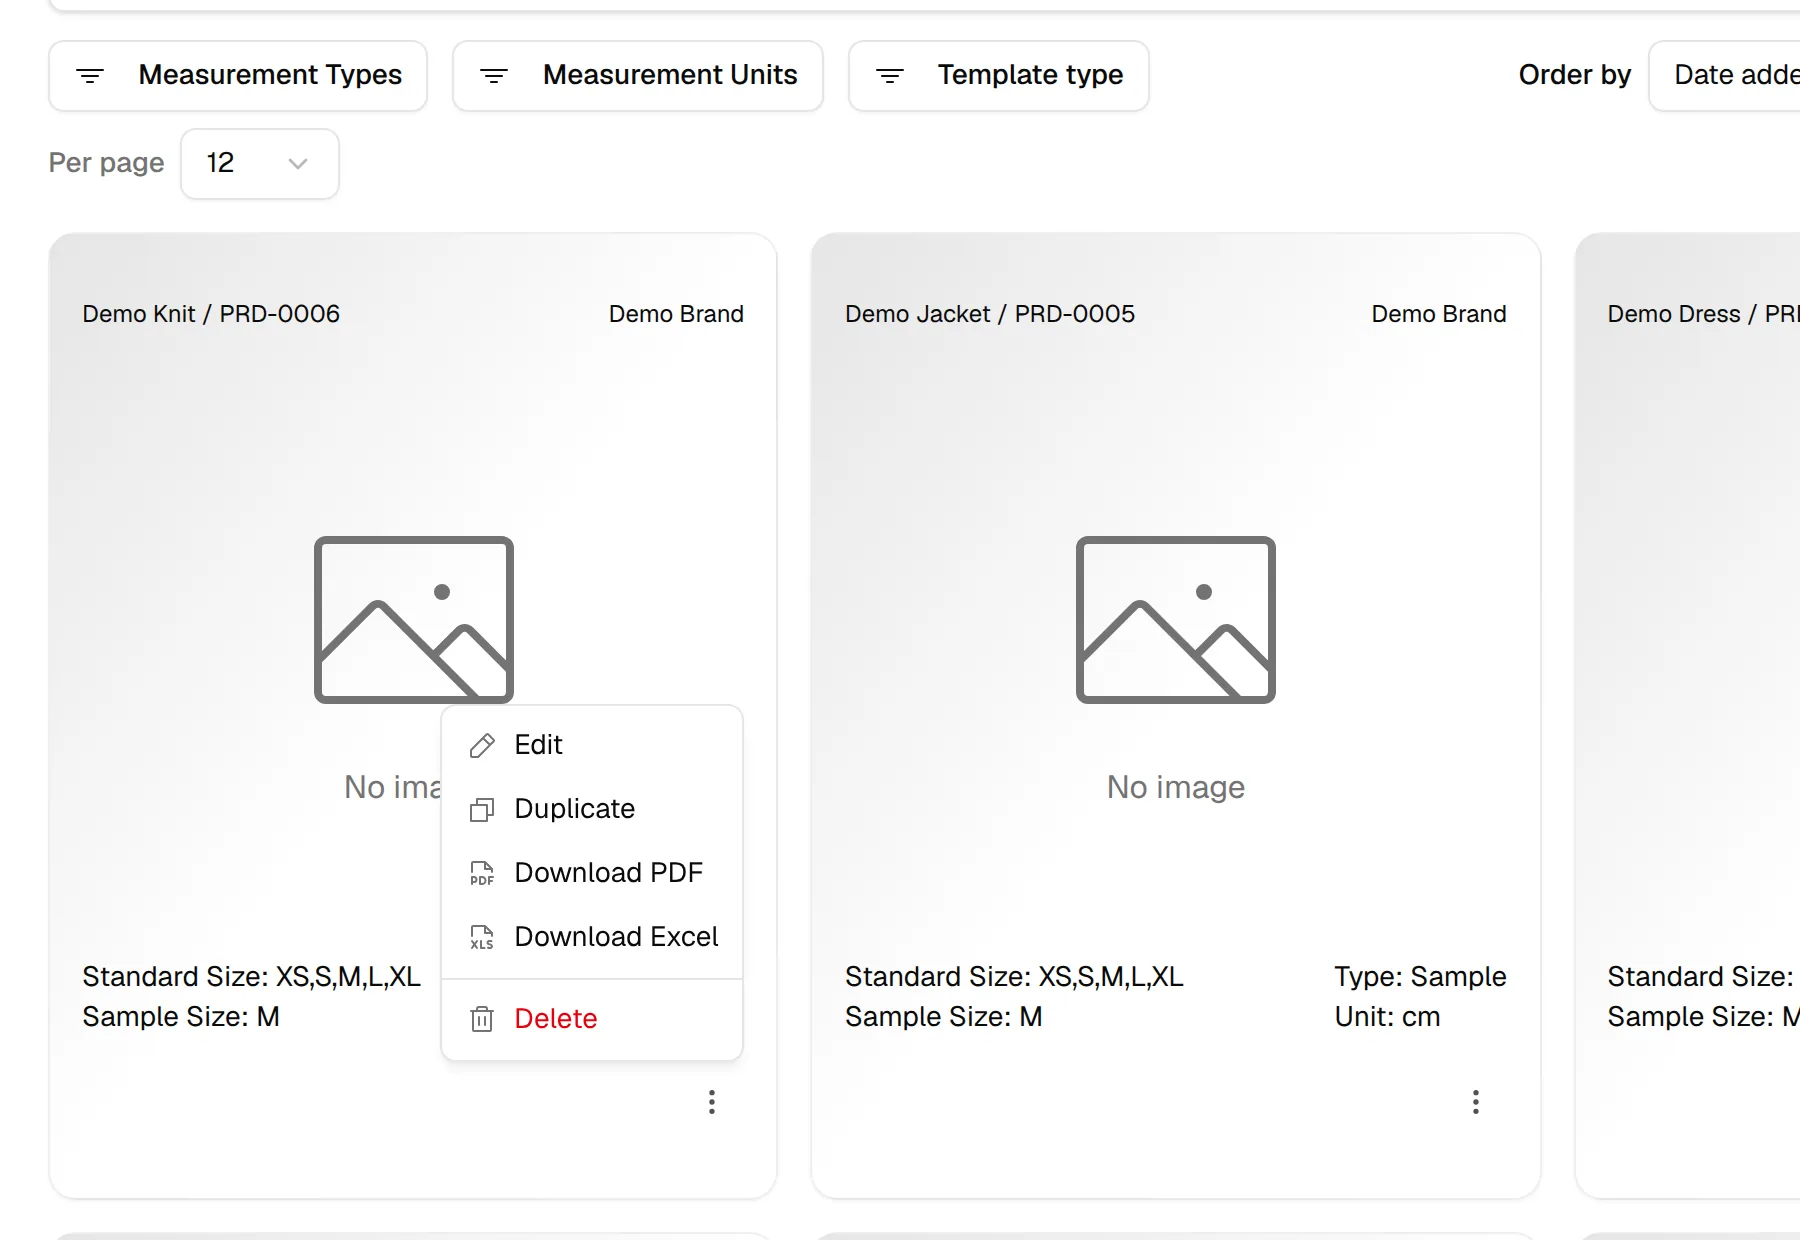
Update the measurement information, such as measurement card name, standard size, sample size, unit, and grading rule if needed.
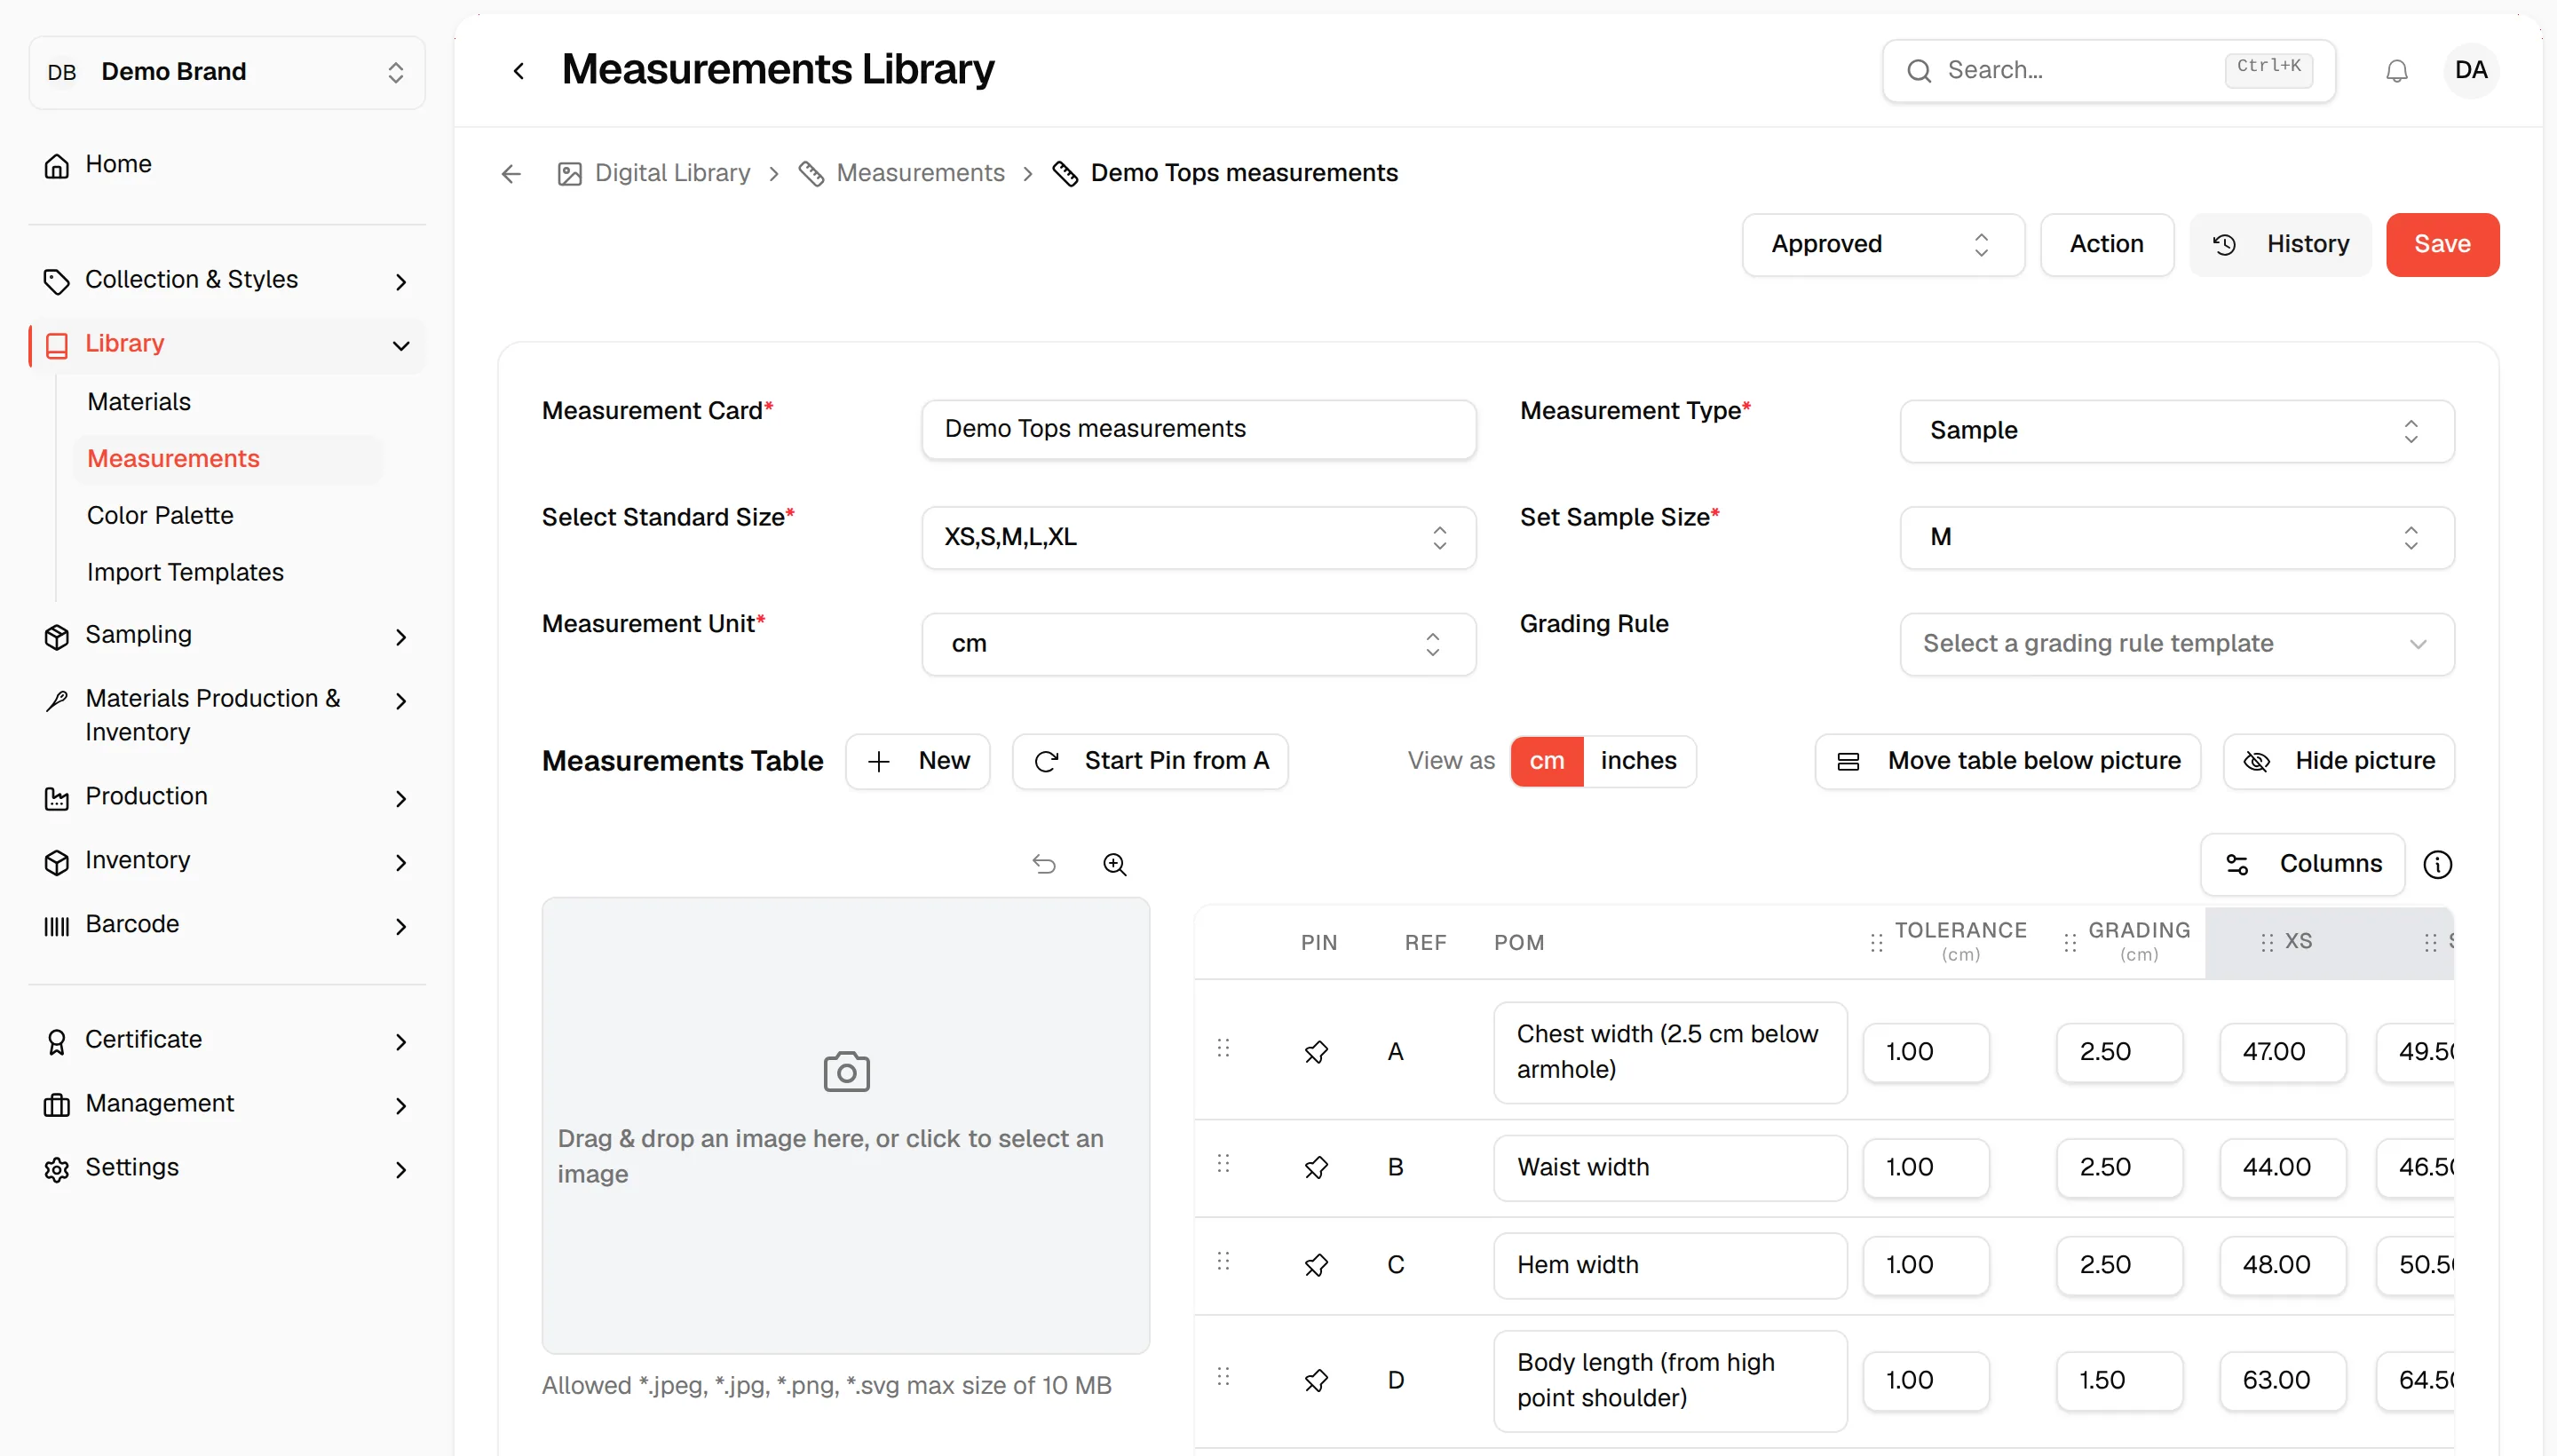
- Click the Select Status dropdown to choose the measurement status, such as Draft, Approved, Needs Changes, or Not Approved.
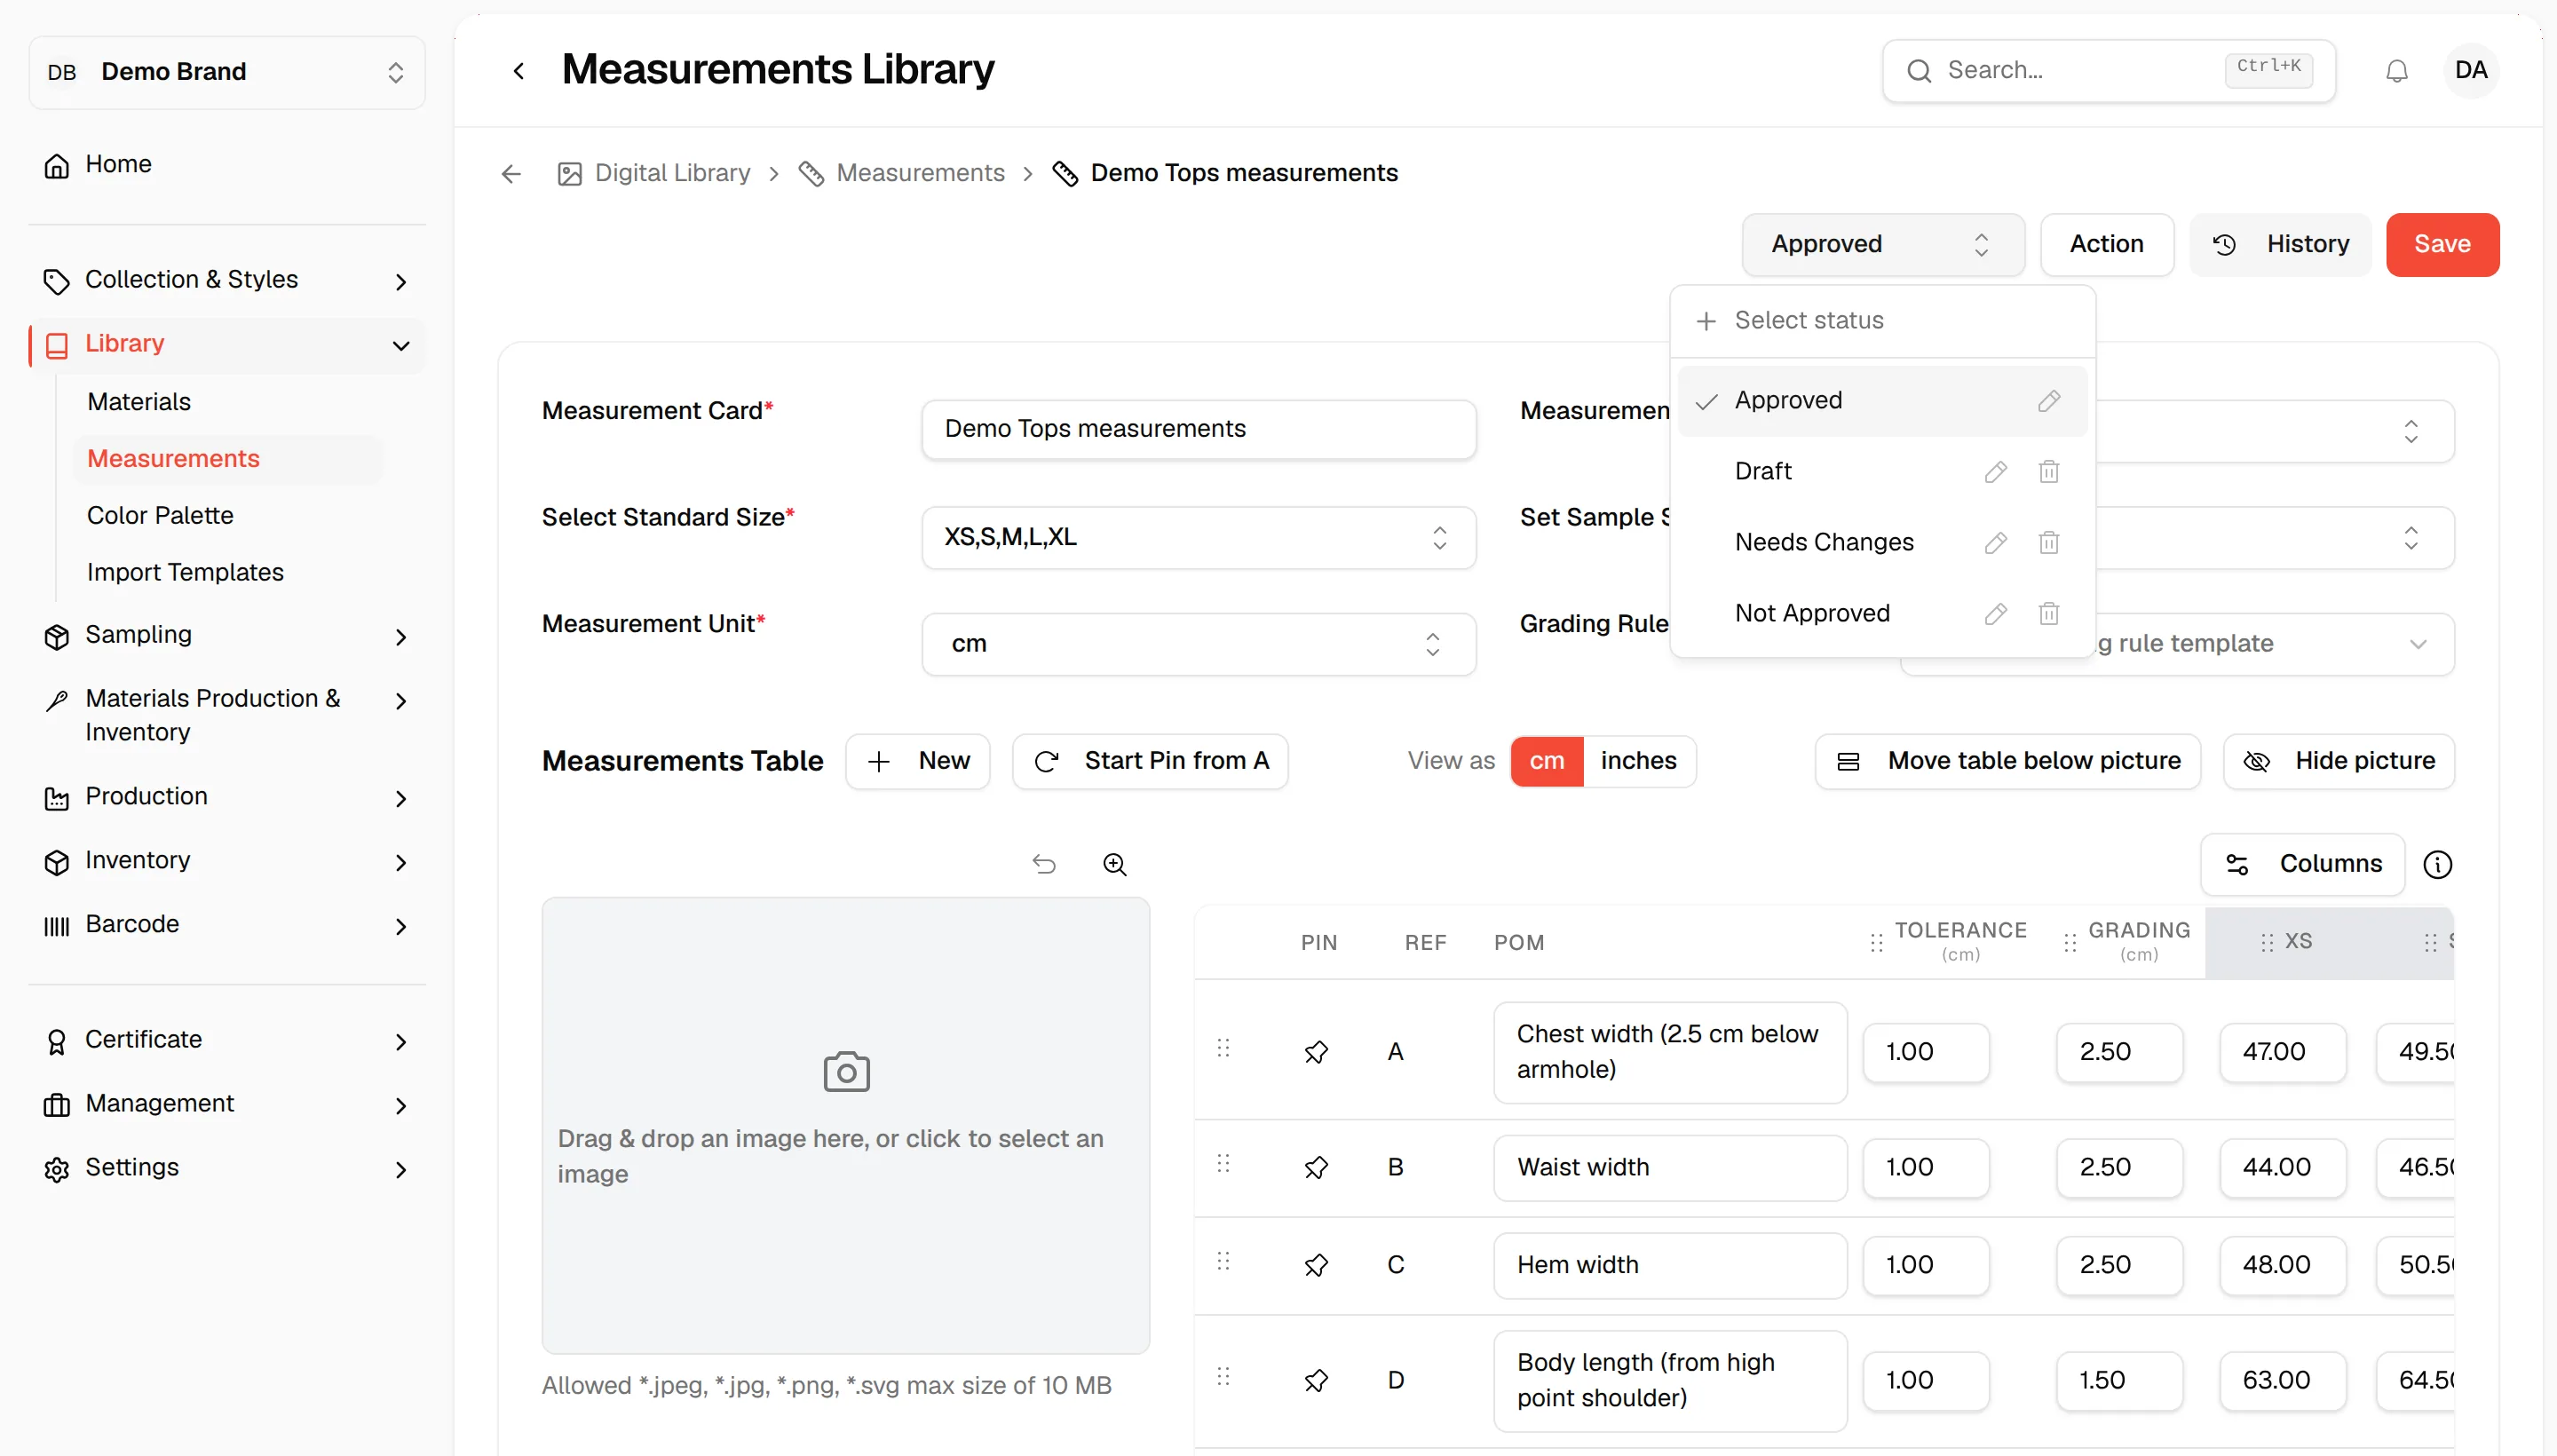
Click the Action button to open additional options:
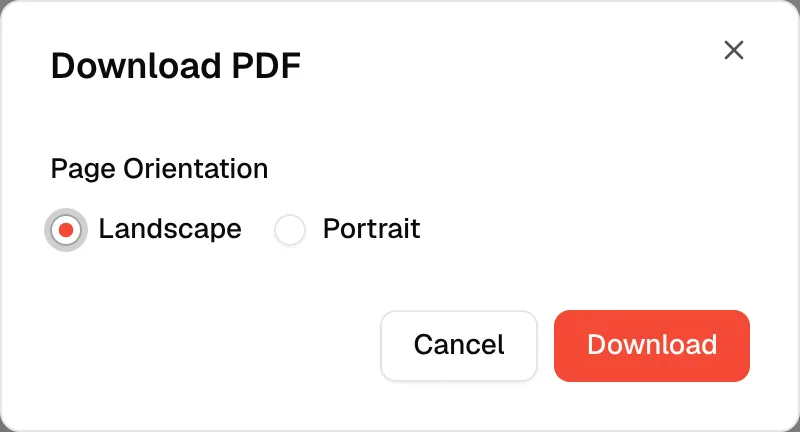
- Download PDF: Download the measurement data in PDF format.
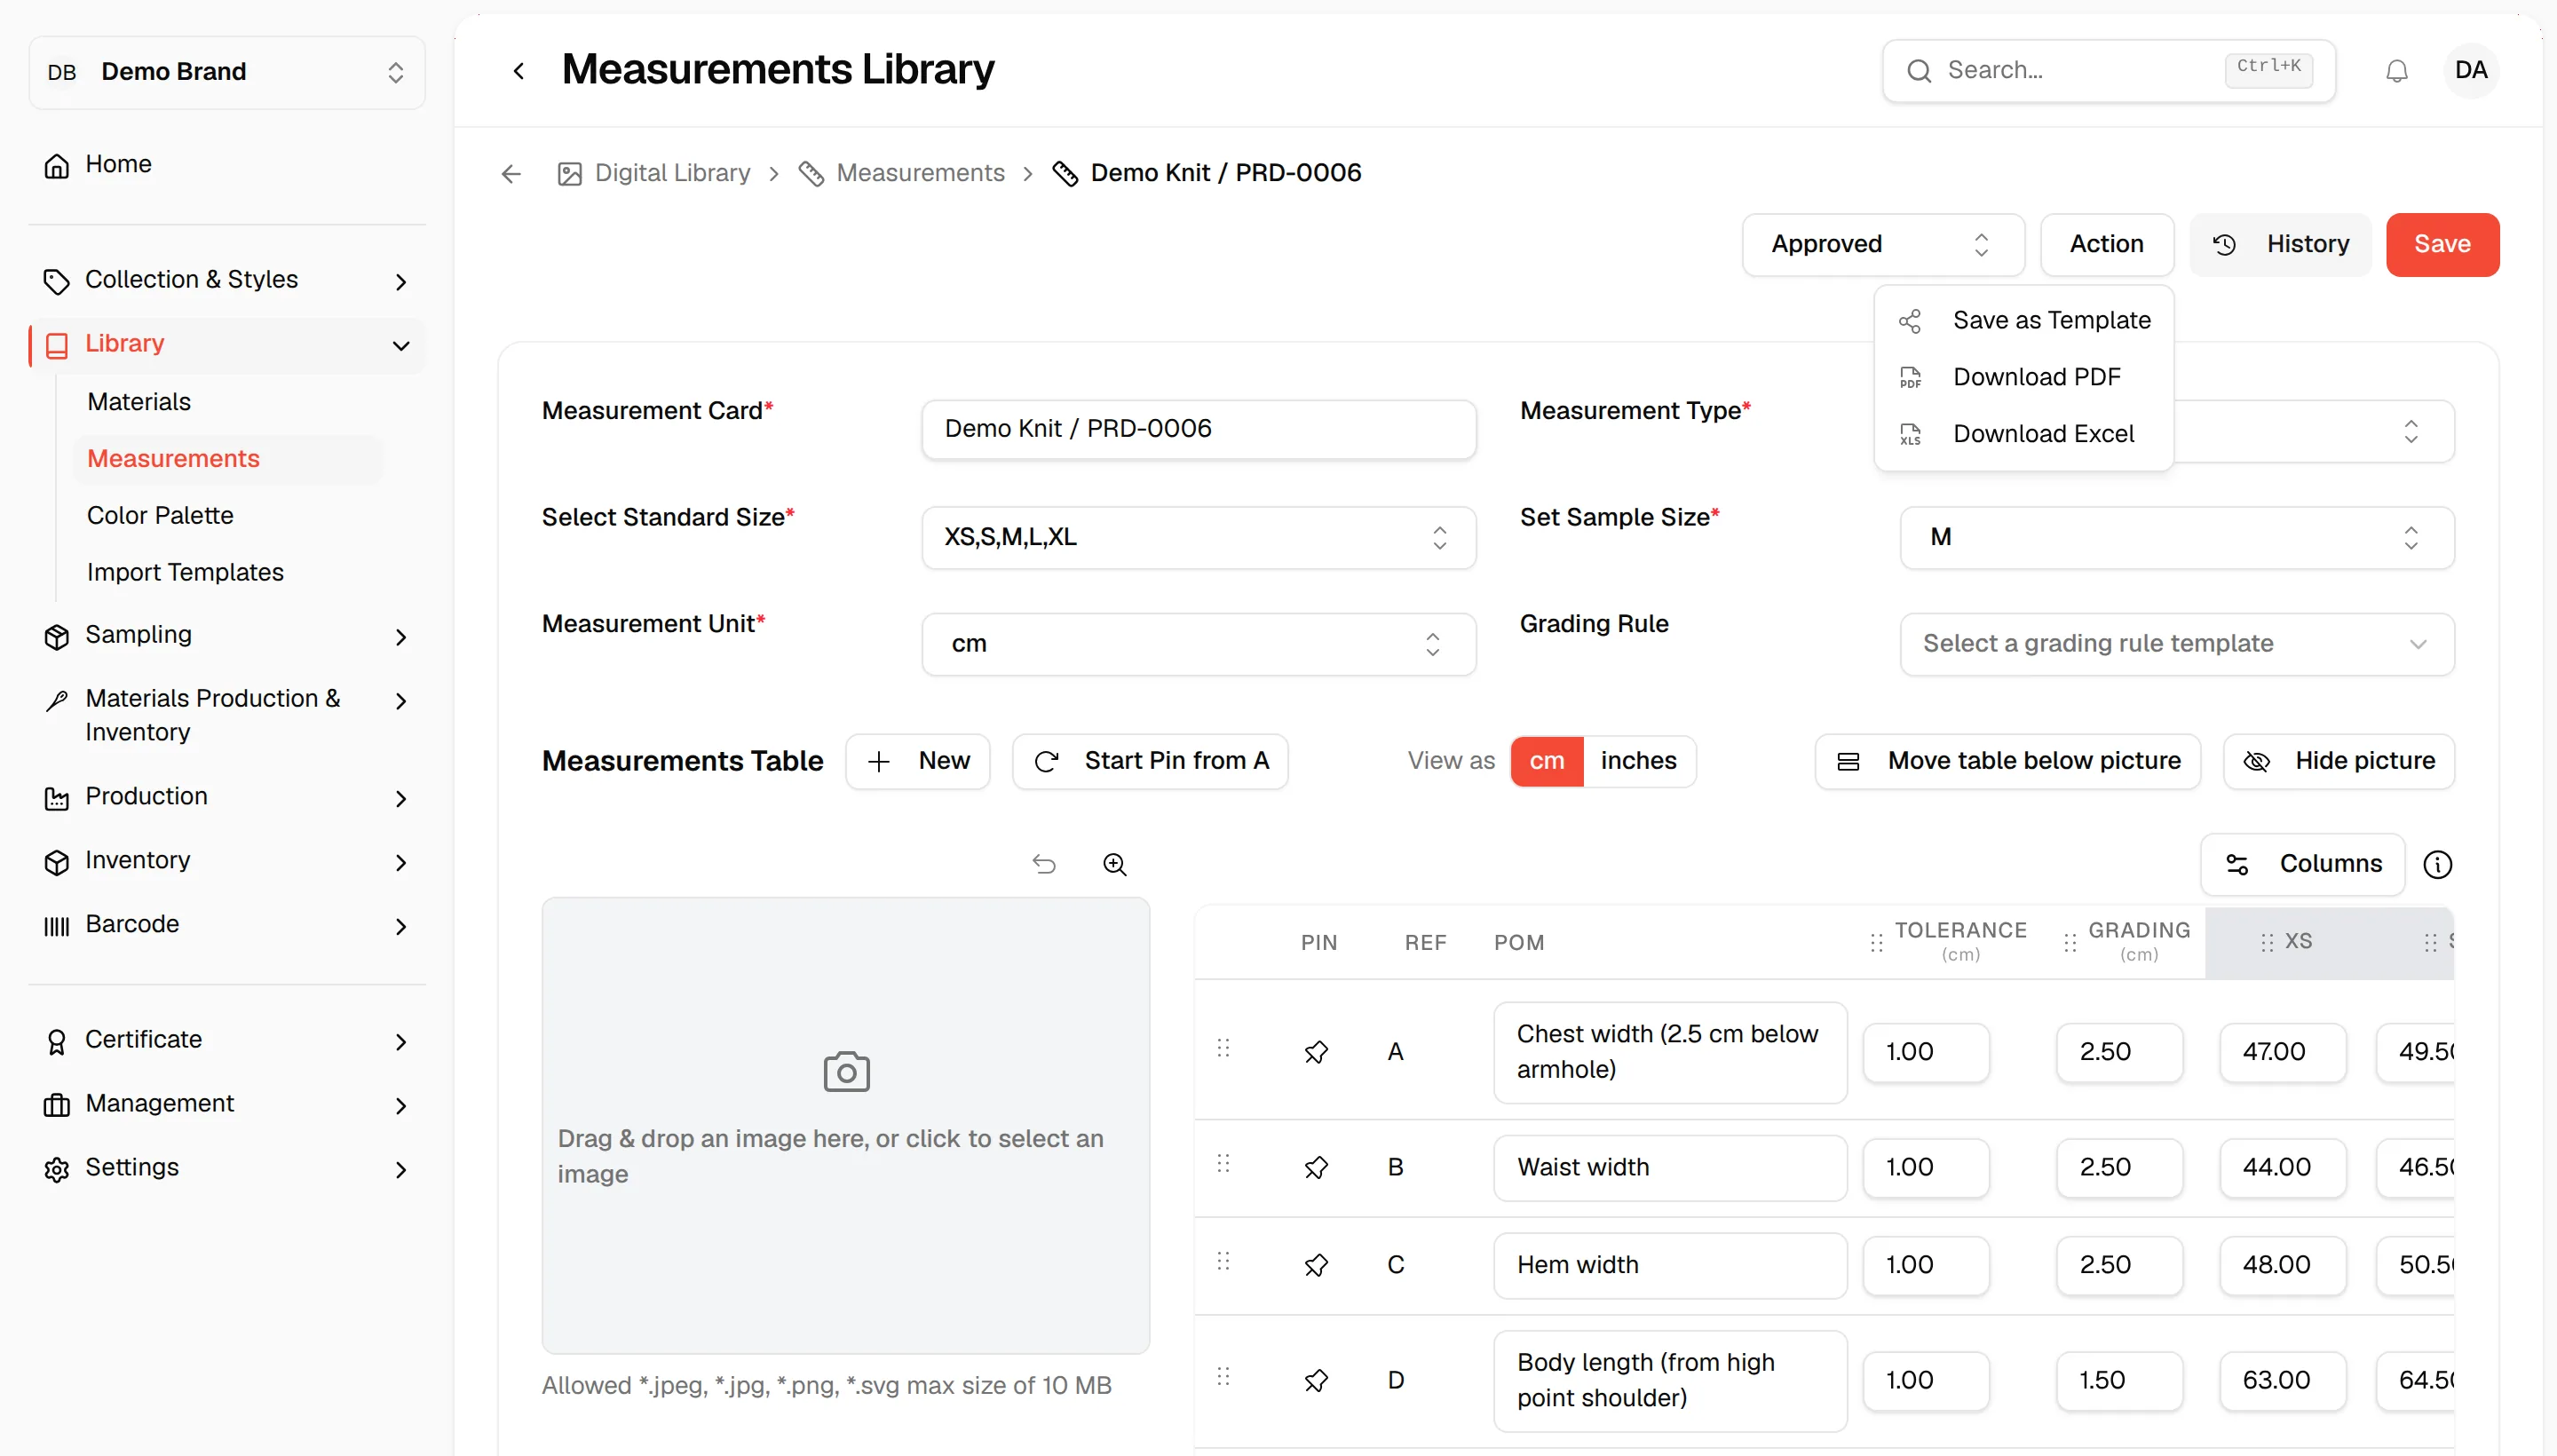
- Choose the page orientation: Landscape or Portrait
- Click the Download button to export the PDF.
Click the Action button to open additional options:
- Download Excel: Download the measurement data in Excel format.
Click the Action button to open additional options:
- Save as Template: Save the current measurement as a reusable template.
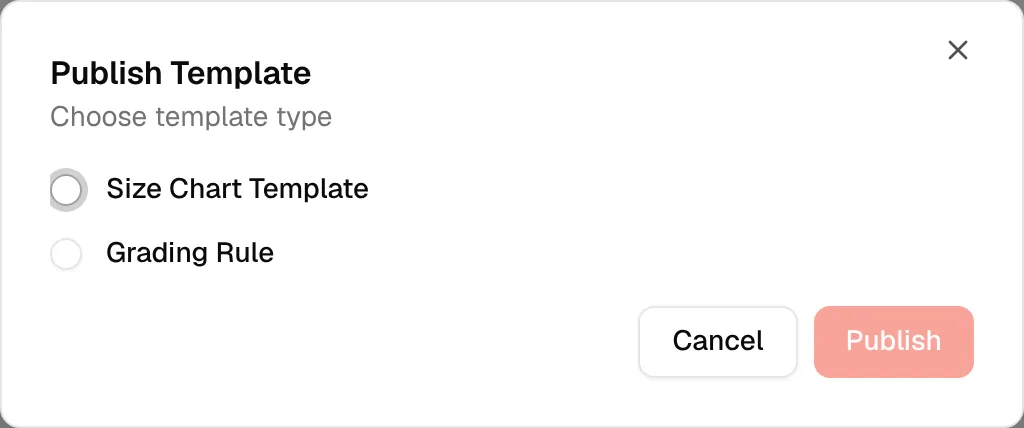
Select Publish Template.
- Choose the template type: Size Chart Template or Grading Rule
- Click the Publish button to confirm.
Note
Only published templates will be available for reuse across the system.
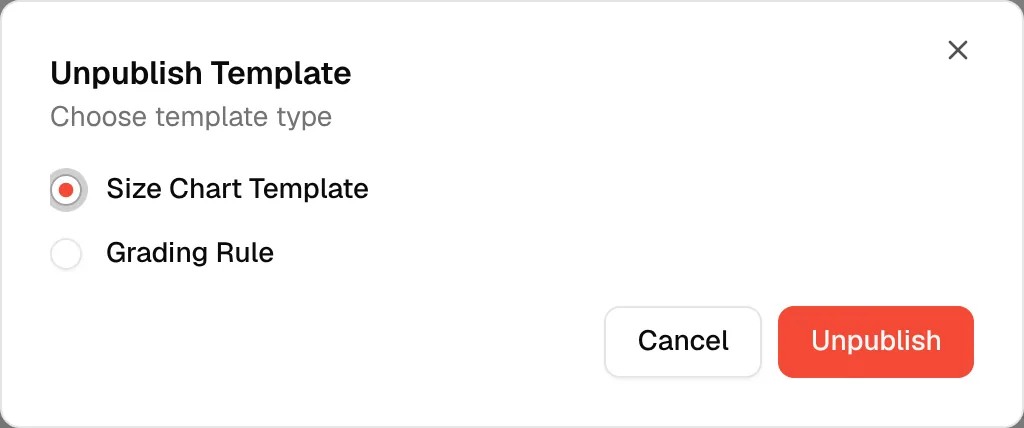
Select Unpublish Template.
Choose the template type: Size Chart Template or Grading Rule
Click the Unpublish button to confirm.
Note
Unpublishing a template removes it from the reusable template list but does not delete the measurement card.
Enter or update the required measurement table.
Enter or update the required notes.
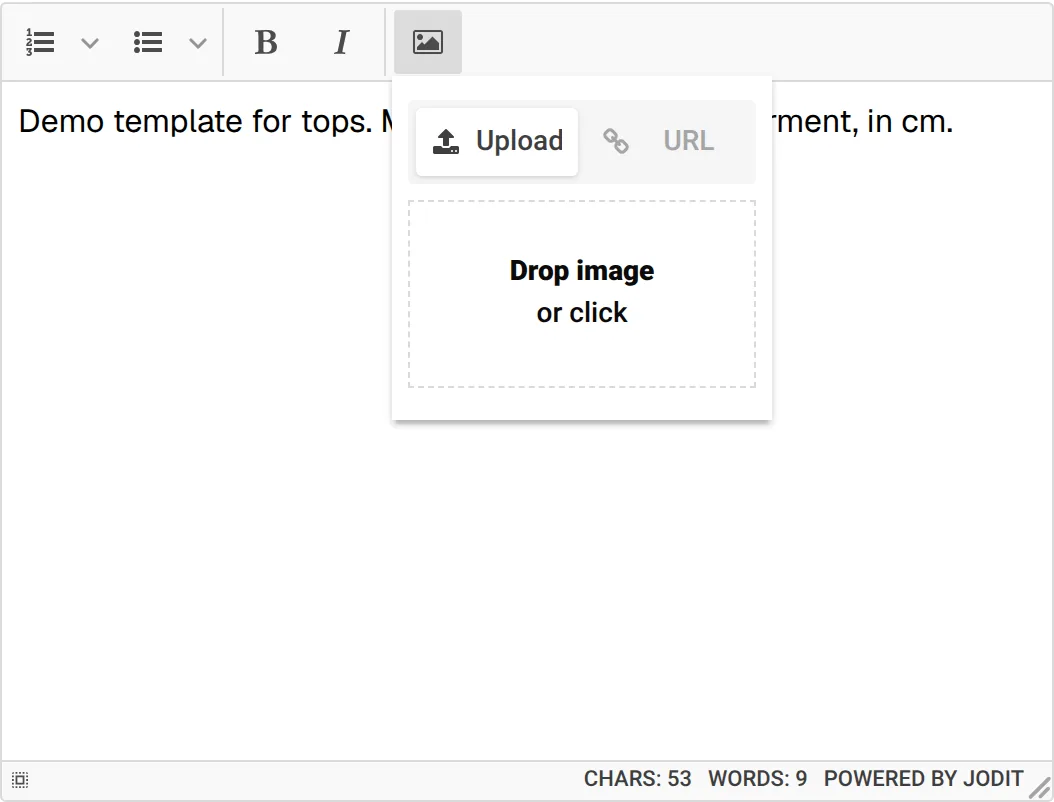
Adding an Image to the Note
Click the Image icon in the toolbar, select Upload.
Either:
- Drag and drop an image into the “Drop image or click” area, or
- Click the area and select an image from your device.
Click the Save button at the bottom-right corner.
Update the default template measurement table
**Open the default template measurement card
** Navigate to the style's Measurement Card page.
Update the Measurement Card name (e.g., Blussy Jacket / JAC-001), Measurement Type (e.g., Final Spec), Select Standard Size (e.g., XS, S, M, L, XL), Set Sample Size (e.g., XS), and Measurement Unit (e.g., cm).
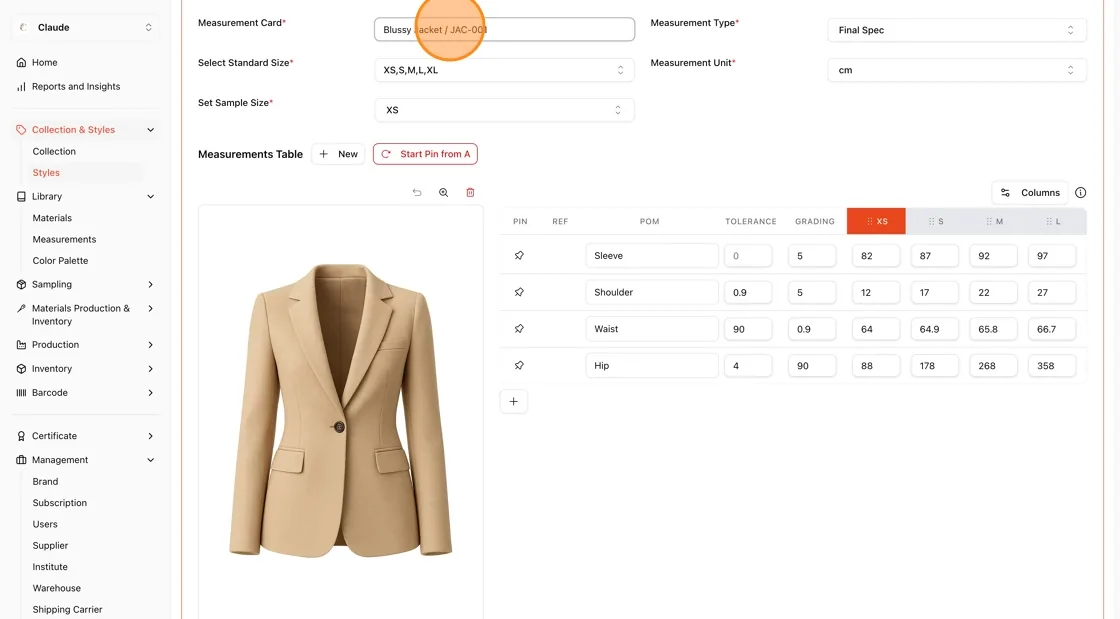
Review the Measurements Table
Check the Measurements Table, which lists each point of measure (POM — Sleeve, Shoulder, Waist, Hip, etc.) along with Tolerance, Grading, and the value per size (XS, S, M, L). Use + New to add a row, or Start Pin from A to begin pinning measurement points on the garment image.
Add a note (optional)
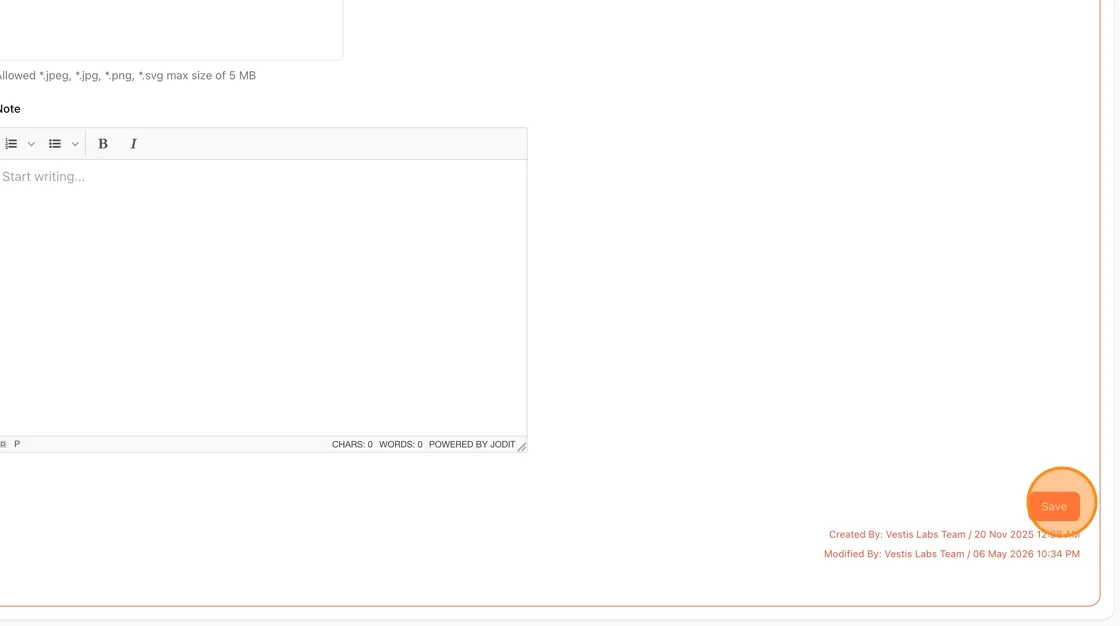
Scroll down to the Note field if you want to add any comments about the measurement update, then click Save in the bottom-right corner.
Confirm the update
Since this measurement is linked to a Style Input, a Confirm Update modal appears, warning. Click the red Save button in the modal to finalize the update (or Cancel to back out without saving).
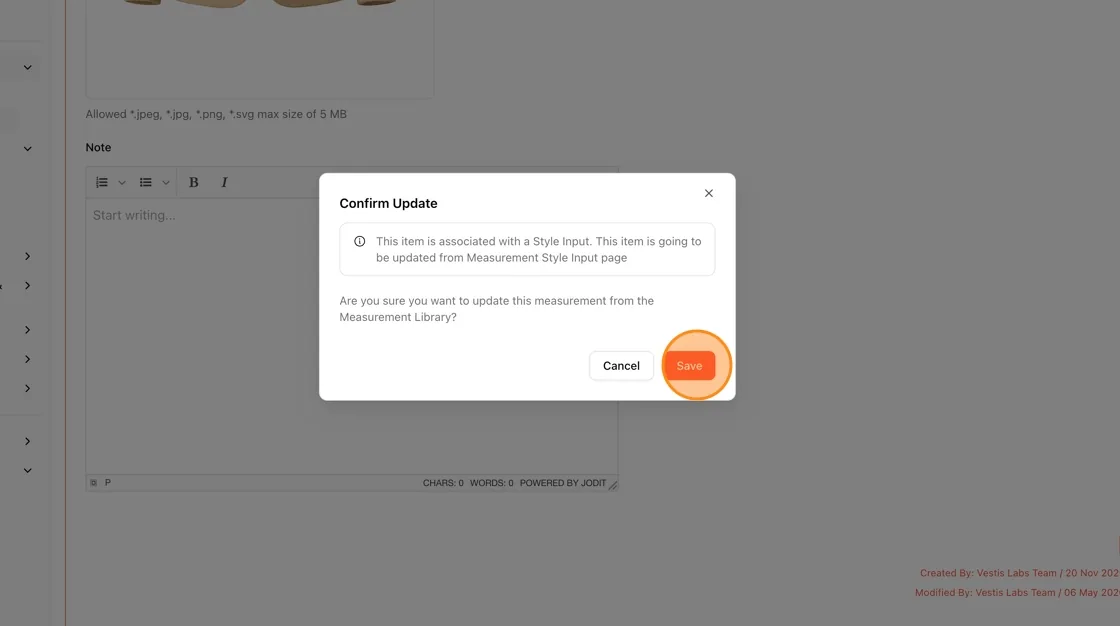
The measurement values are updated in the Measurement Library and propagated to the linked Style Input with a new measurement card.