
Step 2 of 9 in Run a sampling round
Create sampling
Create a sample request for a material from the library or for a product (a style, colourway and size) from Sampling Management.
Under review. This page is published while we check it against the live app, so some details may have changed.
You create a sample request from the Create Sample button. There are two kinds: a Material Sample (a material from your library) and a Product Sample (a style, in a colourway and size, built on a measurement card).
SamplingSample Management
Permission: SAMPLING_VIEW,SAMPLING_CREATE
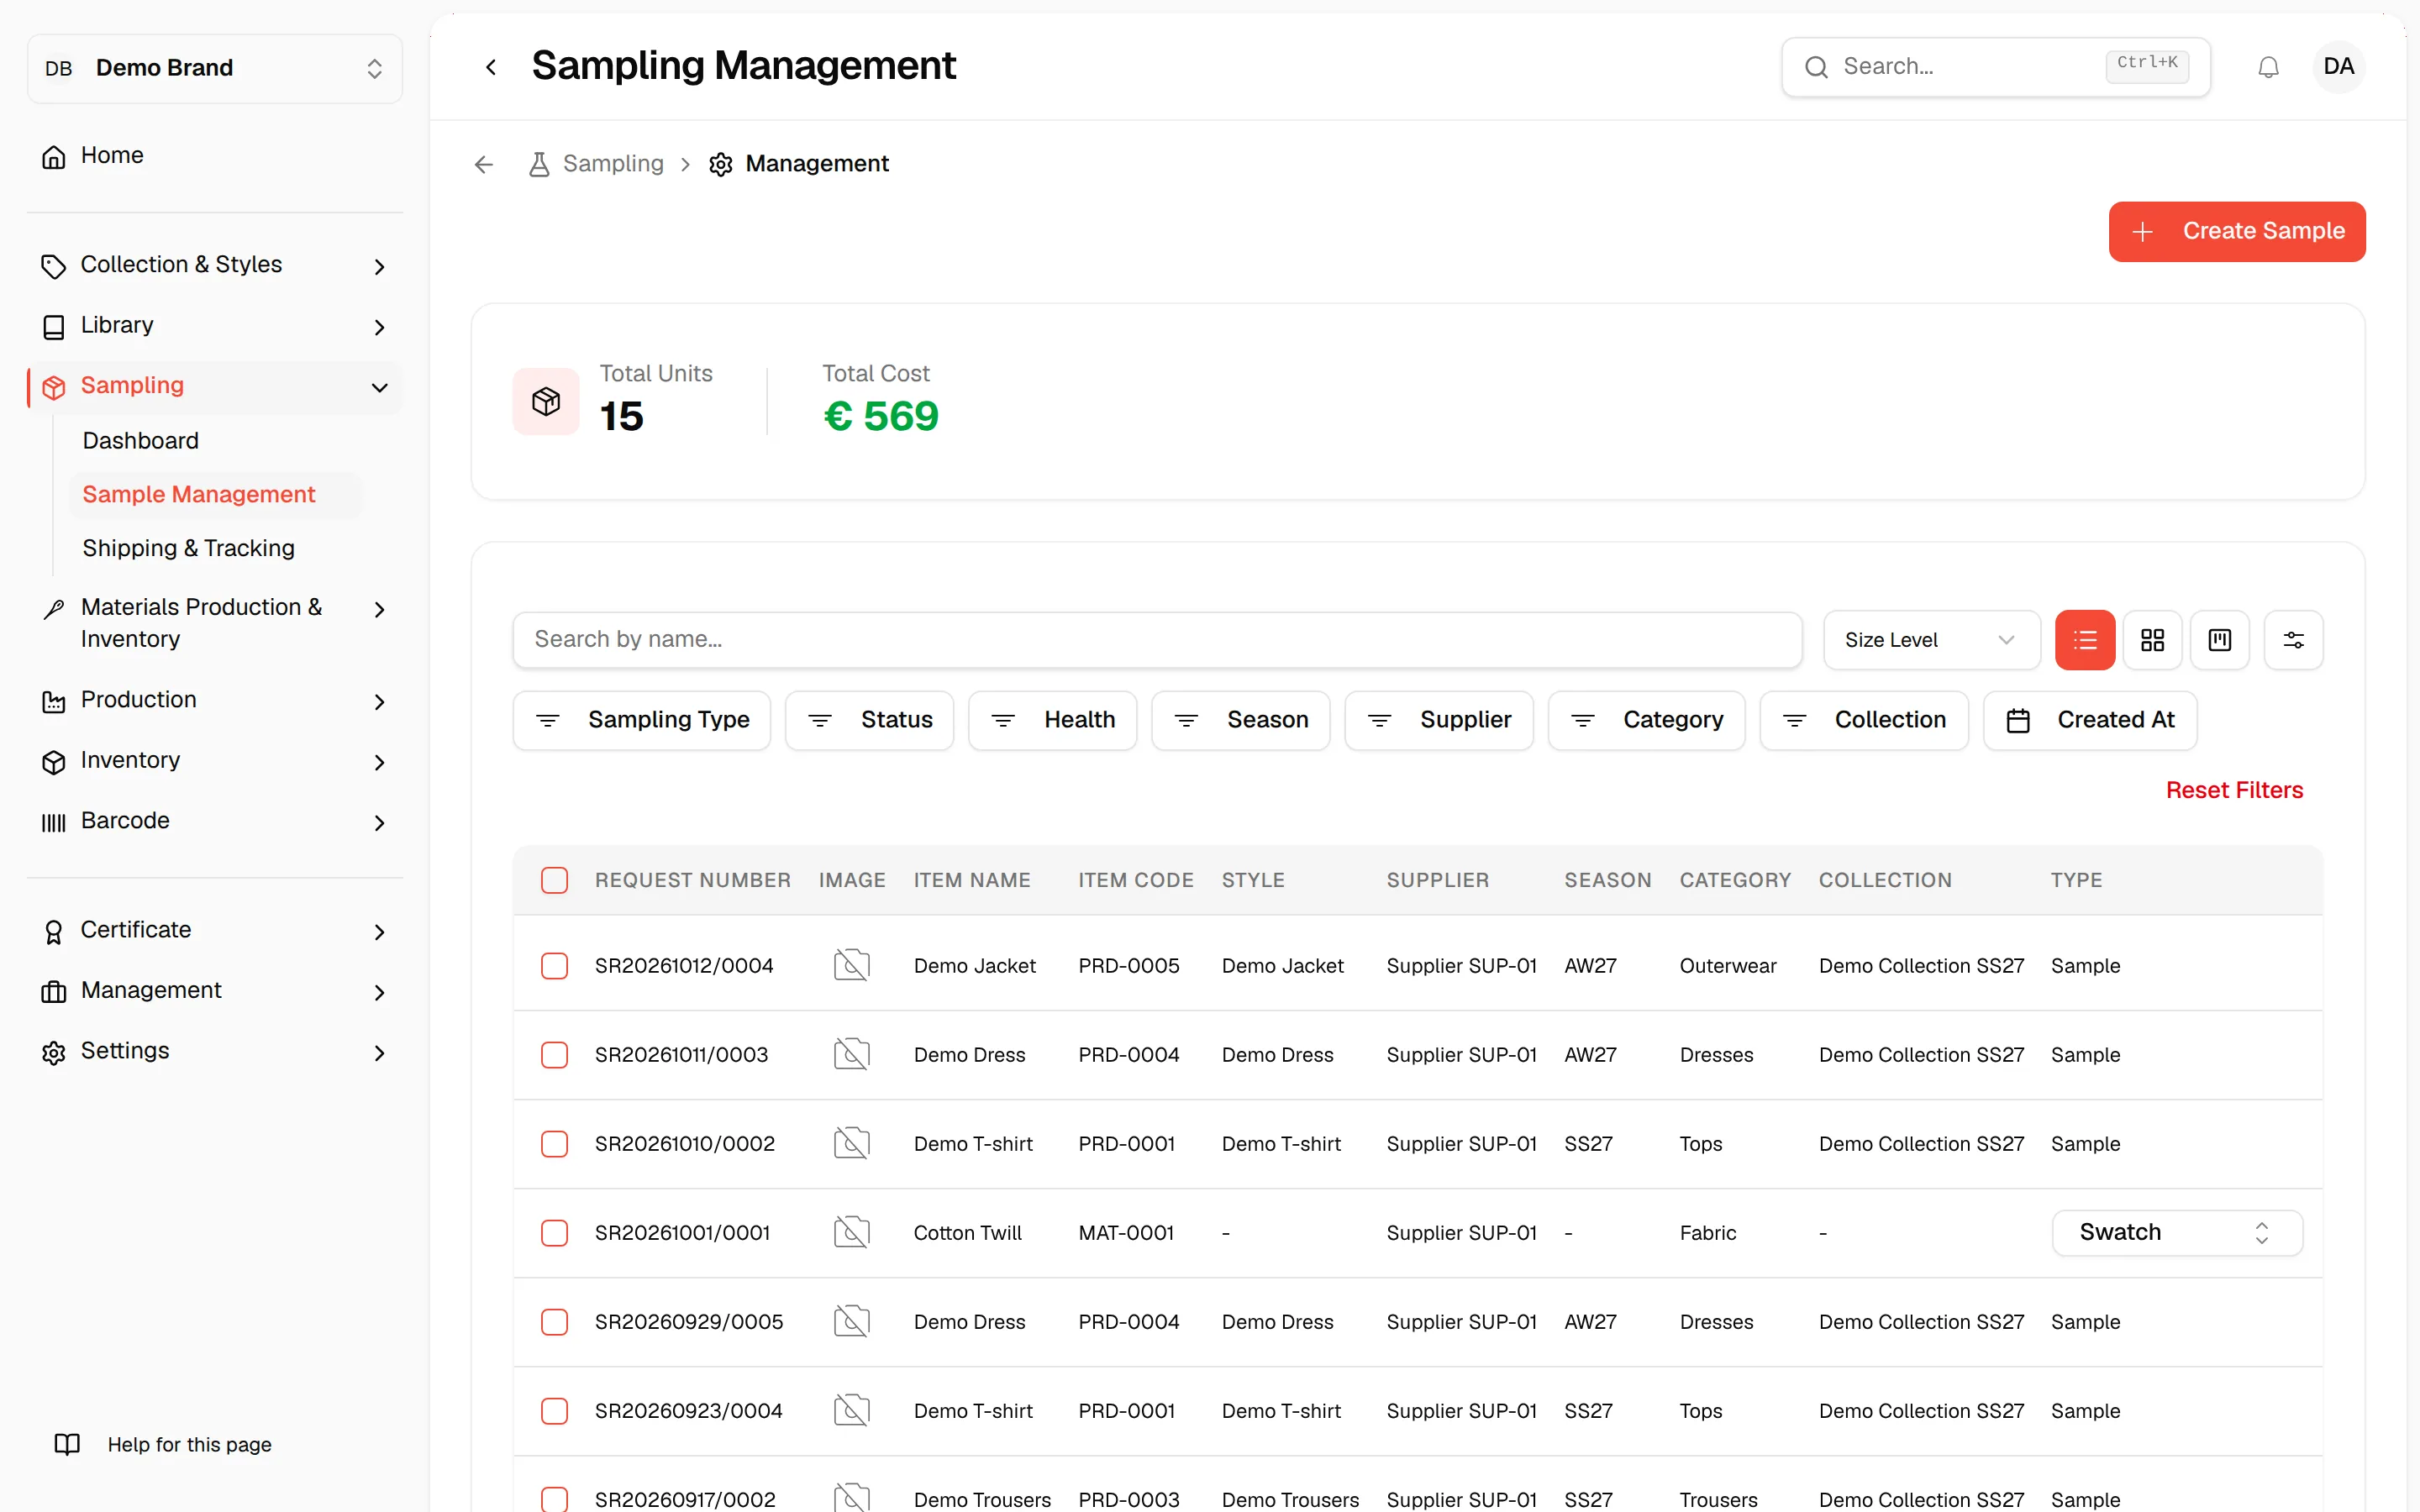
The Create Sample button is shown at the top right of Sample Management and of the Sampling Dashboard. You only see it if you have permission to create samples. If you start from the dashboard, you are taken to Sample Management once the samples are created.
Create a material sample
Open Sample Management
From the left sidebar, click Sampling to expand the section, then click Sample Management.
Click "Create Sample"
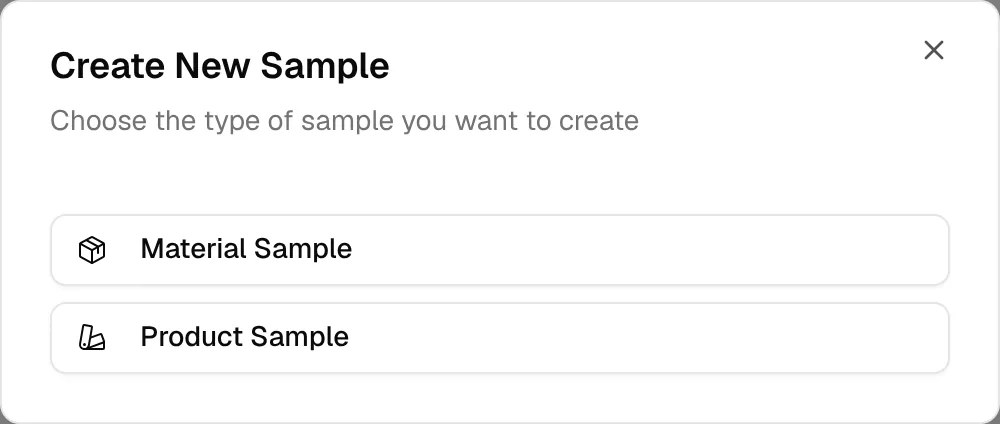
Click the Create Sample button at the top right of the page. The Create New Sample dialog opens with the text Choose the type of sample you want to create.
Select "Material Sample"
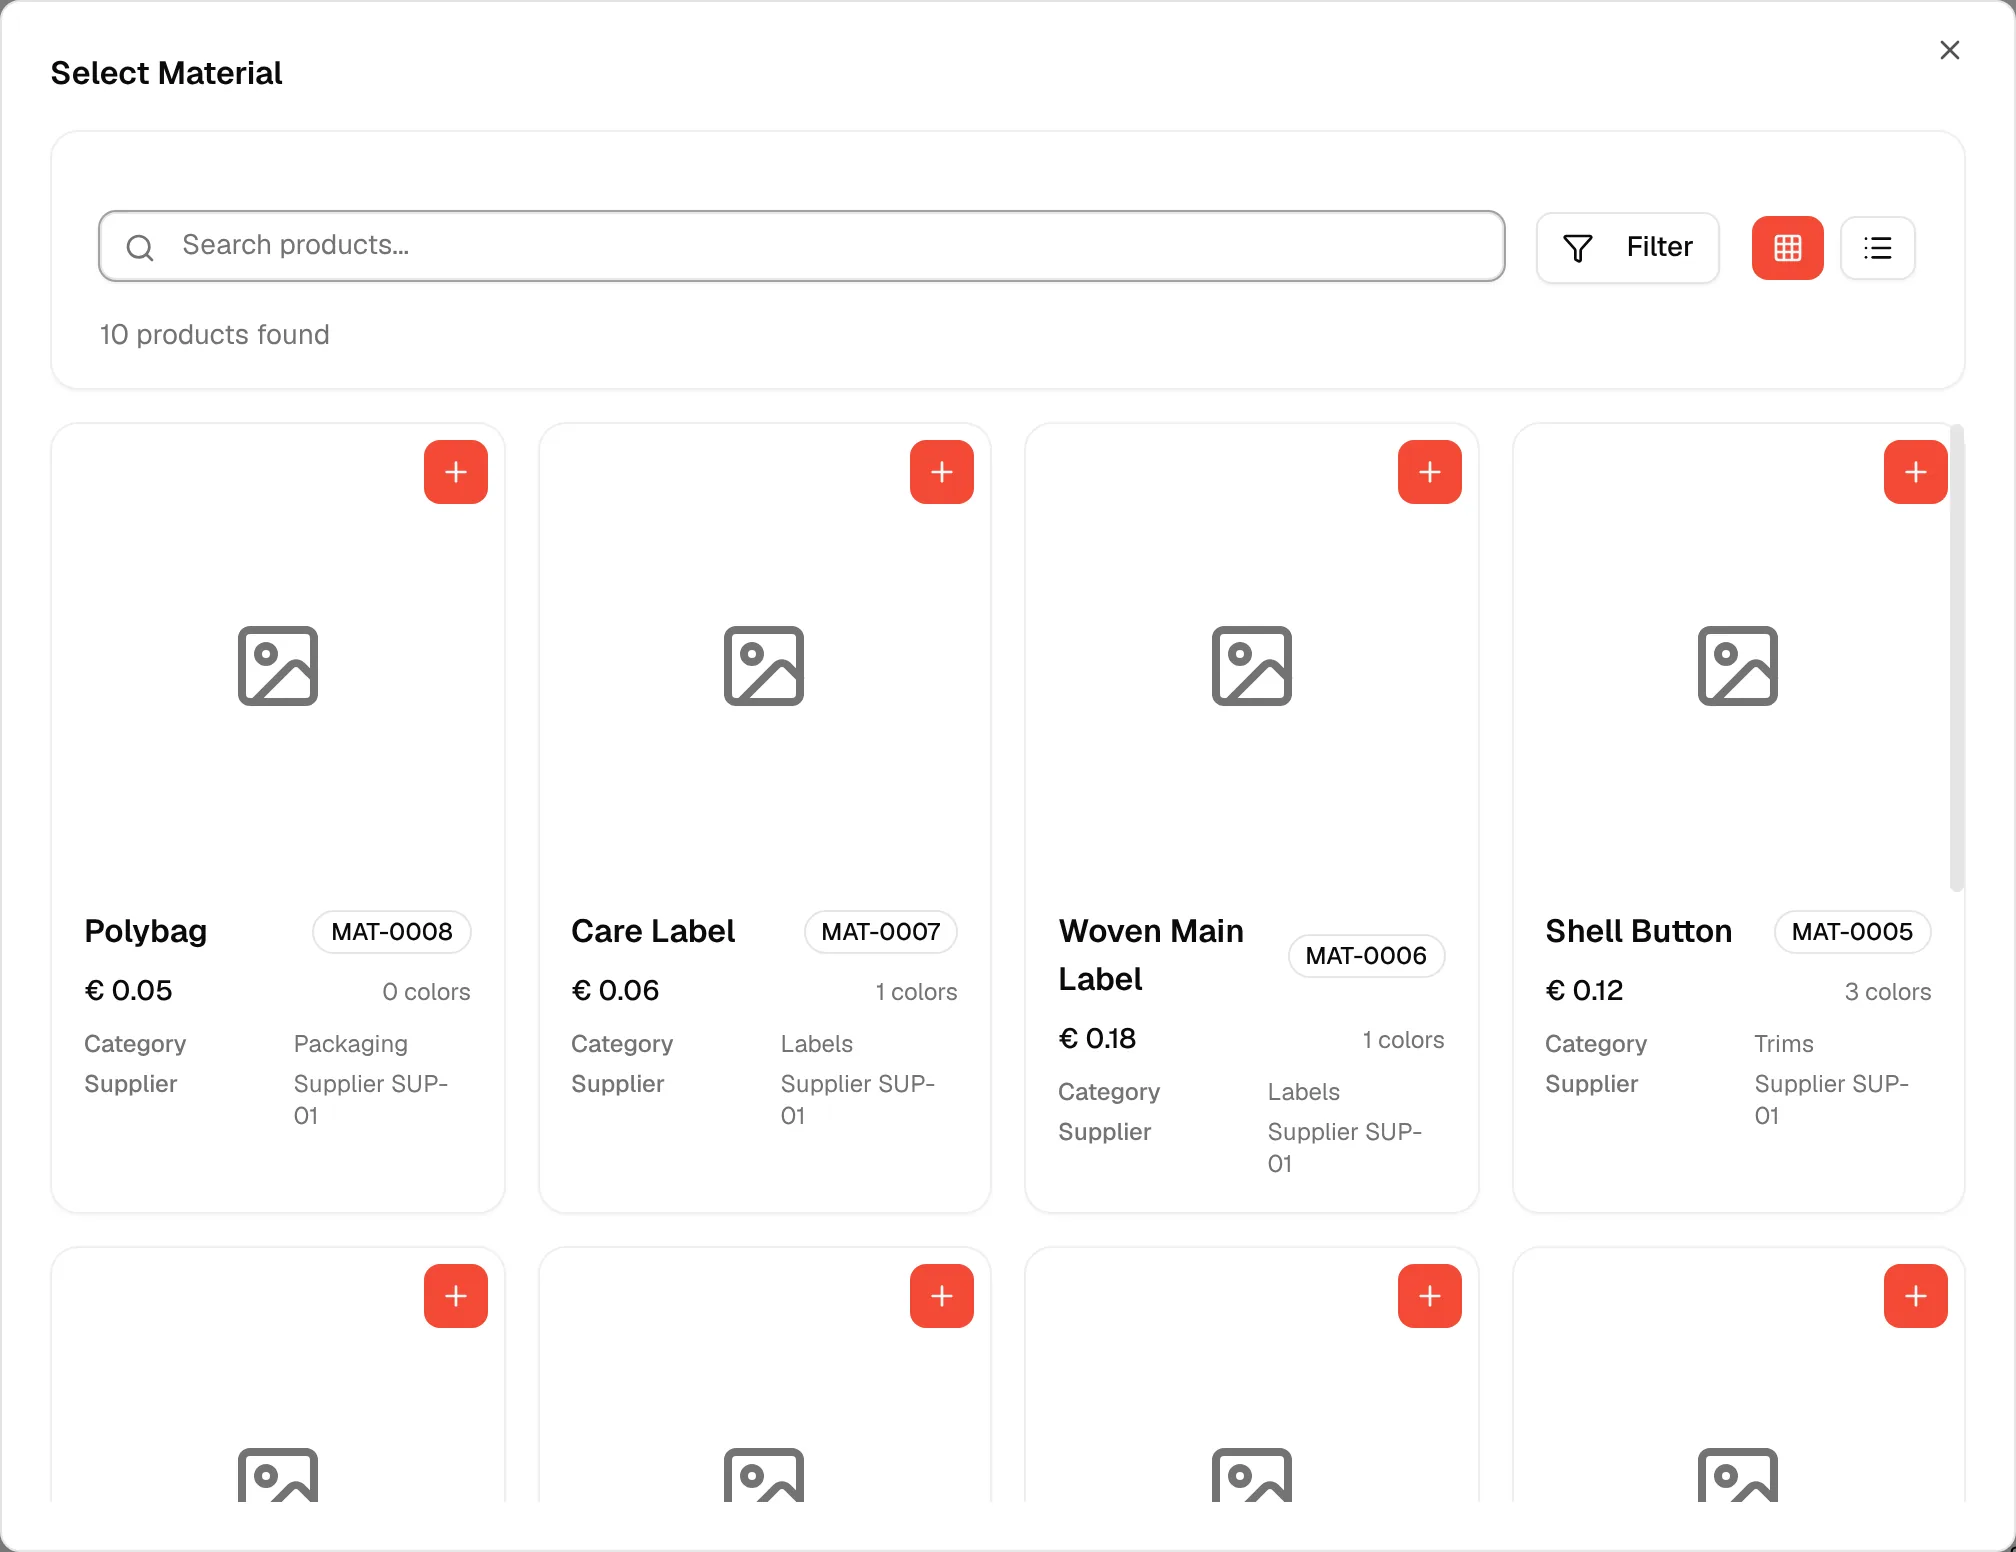
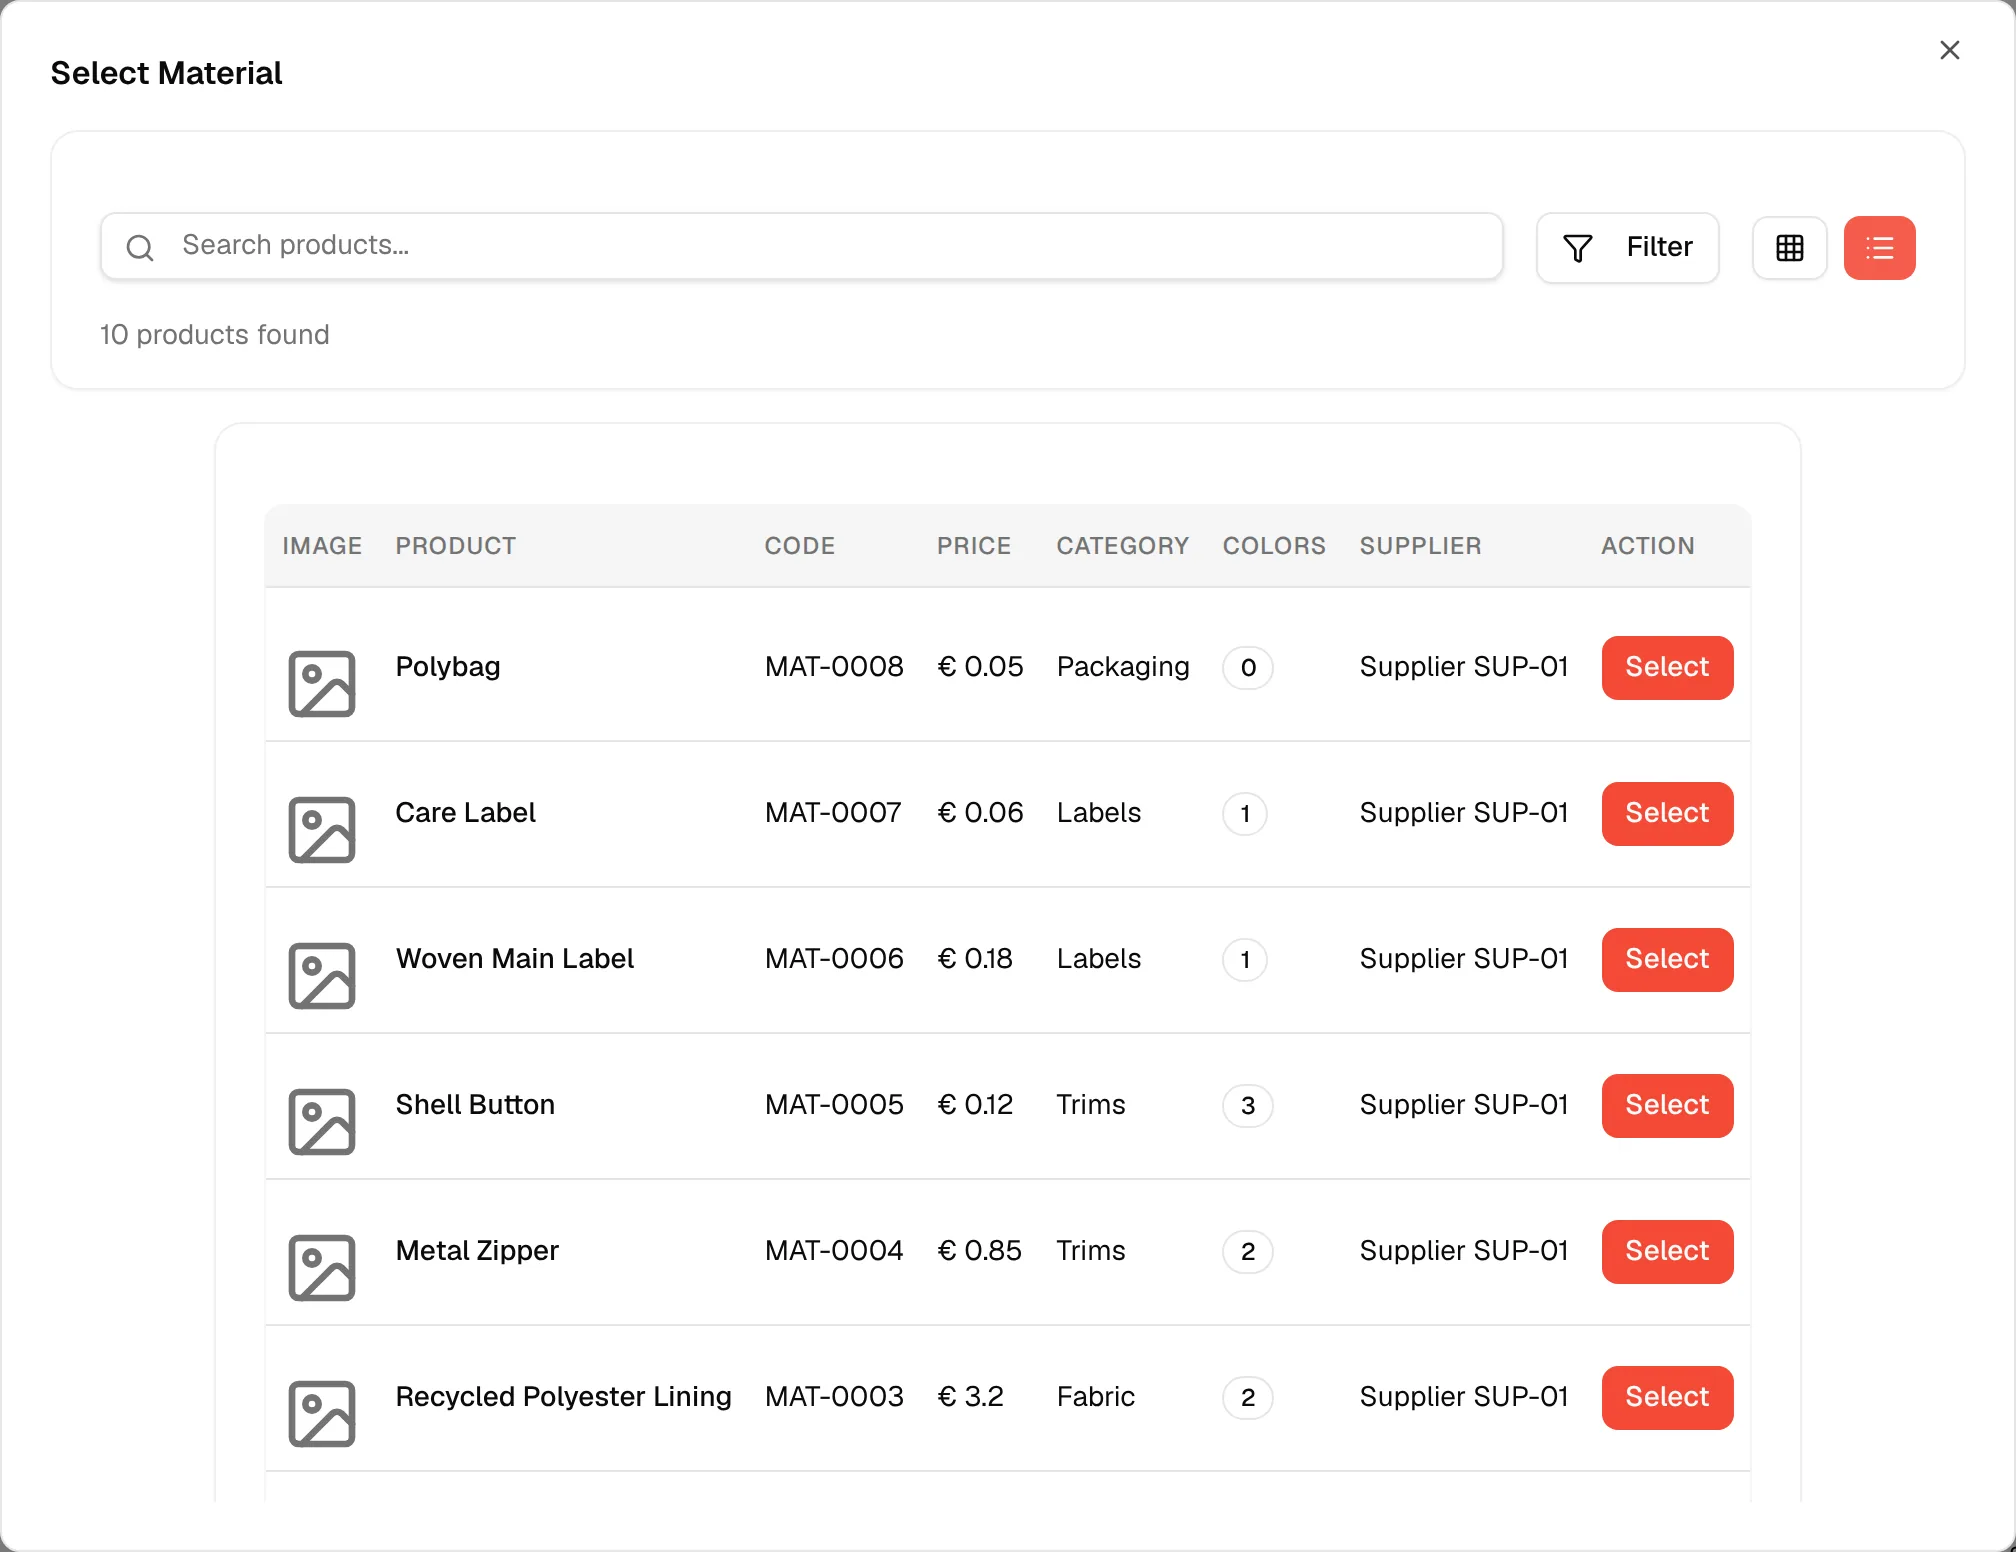
Click Material Sample. The Select Material window opens with your materials.
Find the material
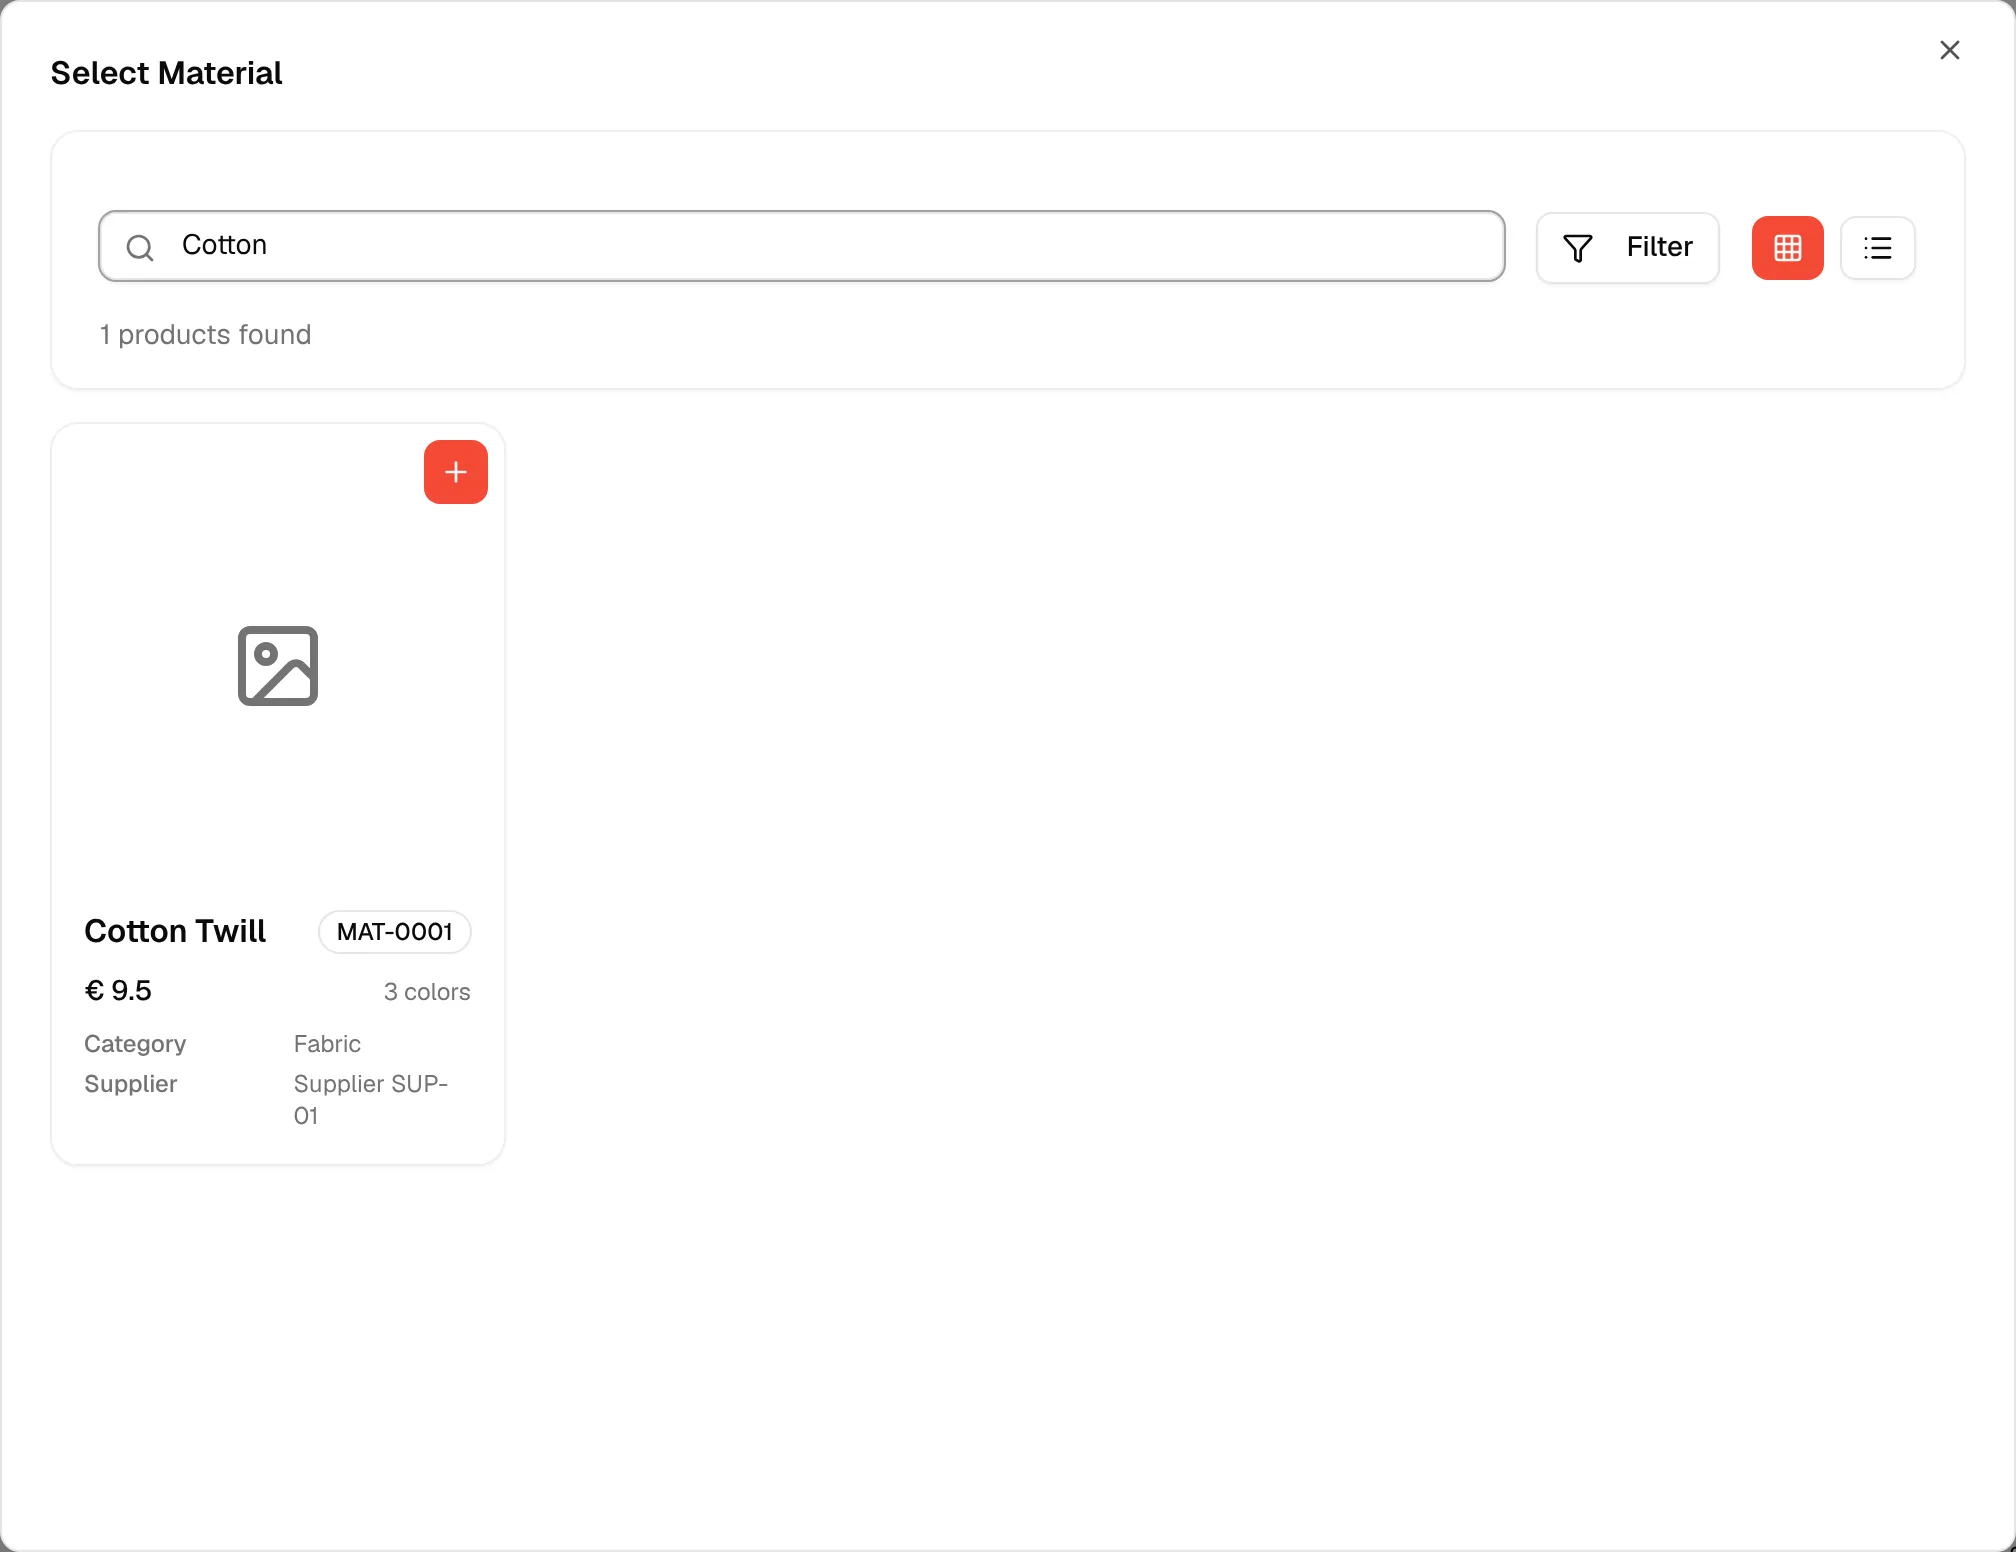
Type in Search products... to search by name or code, use the filter to narrow by Category or Supplier, and click Reset to clear the filter. Use the two icons at the right to switch between the card view and the table view. The count under the search bar shows how many products were found.
Select the material
In the card view, click the + button on the material's card. In the table view, click Select at the end of the row.
Select the sampling type
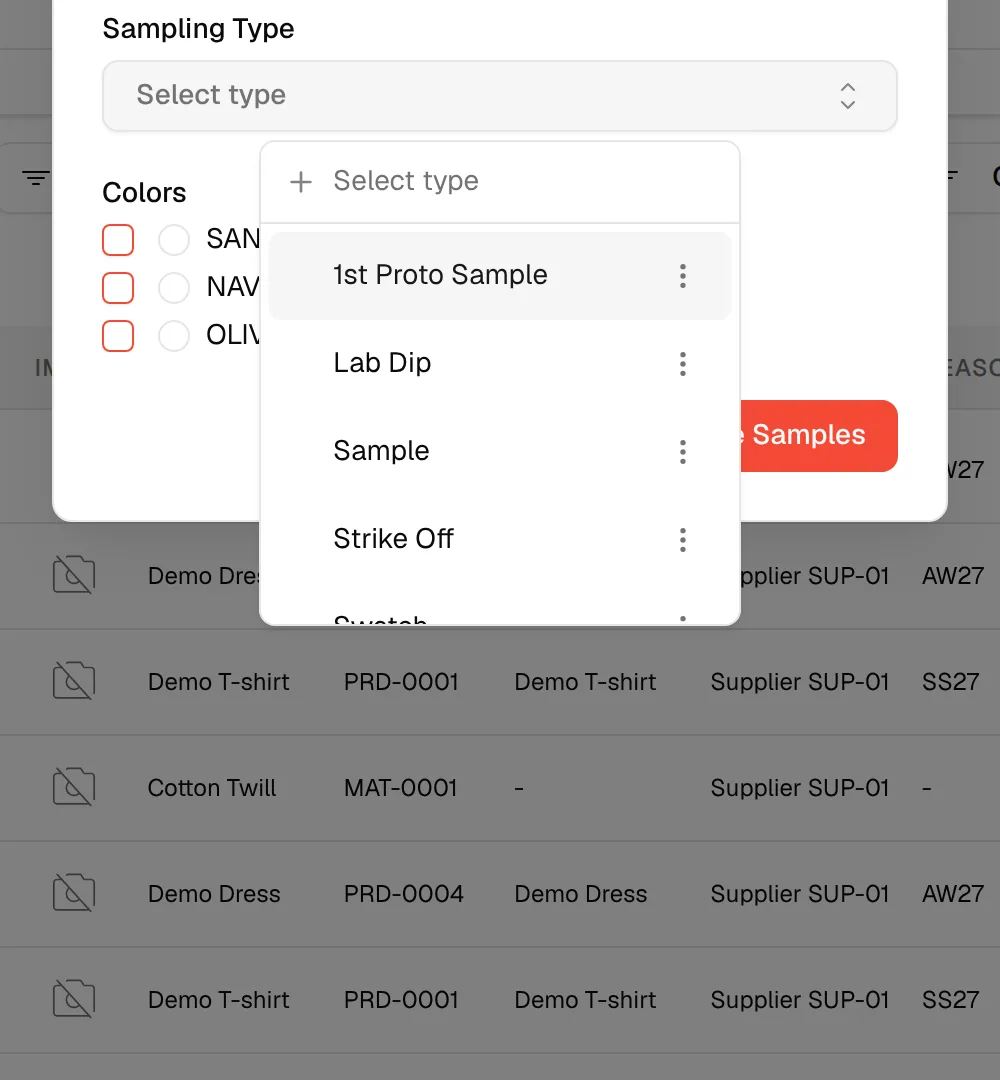
In the Sampling Type dropdown, choose the type you need, for example 1st Proto Sample, Lab Dip or Sample. The type is required.
Tip
Type a new name in the dropdown to create a new sampling type on the spot. Use the menu next to a type to edit its name or delete it. A type that is currently selected cannot be deleted.
Select the colours
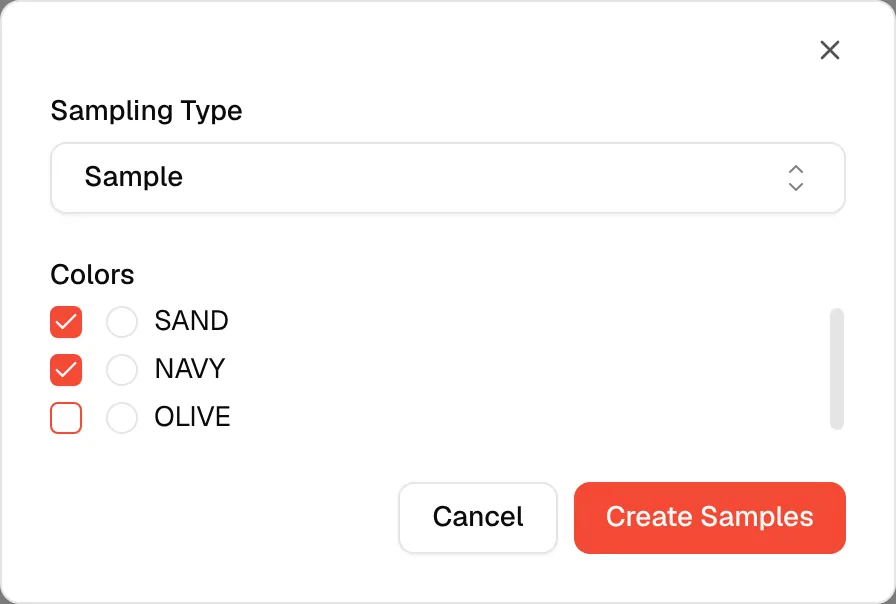
If the material has colours, the Colors list shows them. Check the colours you want to sample. One sample request is created for each colour you check. If you check none, one request is created without a colour.
Click "Create Samples"
Click Create Samples. The new requests appear in the sample list with the status Created.
Create a product sample
A product sample is requested for one style, one colourway and one size, using a measurement card to describe the sample.
Click "Create Sample"
Click the Create Sample button at the top right of Sample Management.
Select "Product Sample"
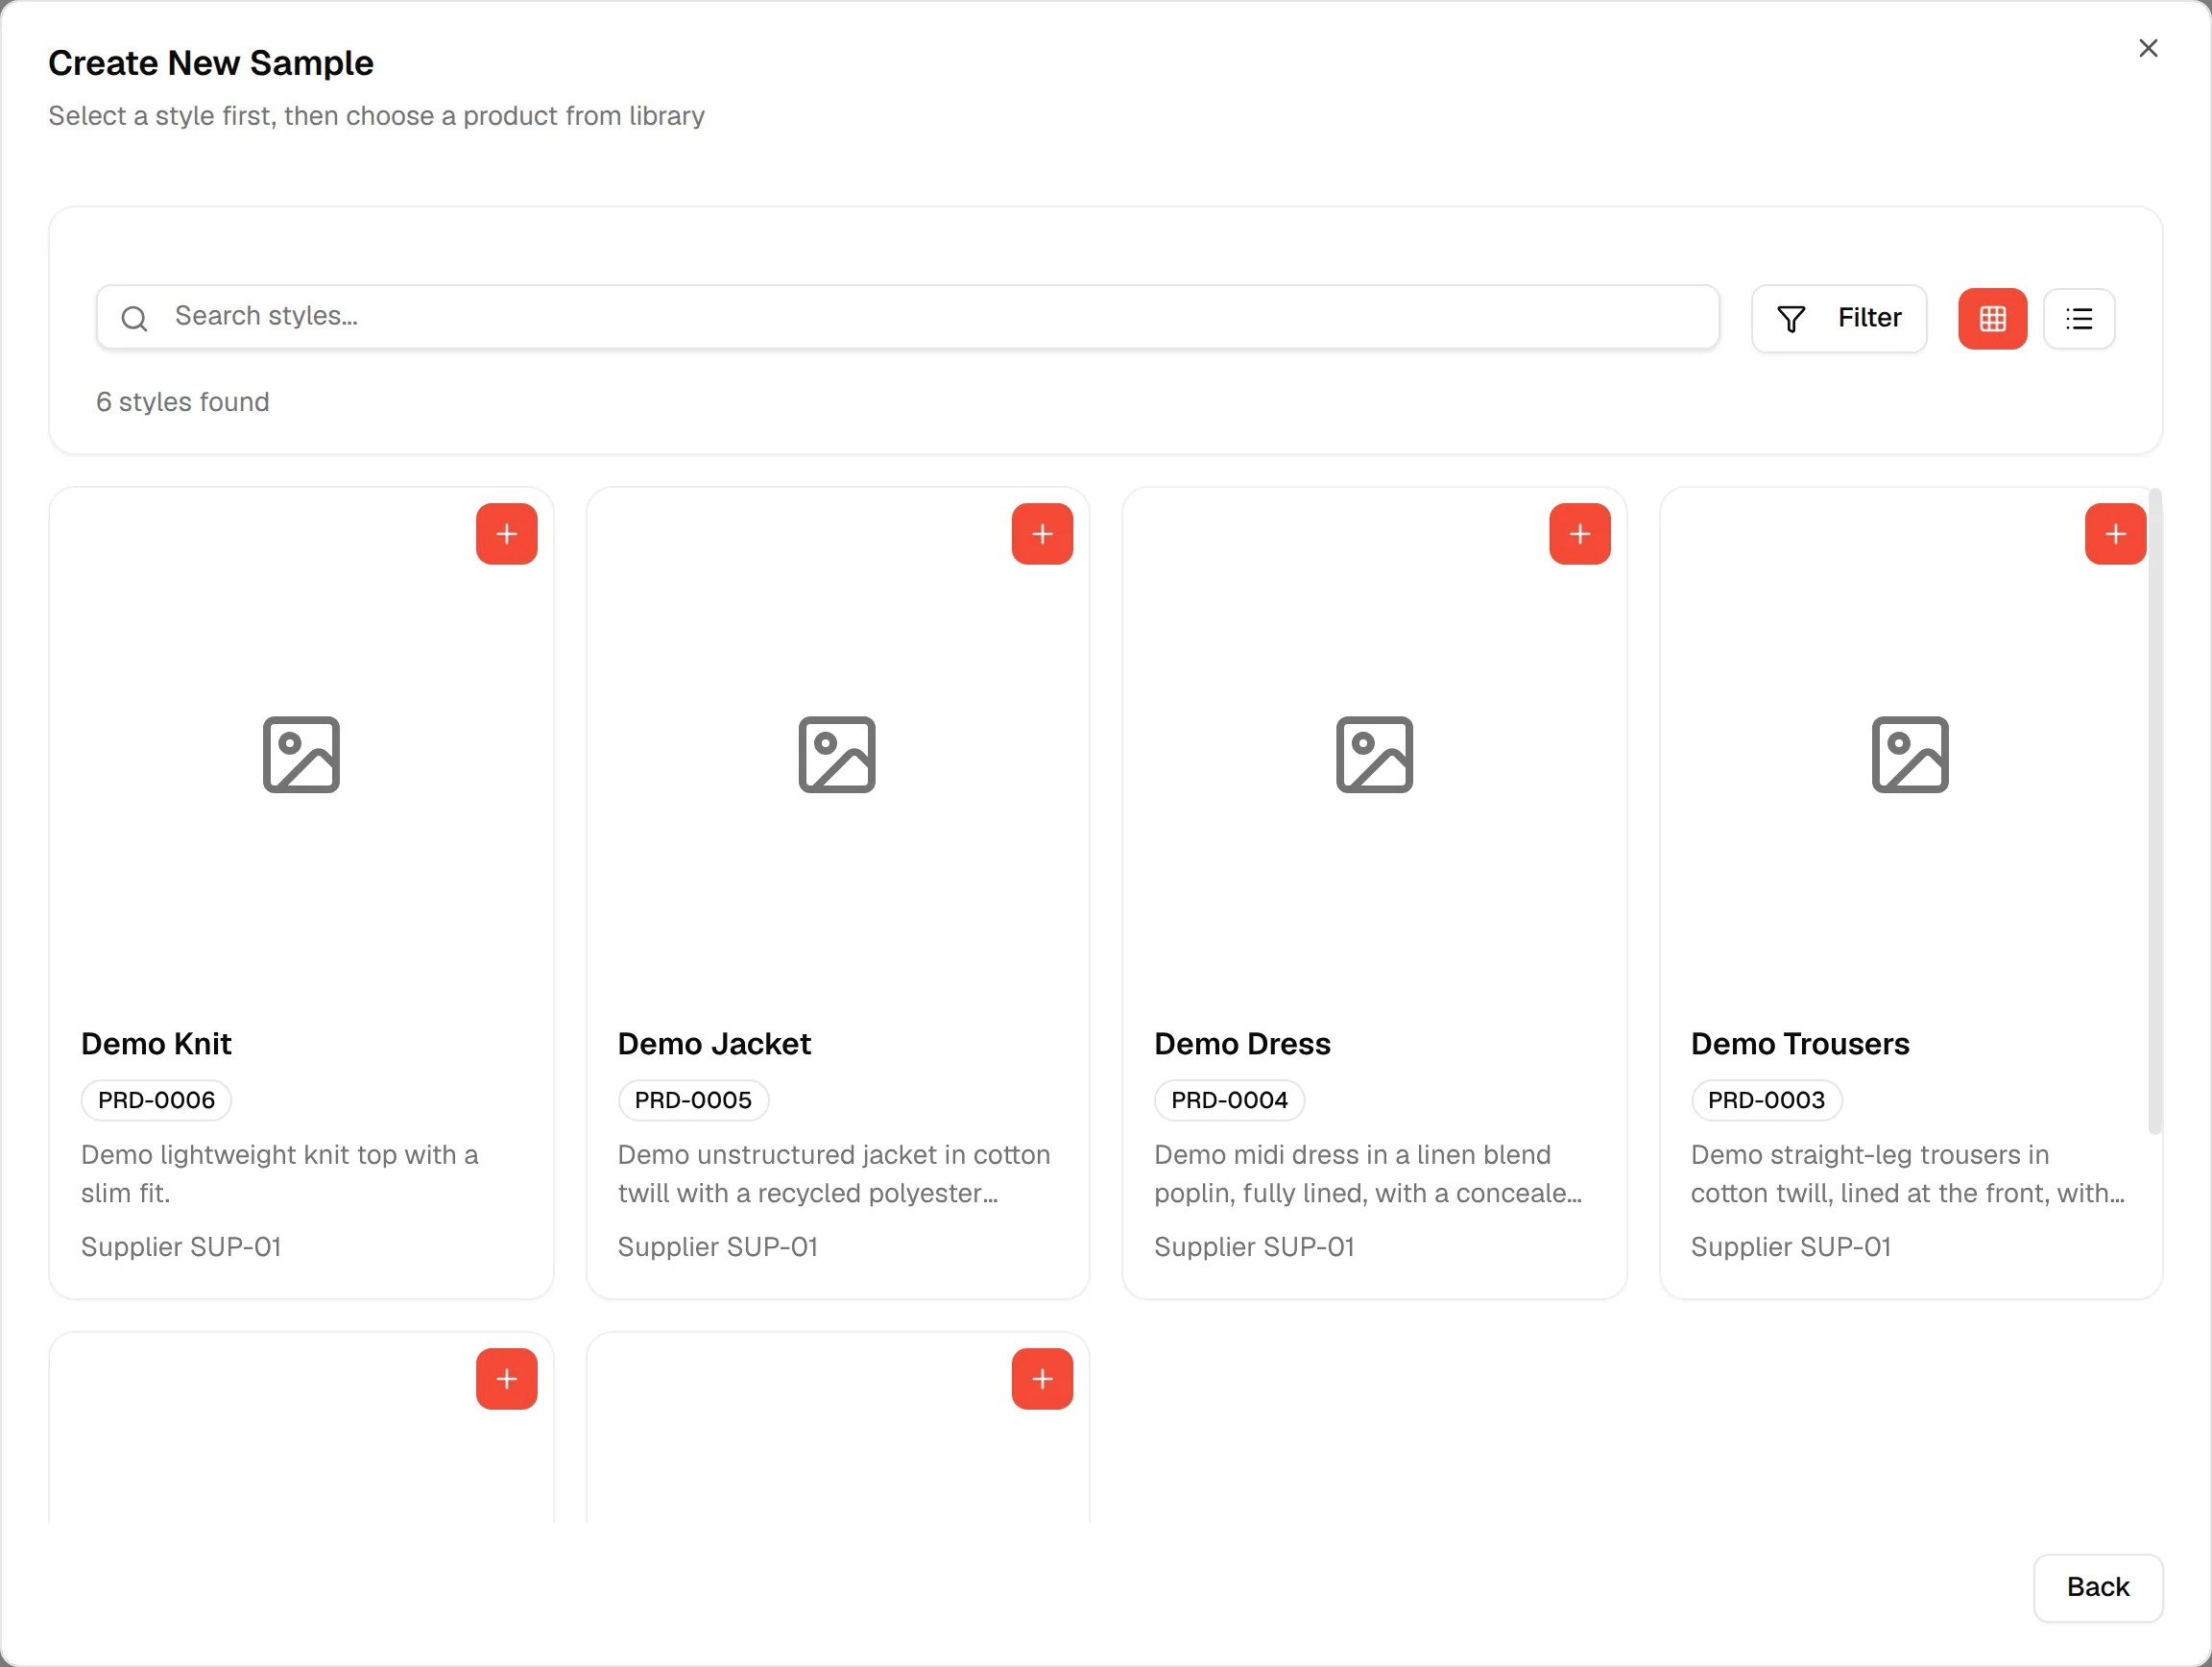
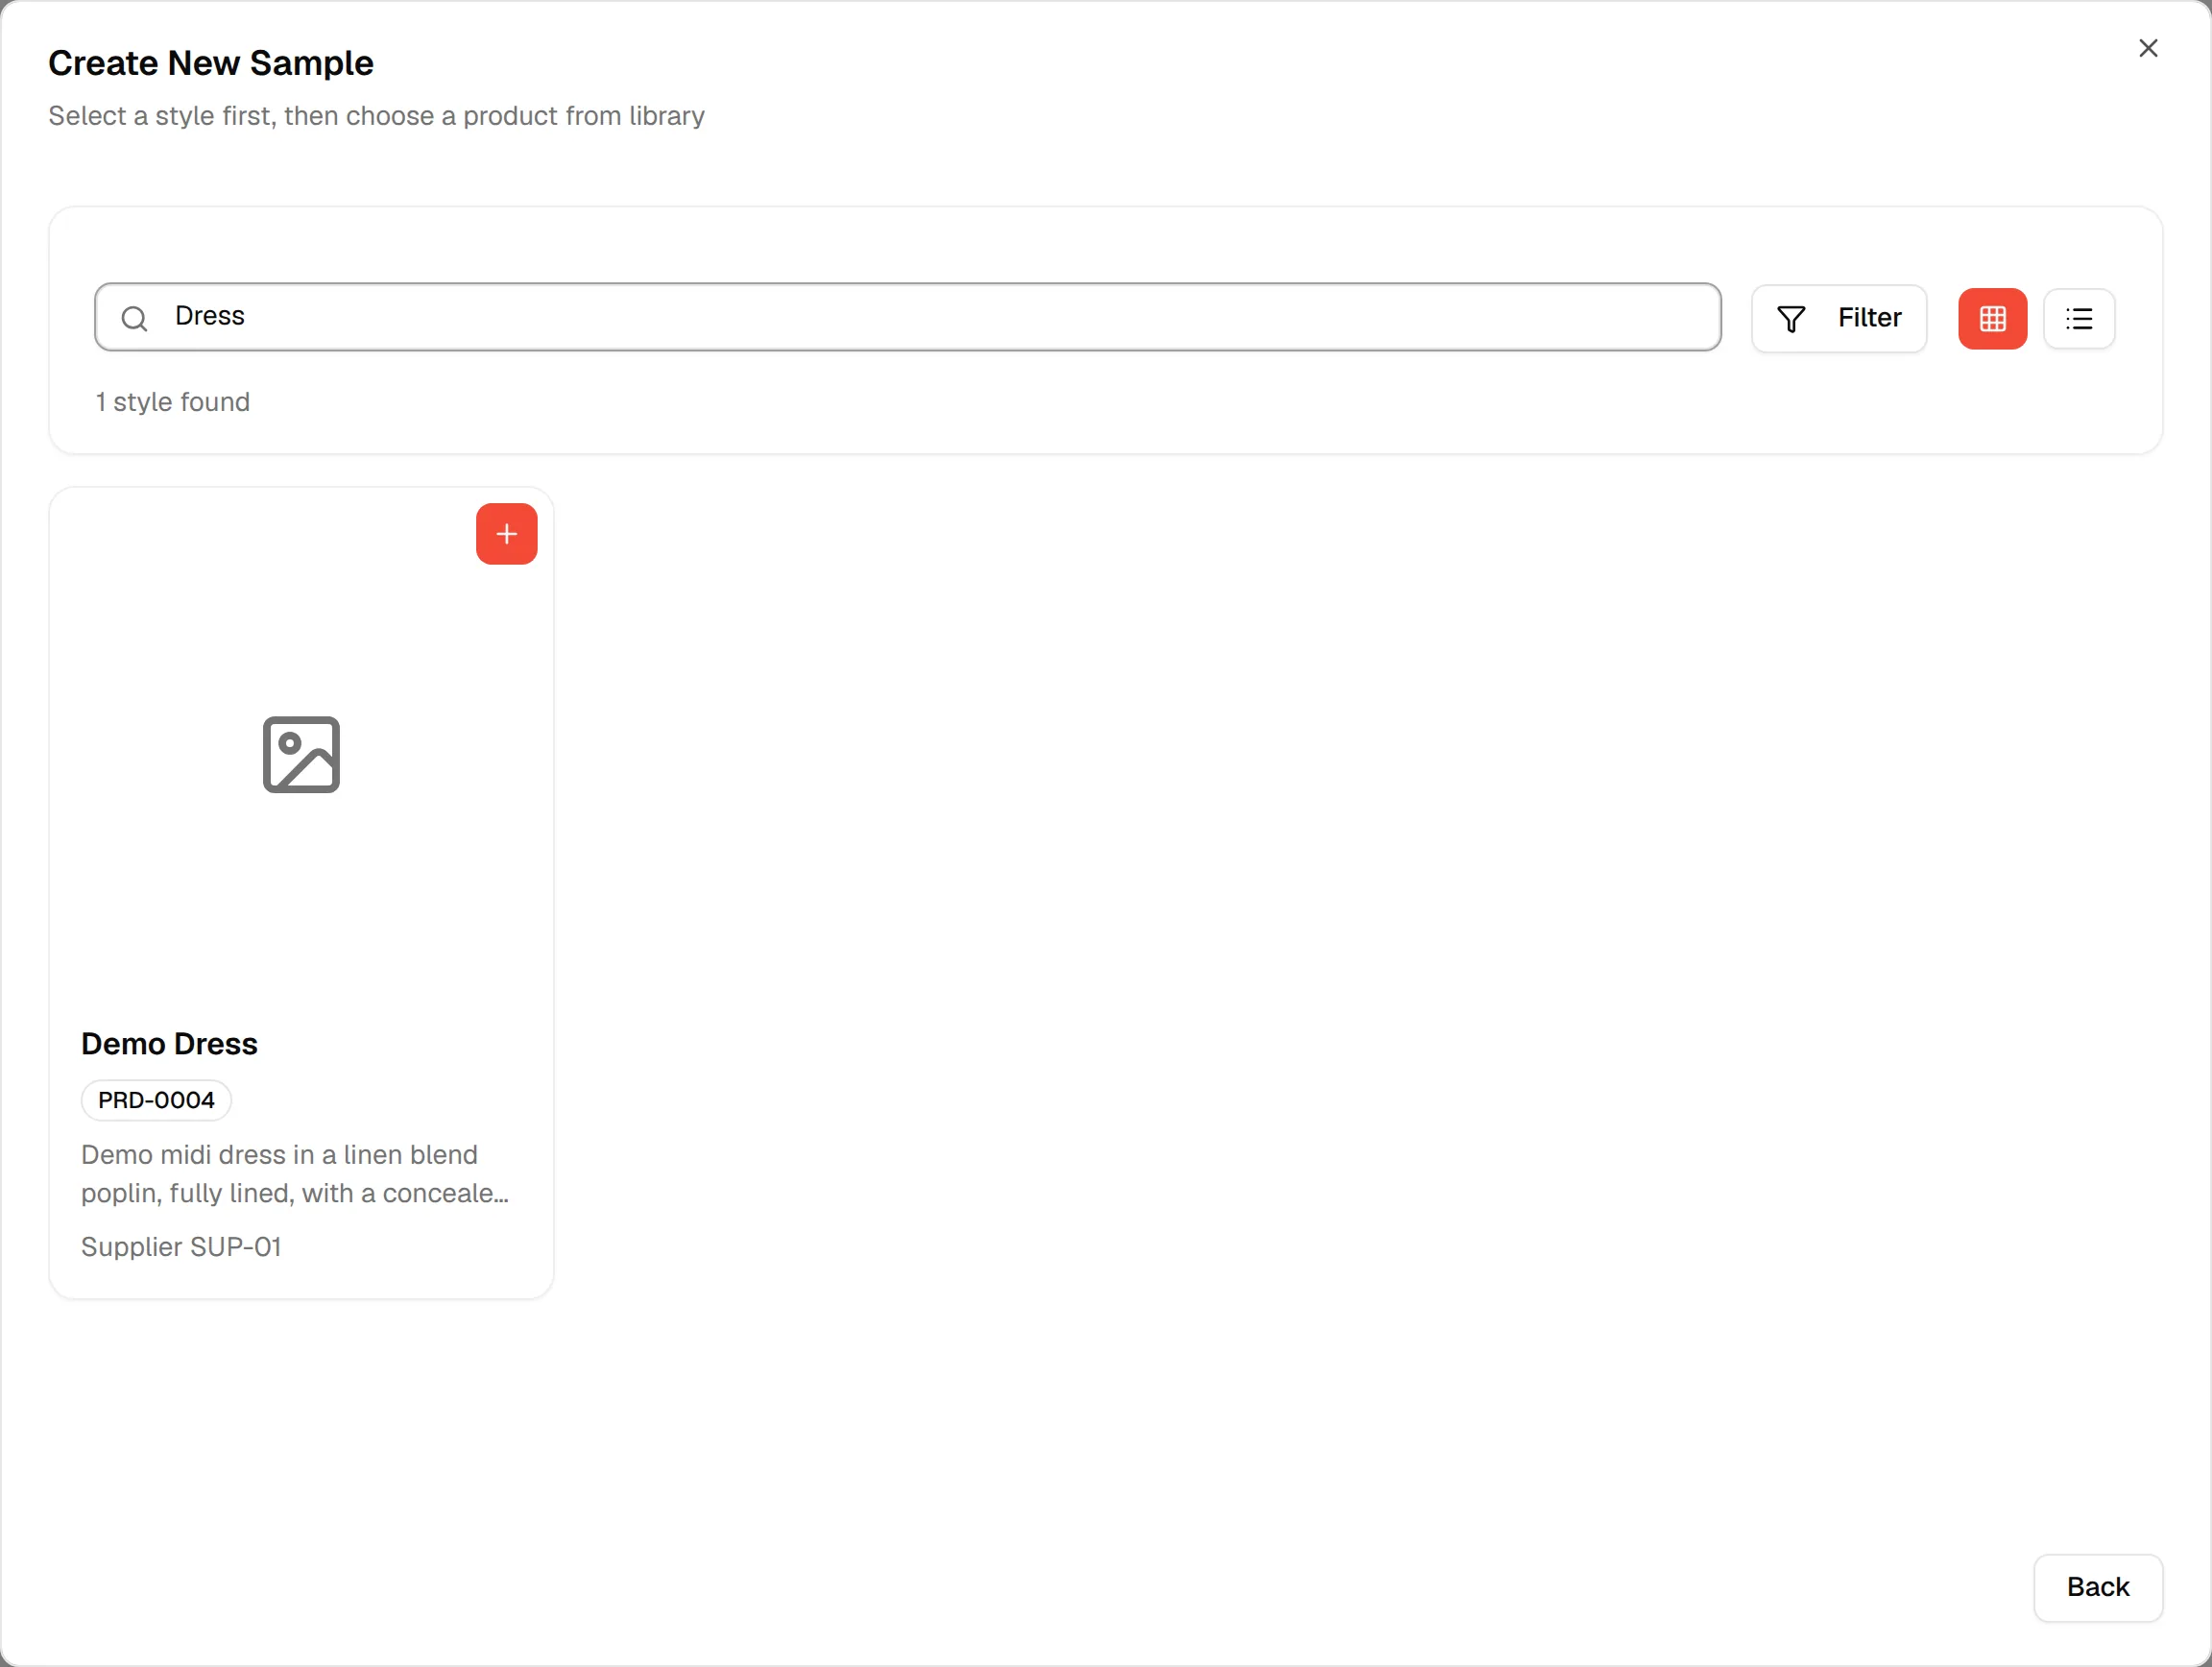
In the Create New Sample dialog, click Product Sample. The description changes to Select a style first, then choose a product from library.
Select a style
Type in Search styles... or use the filter (Collection, Category, Supplier) to narrow the list. Click the + button on the style's card, or Select on its row in the table view. Click Back to return to the choice of sample type.
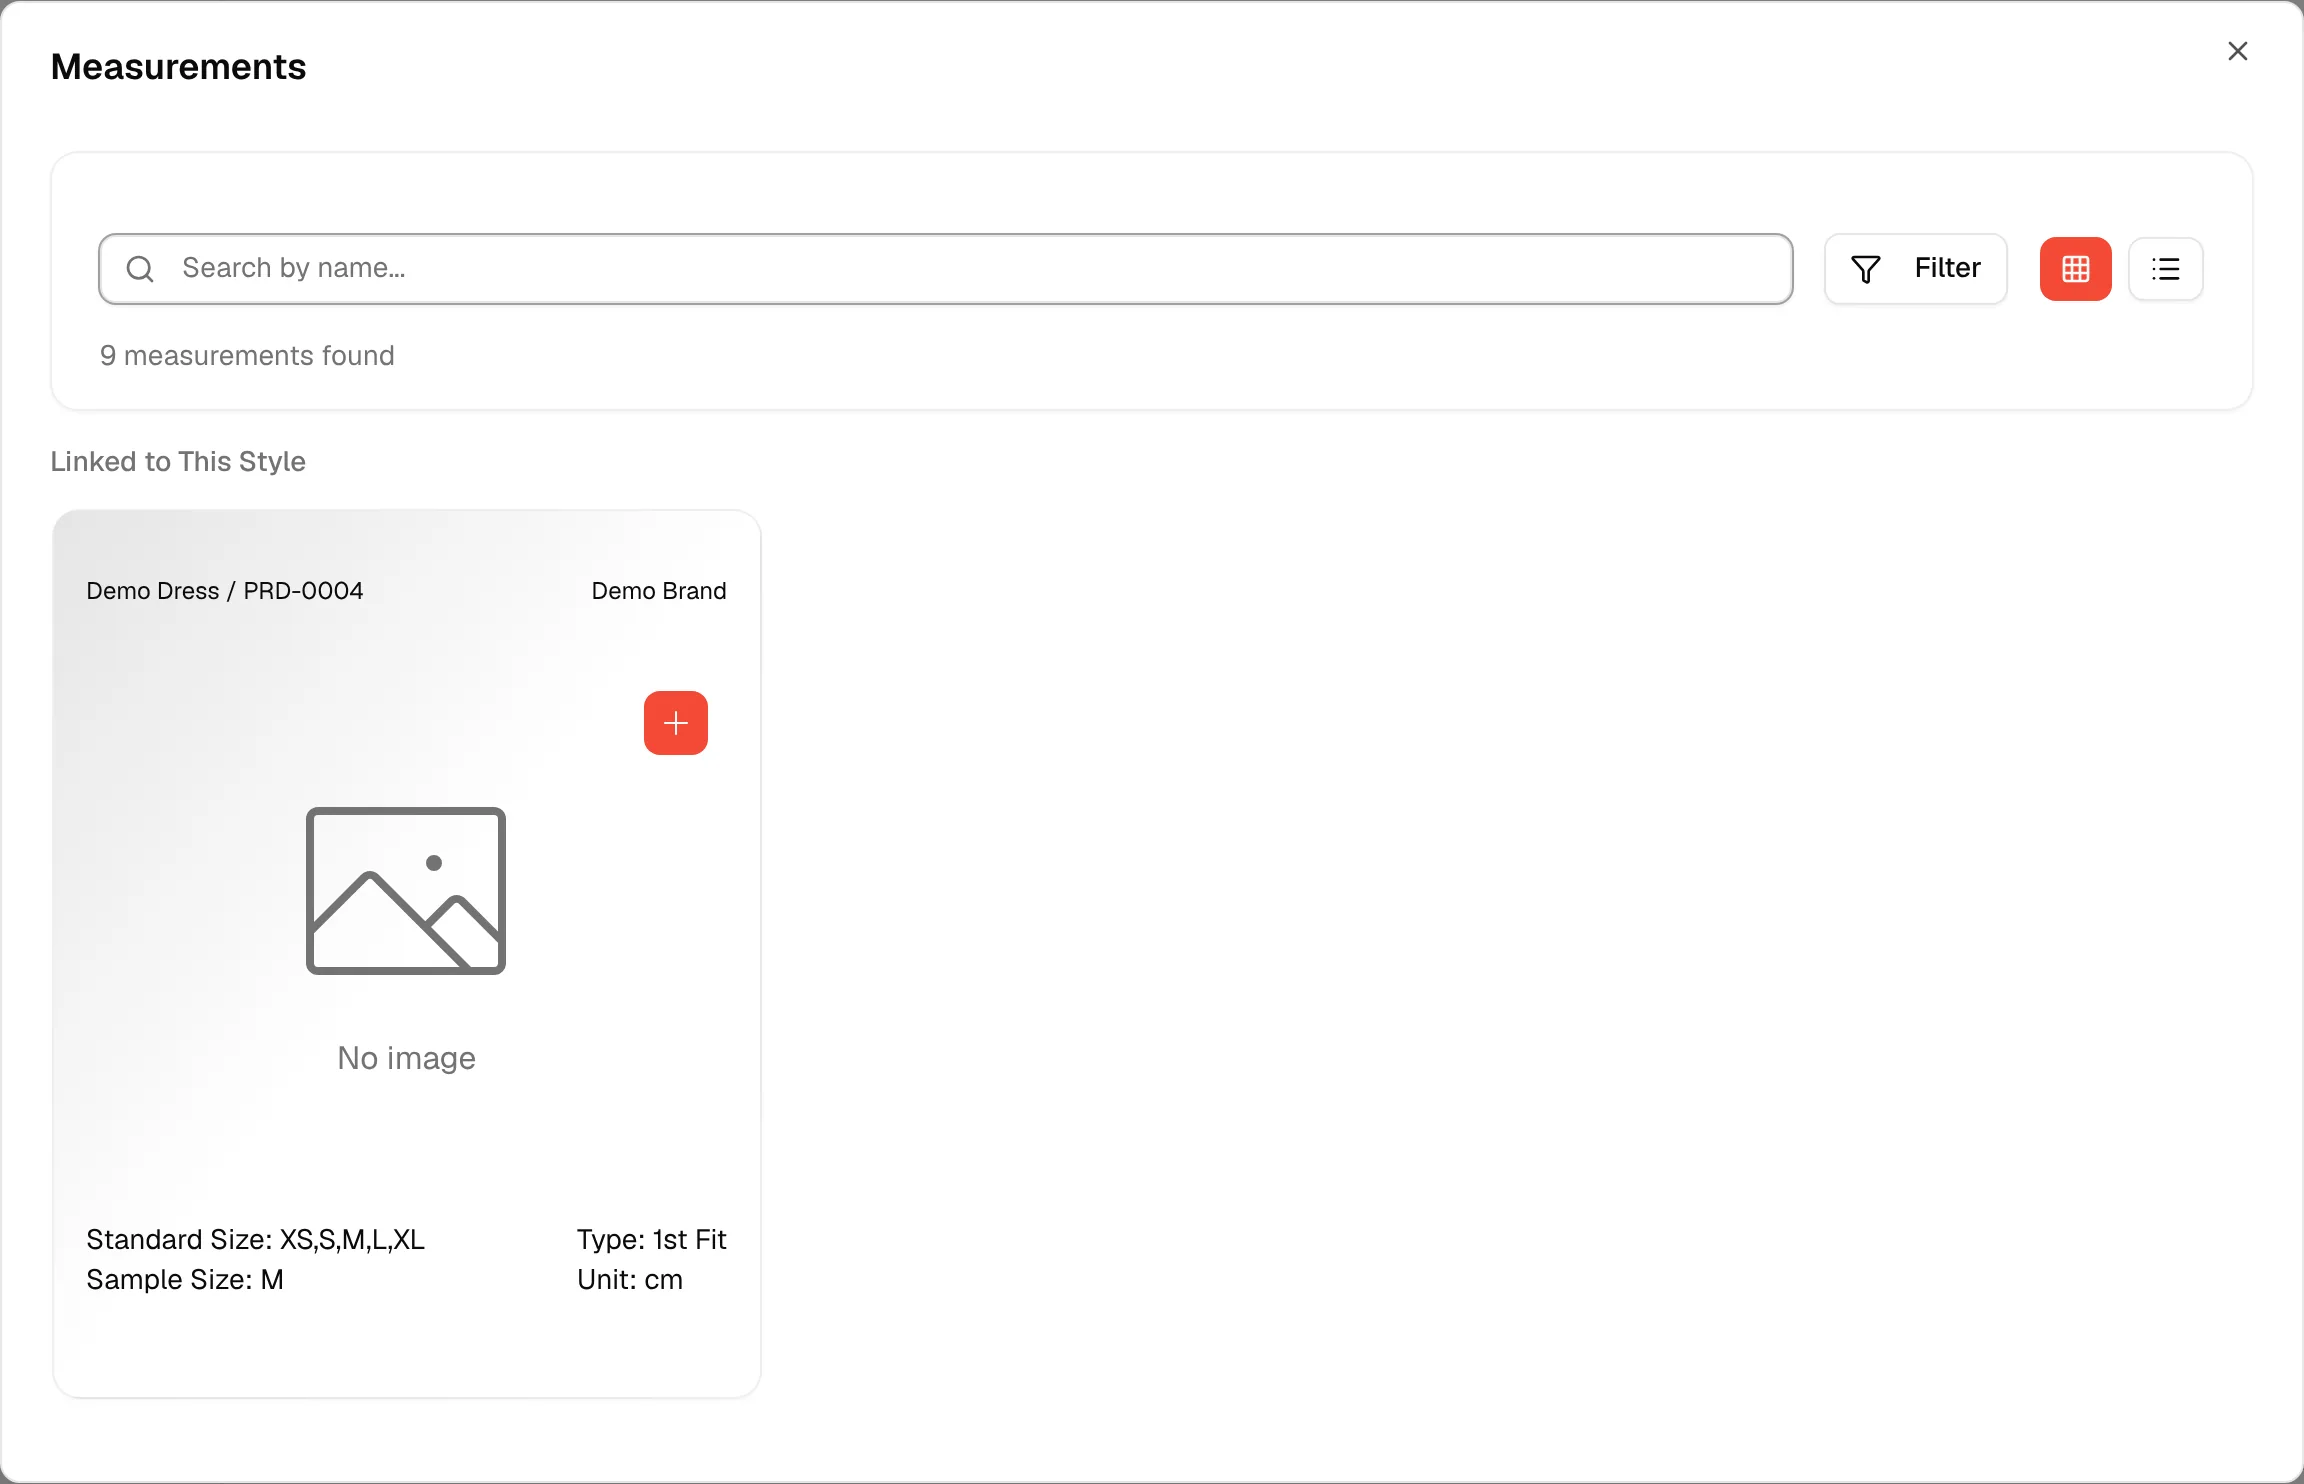
Choose a measurement card
The Measurements window lists your measurement cards. The ones already linked to the style are shown first under Linked to This Style, and the rest under Other Measurements. Search by name, filter by Measurement Types, Measurement Units or Template type (Size Chart Template, Grading Rule Template), then click + on a card or Select on a row.
Note
If the card you choose is not linked to the style, Measurement Not Linked to Style asks if you want to proceed anyway. Click Proceed to continue or Cancel to pick another card.
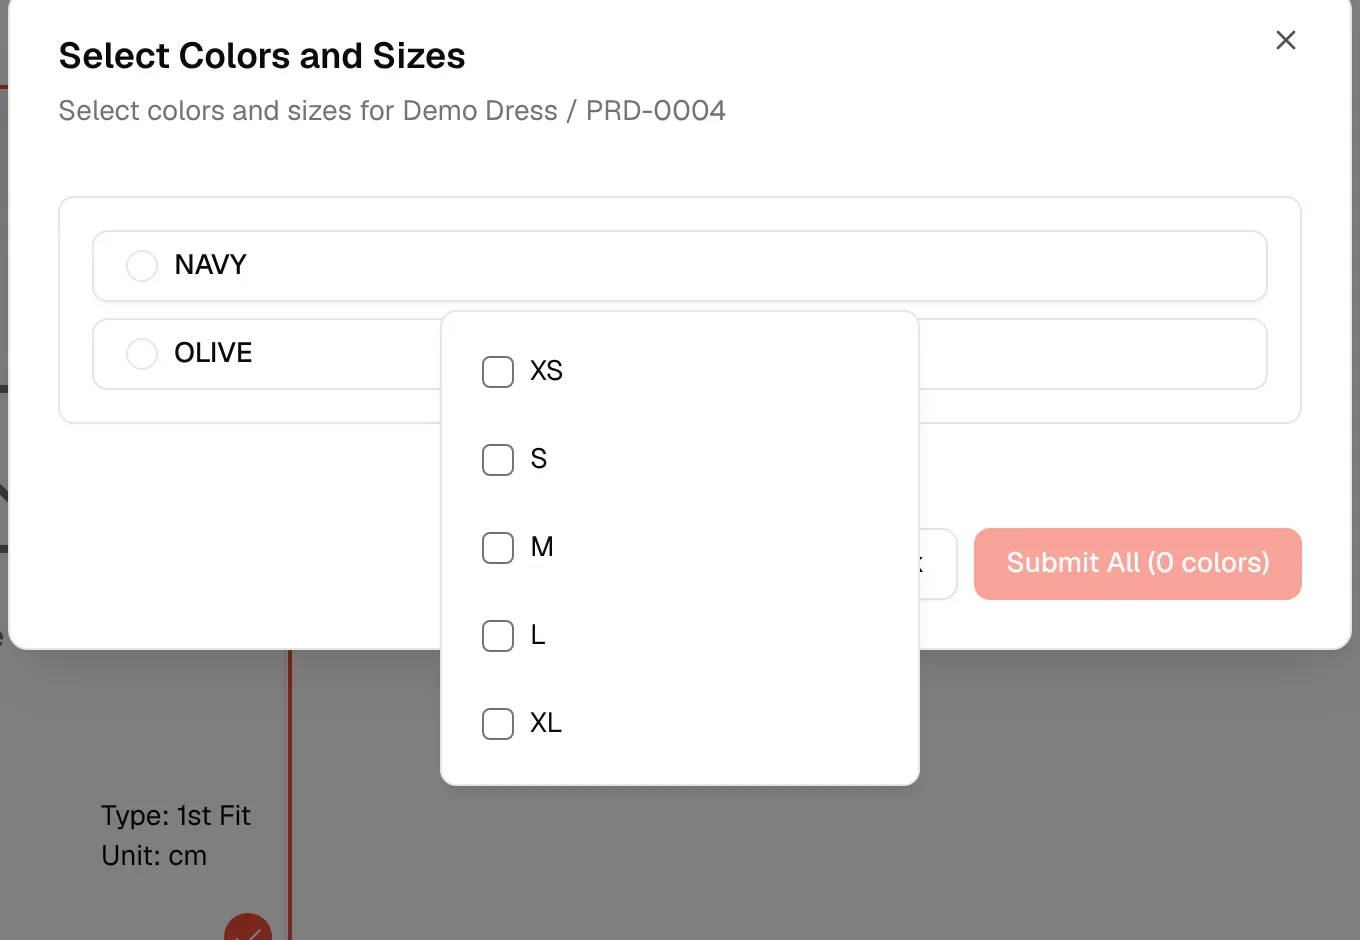
Select colours and sizes
In Select Colors and Sizes, click a colour to open its size list and check the sizes you want. The colour shows how many sizes are selected. The sizes come from the standard sizes of the measurement card you chose.
Note
If the measurement card has no standard sizes, the window tells you to configure them in the measurement settings and you cannot continue.
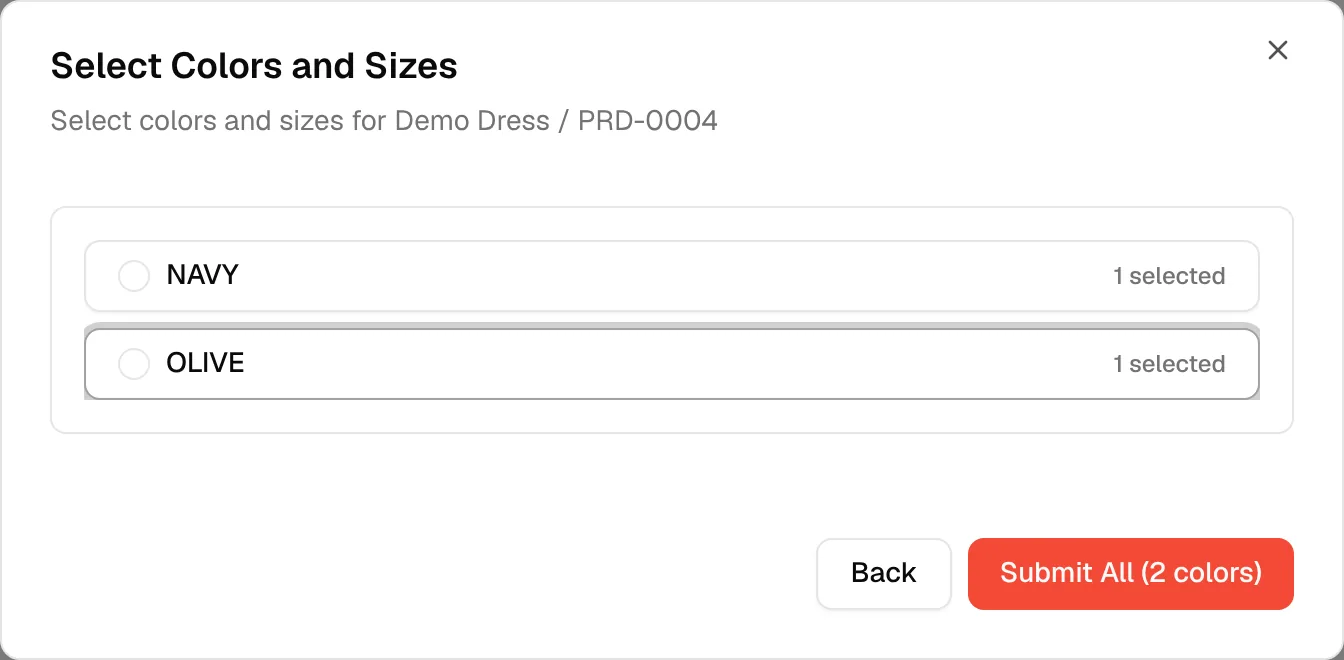
Click "Submit All"
Click Submit All (n colors). One sample request is created for every colour and size you checked, and Sample Request Submitted confirms it. Click Back to change your selection first.
Important
If the style has no measurement input linked in Design & Development, No Measurement Input Linked appears first. Click Add Measurement Input, pick a measurement card from the library and click Add Measurement Input again. Then continue with the colours and sizes.
Complete the sample request
New requests have the status Created. Open the request to add the details your supplier needs: quantity, currency, unit cost, due dates and notes. See Sample details for each field, Sampling for the list, and Send a request to your supplier.
You should now see the new sample requests in Sample Management, one row for each colour (and size, for product samples).