Institute management
Learn how to efficiently add new institutes and manage their associated documentation within the Vestis Labs platform.
Under review. This page is published while we check it against the live app, so some details may have changed.
Screenshots may be out of date.
Learn how to efficiently add new institutes and manage their associated documentation within the Vestis Labs platform. This guide covers the process of linking existing certificates, creating new entries, and maintaining updated contact information for your records.
ManagementInstitute
Permission: VIEW_SUPPLIER
From the left sidebar, go to Management → click Institute.
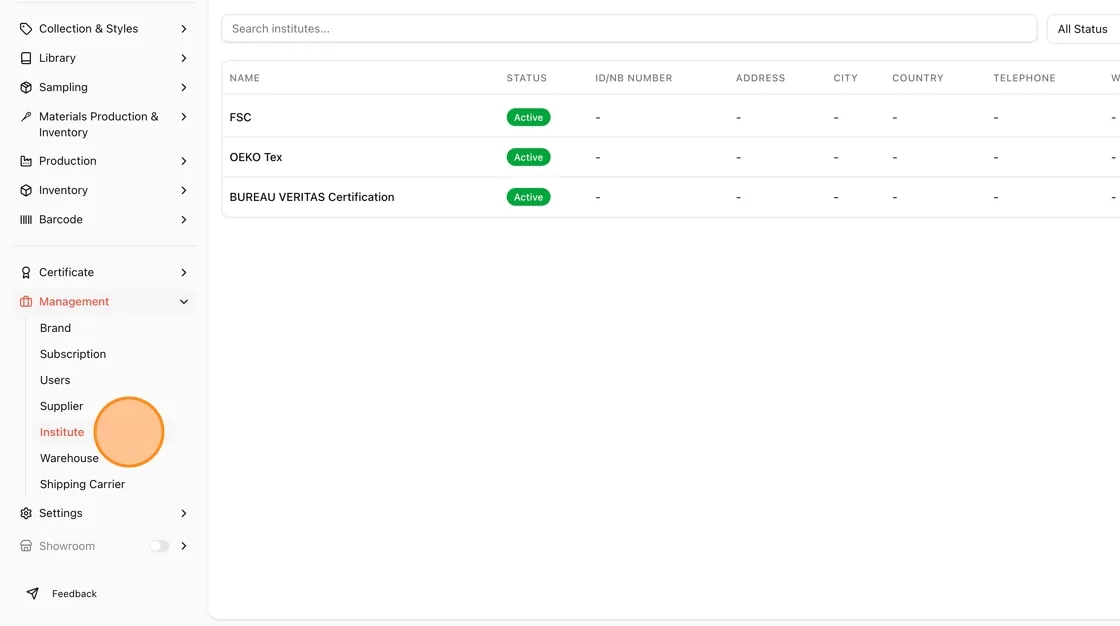
The Institute Management page opens, showing a list of existing institutes (e.g., FSC, OEKO Tex, BUREAU VERITAS Certification) with columns for Status, ID/NB Number, Address, City, Country, Telephone, Website, and Contacts.
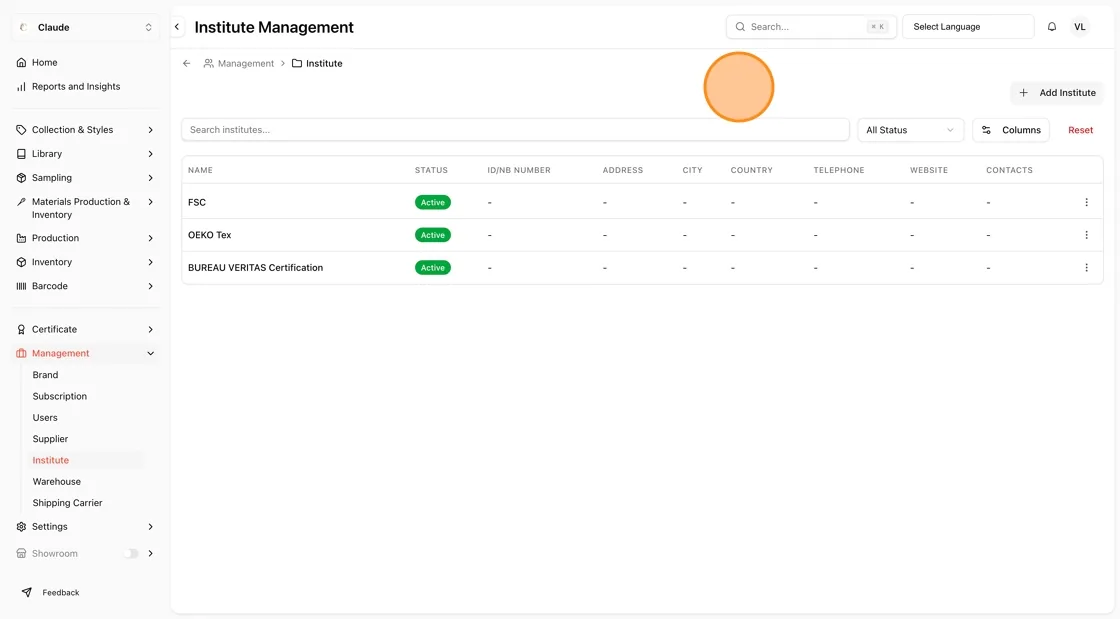
Type in Search institutes... to find an institute, use the status filter (All Status, Active or Inactive) to narrow the list, and click Columns to choose which columns are shown. Click Reset to clear the search and the filter.
Note
Adding and editing institutes needs the Update supplier permission. Deleting needs Delete supplier.
Create a new institute
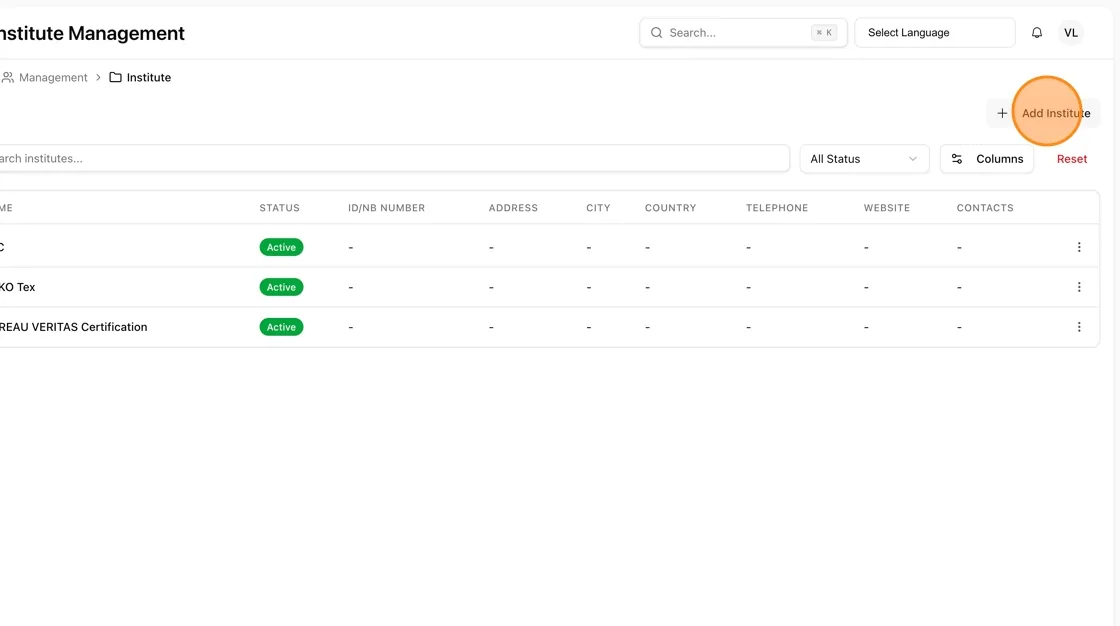
Click + Add Institute in the top-right corner.
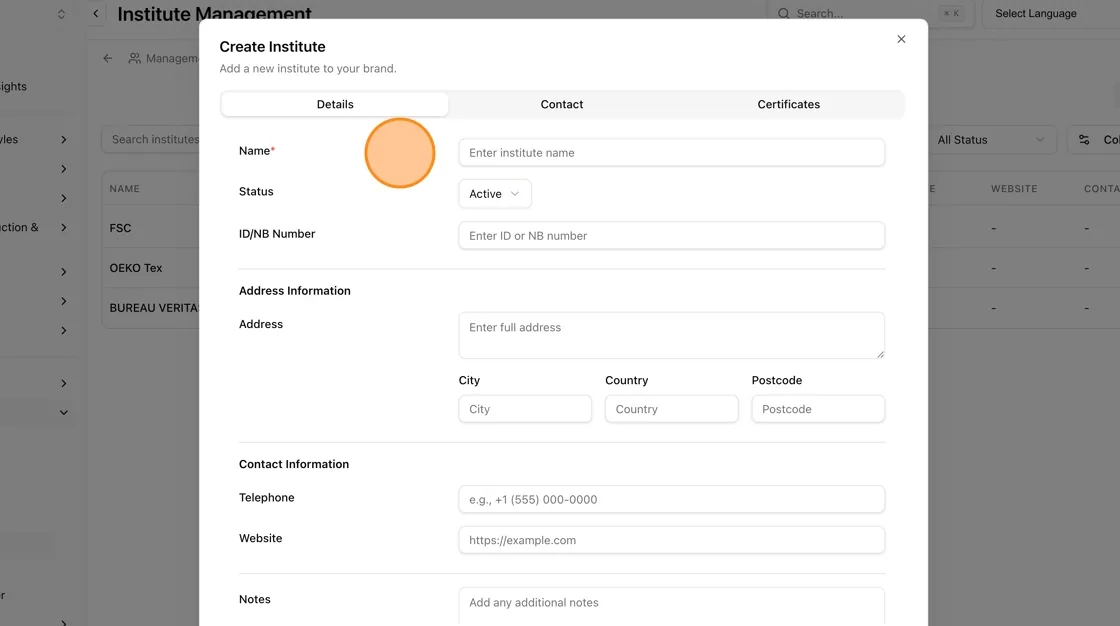
In the Create Institute modal, fill in the Details tab:
- Name (required)
- Status (defaults to Active)
- ID/NB Number
- Address Information (Address, City, Country, Postcode)
- Contact Information (Telephone, Website, Notes)
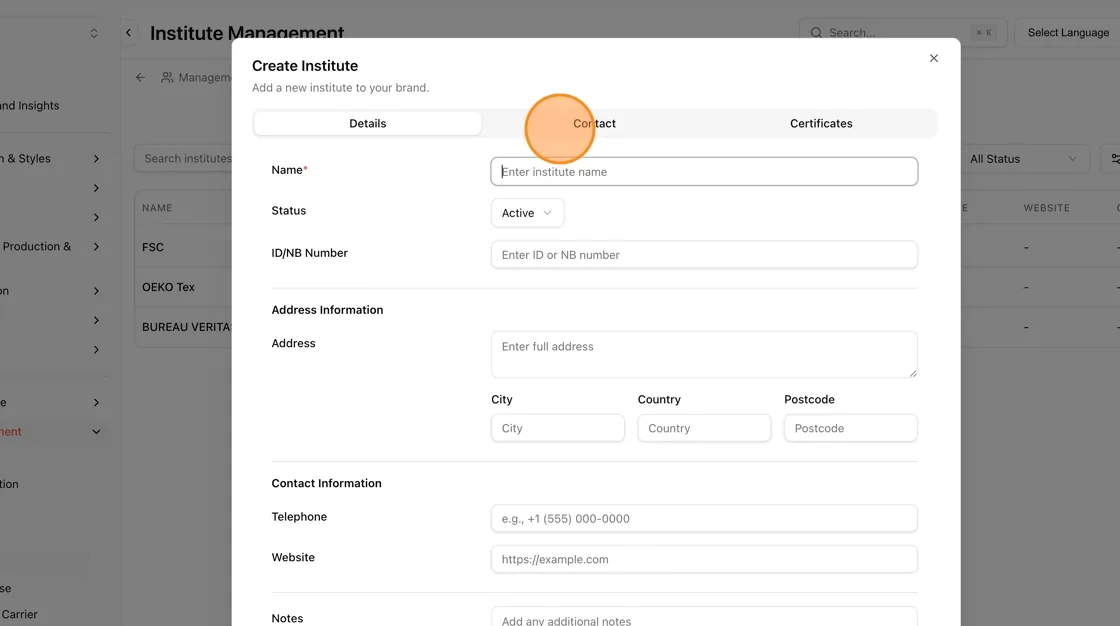
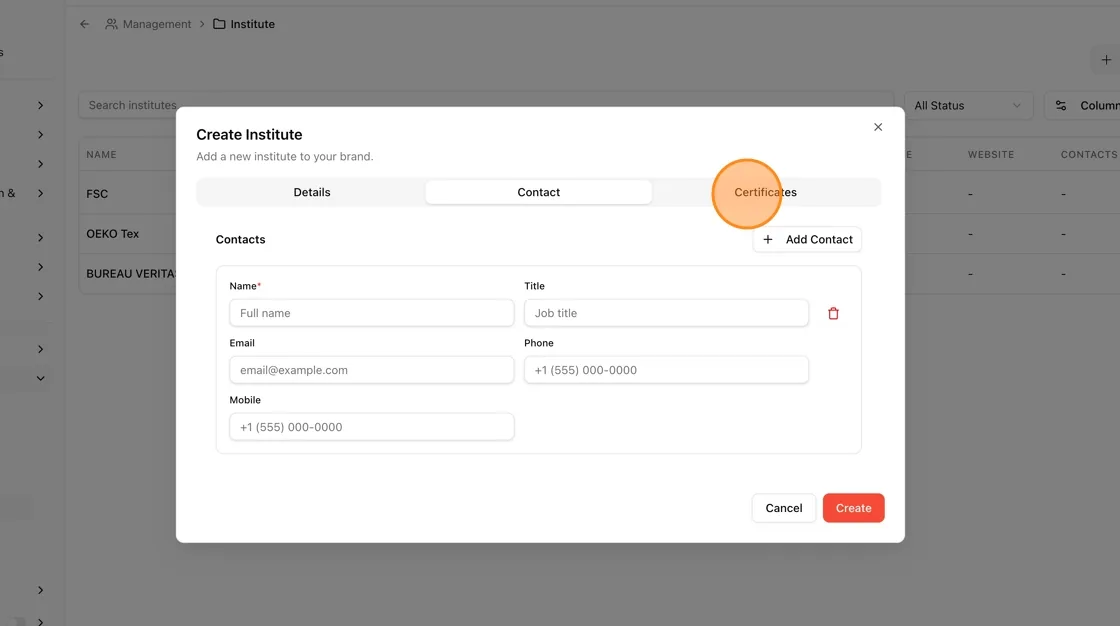
Click the Contact tab.
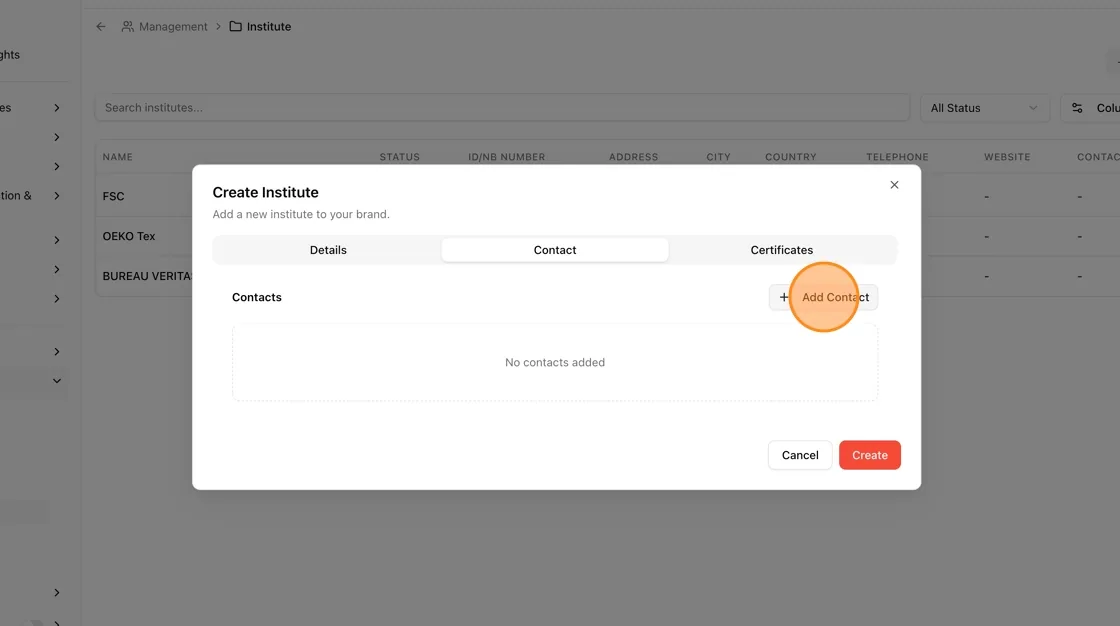
Click + Add Contact to add a contact person.
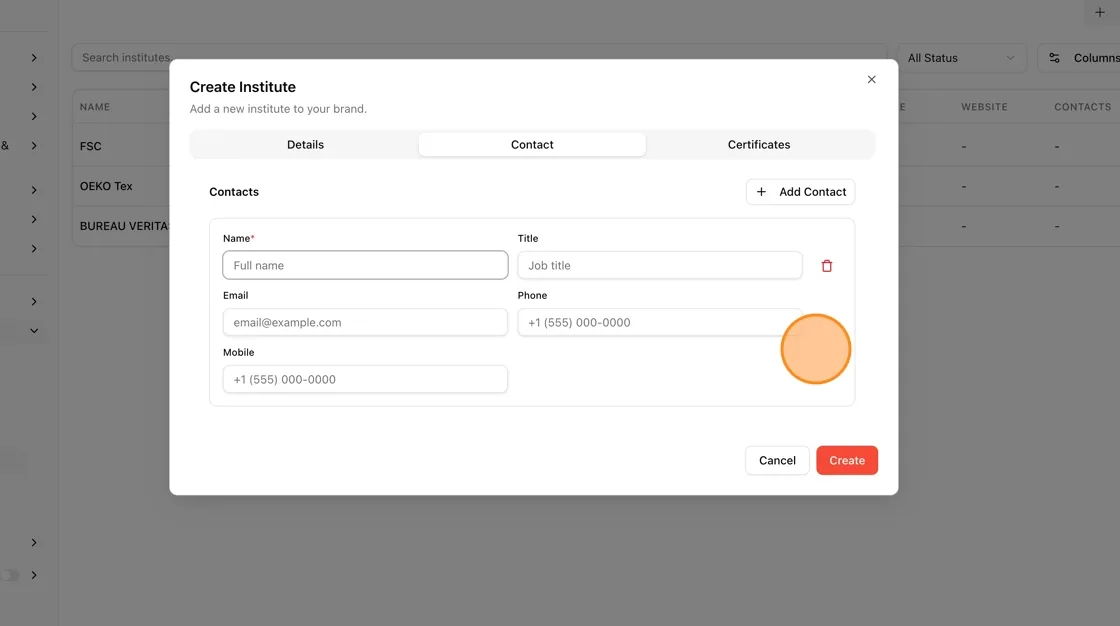
Fill in contact details: Name (required), Title, Email, Phone, and Mobile.
Click the Certificates tab.
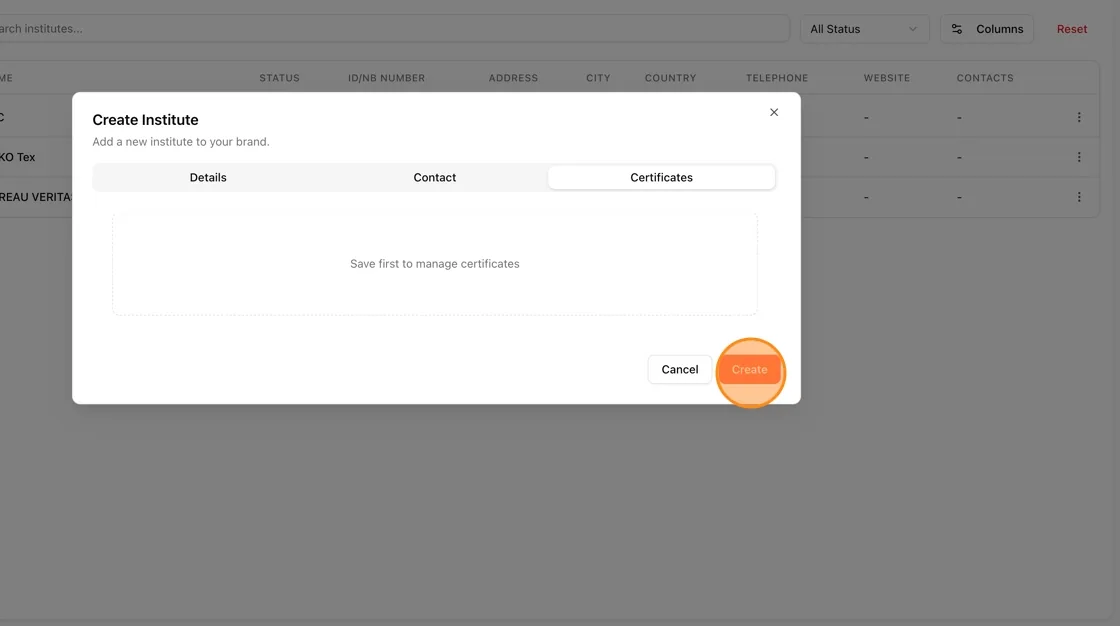
Since the institute isn't saved yet, you will see “Save first to manage certificates.”
Click Create to save the new institute.
Manage certificates for an institute
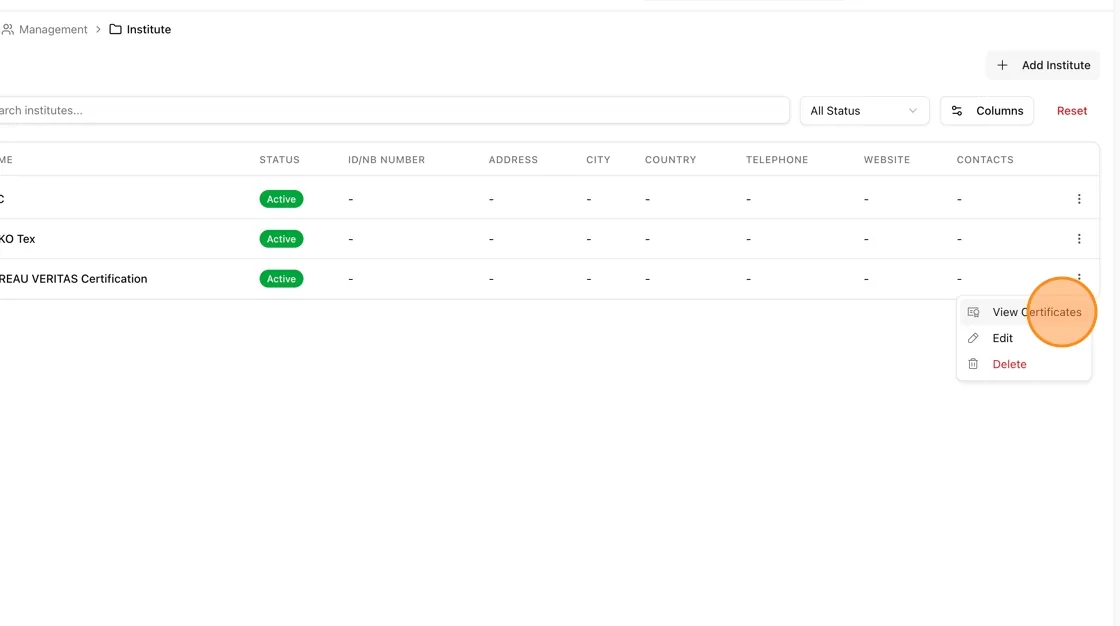
From the institute list, click the ⋮ (three-dot menu) next to an institute and select View Certificates (or Edit).
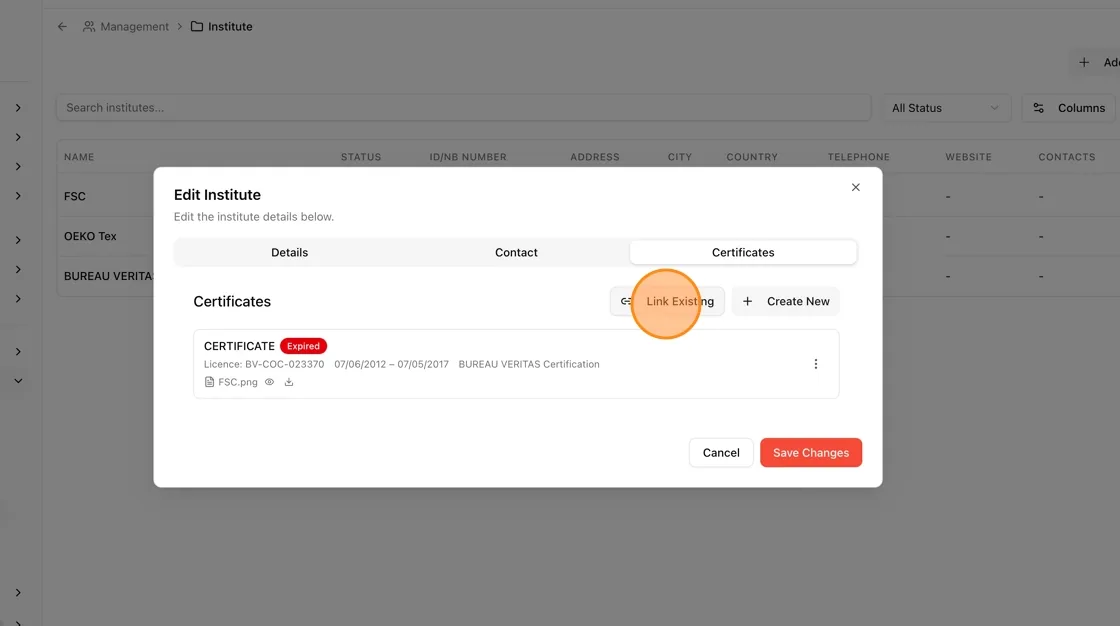
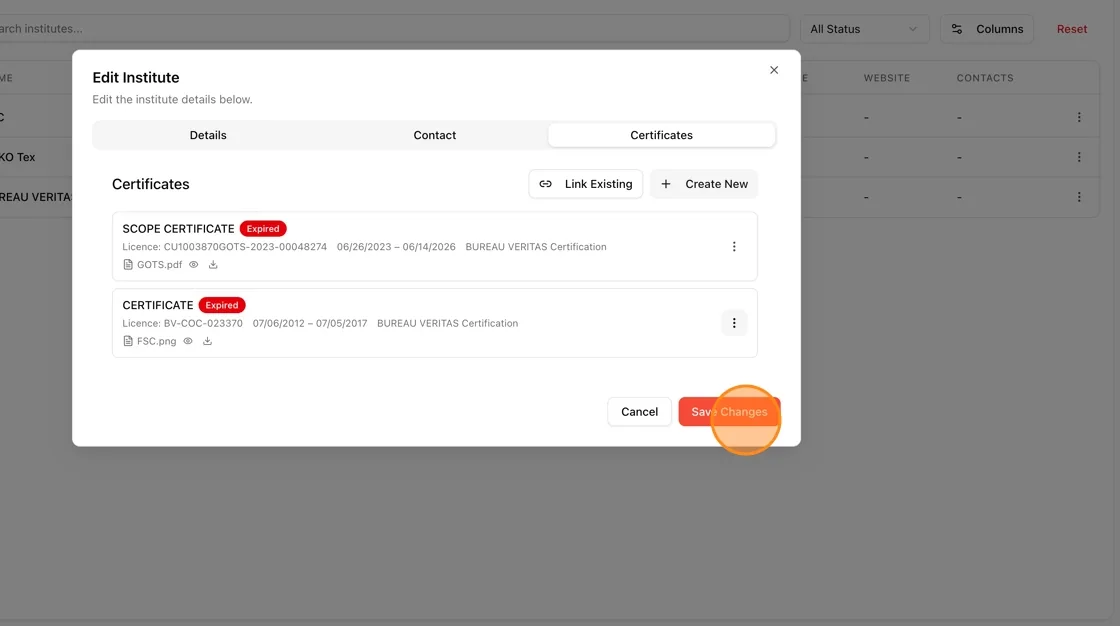
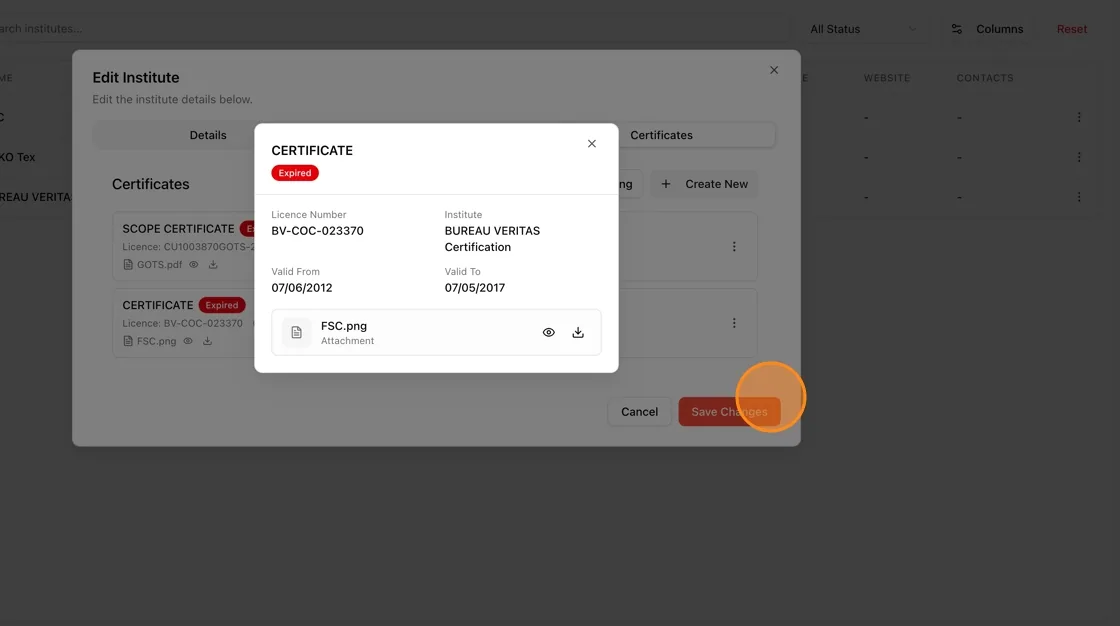
In the Edit Institute modal, go to the Certificates tab to see existing certificates (e.g., a CERTIFICATE marked “Expired” with licence number, validity dates, and attached file).
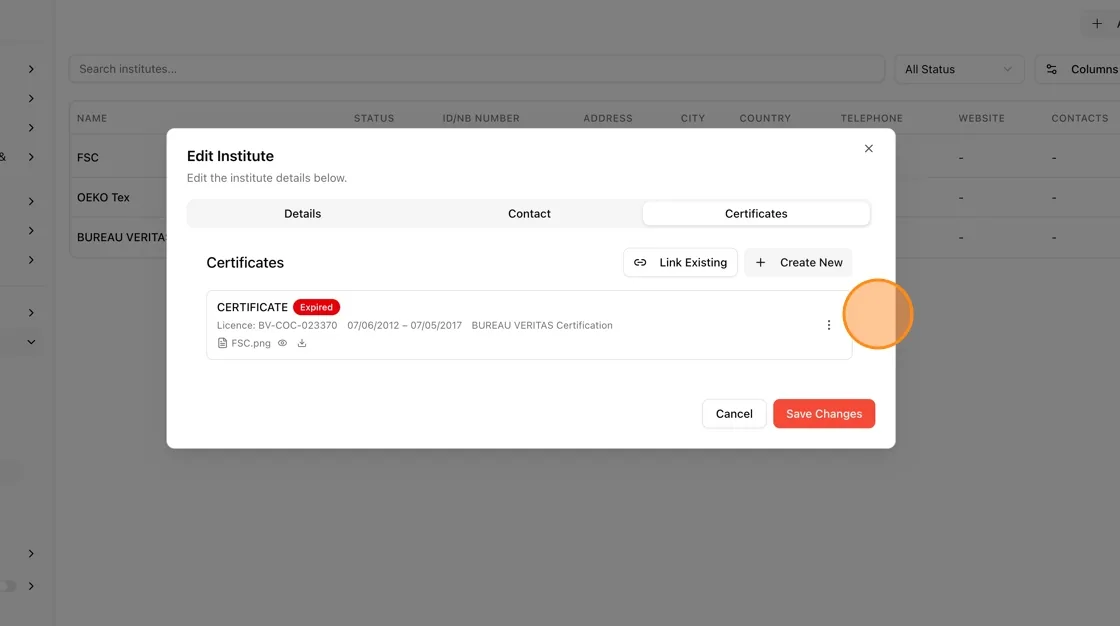
To attach an existing certificate, click Link Existing.
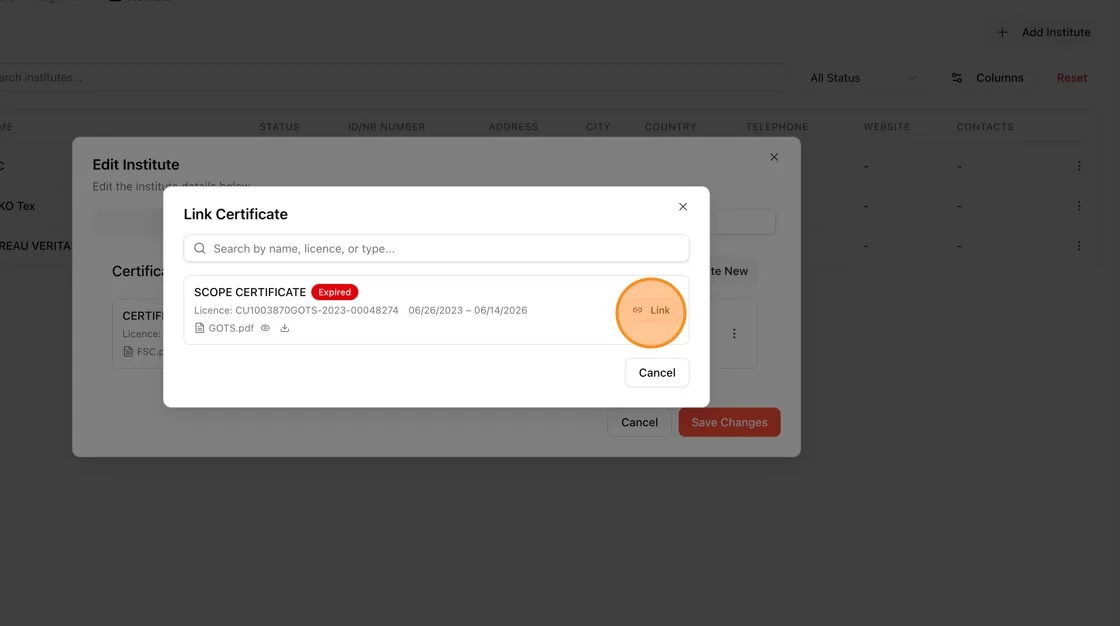
In the Link Certificate pop-up, search by name, licence, or type, then click Link next to the desired certificate.
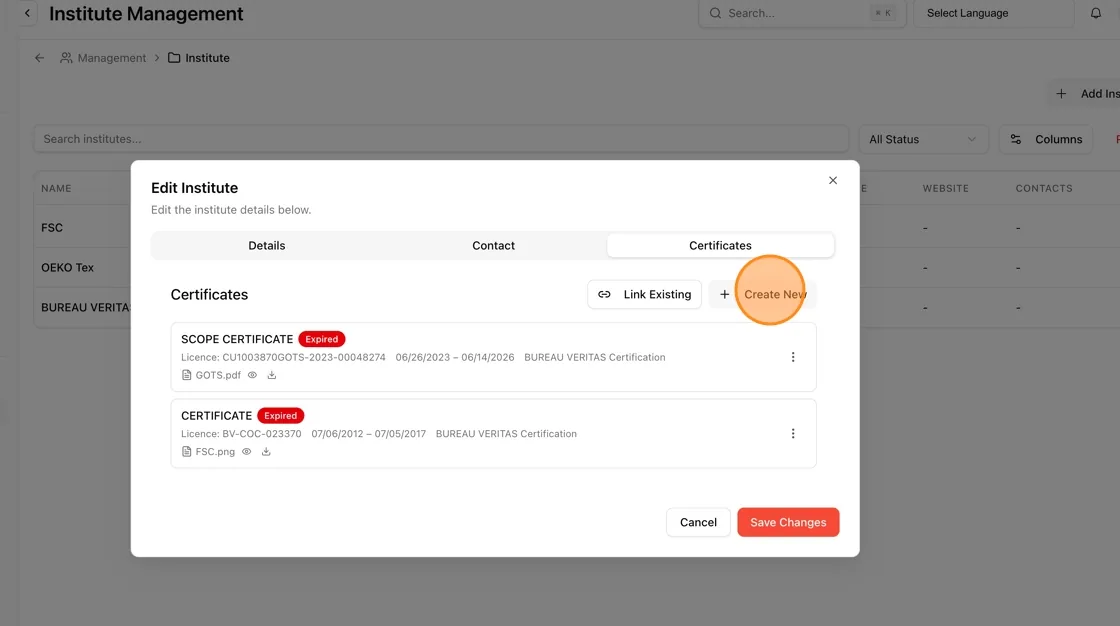
Once linked, the certificate appears in the institute's Certificates list alongside any others.
To add a brand-new certificate instead, click + Create New.
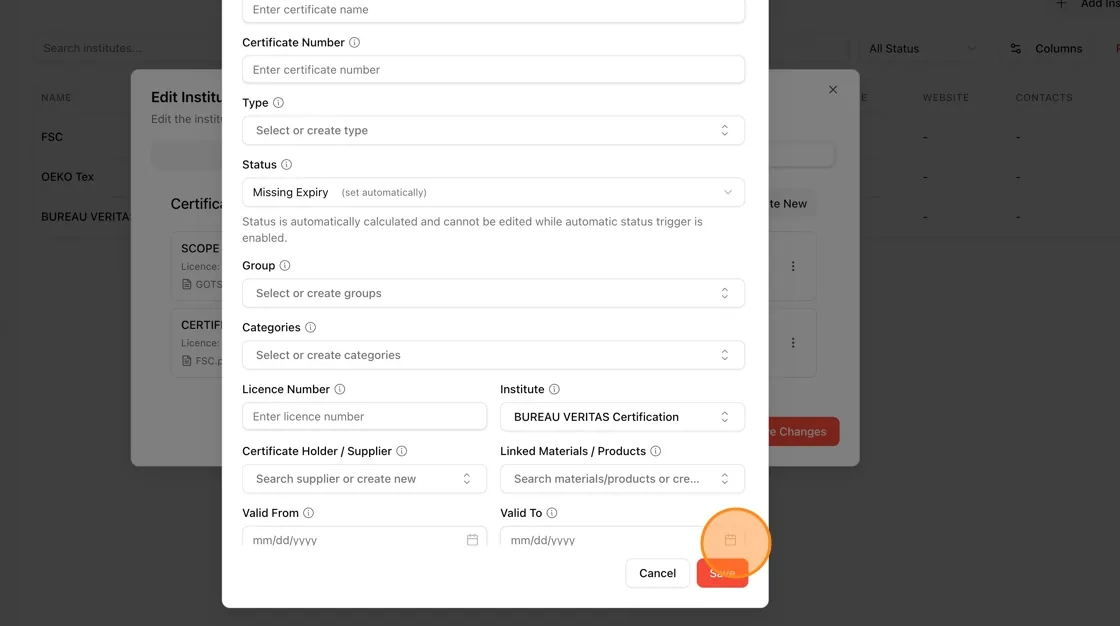
Fill in the Add Certificate form:
- Name (required)
- Certificate Number
- Type (select or create)
- Status (auto-set, e.g., “Missing Expiry”)
- Group and Categories
- Licence Number
- Institute (pre-filled, e.g., BUREAU VERITAS Certification)
- Certificate Holder/Supplier
- Linked Materials/Products
- Valid From / Valid To dates
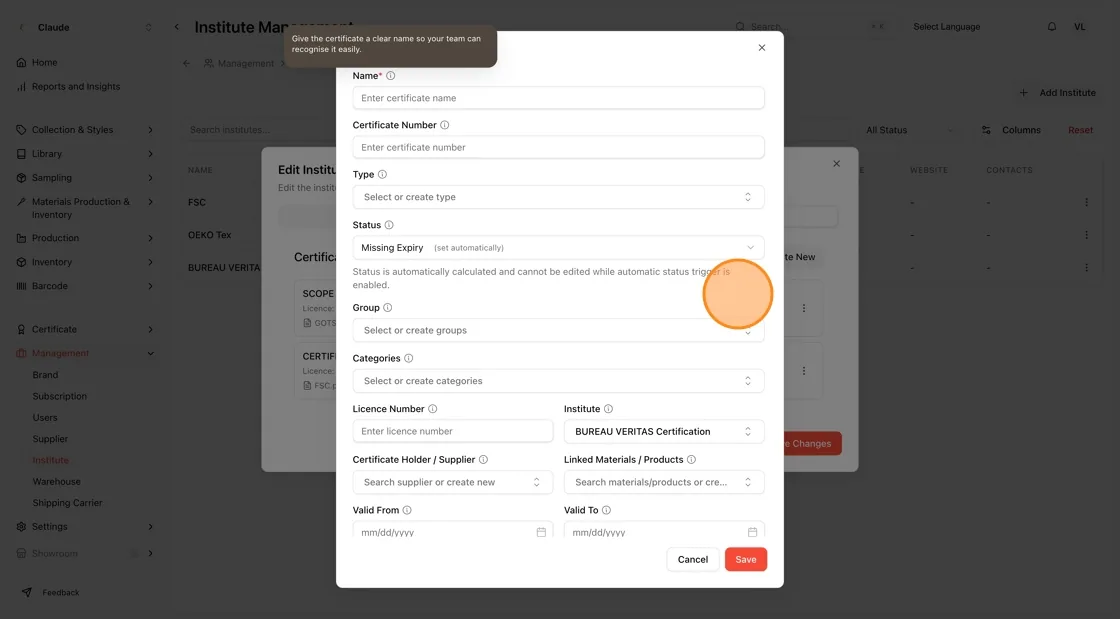
Click Save to add the certificate.
Click Save Changes to finalize all updates.
Remove a certificate from an institute
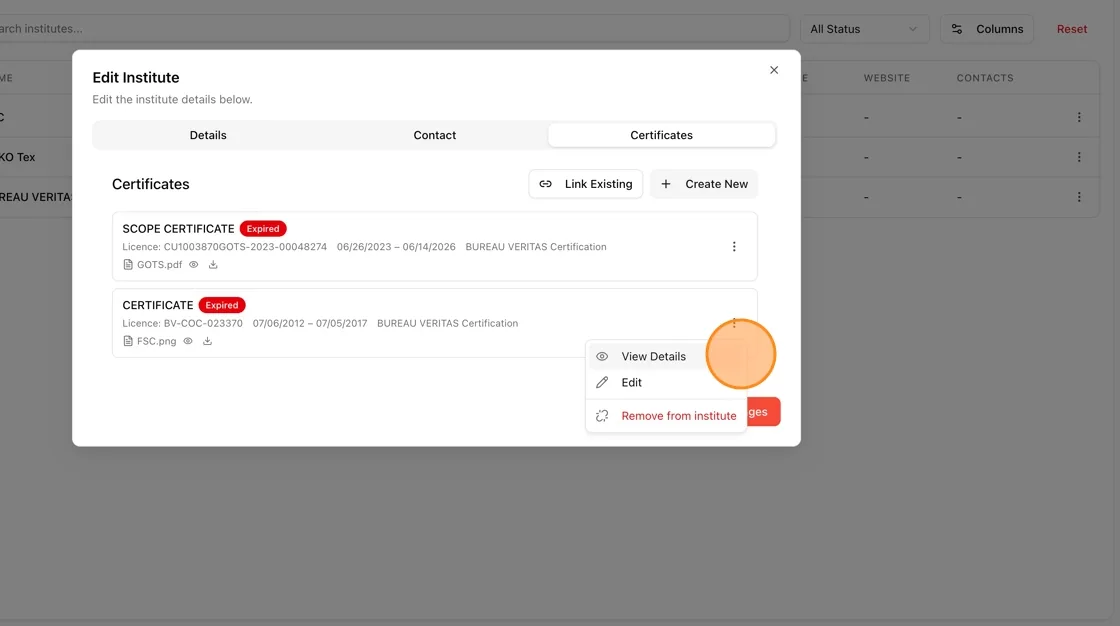
In the Edit Institute modal's Certificates tab, click the ⋮ (three-dot menu) next to the certificate you want to remove.
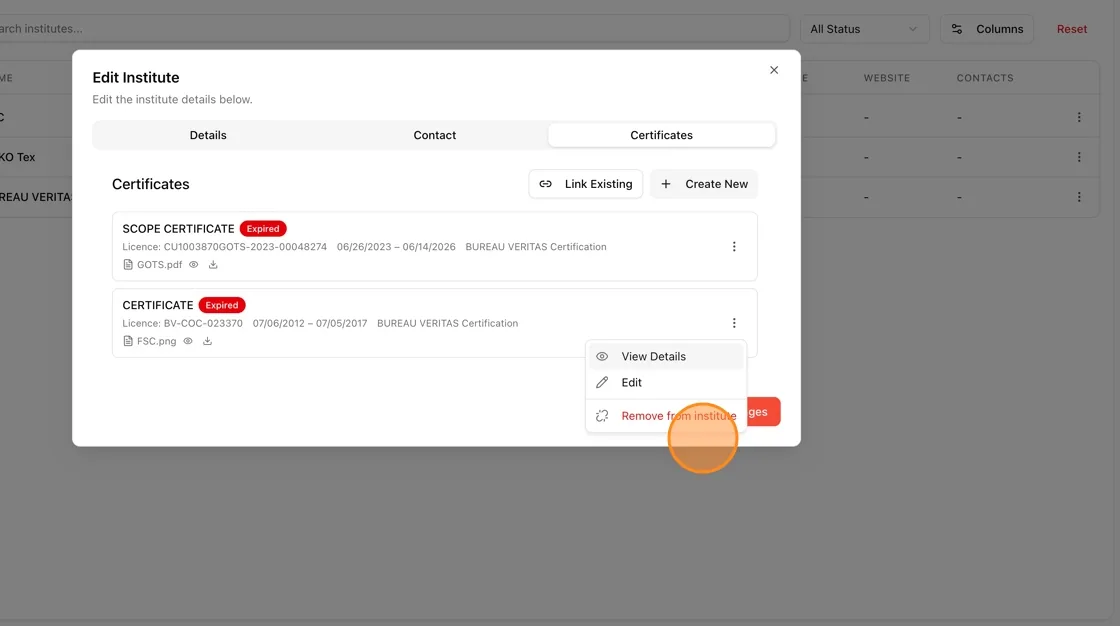
From the menu, Users can also choose View Details or Edit, or Remove from institute. A confirmation asks you to confirm. The certificate is not deleted, and any supplier or product attachment is kept.
Delete an institute
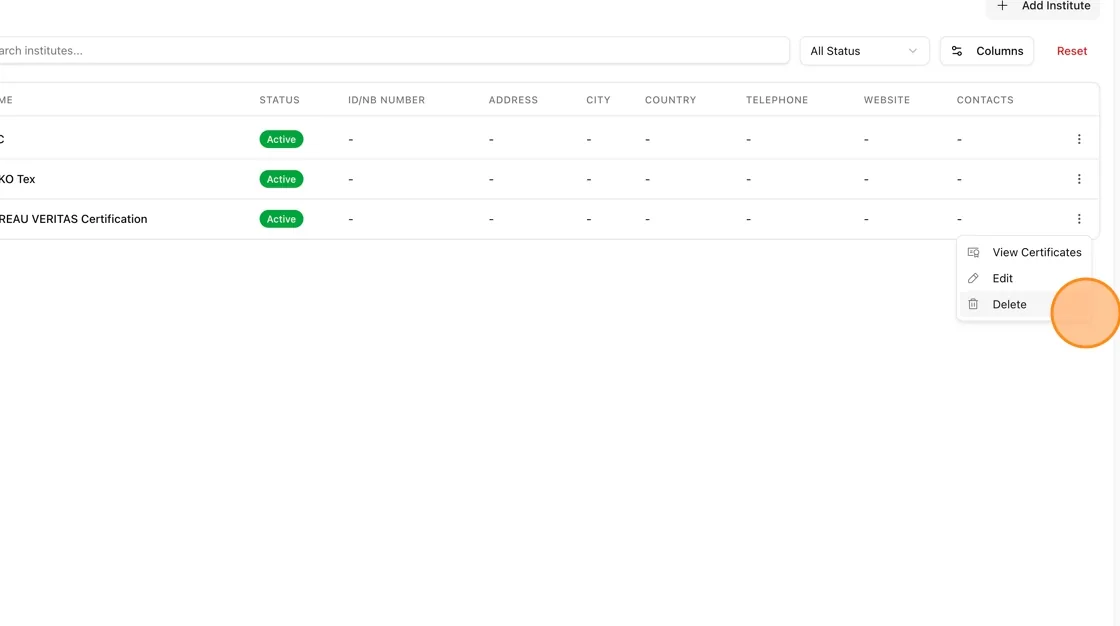
From the Institute Management list, click the ⋮ (three-dot menu) next to the institute you want to remove.
Select Delete from the dropdown menu, then click Delete to confirm. The message says that this action cannot be undone, so the institute is permanently removed.