Create a new color palette
The Create a New Color Palette feature enables users to efficiently build their color library by entering essential information for comprehensive color management.
Under review. This page is published while we check it against the live app, so some details may have changed.
Screenshots may be out of date.
Navigate to the homepage at app.vestislabs.com and log in to your account
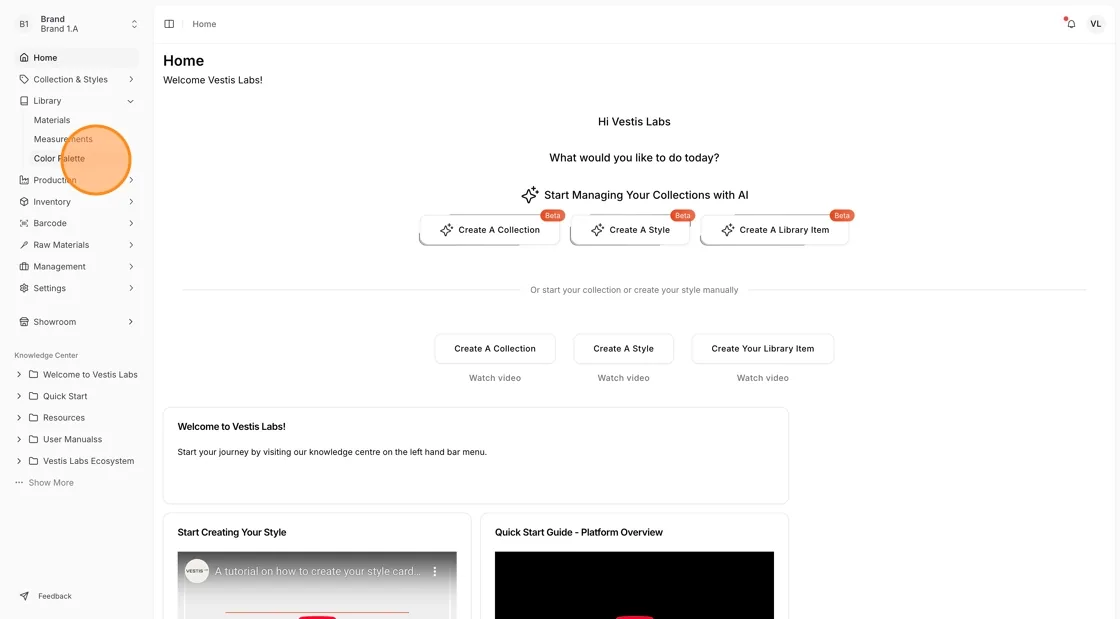
Click on "Library > Color Palette" from the left bar menu.
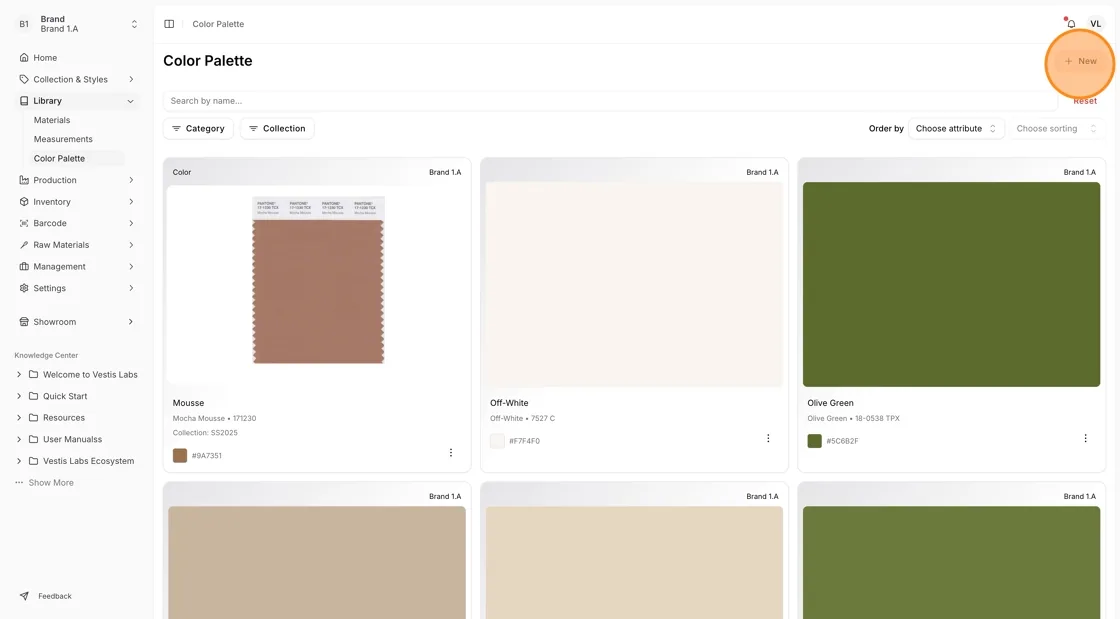
Click the "New" button to begin creating a new color palette entry.
To upload an image, click "Drag & drop…
To upload an image, click "Drag & drop some files here, or click to select files" and select your file.
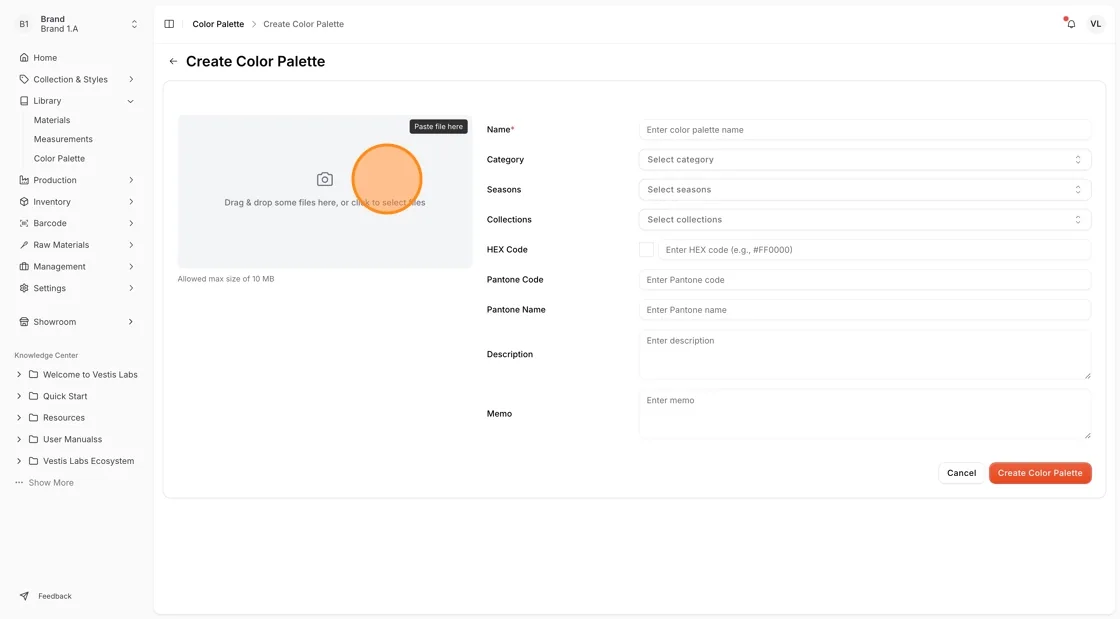
In the "Name" field, enter the name of your color (e.g., "Cranberry").
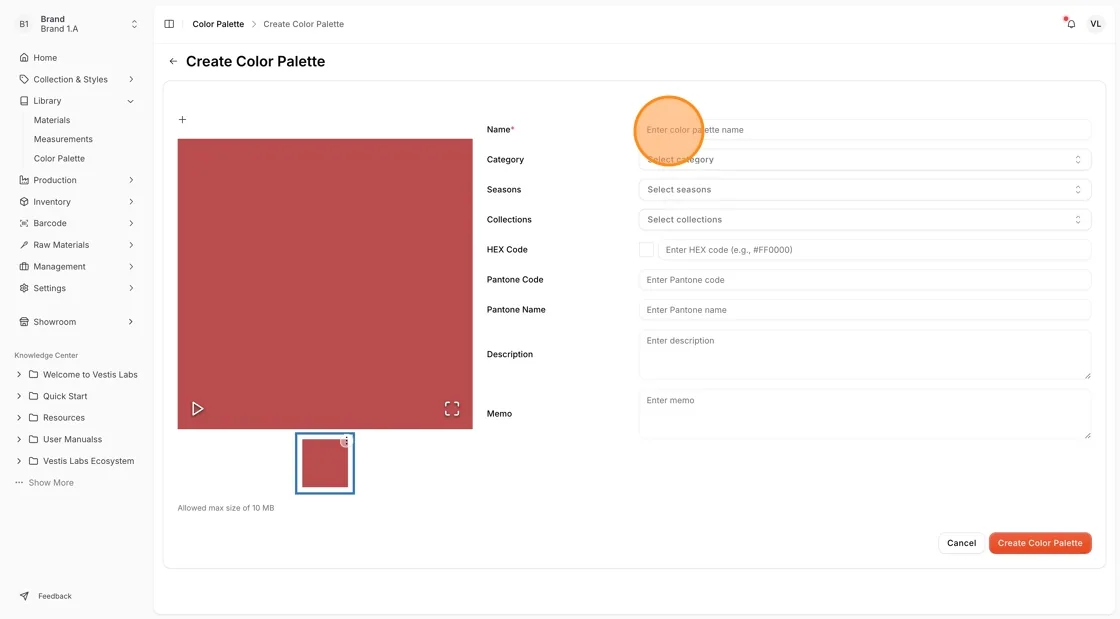
Click "Select category"
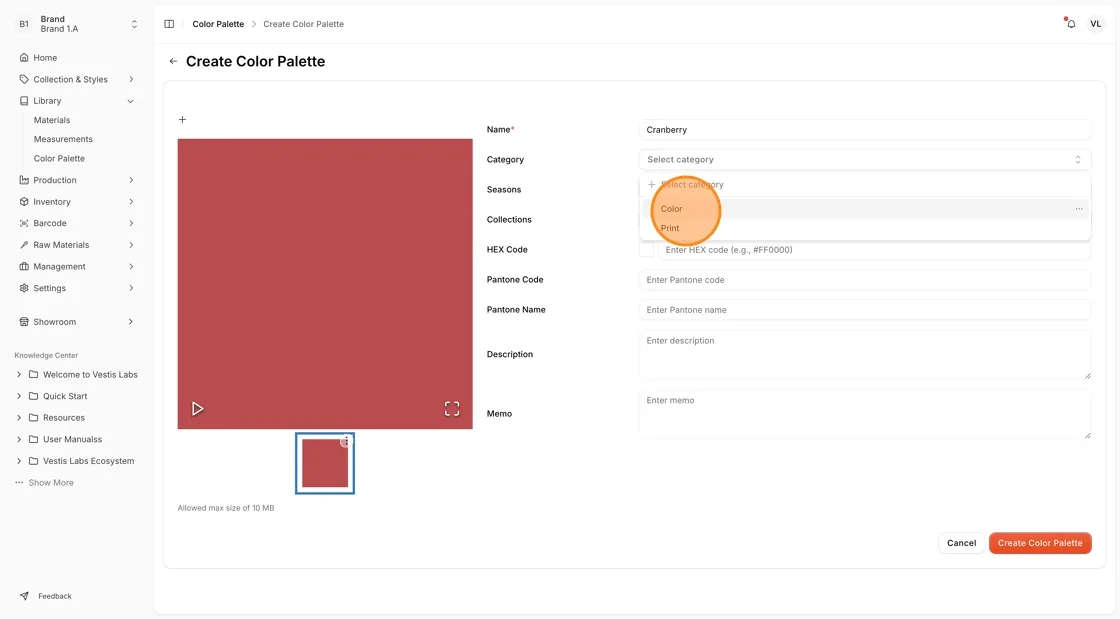
Click "Select seasons"
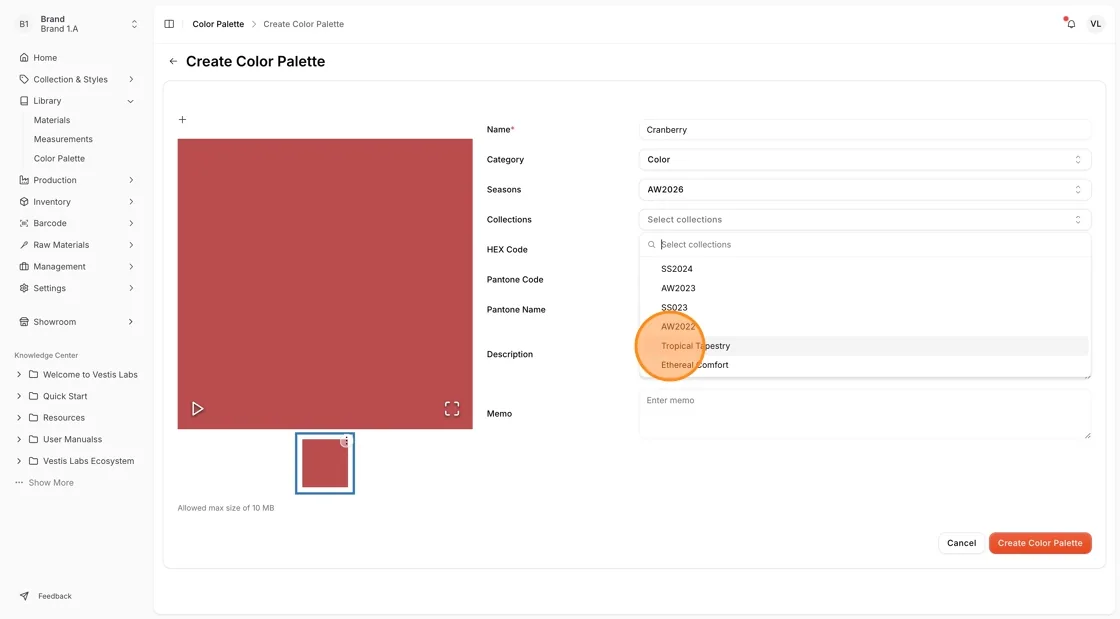
Click "Select collections"
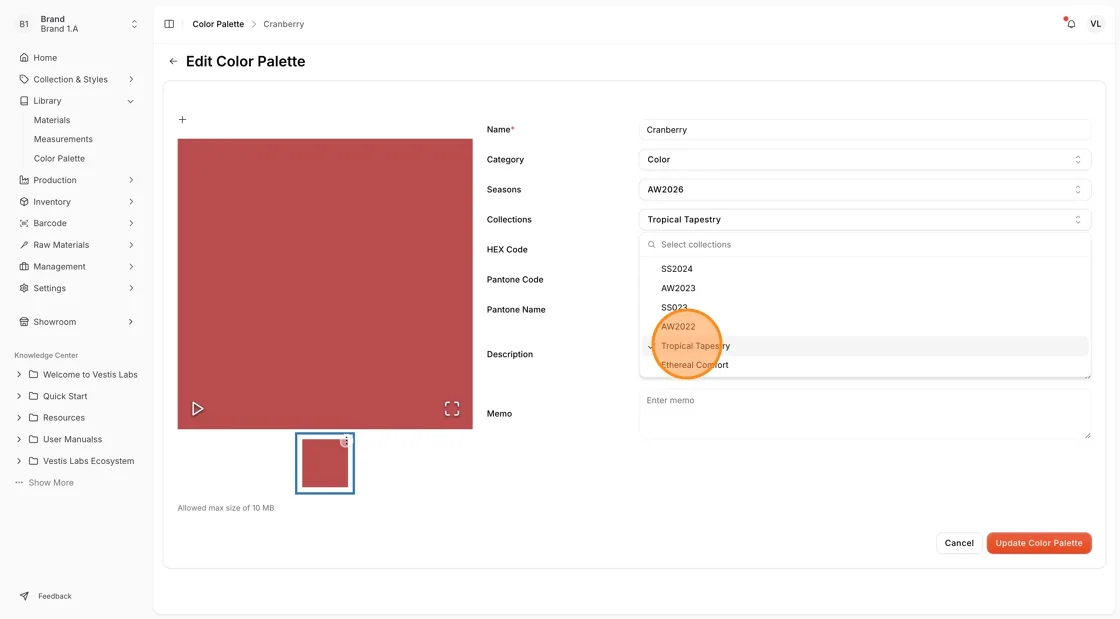
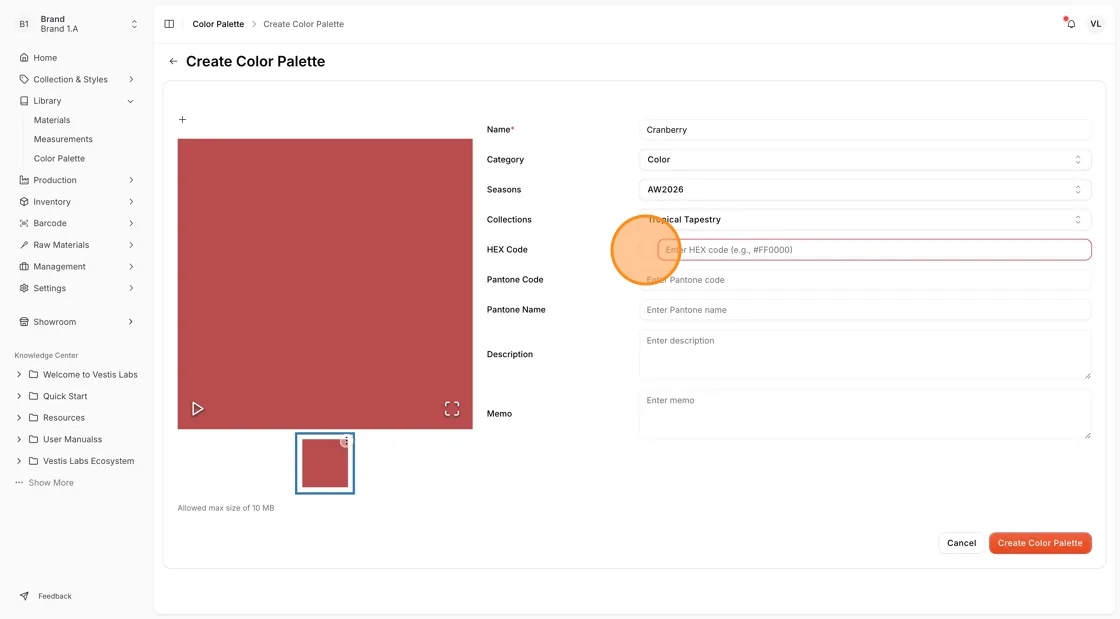
In the "Enter HEX code" field, input the hexadecimal color code for your color.
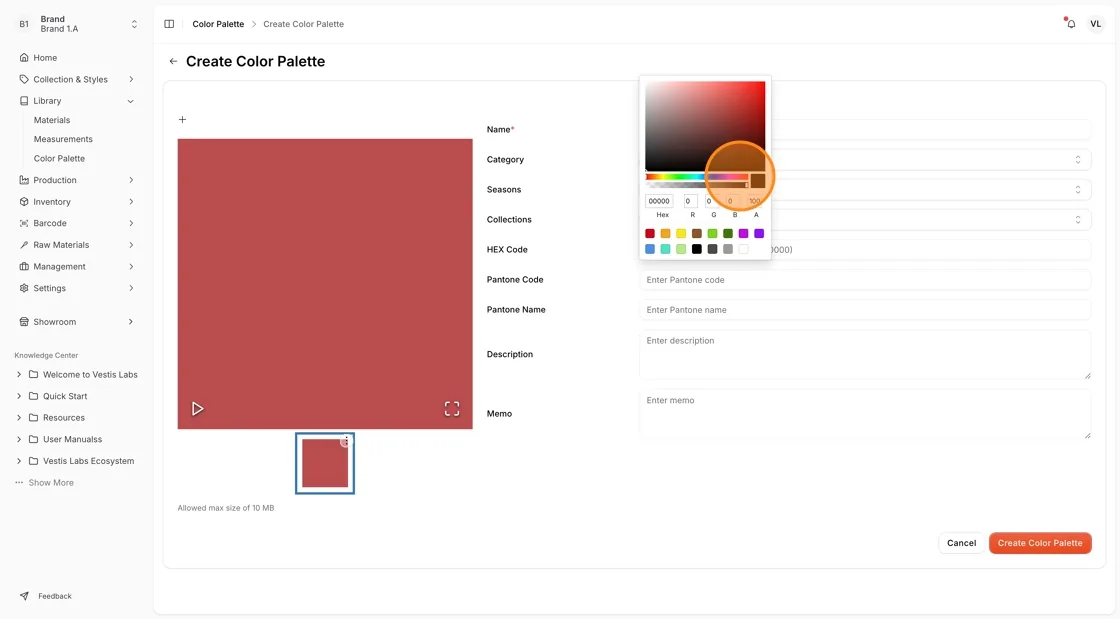
Users can choose their desired color directly from the color window palette.
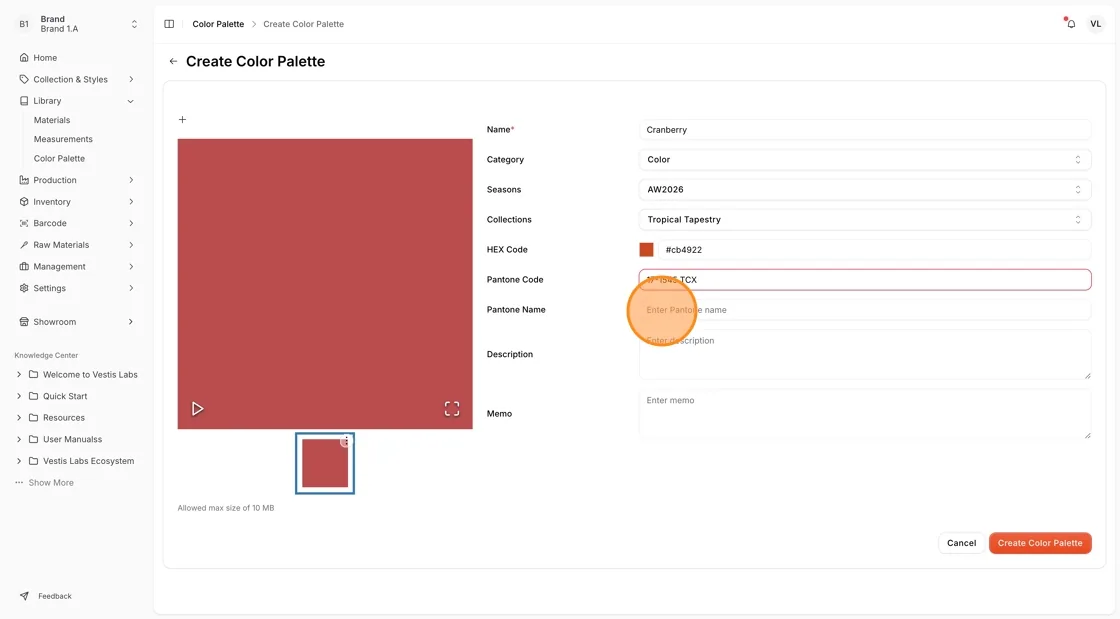
Enter the Pantone Code and the Pantone Name in the corresponding field.
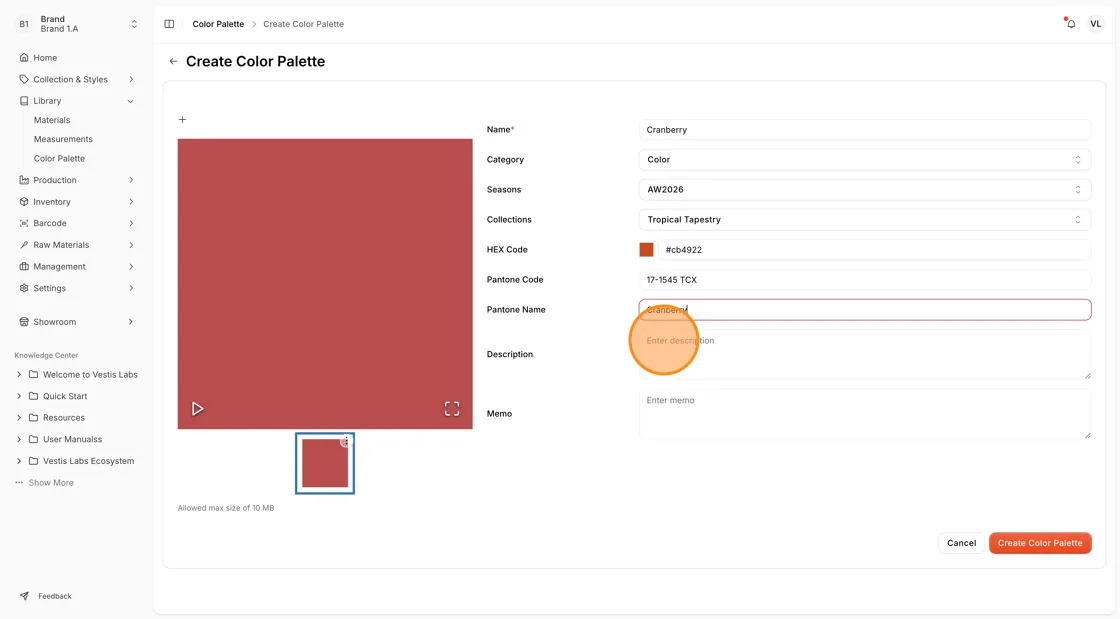
Fill in the "Description" field with relevant details about the color
Add any notes in the "Memo" field if needed
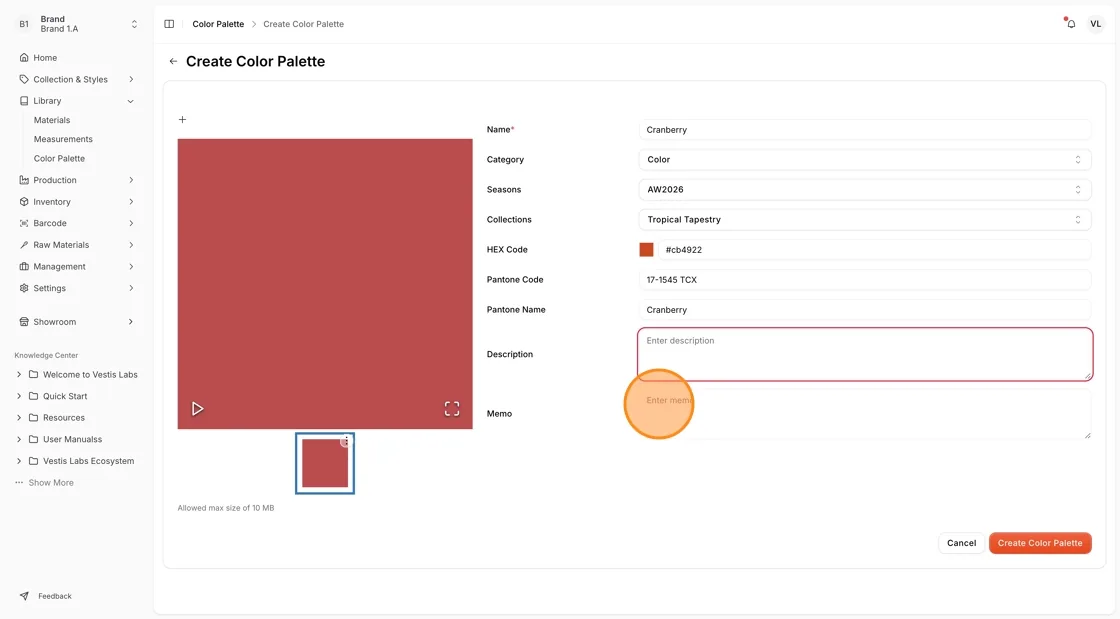
Click "Create Color Palette" to save your new color palette entry.
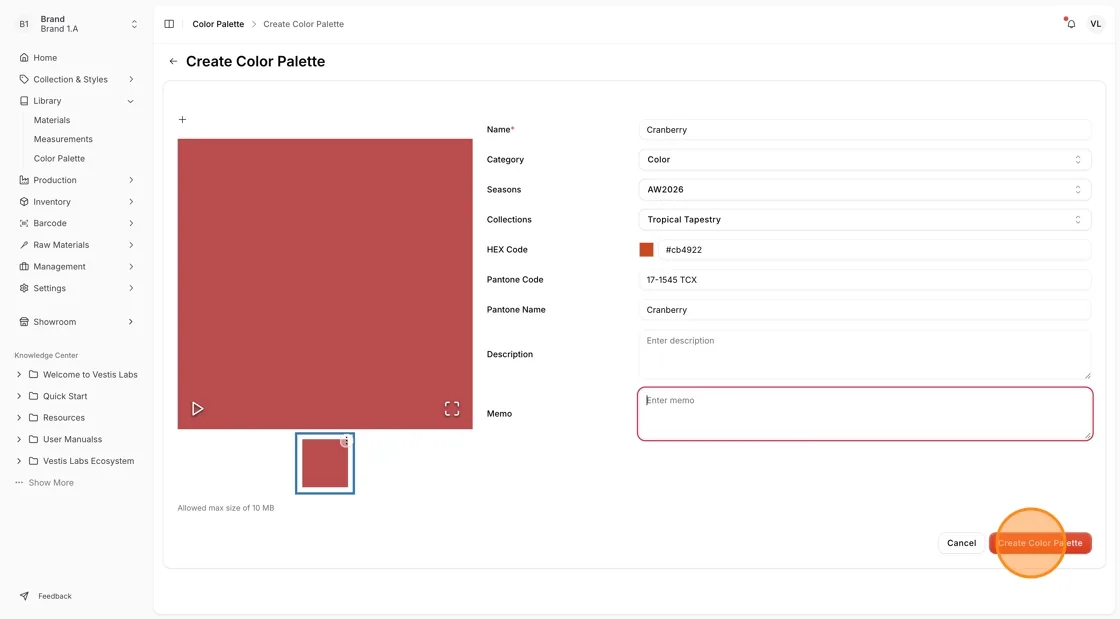
Your color palette entry has now been successfully created and will appear in the color palette library.
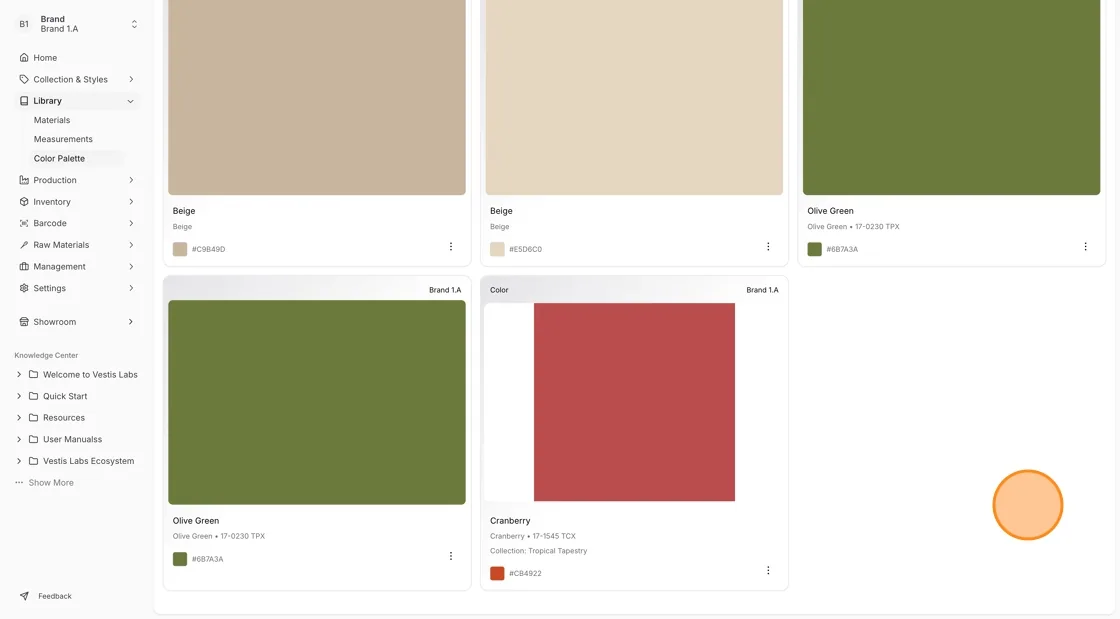
- Users can delete a color palette only if it is not linked to any style.
- If the color palette is linked to one or more styles, deletion is disabled until all style links are removed.
- To delete a linked color palette, users must first unlink it from all associated styles.
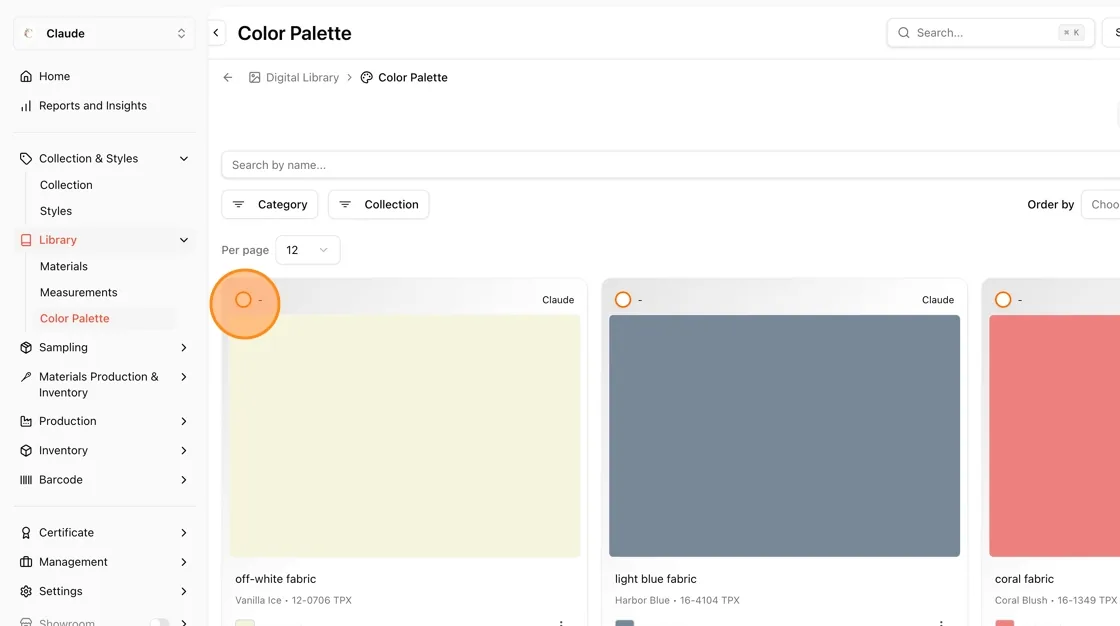
To select all visible color palettes at once, click the Select All checkbox in the top-right area of the page.
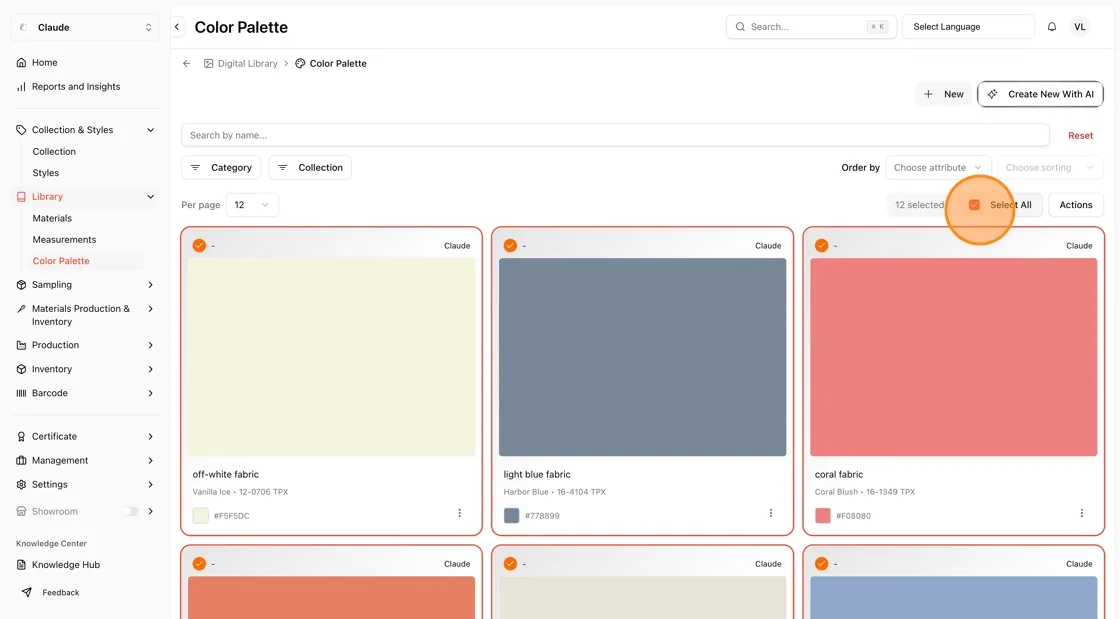
To select a color palette, click the circle checkbox in the top-left corner of a color card. When selected, the card will be highlighted with an orange border and the checkbox will show a checkmark (✔).
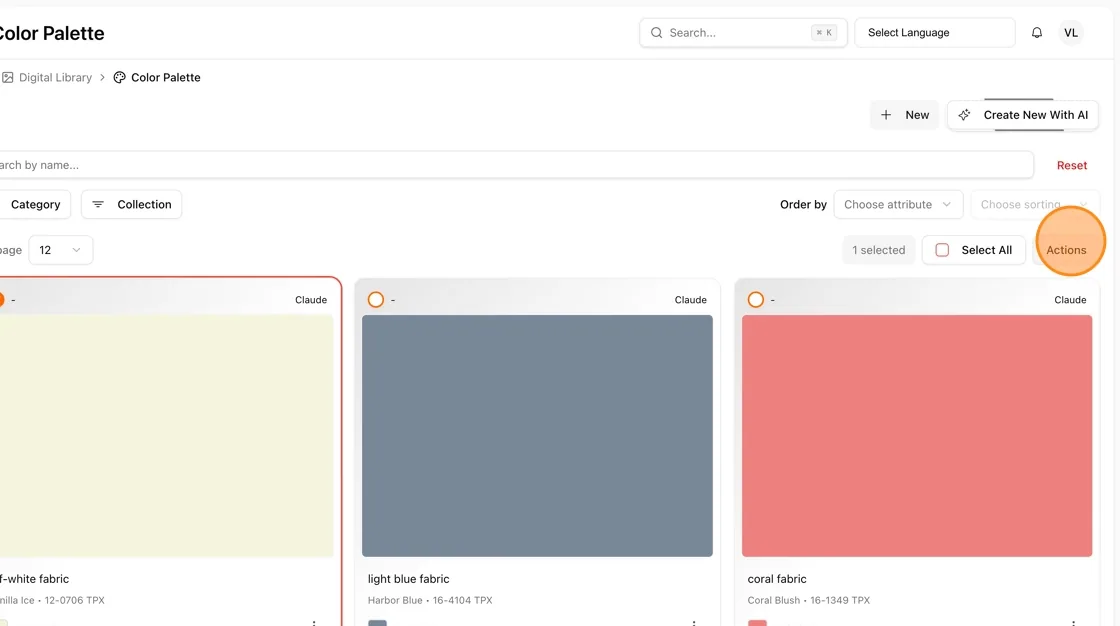
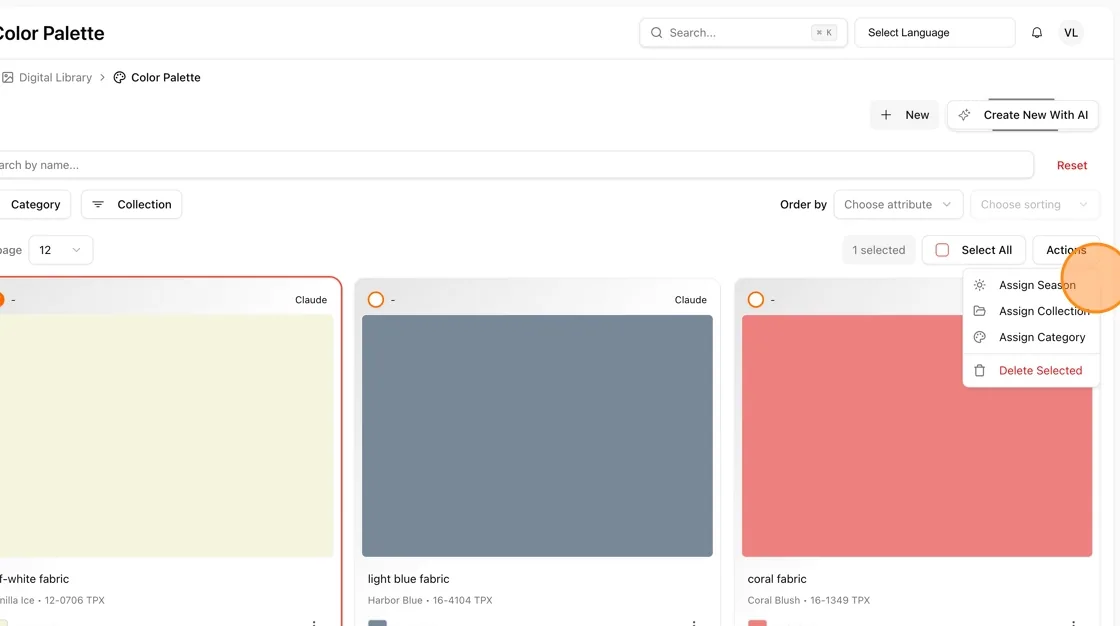
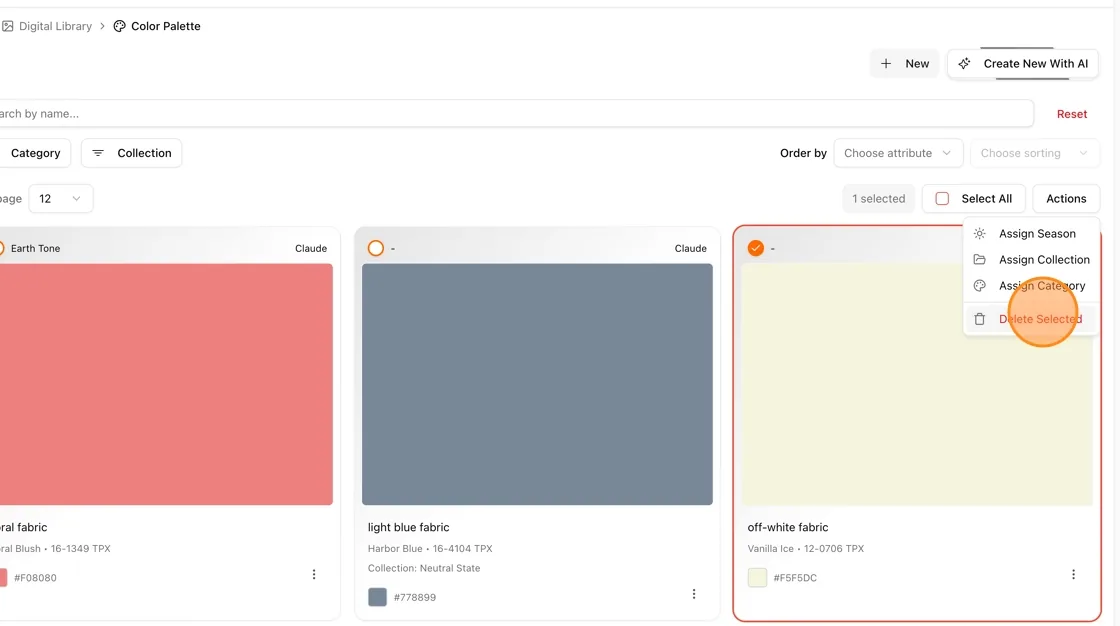
With one or more color palettes selected, click the Actions button in the top-right area of the page. A dropdown menu will appear with the following options:
Assign Season:
Assigns one or more seasons to the selected color palette(s).
Assign Collection:
Links the selected color palette(s) to a specific collection.
Assign Category:
Assigns a category to the selected color palette(s).
Delete Selected:
Permanently deletes the selected color palette(s).
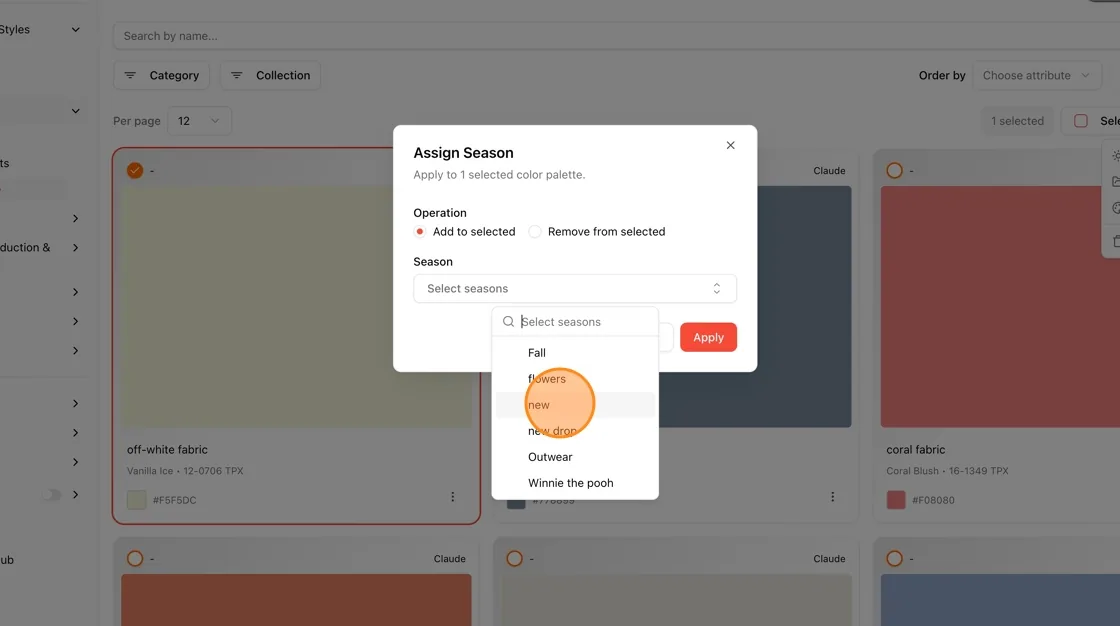
Under Operation, choose one of the two options:
Add to selected:
Adds the chosen season(s) to the selected color palette(s) without removing existing seasons.
Remove from selected:
Removes the chosen season(s) from the selected color palette(s).
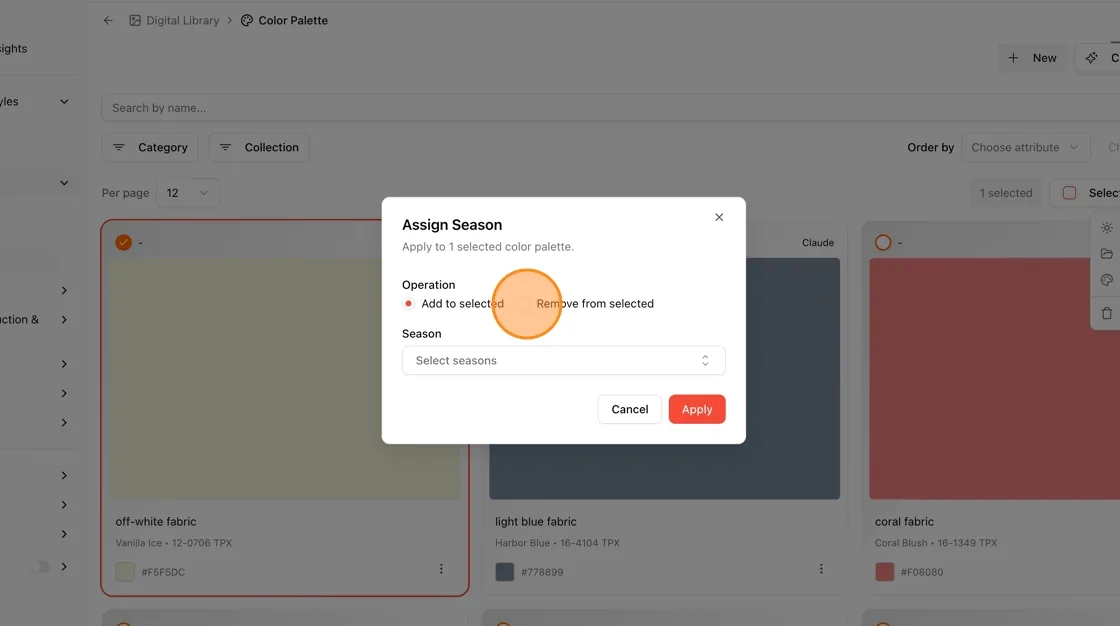
Click the Season dropdown and select the season(s) you want to assign or remove. You can search within the dropdown using the search field.
Click Apply to save the season assignment, or Cancel to close without making changes.
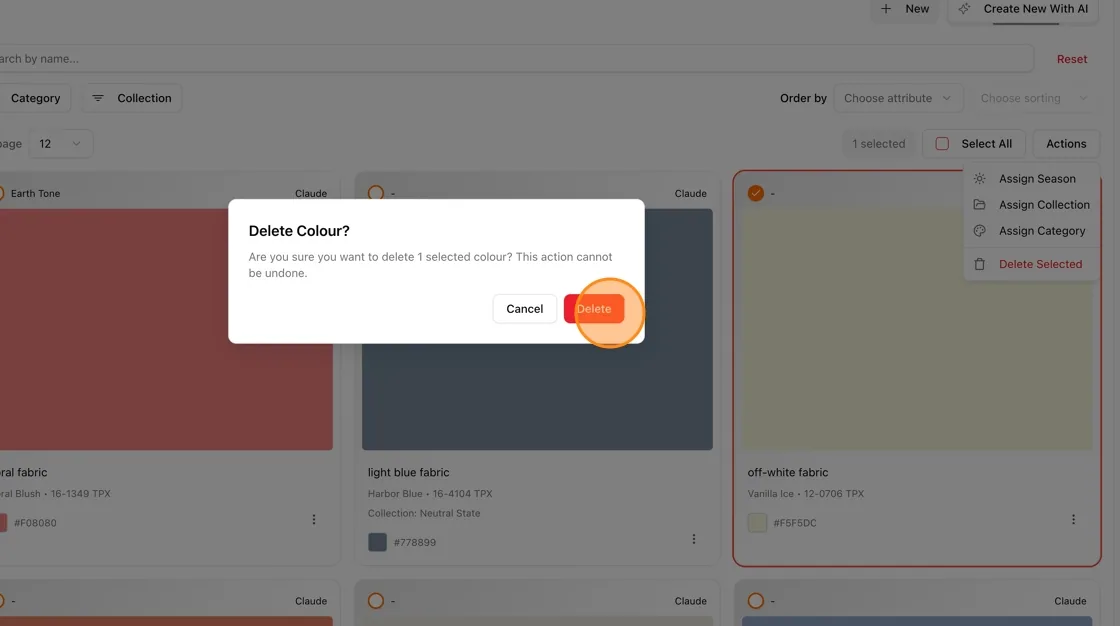
Click Actions › Delete Selected color.
Click Delete to permanently delete the selected color palette(s), or click Cancel to go back without deleting.