Step 5 of 13 in From idea to a production-ready tech pack
Uploading files in the design and development page
In the left-hand navigation panel, click Collection & Styles, then select Styles.
Under review. This page is published while we check it against the live app, so some details may have changed.
Screenshots may be out of date.
Important
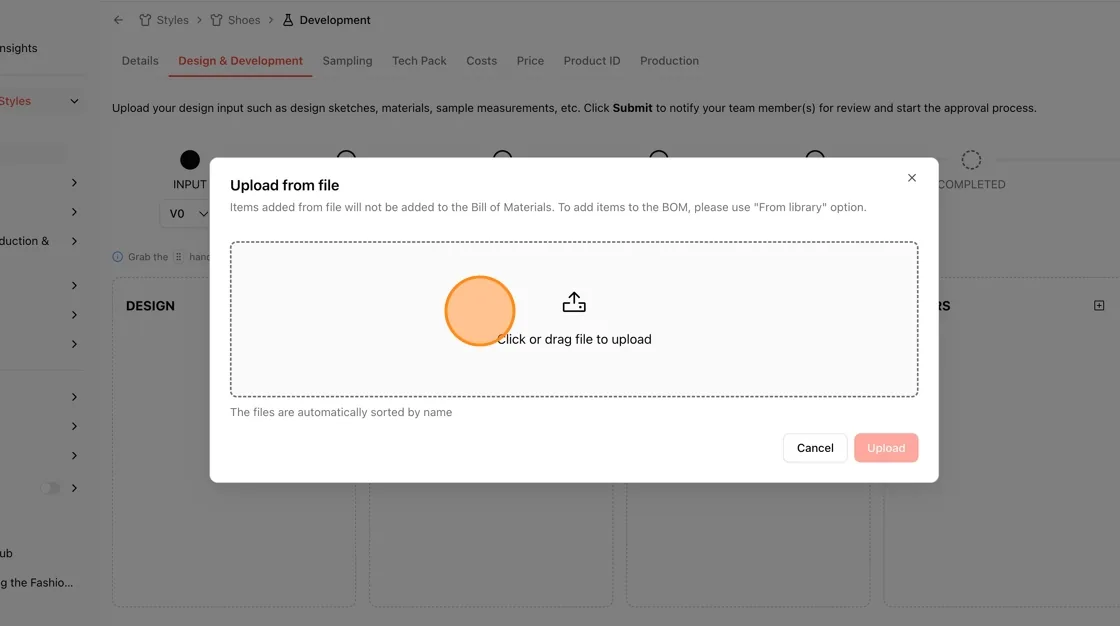
Items added from File will not be added to the Bill of Materials. To add items to the BOM, Please use "From Library" option.
Collection & StylesStyles(open a style)Design & Development
Permission: VIEW_DESIGN_DEVELOPMENT,UPDATE_FILE_MANAGEMENT
In the left-hand navigation panel, click Collection & Styles, then select Styles. Open the style you want to work on.
Click the Design & Development tab at the top of the page.
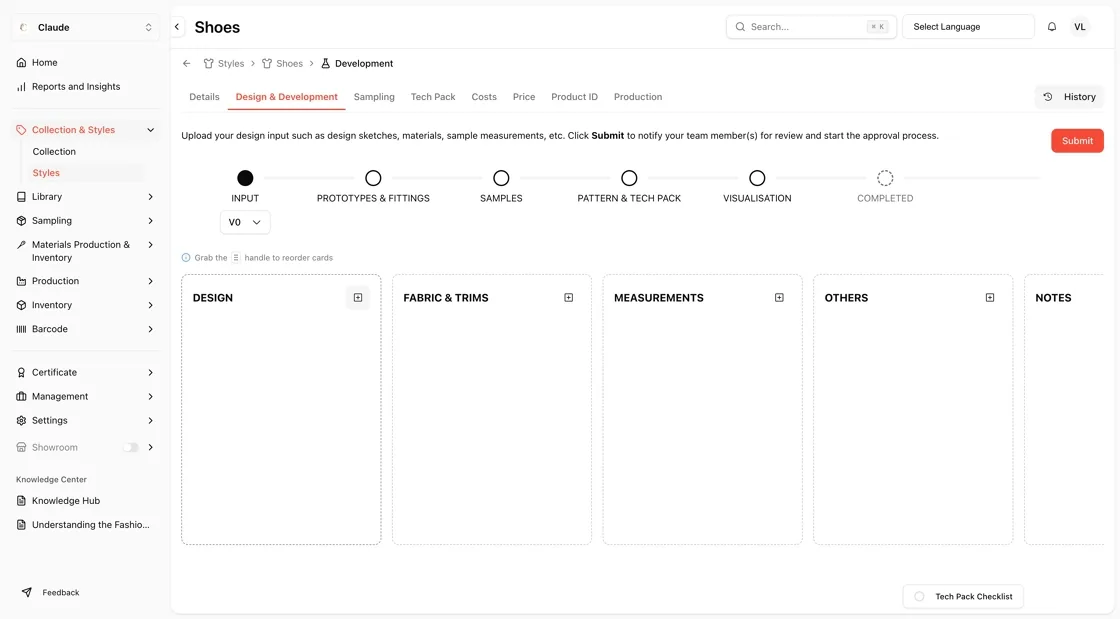
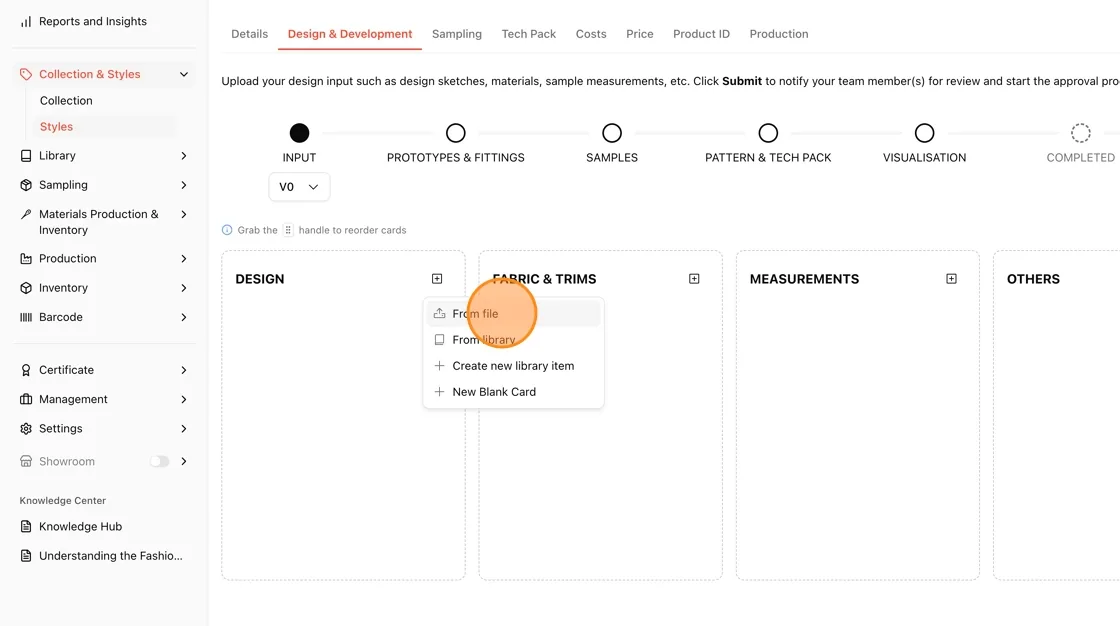
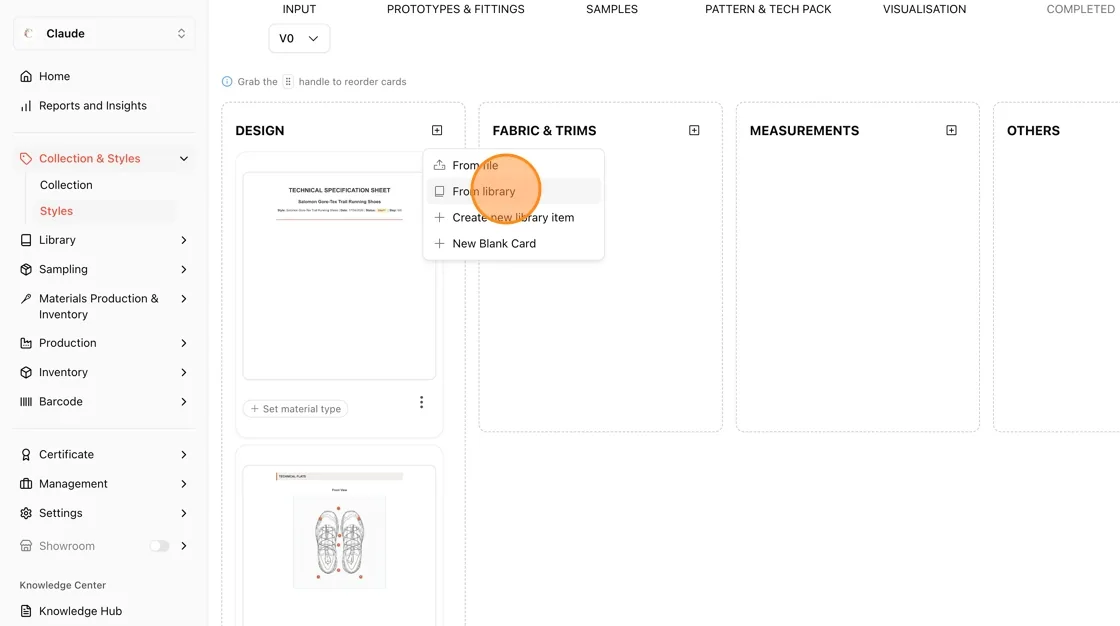
Click the + (plus) icon in the top-right corner of the column where you want to add a card (e.g., DESIGN, FABRIC & TRIMS, MEASUREMENTS, or OTHERS).
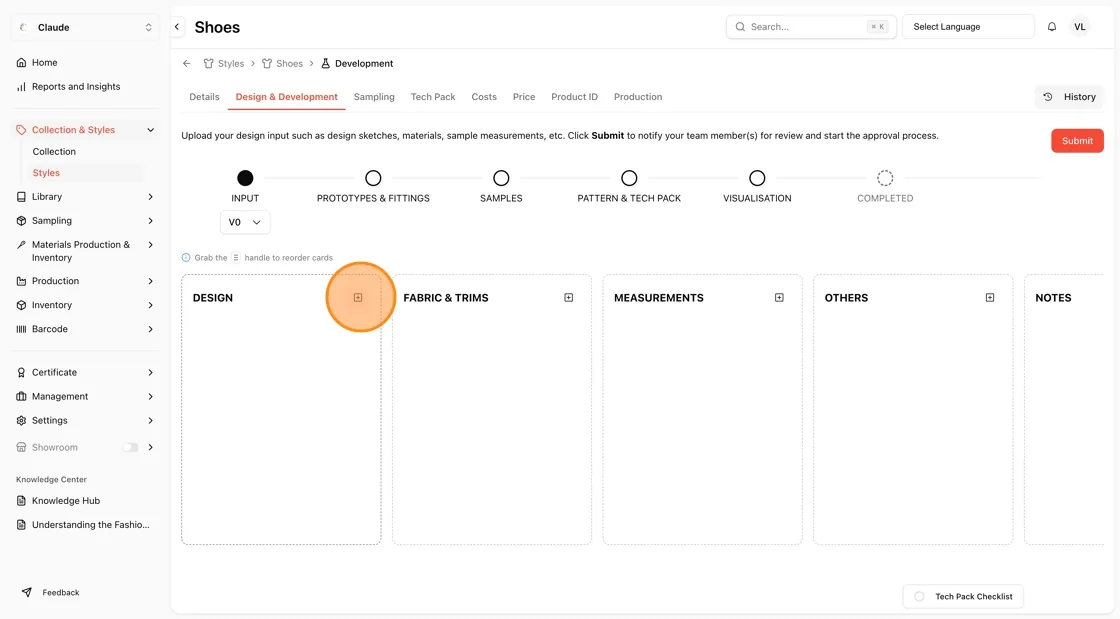
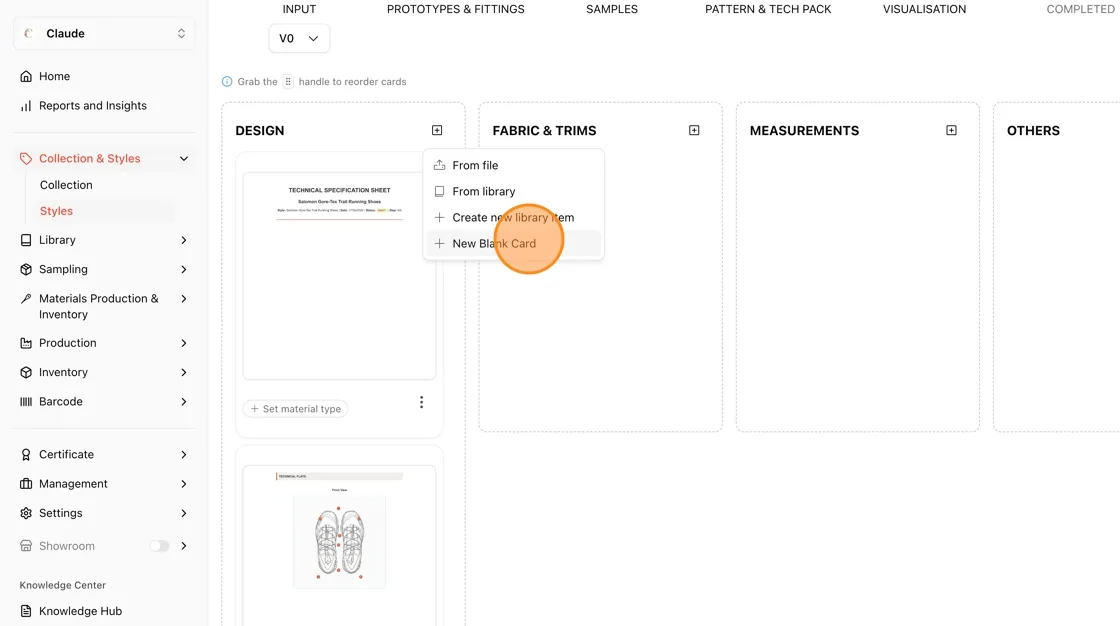
A dropdown menu will appear with the following options (options may vary by column):
- From file: Upload a file directly from your computer.
- From library: Select an existing item from your Library.
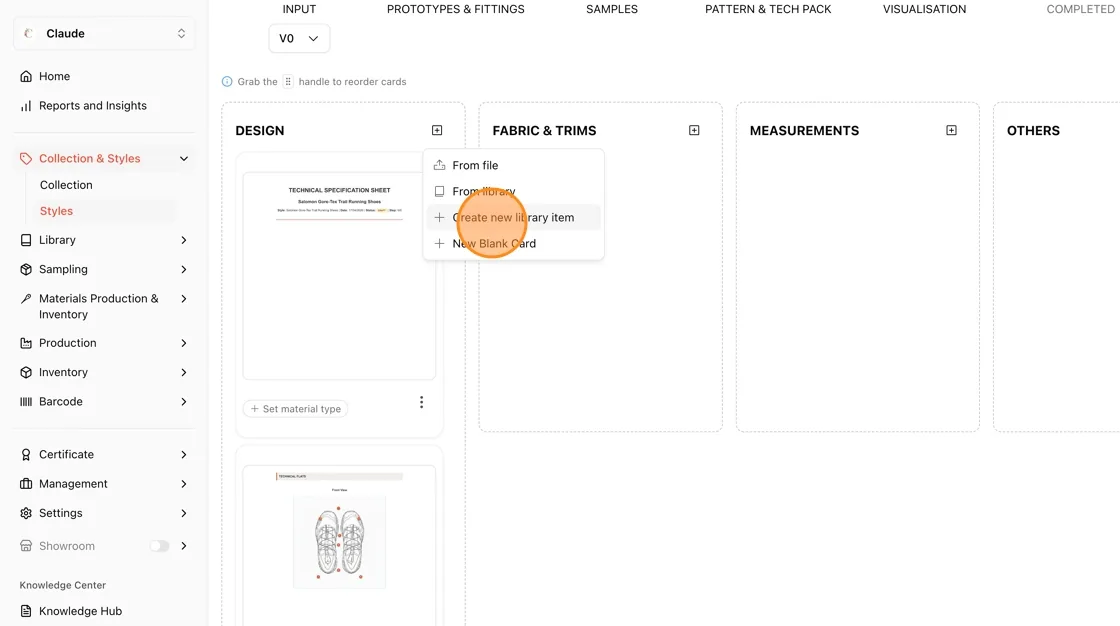
- Create new library item: Create a brand-new library item and add it.
- New Blank Card: Add an empty card you can fill in manually.
- From template: Use a pre-made template (available in OTHERS column).
- Create new: Create a new item directly (available in OTHERS column).
Upload a file (from file)
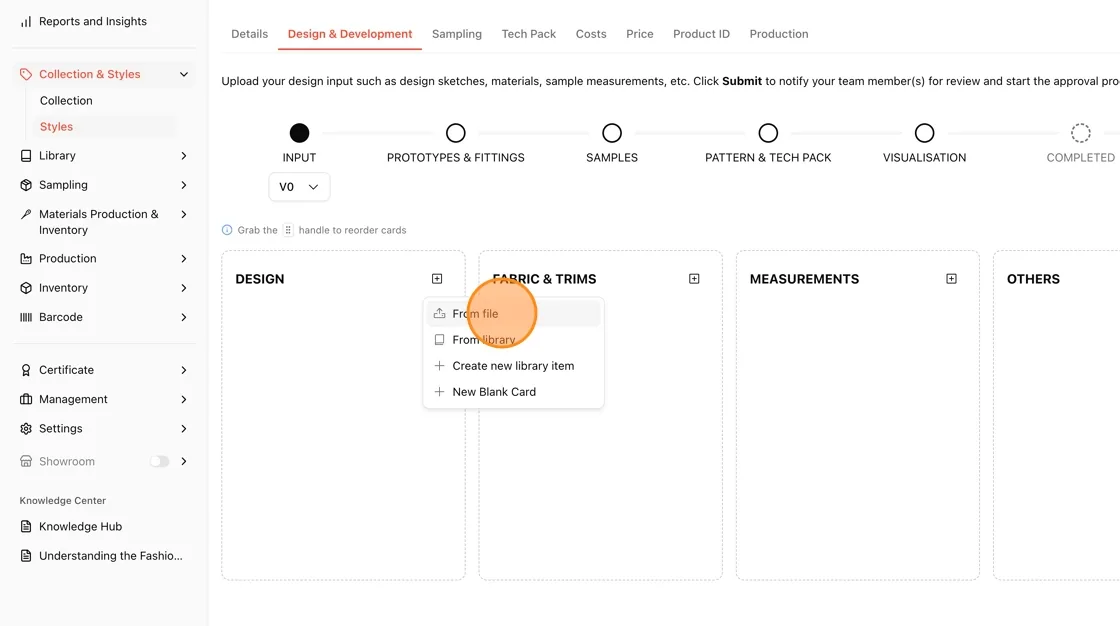
Click the + icon on the desired column, then select From file from the dropdown.
An "Upload from file" dialog will appear. Click inside the dashed upload area or drag and drop your file into it.
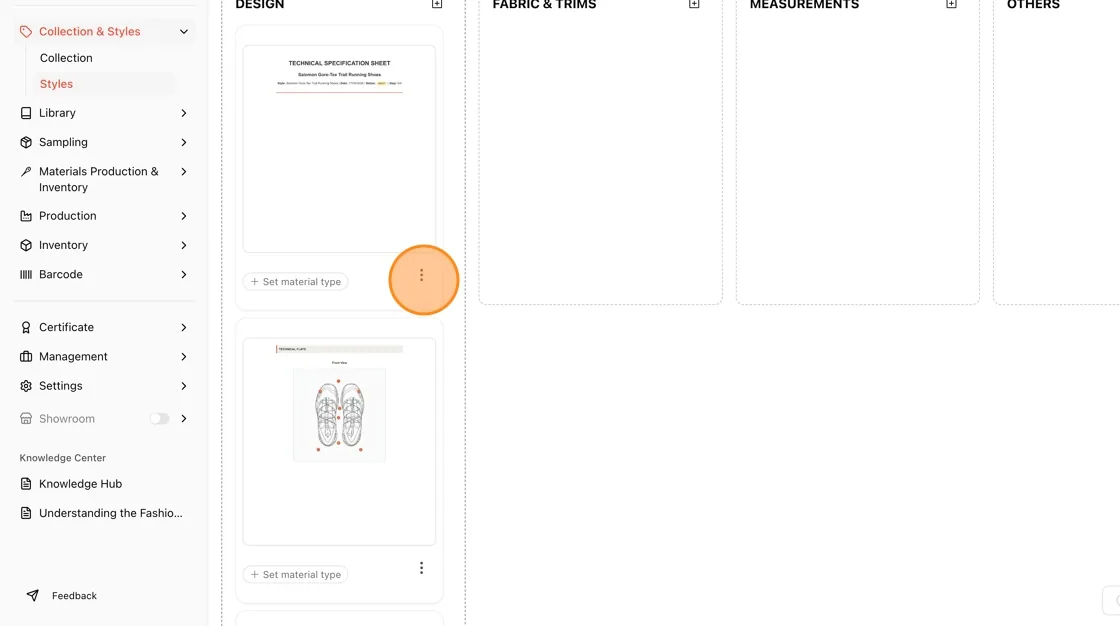
Once the file is selected, click the Upload button to complete the upload. The file will appear as a card in the column.
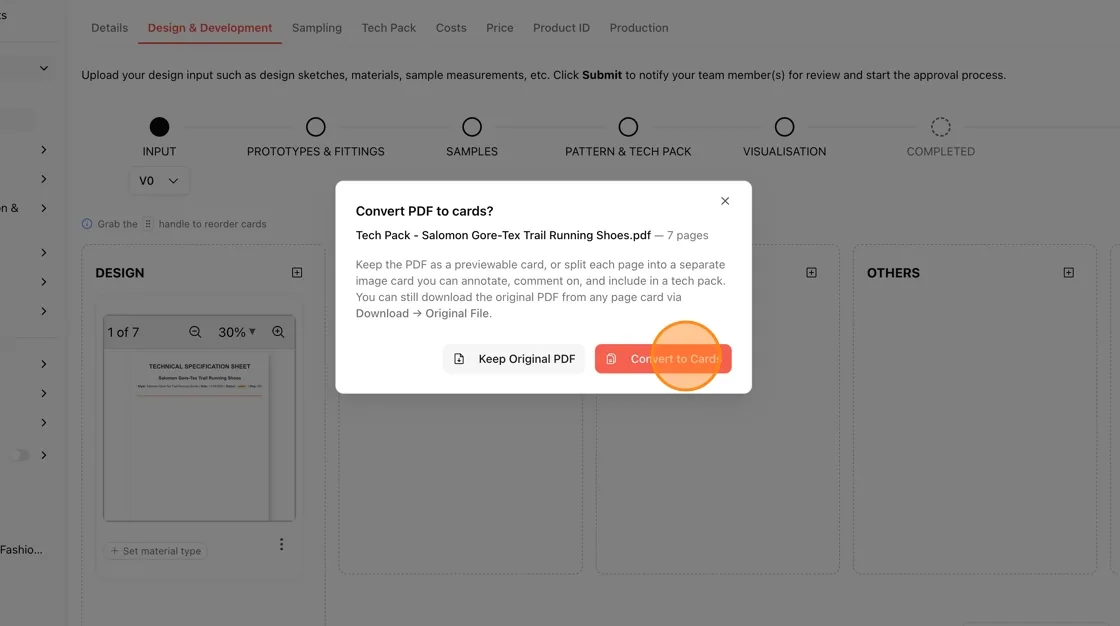
If you upload a PDF, a "Convert PDF to cards?" dialog will appear. Choose one of the following:
- Keep Original PDF: Keeps the PDF as a single previewable card.
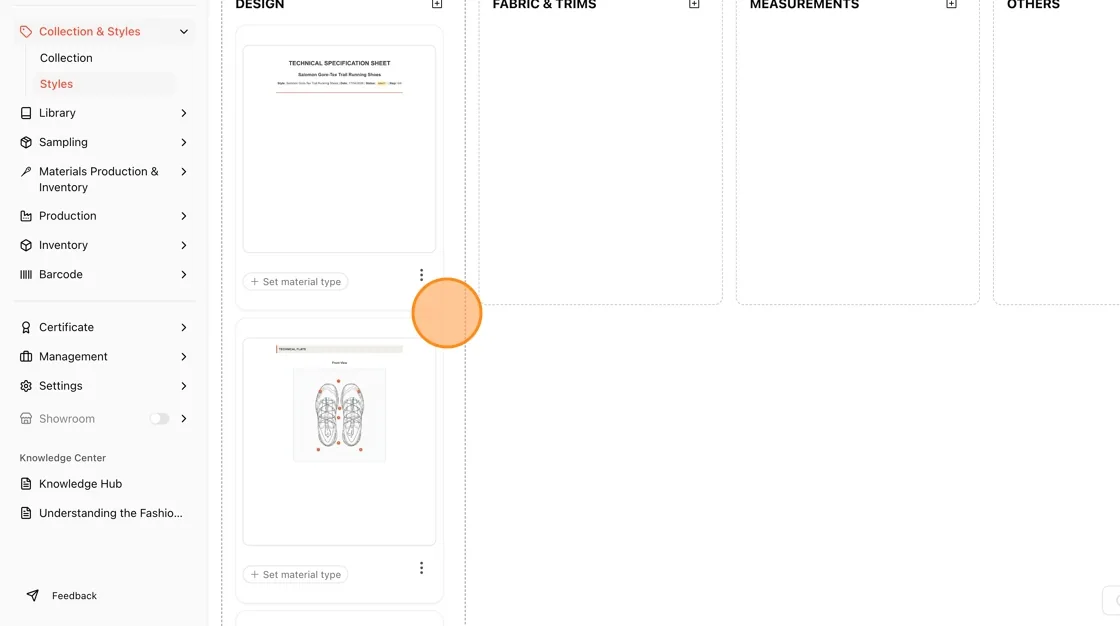
- Convert to Cards: Splits each page into a separate image card you can annotate and comment on. The original PDF remains downloadable via Download → Original File.
Convert to Cards
Add a card from the library (from library)
Click the + icon on the desired column, then select From library.
The Libraries browser will open, showing all available library items.
Use the Search by name field to find a specific item, or use the filter buttons (Category, Supplier, Composition, Product Attributes Master) to narrow down results.
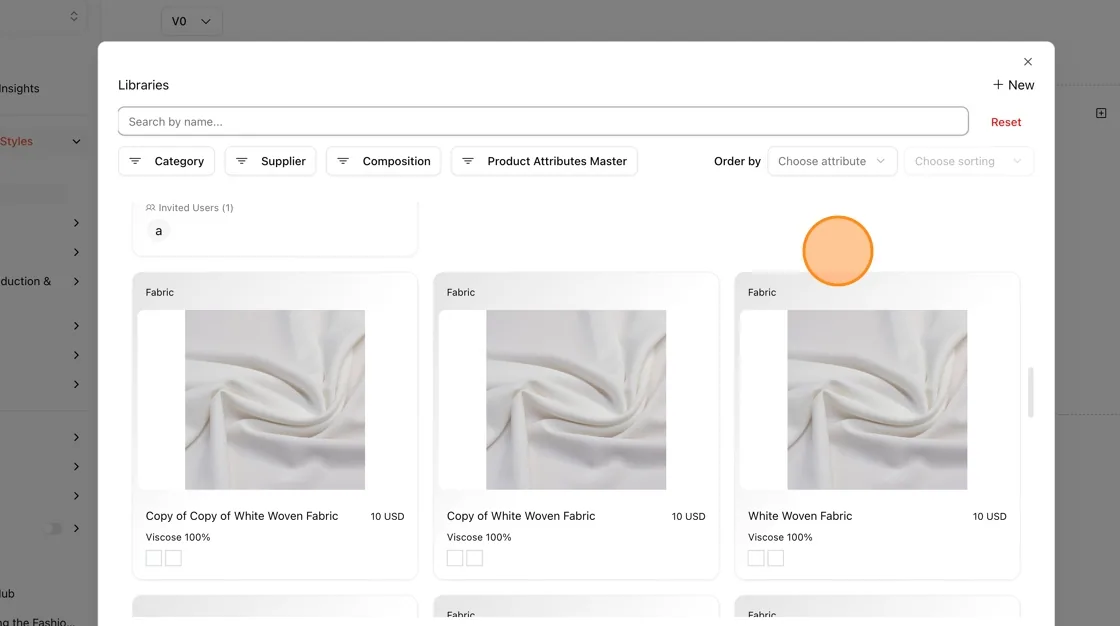
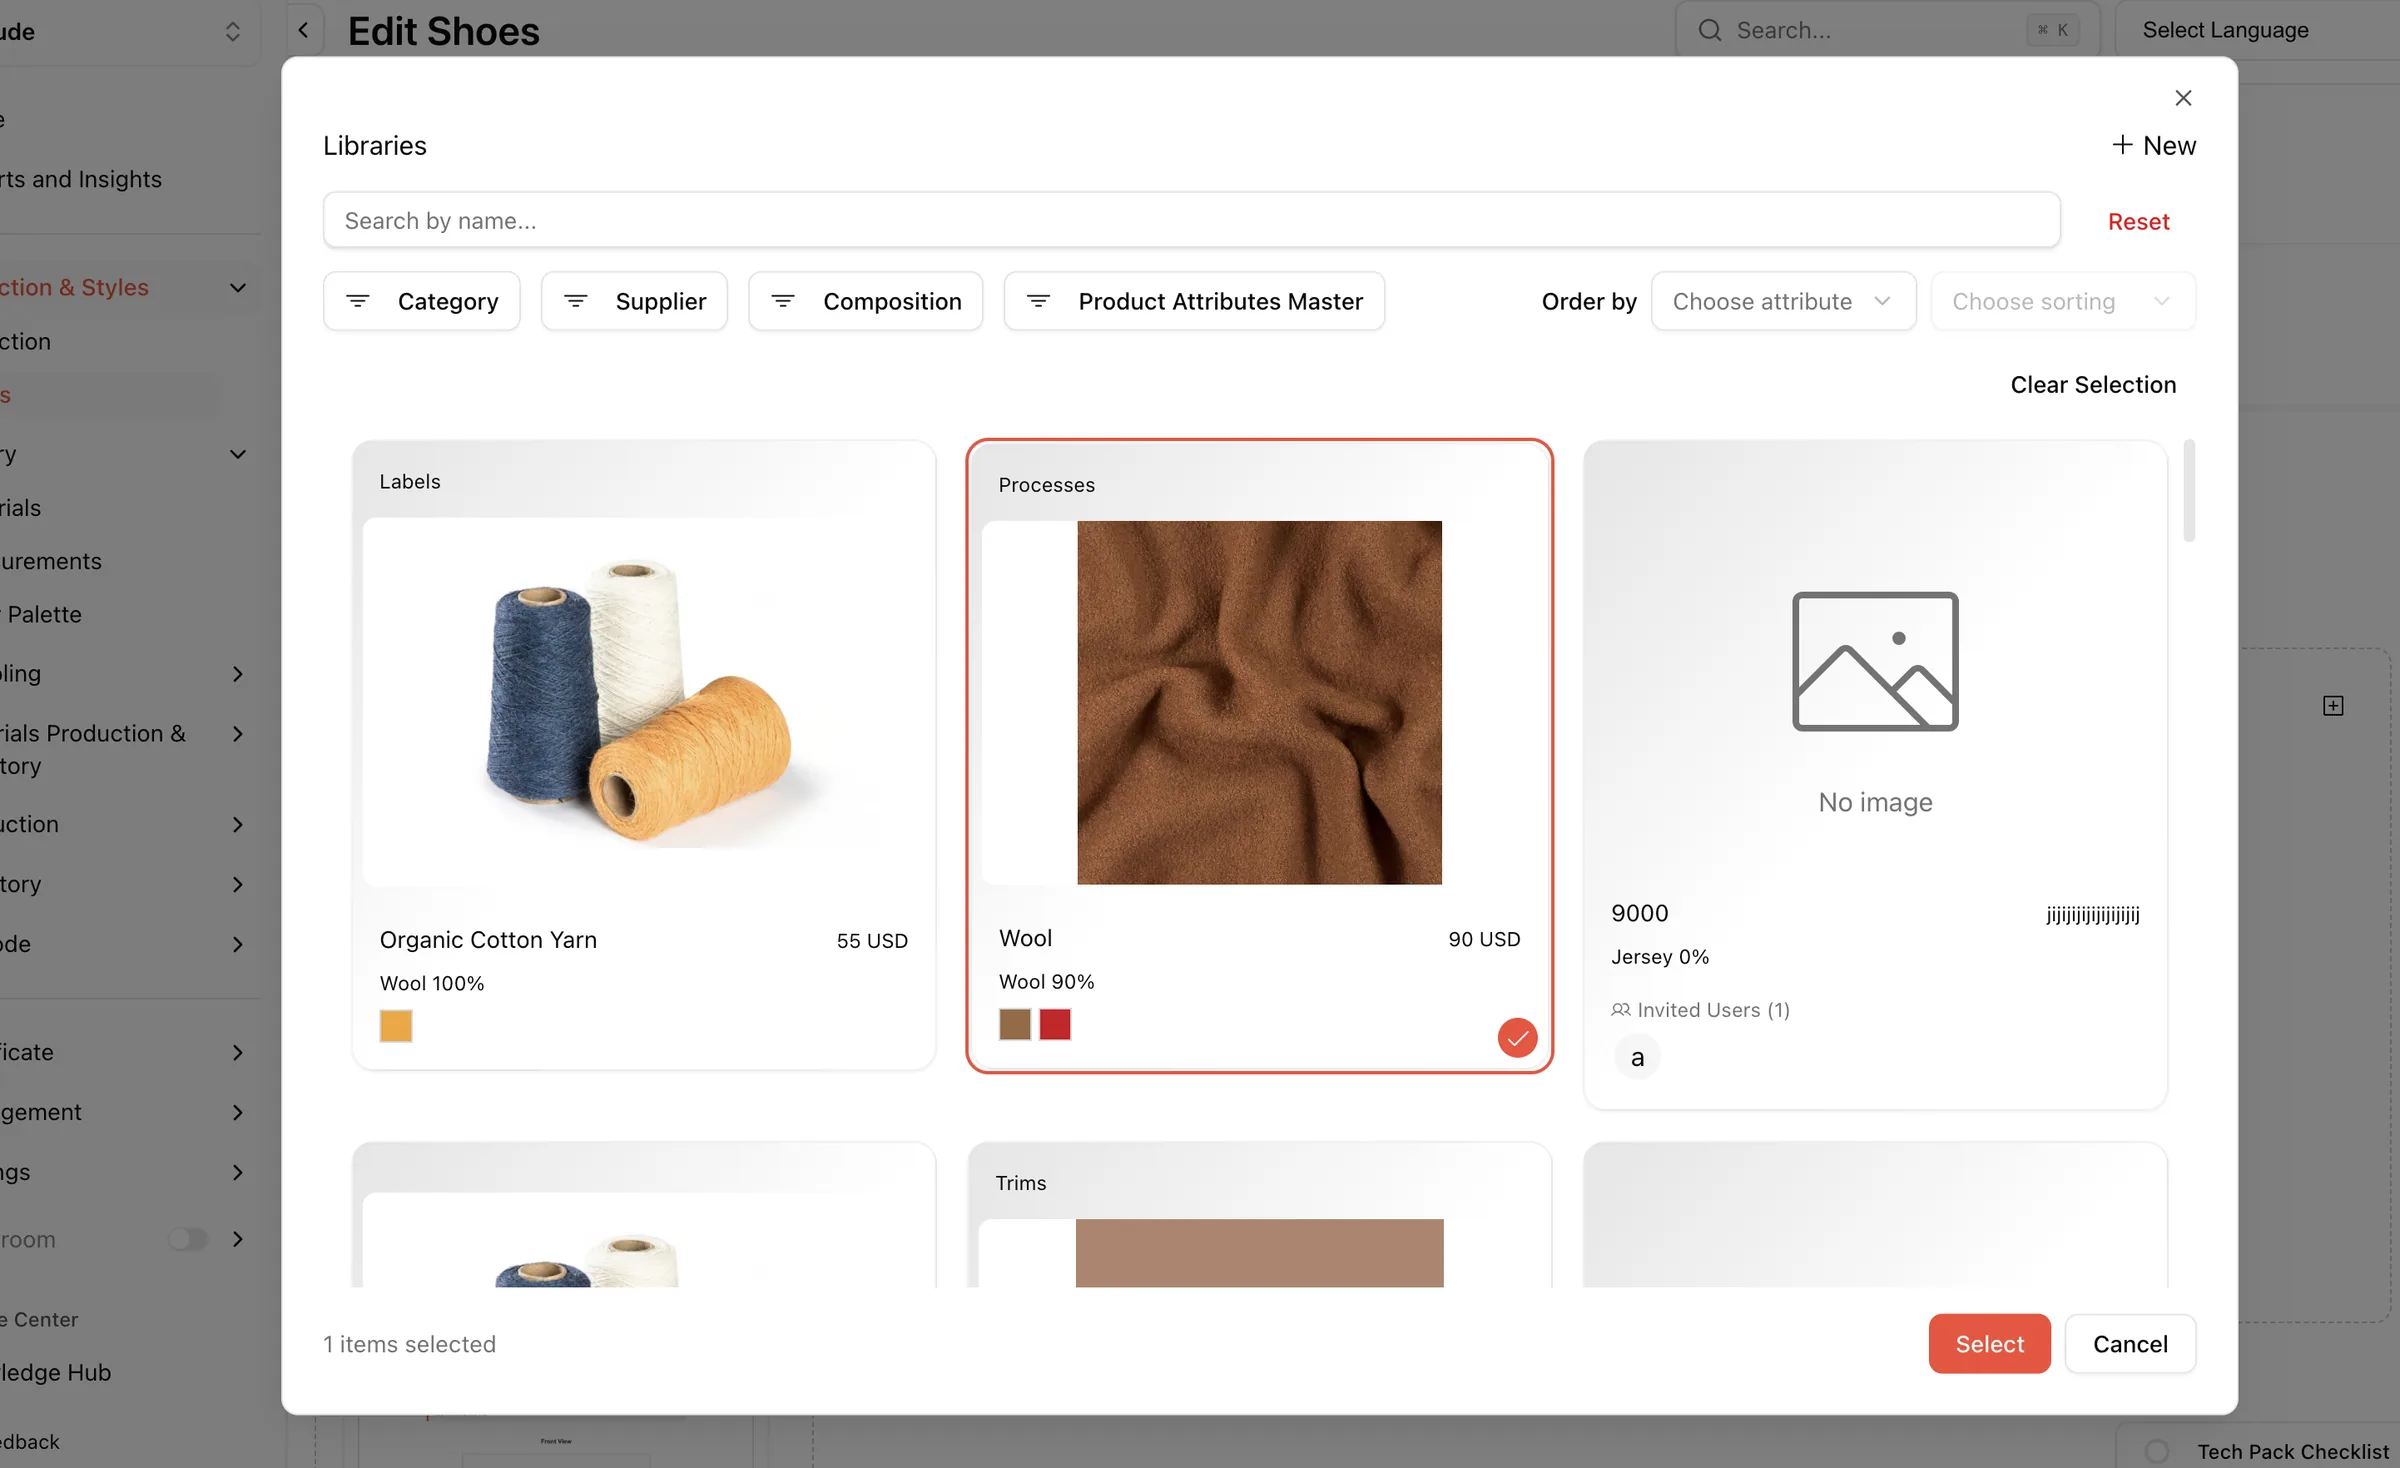
Click the item you want to add to select it (a checkbox or highlight will appear).
Click Select to add the chosen item as a card in the column. Click Cancel to close without adding.
Create a new library item (create new library item)
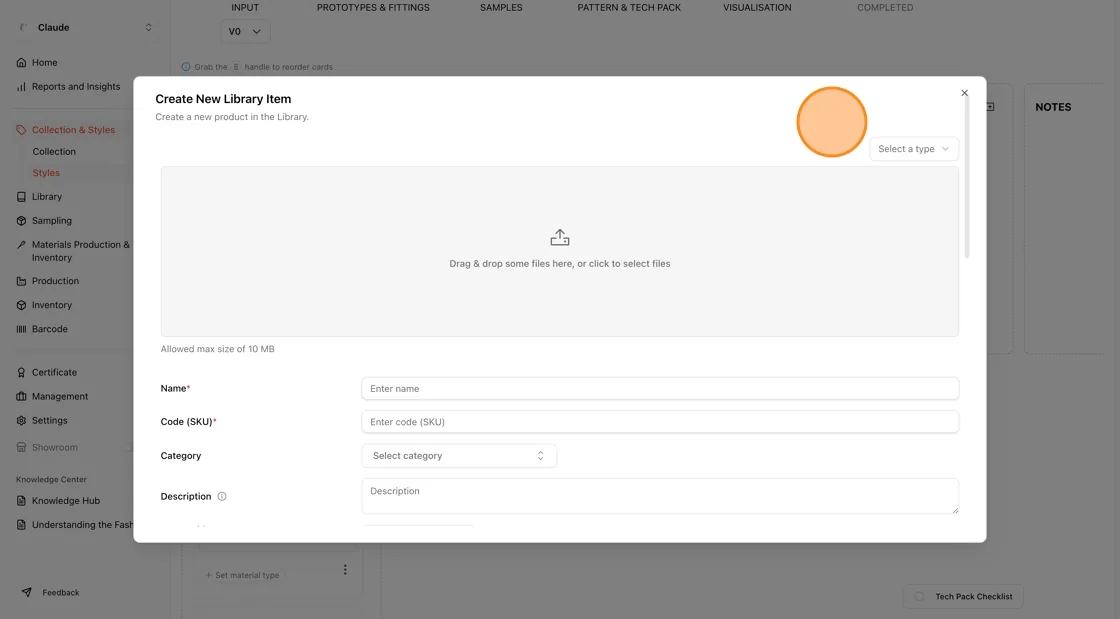
Click the + icon on the desired column (e.g., FABRIC & TRIMS), then select Create new library item.
The "Create New Library Item" dialog will open. Fill in the required fields.
After filling in the required fields, click Save (or the action button) to create the library item and add it as a card in the column.
Add a blank card (new blank card)
Click the + icon on the desired column, then select New Blank Card.
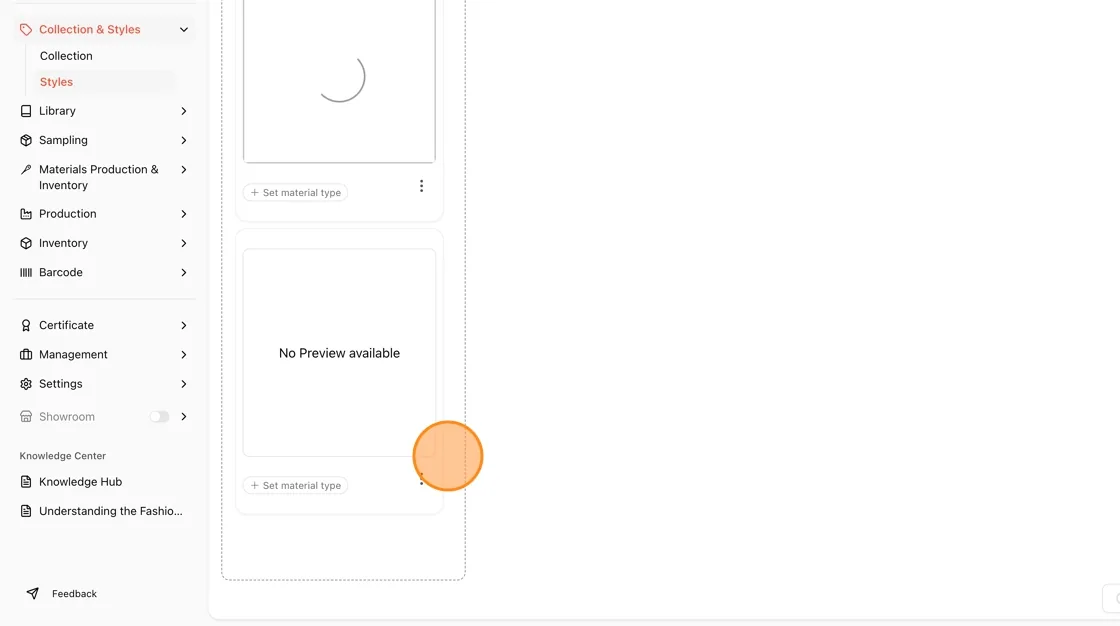
A blank card will be added to the column. You can then click on it to fill in details manually, add notes, or attach files.
Add from template (MEASUREMENT column)
Click the + icon on the column. This column offers an additional From template option.
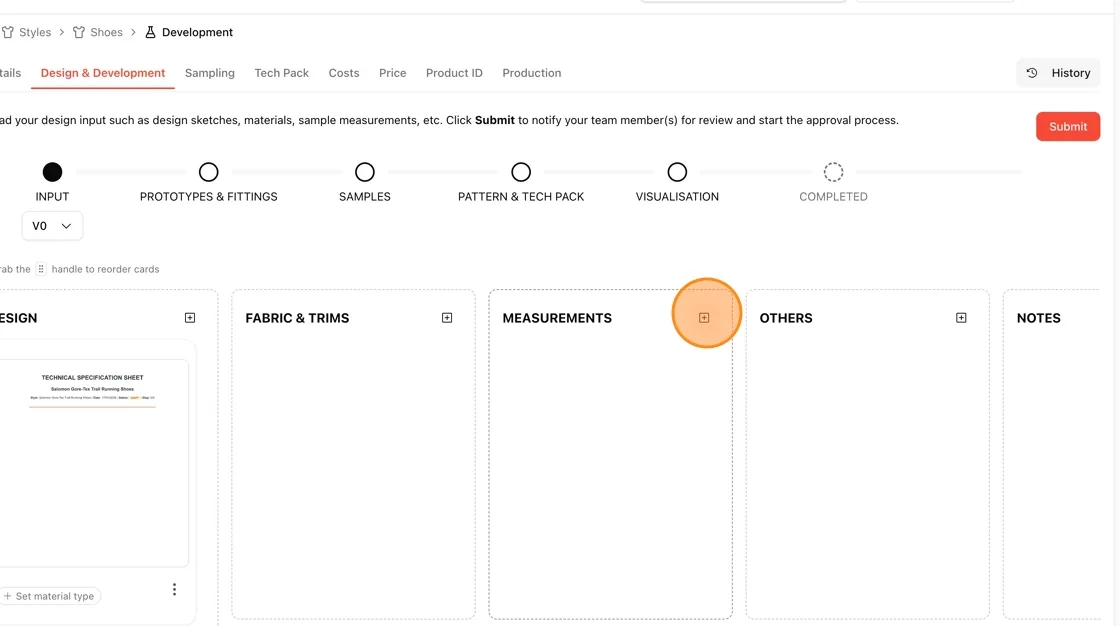
Hover over From template to reveal the sub-menu with two options:
- From size chart template: Creates a card using a pre-configured size chart template.
- From grading rule template: Creates a card using a pre-configured grading rule template.
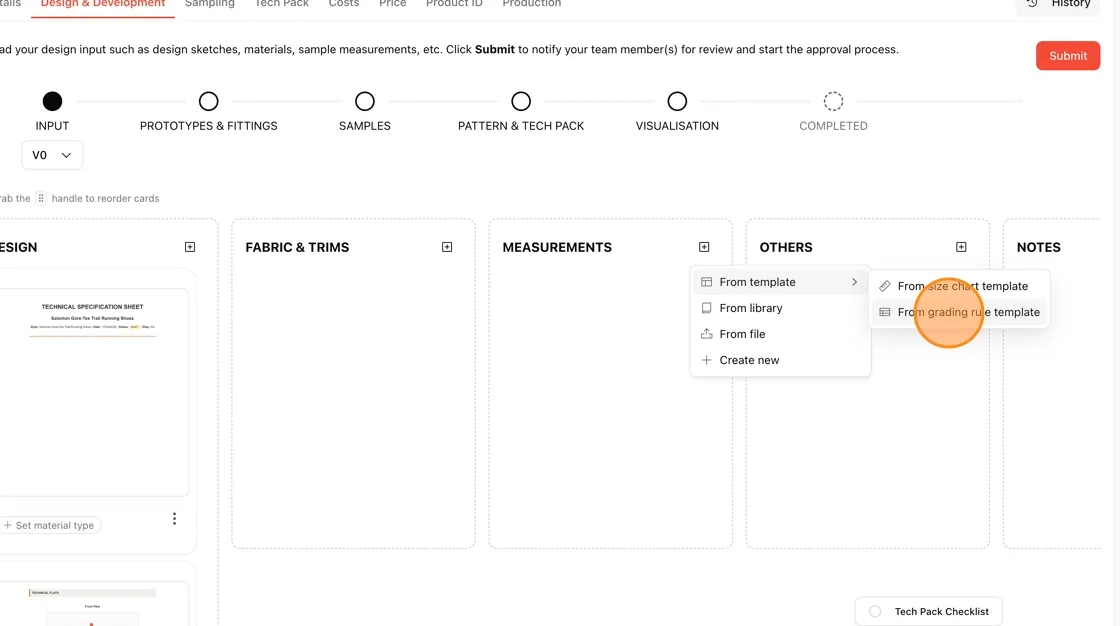
From grading rule template.
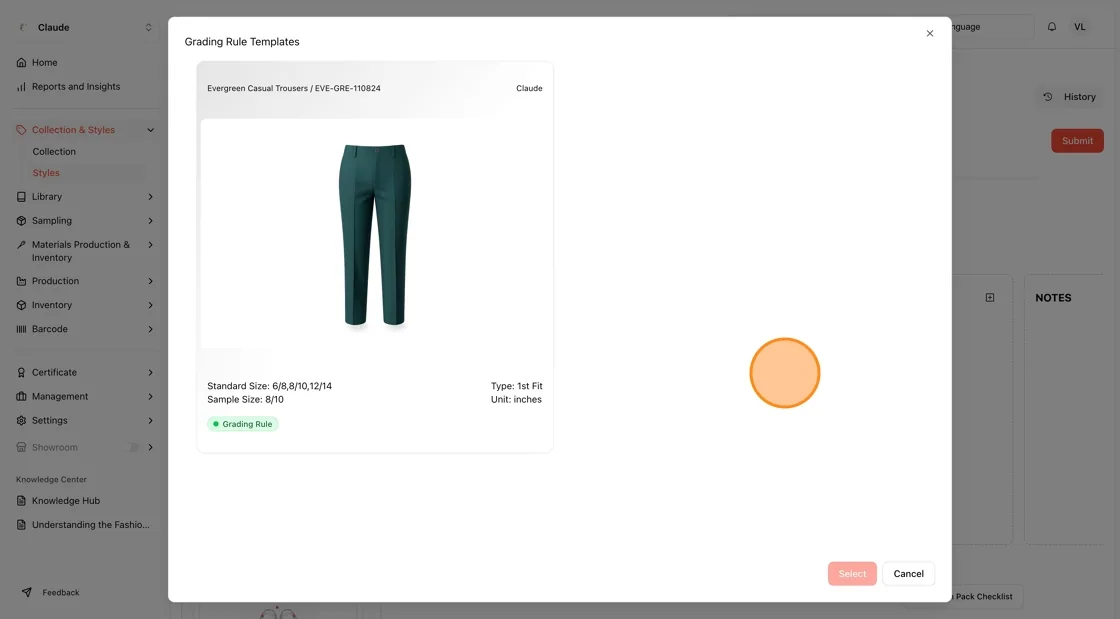
From size chart template
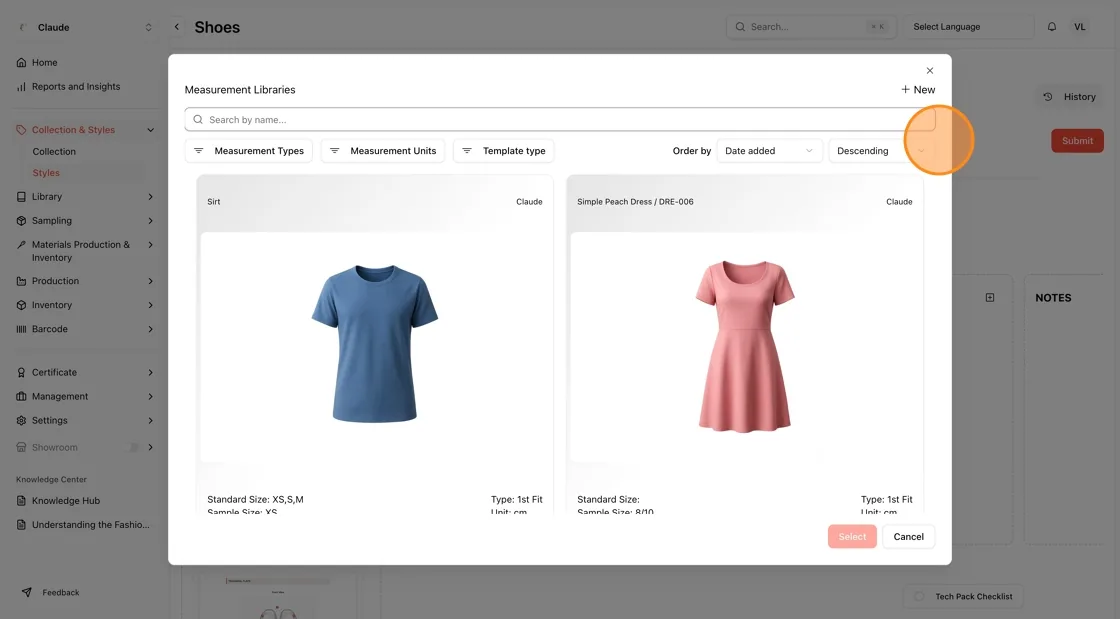
Create a new measurement card
In the MEASUREMENTS column, click the + icon and select Create new (or use From library → + New in the Measurement Libraries browser).
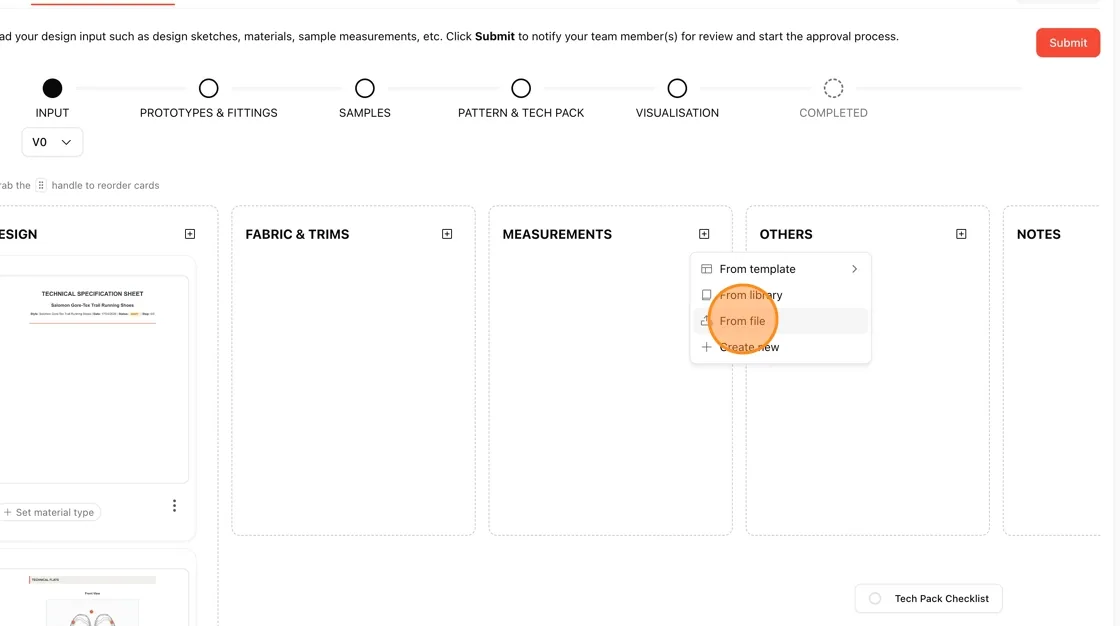
The Measurements Library creation page opens. Fill in the required fields.
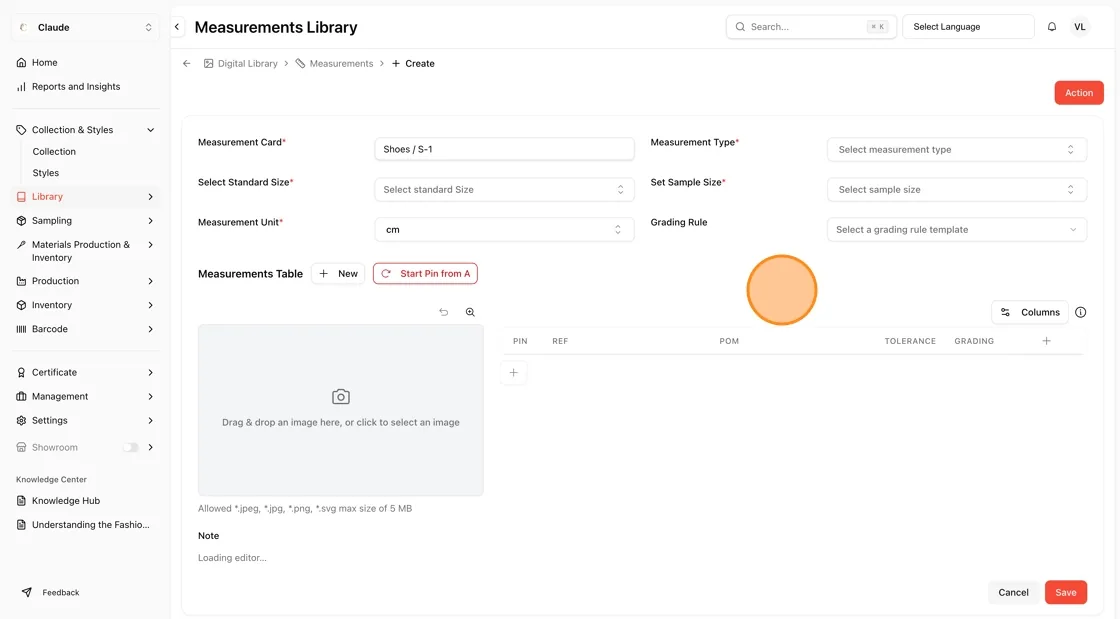
Click Save to save the measurement card, or Cancel to discard.
Reorder cards on the board
To reorder cards within a column, grab the handle icon (⋮⋮) that appears on each card and drag it to the desired position.