
Create a new brand
In Vestis Labs, Brands are used to structure and organise all product-related data within your organisation.
Under review. This page is published while we check it against the live app, so some details may have changed.
Screenshots may be out of date.
Brands - admin setup
In Vestis Labs, Brands are used to structure and organise all product-related data within your organisation. At least one brand is required to create styles and collections, but you can set up as many brands as needed to support multiple labels or product lines within the same workspace.
ManagementBrandNew
Permission: CREATE_BRAND, VIEW_BRAND
Introduction & best practice
Brands allow you to separate product information, certificates, workflows, and development processes while still collaborating efficiently in one unified platform. This structure ensures that each brand maintains clear ownership of its data and development flow.
Through the Brand Management page, users can create new brands to support multi-brand operations. Once a brand is created, it can be associated with specific users, allowing them to develop and manage products under that brand.
Before you start
You need the Create brand permission. Without it the New button is not shown.
Create a brand
Open Brand
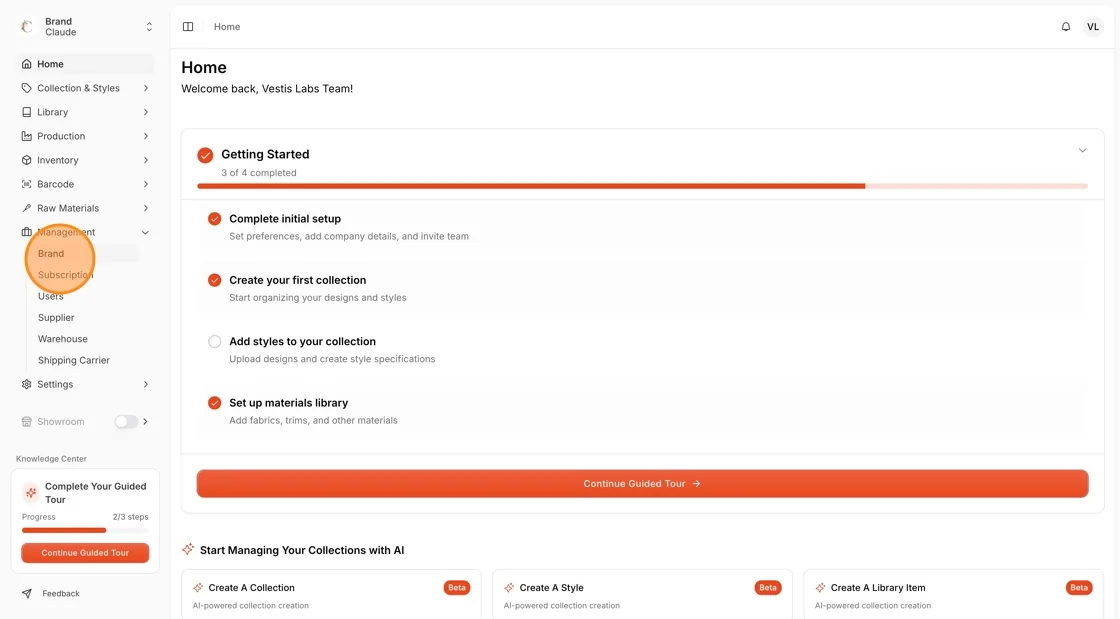
Navigate to Management → Brand in the left sidebar to view your brands.
Click "New"
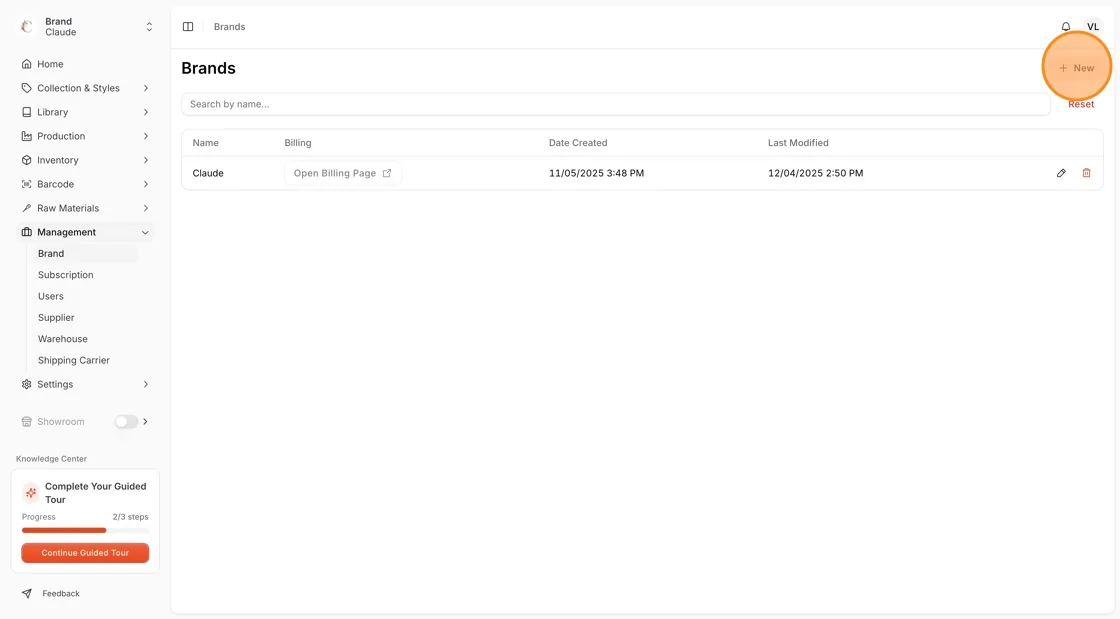
Click New in the upper-right corner to open the Create Brand page.
Enter the brand details
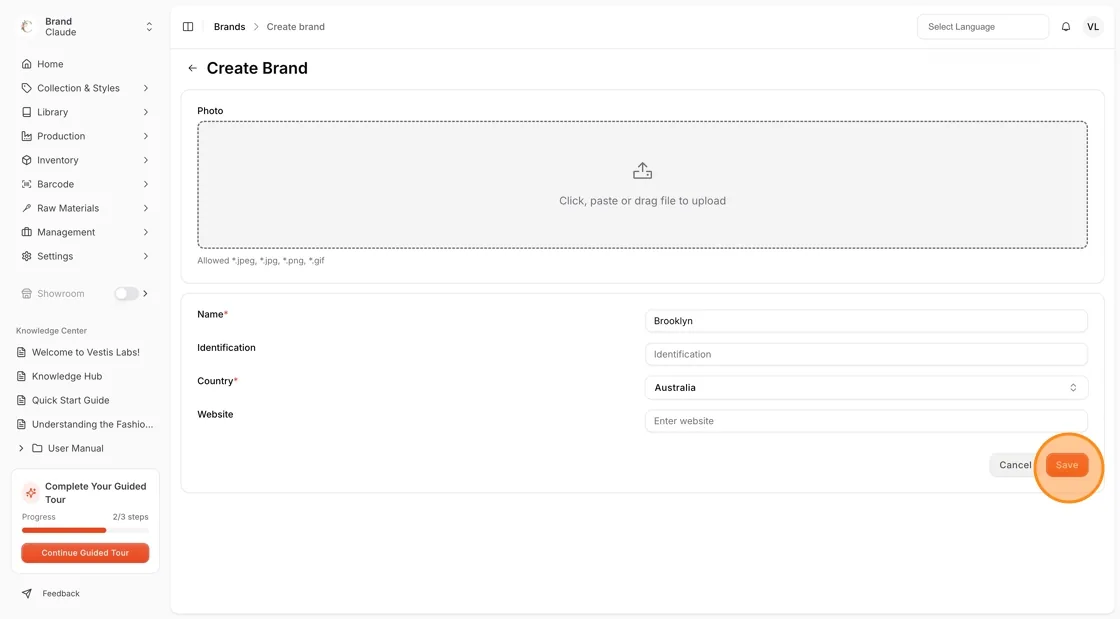
Fill in the details. Only Name and Country are required.
- Photo: upload the brand logo. JPG, PNG or GIF files up to 3 MB are allowed.
- Name: the brand or studio name. Required.
- Identification: an internal or external ID.
- Company Name, Company Address, City, Postcode and Website.
- Country: select the country. Required.
- VAT Number and EORI Number.
- Timezone: select your local timezone.
- Date Format: select MM/DD/YYYY, DD/MM/YYYY or YYYY-MM-DD.
- Base Currency: the main currency of your brand.
- Default Length Unit: the measurement unit, for example cm.
Add locations (optional)
Under Additional Locations, click Add Location for each office, headquarters or store. Select the Type (Headquarters, Office or Store), enter the Name and Country, and optionally the Address, City and Postcode. Click the trash icon to remove a location.
Click "Save"
Click Save to create the brand. Click Cancel to go back to the list without saving.
You see Brand created successfully. You are taken to the home page of the new brand. Next, invite users to the brand.