
Step 3 of 15 in Publish a Digital ID and product passport
Digital ID customization in cover
The cover is a page allowing users to create and manage the cover for the digital ID through the Cover page.
Under review. This page is published while we check it against the live app, so some details may have changed.
Screenshots may be out of date.
Permission: PRE_SALE_CONTENT
SettingsDigital IDCover
To access the Digital ID Customization Page, go…
To access the Digital ID Customization Page, go to Settings > Digital ID on the left bar menu . Select Cover.
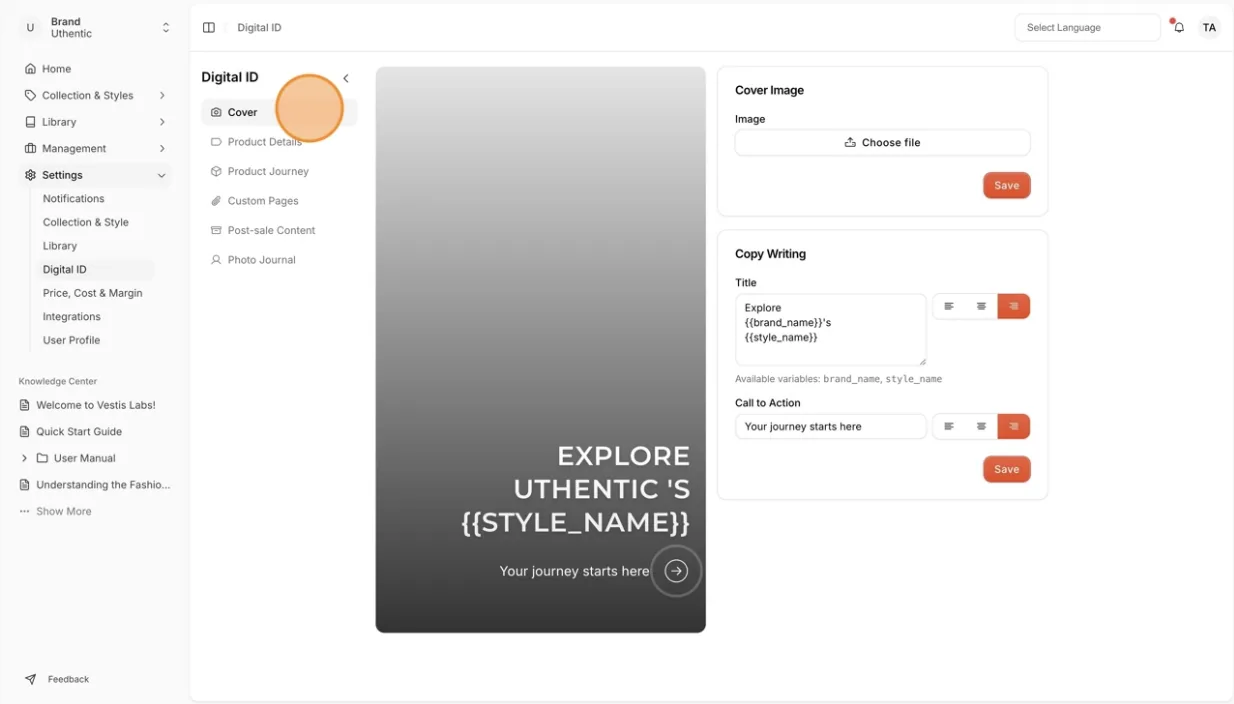
Select "Choose file" on the upper right side of the cover image section.
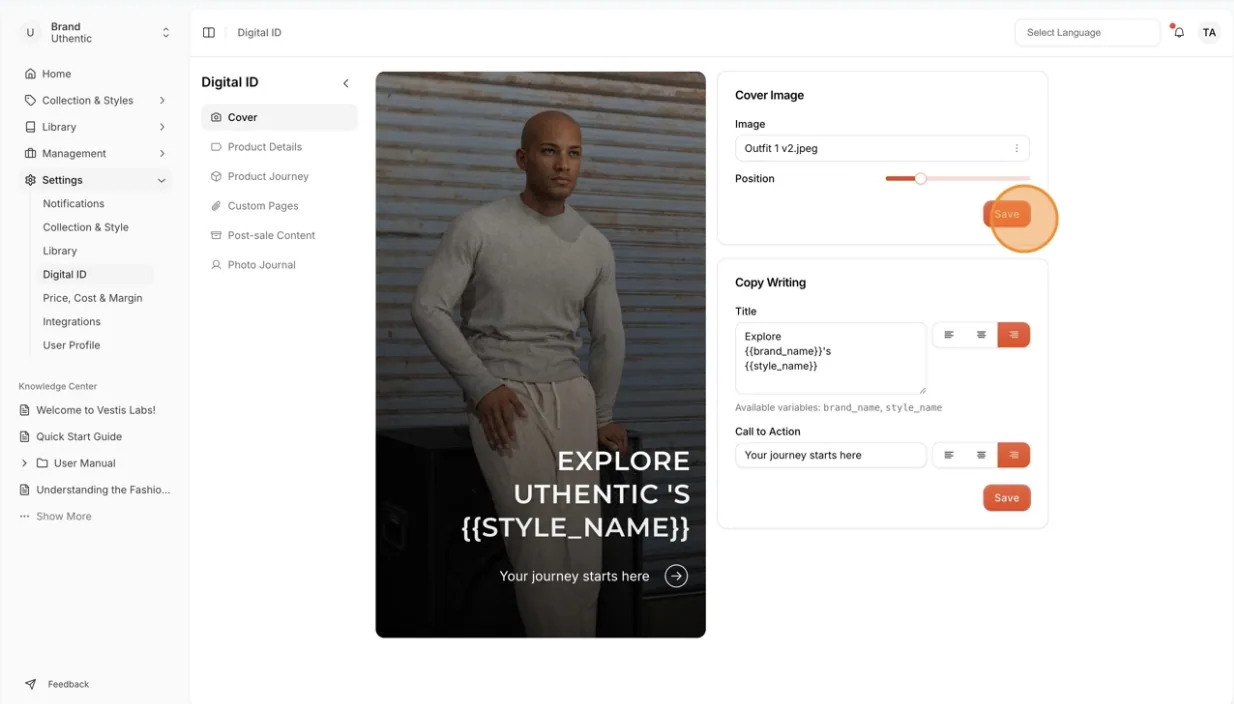
Slide the position sliders to the desired position of the cover image. Select save on the lower right side every time you make the changes.
Three dots to select action for the selected image attachment.
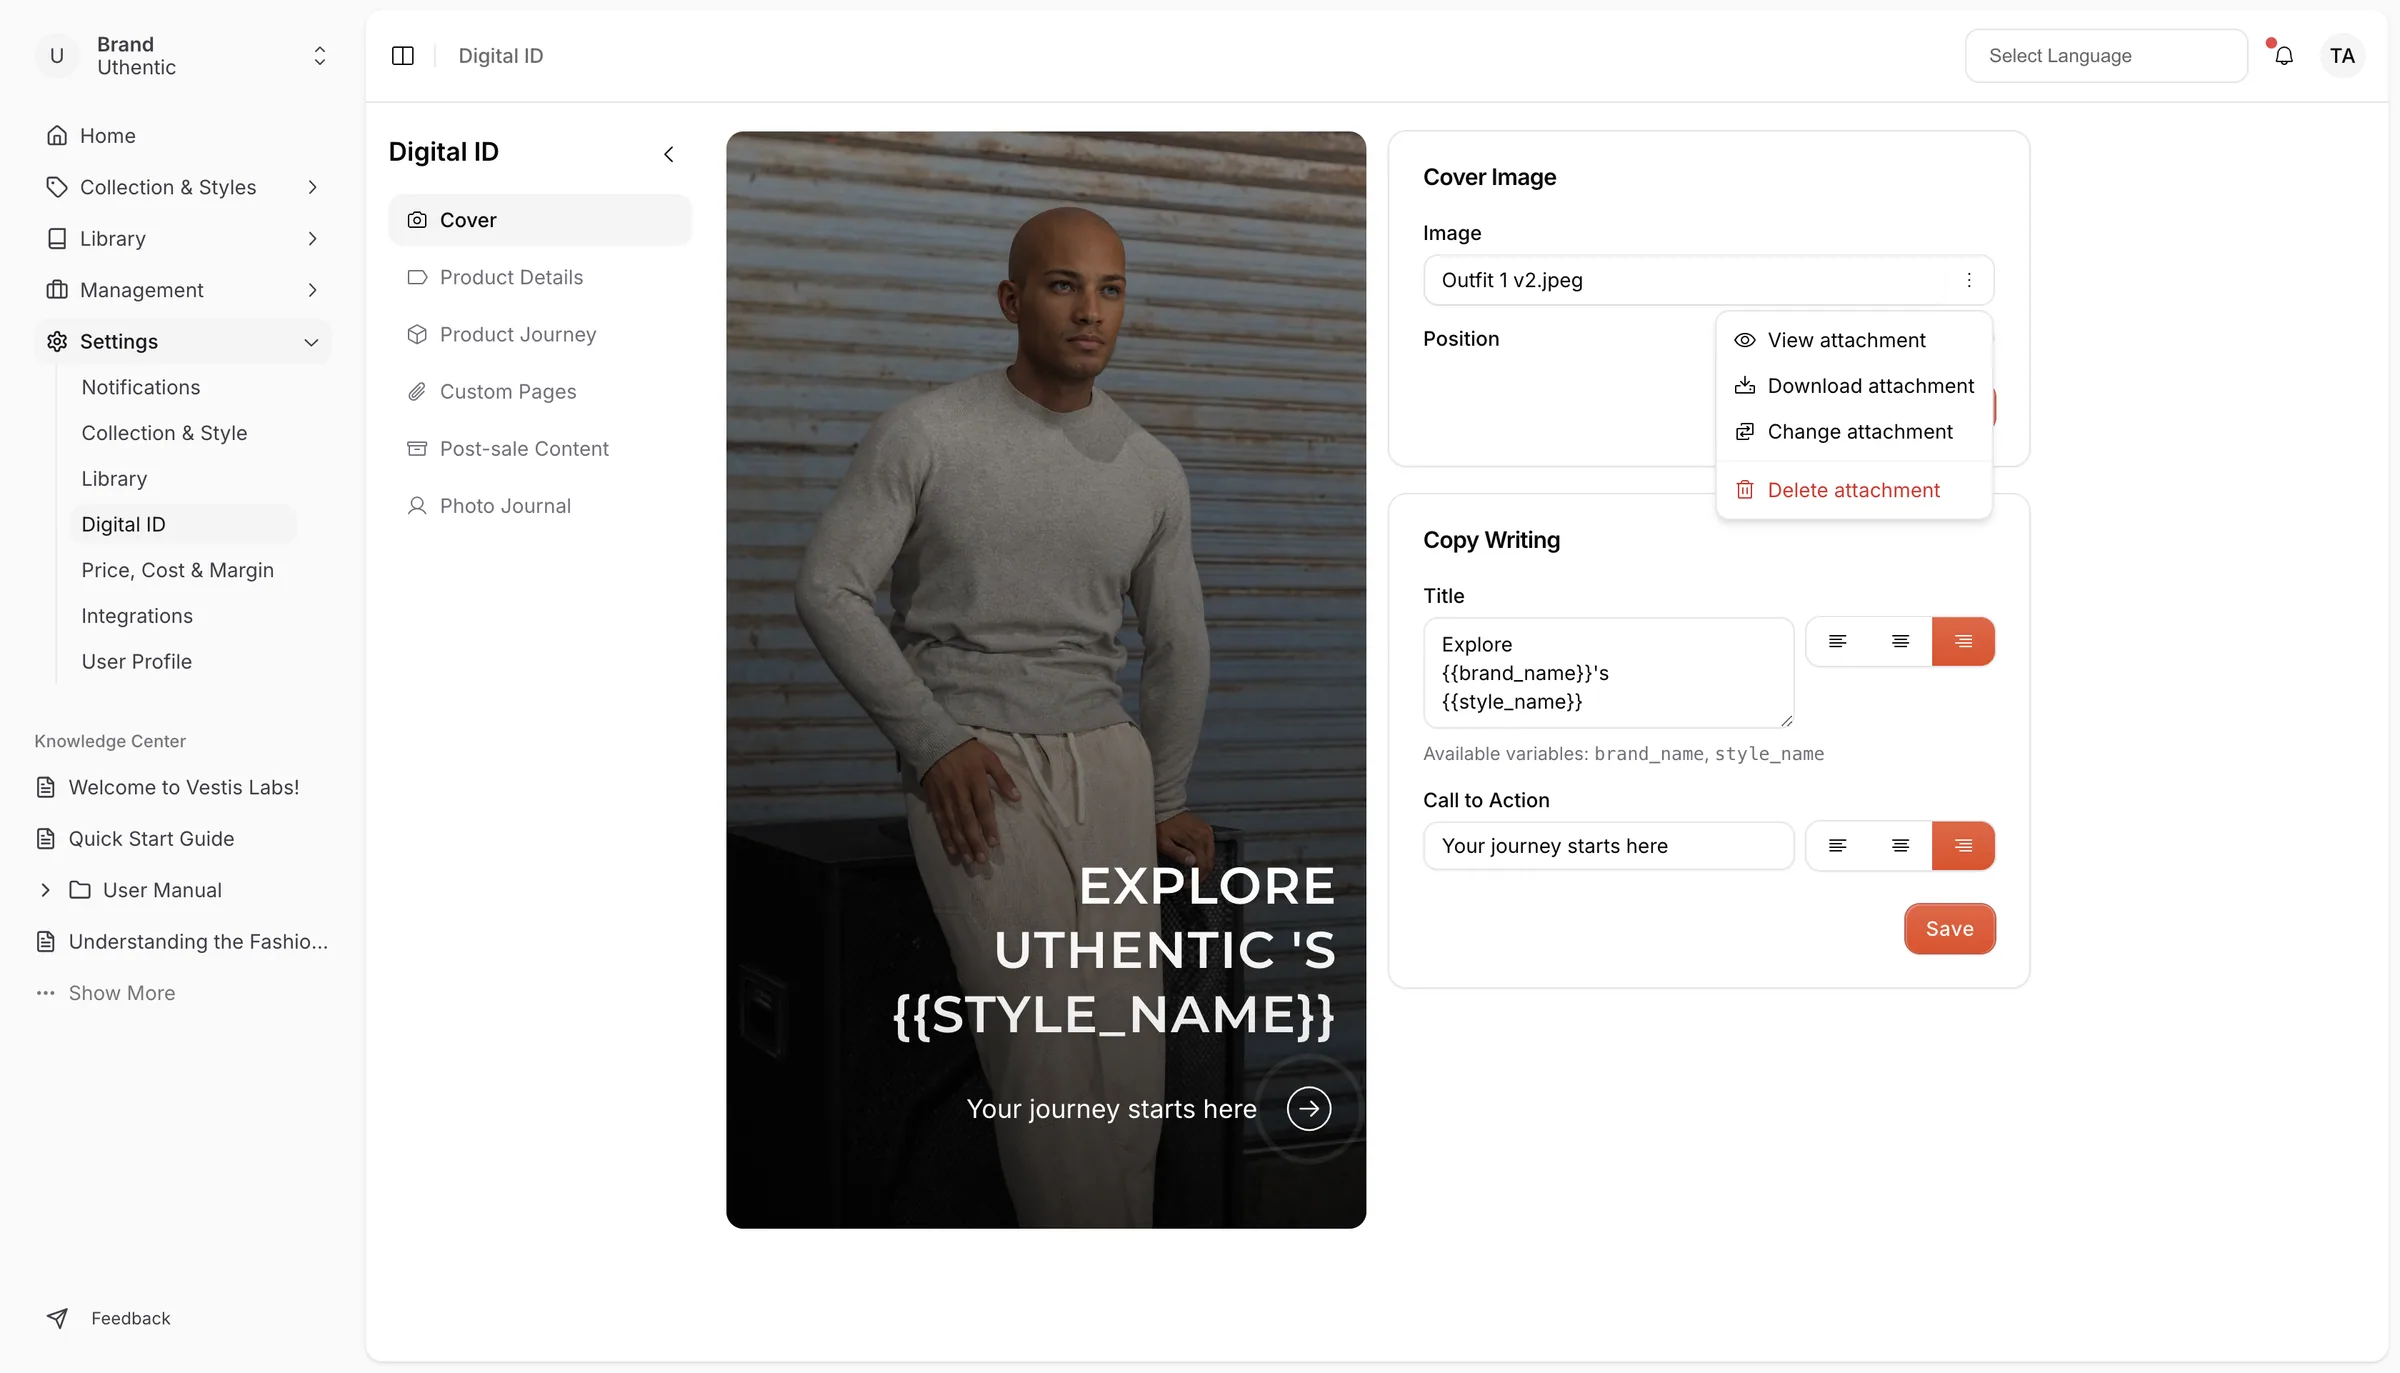
View: Opens the uploaded image in a new browser tab.
Download: Downloads the uploaded image.
Replace: Opens the file picker so you can replace the image with a new one.
Delete: Removes the image from the Digital ID cover.
Image specification:
- The files that are allowed are .jpeg, .jpg, .png, .gif, .svg and .webp.
- The maximum size is 3 MB.
The brand name value that appears on the Digital ID cover preview is fixed, it's displaying the Brand of the Style.
In the Copywriting Section, you need to fill in the required field.
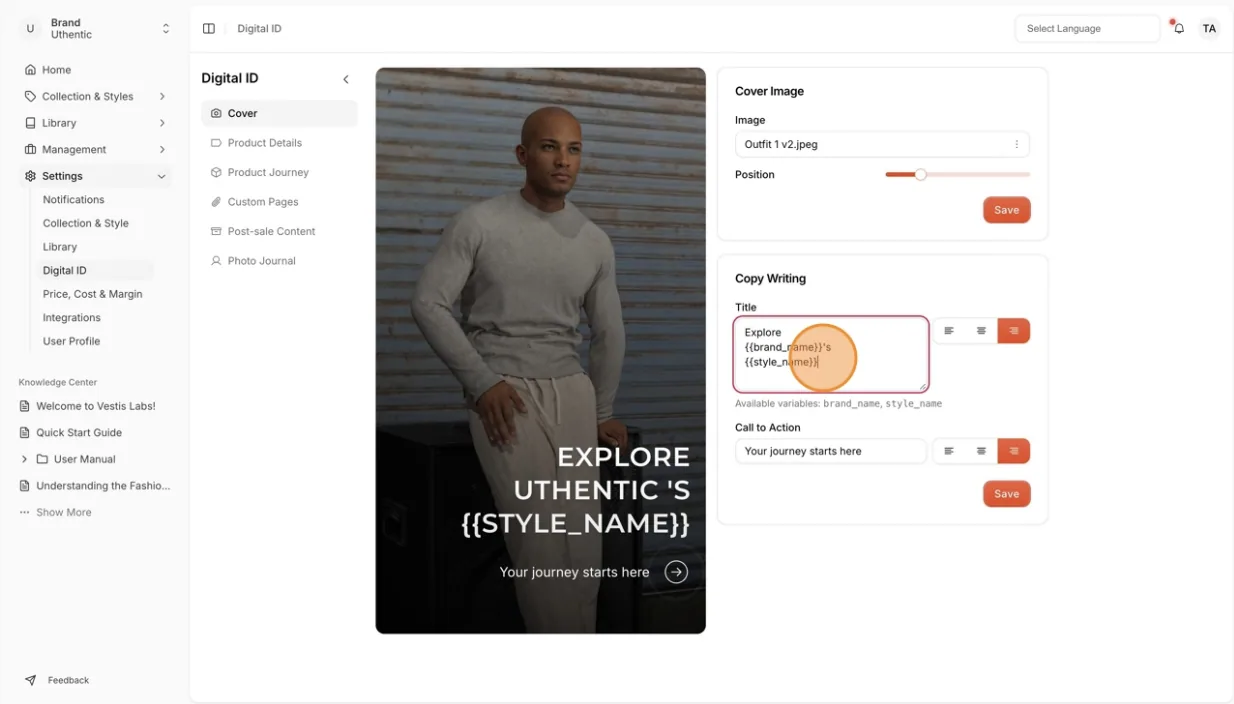
Copywriting Title: Users can edit the title of the Cover page.
Call to action: Users can edit the Call to action of the Cover page.
Users can adjust the position of the paragraph…
Use the alignment buttons next to the Title and Call to Action fields to align the text to the left, centre or right.
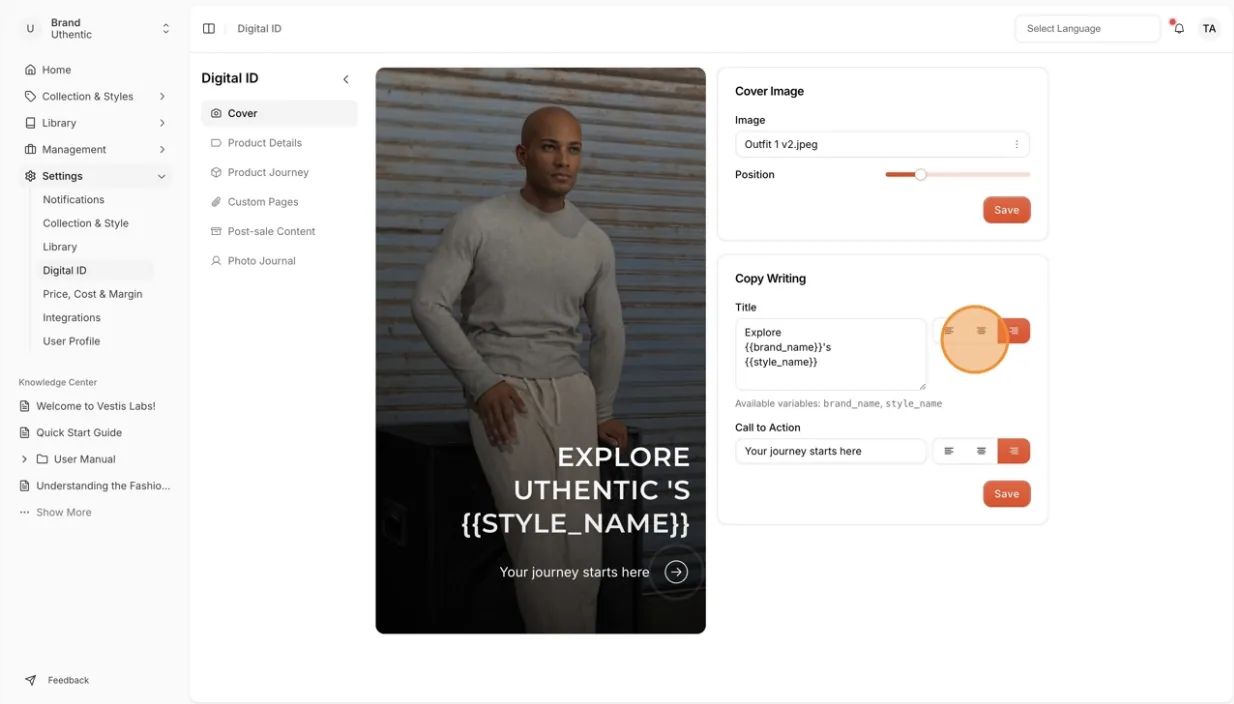
Select save on the lower right side every time you make the changes.
The Cover Image card and the Copy Writing card each have their own Save button, so save each card after you change it.
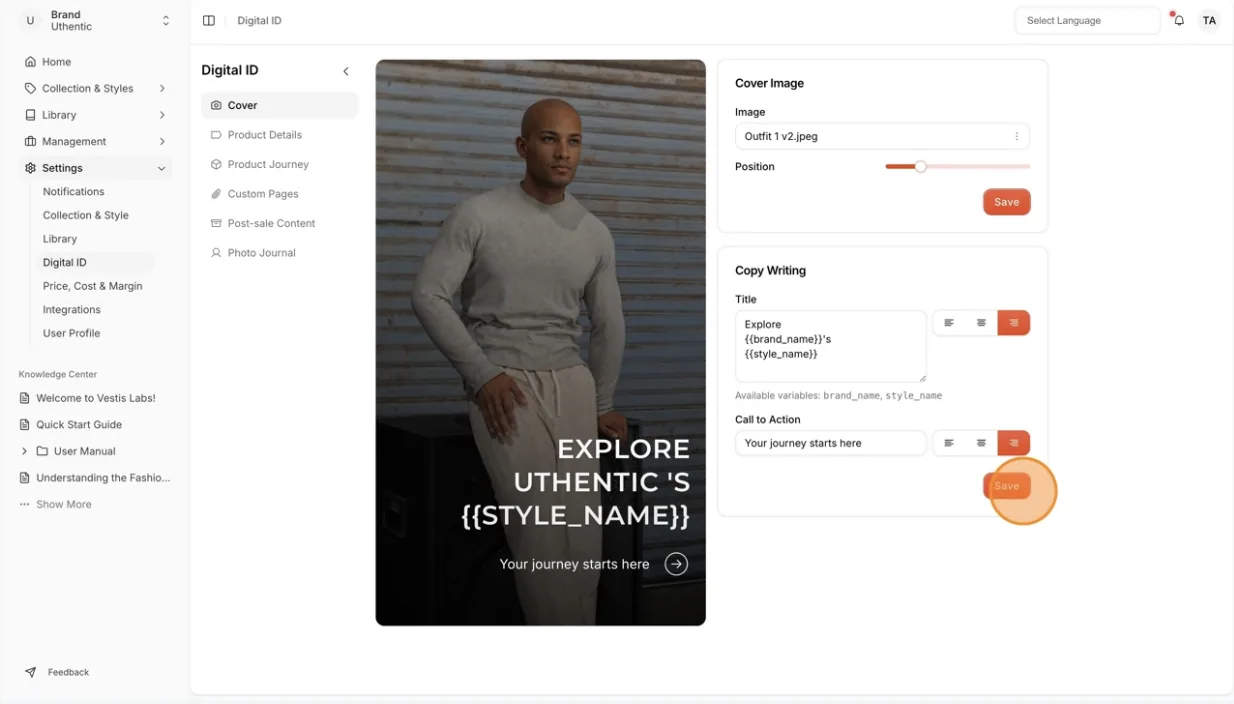
Cover text options
The Copy Writing card has these fields. Title and Call to Action cannot be left empty.
| Field | What it does |
|---|---|
| Title | The headline on the cover. Press Enter for a new line. |
| Call to Action | The line shown next to the arrow button on the cover. |
| Font | Search and select the font for the title. |
| Font Size | A number from 12 to 96. |
In Title you can type {{brand_name}} and {{style_name}}. The Digital ID replaces them with the brand name and the name of the style the customer scanned.
Note
The Position slider appears once a cover image is added. It moves the image from left (0) to right (100) inside the cover.