Managing multiple brands
Through the Brand Main page, users can manage the brand collection.
Under review. This page is published while we check it against the live app, so some details may have changed.
Screenshots may be out of date.
Through the Brand Page, users can manage the brand collection. Users can edit the existing Brand's general information, delete a brand, and open its billing page.
ManagementBrand
Permission: VIEW_BRAND
The Brand Page lists the brands related to the user and stores all the information related to the brand created in Vestis Labs.
Note
You only see the brand you are working in. Users who can access all brands see every active brand.
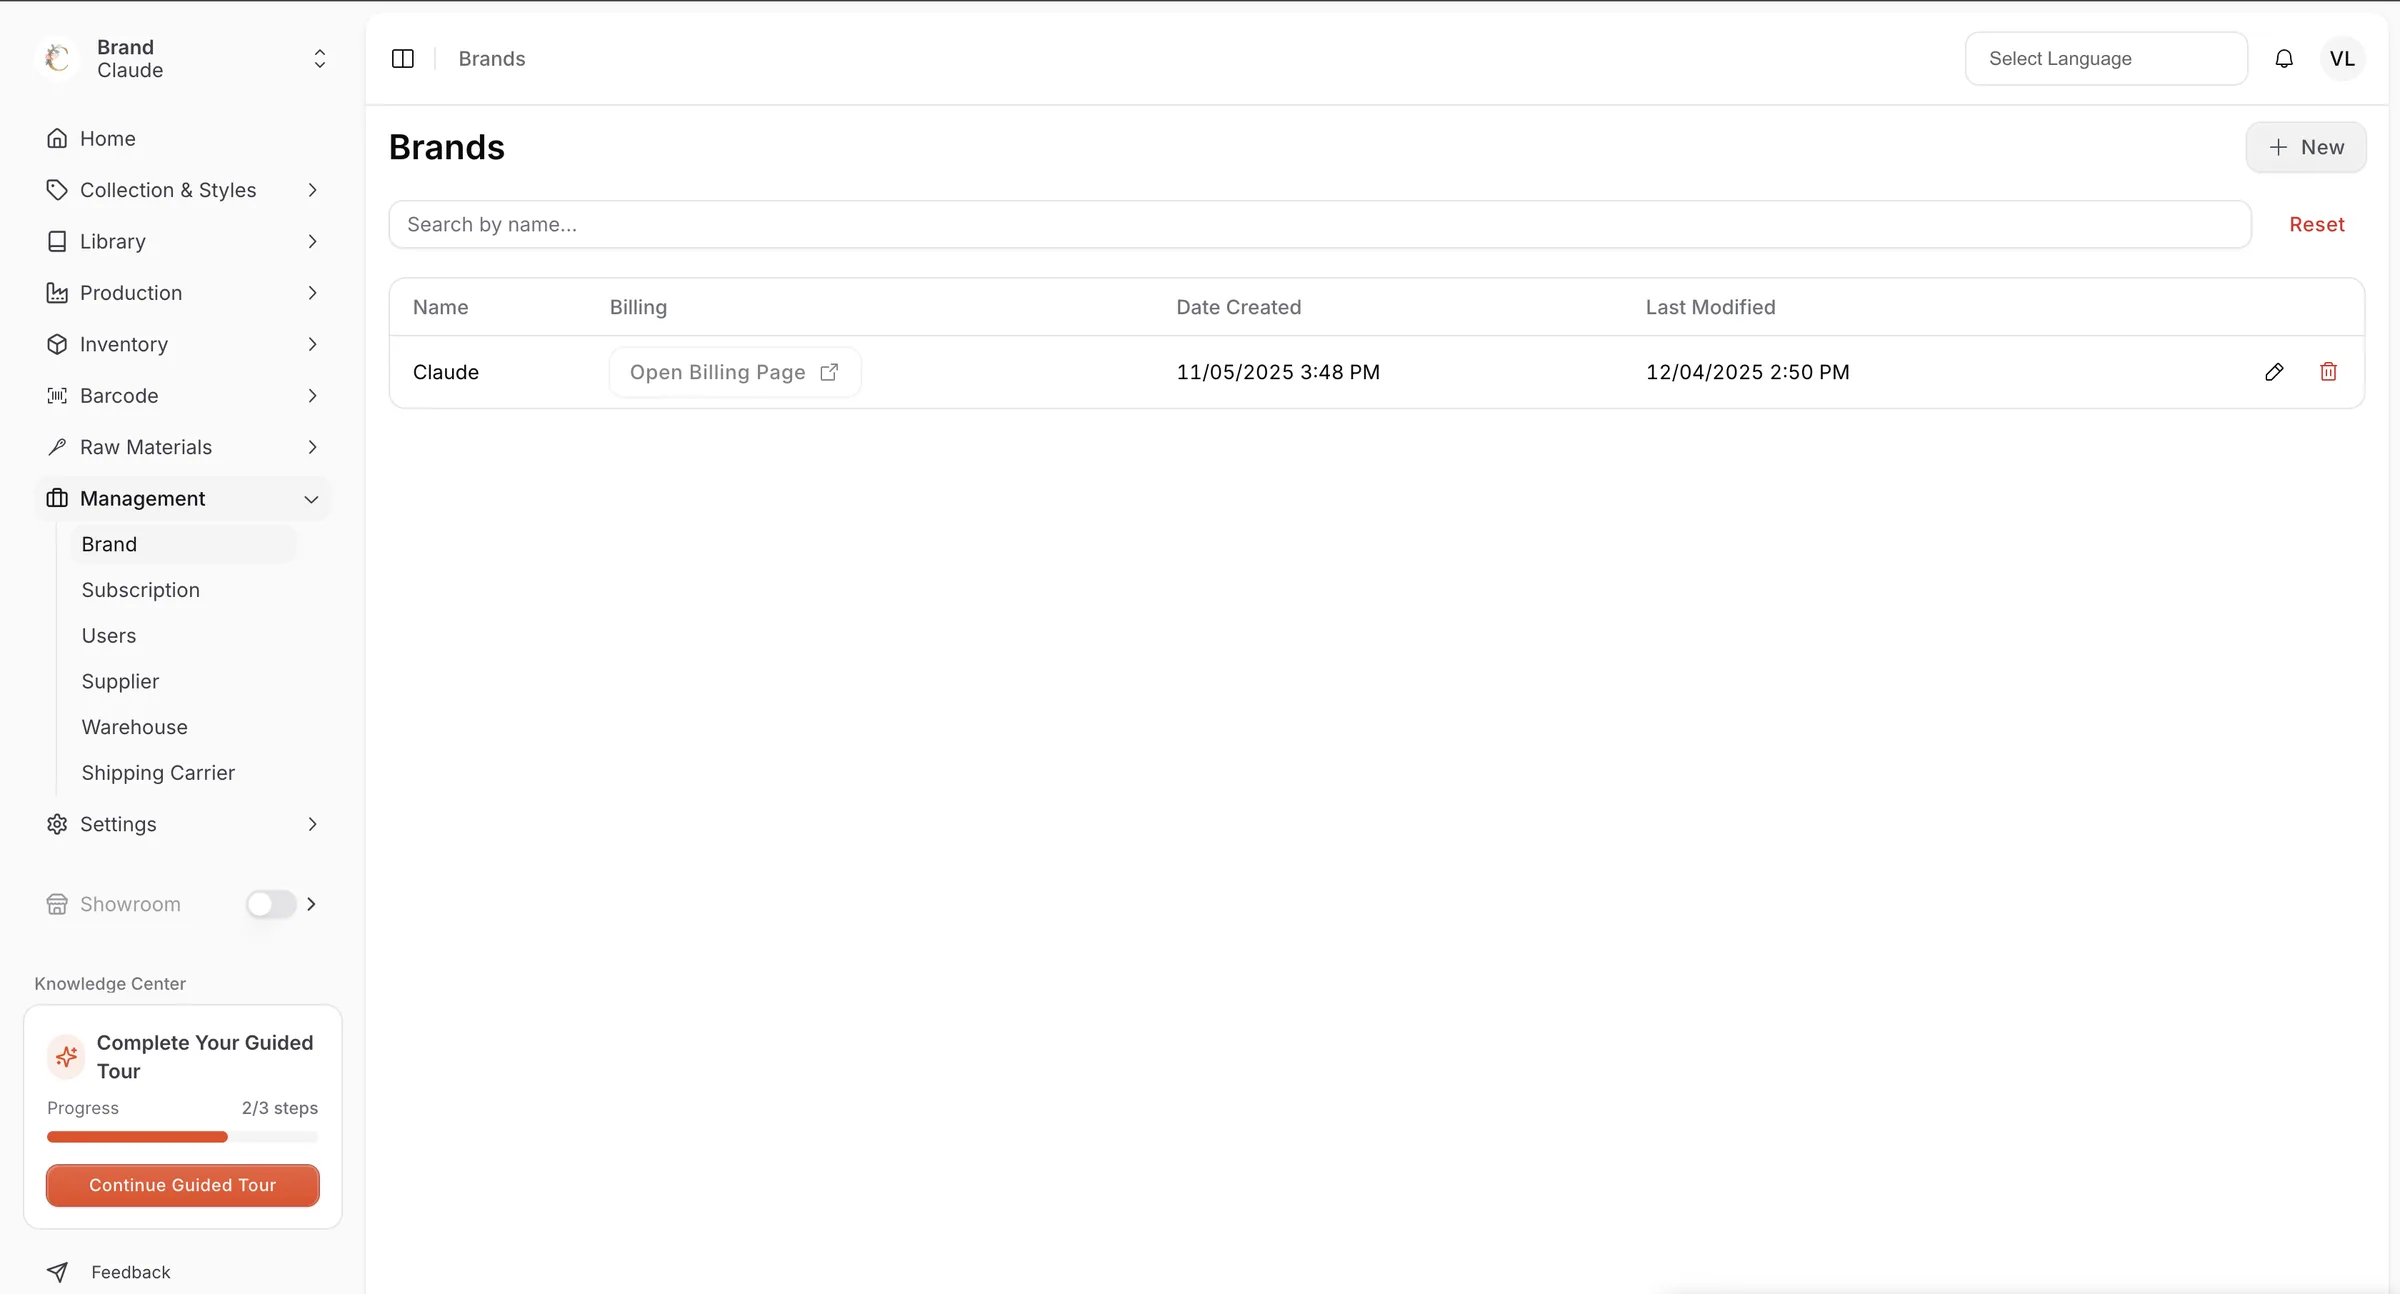
The brand list
The list has these columns:
- Name: the brand name. Click the header to sort.
- Billing: click Open Billing Page to open the billing page of the brand. The button is disabled when no billing URL is entered for the brand.
- Date Created and Last Modified: click a header to sort.
Type in Search by name... to find a brand and click Reset to clear the search and sorting. If nothing matches you see No brands found.
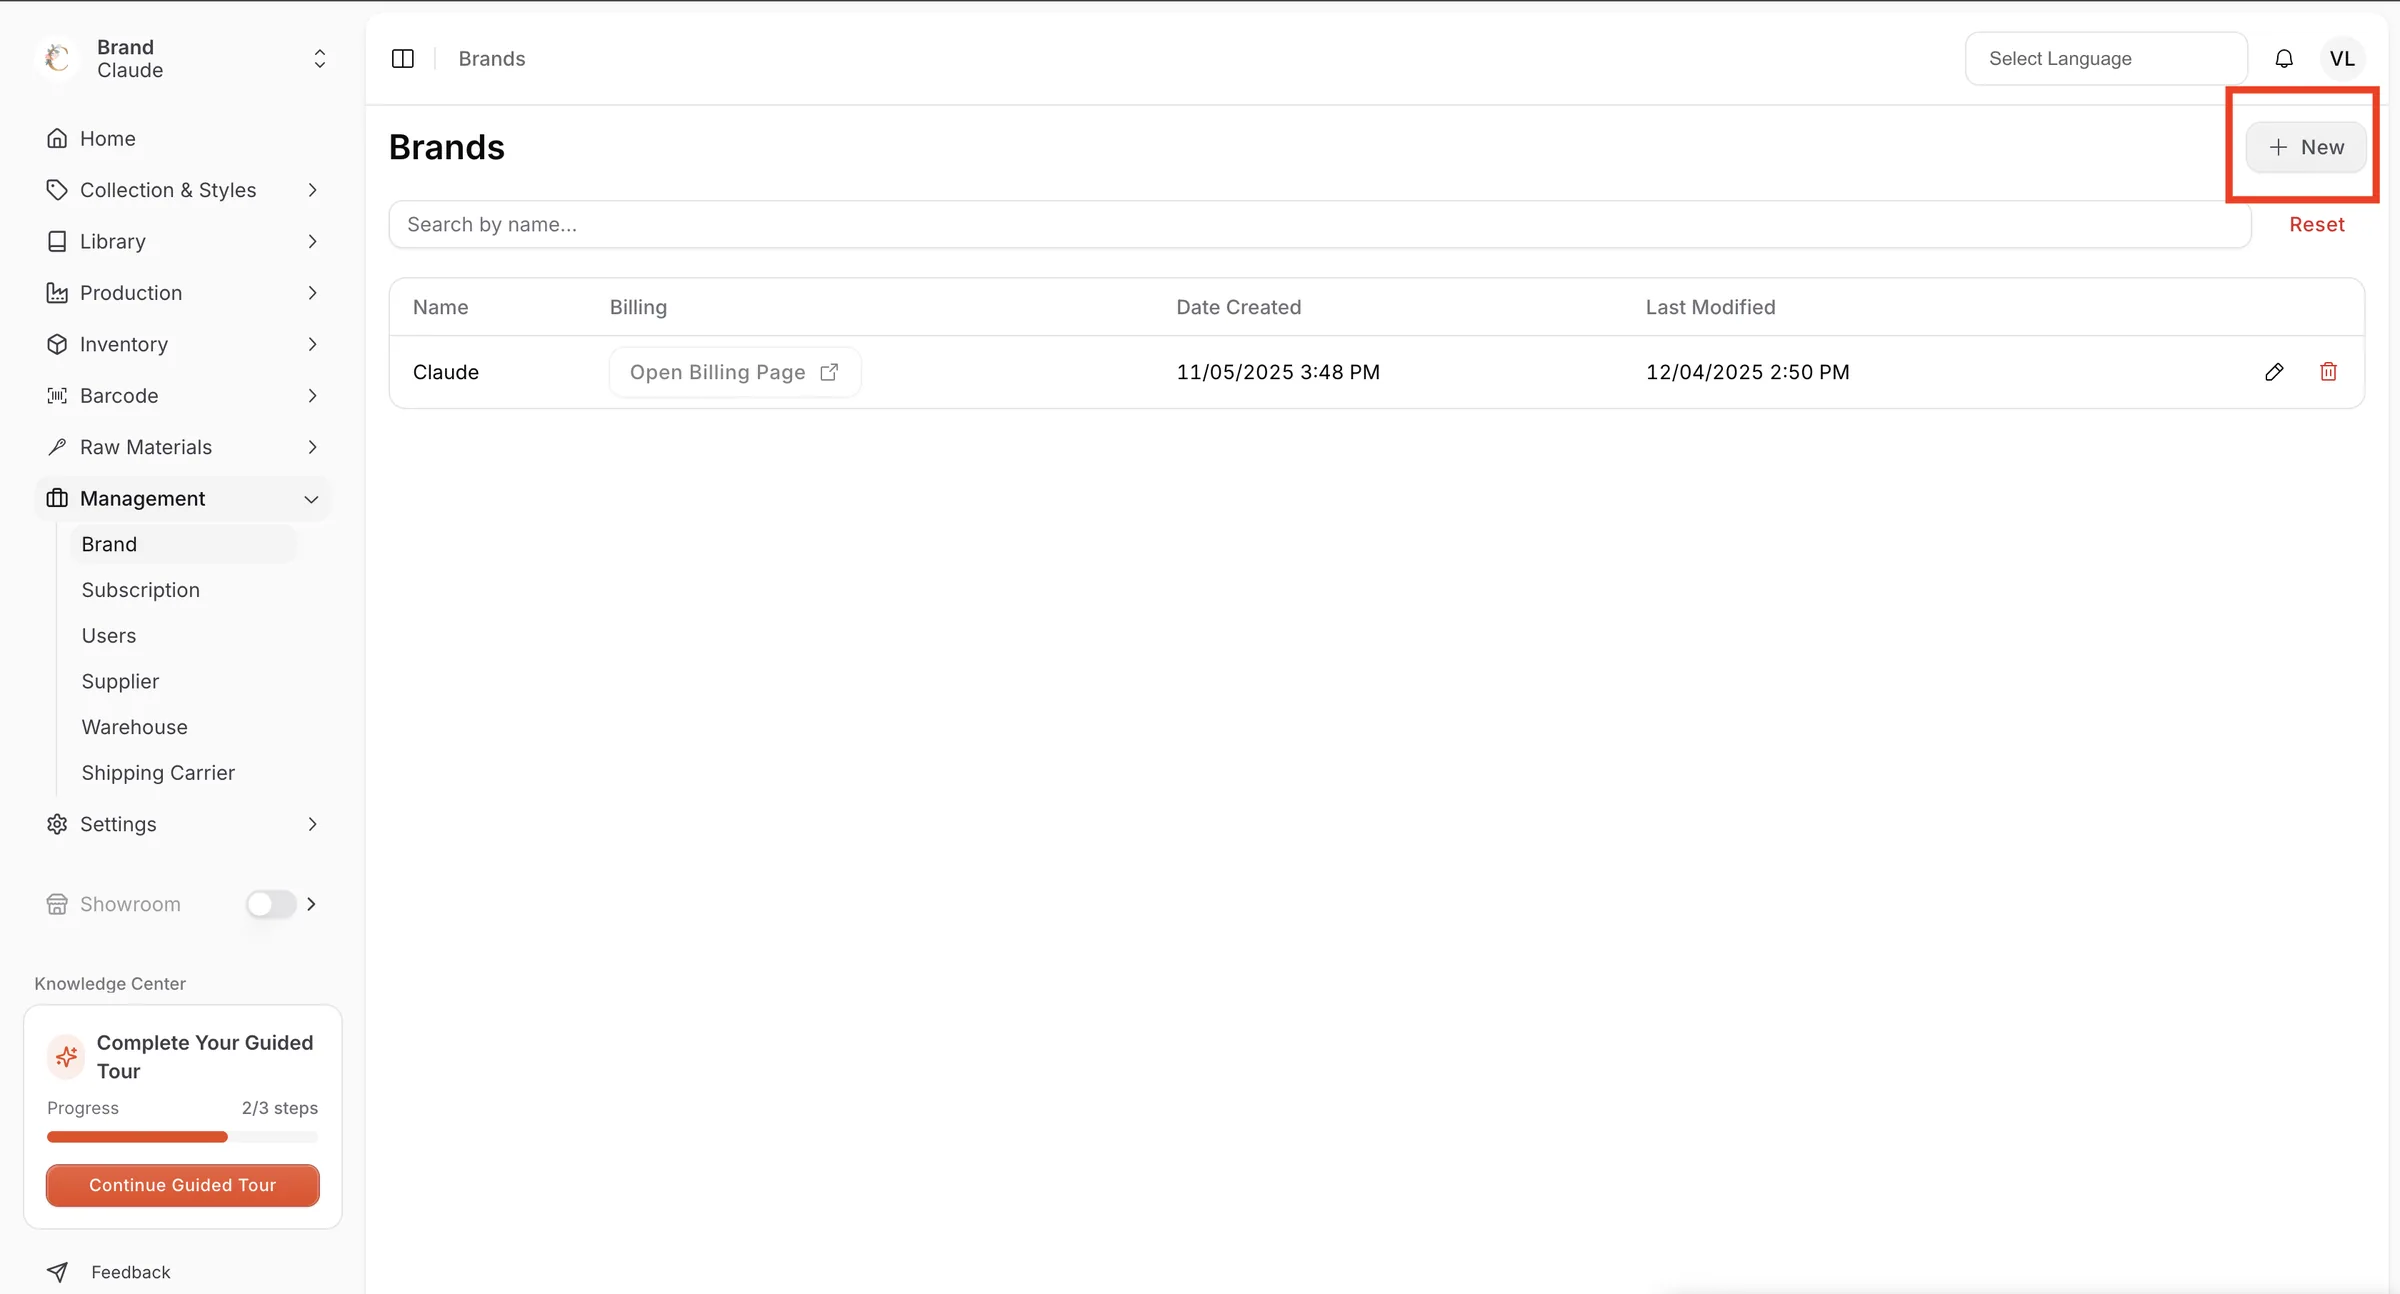
Create a brand
Click New to create a new brand. See Create a new brand.
Delete a brand
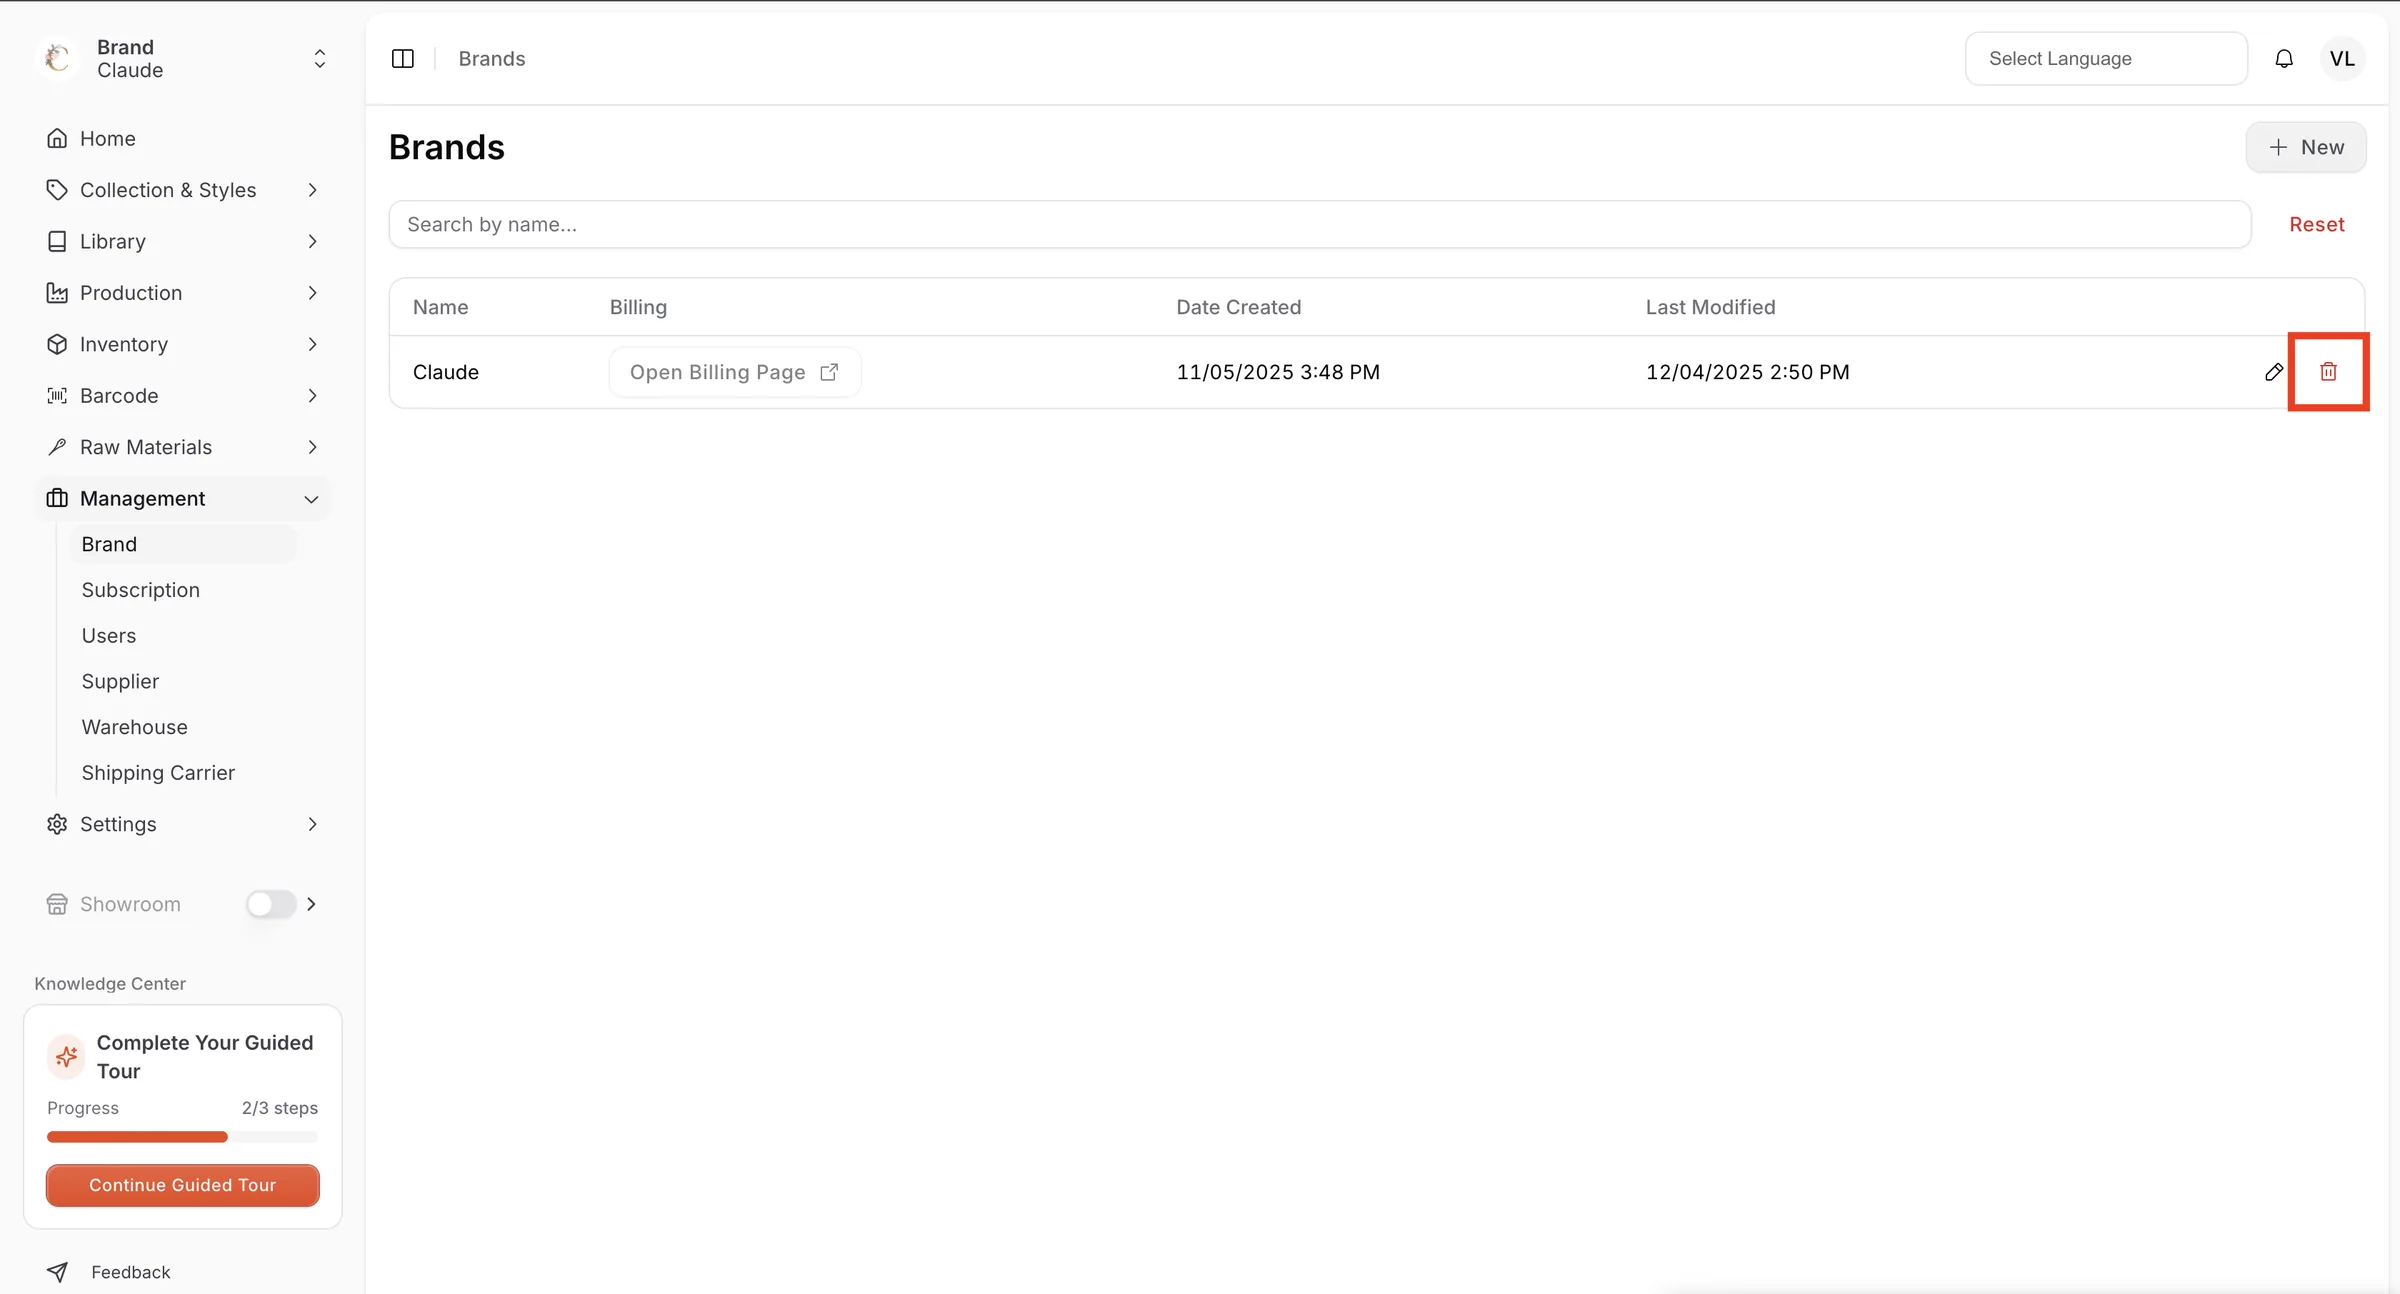
Click the trash icon in the row of the brand, then click Delete to confirm. The message says This action cannot be undone. You need the Delete brand permission.
Update brand
Click the pencil icon in the row of the brand to open the Edit Brand page. You need the Update brand permission.
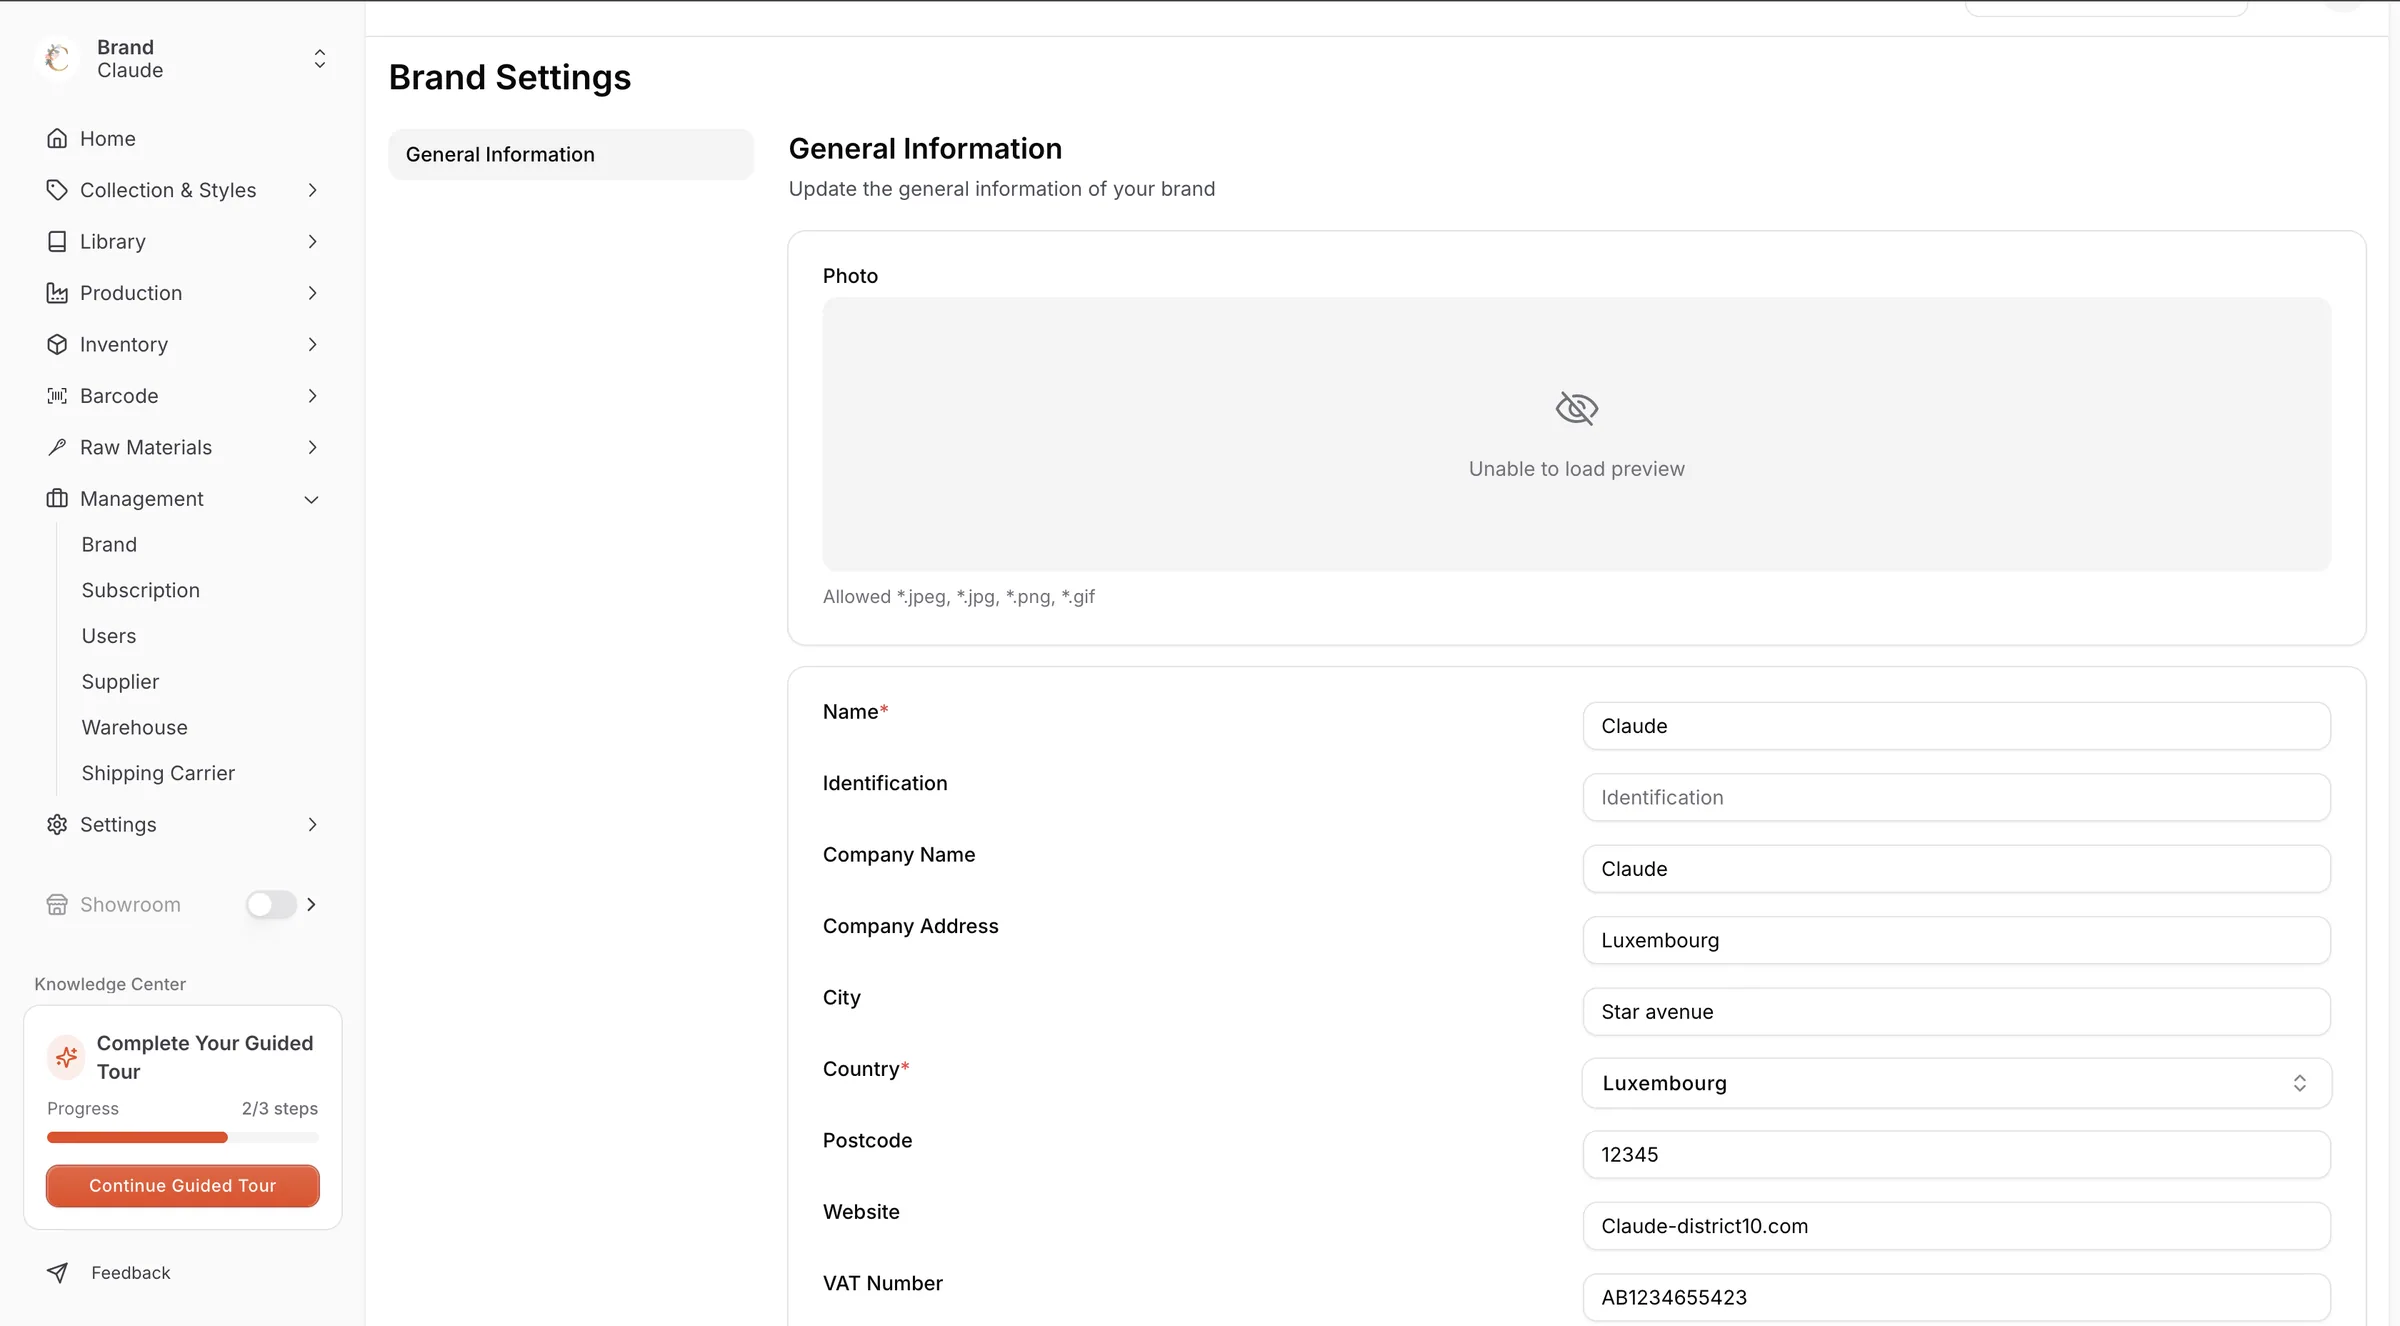
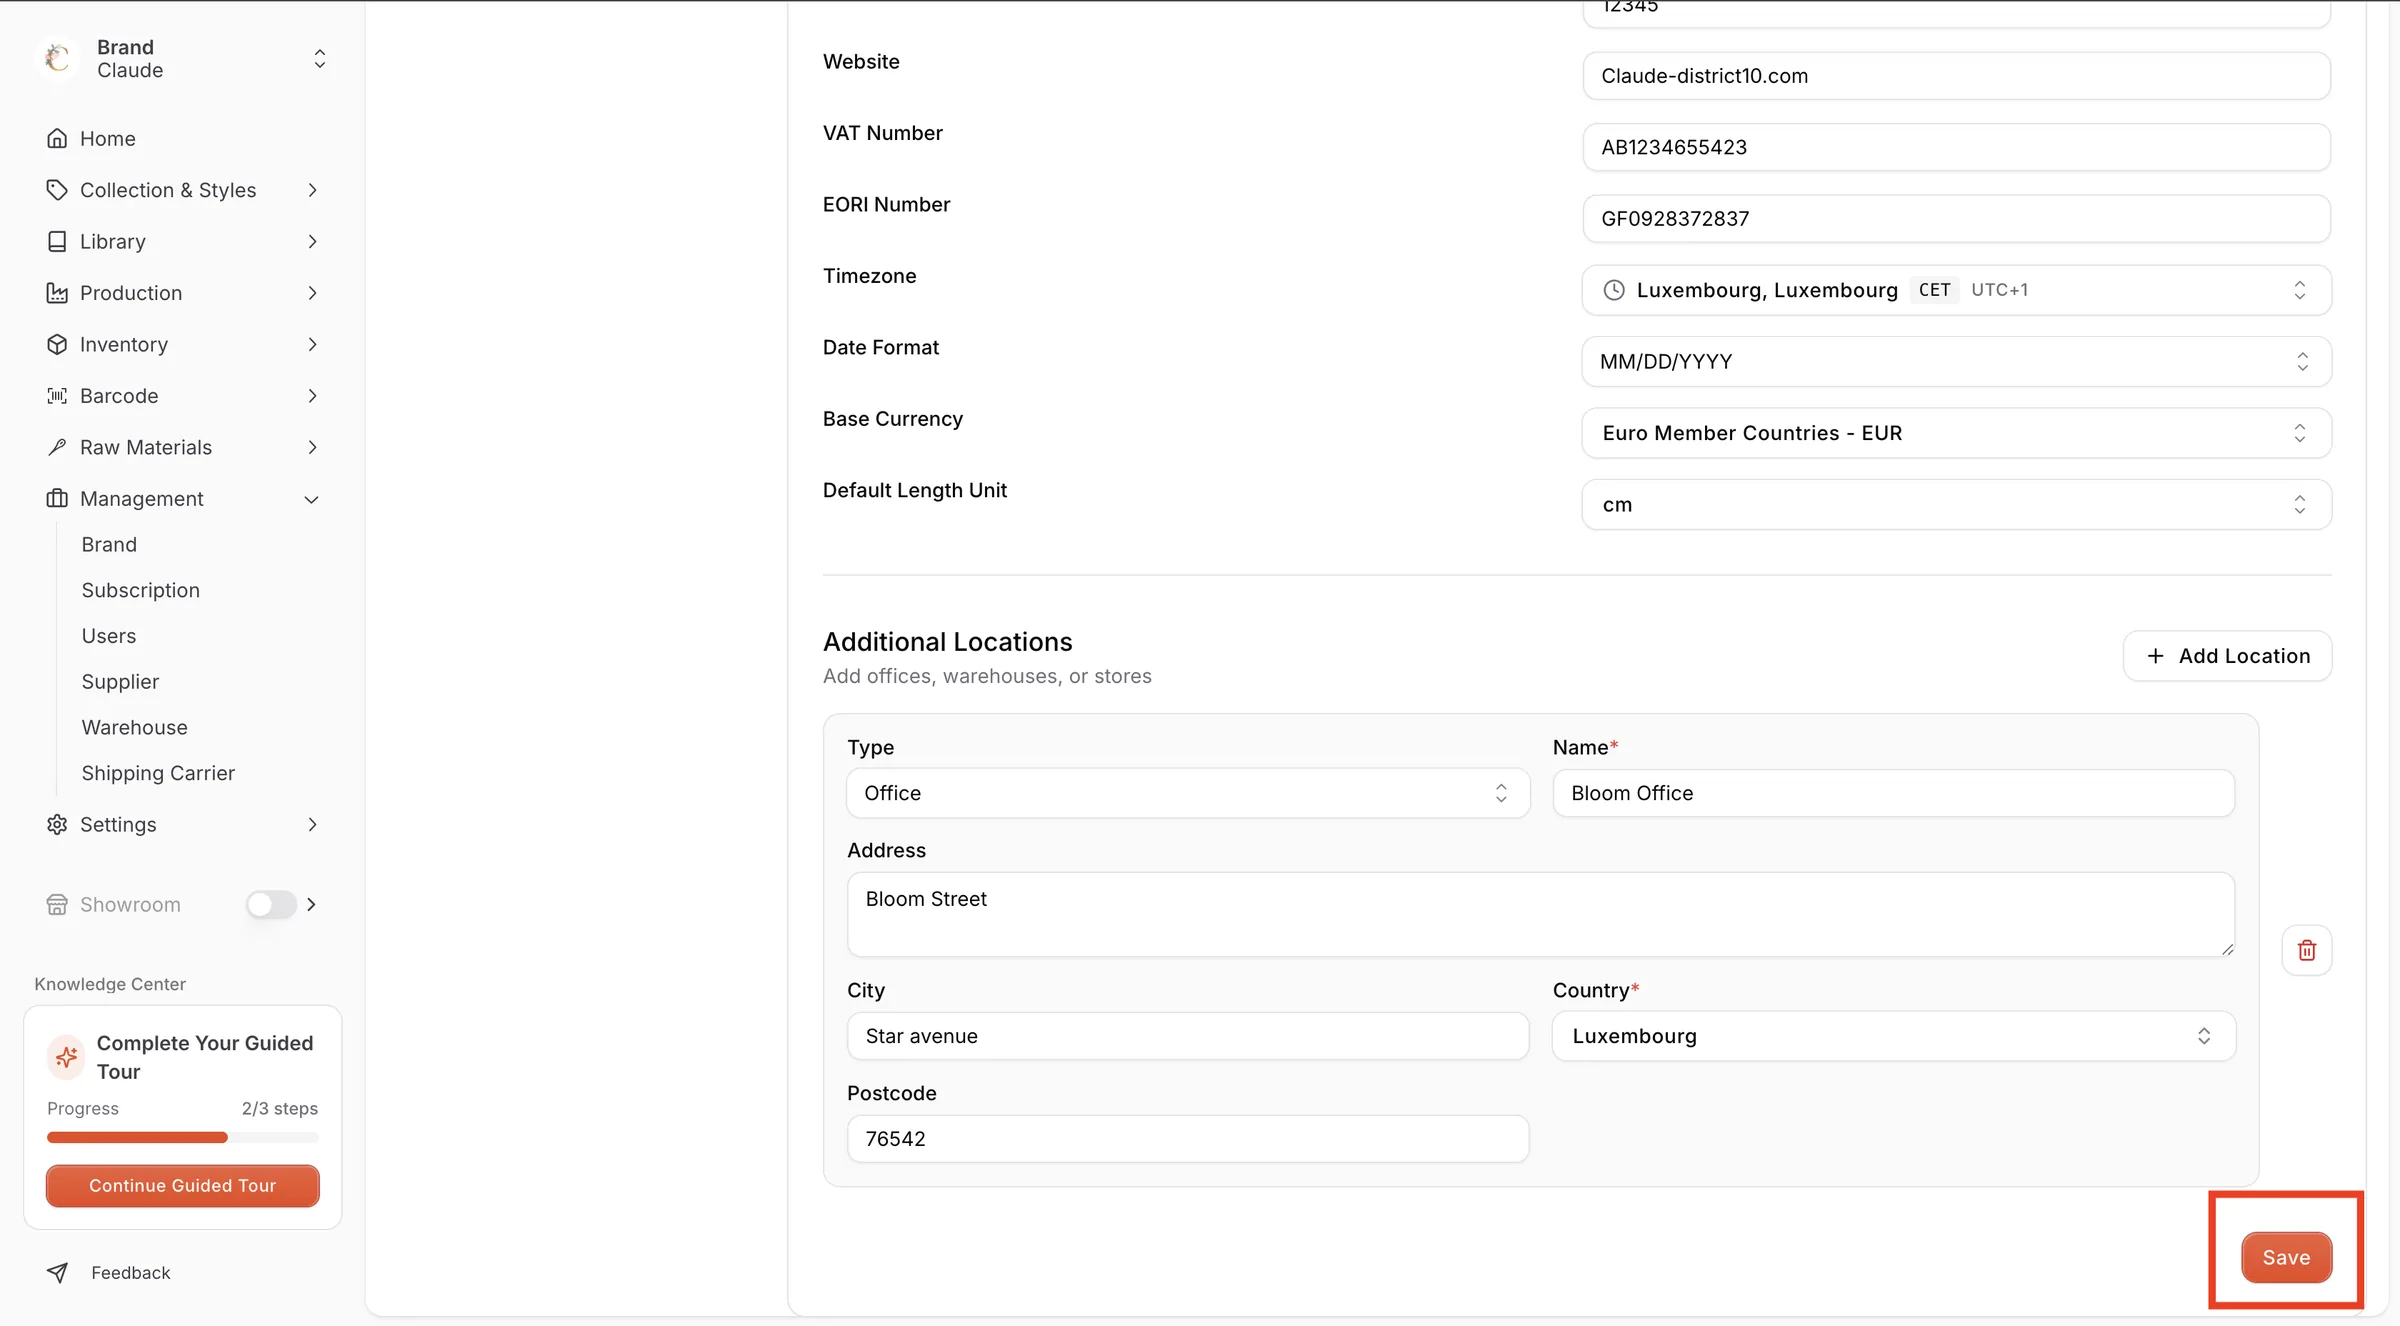
In the Edit Brand page, change any of these fields. Only Name and Country are required.
- Photo: the brand logo. JPG, PNG or GIF files up to 3 MB are allowed.
- Name: enter the brand or studio name. Required.
- Identification: add an internal or external ID.
- Company Name: enter your registered company name.
- Company Address: type in the street address.
- City: enter your city name.
- Country: select your country from the dropdown menu. Required.
- Postcode: enter your postal code.
- Website: add your company website URL.
- Public website URL (for AI / GEO embeds): where your products live online. It is used as the canonical link in the AI embed you copy from a style's GEO Readiness tab.
- VAT Number: enter your VAT registration number. It is used for your subscription.
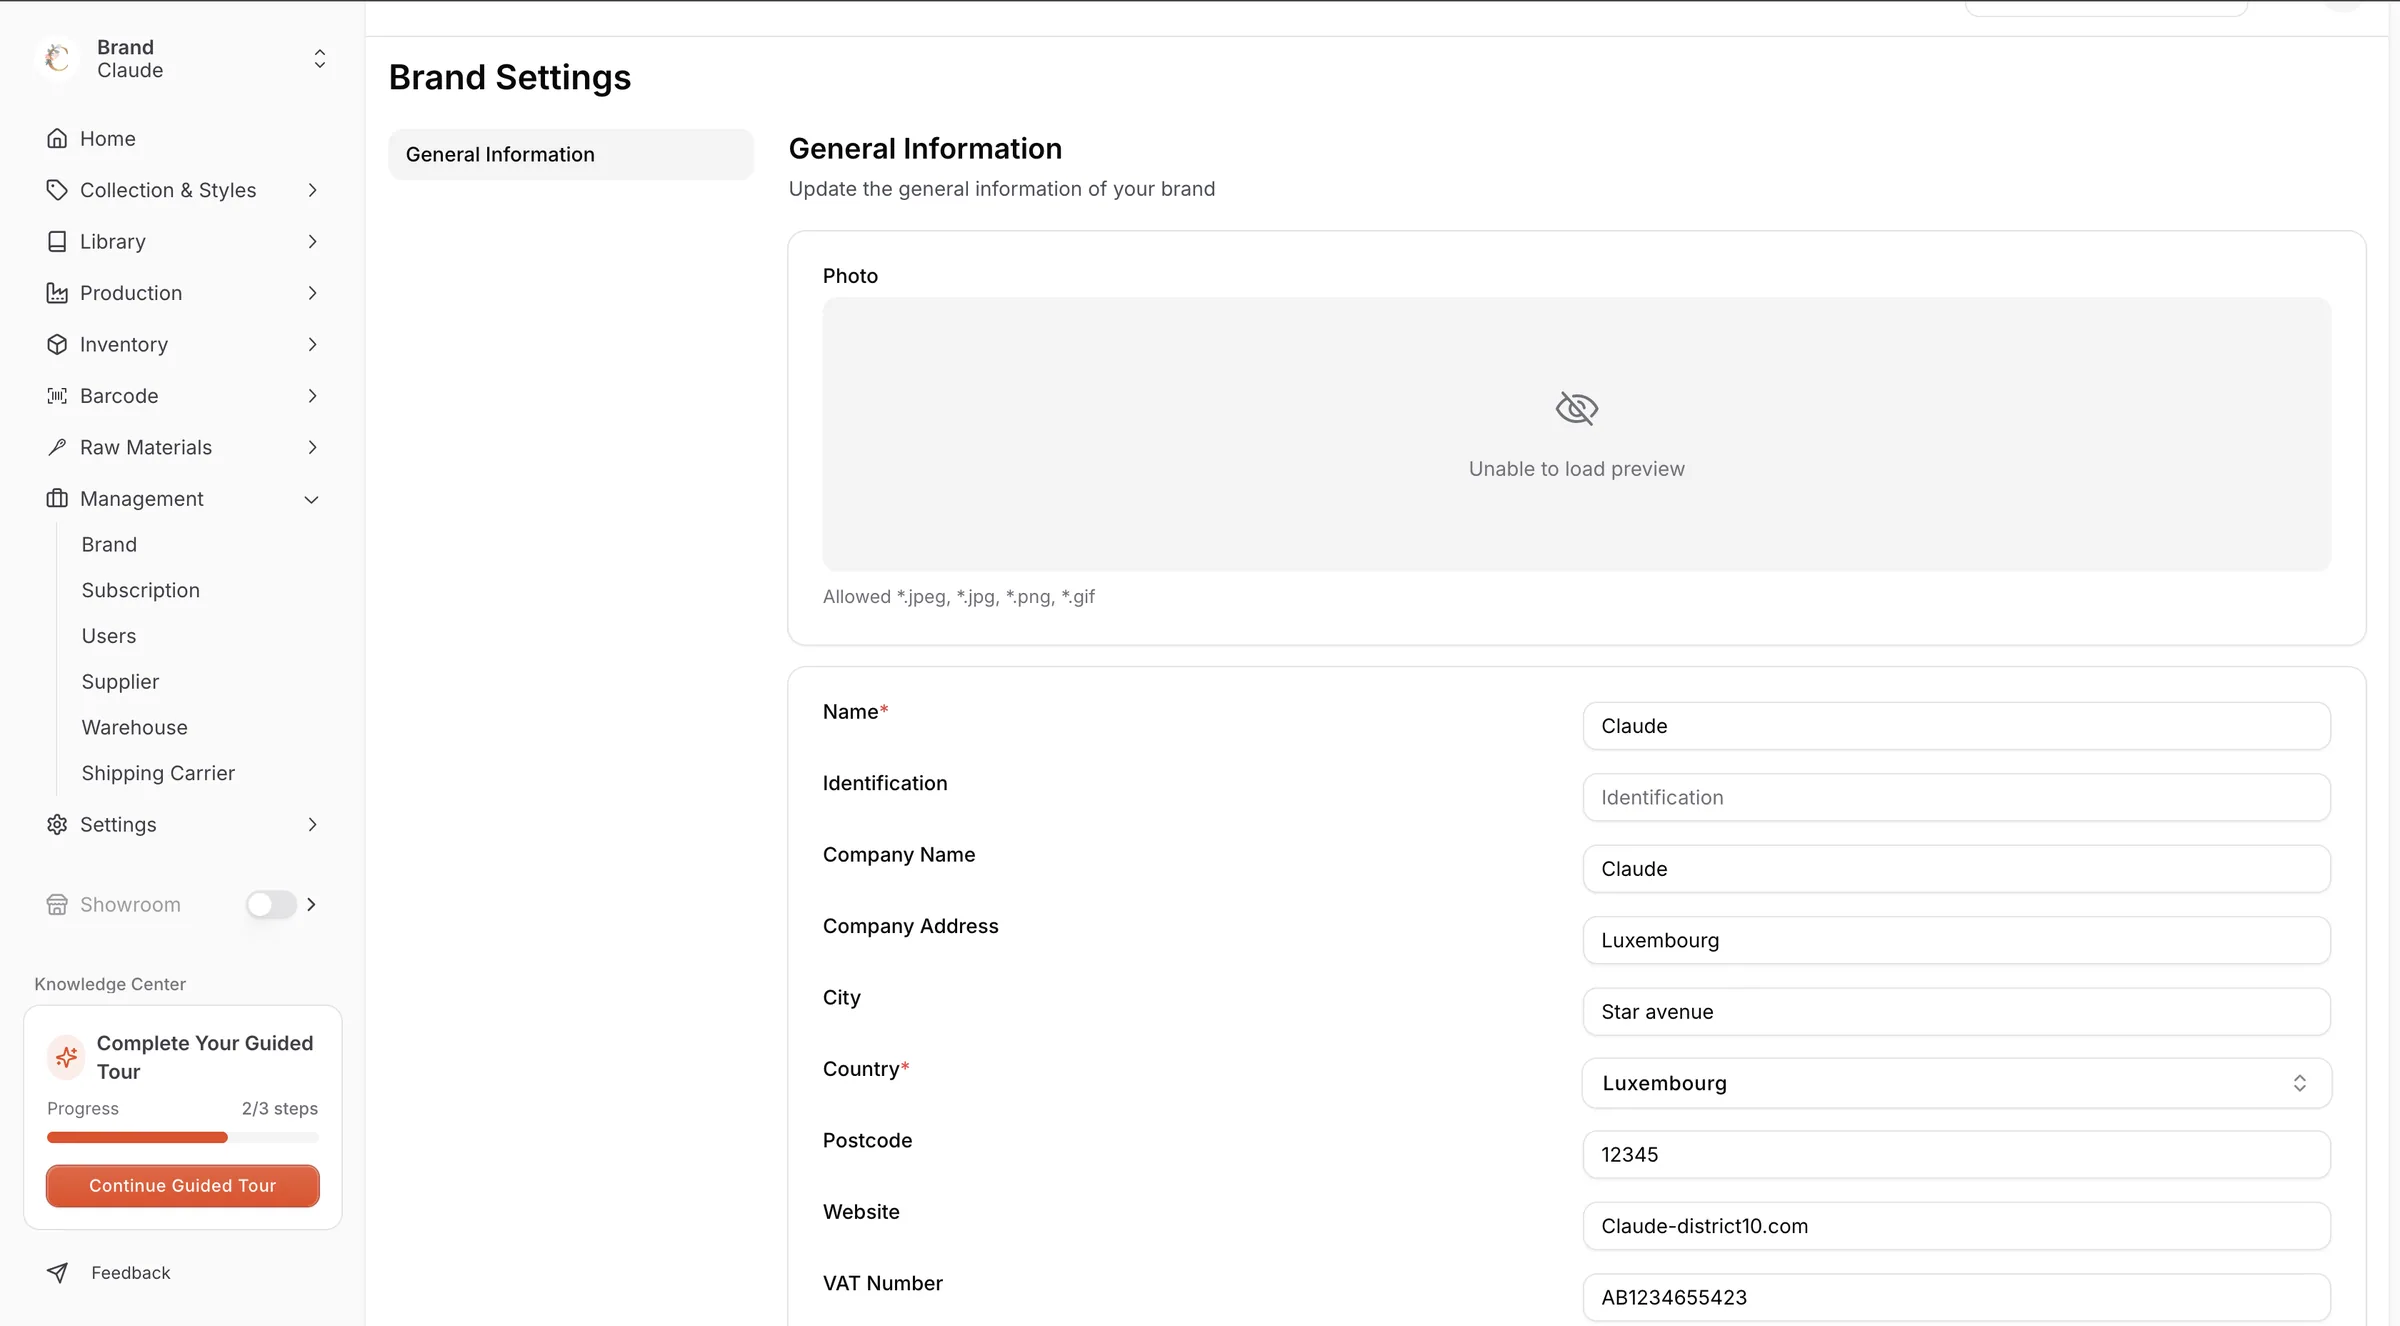
- EORI Number: enter your EORI number for import and export.
- Timezone: select your local timezone.
- Date Format: select MM/DD/YYYY, DD/MM/YYYY or YYYY-MM-DD.
- Base Currency: select the main currency used in cost sheets.
- Default Length Unit: choose the measurement unit.
Add locations
Under Additional Locations, click Add Location to add another location.
- Select the Type: Headquarters, Office or Store.
- Enter the Name of the location. Required.
- Enter the Address, City and Postcode, and select the Country. The country is required.
- Click the trash icon to remove a location.
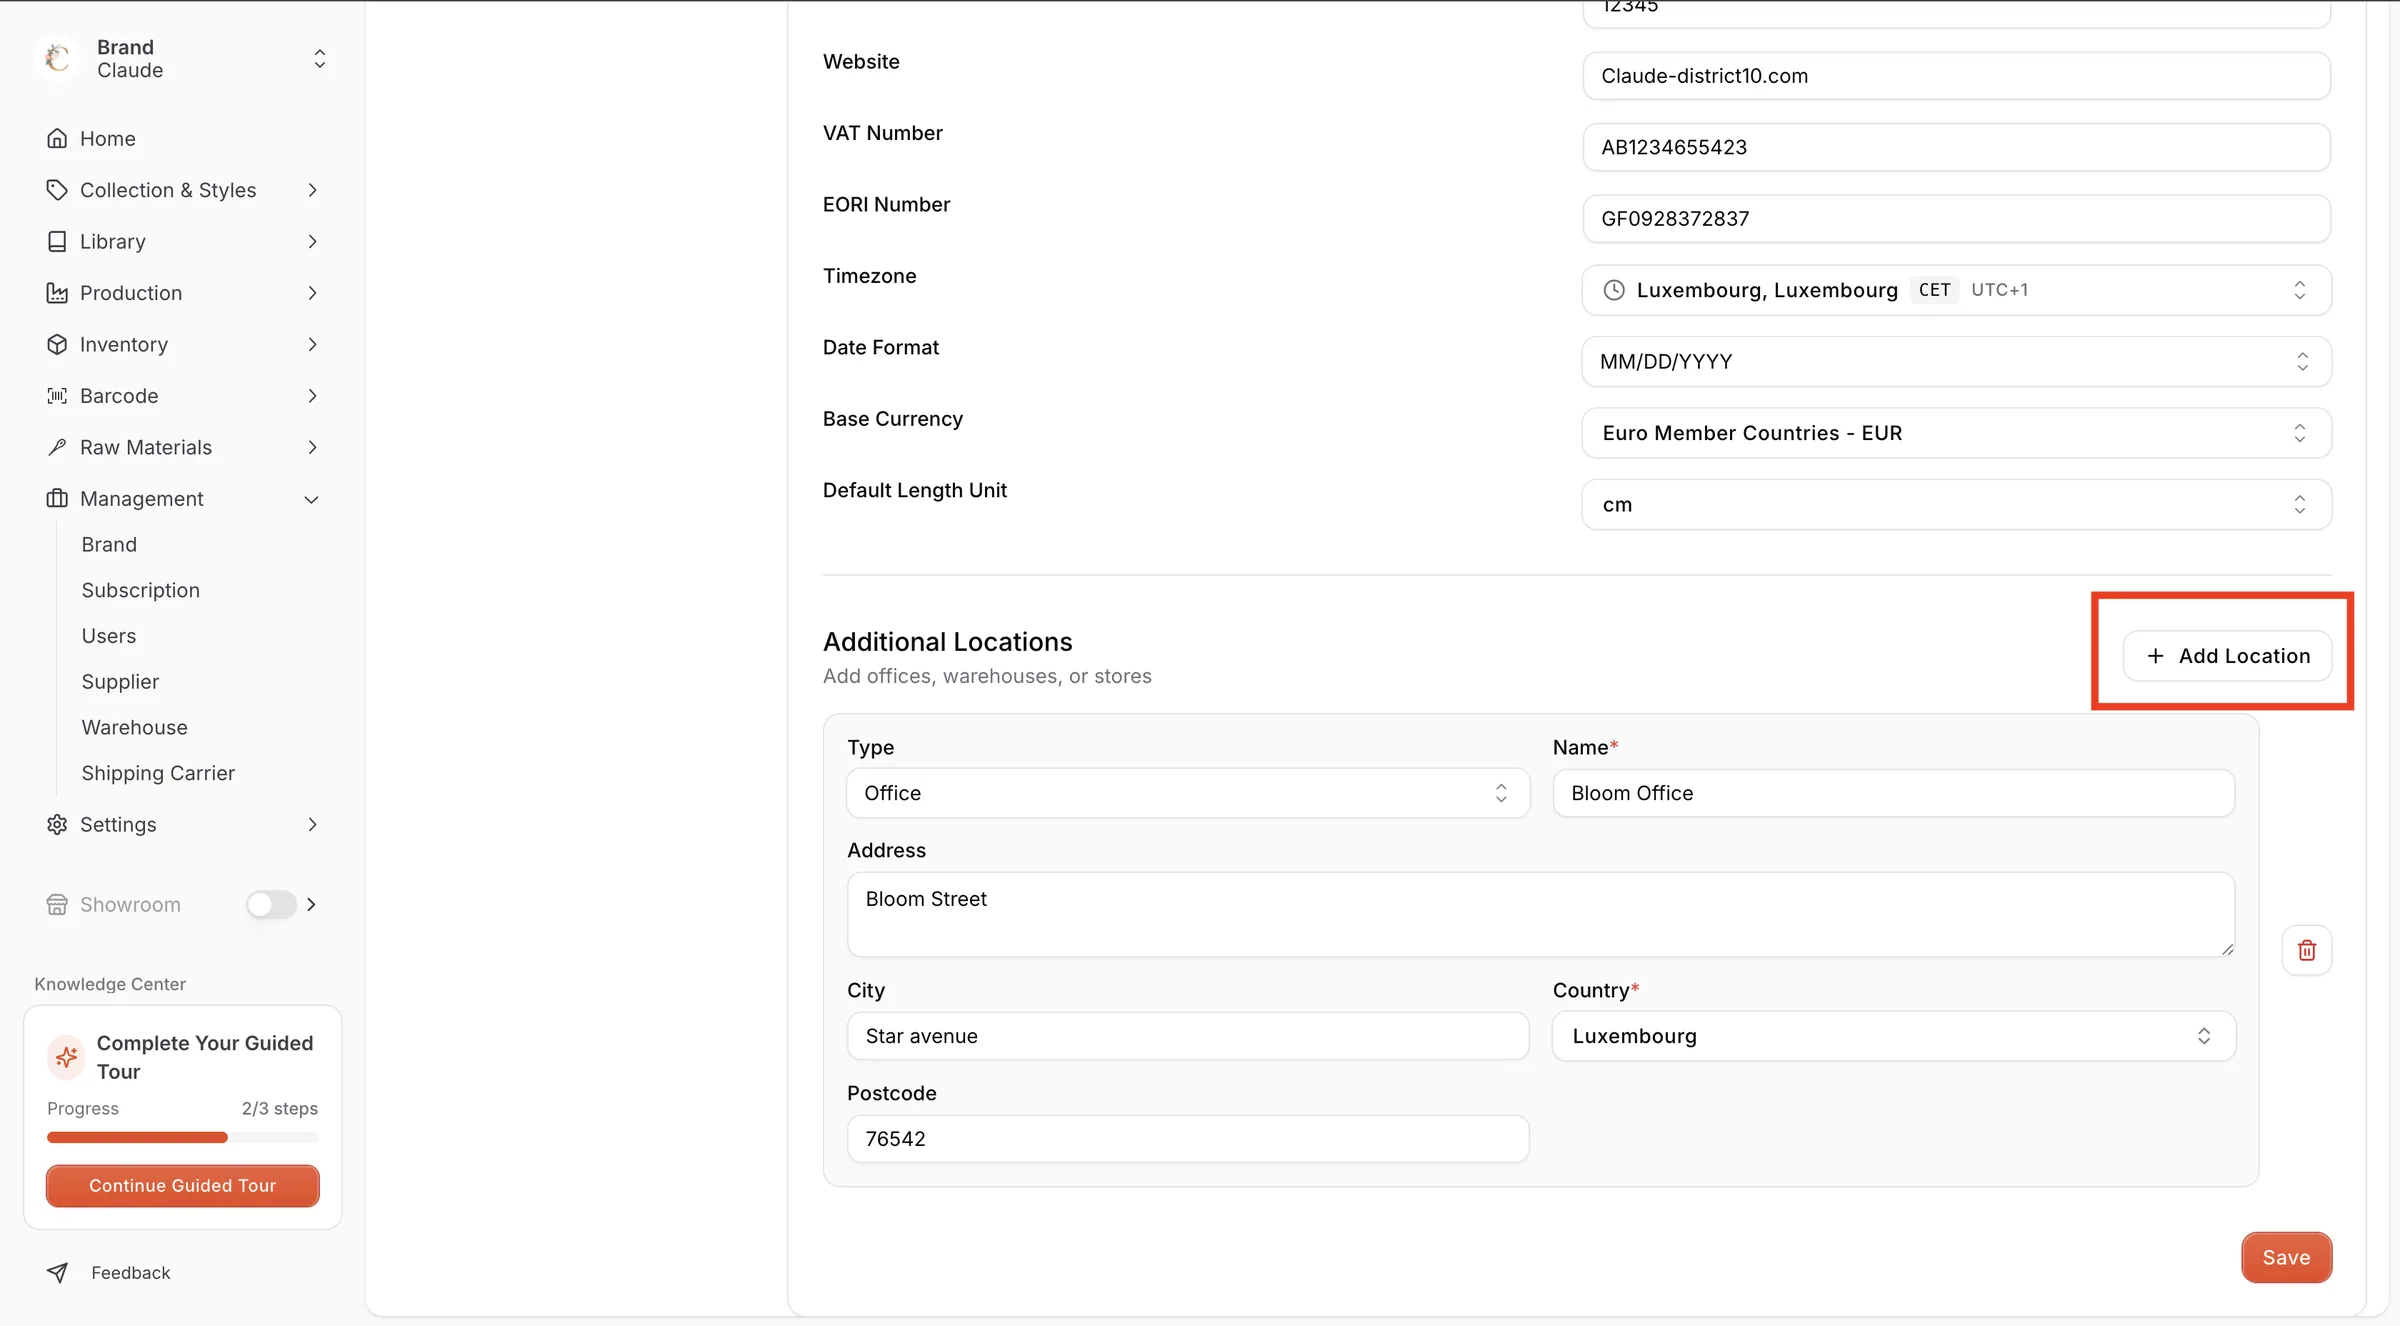
Click Save to apply your updates. Click Cancel to leave without saving. You see Brand updated successfully.