
Step 6 of 9 in Run a sampling round
Update several samples at once
Select many samples in Sample Management and change their status, health, type, quantity, cost, currency, notes or due date in one go, or delete them.
Instead of changing samples one by one, select several in Sample Management and apply one change to all of them. This works in the table, card and kanban views.
SamplingSample Management
Permission: SAMPLING_VIEW,SAMPLING_UPDATE
The Actions menu is shown to users who can update samples. Delete selected inside it needs the permission to delete samples.
Select the samples
Select the samples
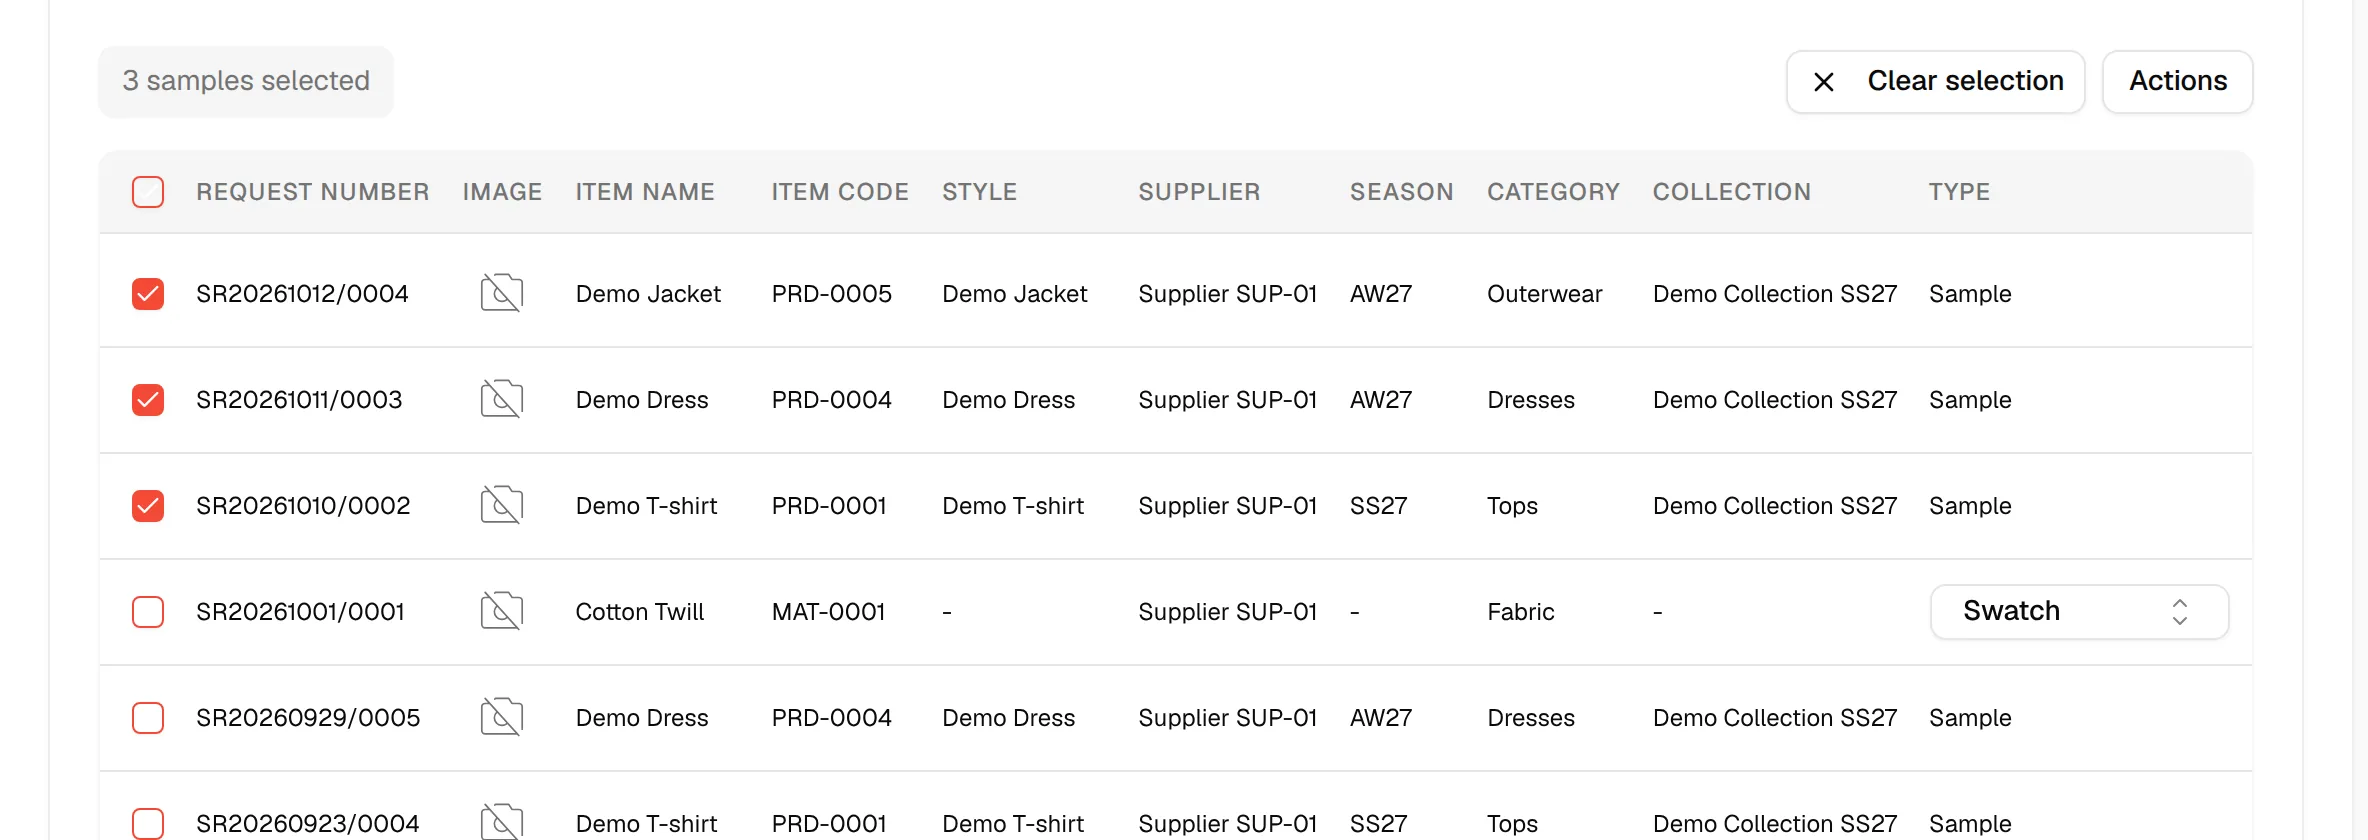
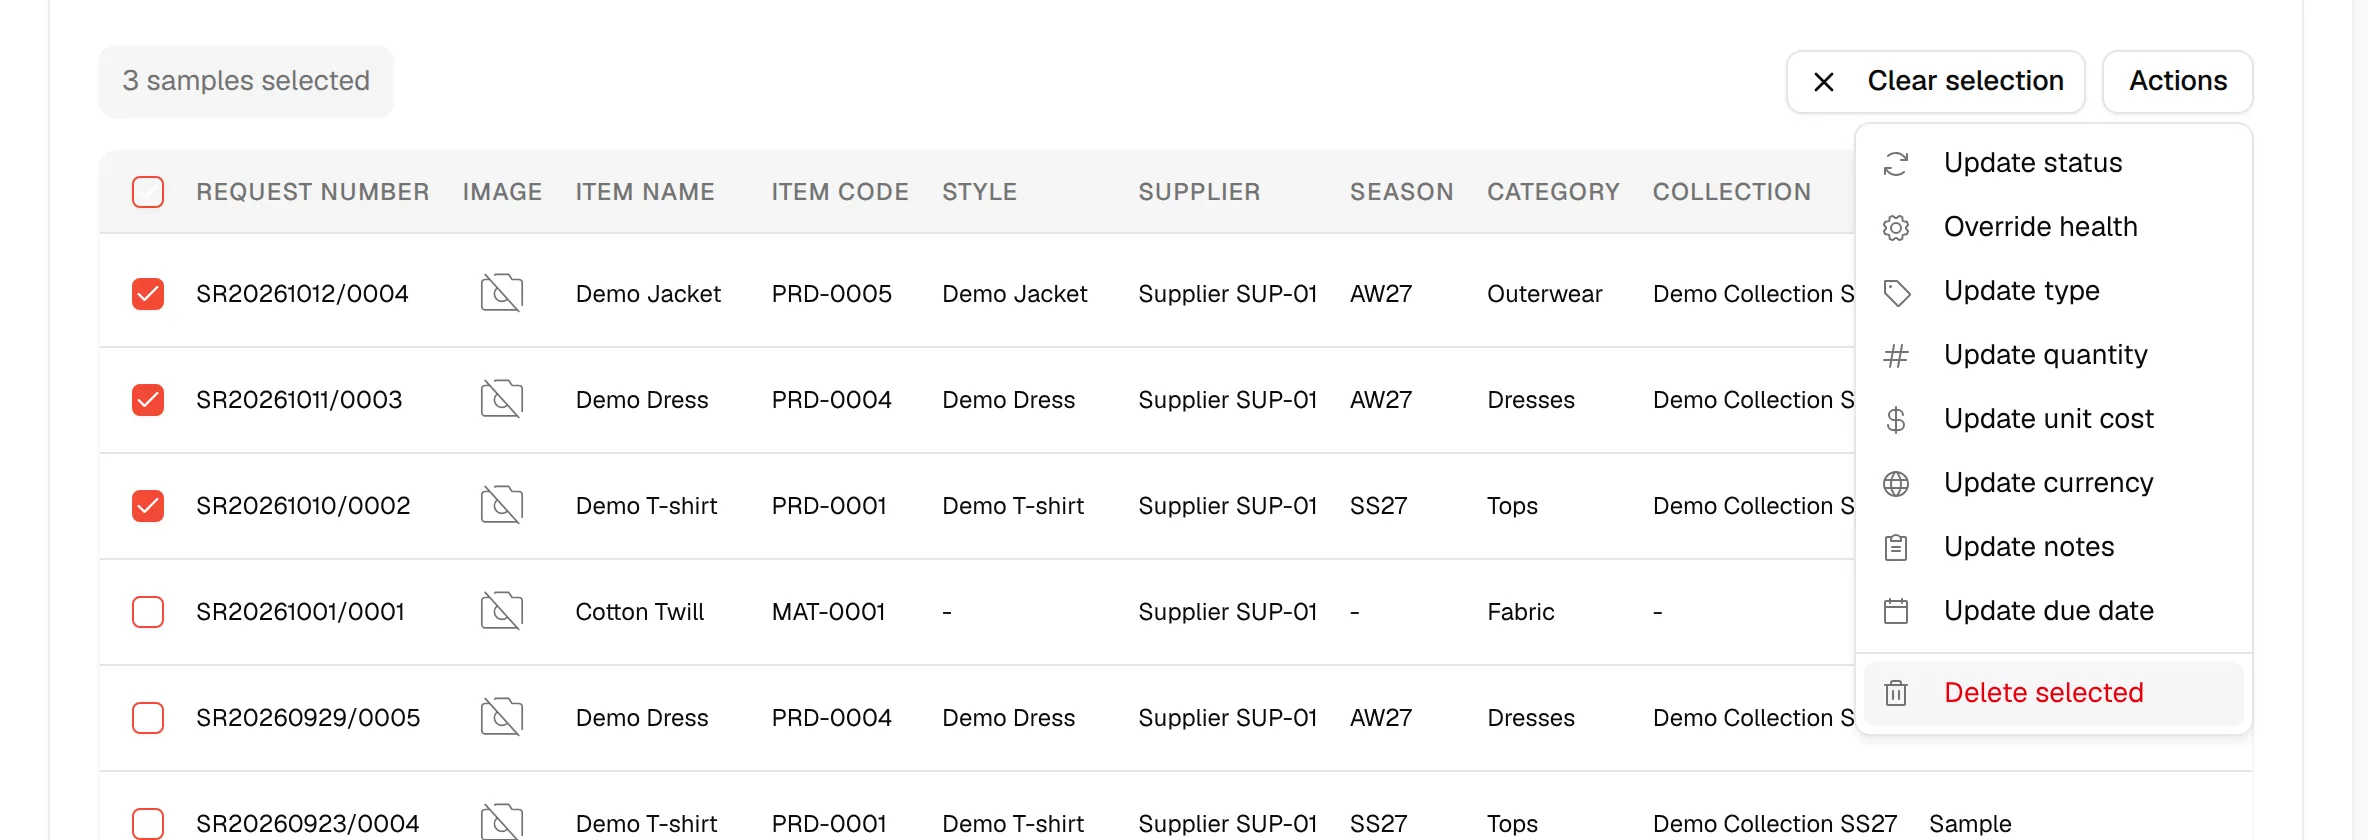
In the table view, check the box at the start of each row you want. In the card view and the kanban view, check the box on each card. Check the box in the table header, or Select all, to select every sample on the page.
Check the selection
A bar shows how many samples you selected, for example 3 samples selected. Click Clear selection to start again.

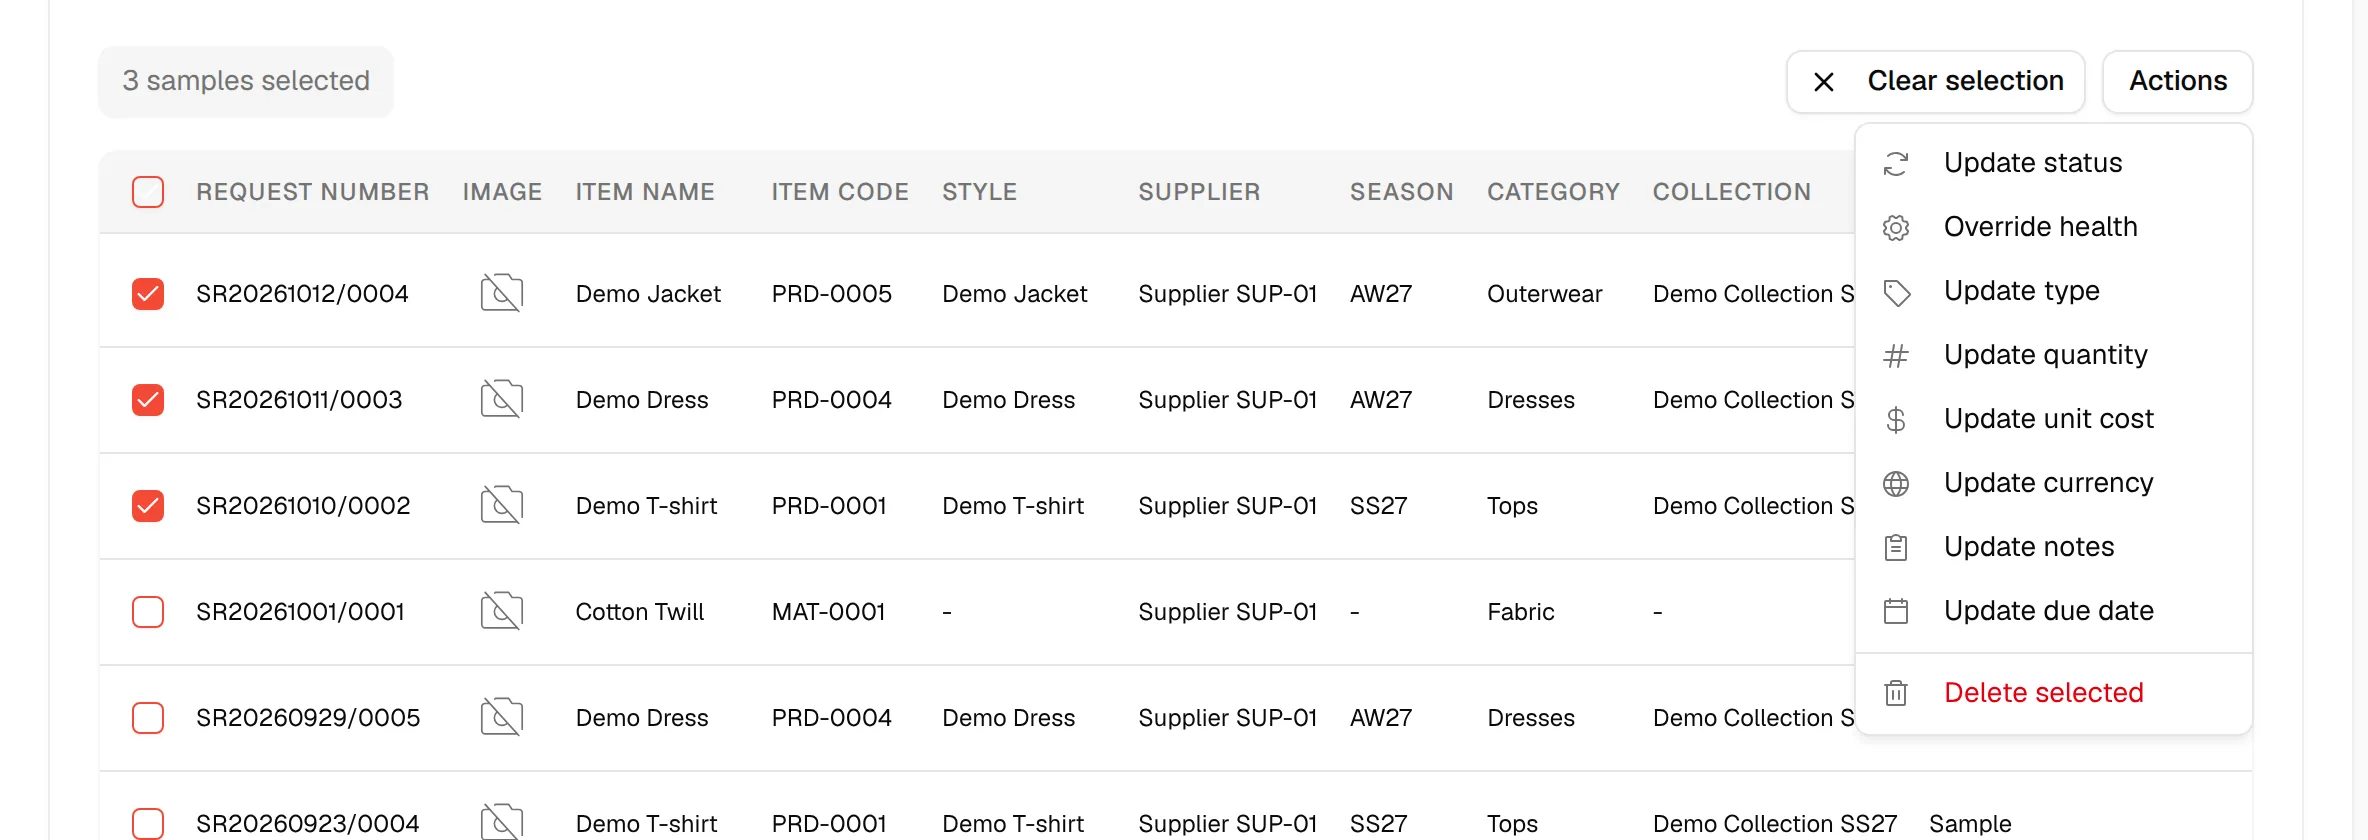
Click "Actions"
Click Actions in the bar. The menu lists Update status, Override health, Update type, Update quantity, Update unit cost, Update currency, Update notes, Update due date and Delete selected.
Update the status
Select "Update status"
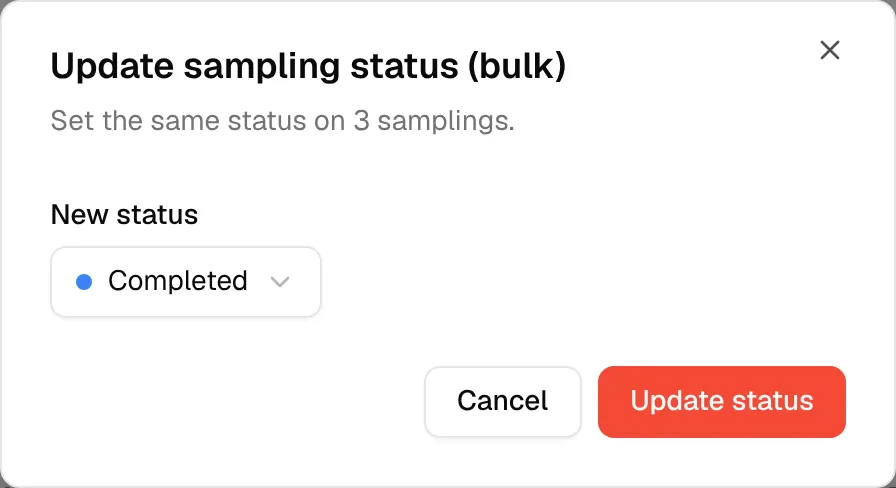
In the Update sampling status (bulk) window, open New status and choose a status. See Manage sampling statuses to add your own.
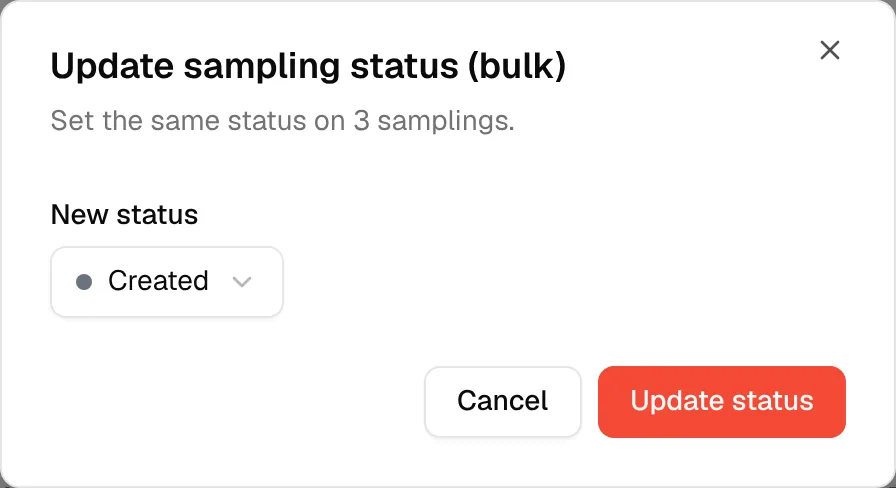
Click "Update status"
Click Update status to apply it to every selected sample, or Cancel to close.
Override the health
Select "Override health"
The Override health status (bulk) window sets the same health override on every selected sample. The system-calculated health is kept in the background.
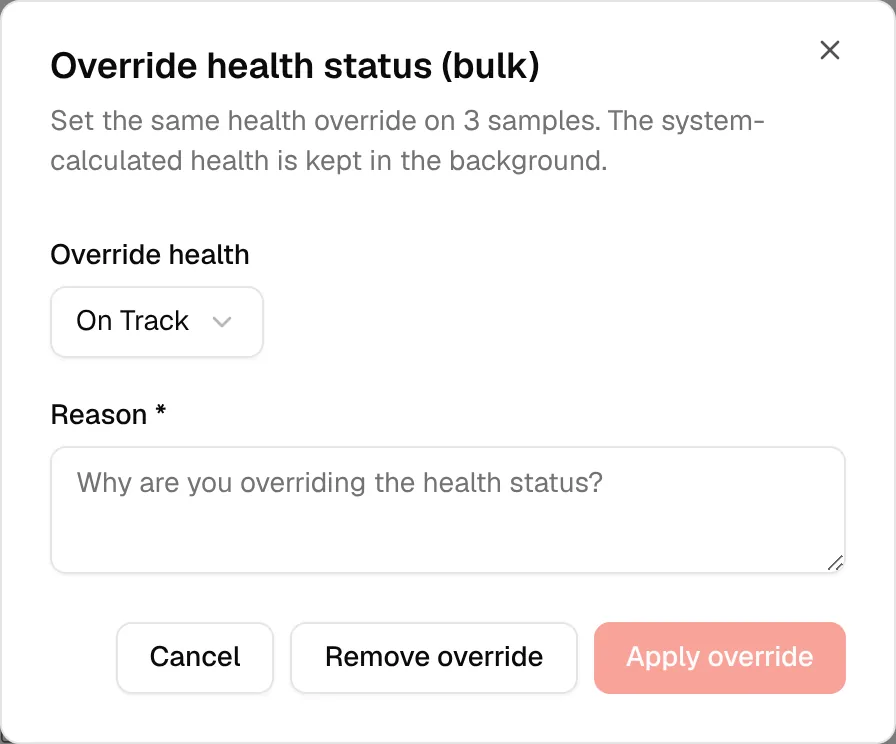
Choose the health and give a reason
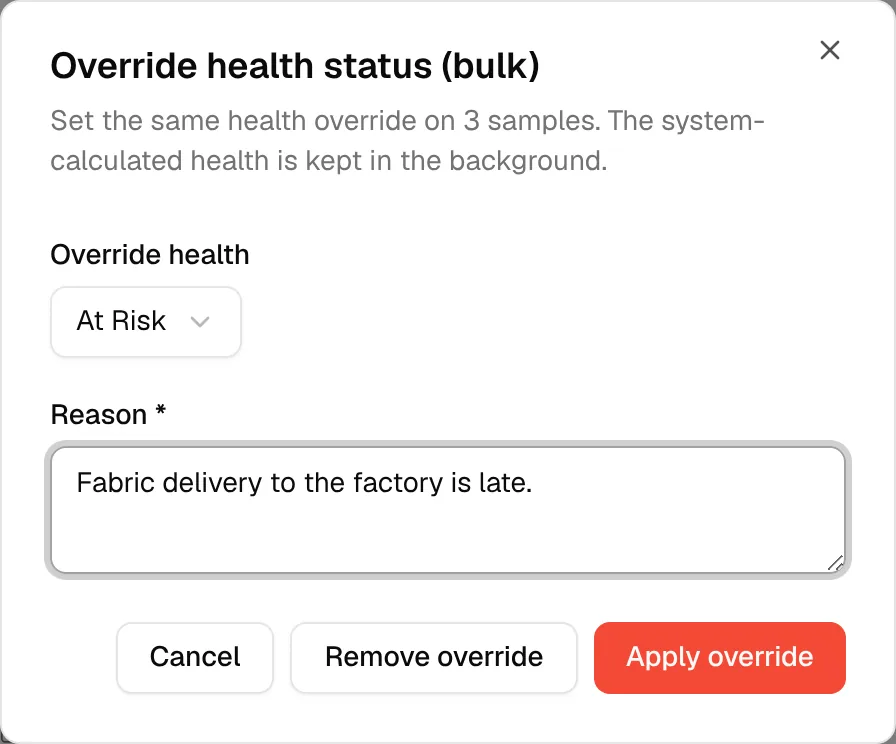
Pick On Track, At Risk or Delayed in Override health and type a reason. The reason is required when your brand asks for one (marked with an asterisk).
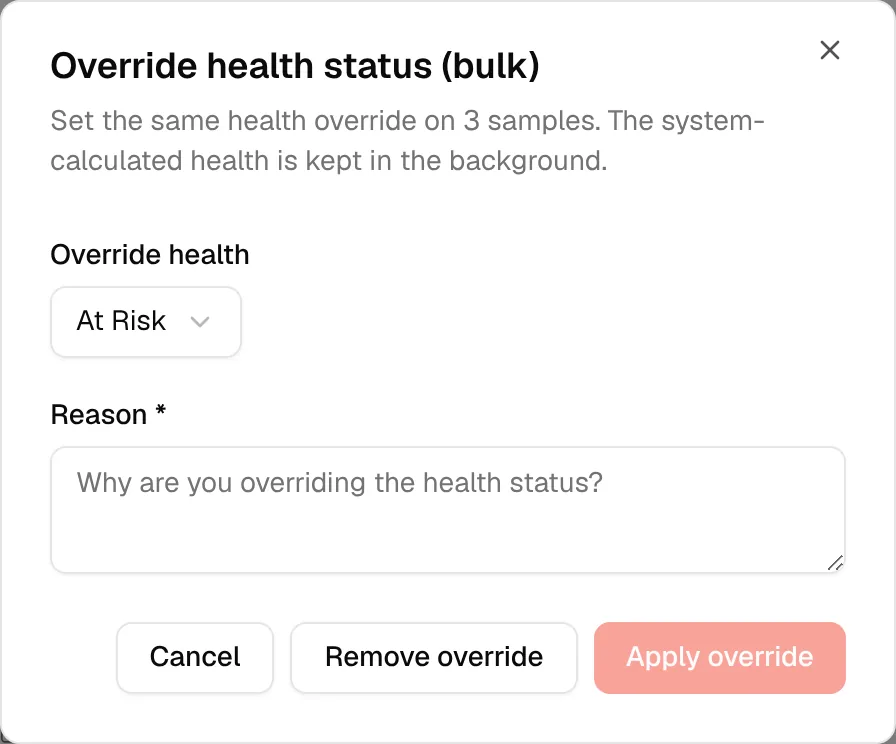
Click "Apply override"
Click Apply override. Click Remove override to clear the manual health of the selected samples instead.
Note
If you do not have permission to update samples, or manual overrides are turned off for your brand, the window says so and the fields are locked.
Update a single field
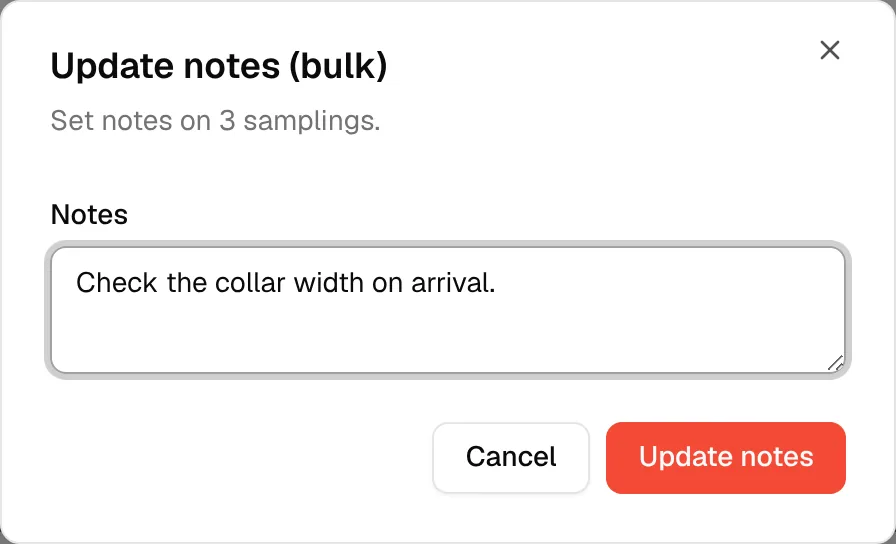
The Update type, Update quantity, Update unit cost, Update currency, Update notes and Update due date actions all work the same way.
Choose the action
Click Actions, then the field you want to change. The window title shows the field, for example Update quantity (bulk), and says how many samples will change.
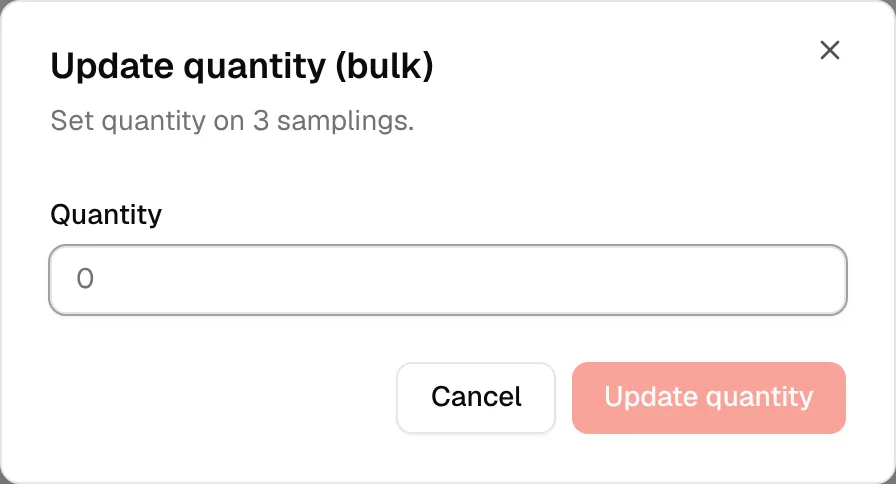
Enter the new value
Select a Sampling type (one is already selected when the window opens), type a number in Quantity (a whole number) or Unit cost, select a currency, type Notes, or pick the Actual due date in the calendar. For the quantity, unit cost and currency, the button stays disabled until you enter a value.
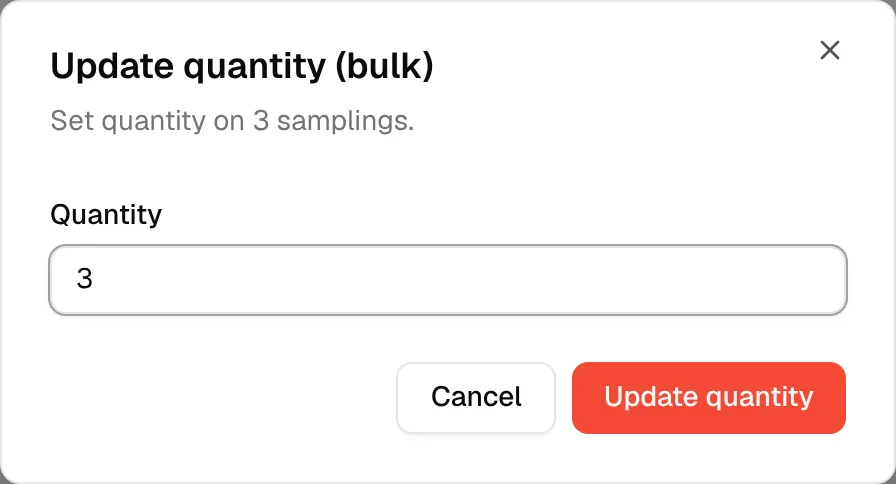
Click the update button
Click the button at the bottom, for example Update quantity. A message confirms how many samples were updated, or tells you how many failed.
Note
The Update due date action opens Update actual due date (bulk) and sets the Actual Due Date of the selected samples.
Delete several samples
Select "Delete selected"
Click Actions, then Delete selected.
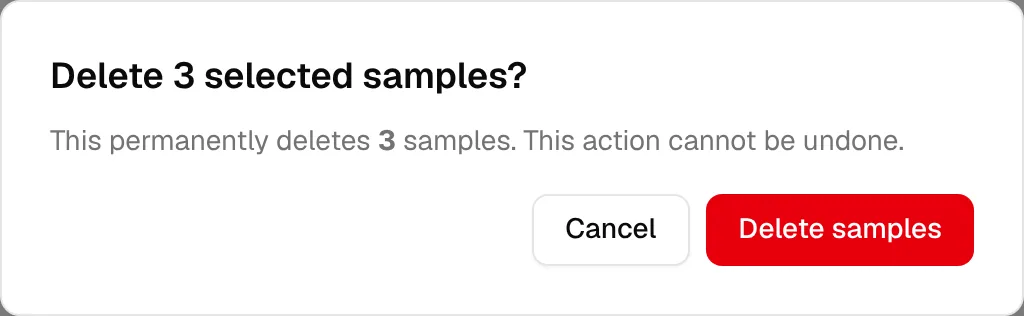
Confirm the deletion
The window asks, for example, Delete 3 selected samples? and warns that this permanently deletes them and cannot be undone. Click Delete samples to confirm, or Cancel.
Warning
Deleting samples cannot be undone.