
Edit users
Users can edit and manage the User's associated Brand to give them access permissions to the multiple brands on the platform.
Under review. This page is published while we check it against the live app, so some details may have changed.
Screenshots may be out of date.
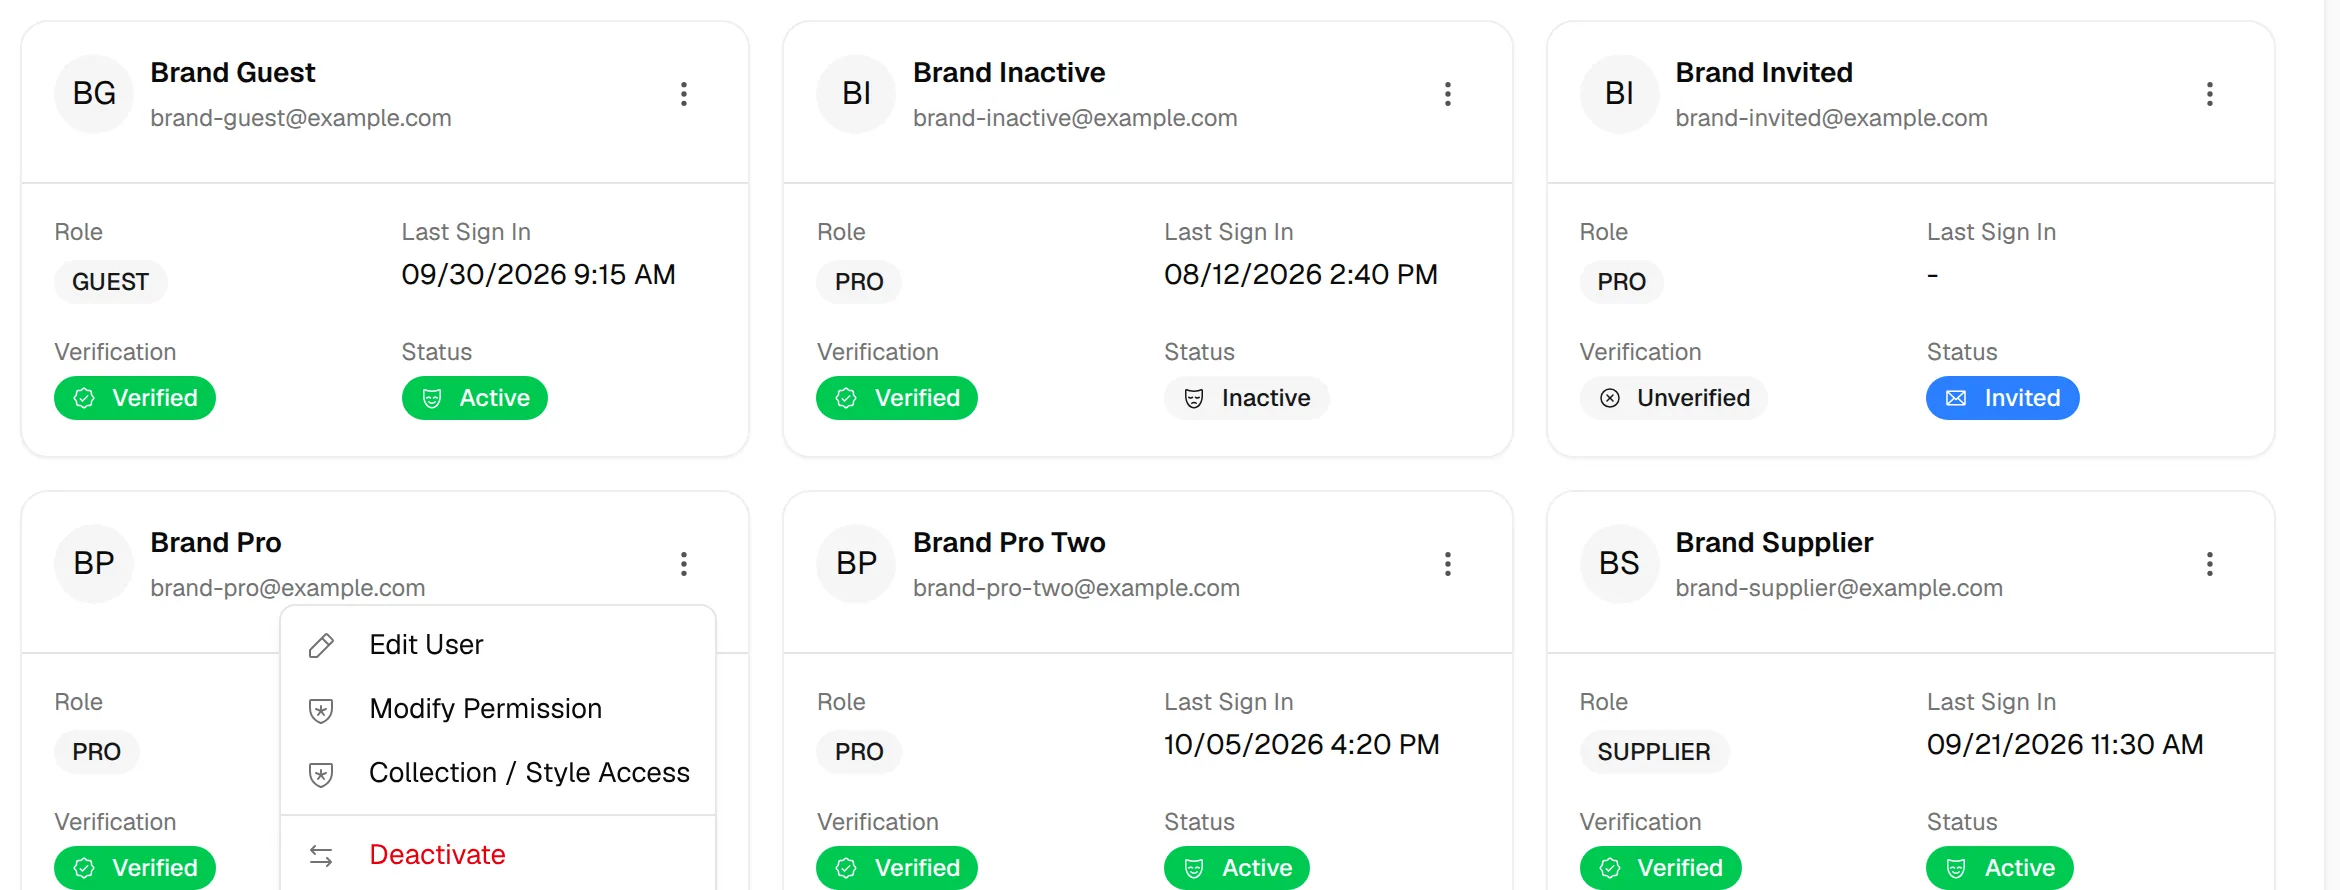
ManagementUsers⋮Edit User
Permission: UPDATE_USER
There are several things you can edit once a user has been added: the name, email and photo, and the user's role in each brand.
Update user information
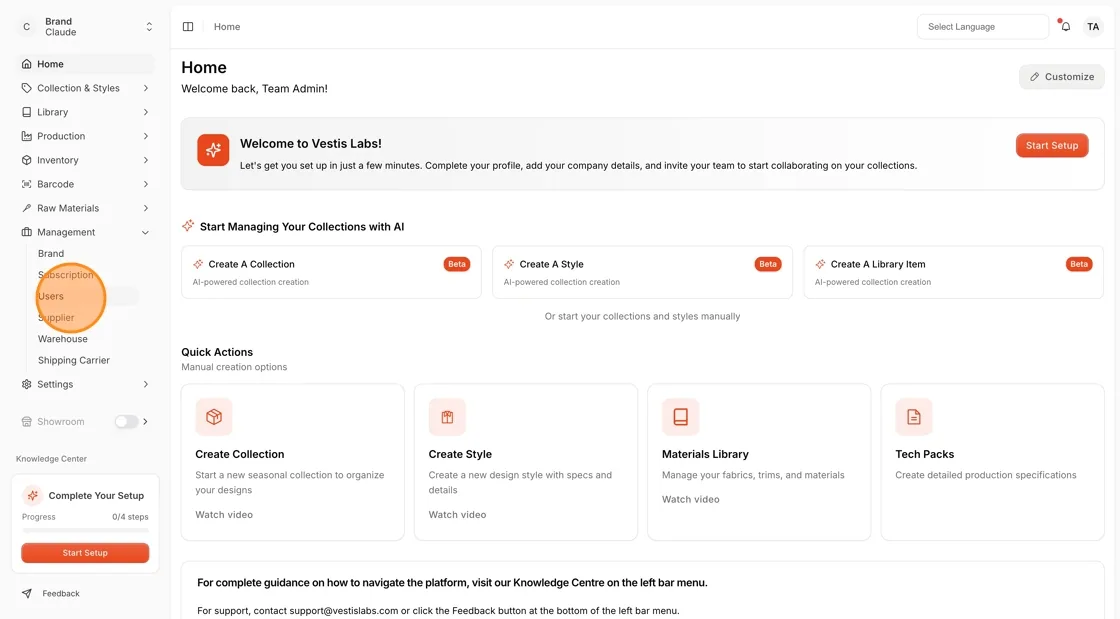
Open Users
Go to Management → Users.
Open the user menu
Click the three dots on the user's card and click Edit User.
Change the details
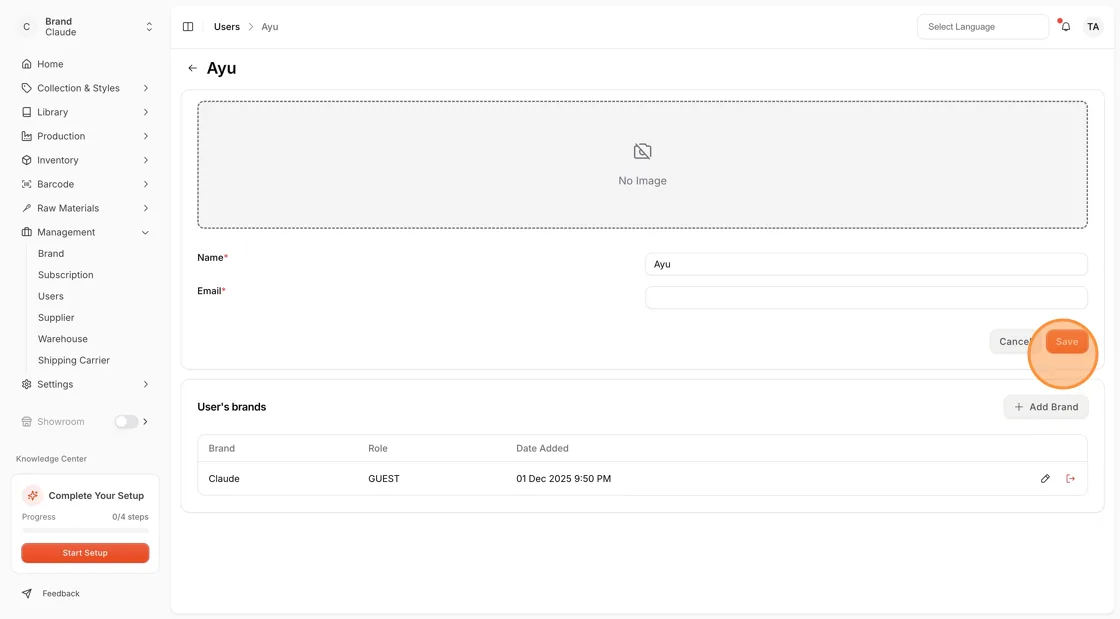
Change the Name or Email. Both are required. To change the picture, upload a new Photo.
Note
Photos can be up to 3 MB.
Click "Save"
Click Save to finish. Click Cancel to leave without saving.
You see the message User updated successfully. Editing a user does not send an invitation email.
Add a user to the brand
The User's brands card lists each brand with the user's Brand, Role and Date Added.
Click "Add Brand"
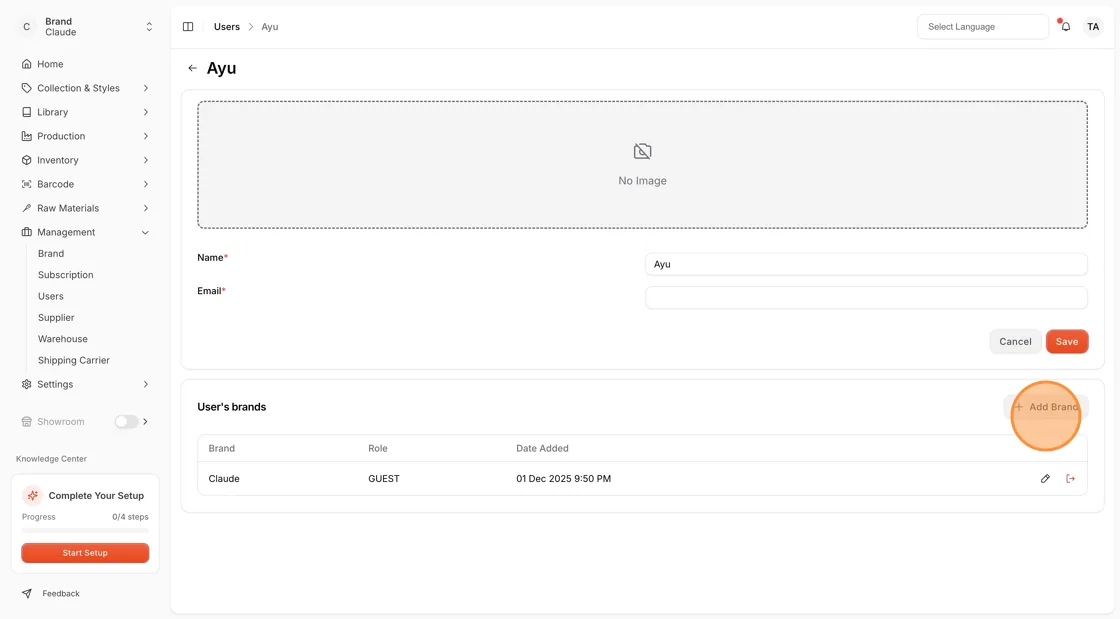
Click Add Brand at the top right of the User's brands card.
Note
Add Brand only appears when the user is not yet in the brand you are working in.
Select the profile
The Brand field is filled in and cannot be changed. In Profile, select the profile for the user. Every active user needs a profile.
Note
A profile that uses a seat is disabled when all seats of that type are in use. A line under the list tells you which seats are full.
Click "Save"
Click Save to add the user to the brand.
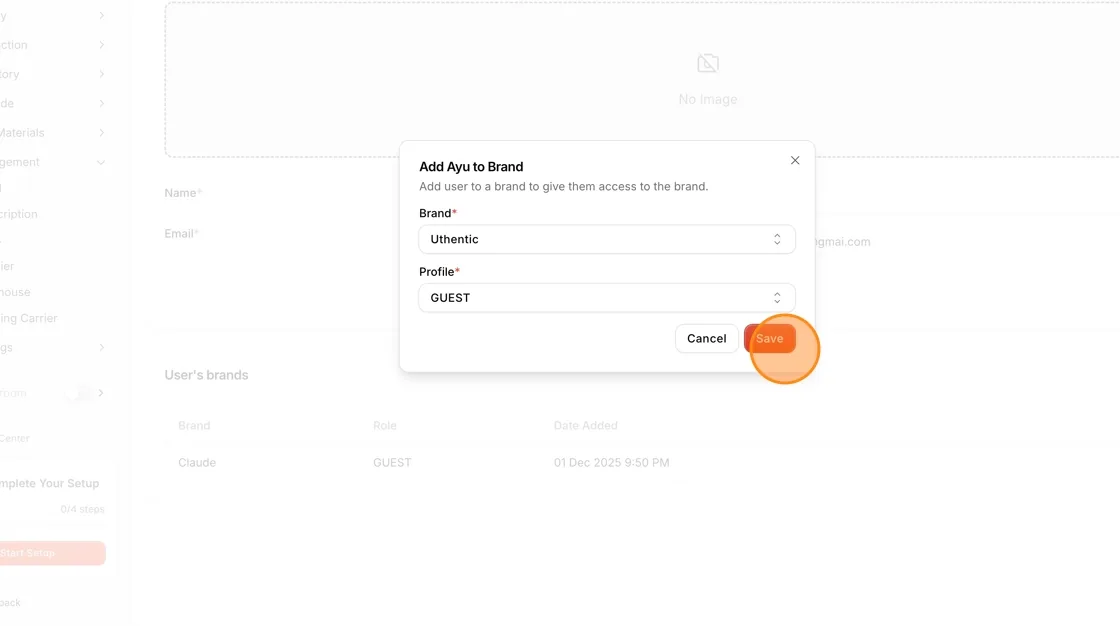
You see User added to brand successfully.
Edit a user's brand role
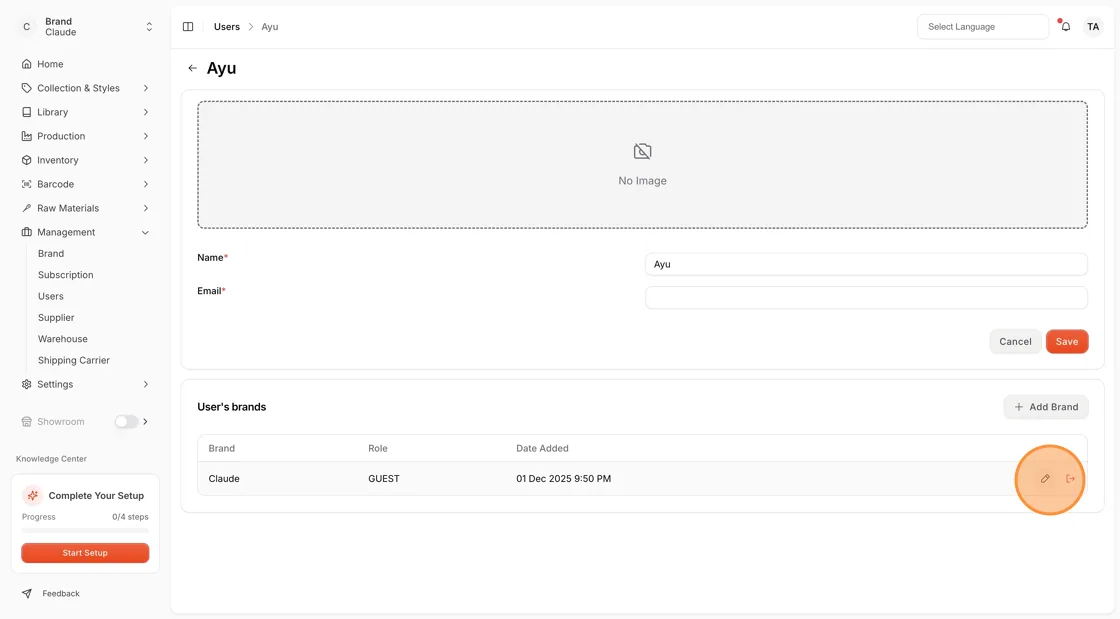
Click the pencil icon in the row of the brand to change the user's role in that brand. Select the new Profile and click Save. You need the Update user permission permission.
Remove a user from a brand
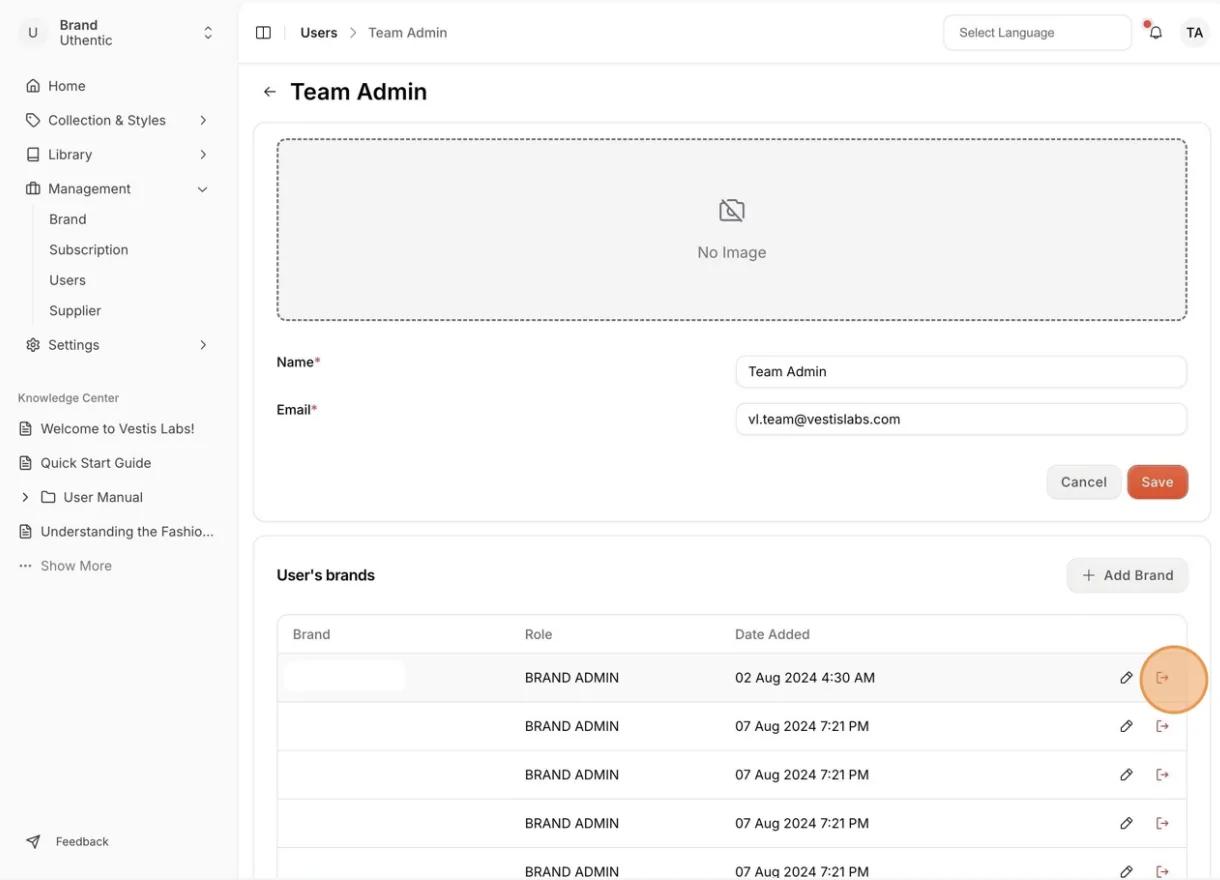
Click the remove icon in the row of the brand, then click Remove to confirm. The user loses access to that brand and keeps their other brands. You need the Delete user permission.
Deactivate, remove or delete a user
If one of your colleagues has left your company, you might want to deactivate their account.
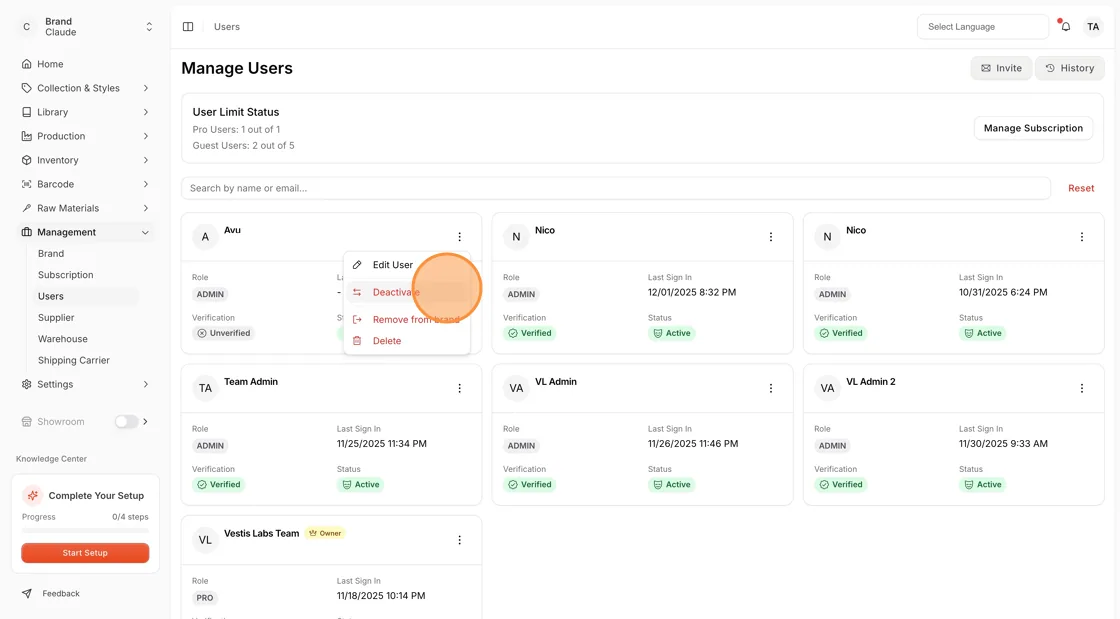
- Click the three dots on the user's card on the Users page.
- Click Deactivate to turn off the user's access. It applies straight away, and Activate on the same menu reverses it.
- Click Remove from brand to take the user out of this brand and confirm.
See Common questions for the difference between the three.