
Users management
The Users Page stores all the information or activities and access permissions related to the users in Vestis Labs.
Under review. This page is published while we check it against the live app, so some details may have changed.
The Users Page stores all the information or activities and access permissions related to the users in Vestis Labs. Each user is shown as a card.
ManagementUsers
Permission: VIEW_USER
Only users with the View user permission can access this section.
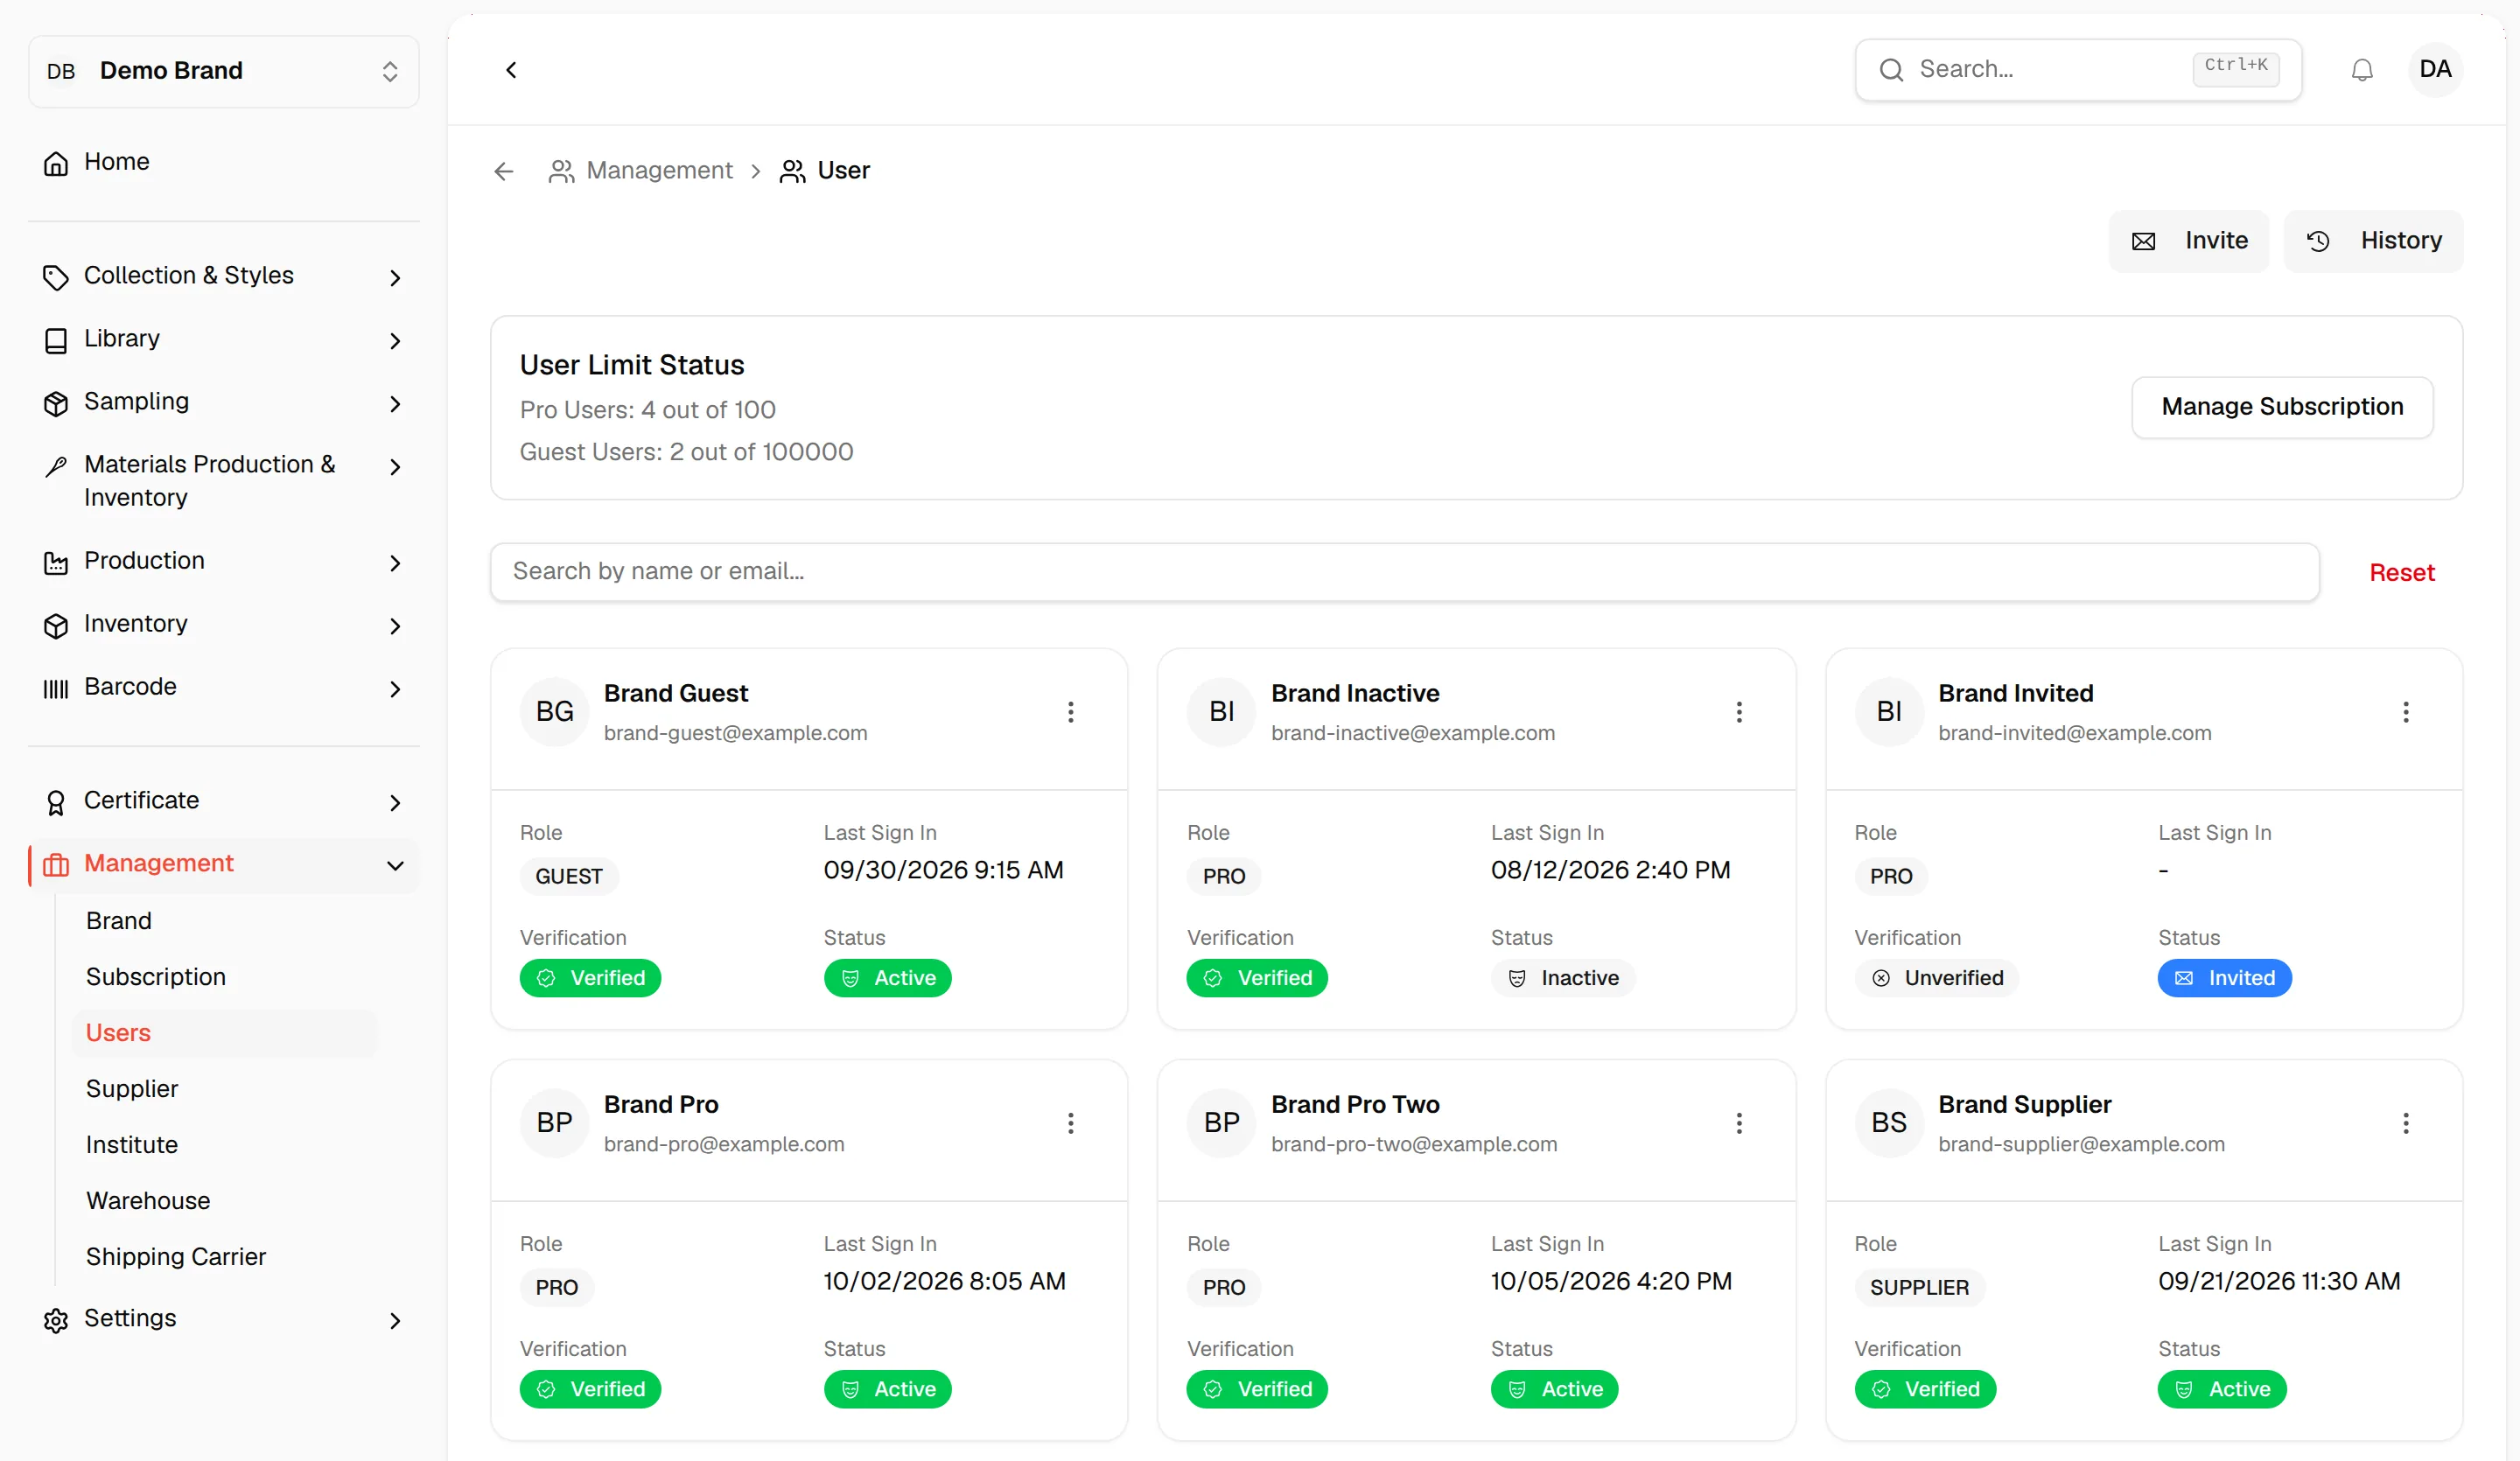
What each card shows
Each user card shows the user's picture, name and email. The user who owns the subscription also has an Owner badge. The body of the card shows:
- Role: the profile of the user in this brand, for example PRO, GUEST or SUPPLIER.
- Last Sign In: the date and time of the last sign-in, or a dash if the user has not signed in yet.
- Verification: Verified once the user has registered, otherwise Unverified. Users need to register to be verified on the Vestis Labs platform.
- Status: Invited while the invitation is still open, Active once the user is active, or Inactive when the user has been deactivated. The user needs to register and sign in to be Active.
Find a user
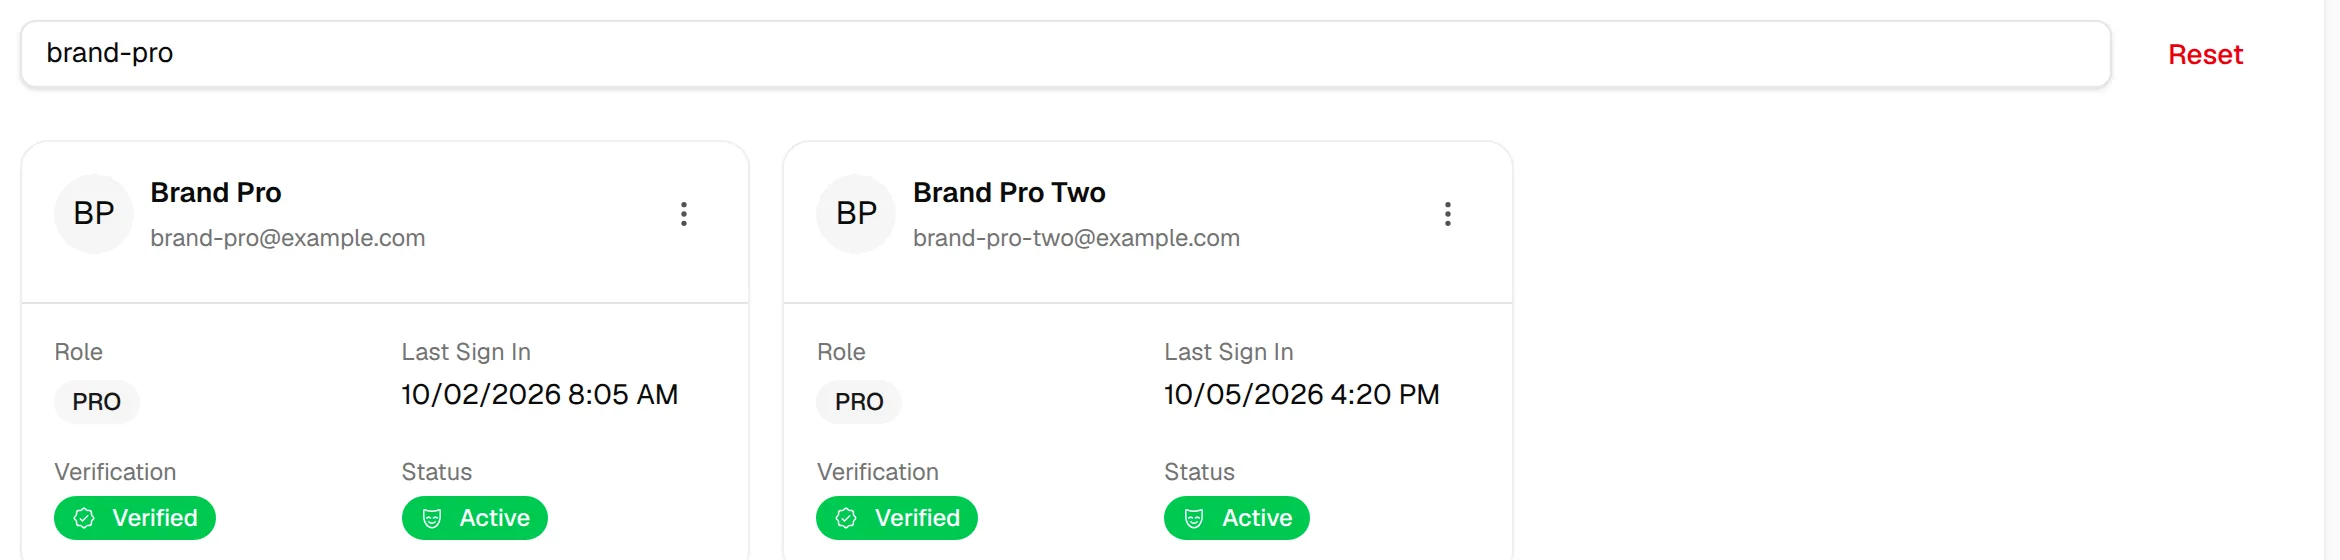
Type a name or an email address in the Search by name or email... field to find a specific user. Click Reset to clear the search.
Check your user limit
The User Limit Status box shows how many seats your subscription includes and how many are used, for example Pro Users: 2 out of 5 and Guest Users: 3 out of 10. Click Manage Subscription to change your plan. See Subscription management.

Invite a user
Click Invite at the top right of the page to add an internal or external team member. See Invite user. The History button next to it opens the change history of the users in this brand.
Note
You need the Update user permission to see Invite. The button is hidden when no PRO seat and no guest seat is left.

Actions on a user
Click the three dots on a user card to choose an action.
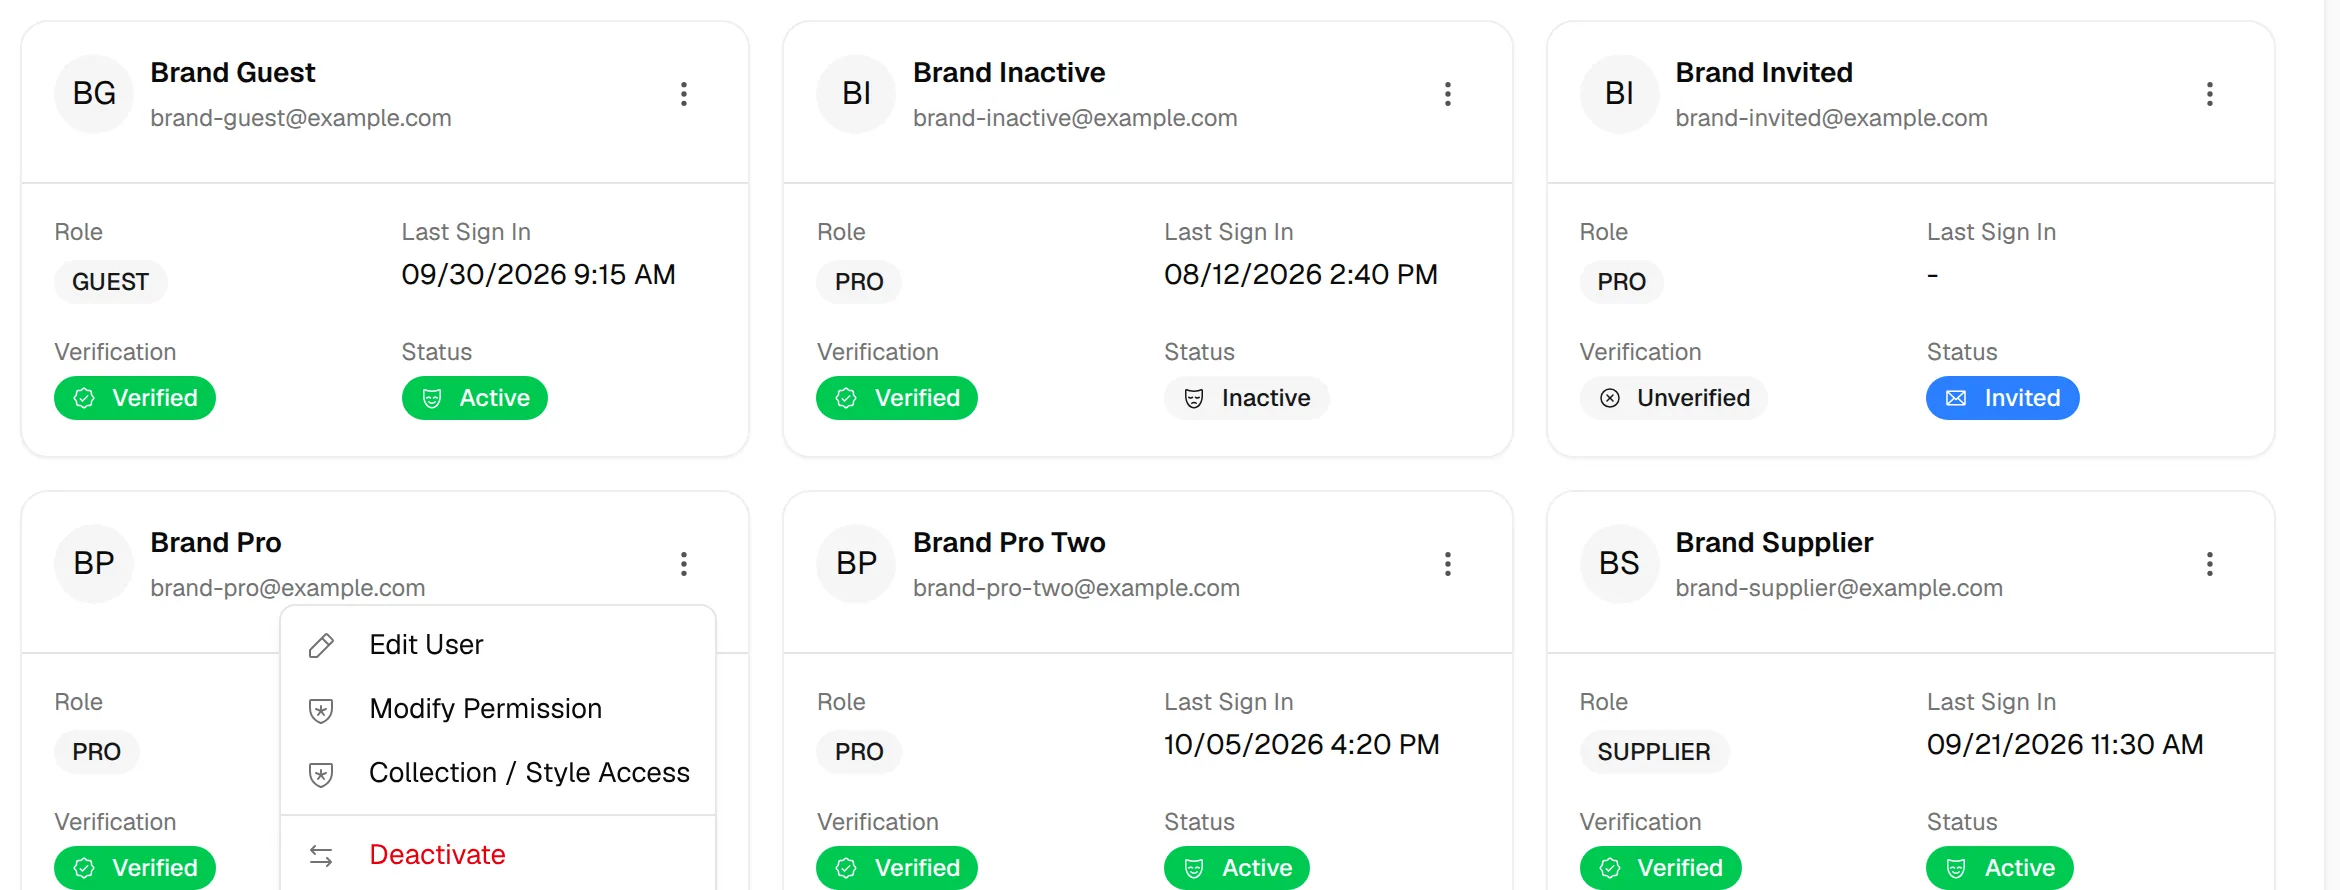
For a user who is still Invited, the menu offers Resend invitation and does not show Deactivate.
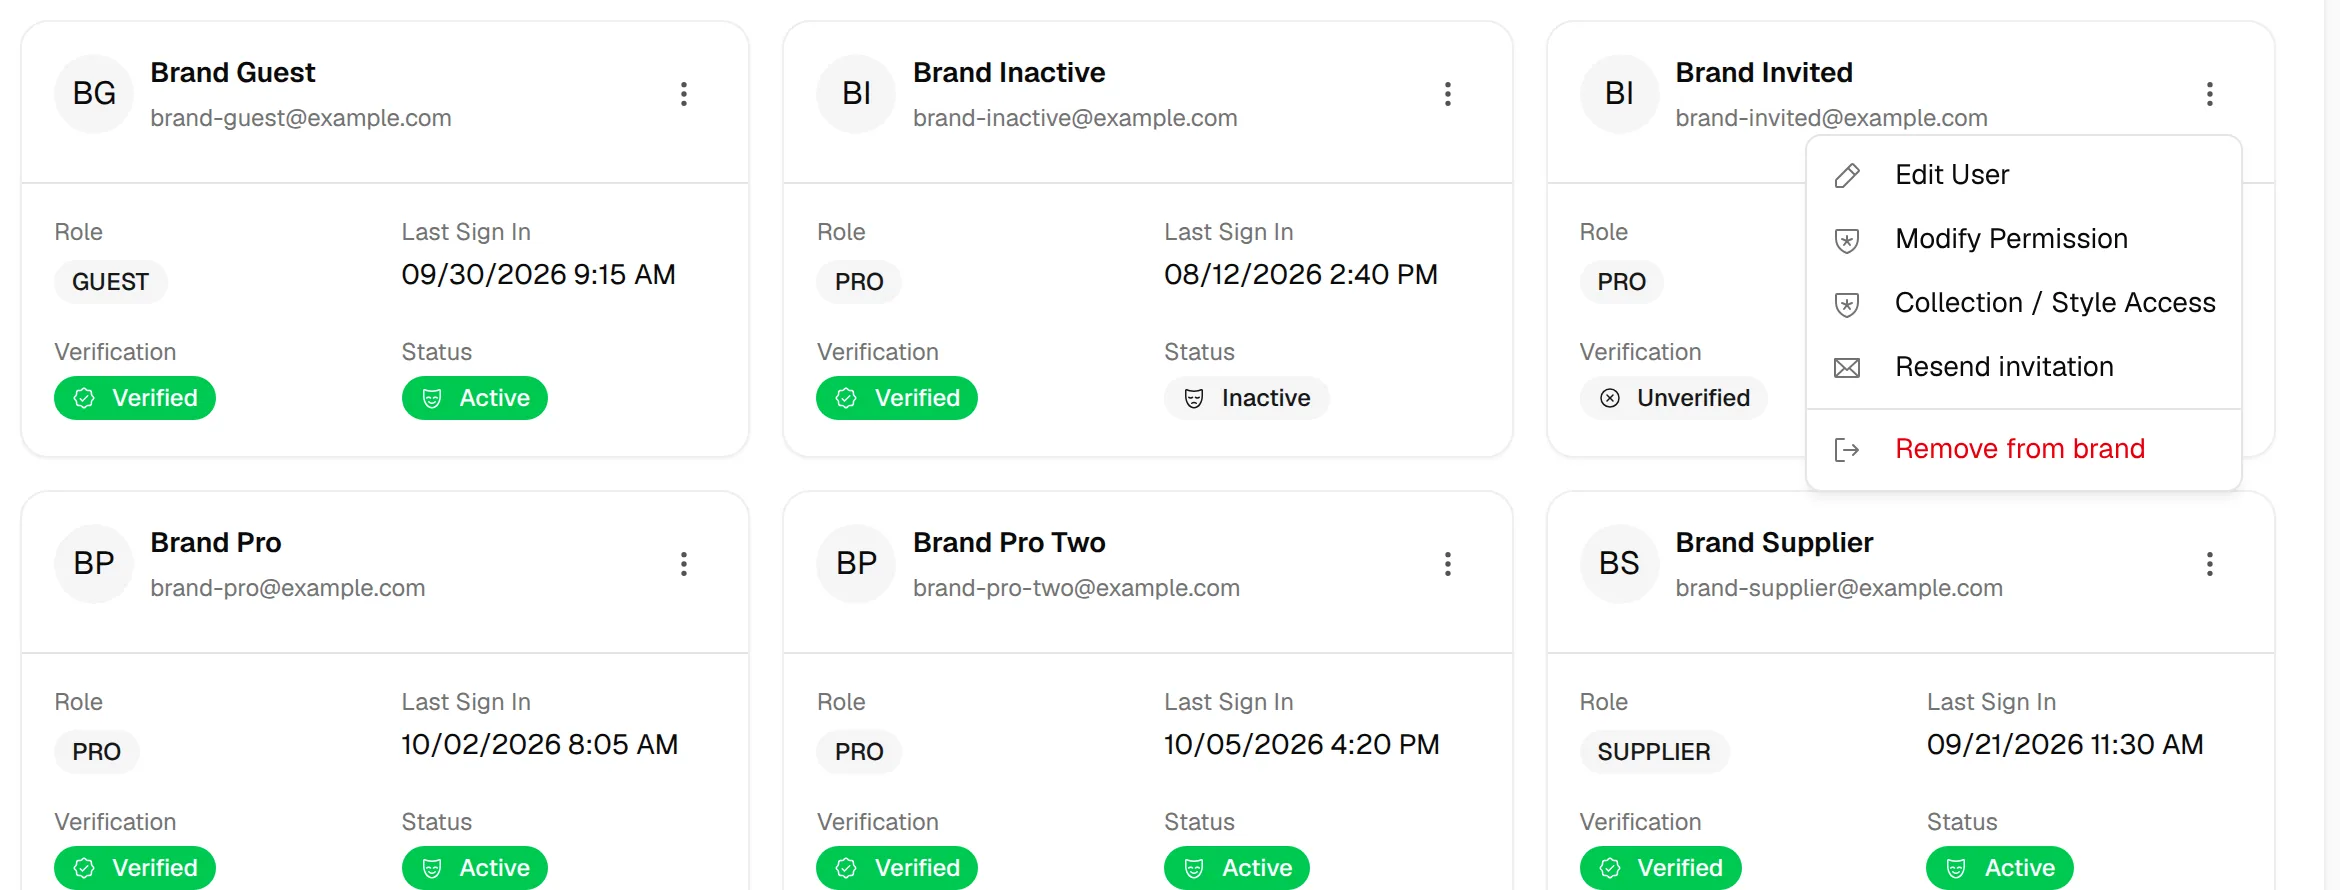
- Edit User: update the name, email and photo, and manage the user's brands. Needs Update user. See Edit users.
- Modify Permission: opens the brand permissions of the user. Needs Update user permission. See Users' permission page.
- Collection / Style Access: choose which collections and styles the user can open. Shown when you can view collection or style access. See Users collection and style permission page.
- Resend invitation: only shown while the user is Invited. The system sends the email invitation again.
- Deactivate or Activate: switch the user to Inactive, or back to Active. It applies straight away. Not shown while the user is Invited.
- Remove from brand: removes the user from this brand after you confirm, but not from other brands the user belongs to. Needs Delete user.
Note
The menu is not shown for users your own role level is not allowed to manage. Modify Permission and Collection / Style Access are not shown for users with the ADMIN role.
See Common questions for the difference between Deactivate, Remove from brand and Delete.
Result
You see every user of the brand with their role, last sign-in, verification and status, and you can open each action from the user card.