
Step 11 of 12 in Connect Shopify
Integrate product journey into Shopify
Learn how to seamlessly integrate your Vestis Labs product journey directly into your Shopify theme.
Under review. This page is published while we check it against the live app, so some details may have changed.
Screenshots may be out of date.
Learn how to seamlessly integrate your Vestis Labs product journey directly into your Shopify theme. This guide walks you through copying the necessary liquid code and embedding it into your online store to enhance customer transparency.
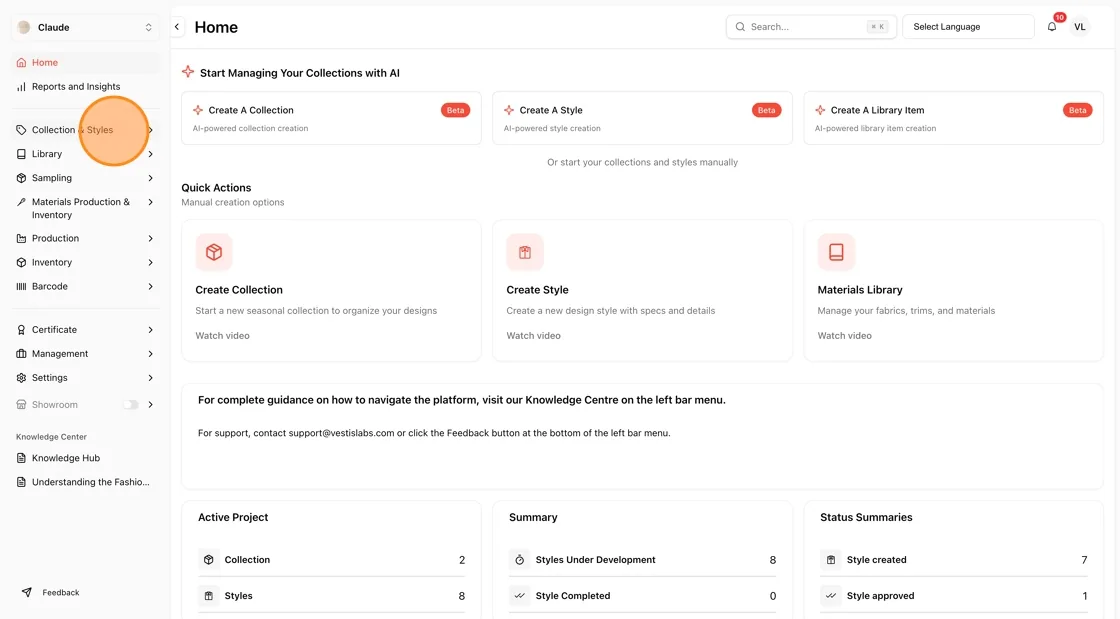
Go to Collection & Styles
From the Home dashboard, click Collection & Styles in the left sidebar.
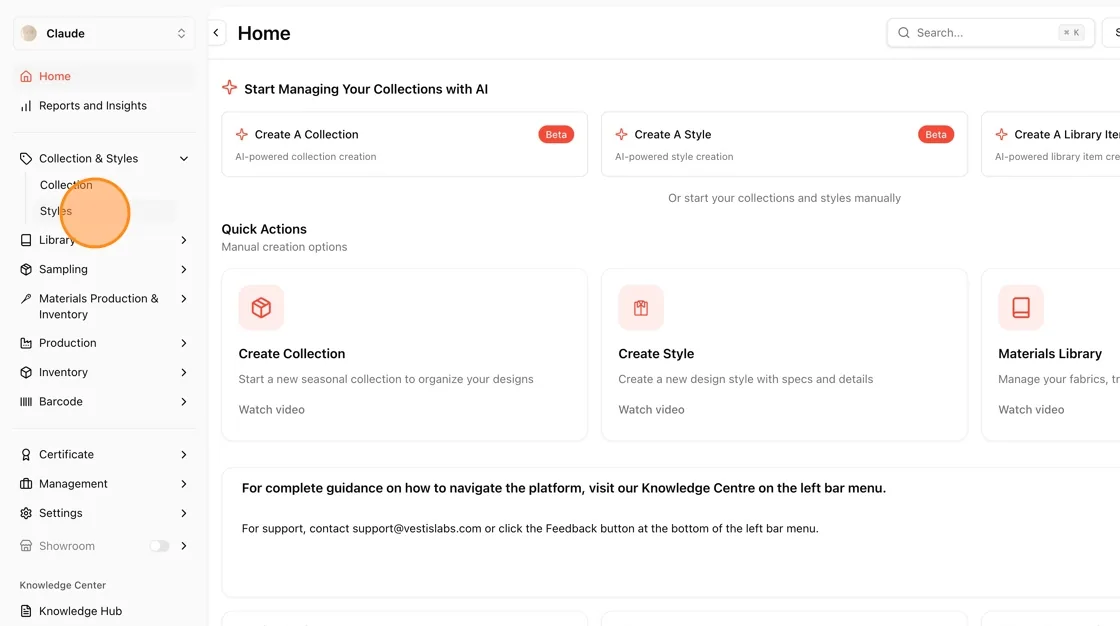
Open the Styles list
Expand the Collection & Styles menu and select Styles.
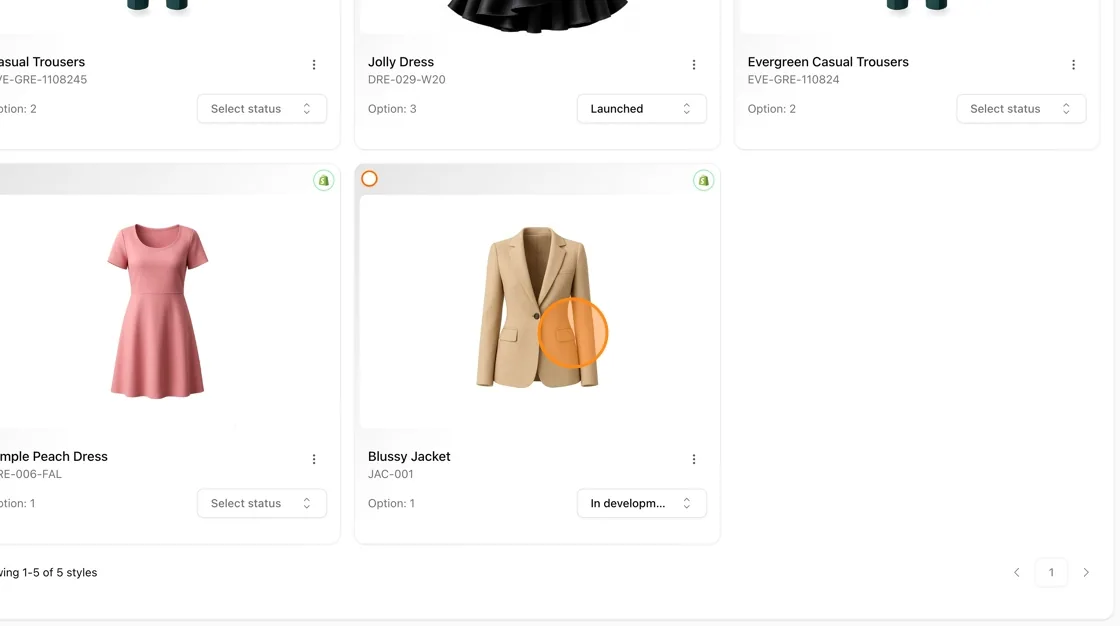
Select the style
On the Styles list, click the style you want to embed (e.g., Blussy Jacket).
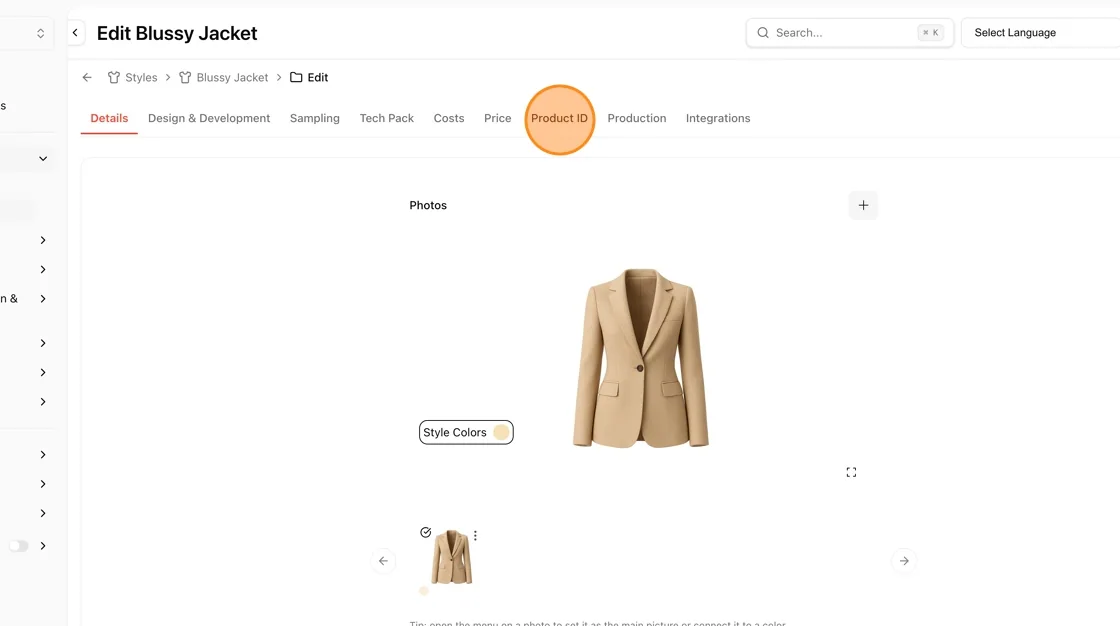
Open the Product ID tab
Inside the style's edit page, click the Product ID tab in the top navigation.
Open Product Journey
In the Product ID sub-menu on the left, select Product Journey.
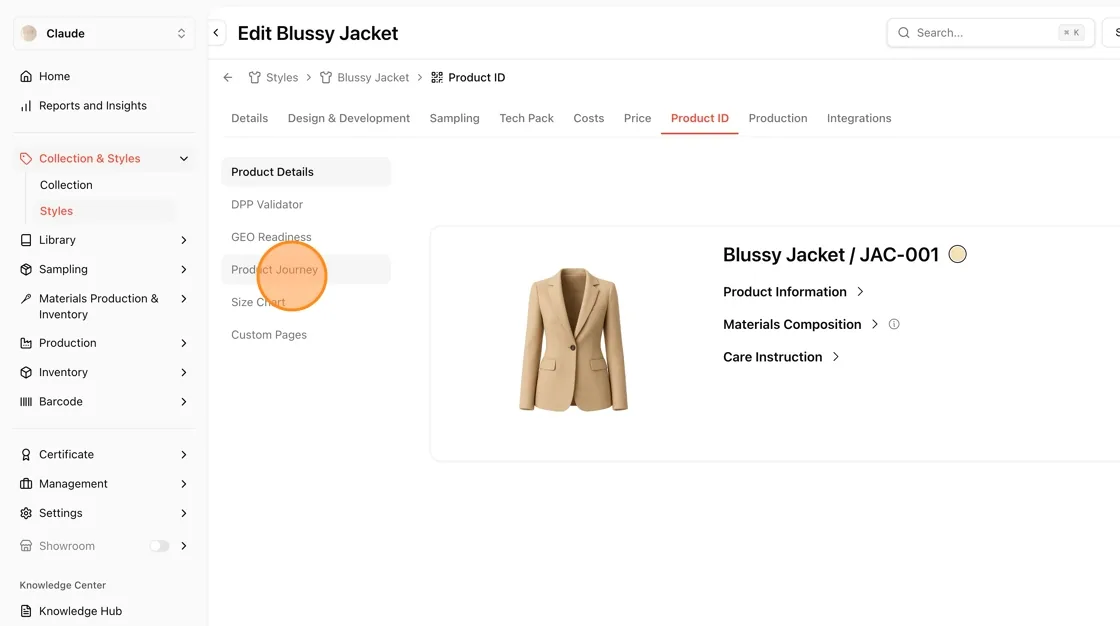
Click "Embed to your website"
On the Product Journey page, under Actions, click Embed to your website.
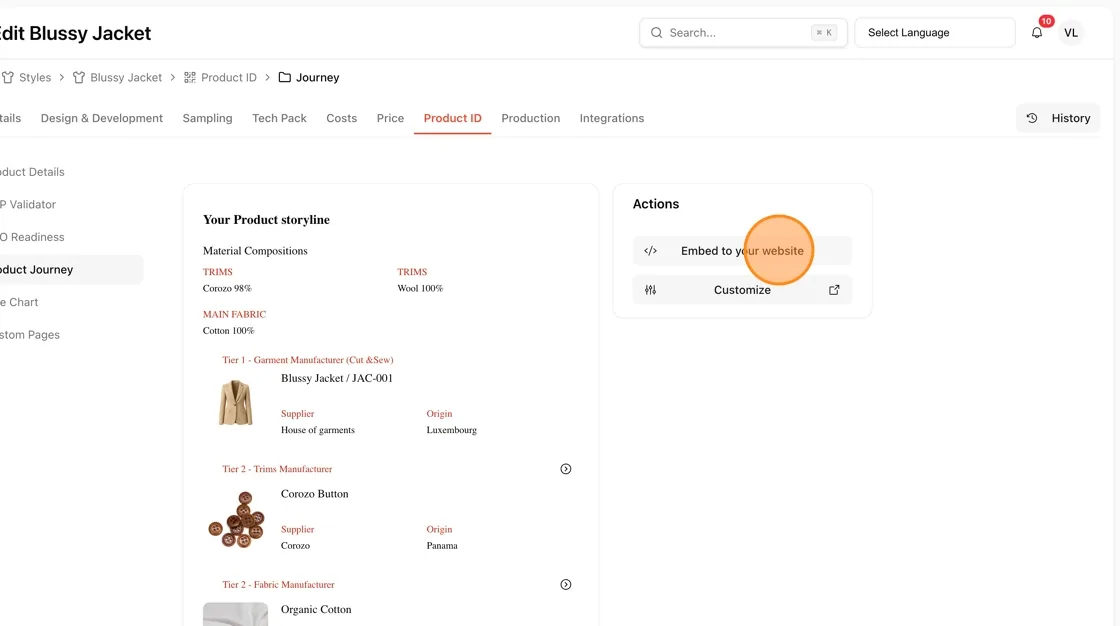
Copy the <head> code
A modal appears with two code blocks. Click the copy icon next to the first block — the stylesheet link and CSS variables to add inside your website's <head> tag.
Copy the <body> code
Click the copy icon next to the second block — the widget <div> and initialization script to add inside your website's <body> tag.
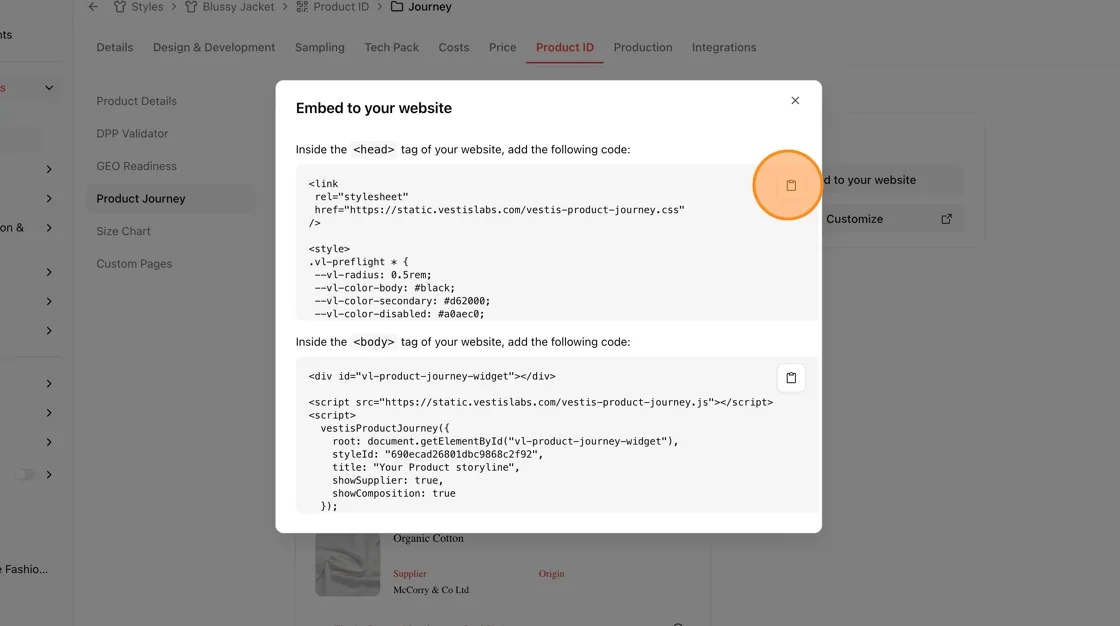
Go to your Online Store
In your Shopify admin, go to Sales channels > Online Store.
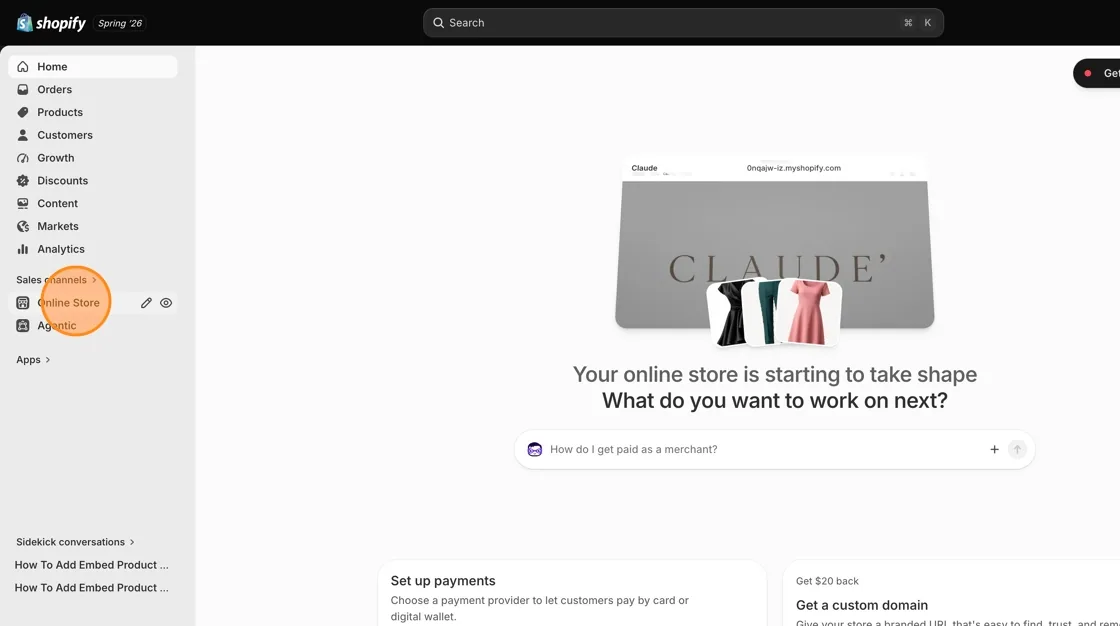
Edit your theme
Click Edit theme on your active theme.
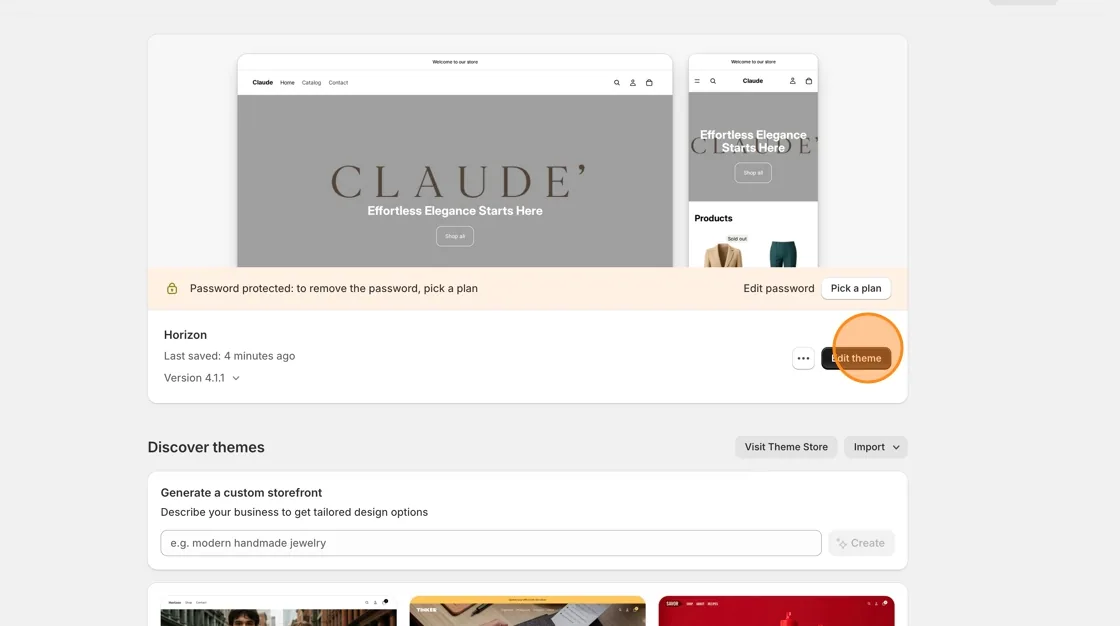
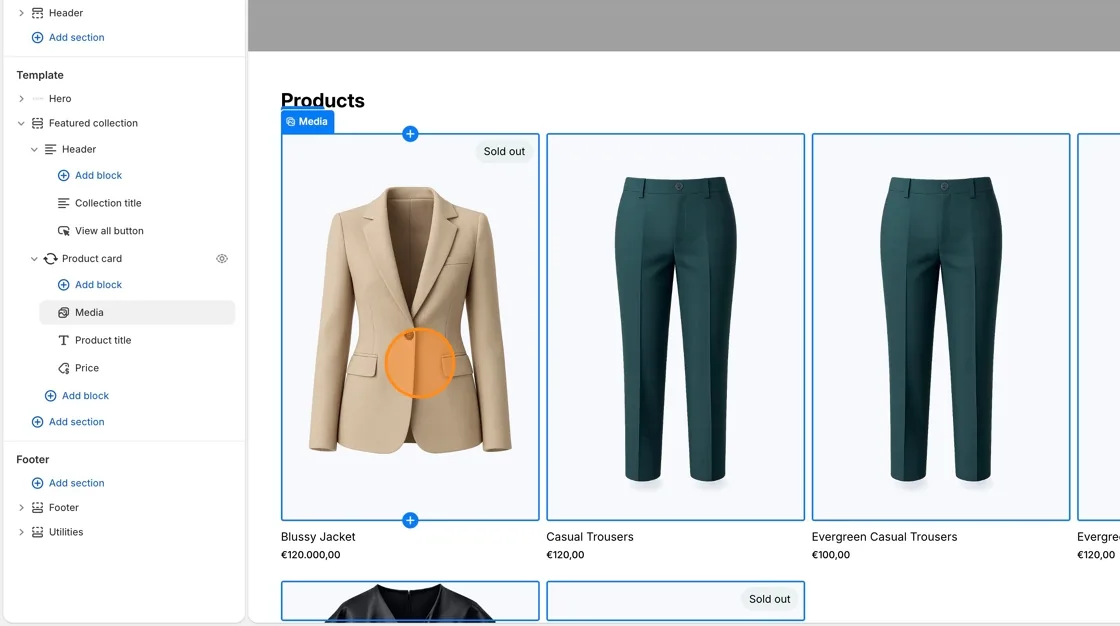
Open the product template
In the theme editor, navigate to the Template section for your product page (e.g., select a product like Blussy Jacket).
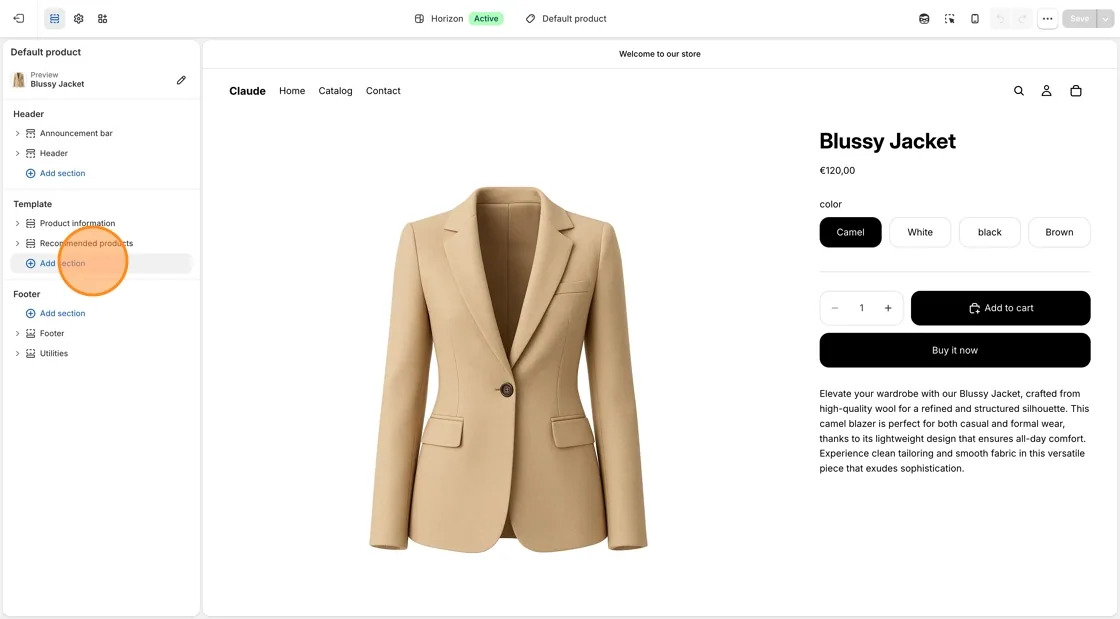
Add a new section
Under Template, click Add section.
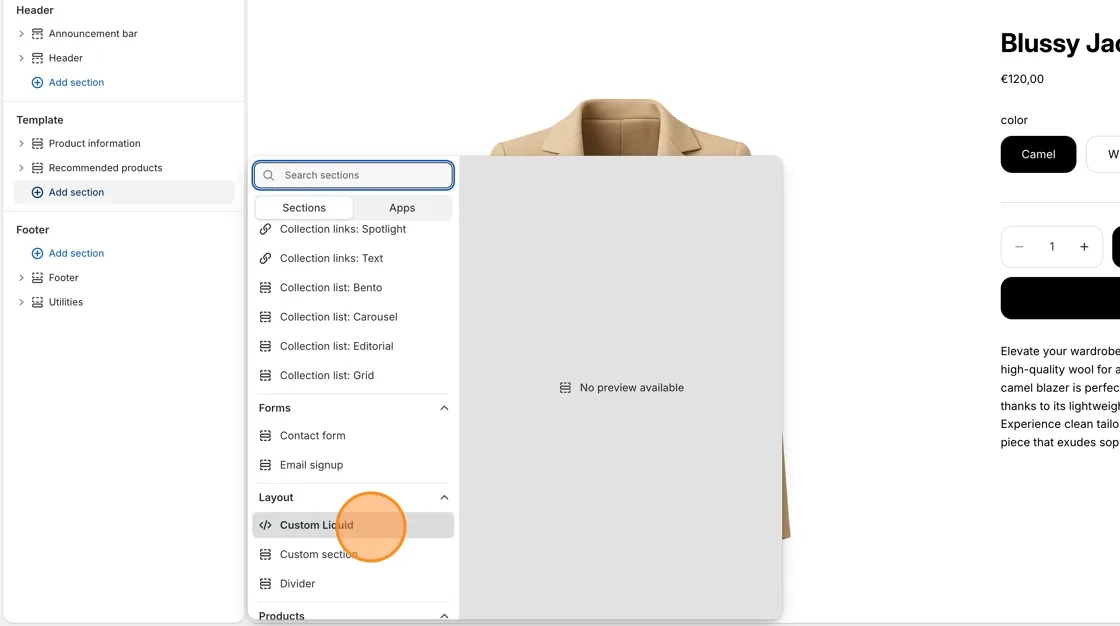
Choose Custom Liquid
In the sections panel, scroll to Layout and select Custom Liquid.
Open the Liquid code box
With the Custom Liquid section selected, click into the empty Liquid code box.
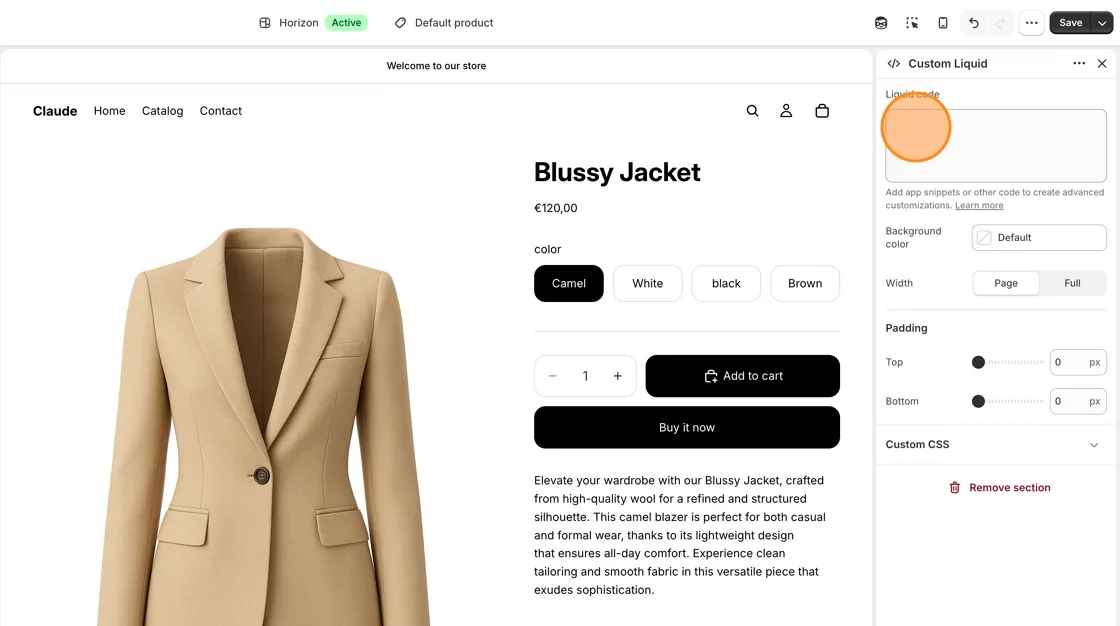
Paste the embed code
Paste the body code you copied from Vestis in Step 8 (the widget <div> and script block).
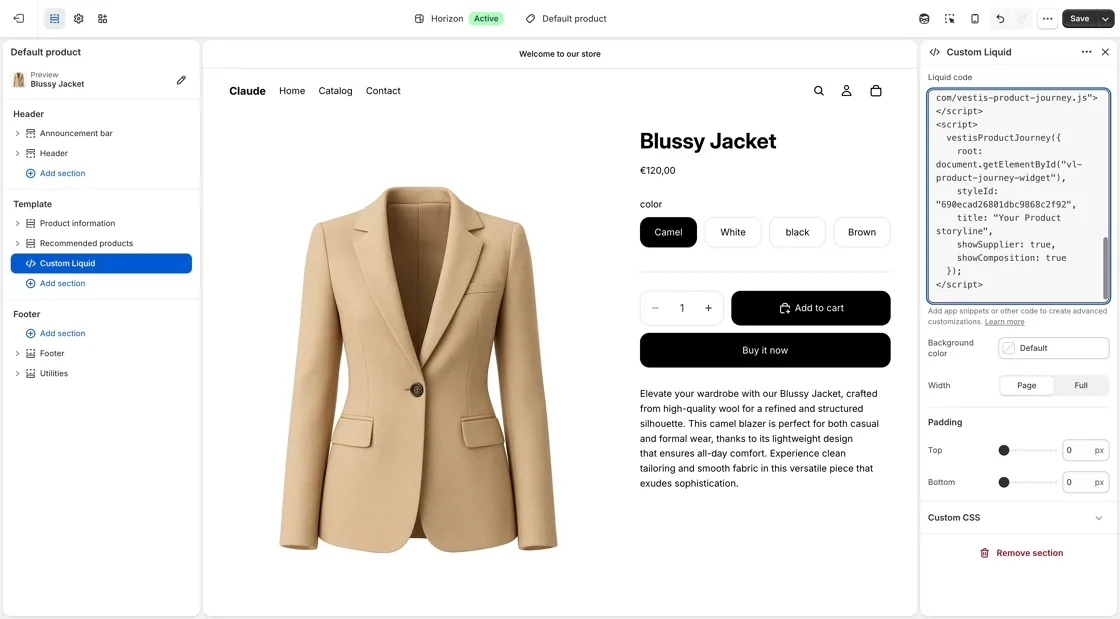
Tip: The code (stylesheet + CSS variables) should be added separately via your theme's theme.liquid file or a head custom-code section, since the Custom Liquid section only covers the body.
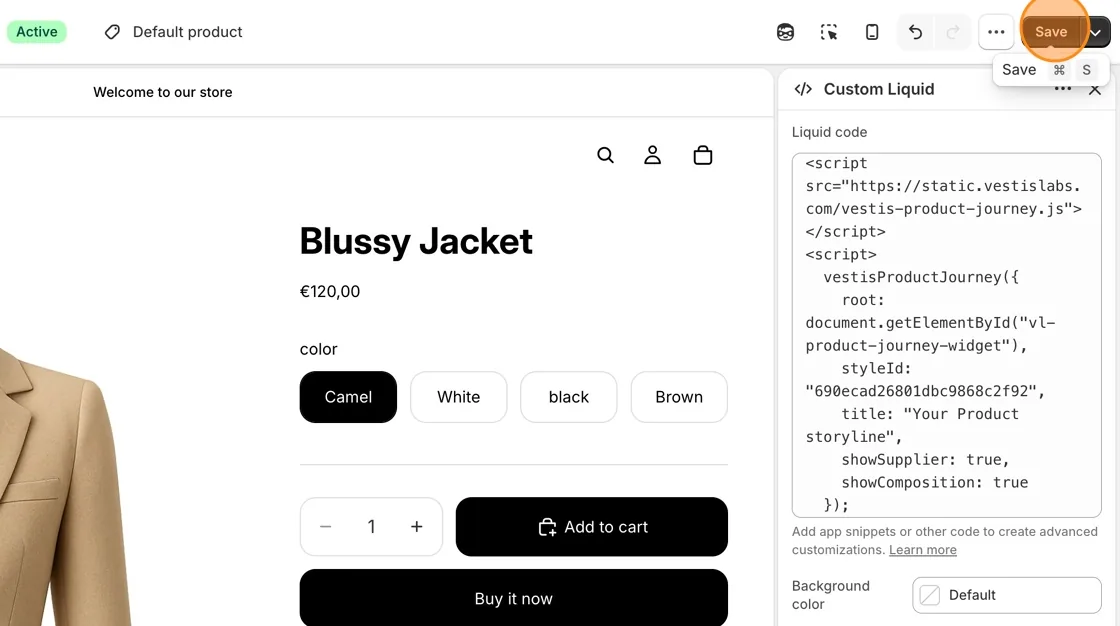
Review the pasted code
Scroll the Liquid code box to confirm the full script, including the vestis Product Journey Initialization, was pasted correctly.
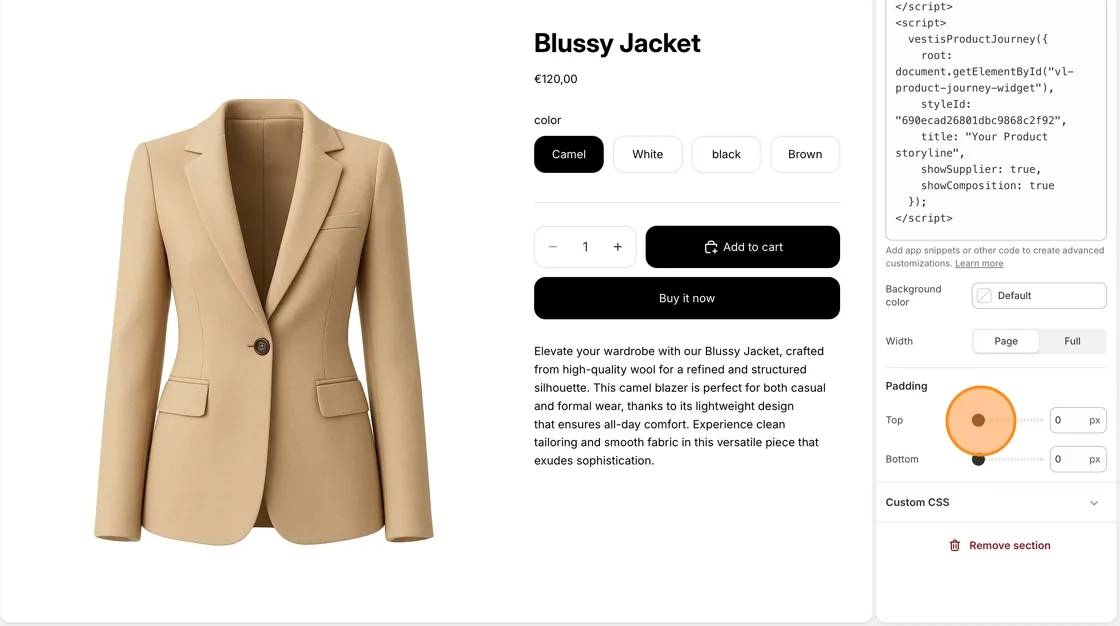
Preview and adjust layout
The Product Journey widget ("Your Product Storyline" : material composition, tier suppliers, and origins) now renders on the product page. Adjust Padding (Top/Bottom) and other layout options in the right panel as needed.
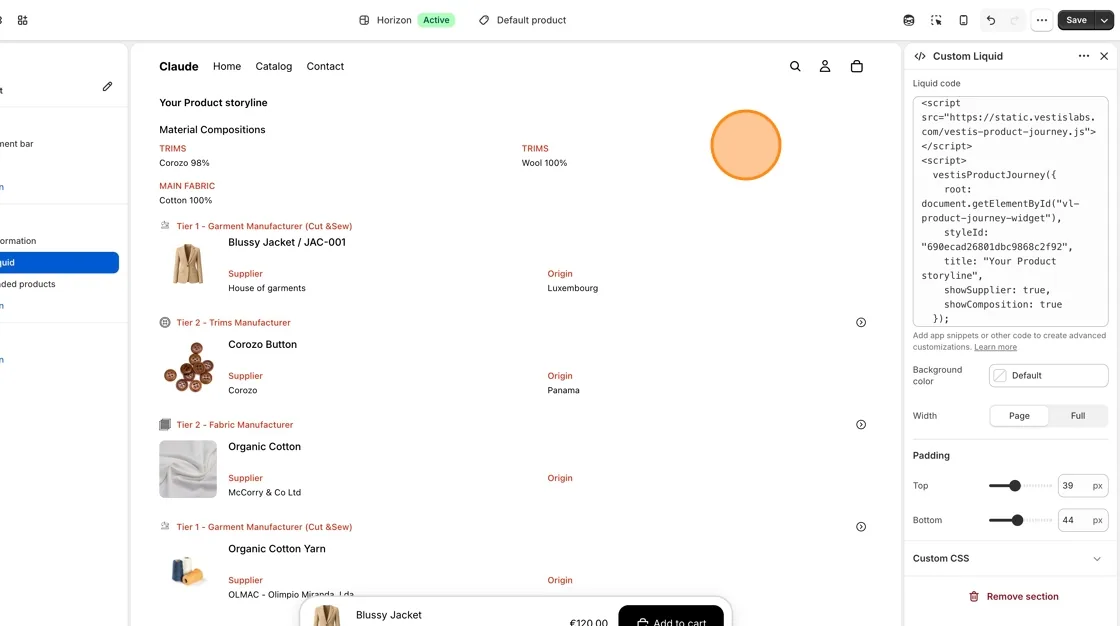
Save
Click Save in the top-right corner to publish the changes to your live storefront.
Your product page now displays the full Product Journey widget material composition, supplier tiers, and origin details sourced live from Vestis.