
Step 10 of 13 in Place and track a production order
Create a shipment
Create a shipment for one or more production orders from a factory, split it across destinations, and add the carrier, dates and cost.
Create a shipment when goods leave a factory. One shipment can carry several production orders from the same factory and can be delivered to more than one warehouse.
ProductionShipping & TrackingCreate Shipment
Permission: UPDATE_BRAND_PRODUCTION
Before you start
- You need permission to update brand production. Without it, the Create Shipment button is not shown.
- The production orders must already exist. See Production orders.
- The factory (supplier), the delivery locations (warehouses) and the carrier must already be set up in Management.
Create a shipment
Click "Create Shipment"
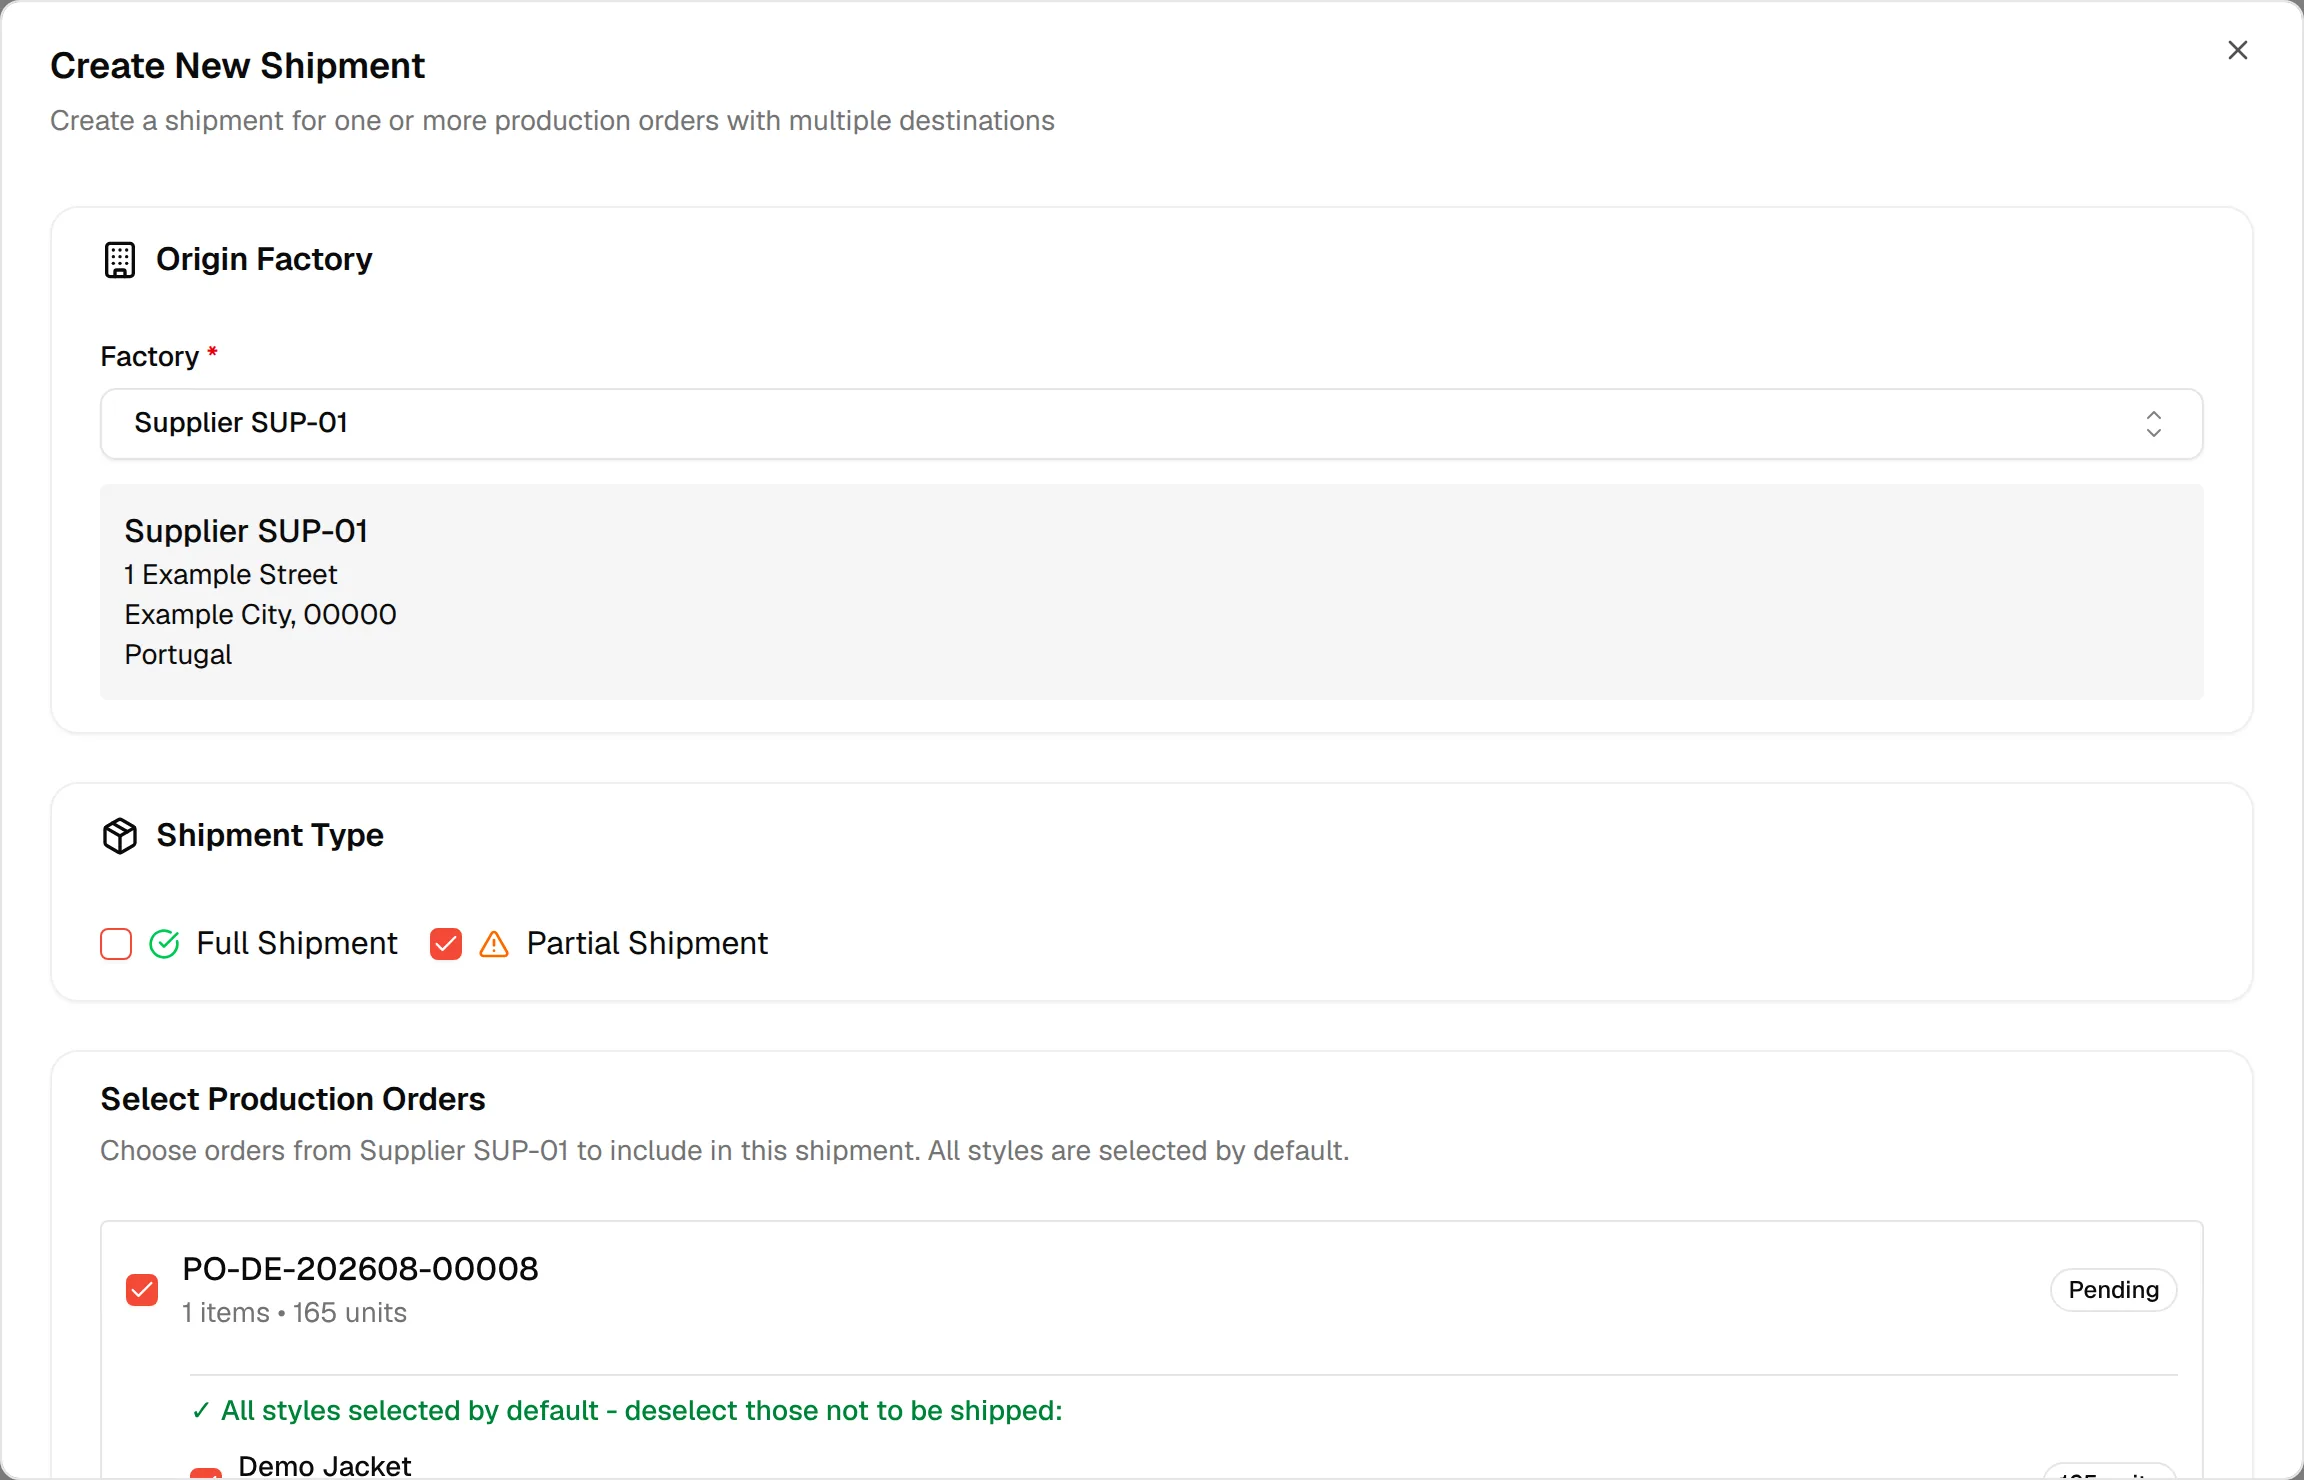
On Shipping & Tracking, click Create Shipment (with a plus icon) at the top right. The Create New Shipment dialog opens: Create a shipment for one or more production orders with multiple destinations.
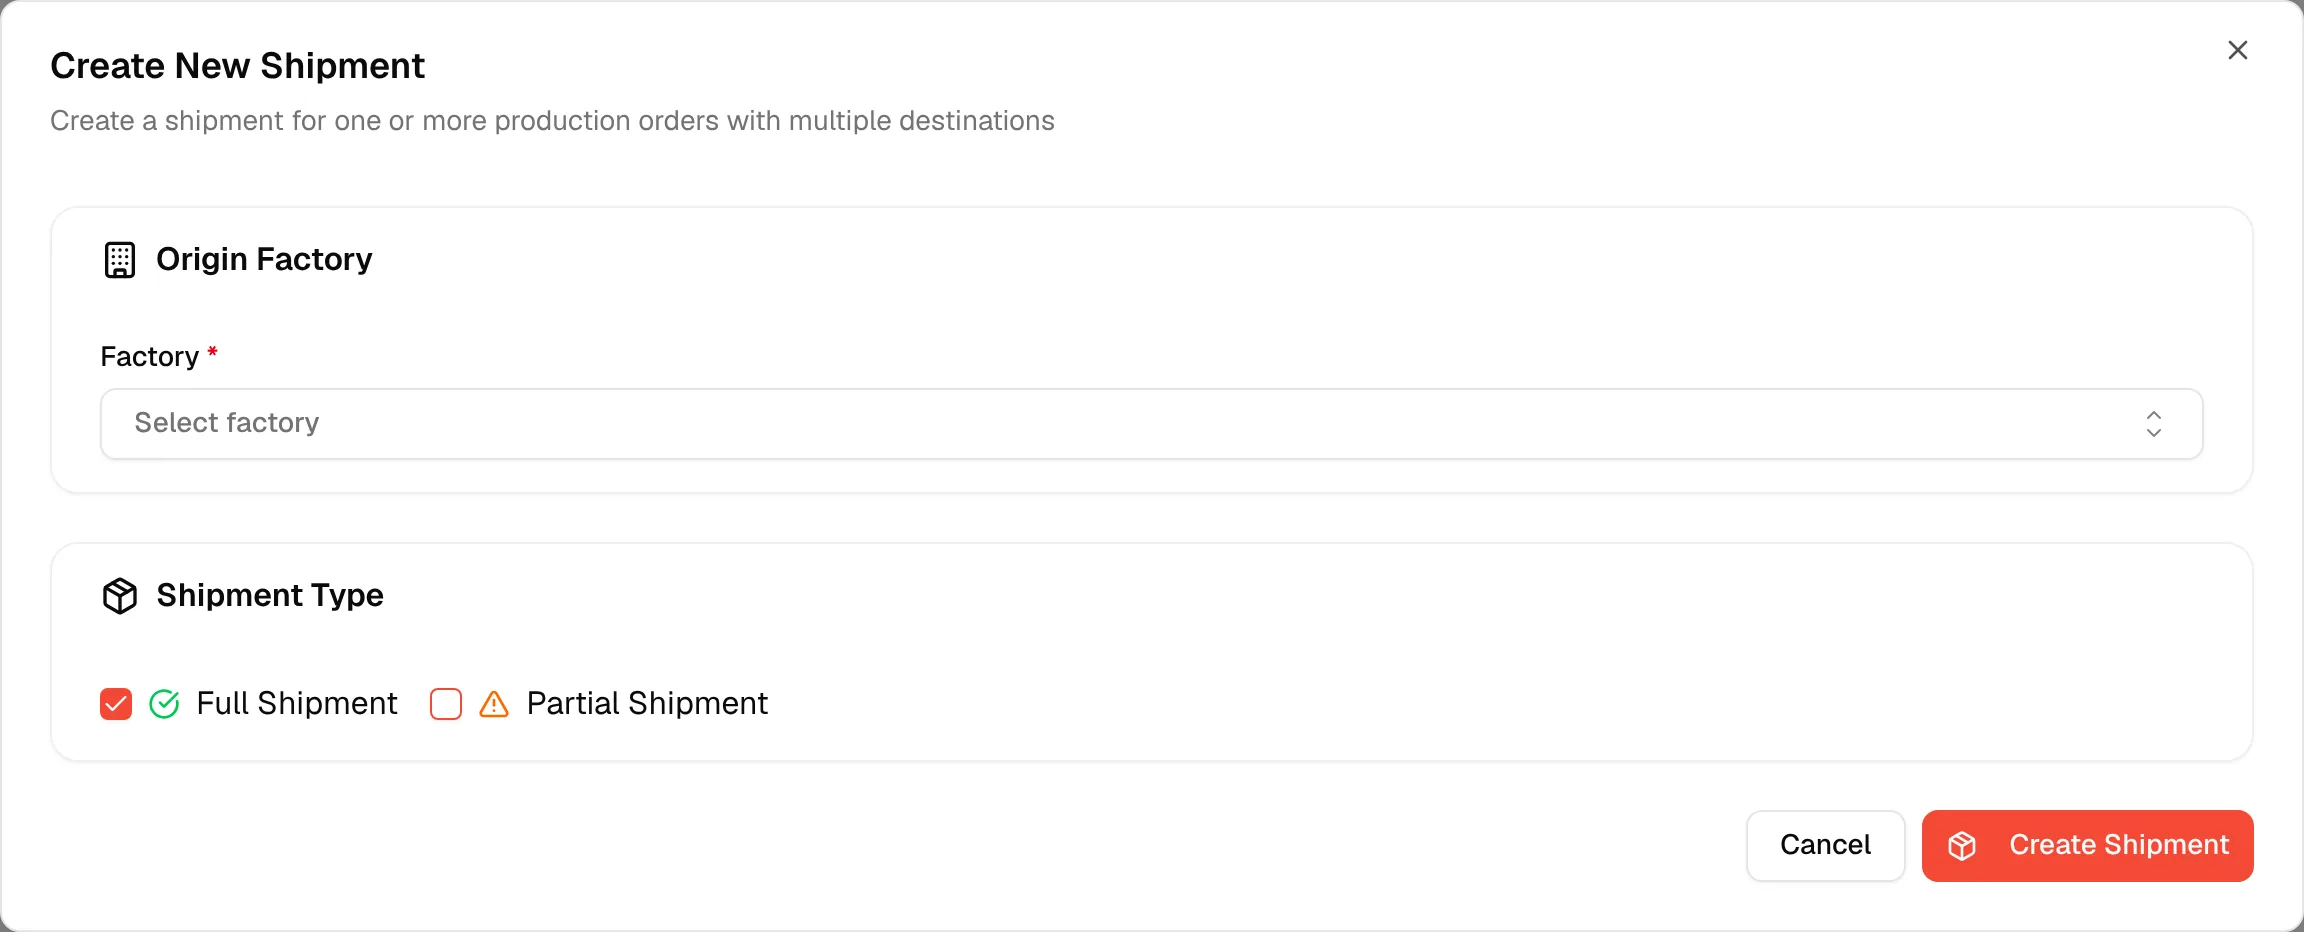
Choose the factory
Under Origin Factory, select the Factory * from the dropdown. Its address, city, postcode and country appear underneath, or a note such as No address available when they are not filled in.
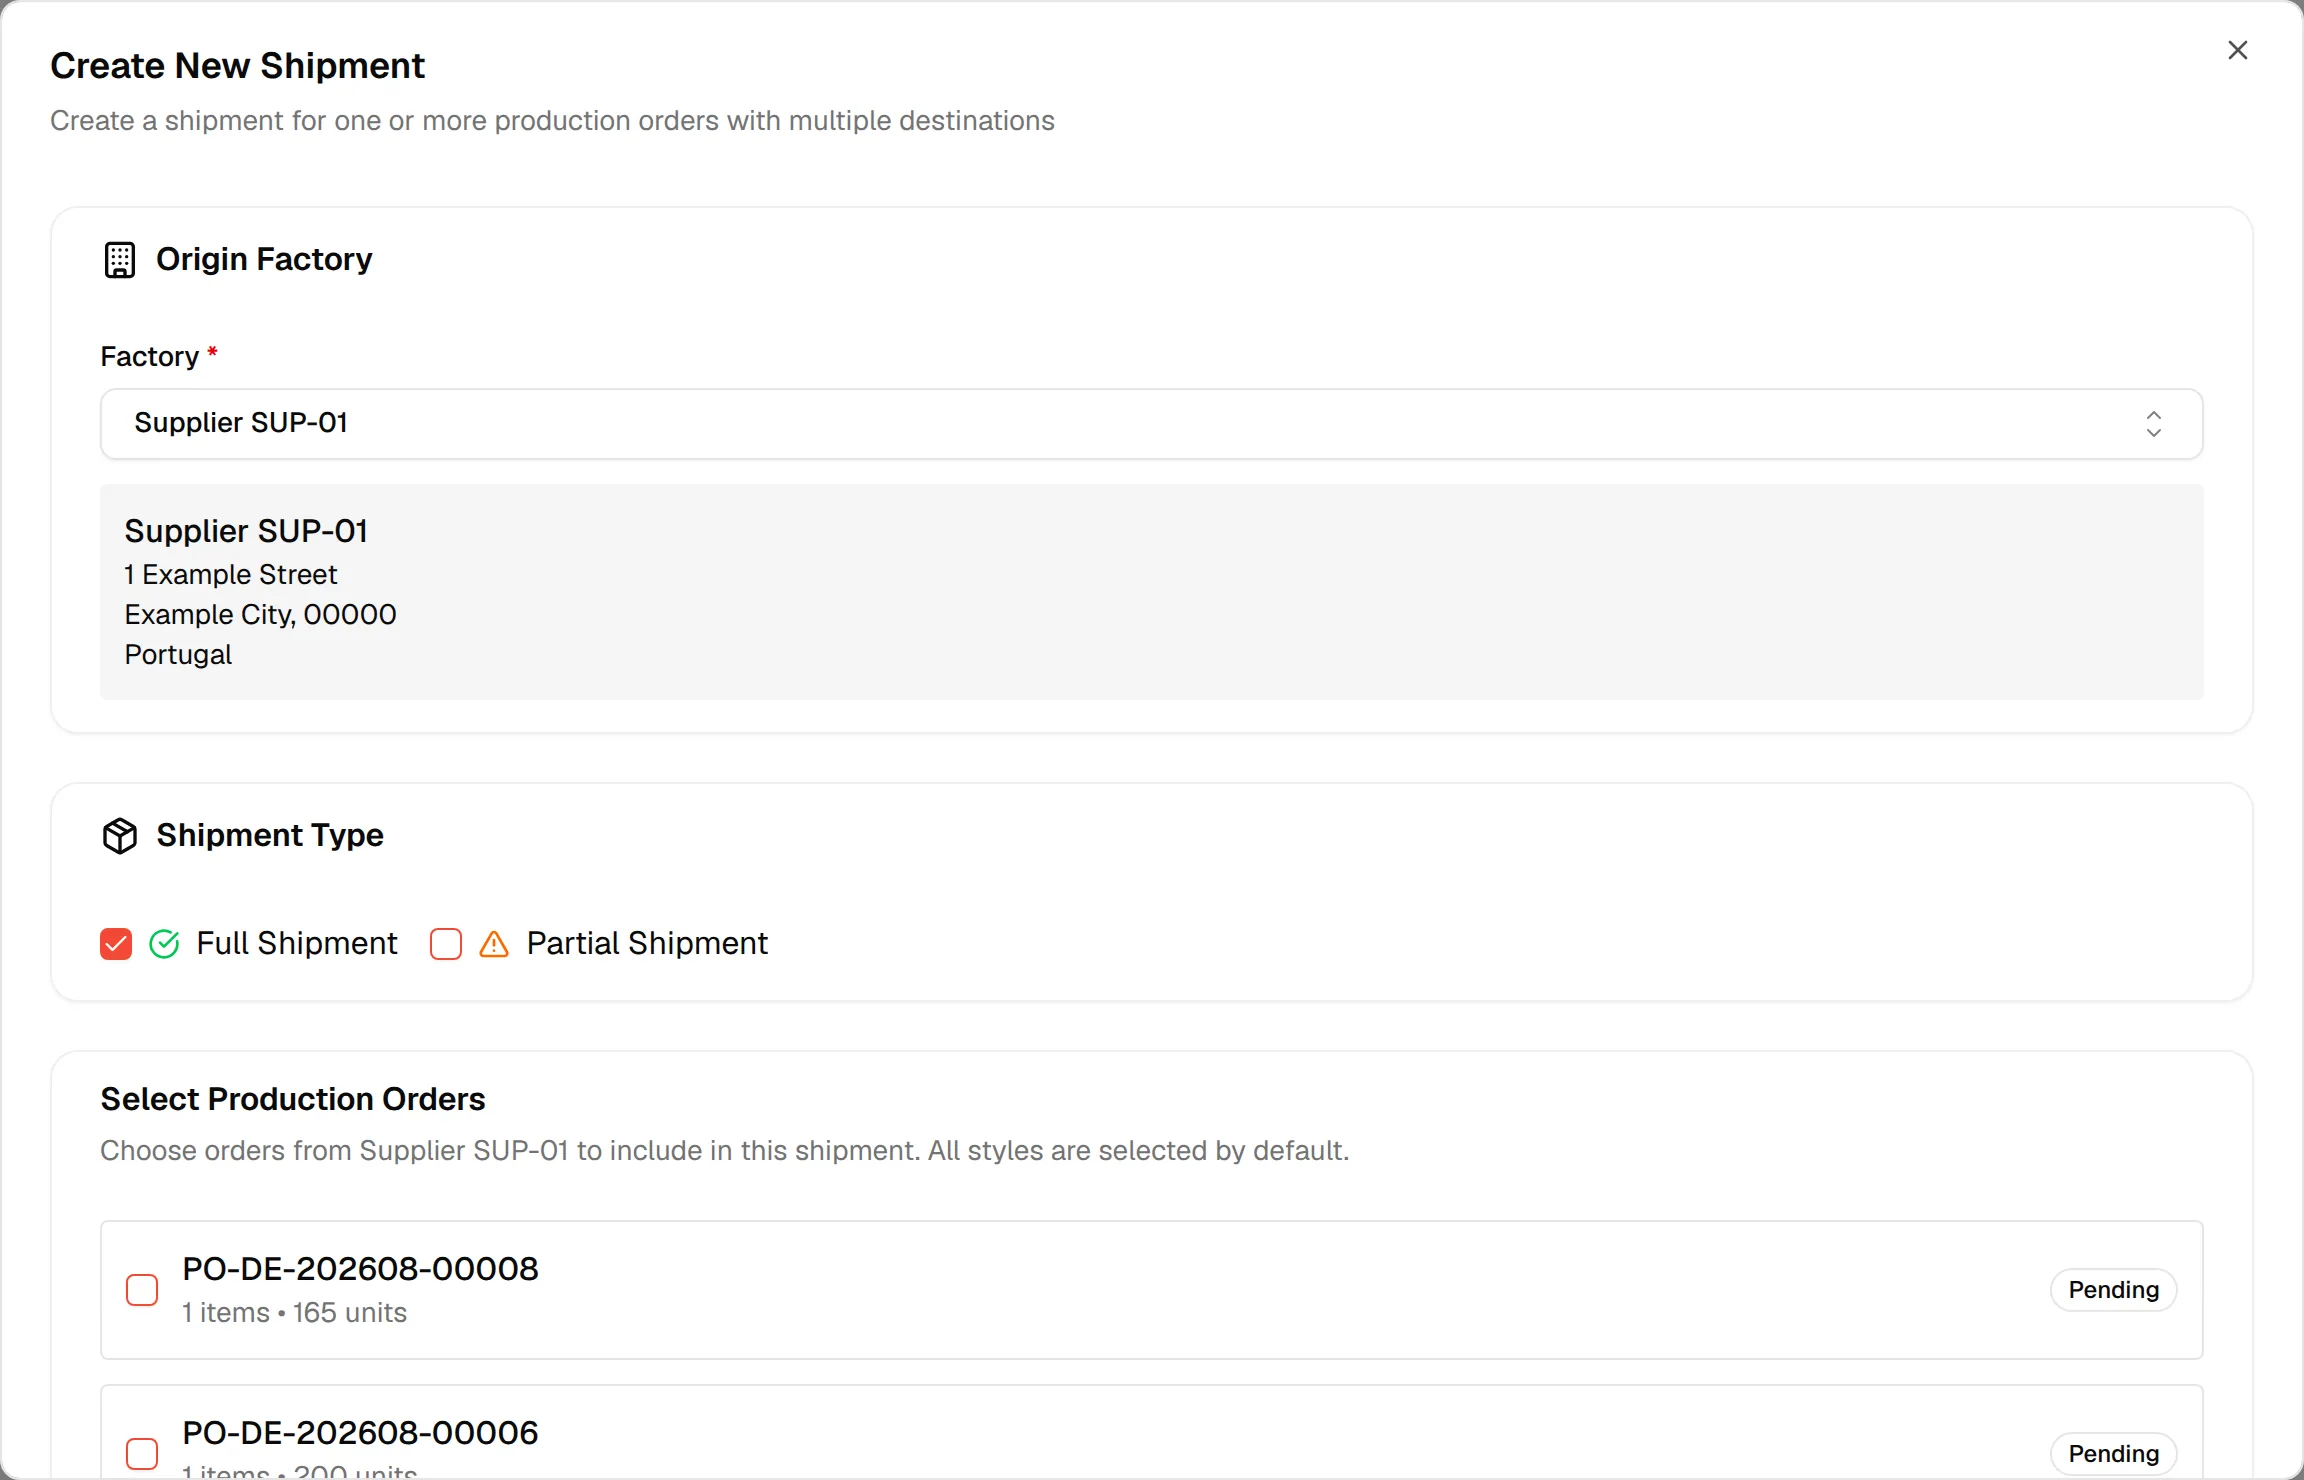
Choose the shipment type
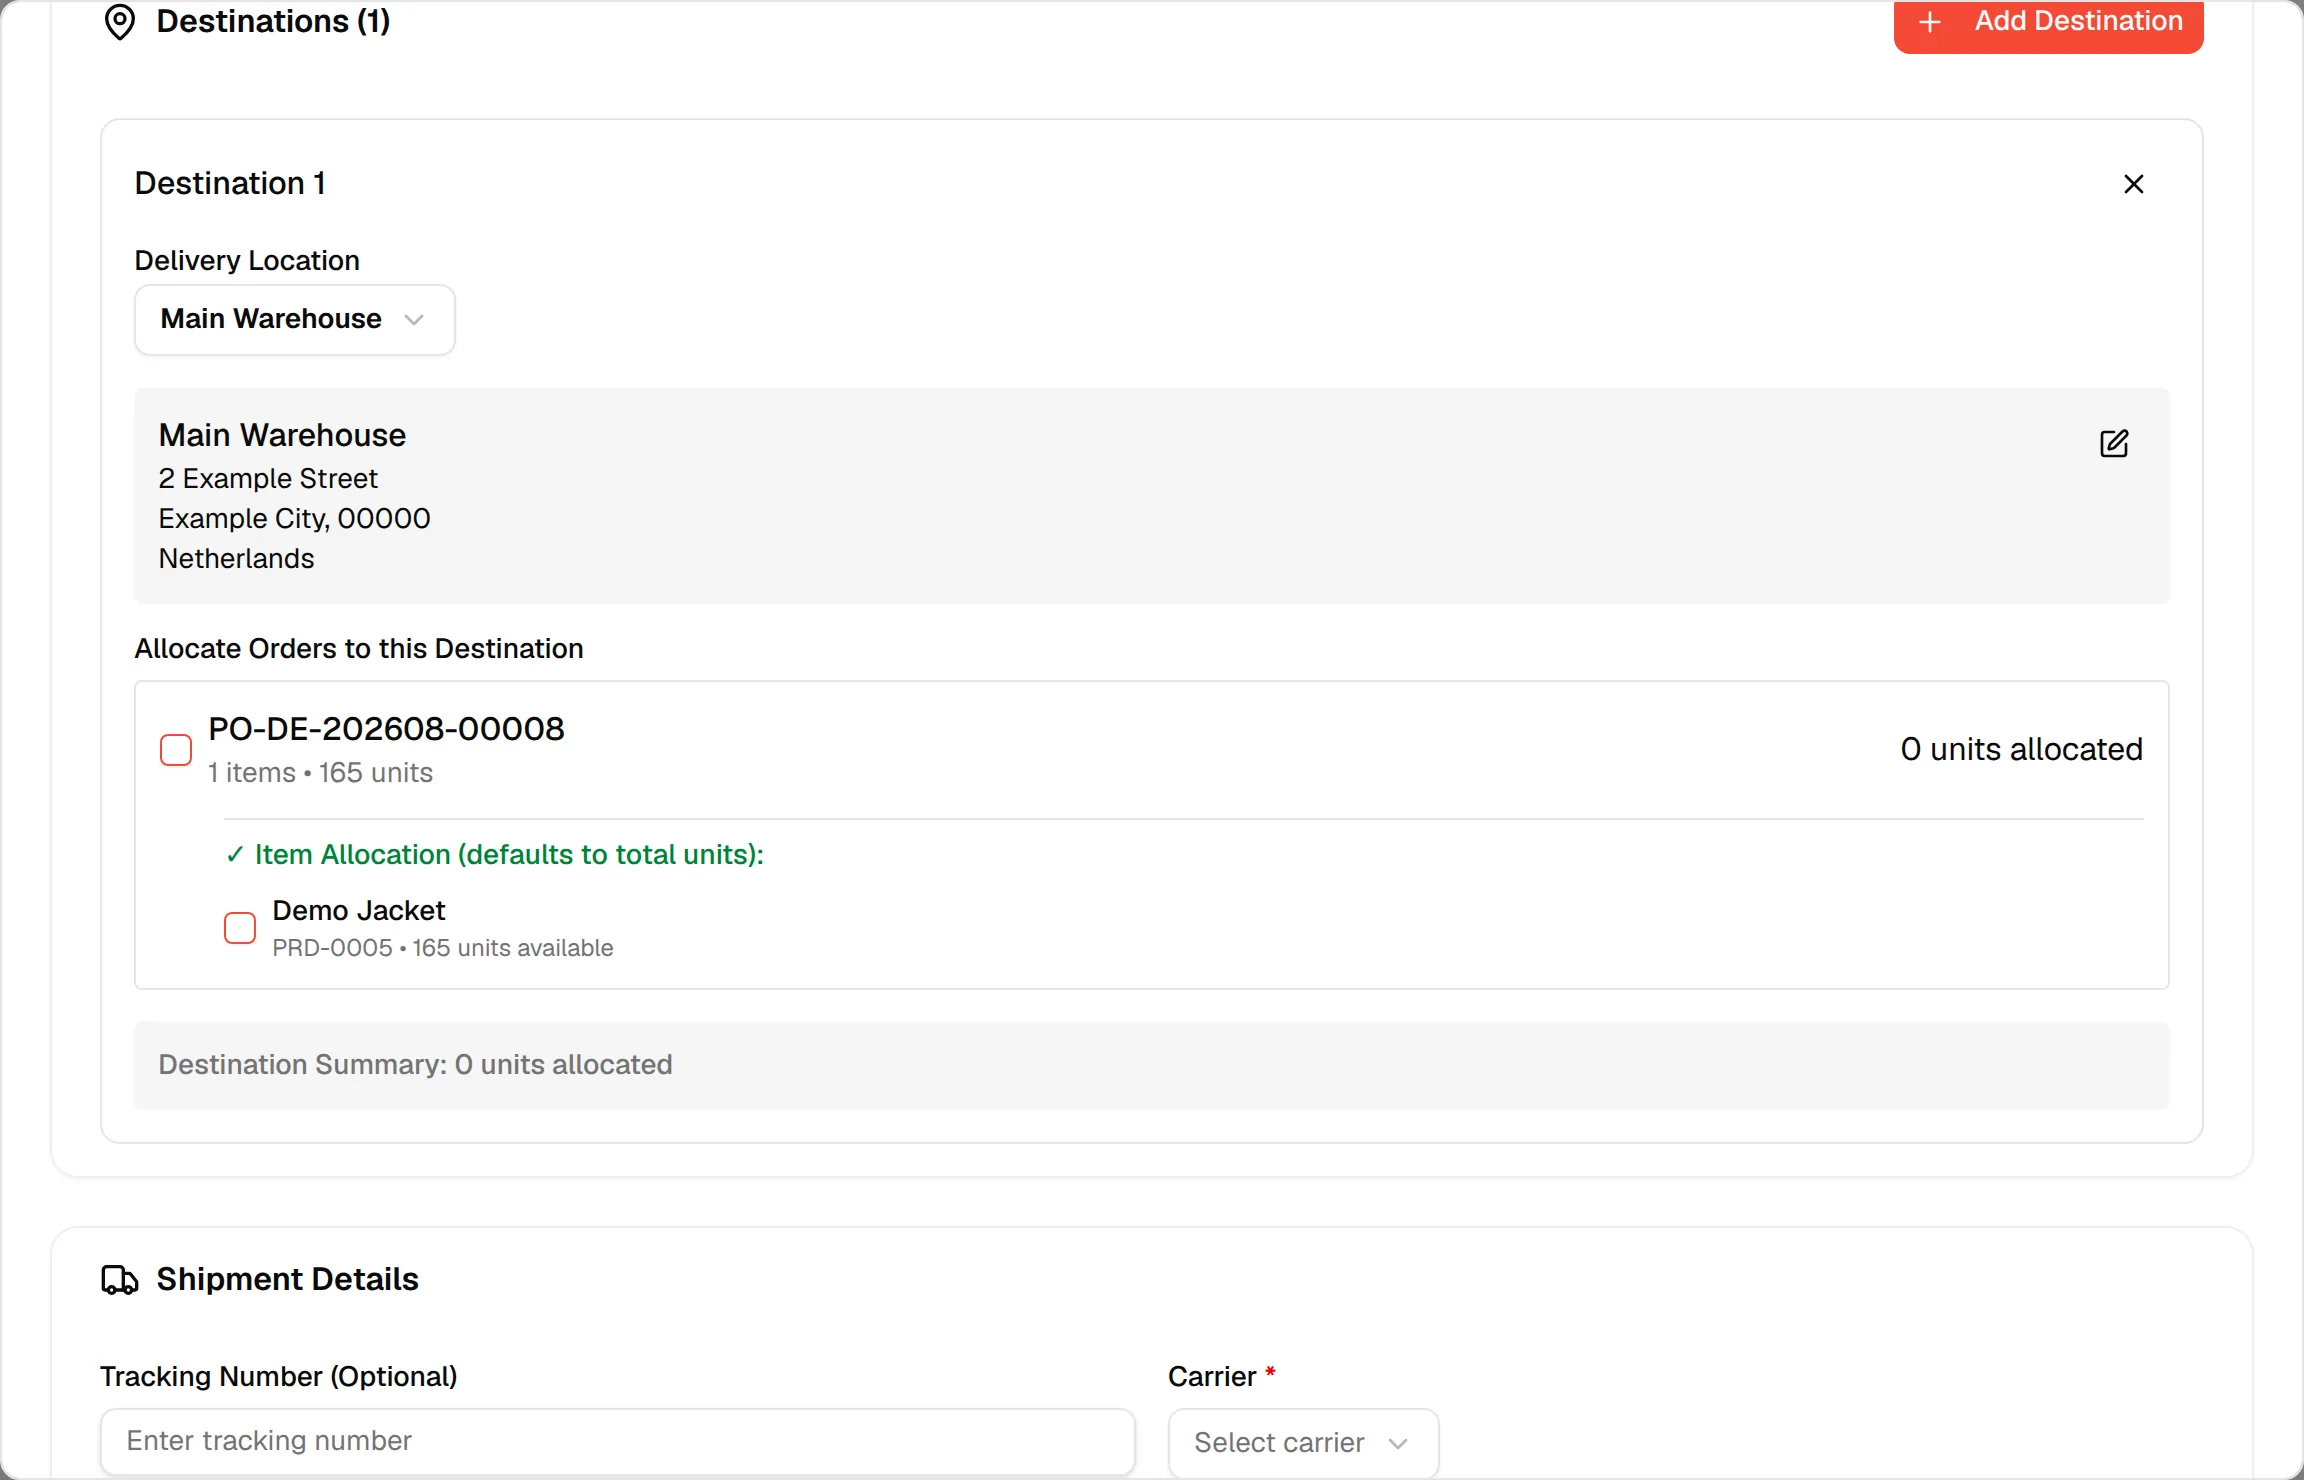
Under Shipment Type, check Full Shipment or Partial Shipment. Full is selected by default. Choose Partial Shipment when you want to pick styles and quantities yourself.
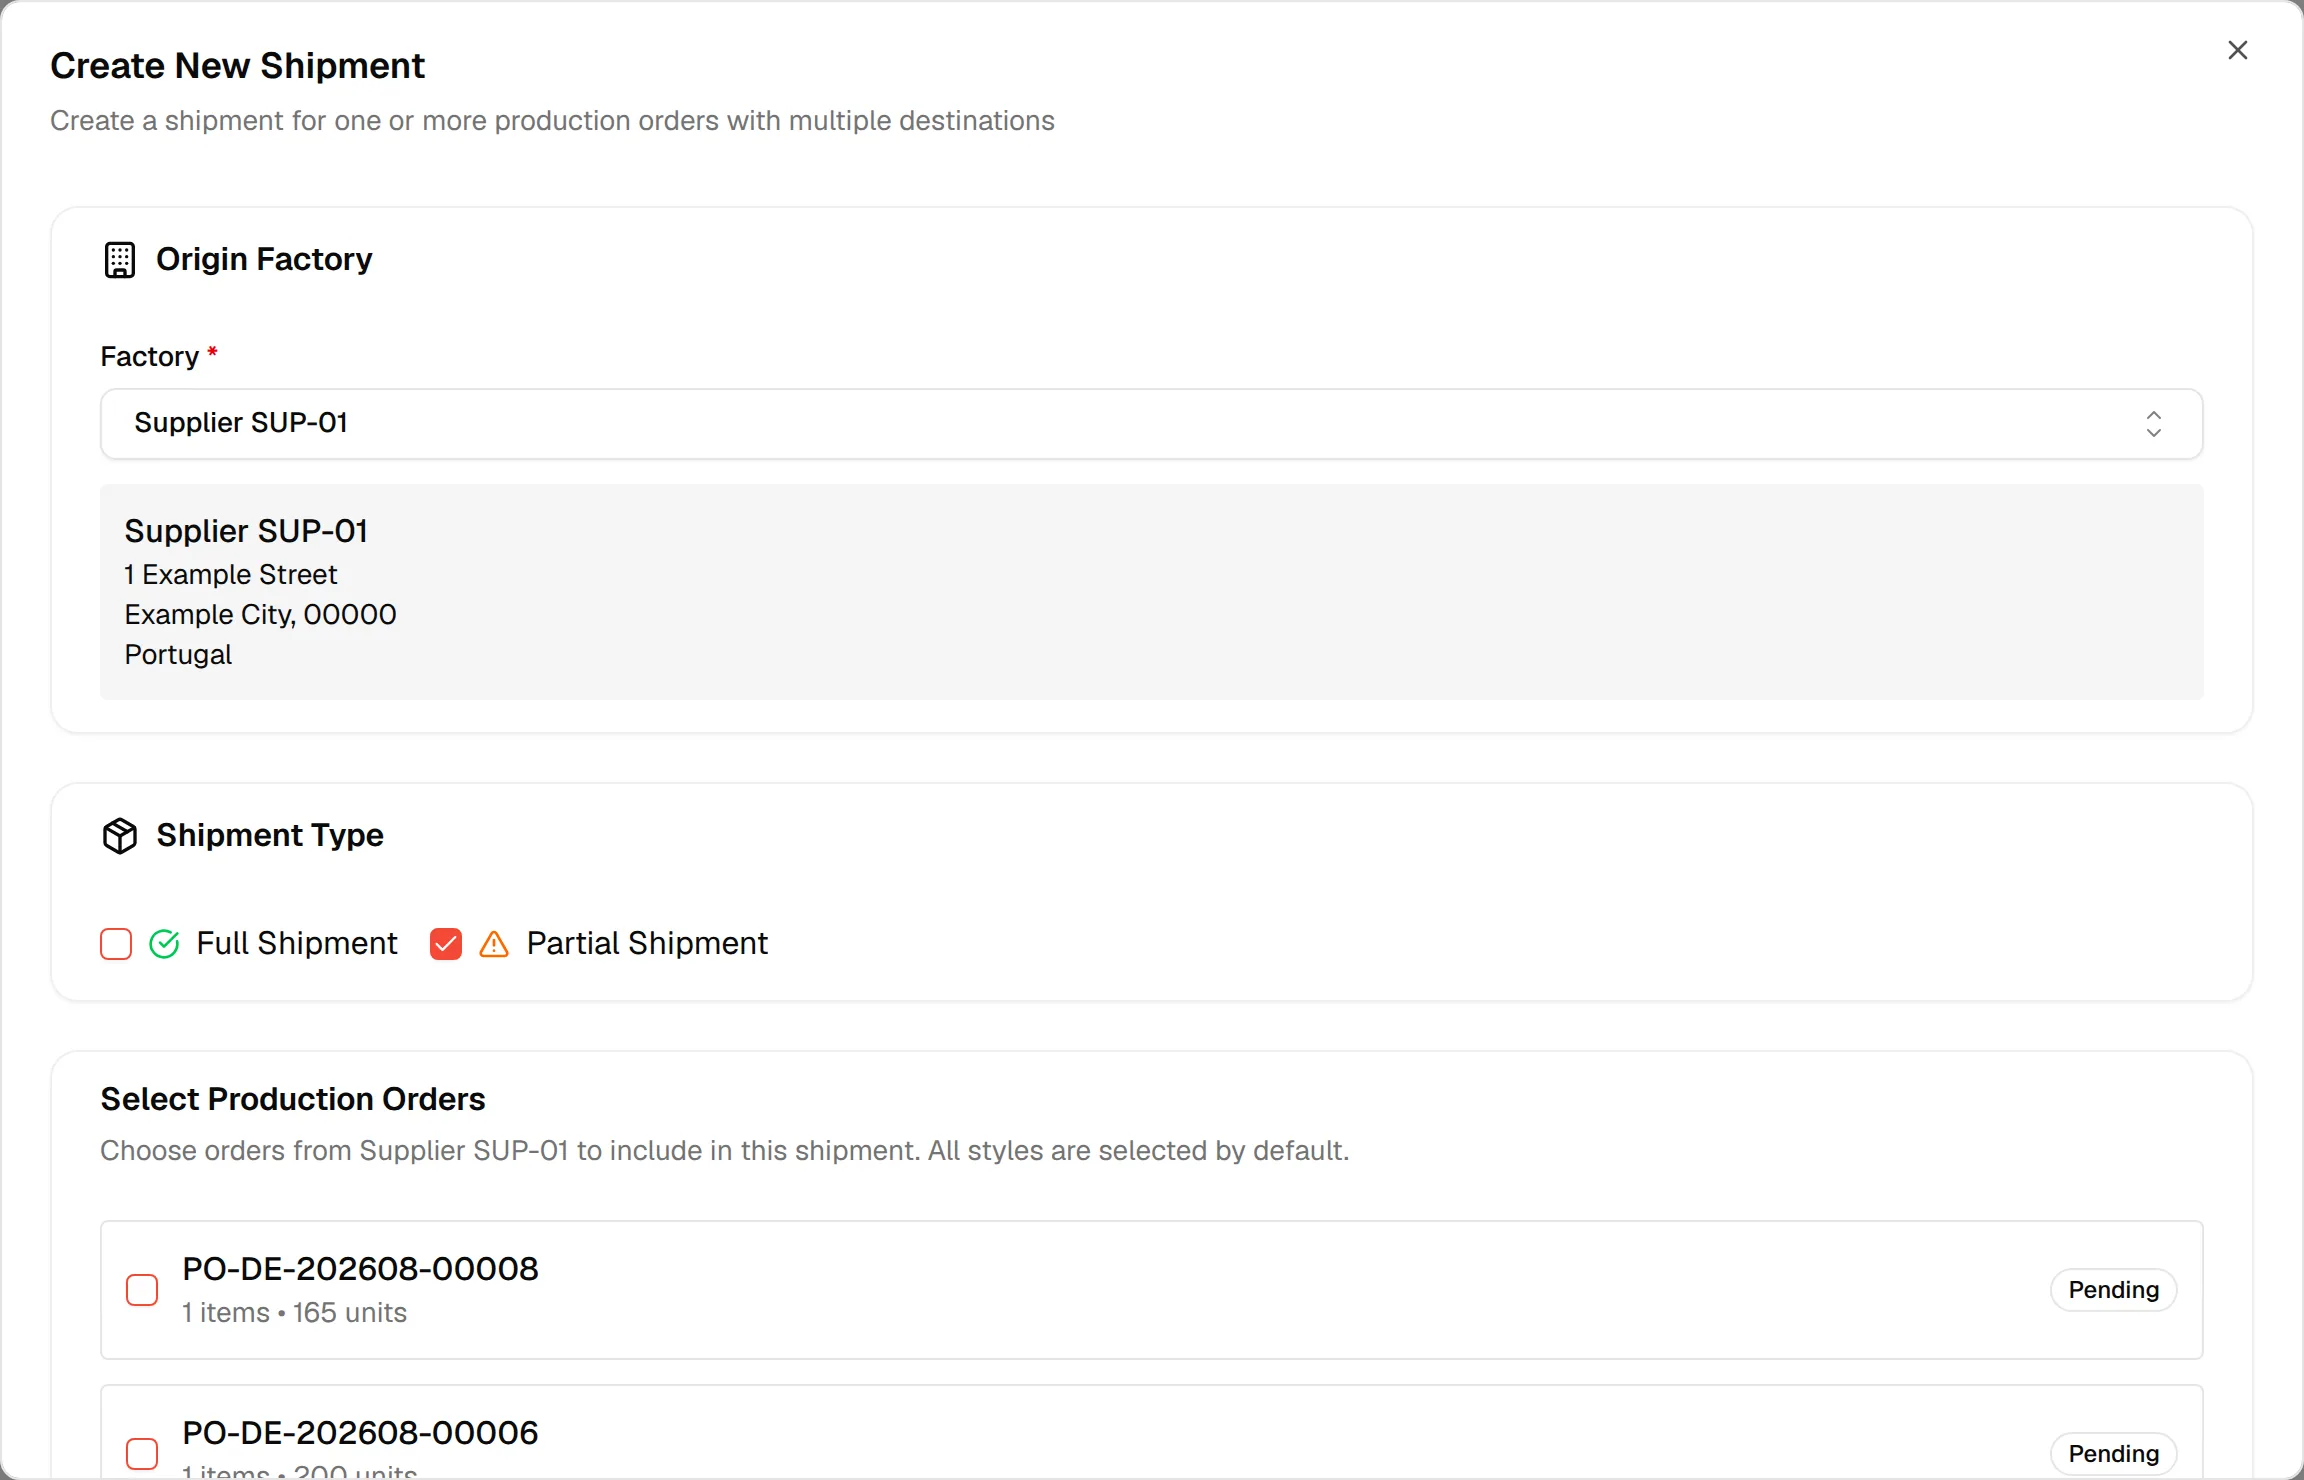
Select the production orders
Under Select Production Orders, check the orders from that factory you want to include. Each order shows its number, the number of items and the units available, with a Pending badge. All styles of an order are selected by default.
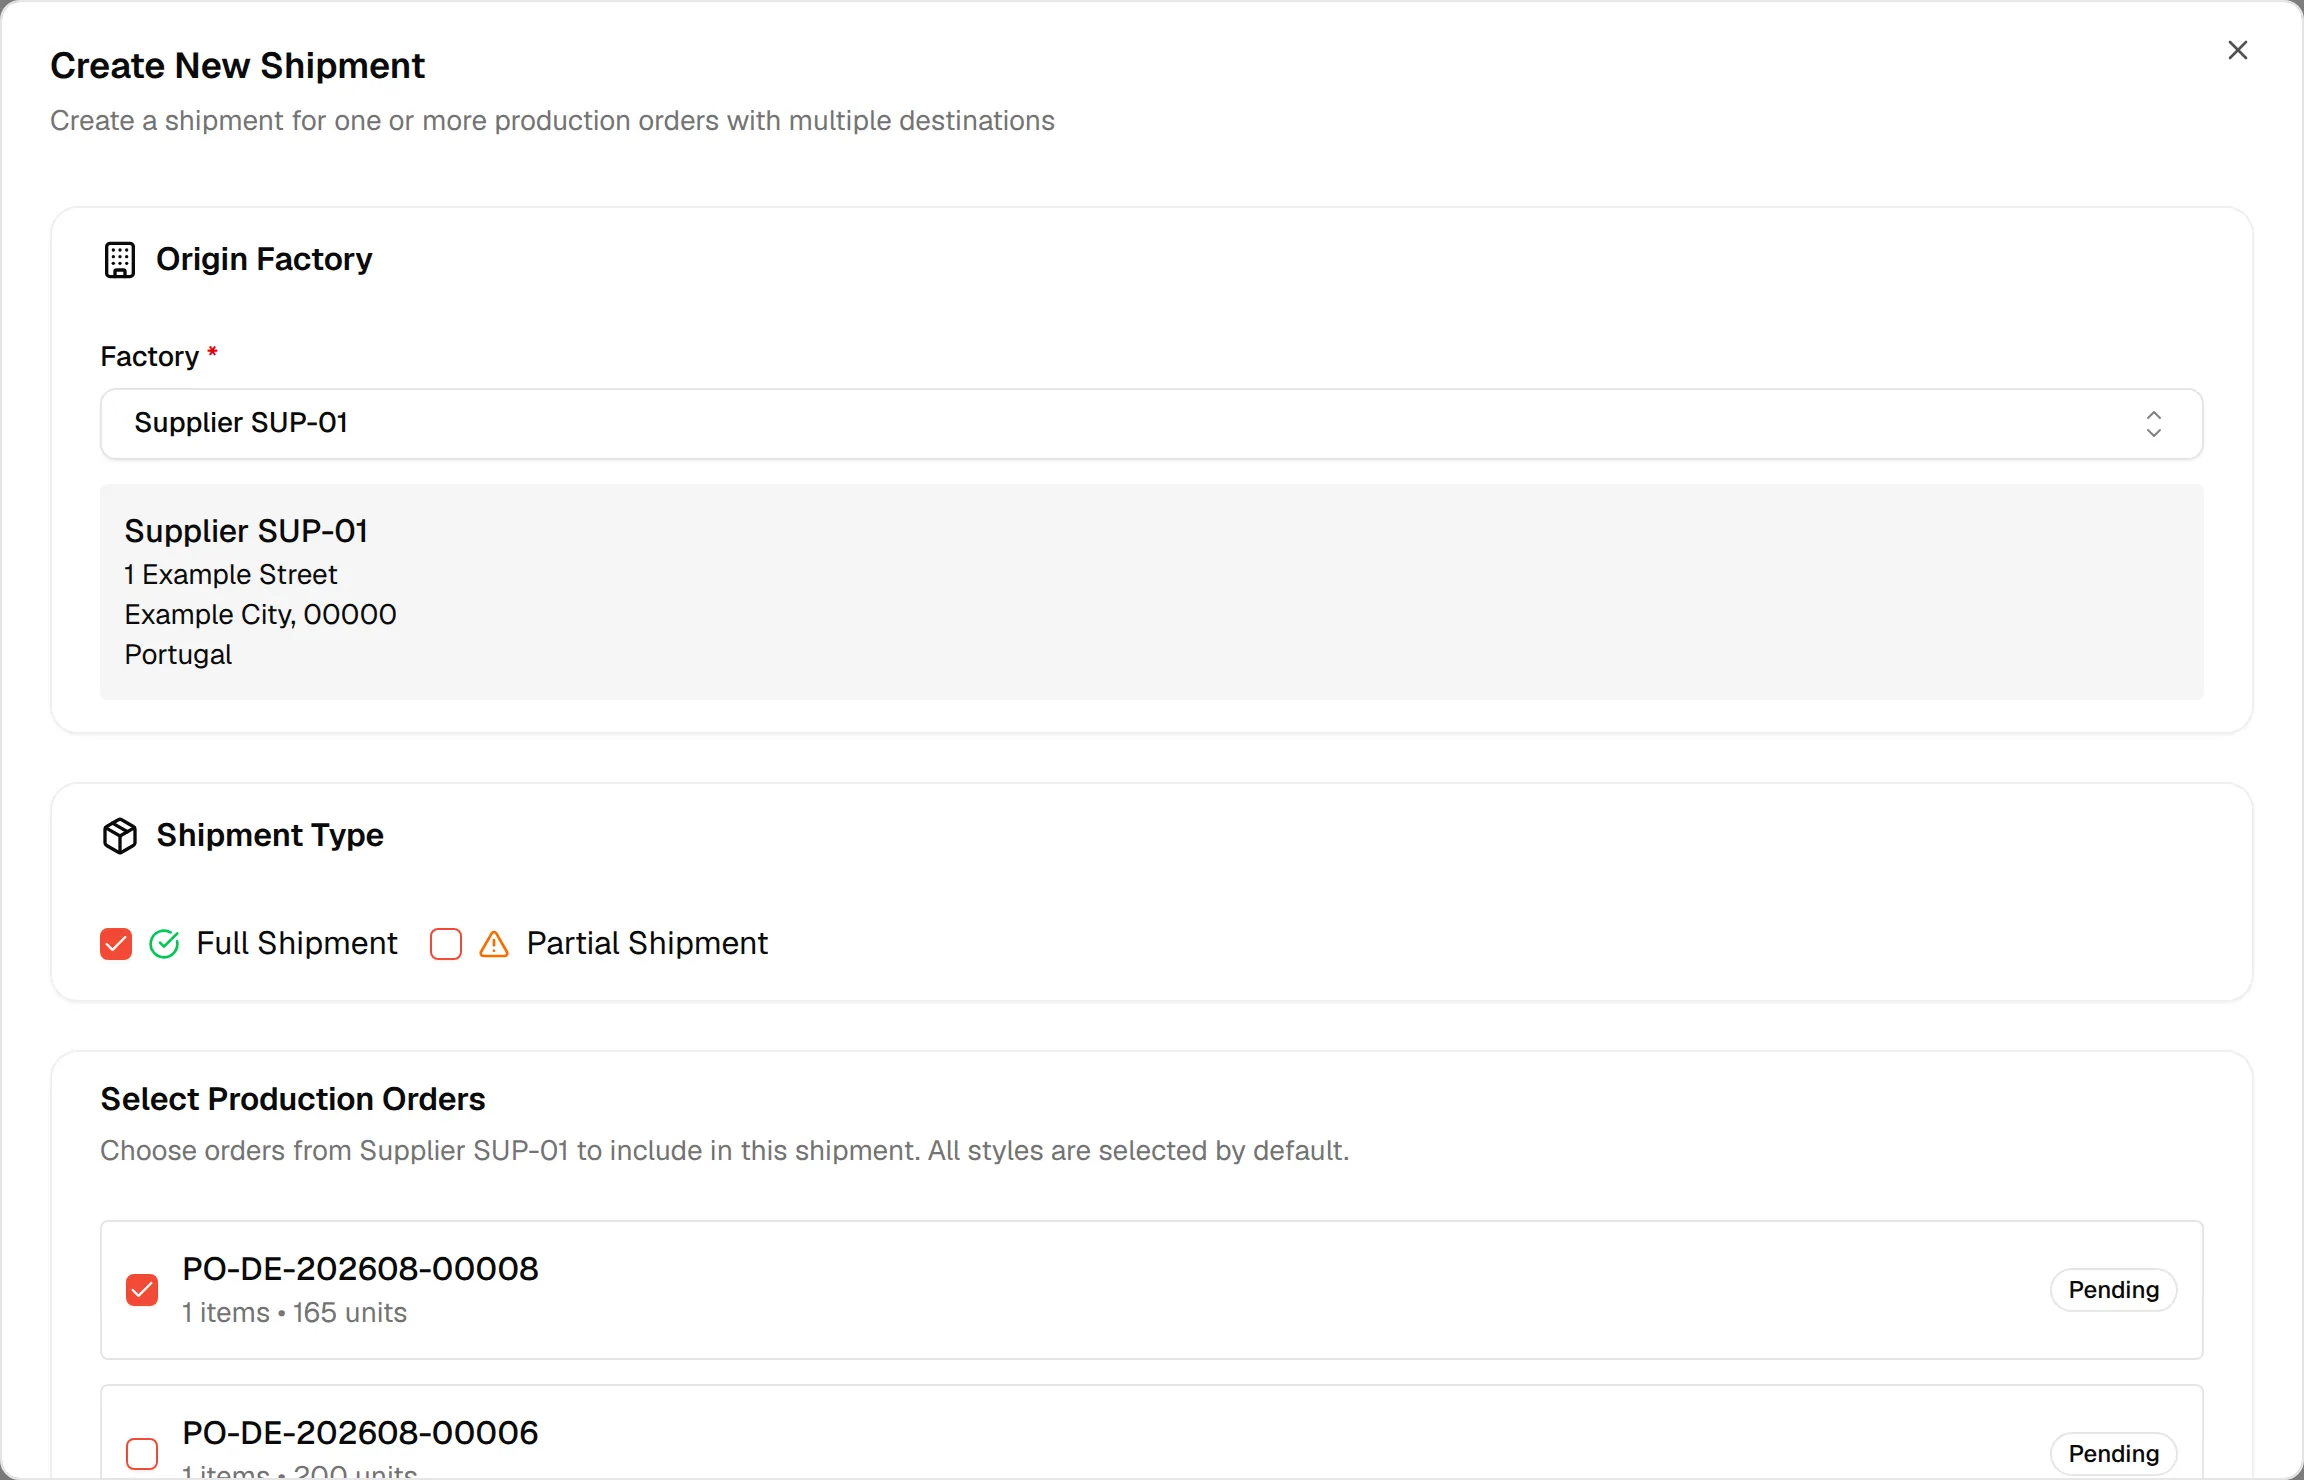
Deselect styles you are not shipping (partial only)
For a partial shipment, the selected order expands with All styles selected by default - deselect those not to be shipped. Uncheck the styles that are not part of this shipment. Each style shows its code and the units available.
Add a destination
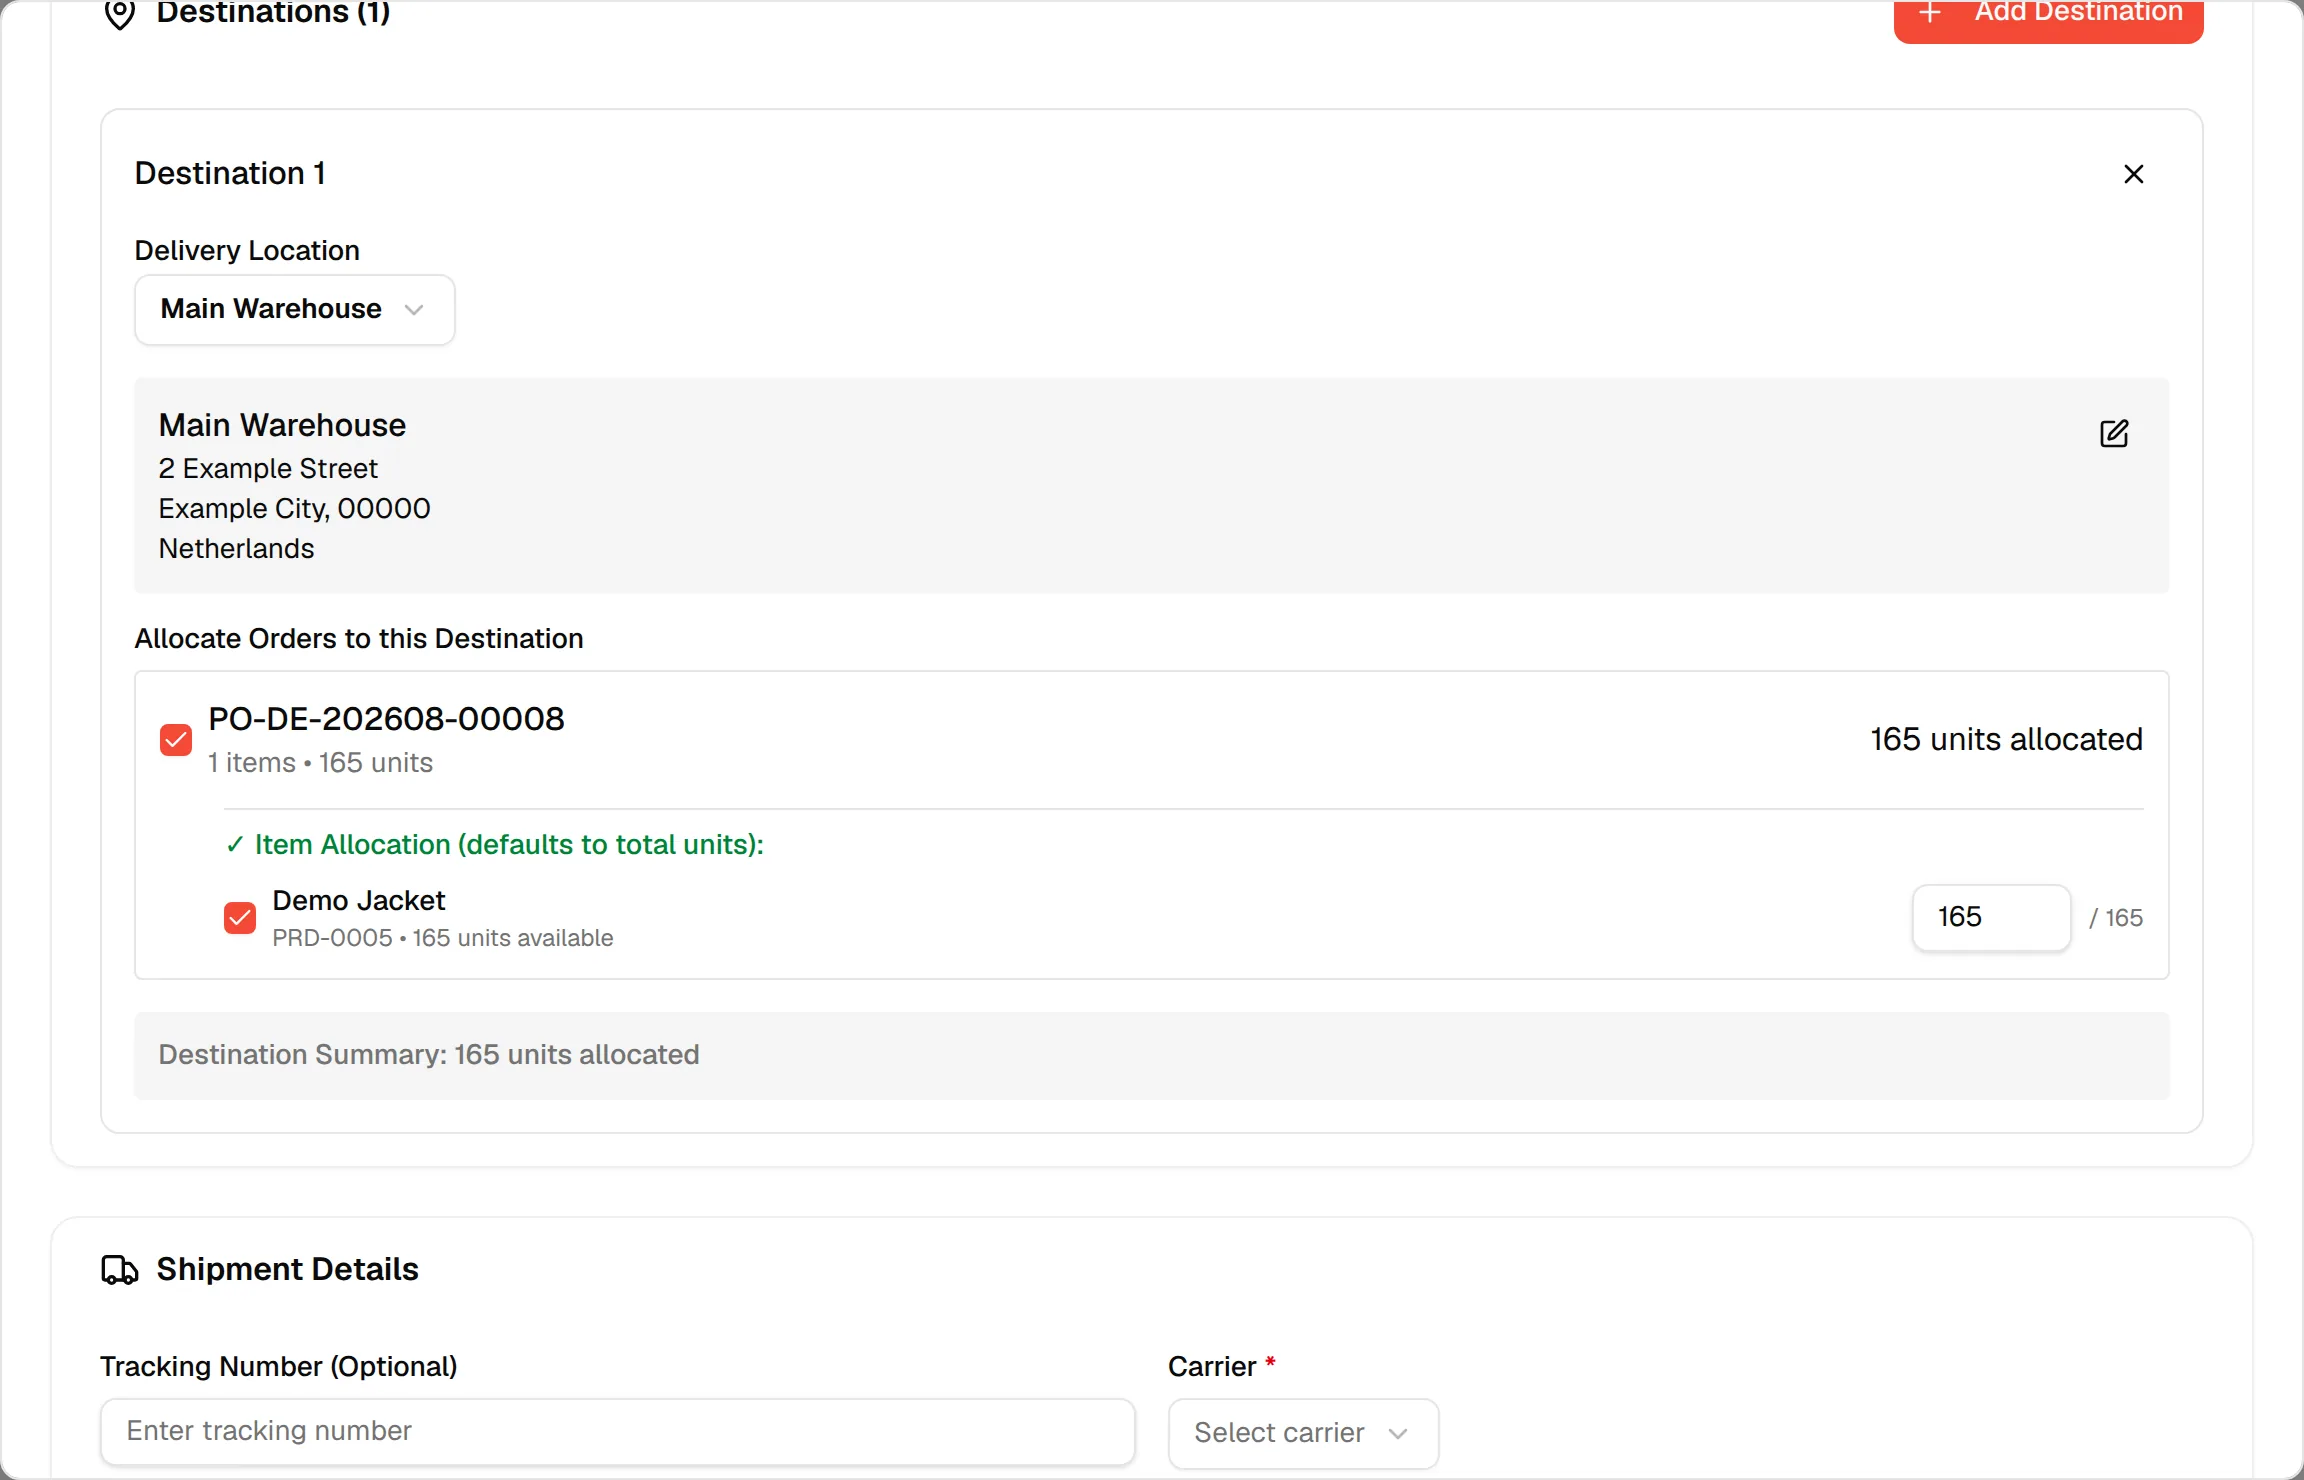
Under Destinations, click Add Destination. A Destination 1 card appears with the first delivery location selected.
Choose the delivery location
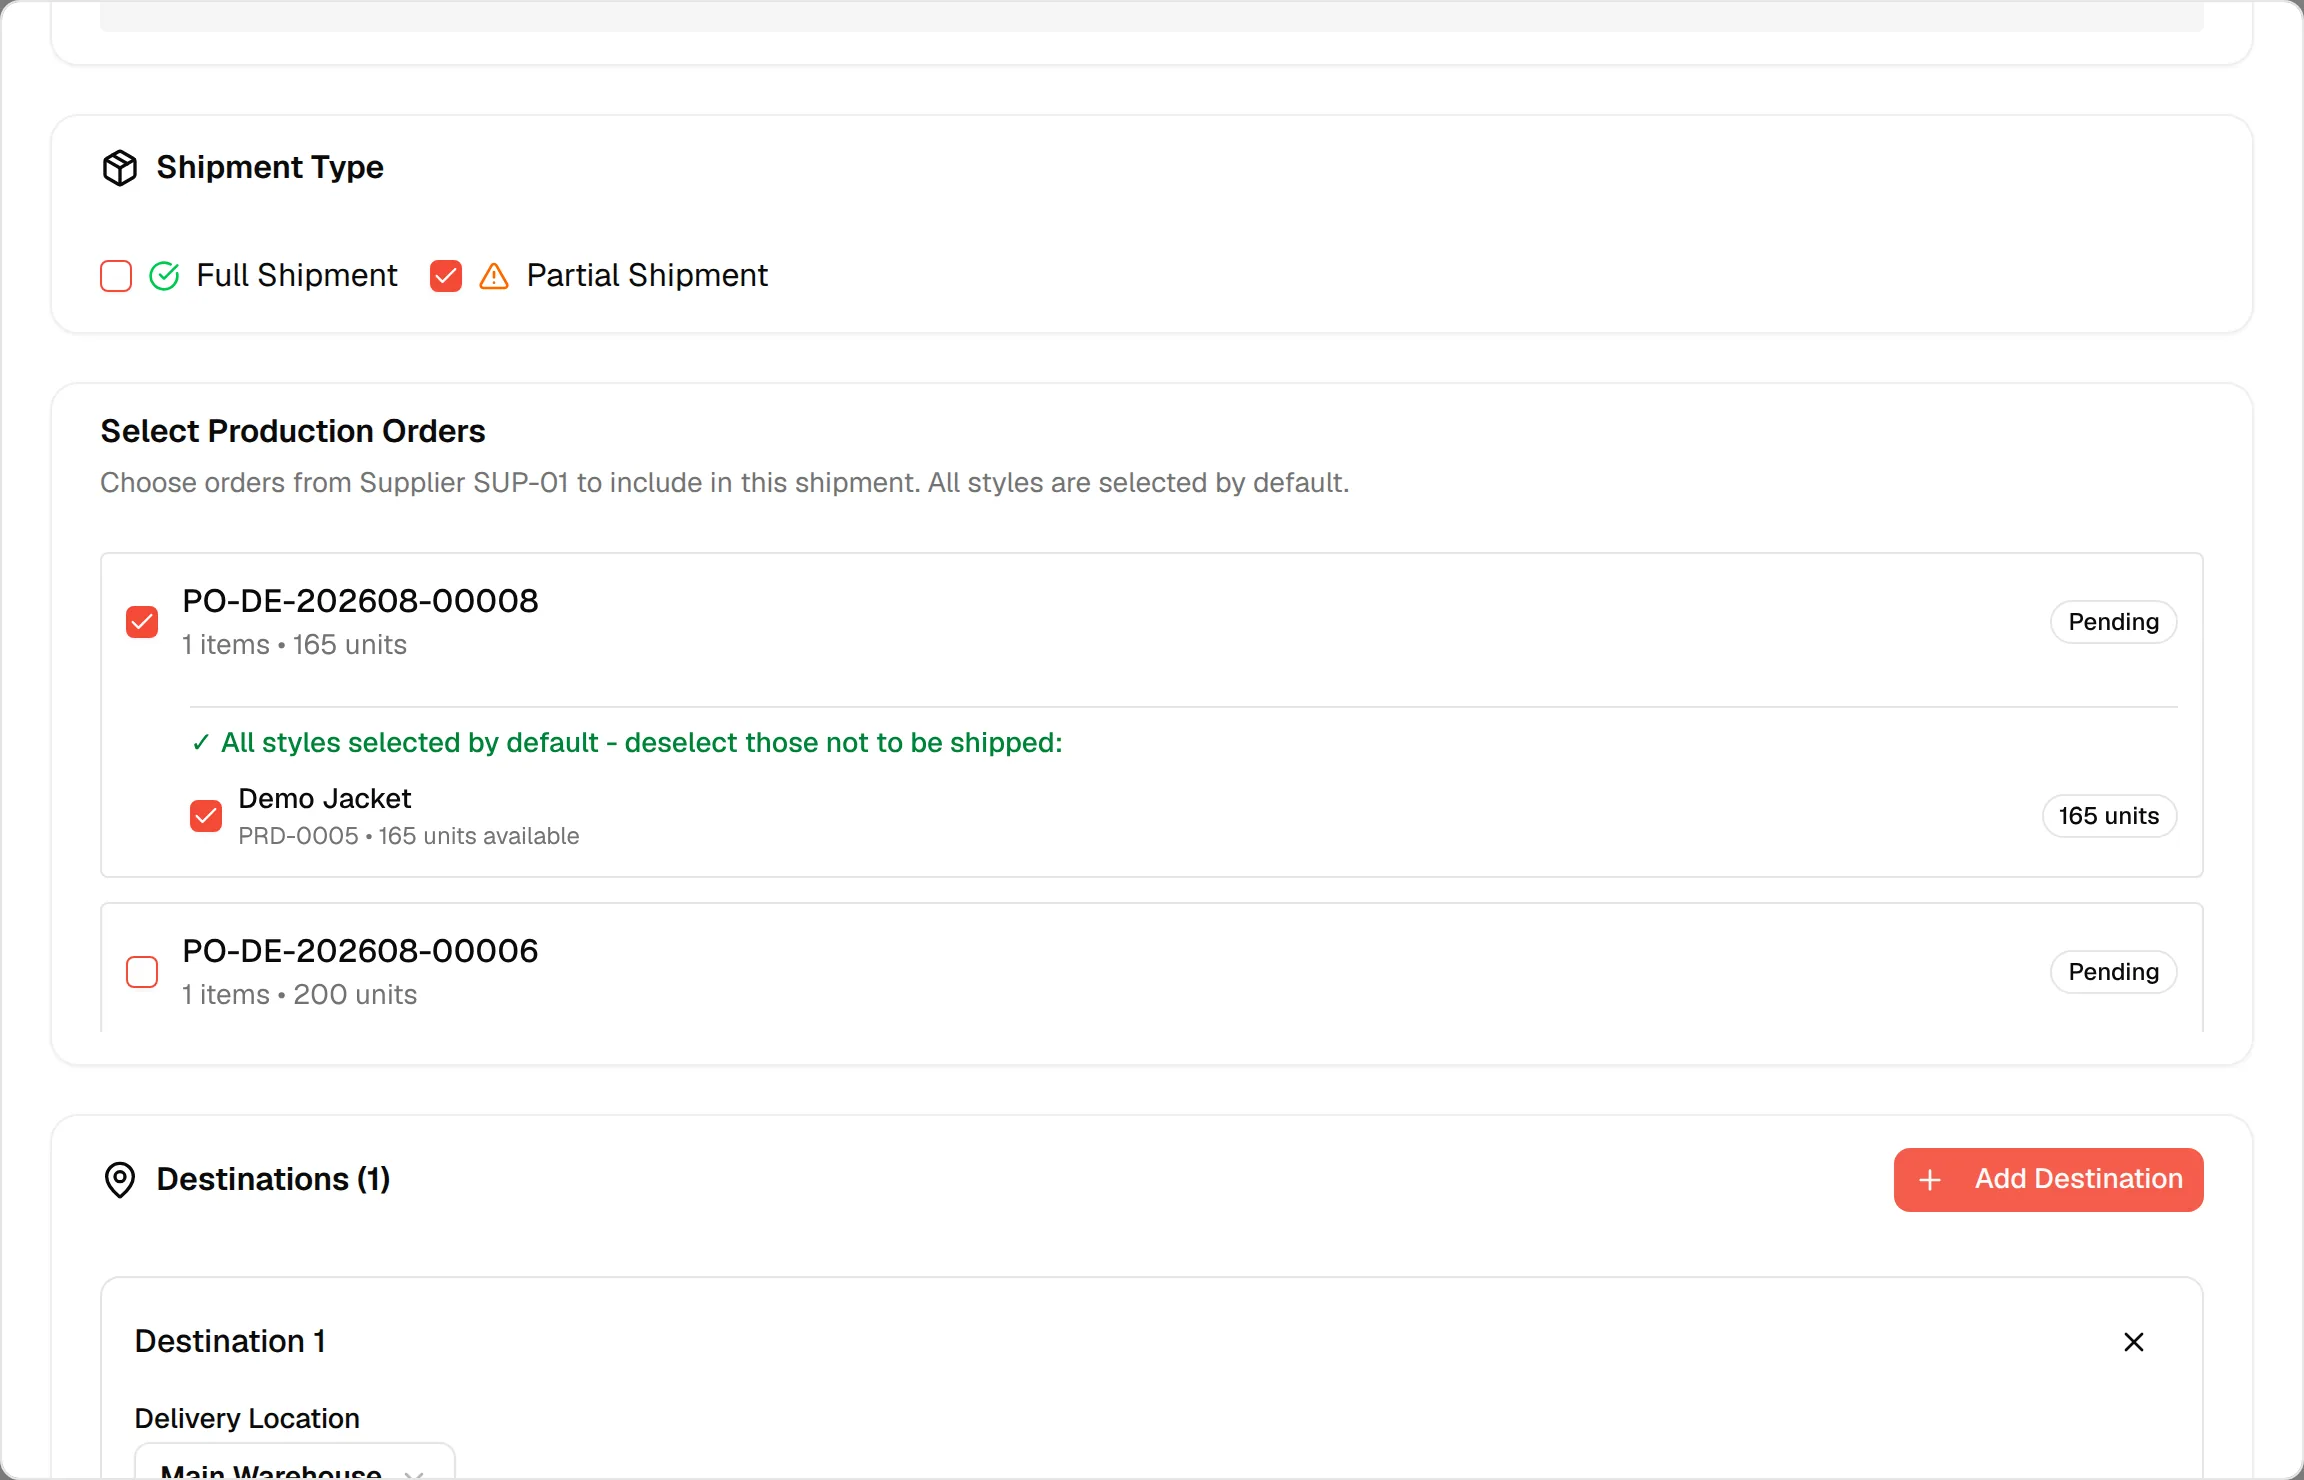
In Delivery Location, select the warehouse. Its address is shown below. Click the pencil icon to edit the warehouse details without leaving the form.
Allocate orders to the destination
Under Allocate Orders to this Destination, check each order that goes to this warehouse. The card shows how many units are allocated. An order that is already allocated to another destination is not offered again.
Set the quantities (partial only)
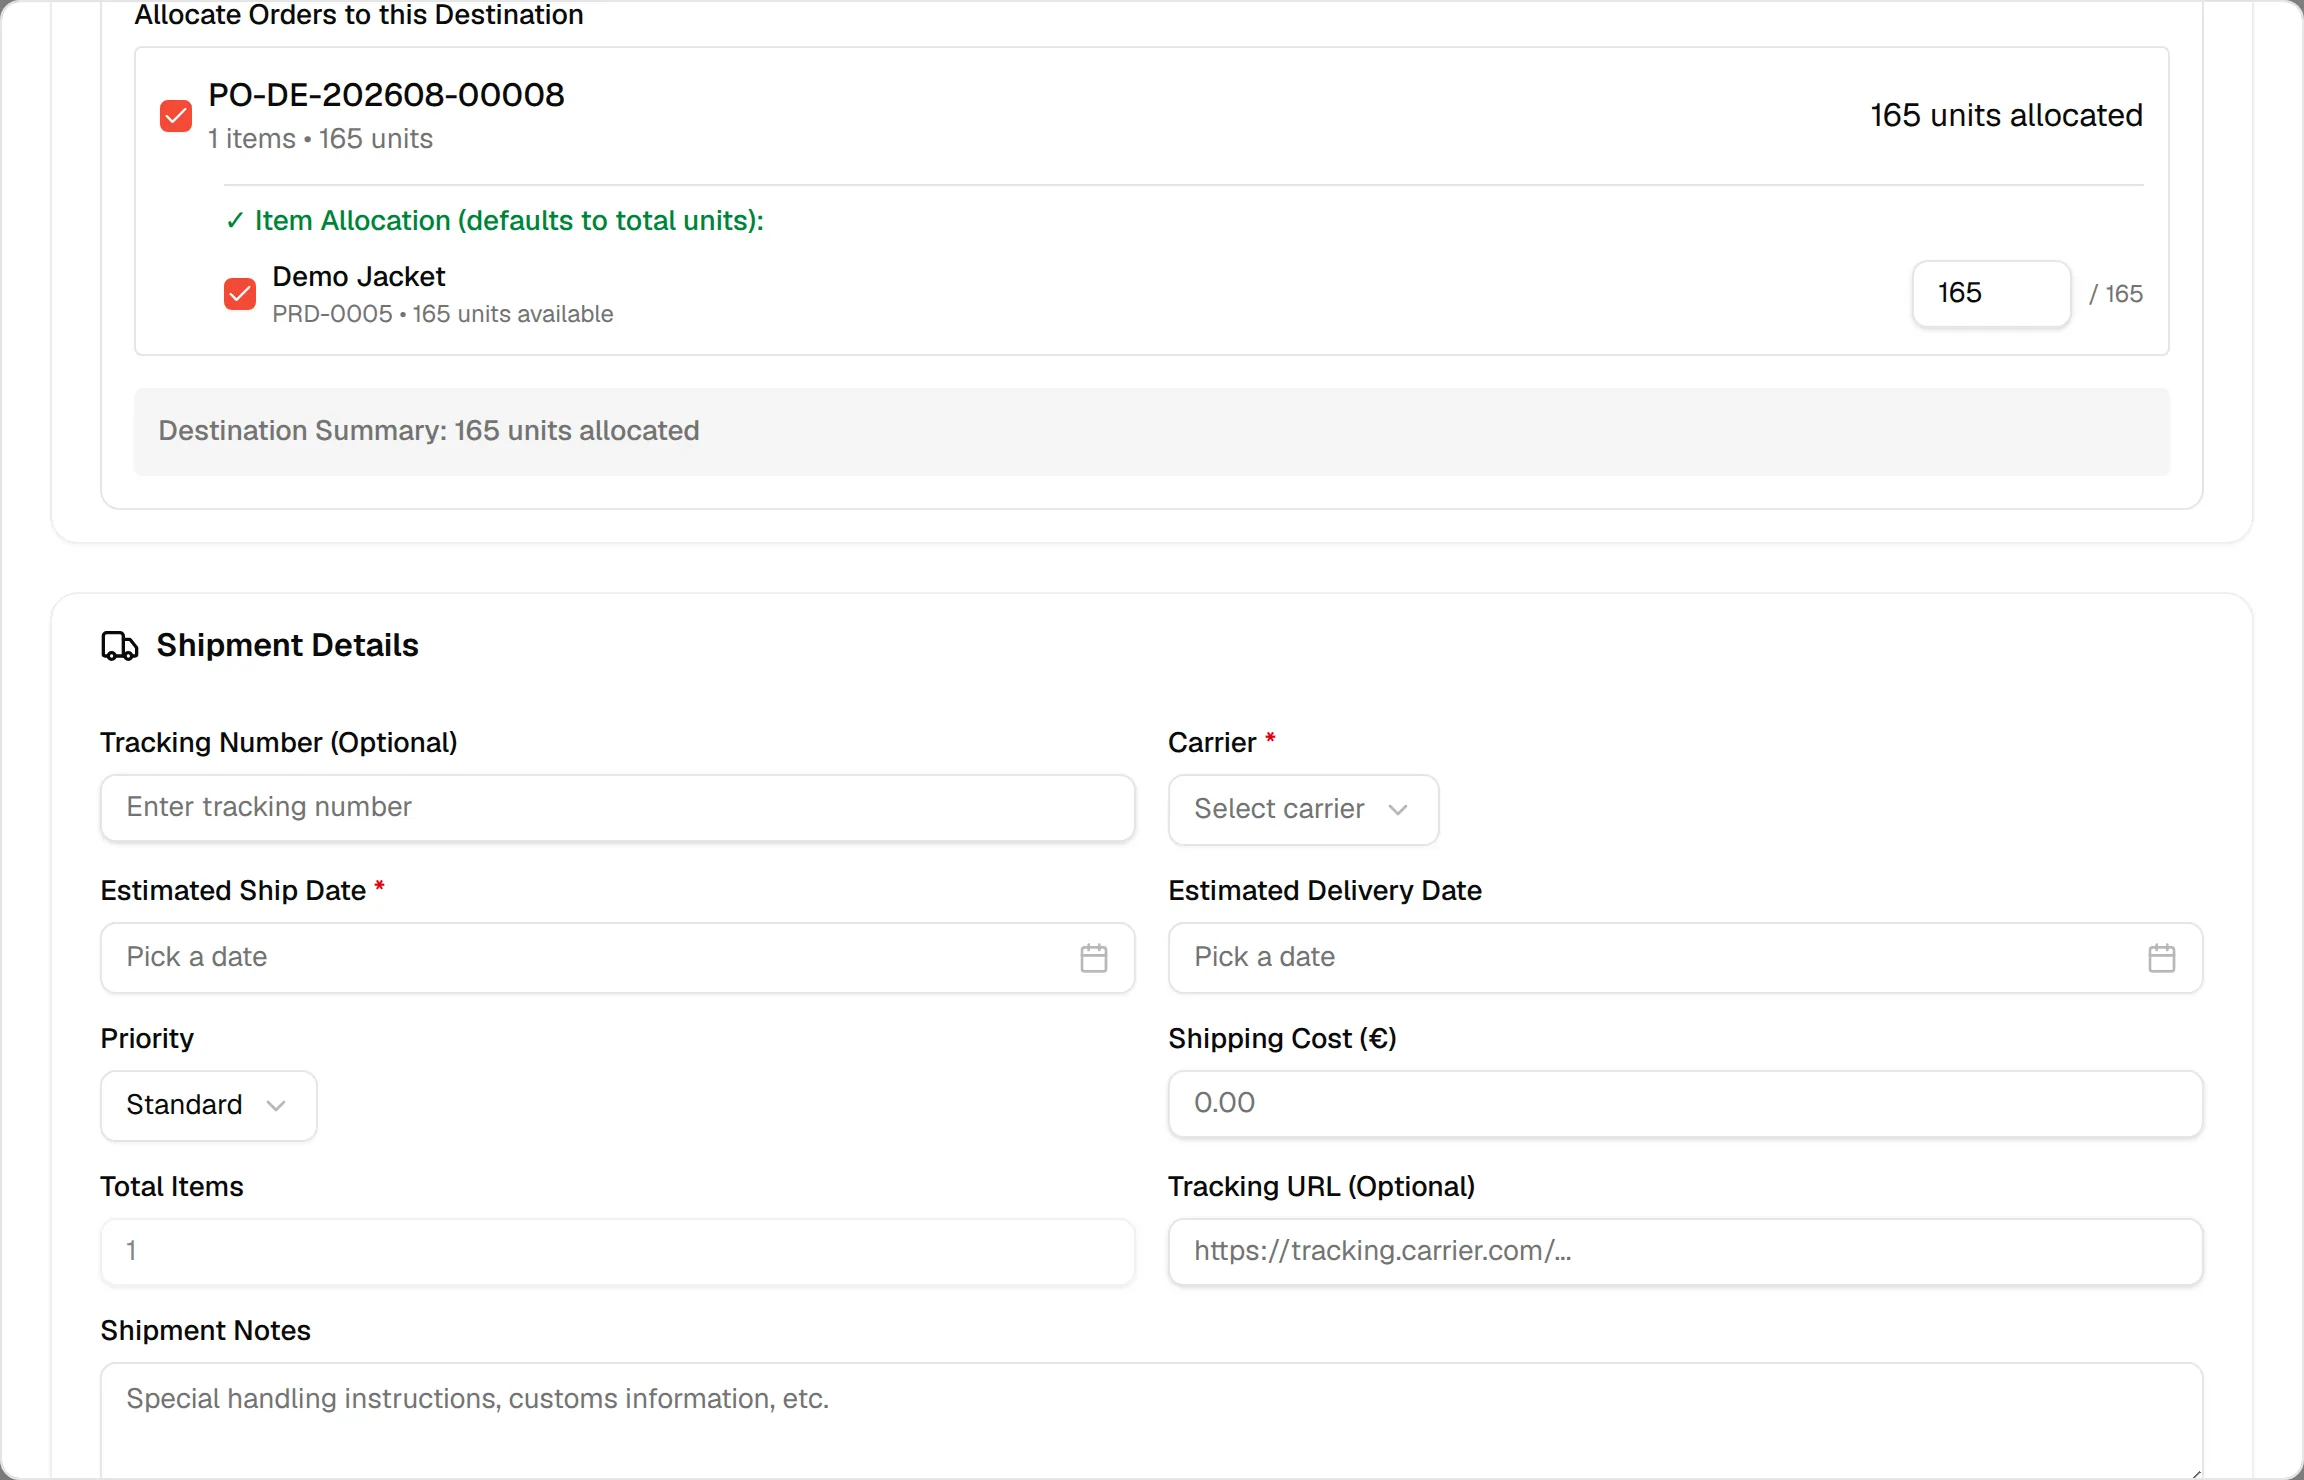
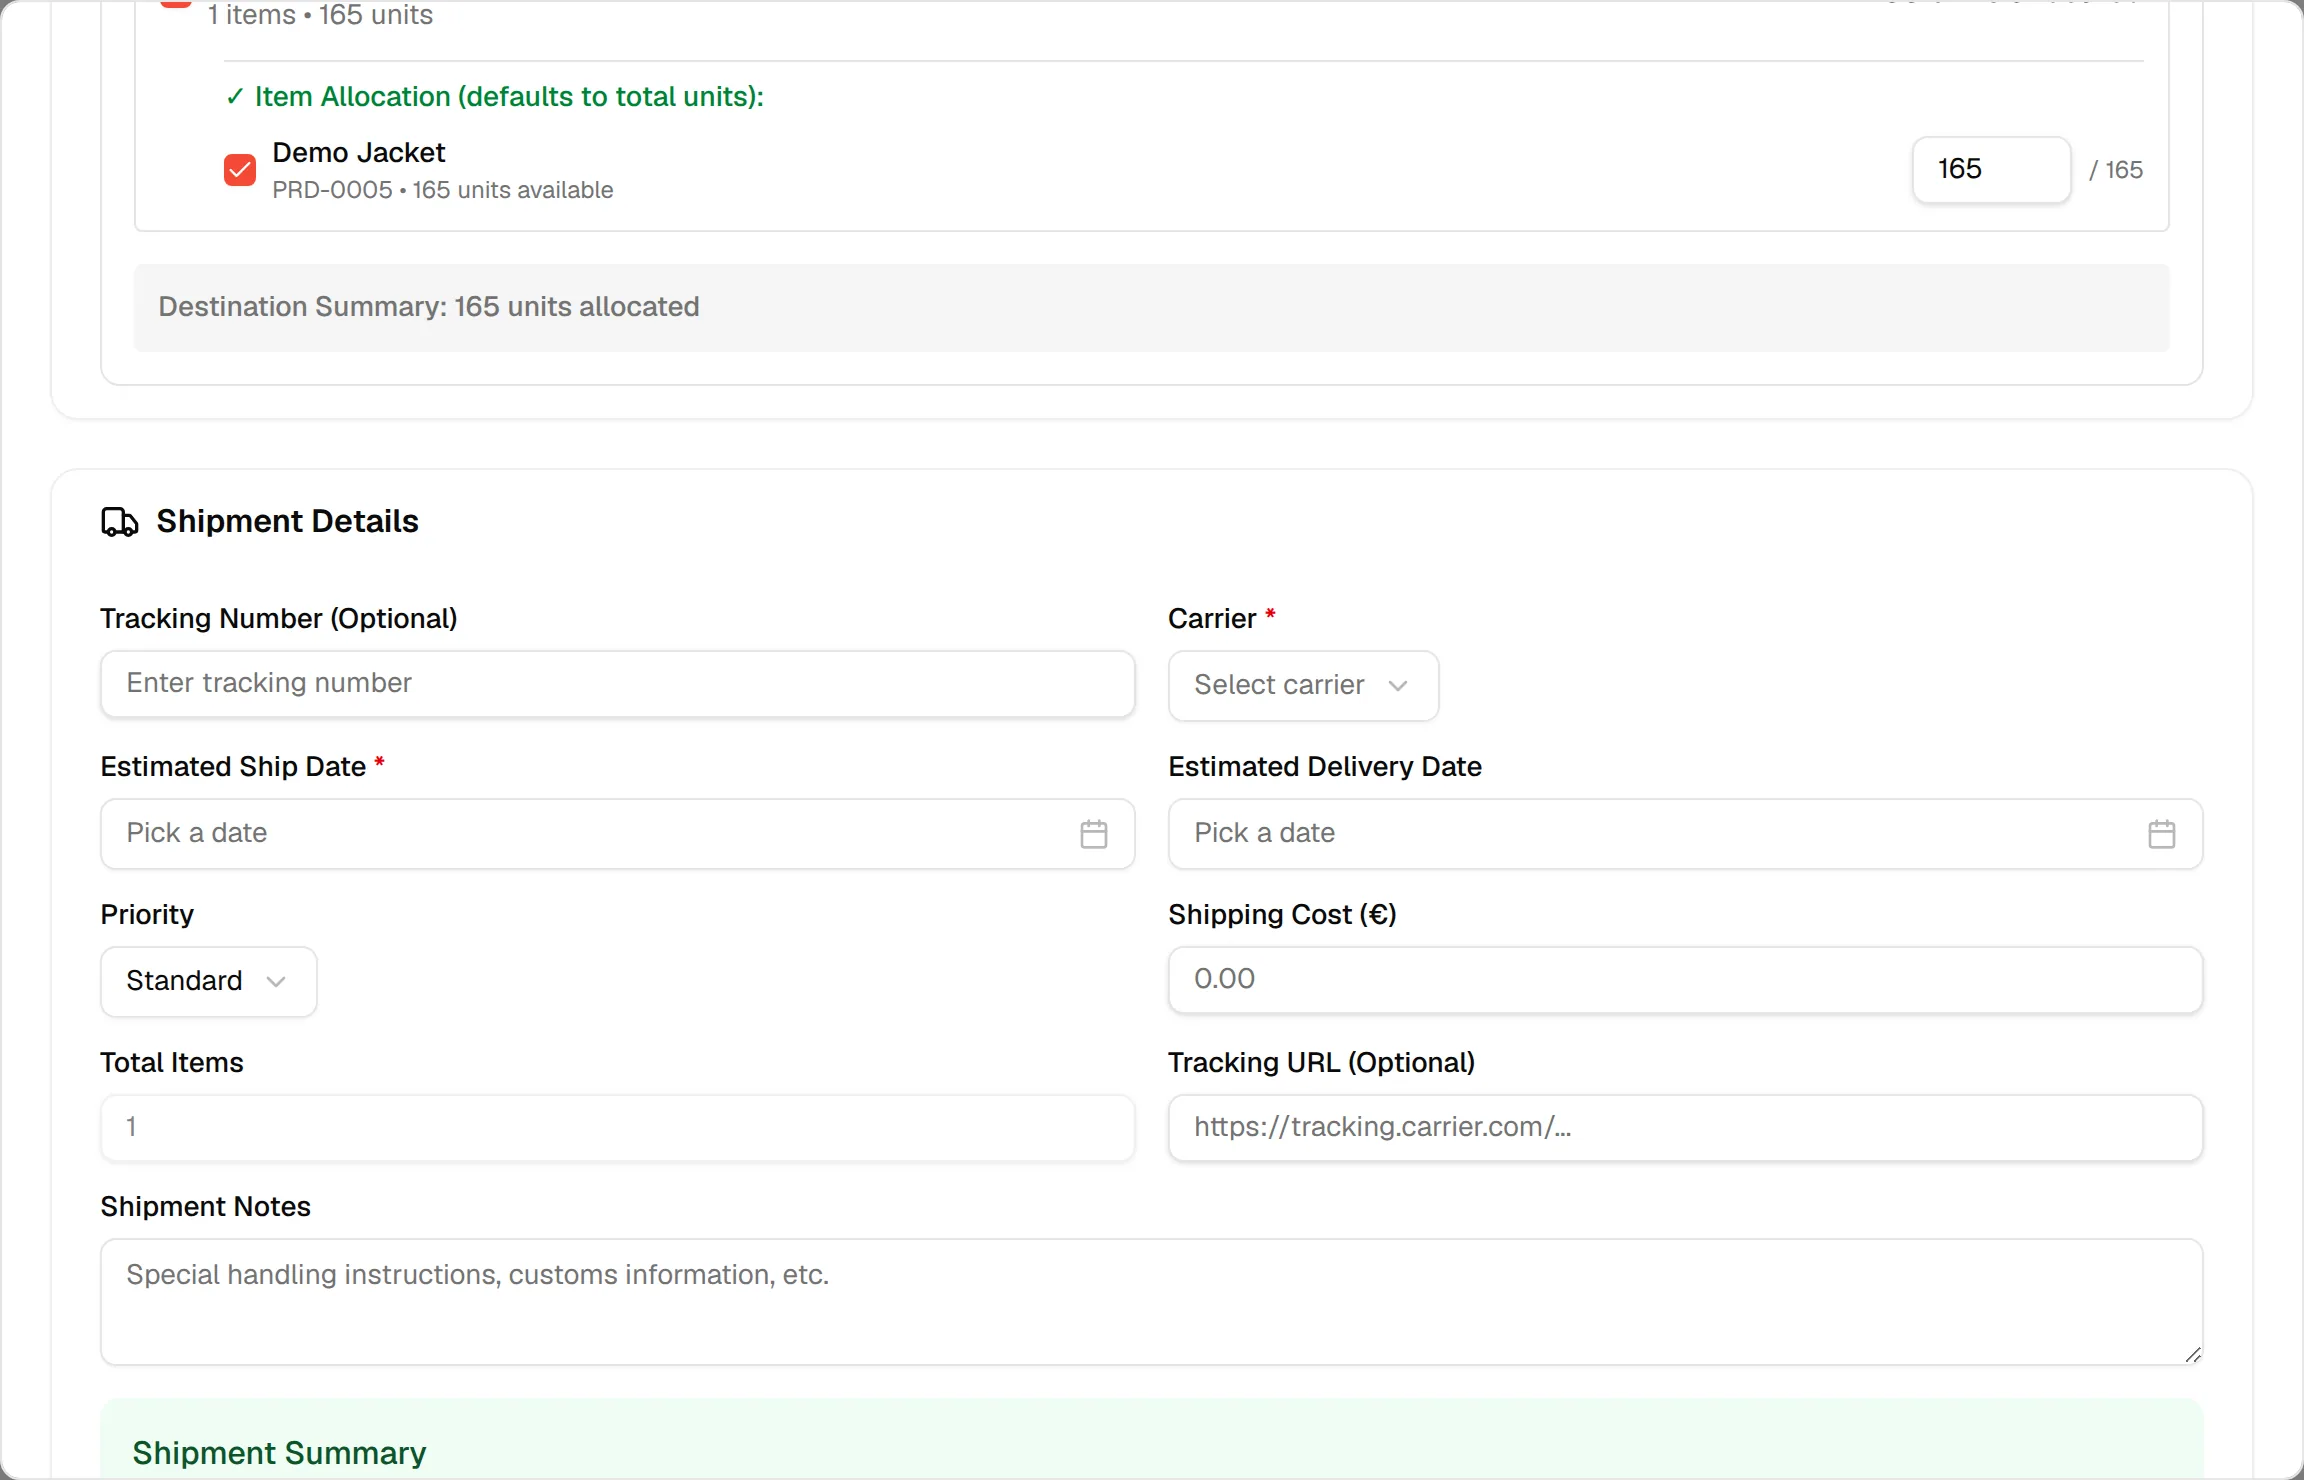
For a partial shipment, Item Allocation (defaults to total units) lists each style. Check the styles for this destination and enter the quantity in the box. The number after the slash is the maximum available. The Destination Summary shows the units allocated.
Add more destinations (optional)
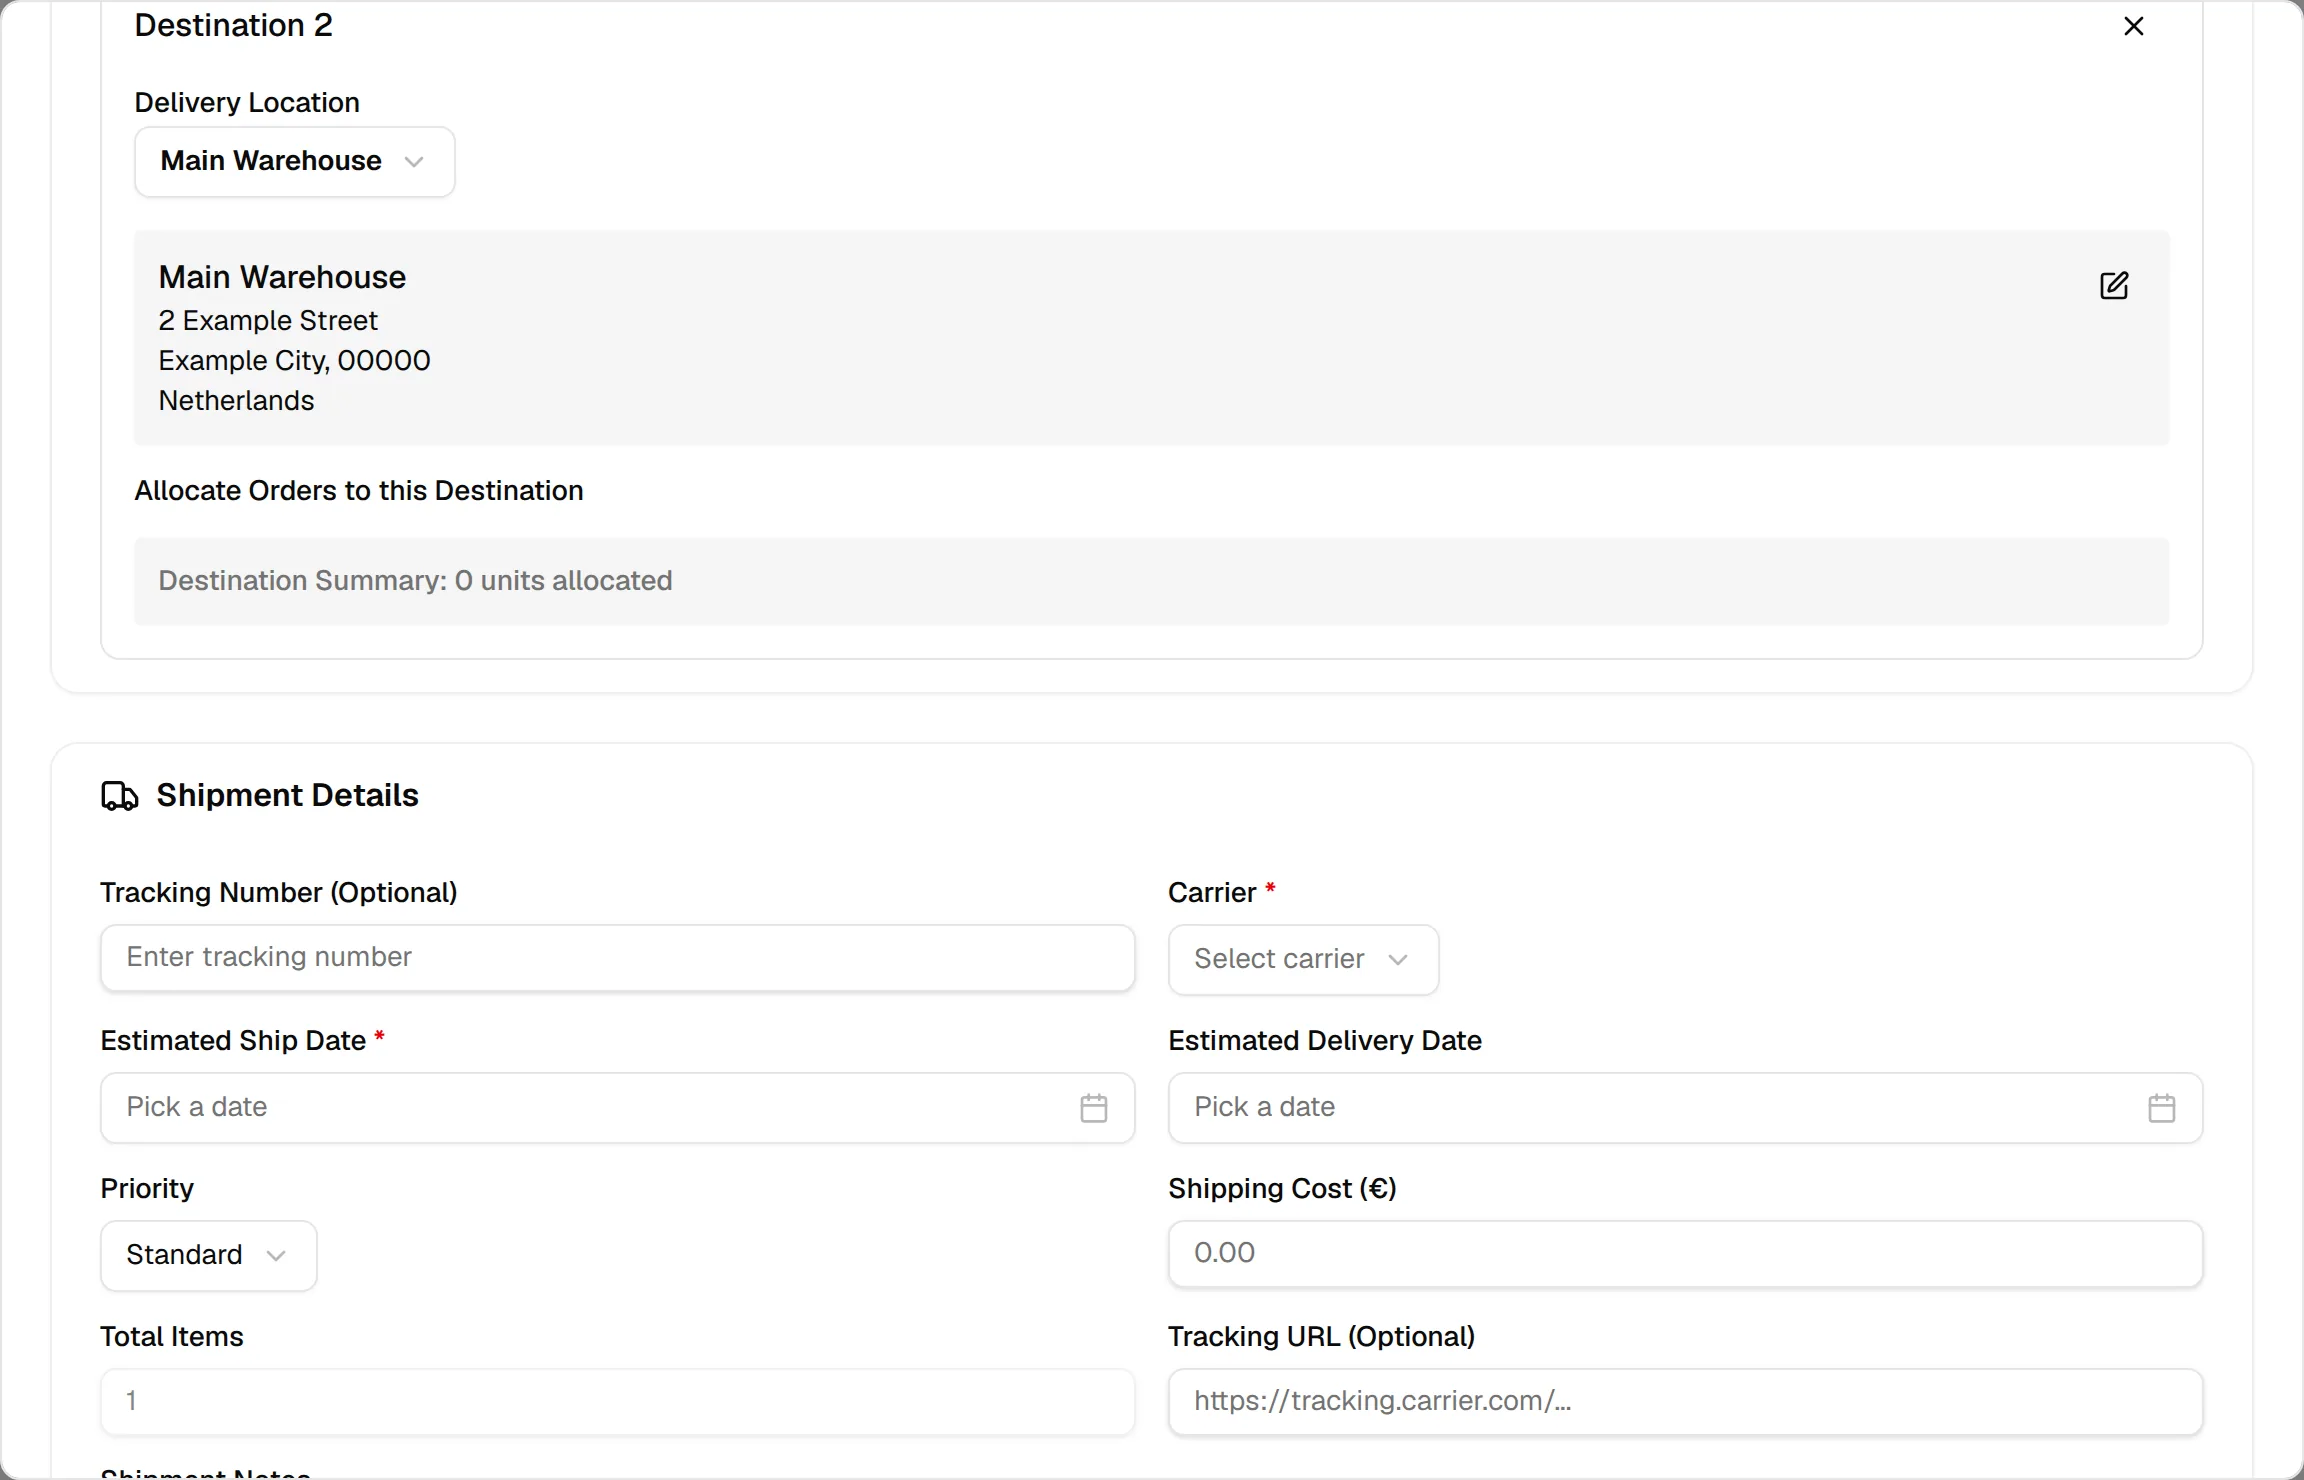
Click Add Destination again for another warehouse and allocate the remaining orders to it. Click the X on a destination card to remove it.
Enter the shipment details
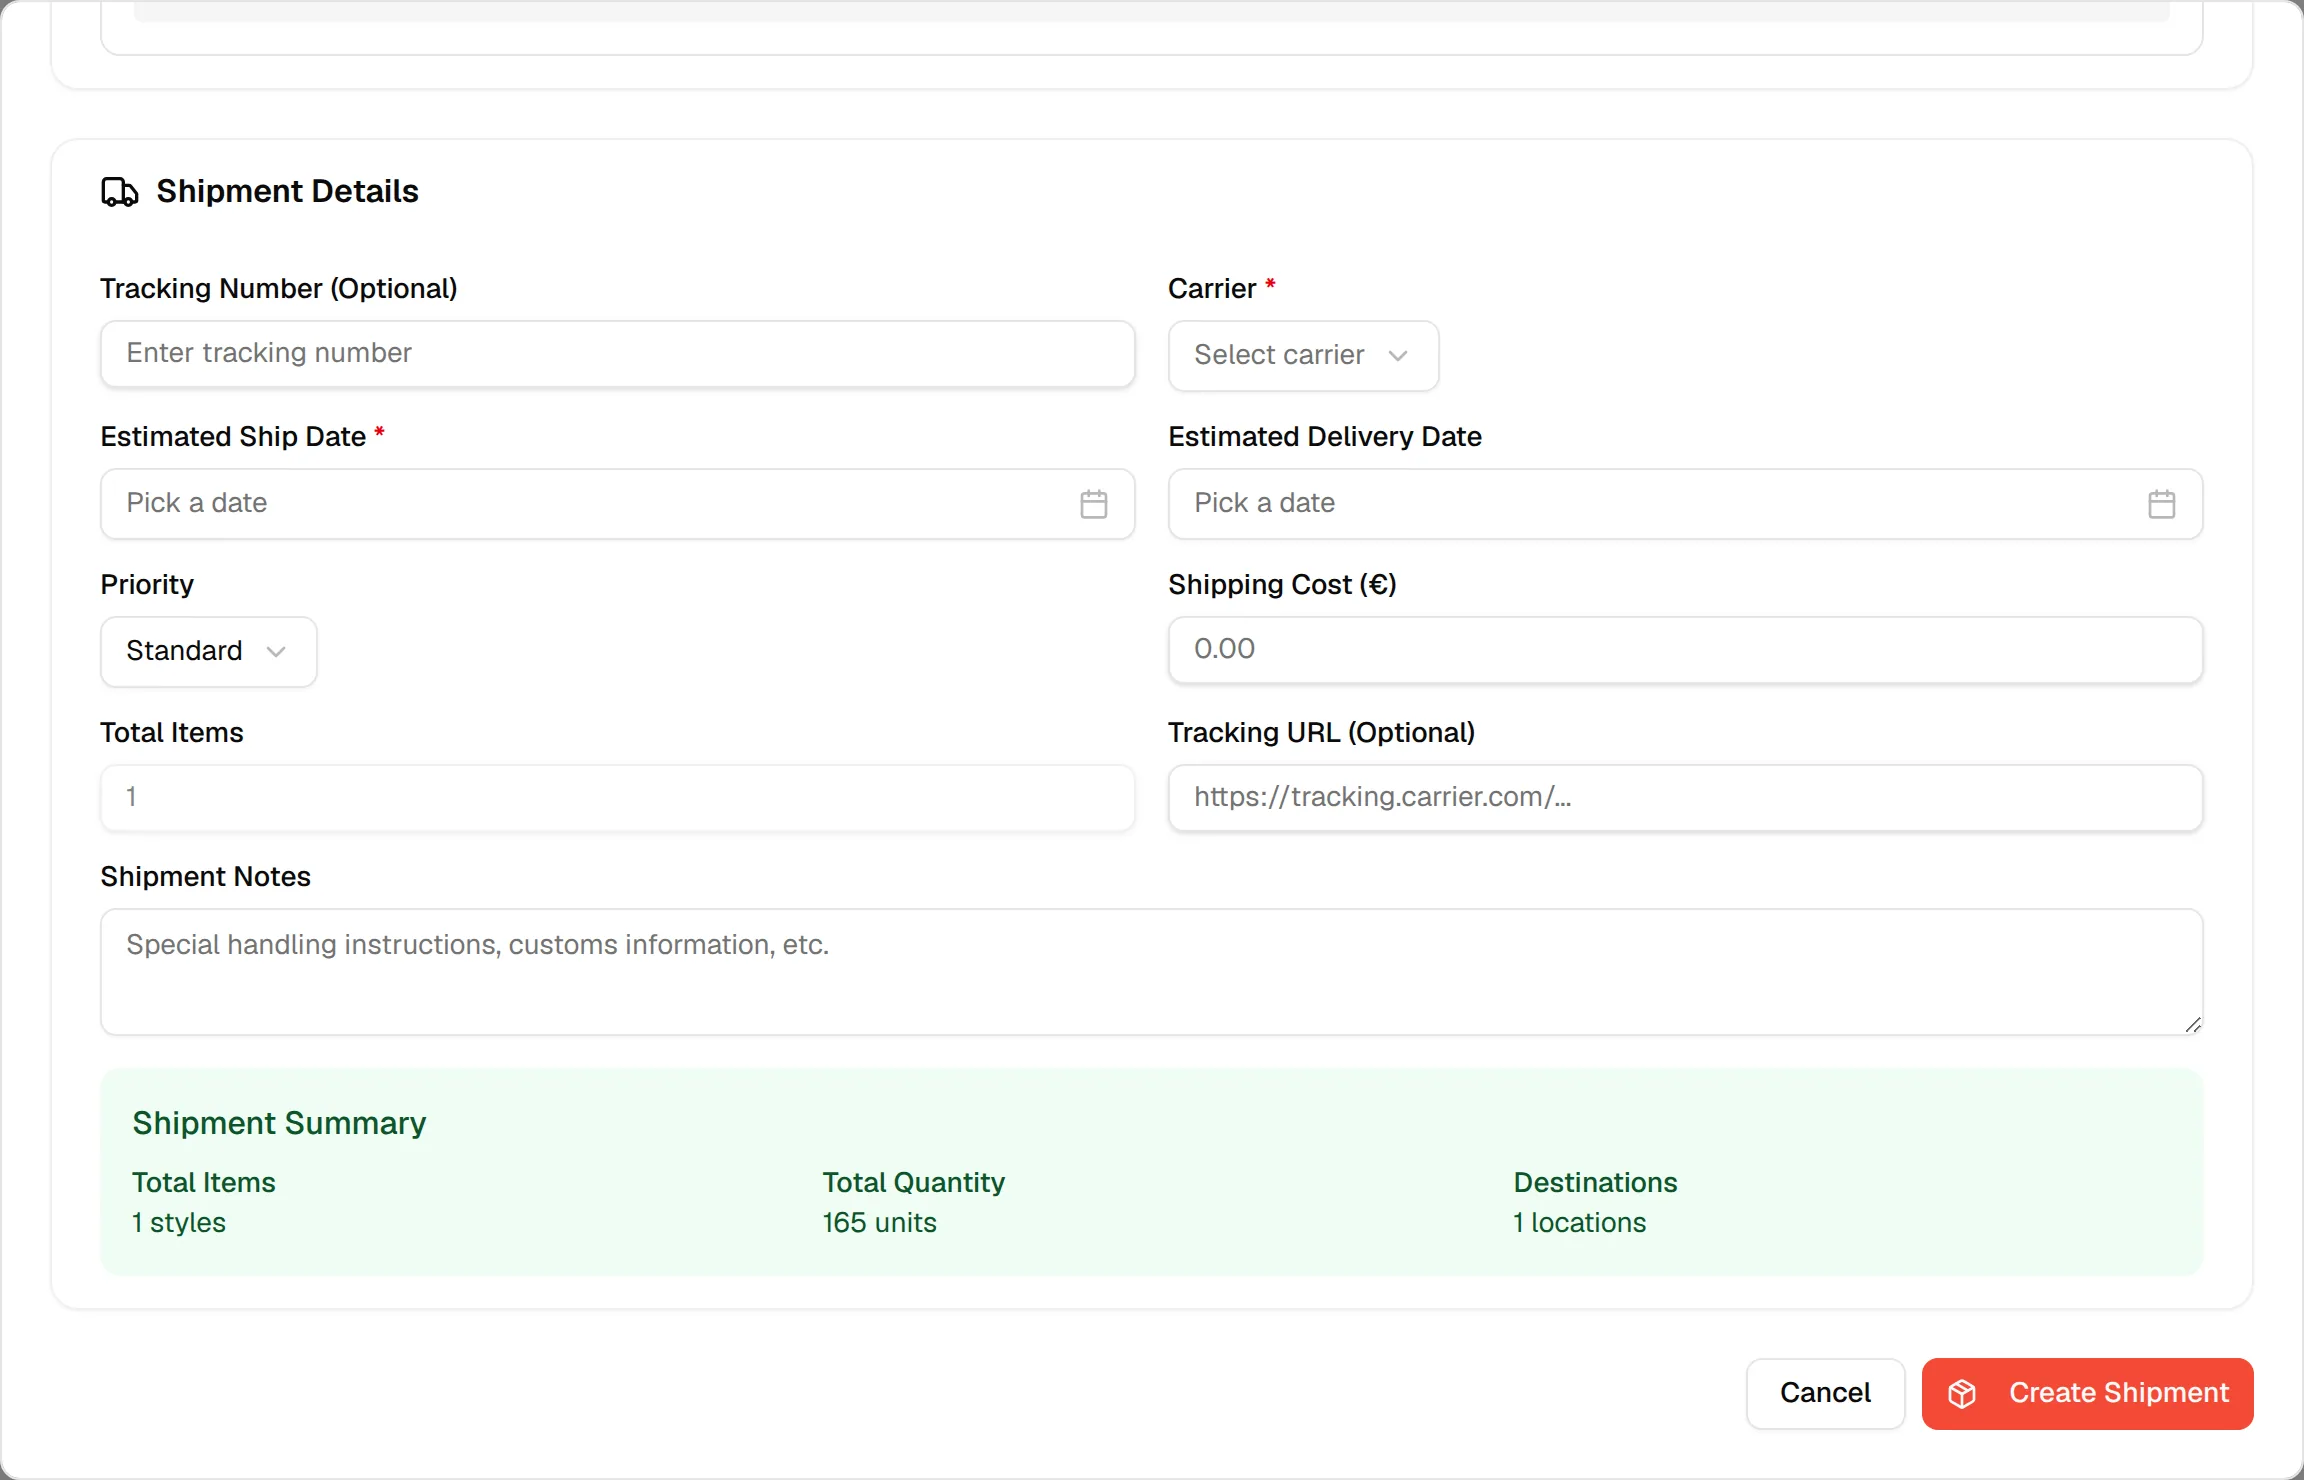
Once there is a destination, Shipment Details appears. Fill in the fields in the table below.
Check the Shipment Summary
Shipment Summary shows the Total Items (styles), the Total Quantity and the number of Destinations. A warning tells you how many selected units are not allocated to a destination.
Click "Create Shipment"
Click Create Shipment at the bottom right. Click Cancel to close without saving.
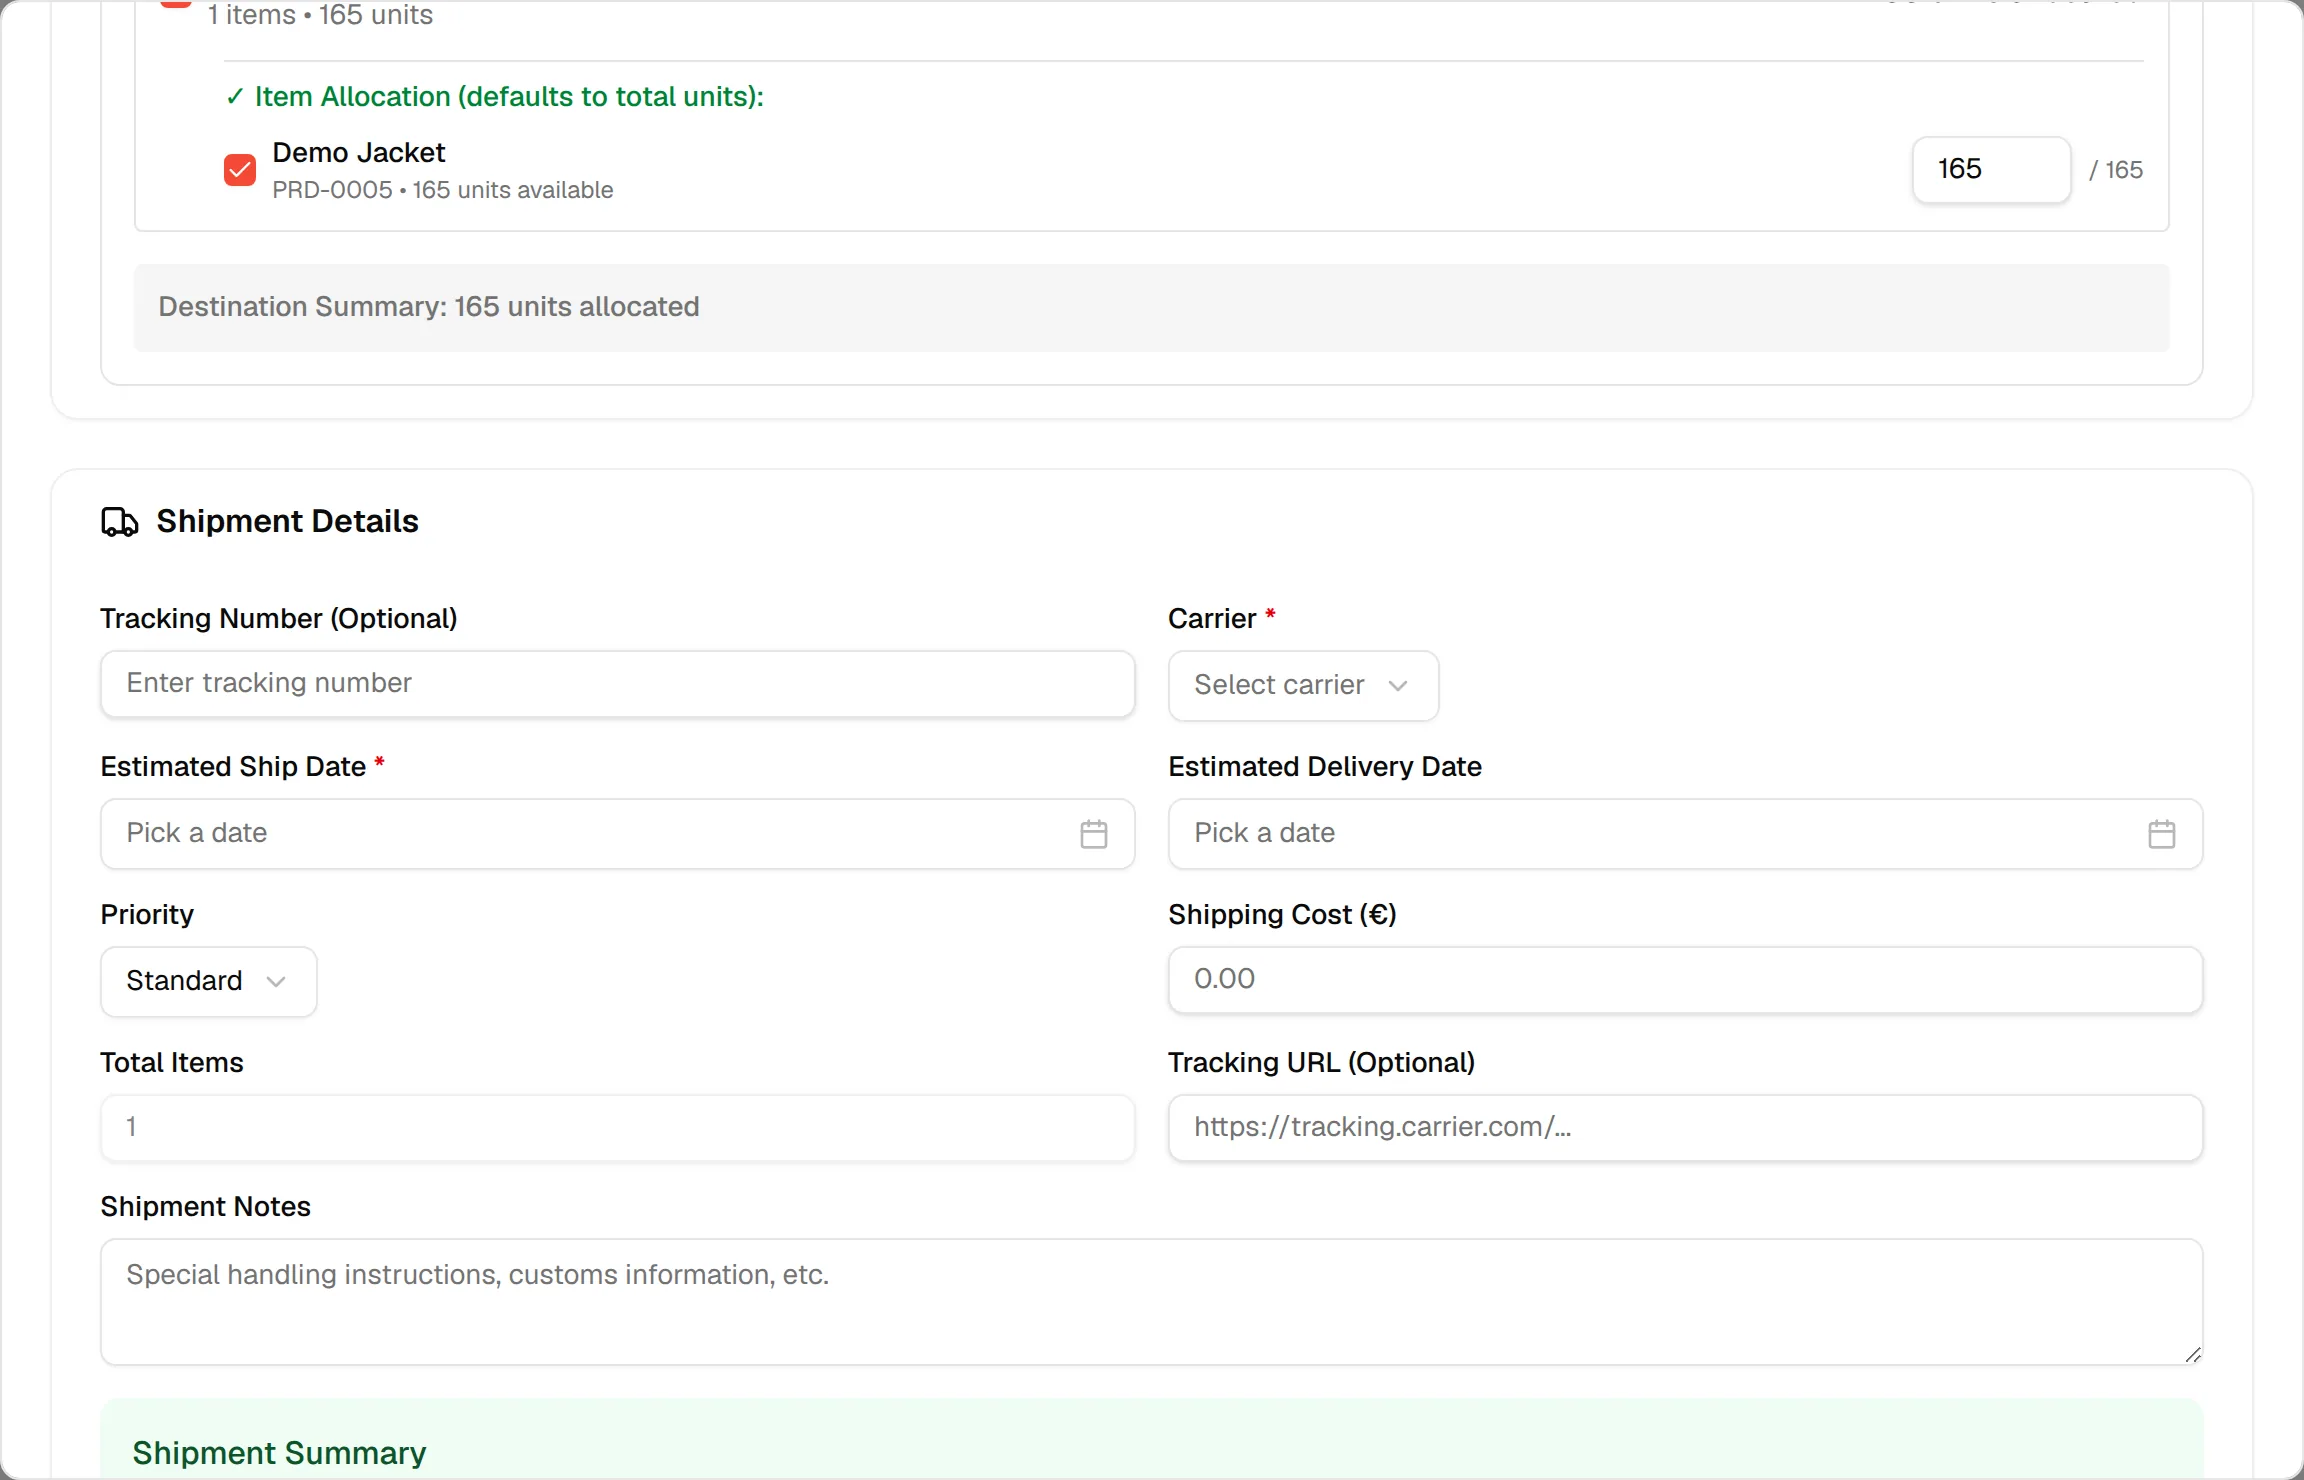
Shipment details fields
| Field | Required | Notes |
|---|---|---|
| Tracking Number (Optional) | No | The carrier's tracking number. |
| Carrier * | Yes | Select from your carriers. |
| Estimated Ship Date * | Yes | Pick a date. |
| Estimated Delivery Date | Yes | Filled in for you from the ship date plus the carrier's delivery days once both are chosen. You can change it. The form asks you to select a date if it is empty. |
| Priority | Yes | Standard (default), Express or Urgent. |
| Shipping Cost (€) | No | Defaults to 0. |
| Total Items | Read only | The number of items allocated across destinations. |
| Tracking URL (Optional) | No | Must be a valid web address, for example https://tracking.carrier.com/.... |
| Shipment Notes | No | Special handling instructions, customs information and so on. |
Messages you may see
- Please select a factory
- Please select at least one order
- Please add at least one destination
- Please select a carrier
- Please select an estimated ship date
- Please select an estimated delivery date
- Please enter a valid URL
Result
The new shipment appears on the Active Shipments tab. See Track active shipments.