
Step 9 of 13 in From idea to a production-ready tech pack
Tech pack bill of materials
Bill of Materials (BOM) is a complete list of all items with corresponding costs and quantities that are required to build a product.
Under review. This page is published while we check it against the live app, so some details may have changed.
Screenshots may be out of date.
Collection & StylesStyles(select a style)Tech PackBill of Material
Permission: VIEW_BILL_OF_MATERIAL
Bill of Materials (BOM) is a complete list of all items with corresponding costs and quantities that are required to build a product. BOM helps companies estimate material costs to plan purchases and reduce waste. It also helps users never miss a single thread, button, zipper, or tiny detail when manufacturing their products.
These steps will guide users to understand how to use the BOM Features.
To access the Tech pack bill of material Page, go to Collection & Style > Style from the left bar menu.
- Select your created style and click Tech pack > Bill of Material on the style menu.
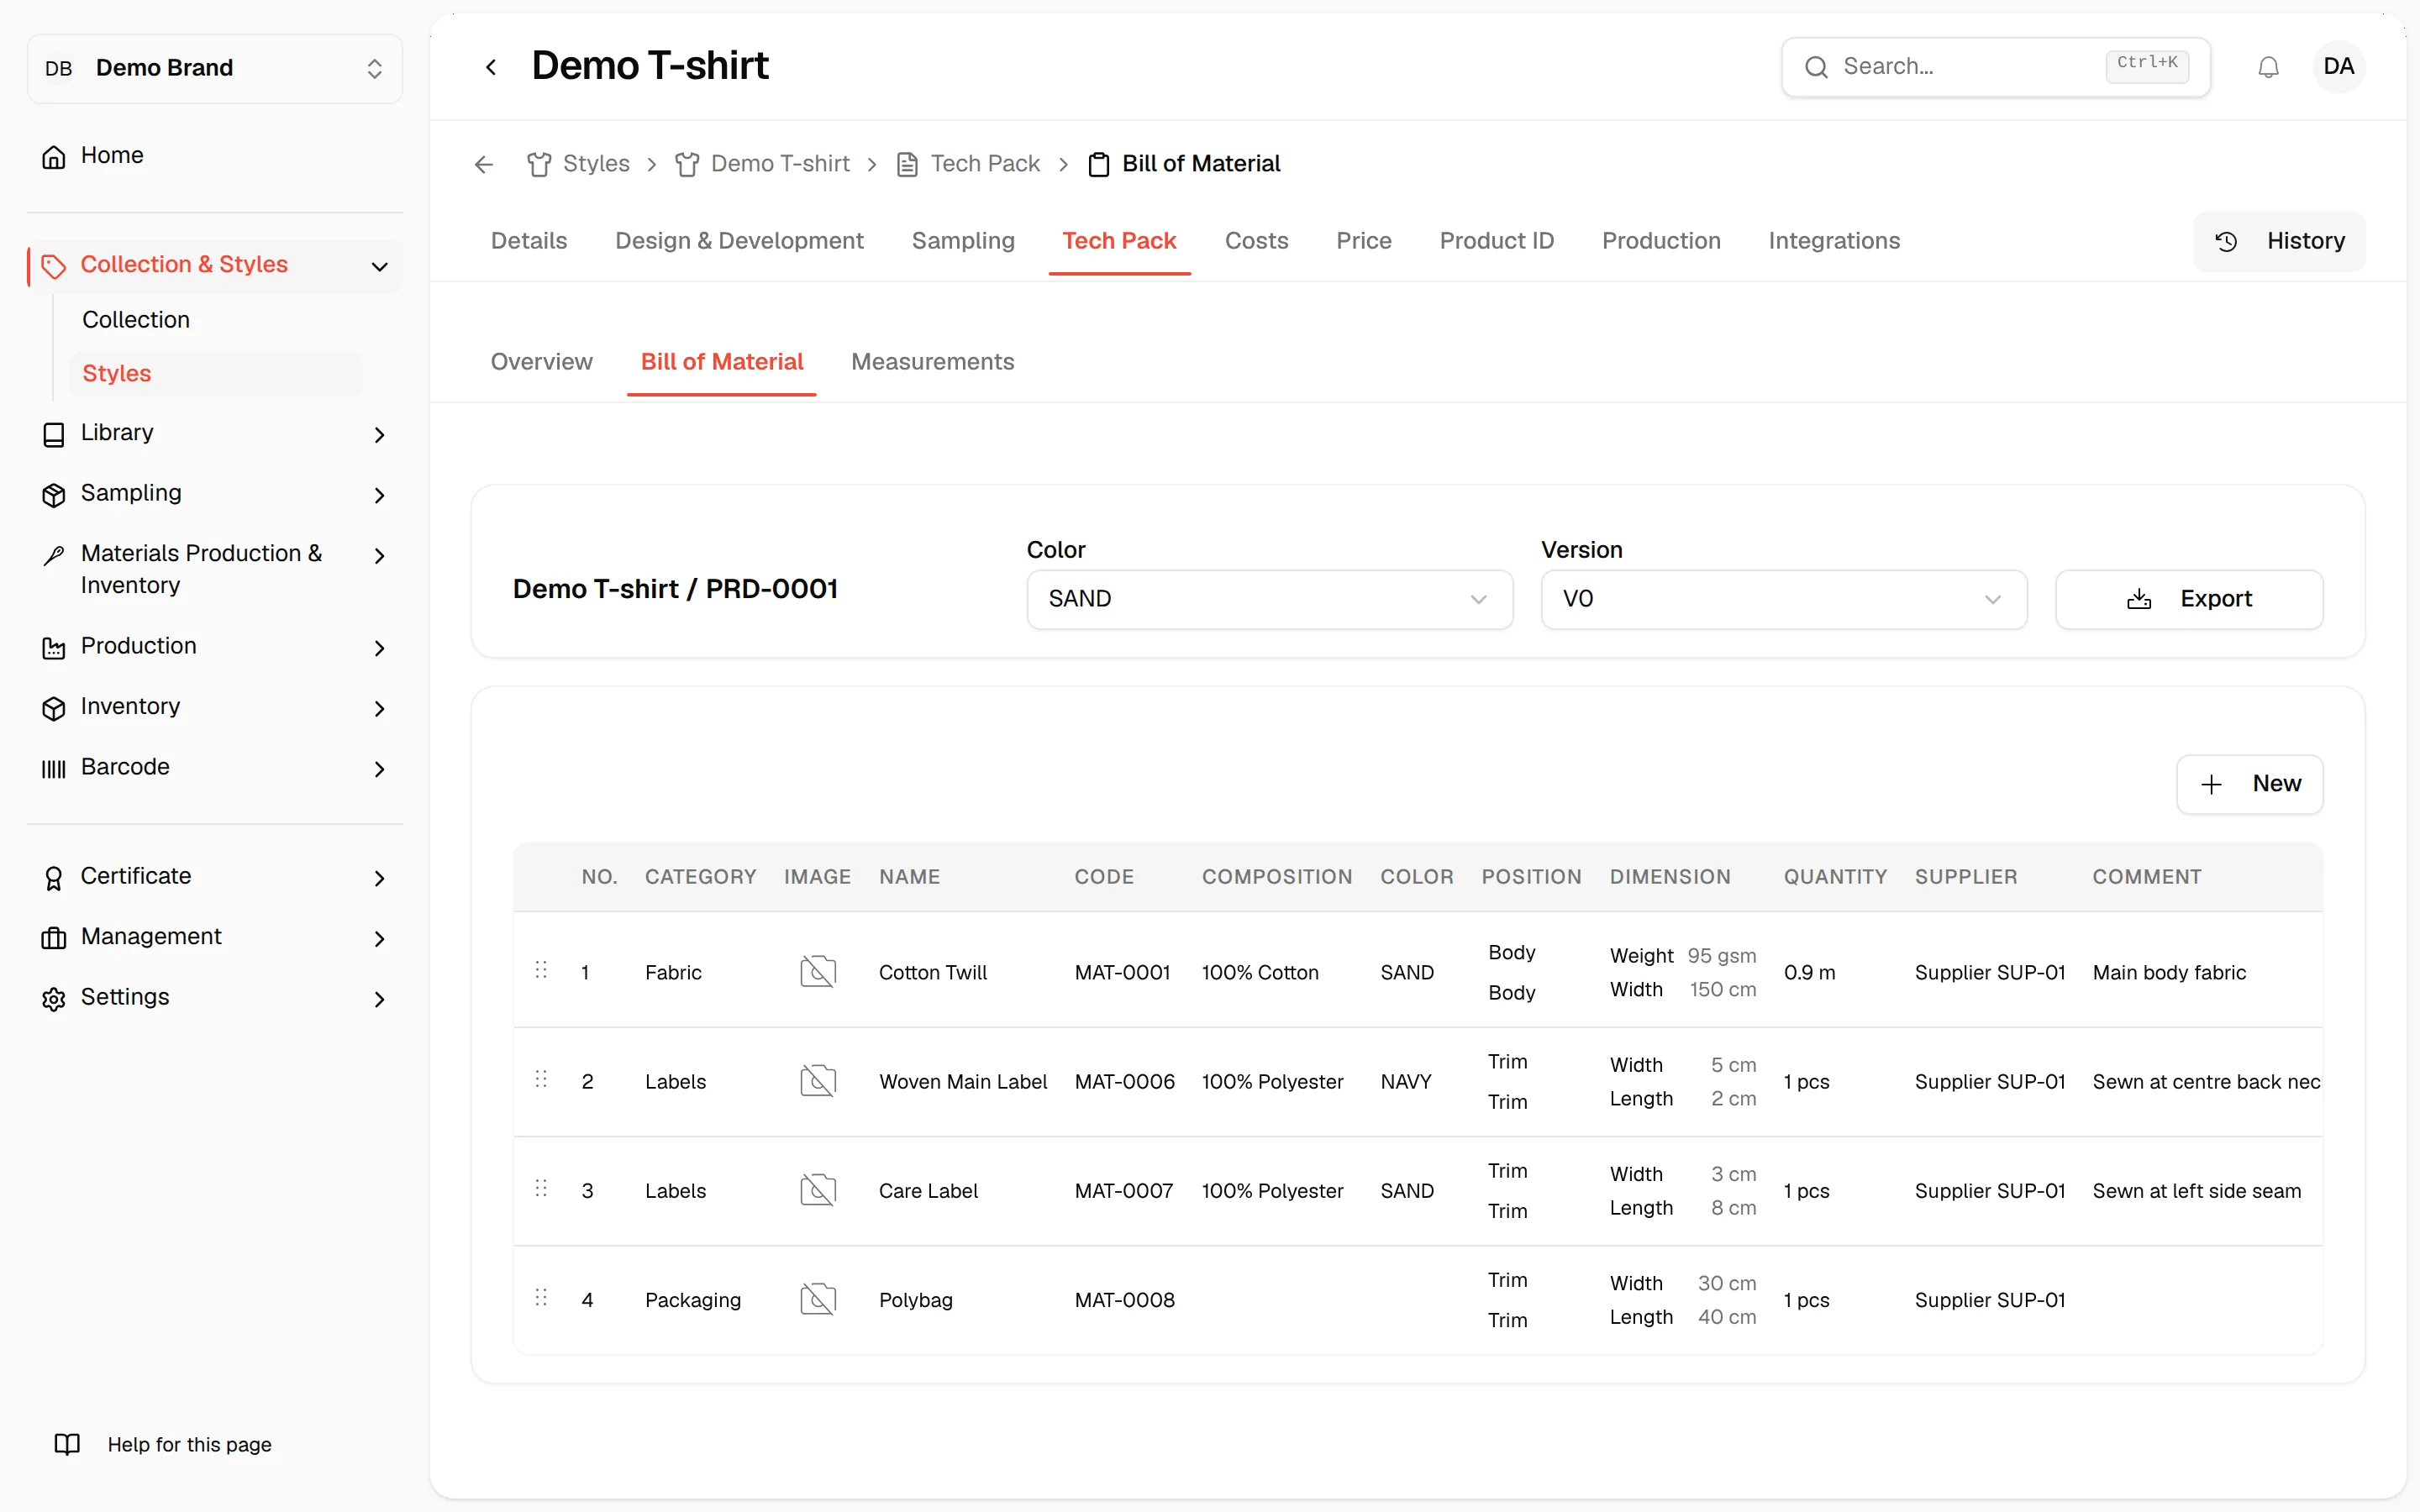
The BOM page will display.
To create the Bill of Material, you must select the final version card and the color of the style.
Nb: the Version that corresponds to the version of the Input Page on Design and Development in the version section.
Check if a Colour is Added First
If no colour has been added to the style yet, the Bill of Material section will show a message: “Bill of Material is not available yet.” To generate the BOM, at least one colour must be added first in Style Details. Click Go to Style Details to add a colour.
Note
If the final colour is not confirmed yet, add a placeholder such as TBC1, TBC2, or TBC3 so you can continue building the BOM now and update it later.
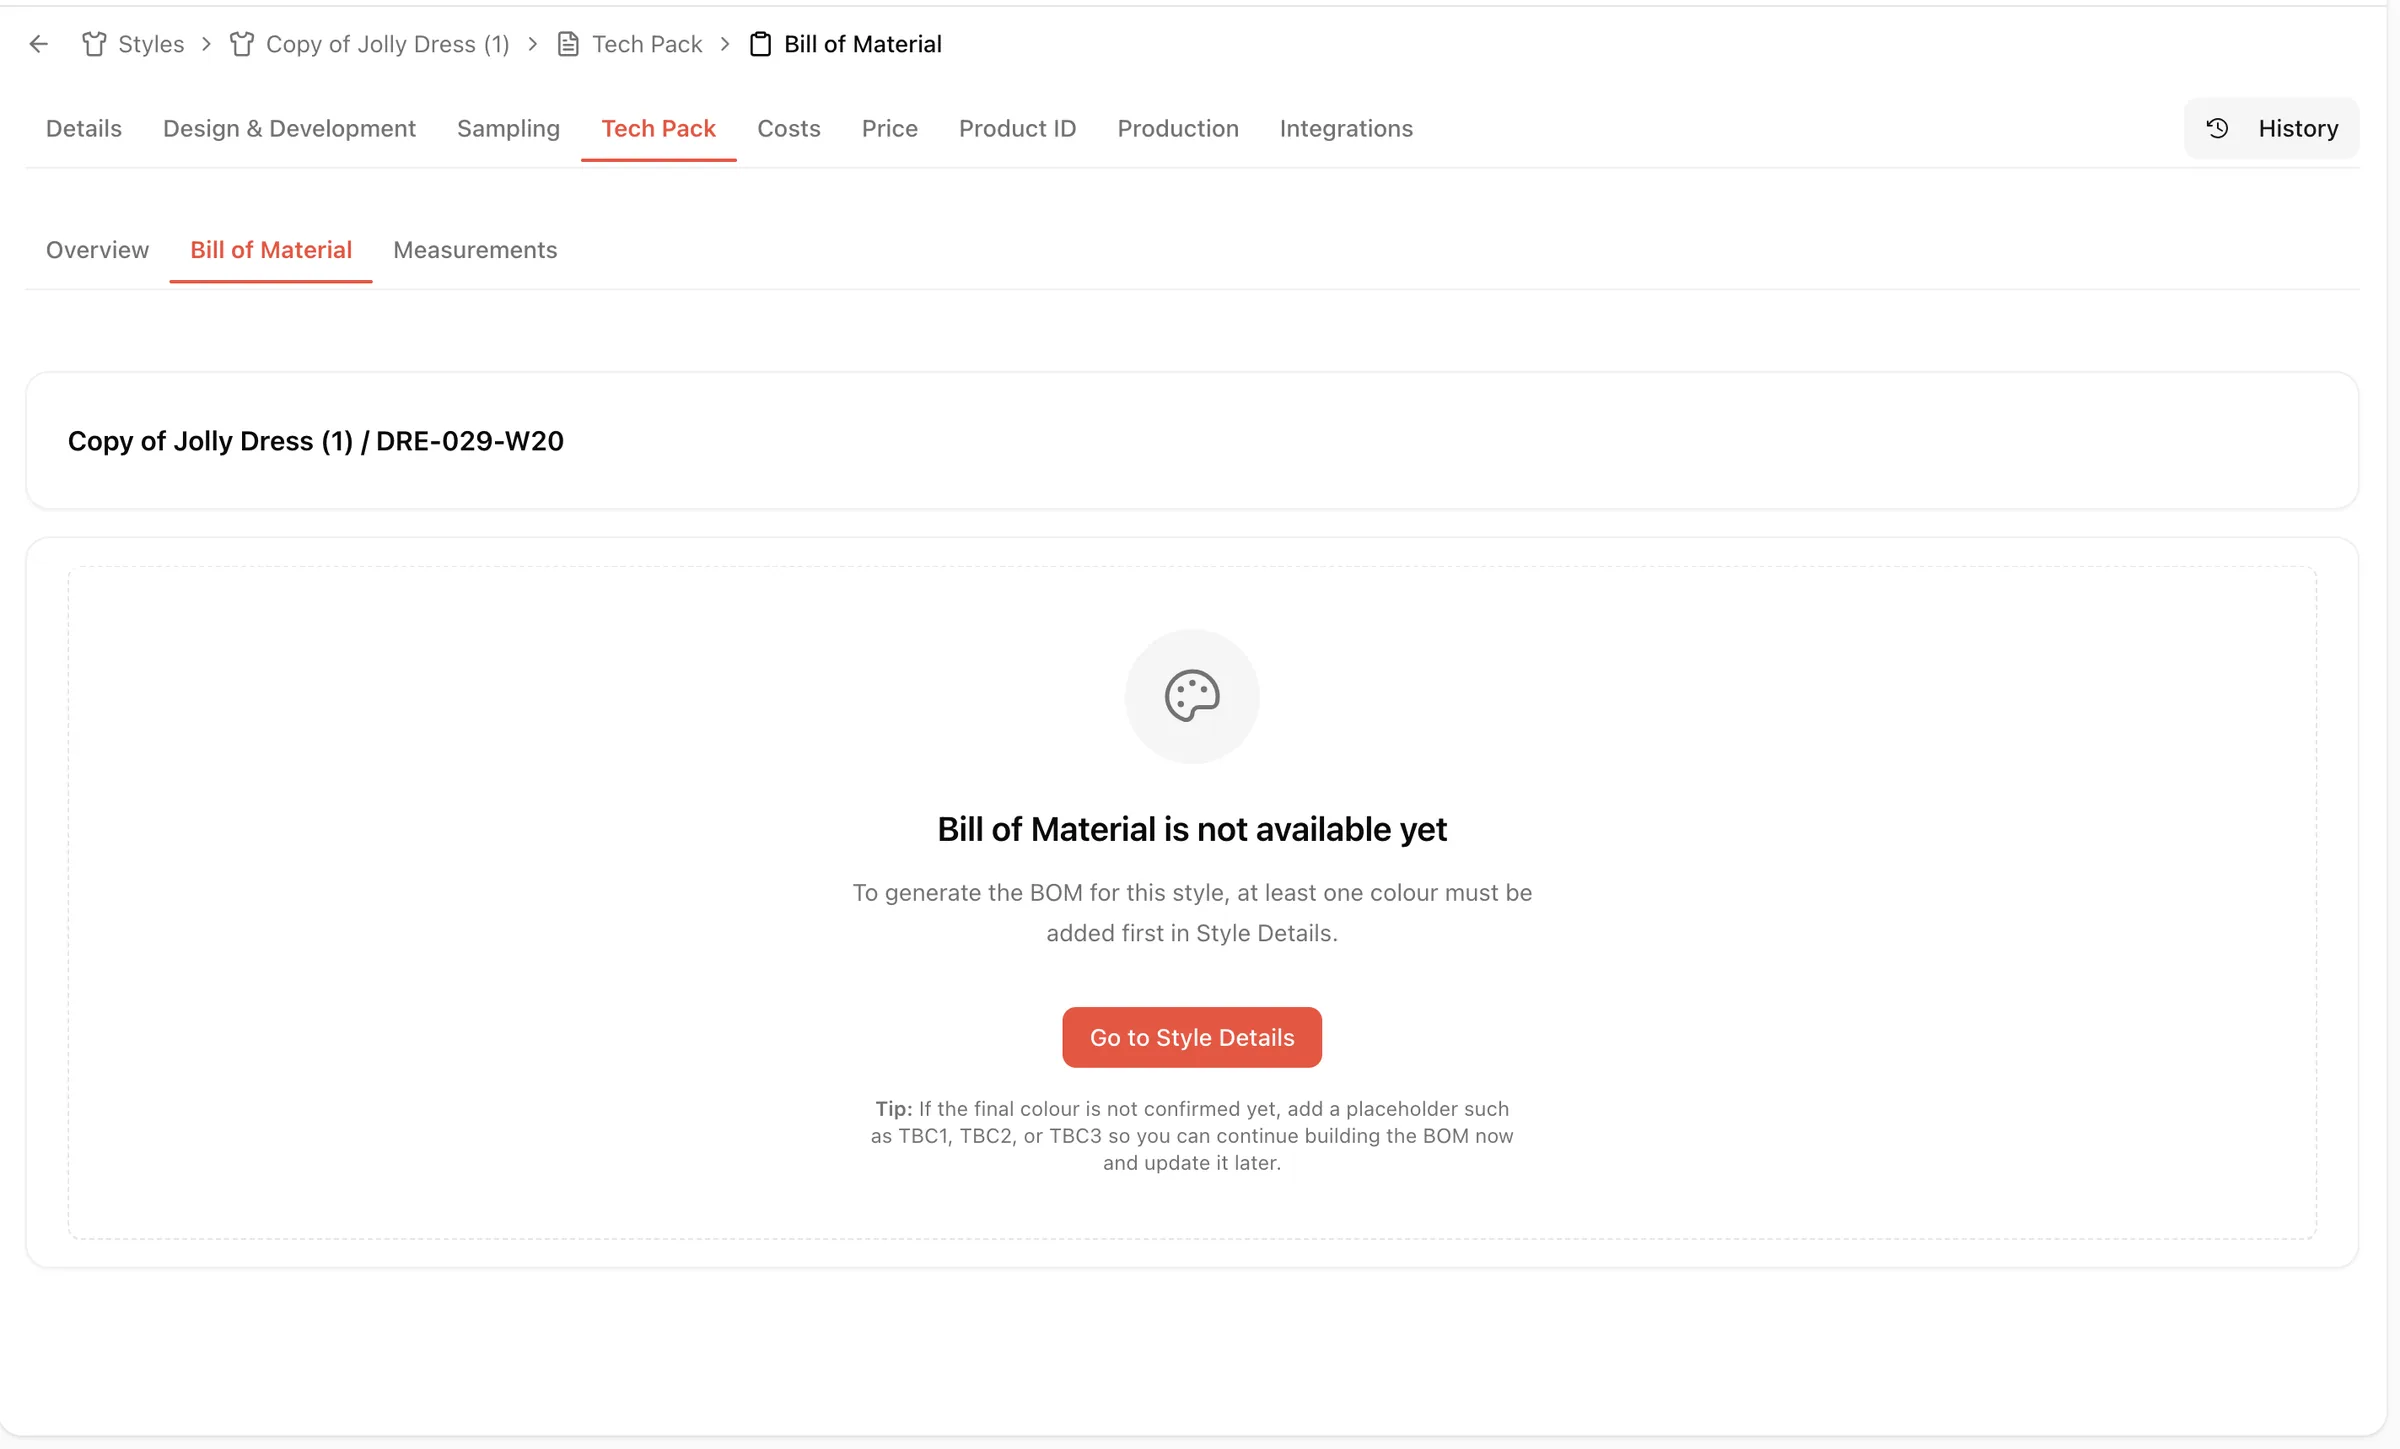
Add a Colour in Style Details
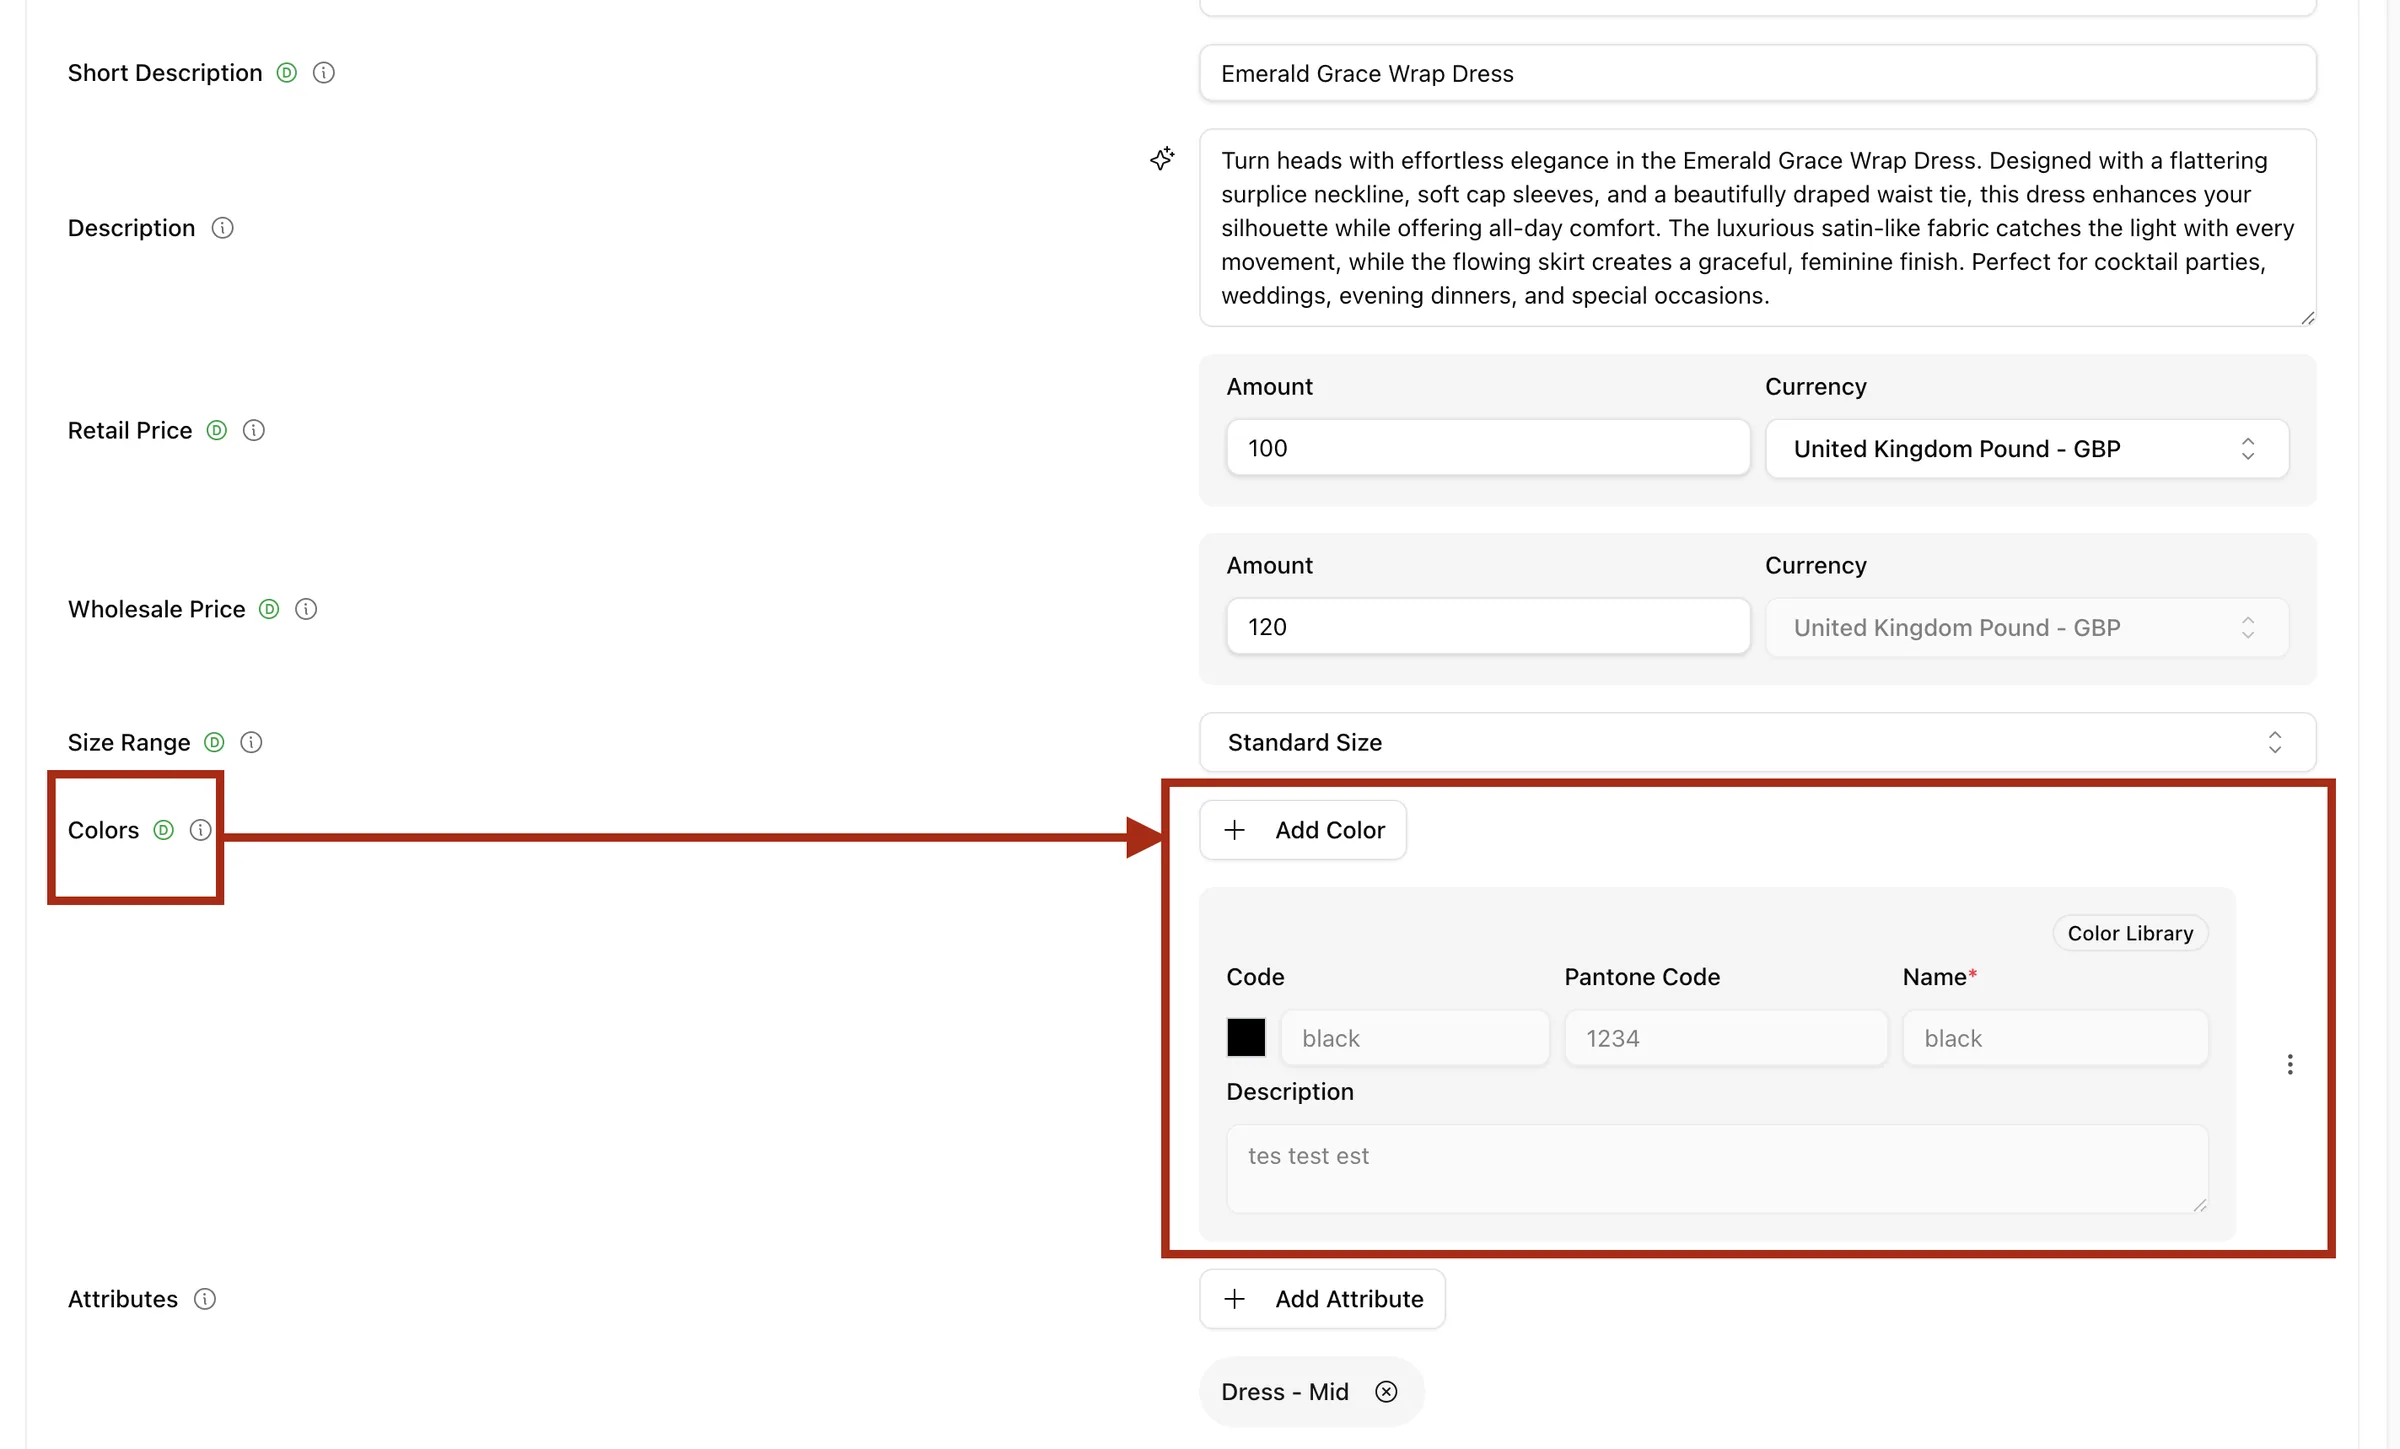
In the Style Details page, scroll down to the Colors field. Click + Add Color to add a new colour option. For each colour, fill in:
- Code – a short colour identifier (e.g. black)
- Pantone Code – the Pantone reference number (e.g. 1234)
- Name – the colour name (required field)
- Description – optional notes about the colour
You can also click Color Library to pick from saved brand colours. Once done, return to Tech Pack > Bill of Material.
View and Filter the Bill of Material
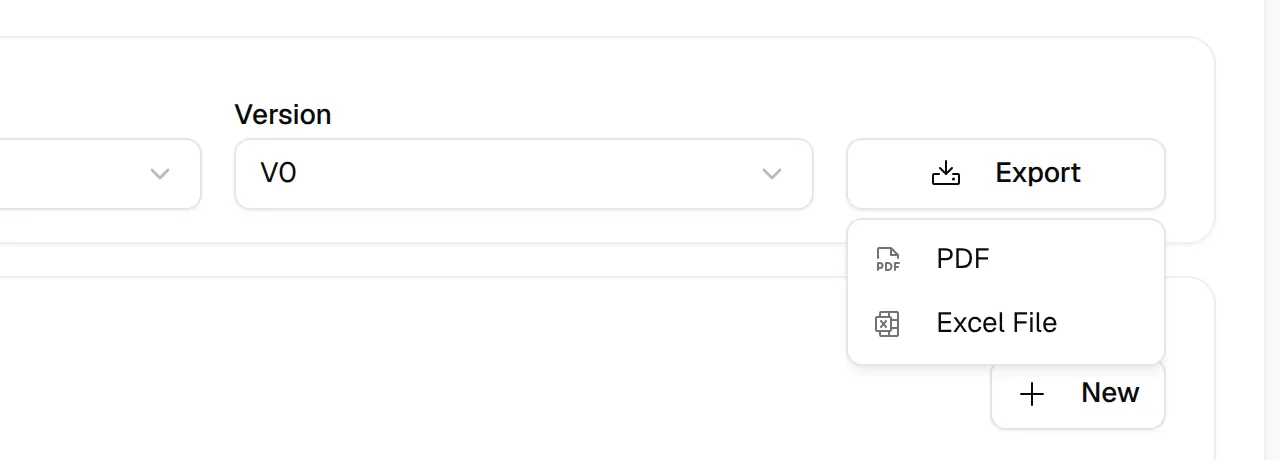
Once at least one colour exists, the Bill of Material will display. Use the Color dropdown at the top to select which colour option to view the BOM for (e.g. black). Use the Version dropdown to select the BOM version (e.g. V0). Click Export to download the BOM.

The BOM content is automatically added from the input page on the library of the Design and Development Page.
Users can create the BOM content manually on the Page.
Users can select the BOM column to complete the BOM data. Click the Color Cell and select the color that is relevant to the style/color BOM.
Select the Color
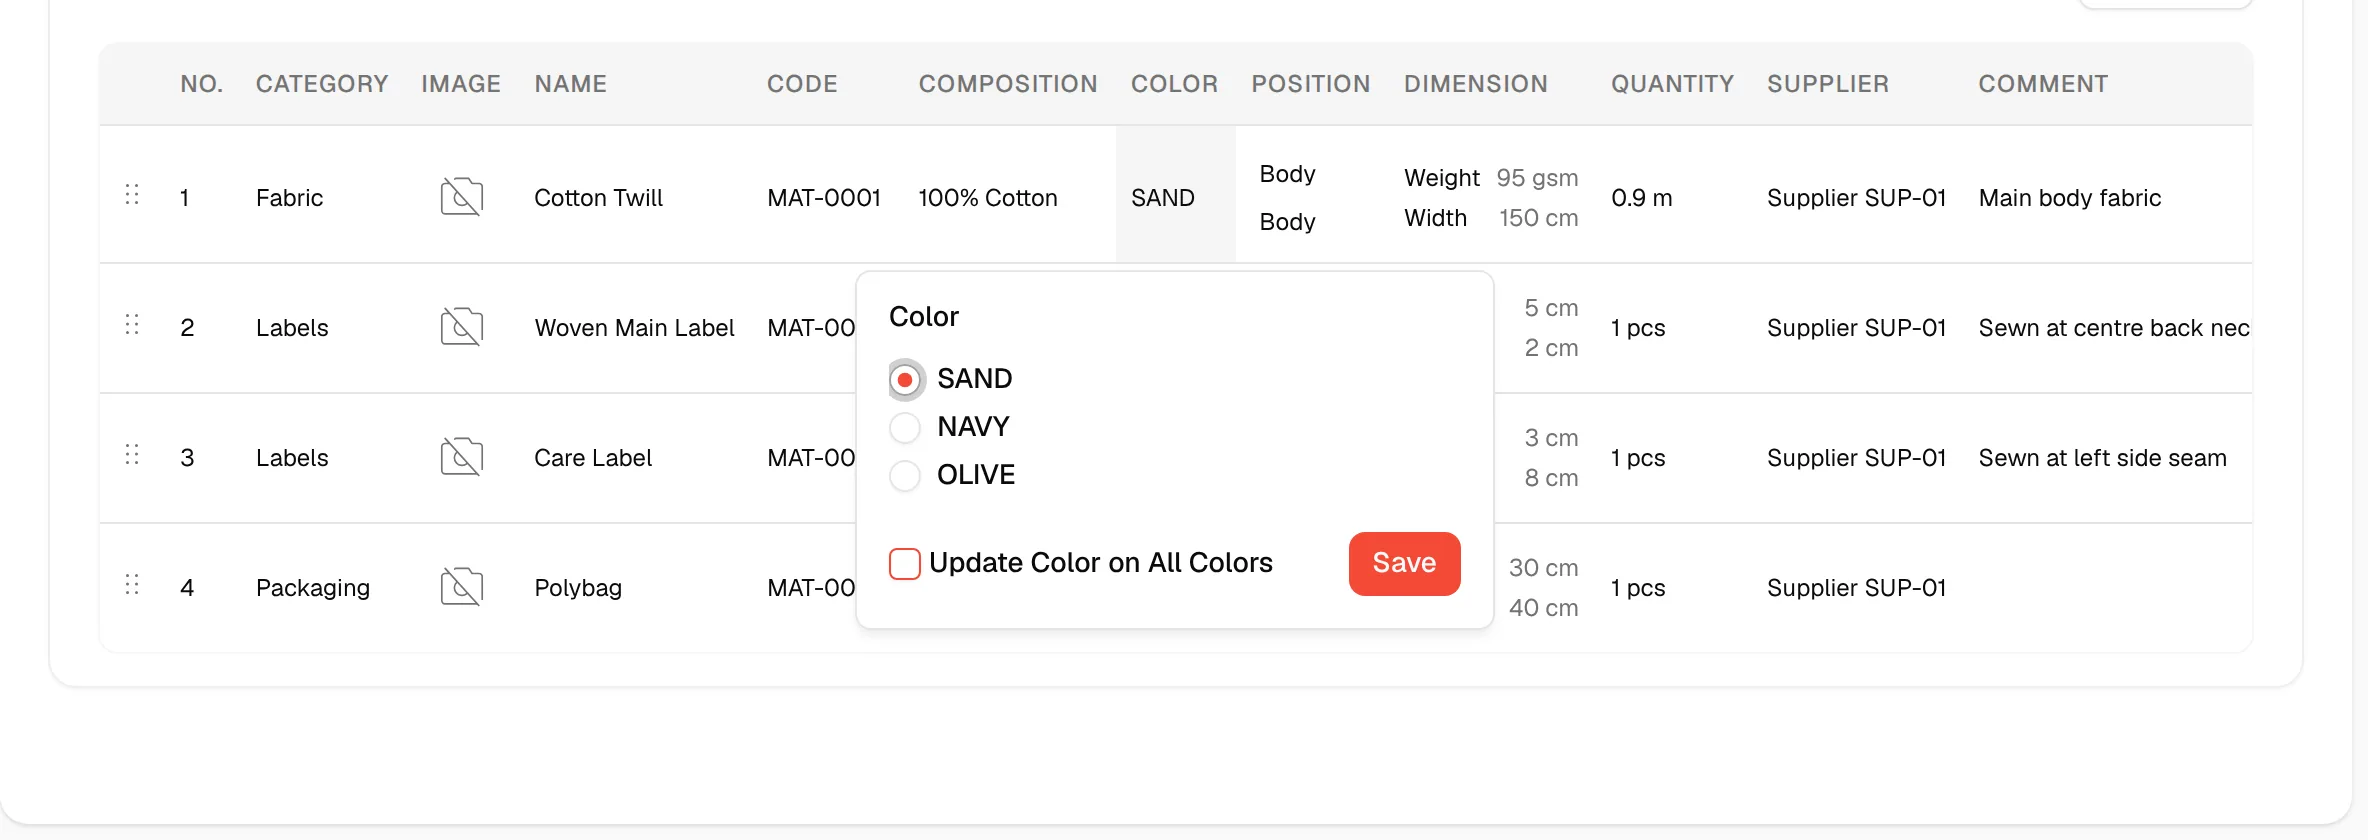
Select “Update Color on All Colors” to apply the changes to all colors.
Select Save to finish.
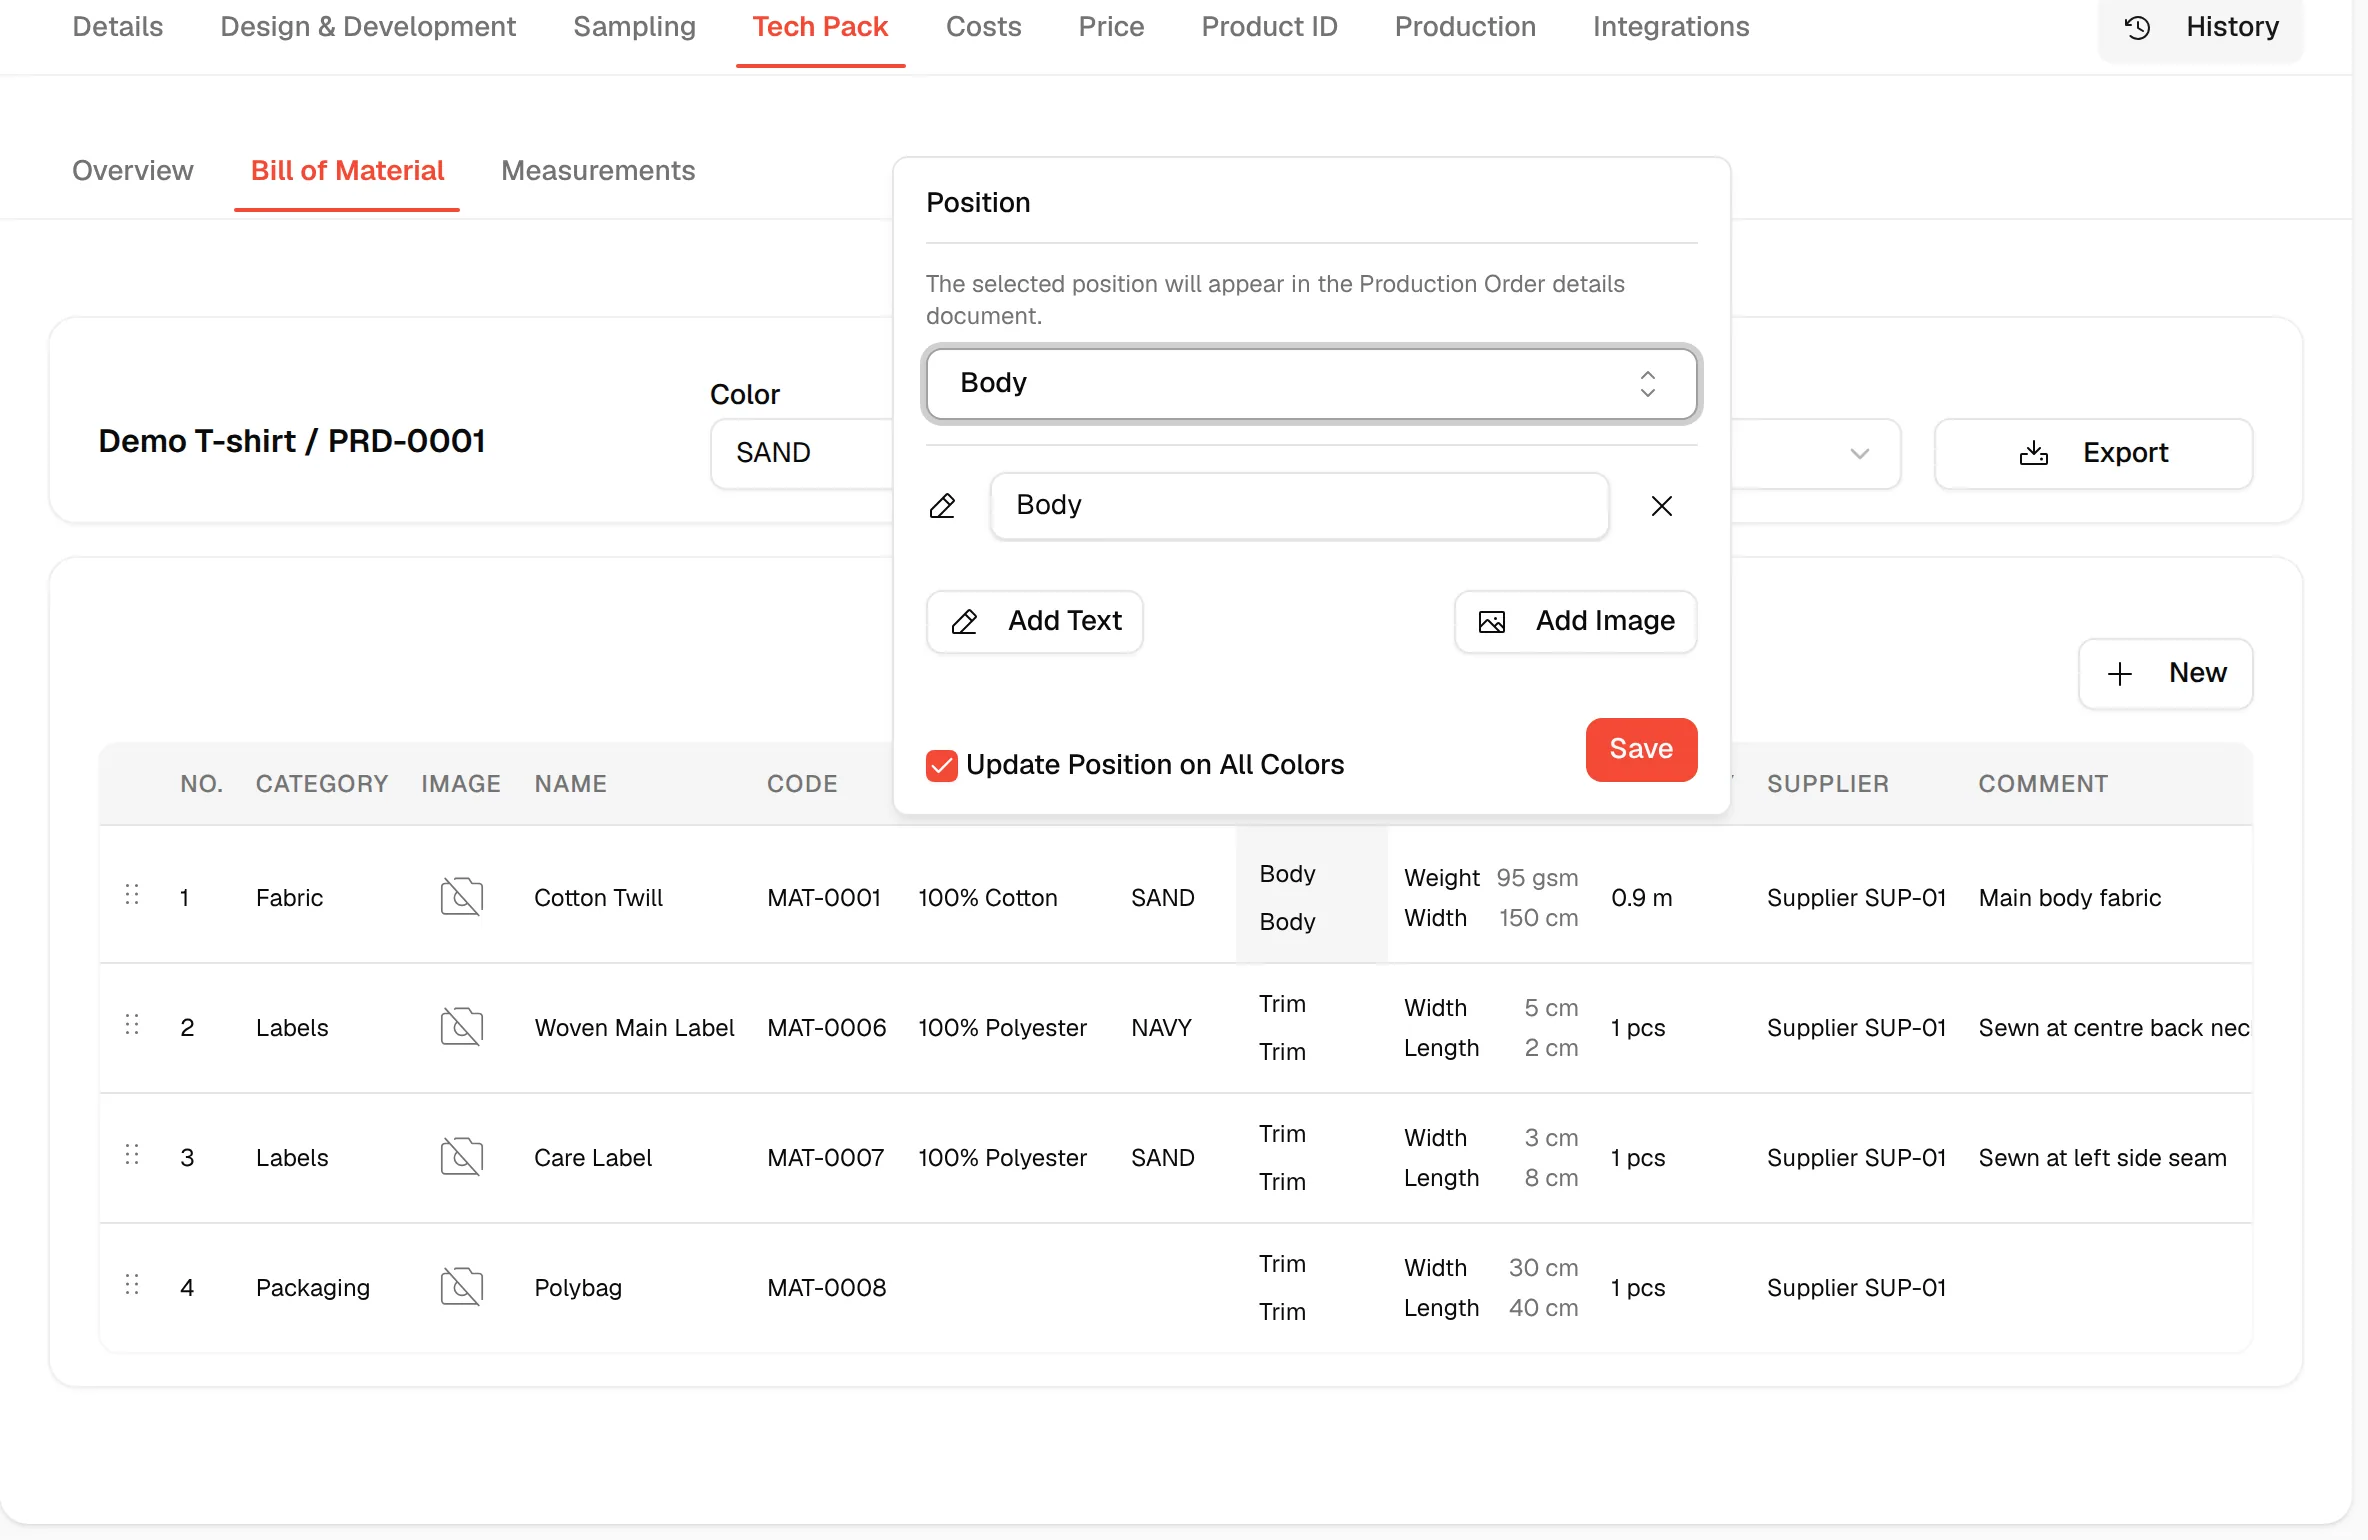
Select the Position Cell to input the detailed position of the material with two options:
Users can select Update Position on all Colors so that the data in this column will be automatically applied to all colors. After creating the adjustment, select Save.
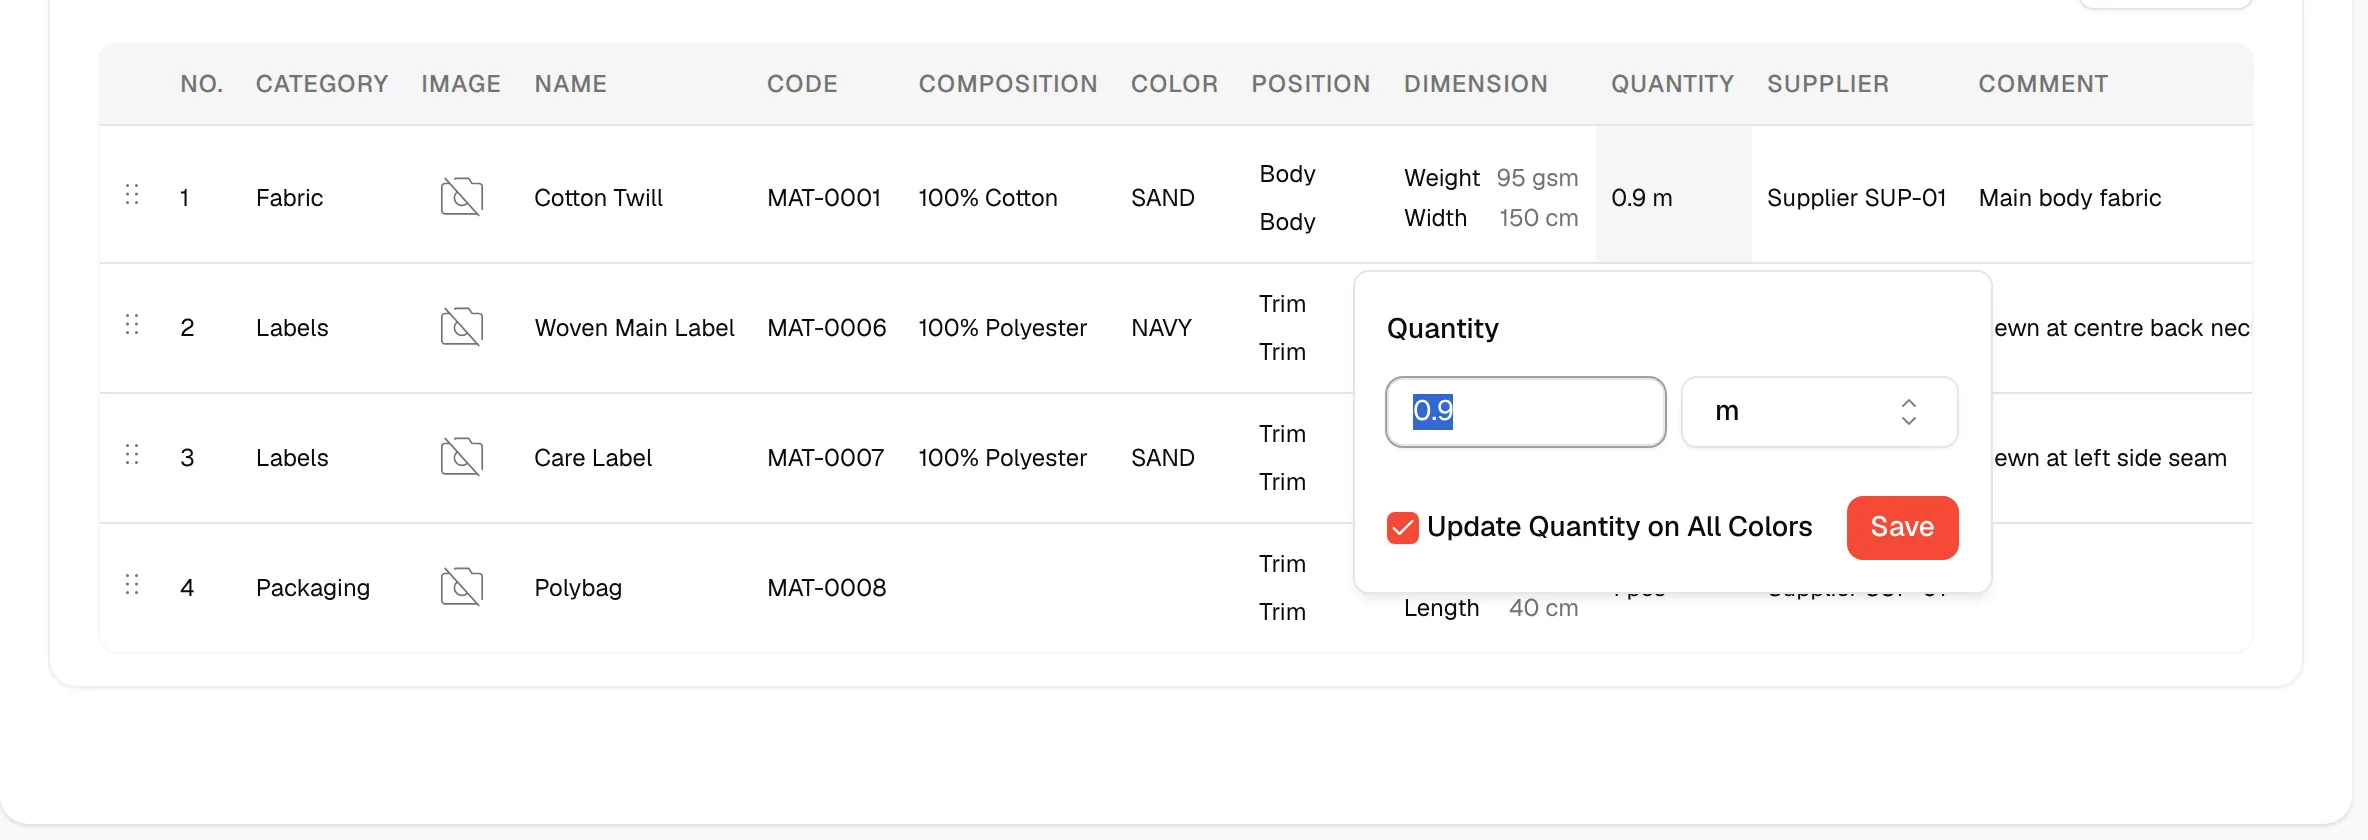
- Select the Quantity Cell and enter the quantity number and unit of the product to create your style. After creating the adjustment, select Save.
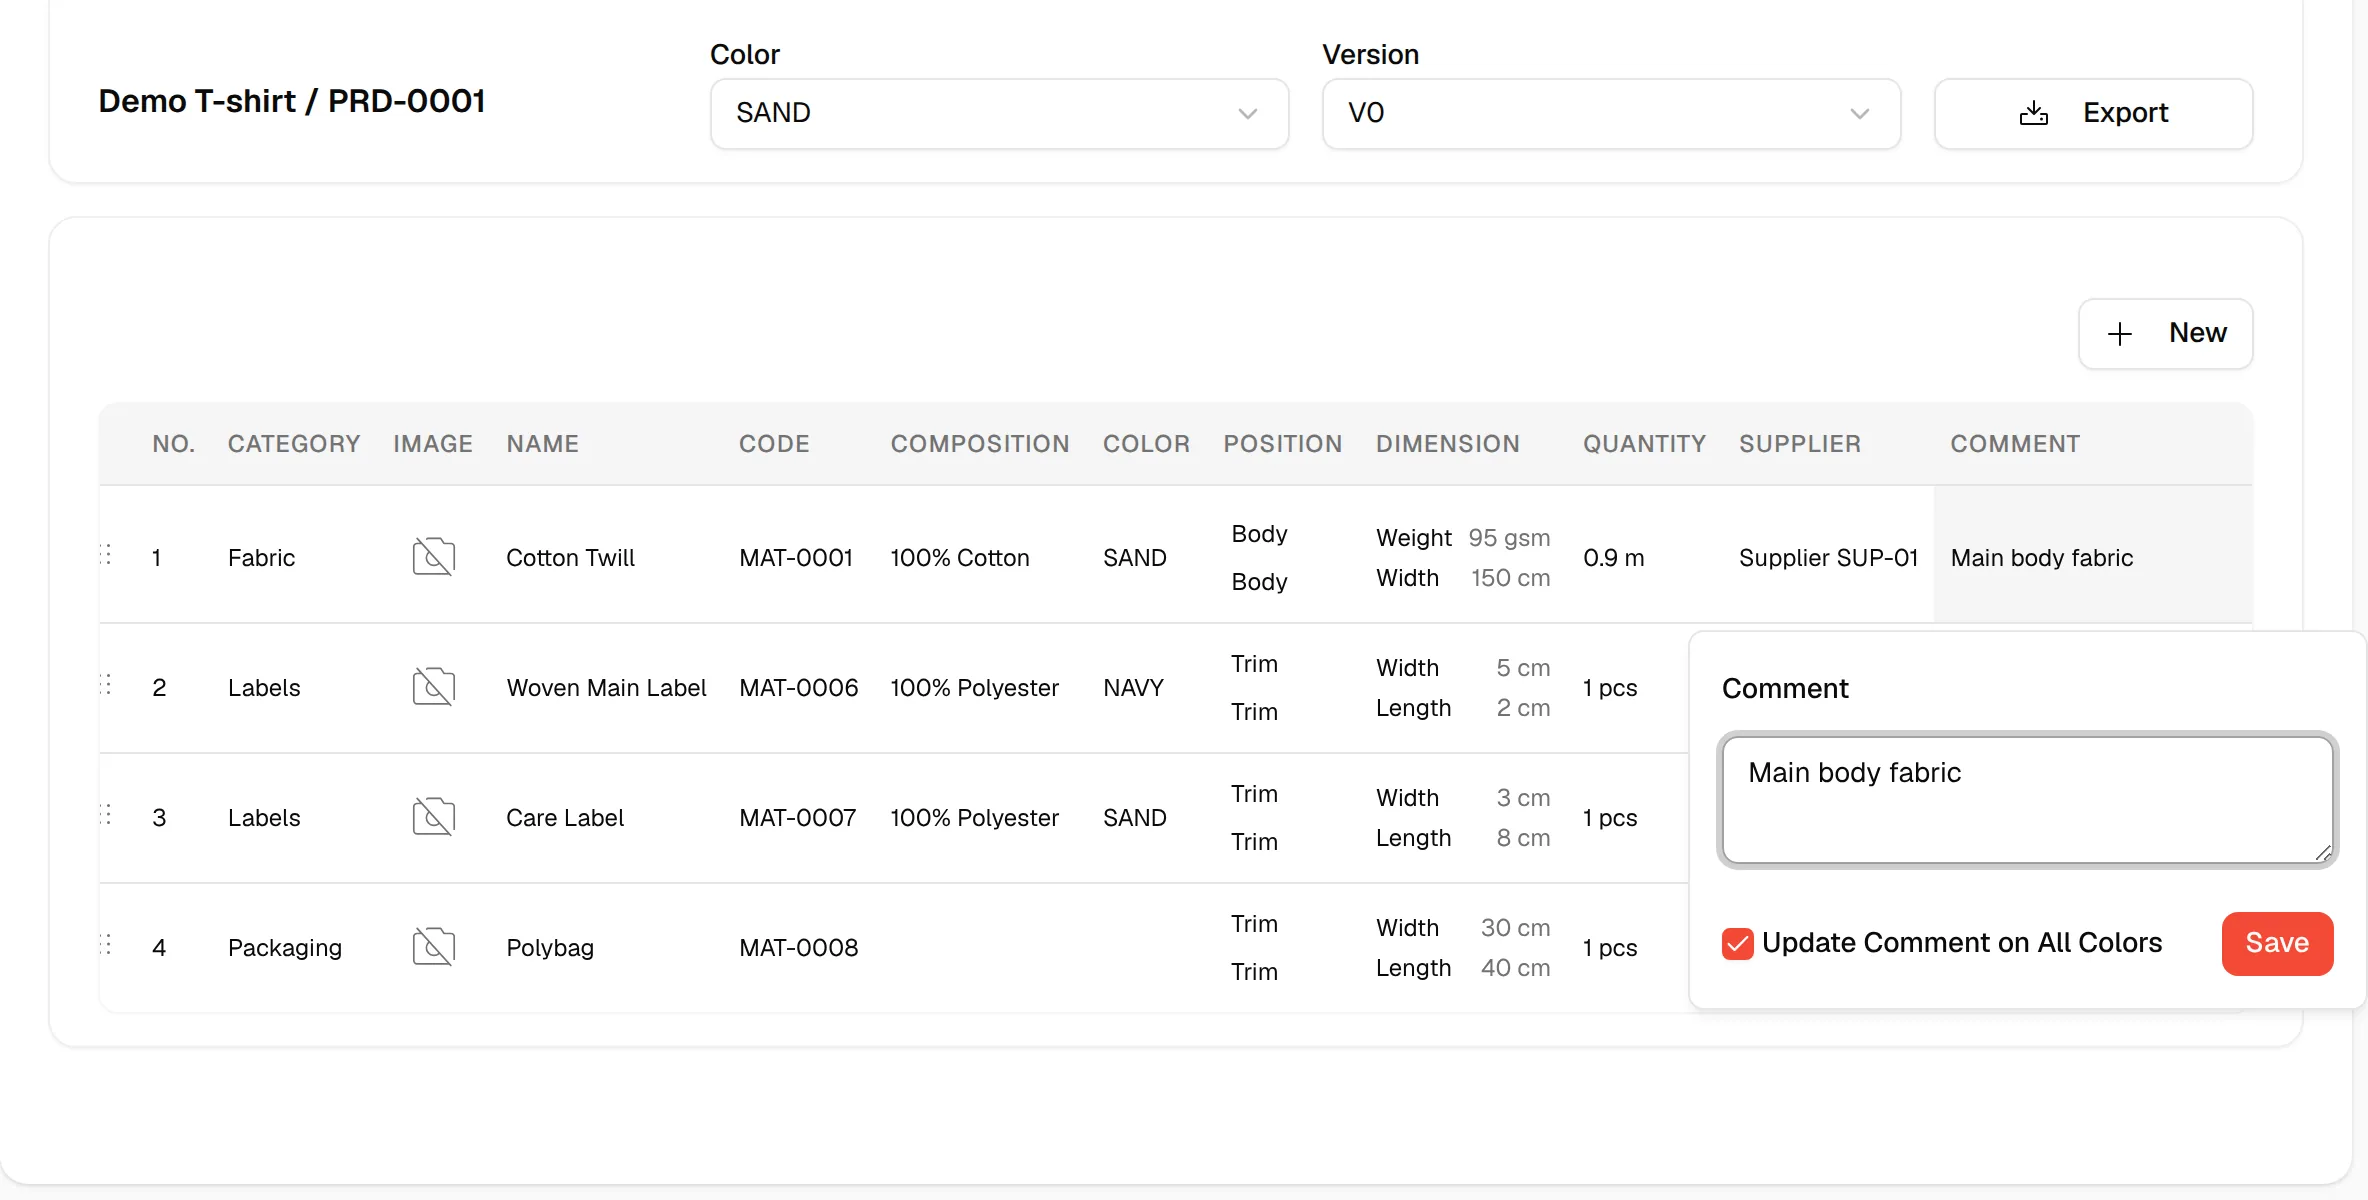
Select the Comment Cell and enter the comment in the comment field. After creating the adjustment, select Save.
Users can select Update Comment on all Colors so that the data in this column will be automatically applied to all colors.
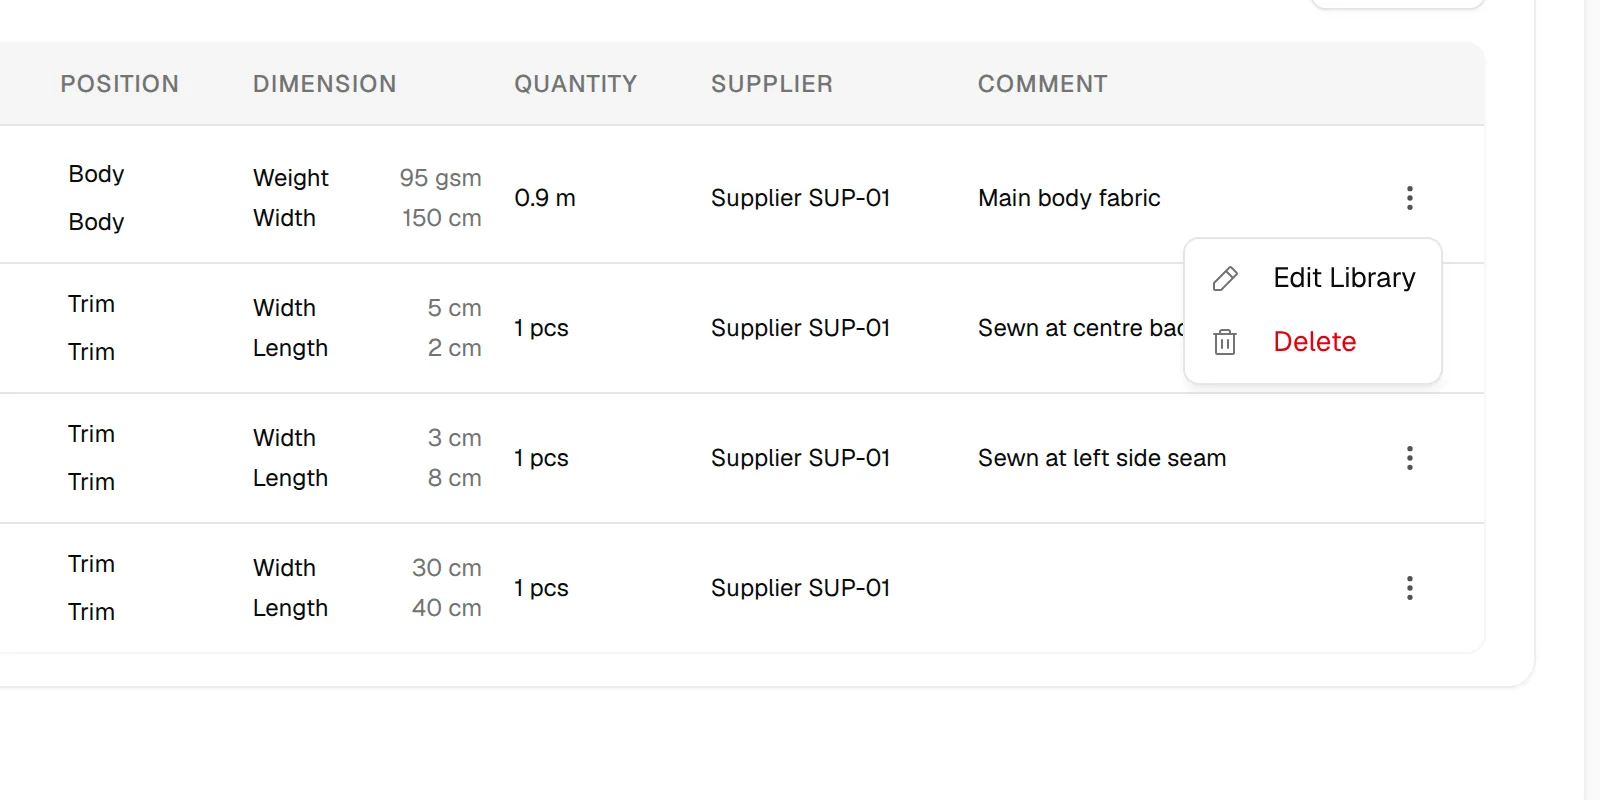
- Three dots to select action for the selected user.
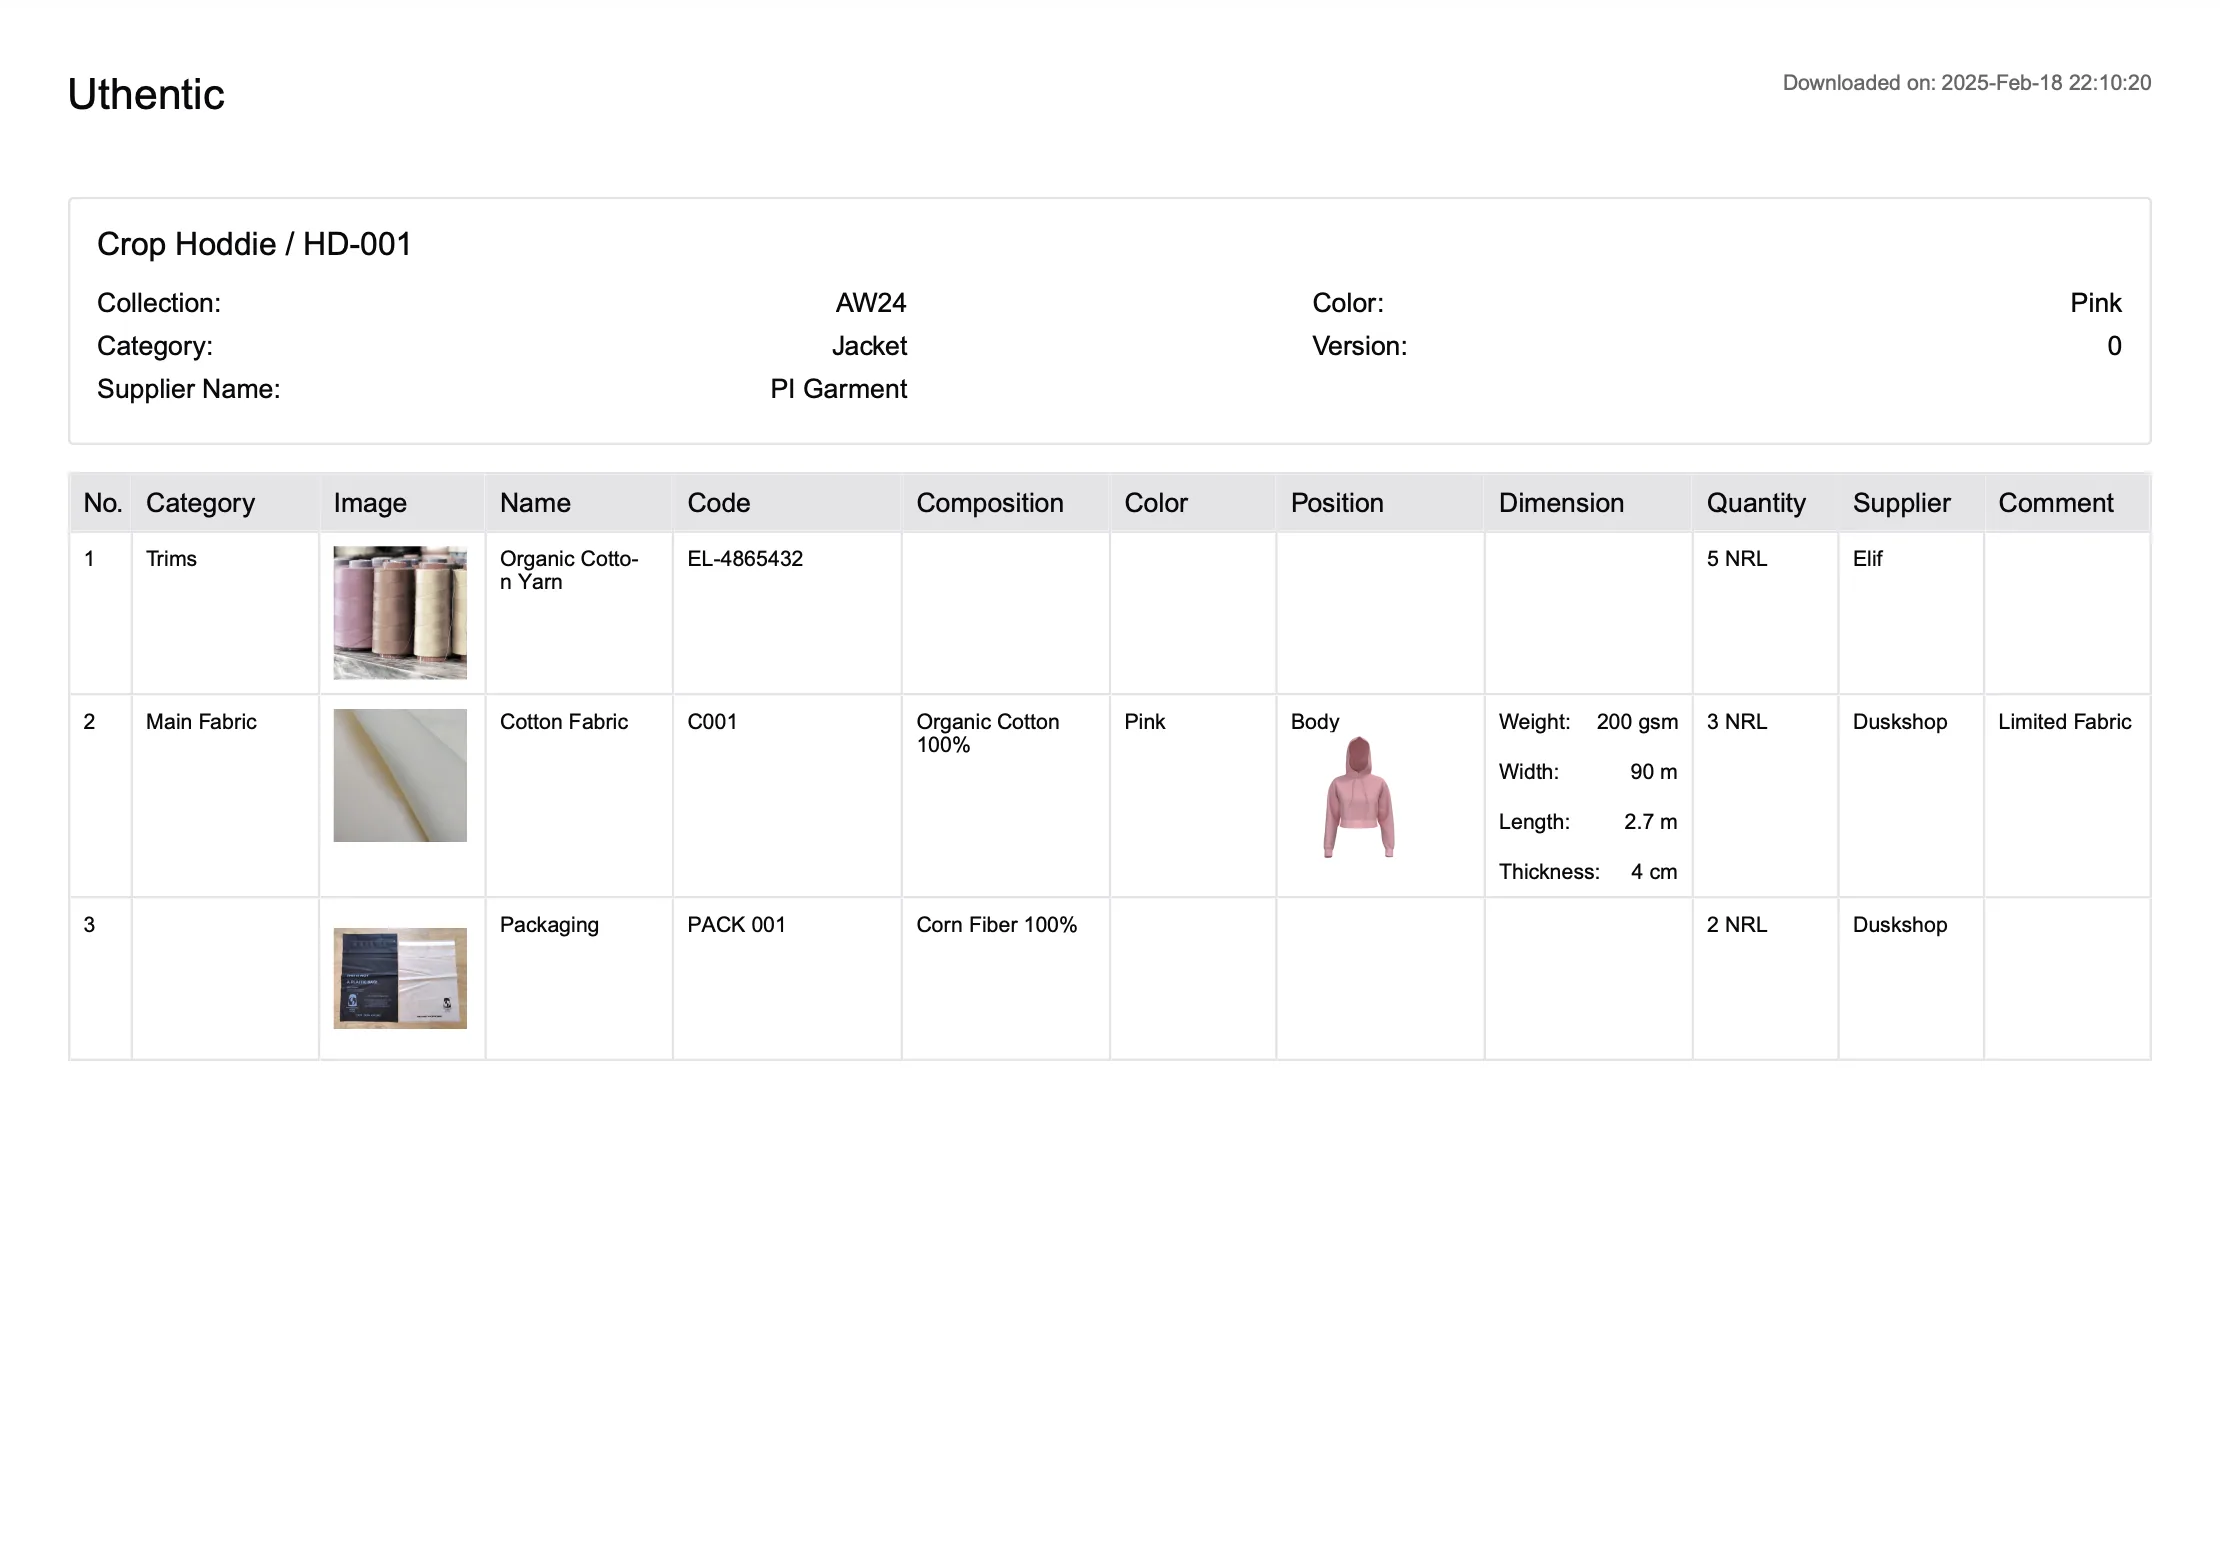
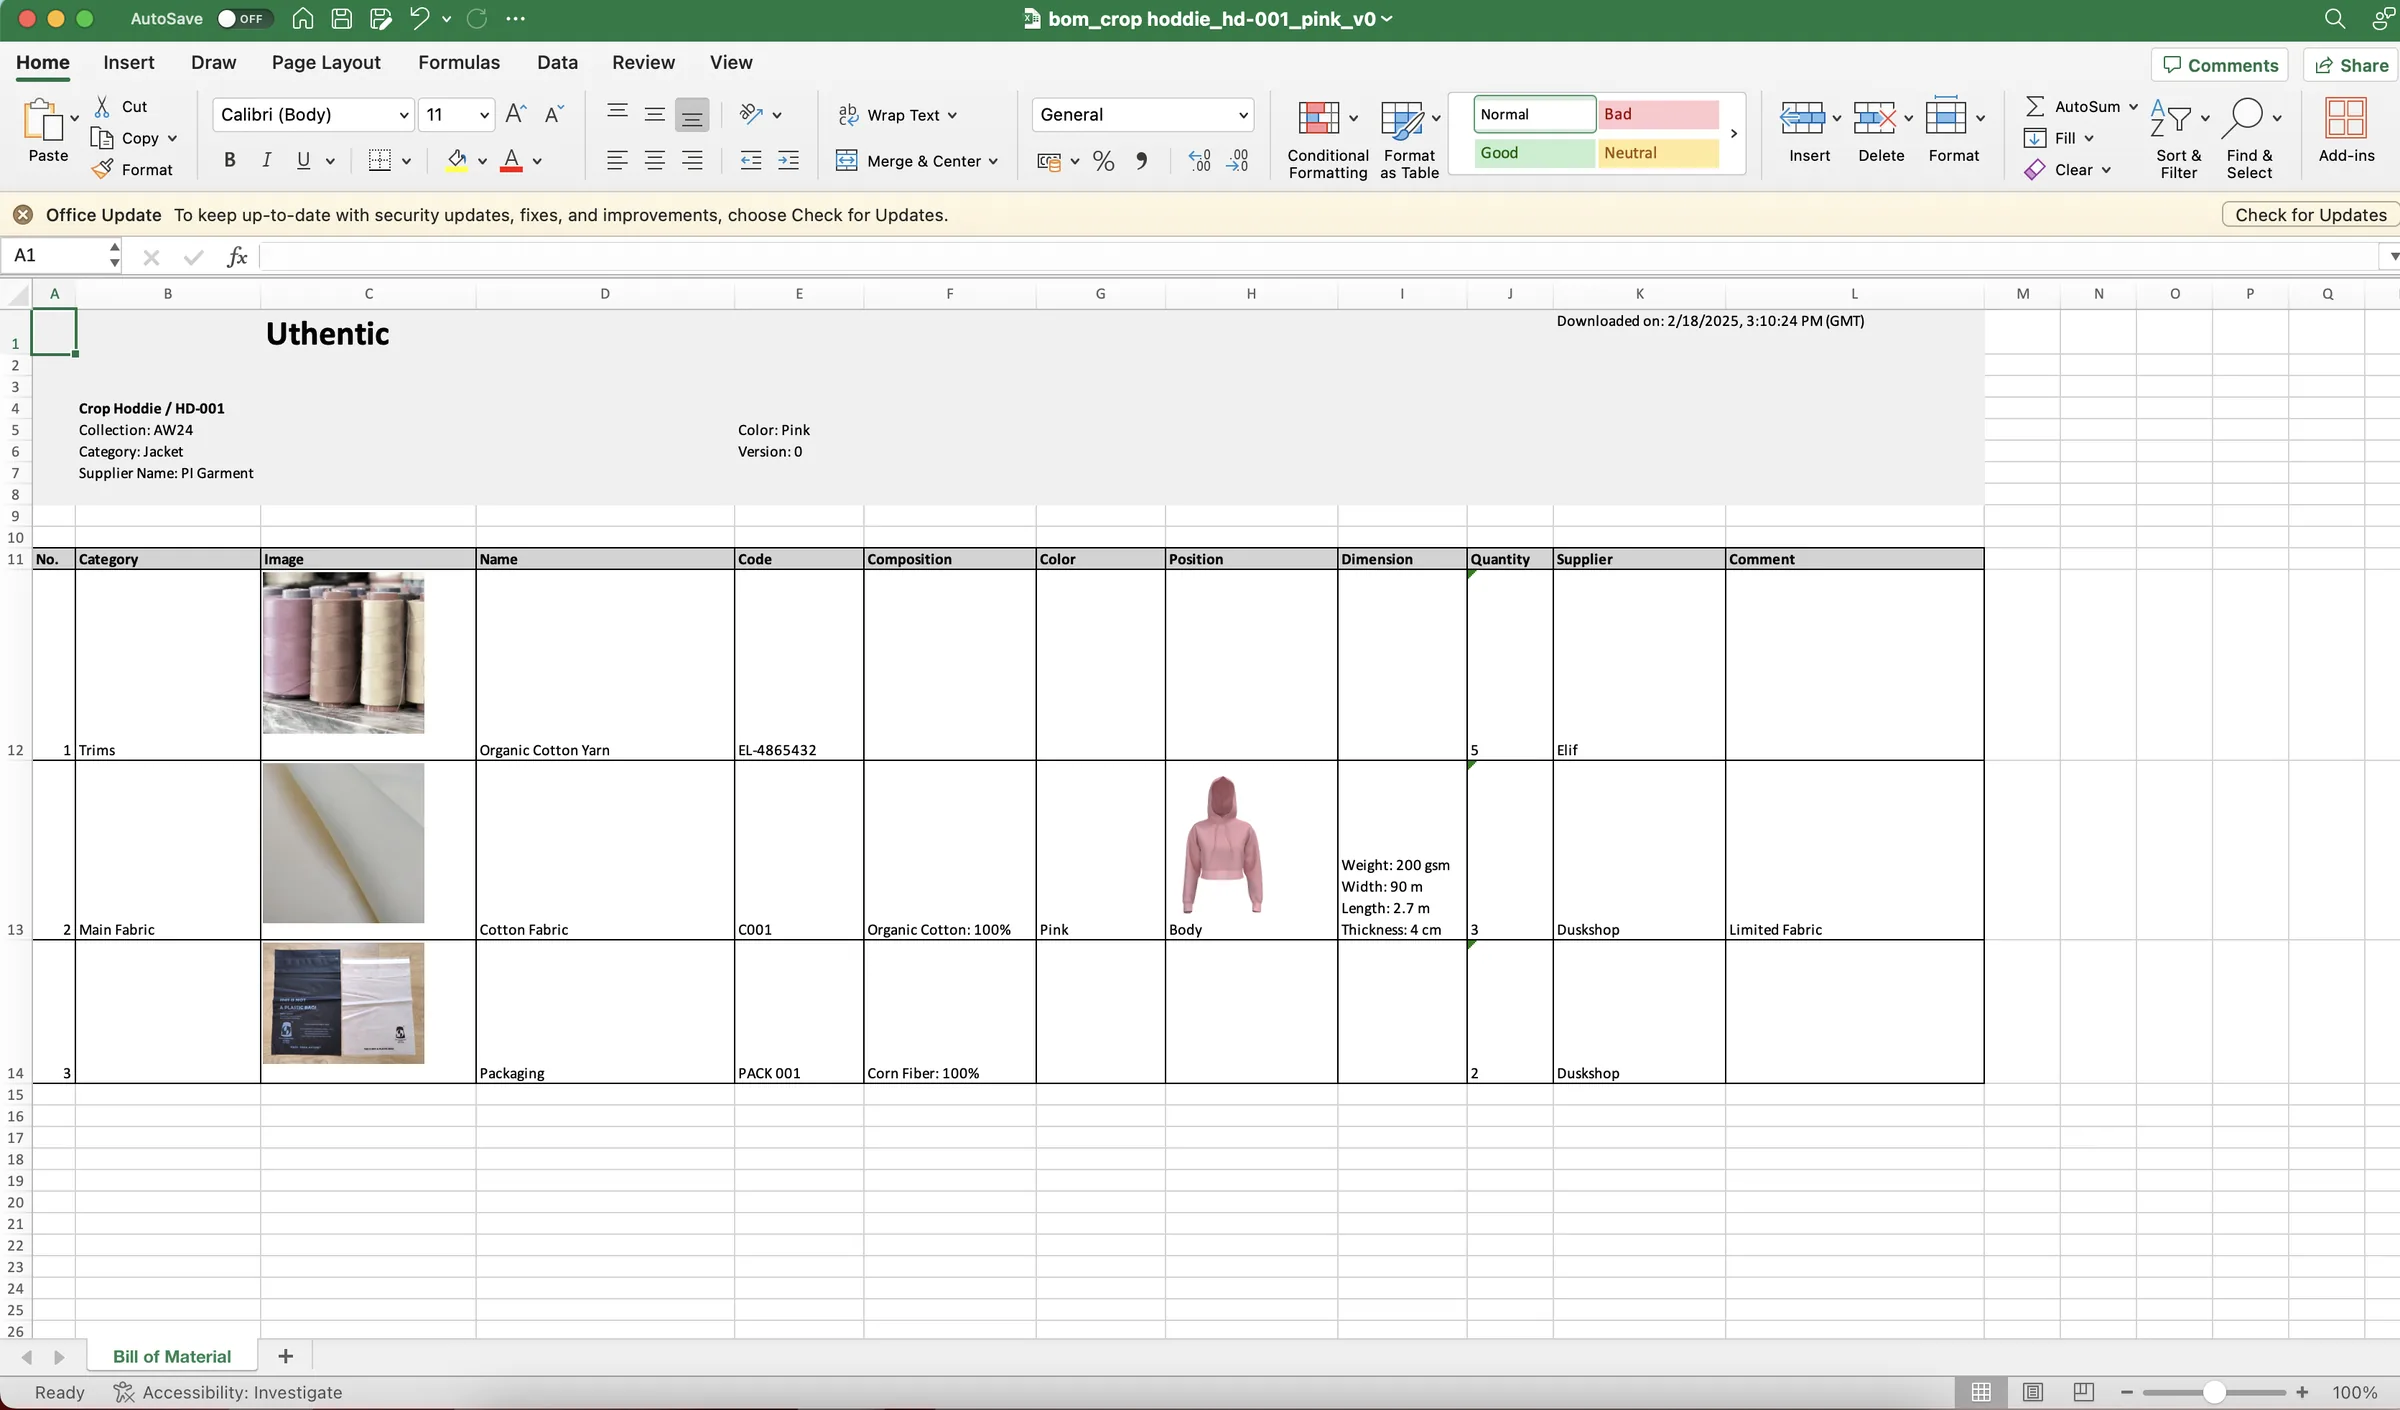
- The BOM is available in two file formats: PDF or Excel. Users may select their preferred format when saving the BOM.
The downloaded file in PDF Format, you'll receive the file that looks like this:
The downloaded file in Excel Format, you'll receive the file that looks like this:
Duplicate a bill of material
When the selected colour and version has no items yet, a Duplicate from button appears next to New. Choose a colour, then a version (for example V0), and confirm with Confirm in Confirm Duplication. The items are copied into the colour and version you are viewing.
Add a note
Click New → Add Note to write a Bill of Material Note. The New menu also offers From Library and Create New Item.
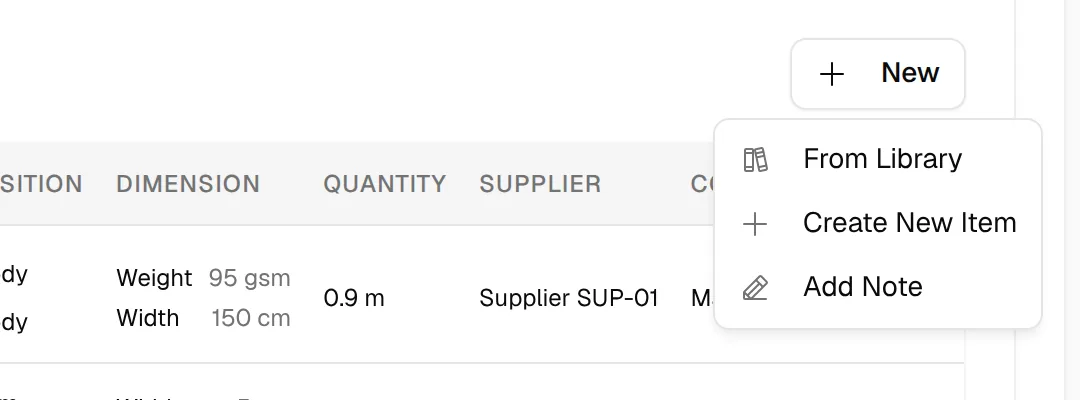
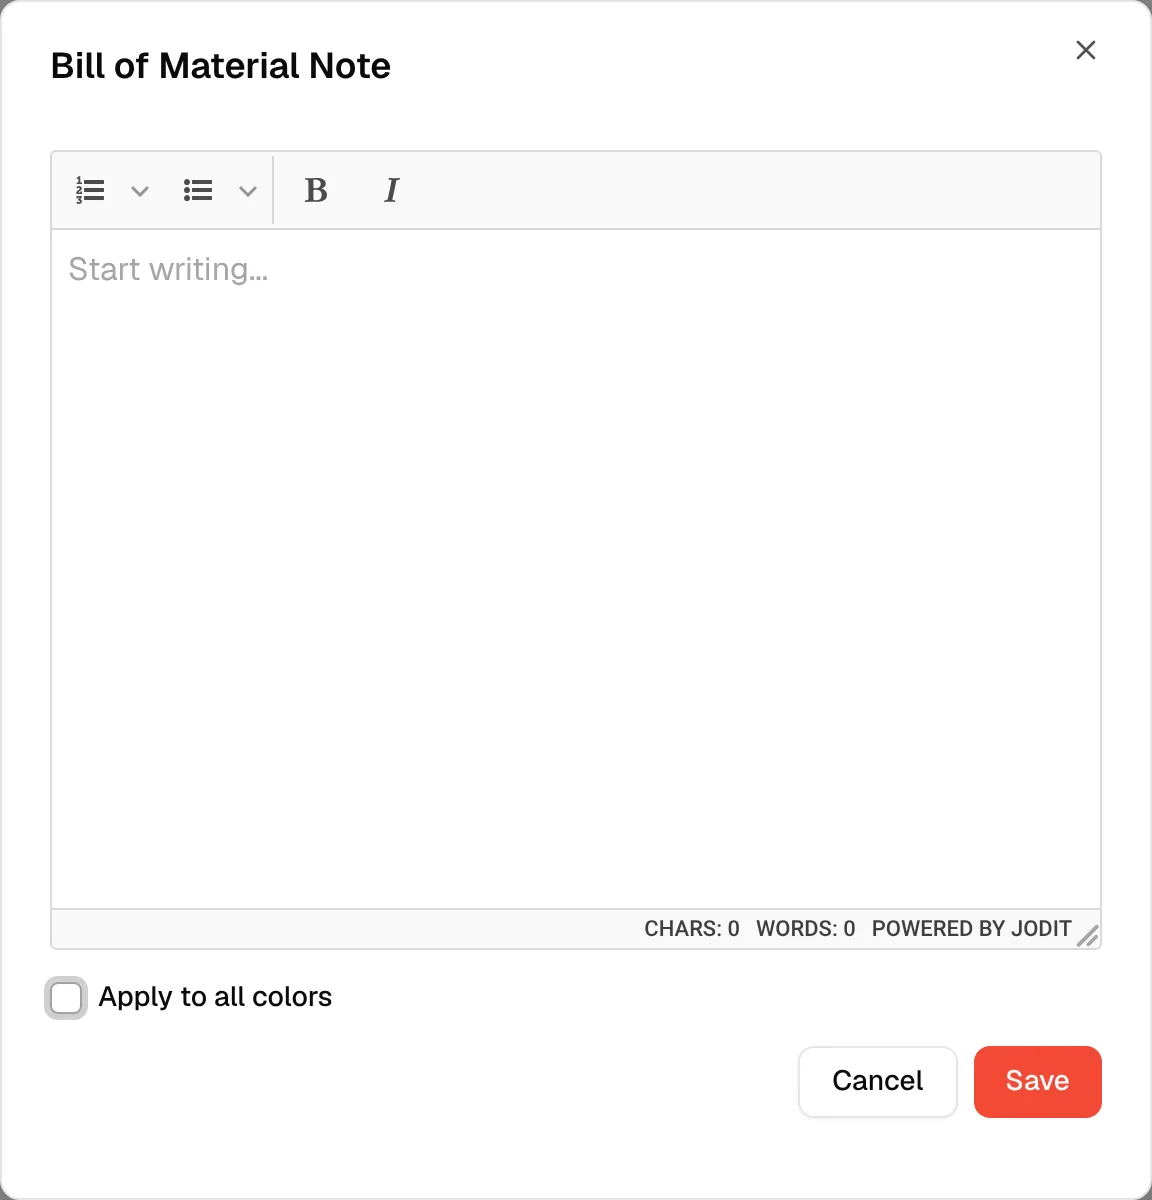
Check Apply to all colors to use the same note on every colour, then click Save. The note appears below the table. Use Edit or Delete in the three dots menu of the note to change or remove it.
Table columns
The table shows No., Category, Image, Name, Code, Composition, Color, Position, Dimension, Quantity, Supplier and Comment.
- Drag a row by the handle at the start of the row to change the order of the items. Click Reset to default order to go back to the default order.
- Three dots menu: Edit Library opens the material in the library (only for materials owned by your brand), and Delete removes the item from this bill of material after you confirm in Confirm Deletion.
Note
Adding, editing, reordering and deleting items needs the matching permissions. Without them, the table is read-only.