
Material library page overview
The Material Library Page stores all the information related to the product created in Vestis Labs.
Under review. This page is published while we check it against the live app, so some details may have changed.
The Material Library Page stores all the information related to the product created in Vestis Labs. From here you can find a material, switch between your own library and the public library, create or import materials, and manage several materials at once.
LibraryMaterials
Permission: VIEW_PRODUCT
Find a material
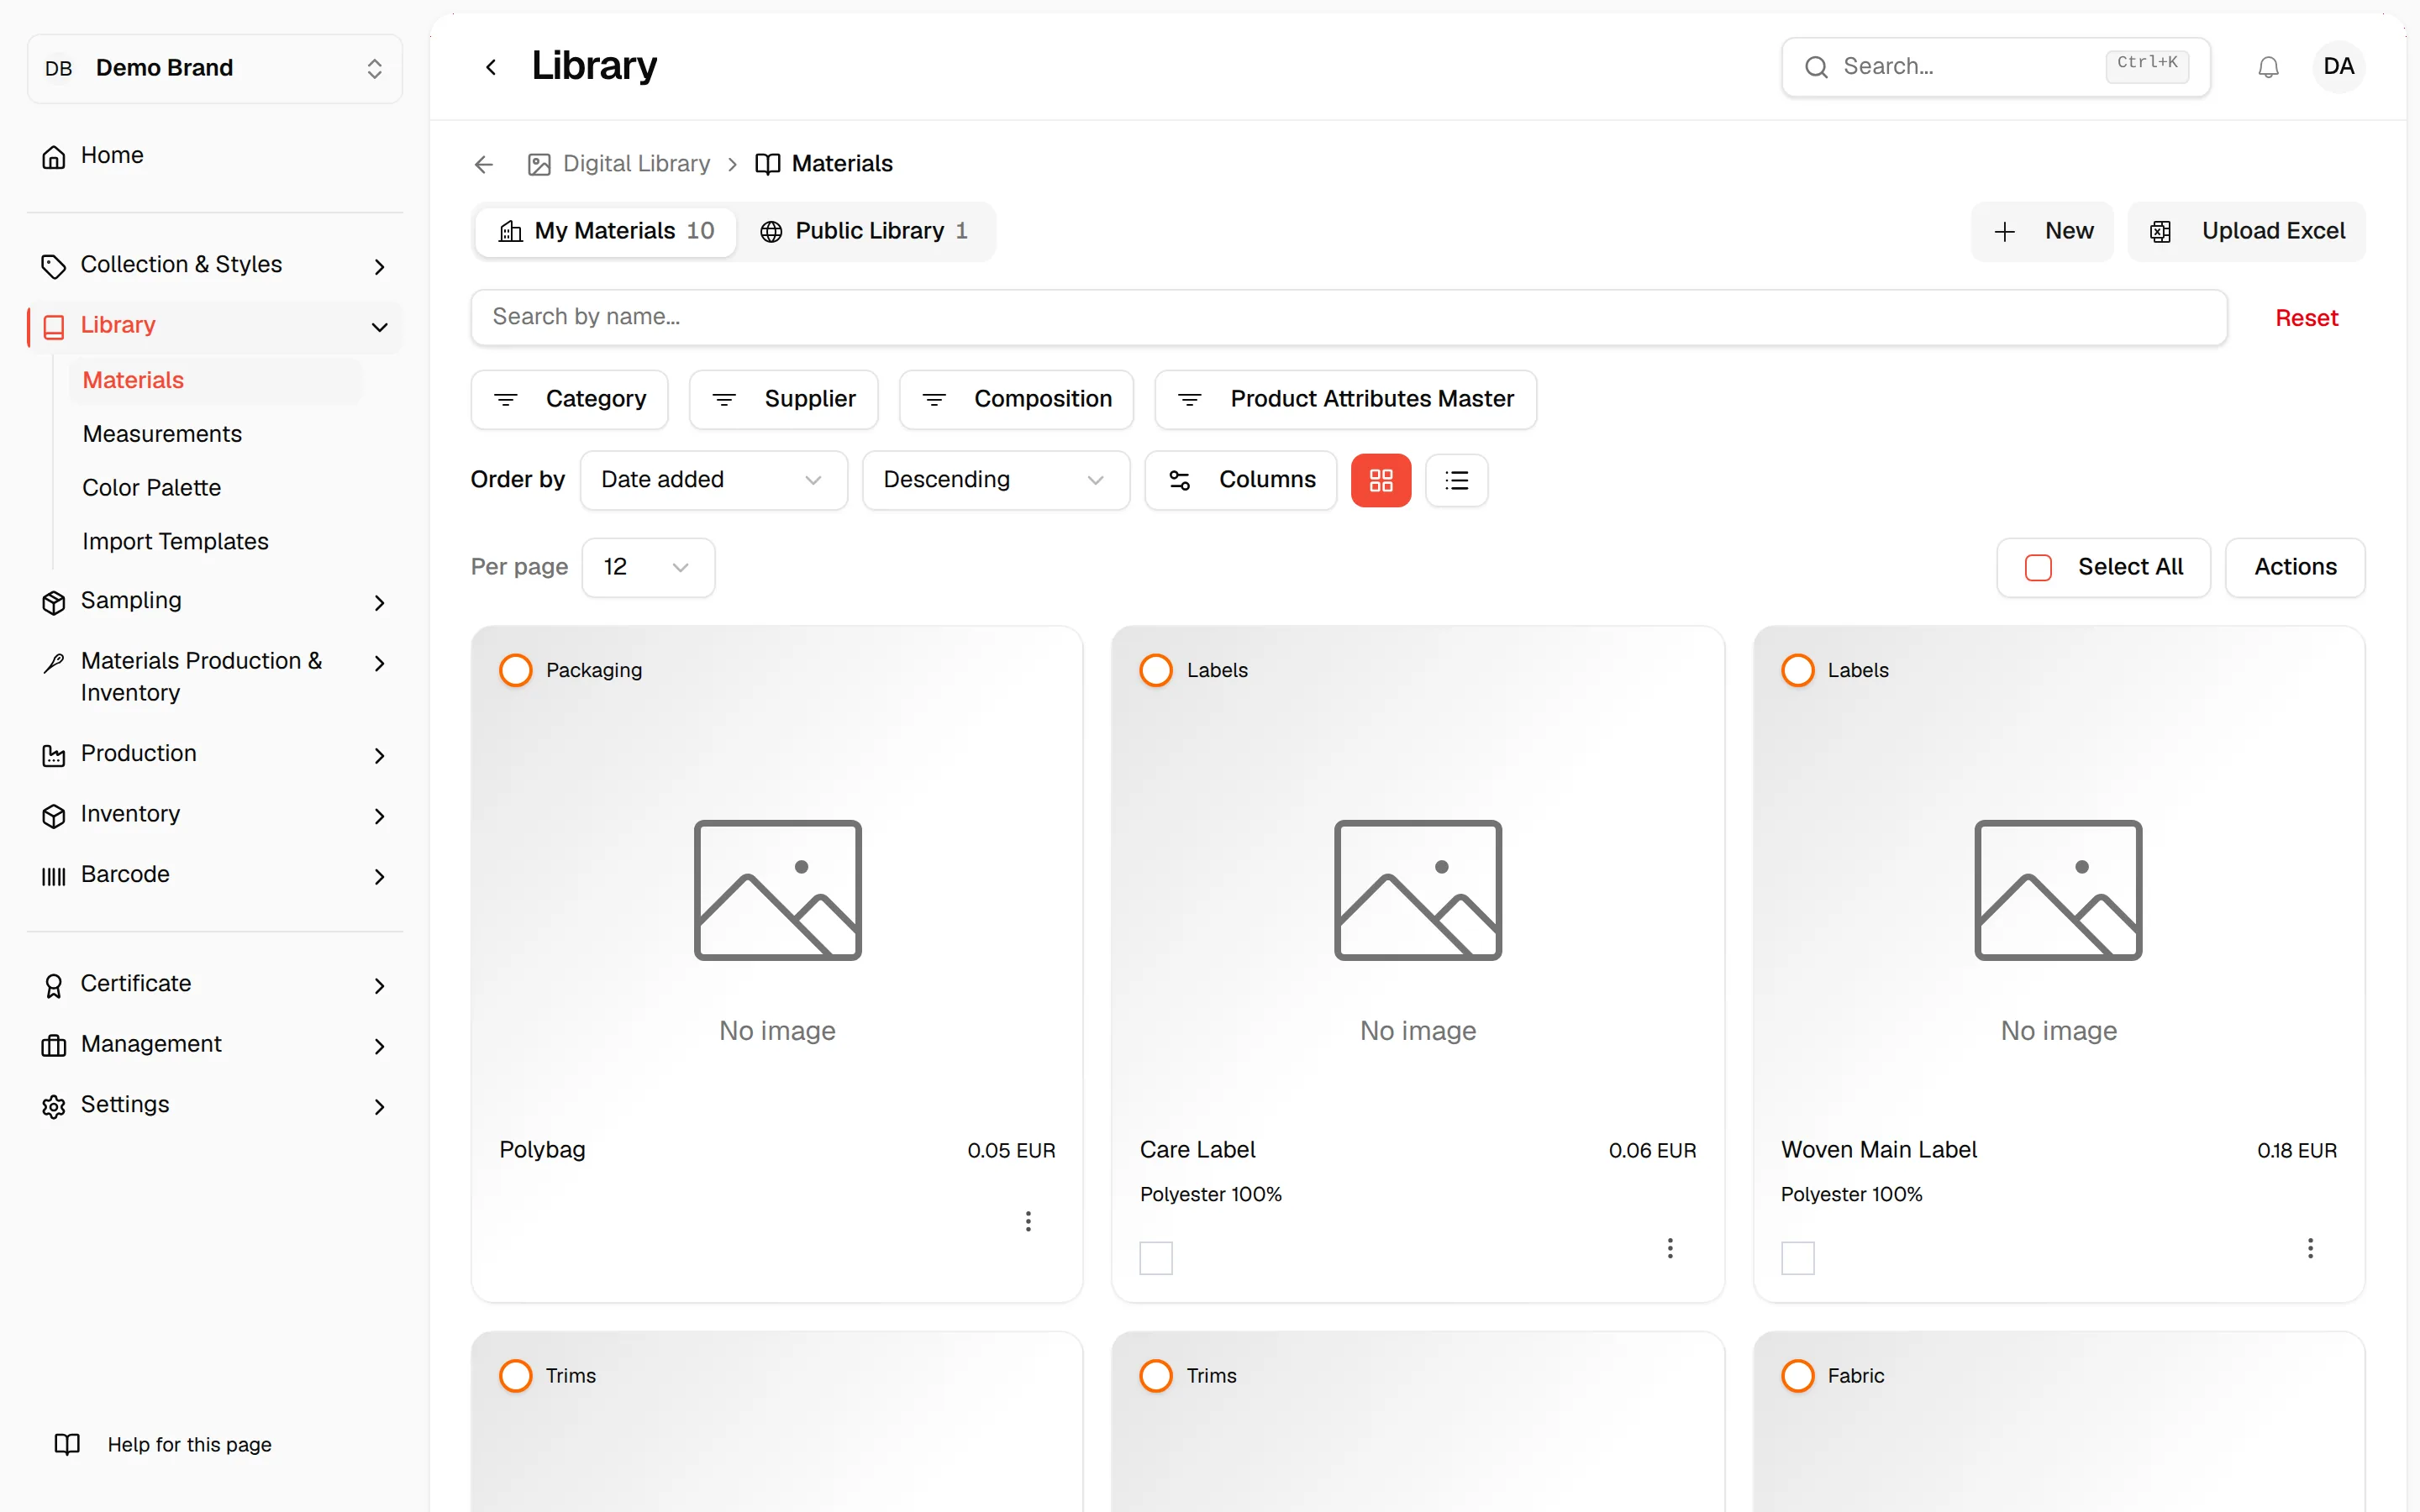
Use the Filters Feature based on the Category, Supplier, Composition, and Product Attributes Master, or use the sorting options by Date added, Category, Name, Code, Price, or Supplier to be Descending or Ascending below the search field to locate a Product.
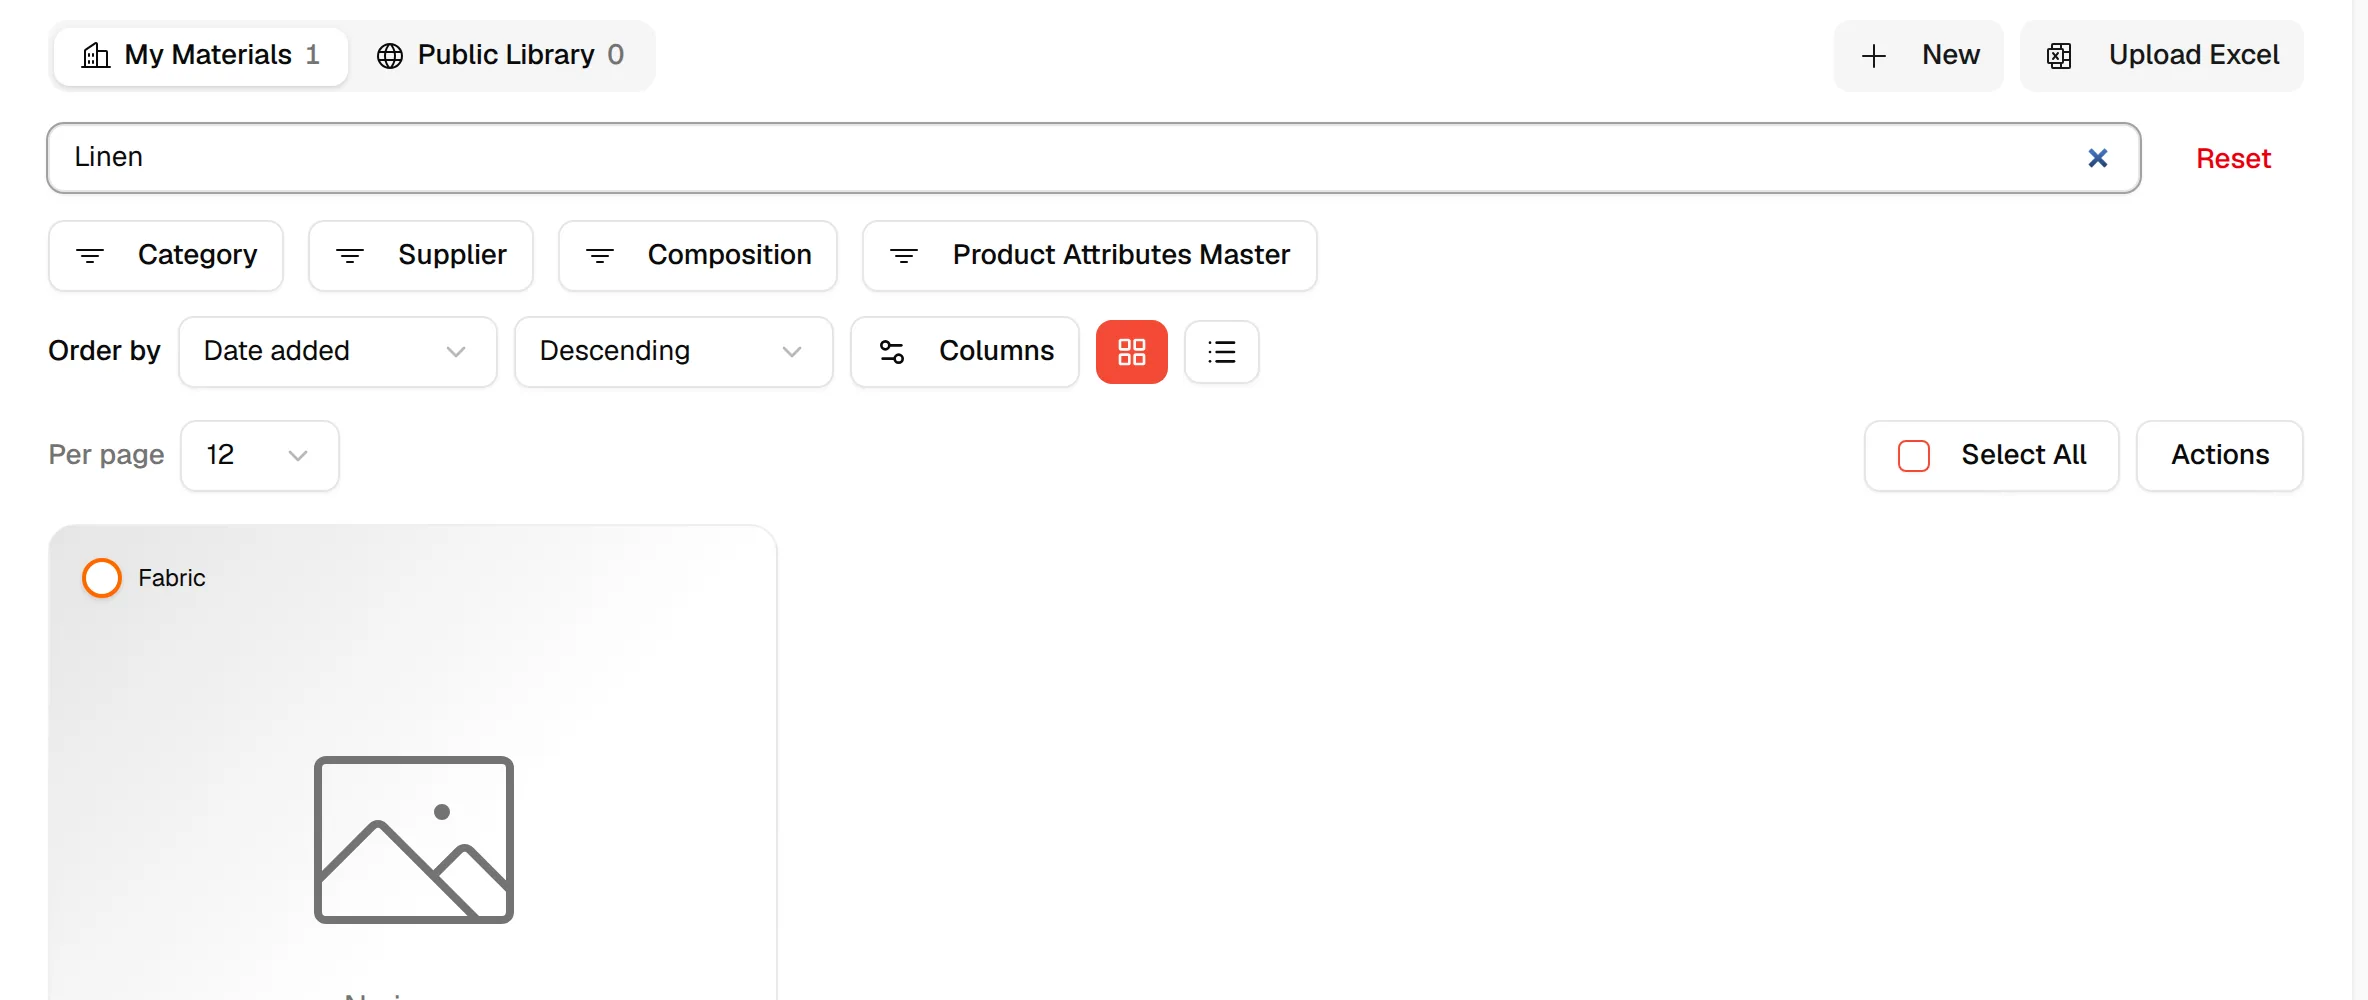
Search by name: Enter the name of your Product in the field to locate a specific Product. The list updates a moment after you stop typing.
Reset: All the Filter features will be reset to the default. If you are on the Public Library tab, you stay on that tab.
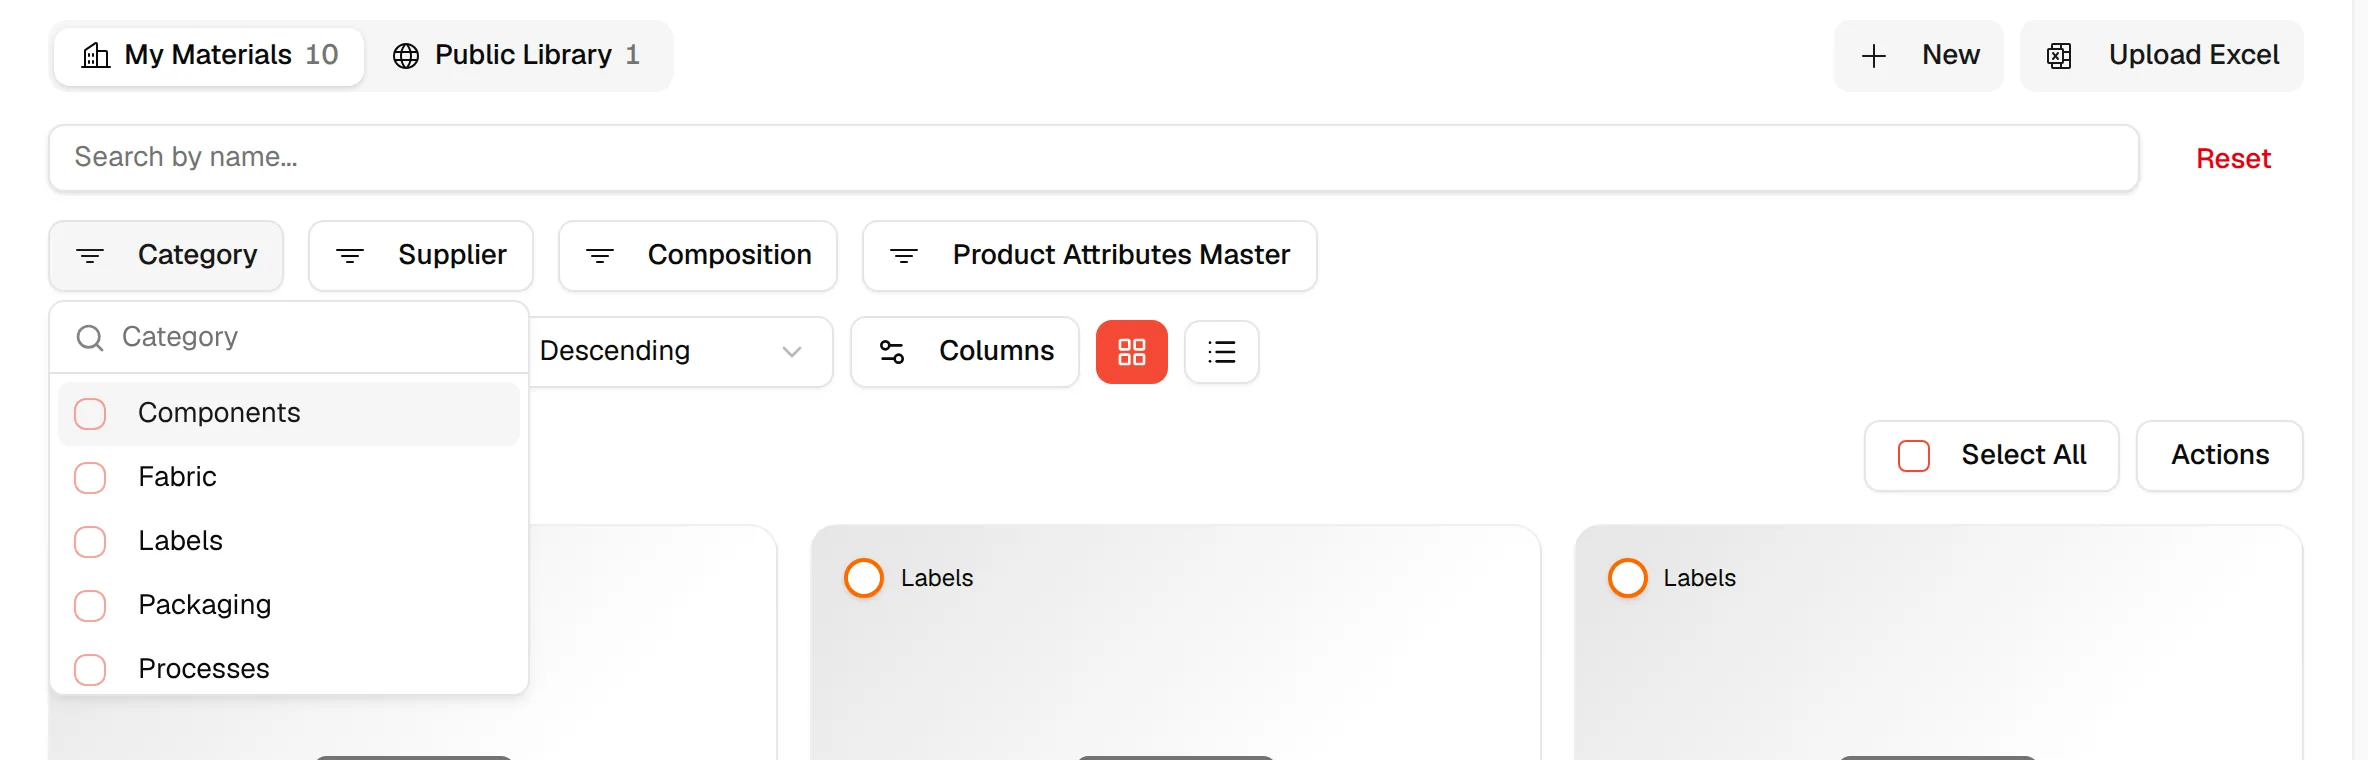
- Category, Supplier, Composition and Product Attributes Master each open a list where you can select one or several values.
- After you select a Product Attributes Master, a second filter, Product Attribute, appears so you can narrow the list to the attribute values under it.
- Date added is the default sort, newest first. Changing the sort field keeps the current Ascending or Descending choice.
Note
Changing a filter, the sort or the view always takes you back to page 1.
Choose how the list looks
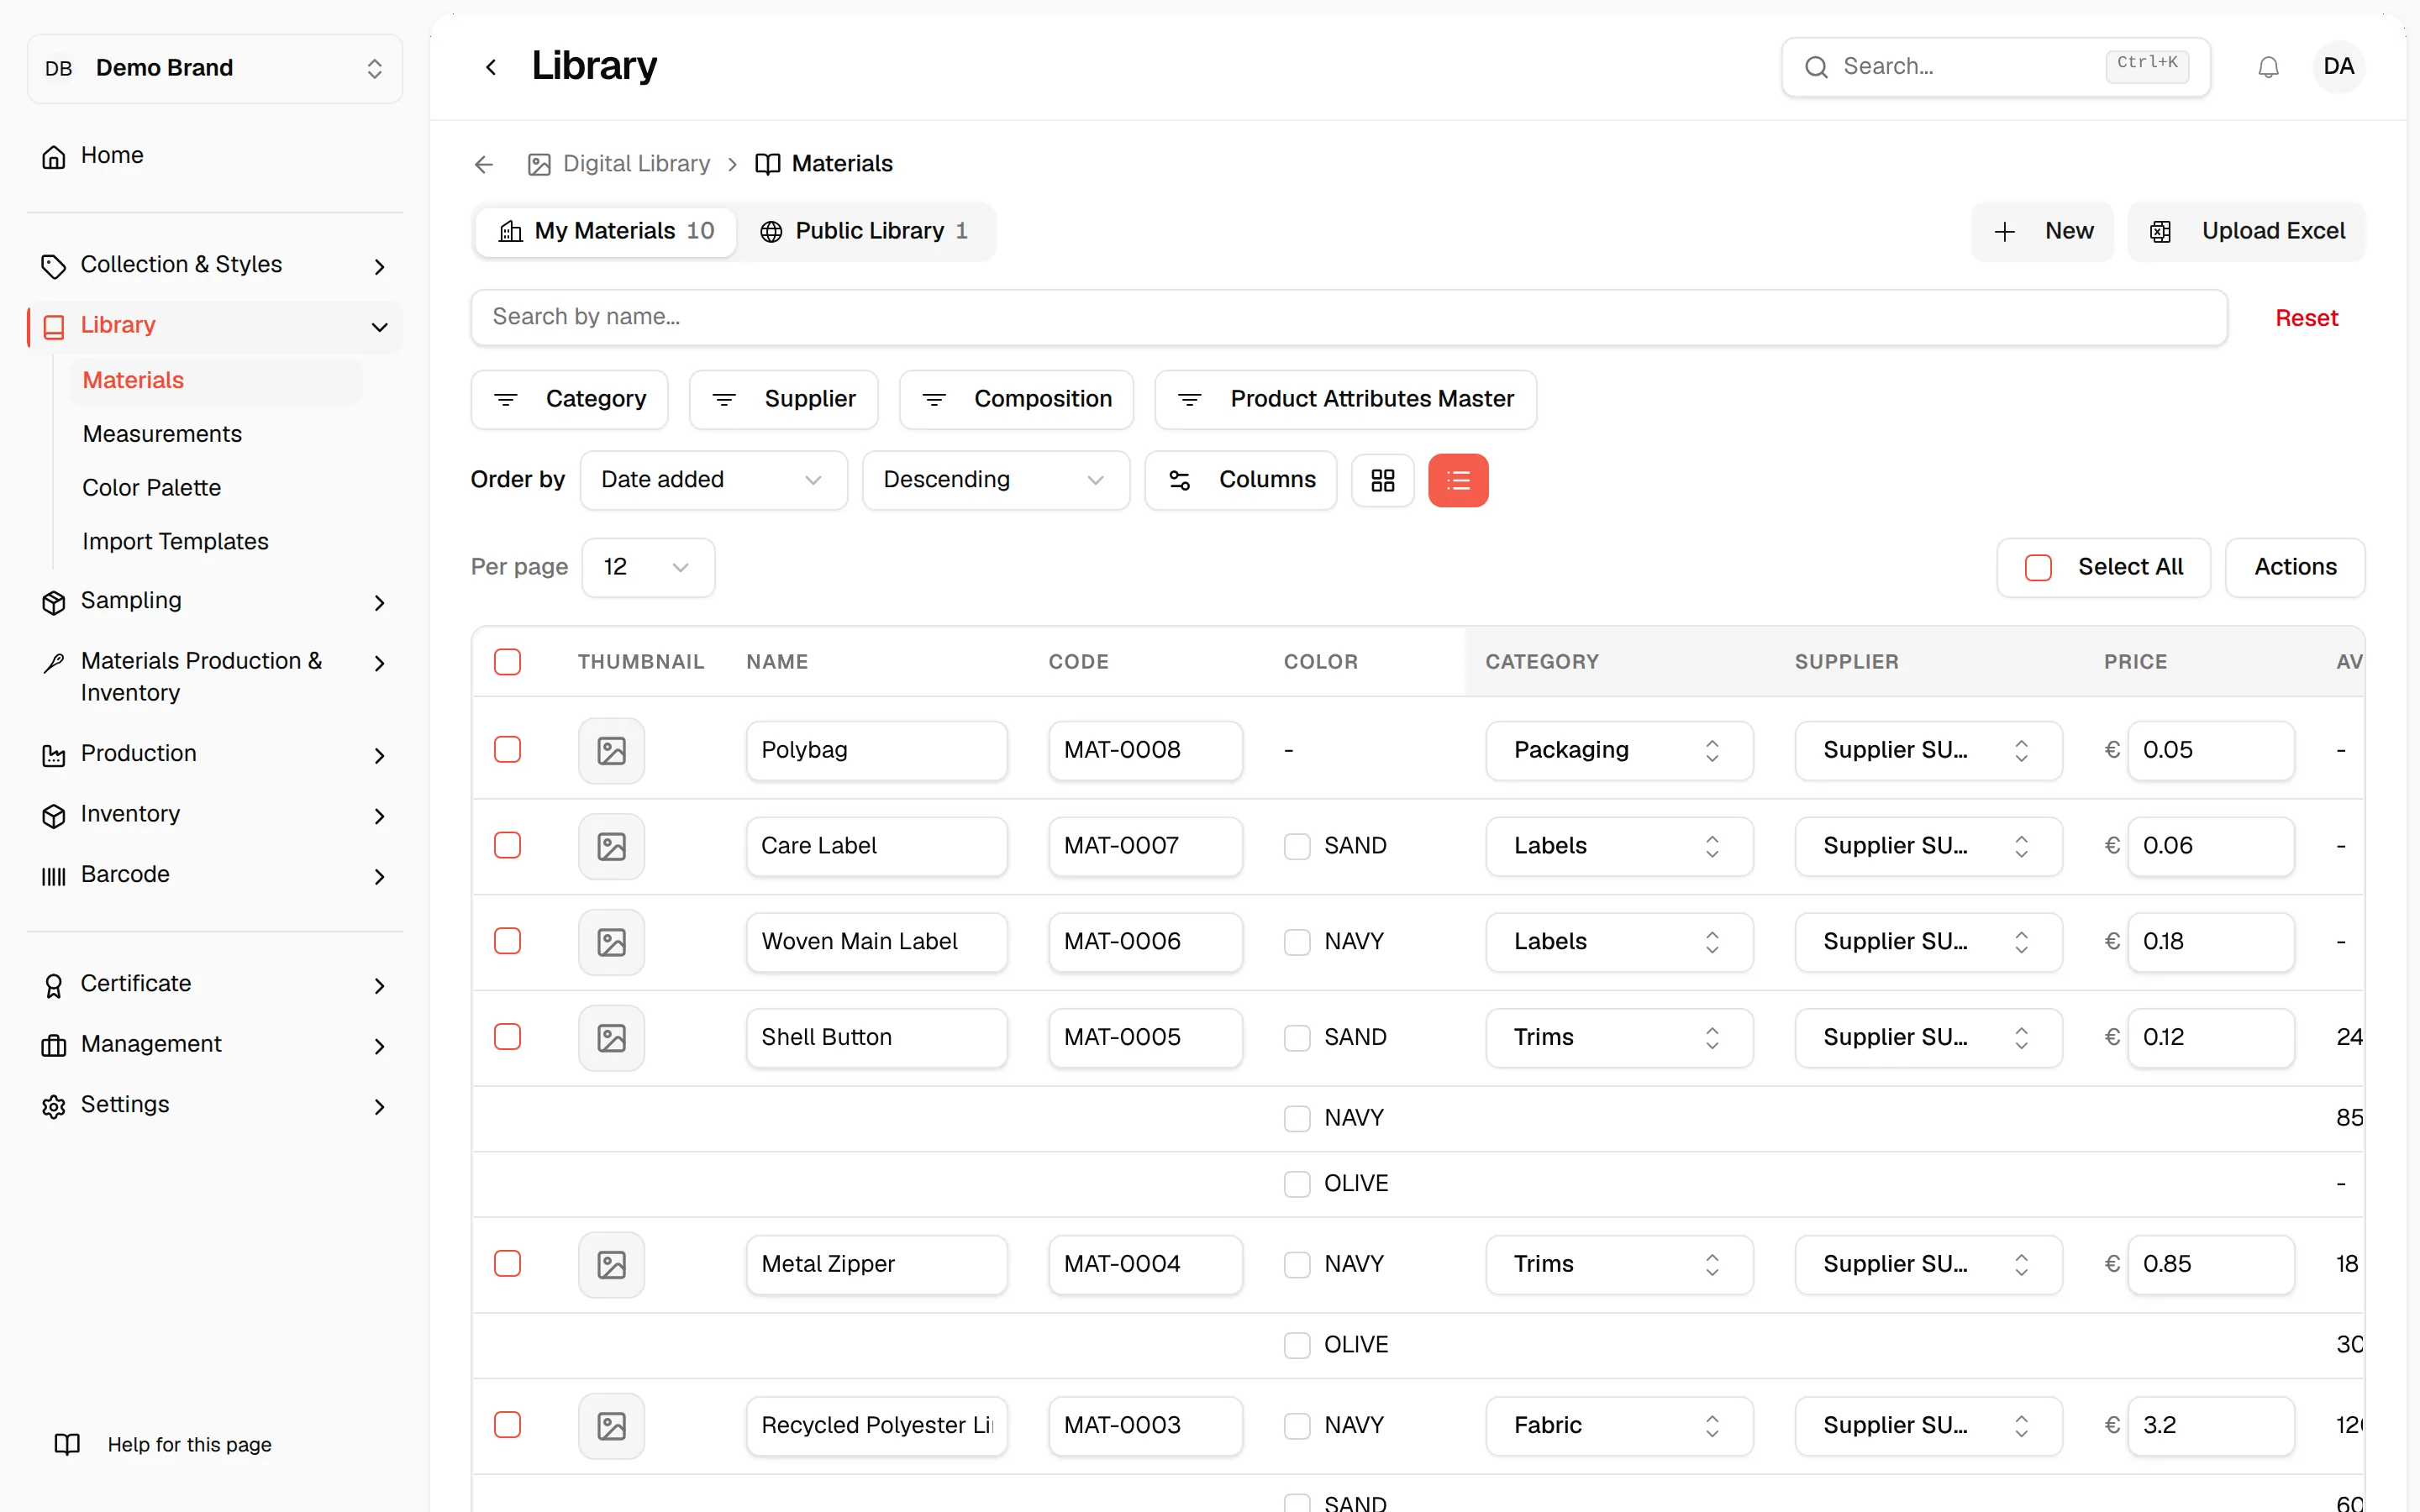
- Use the two buttons at the right of the filter row to switch between cards (the default) and a table.
- Above the list, the Per page dropdown offers 12, 48, 96 or All. Under the list, the page counter reads, for example, "Showing 1-12 of 40 products".
In the card view each card shows the category, the material image, the name, the composition, the price with its currency and one small square per colour. Select the image to open the material.
In the table view each material has one row per colour. The columns are Thumbnail, Name, Code, Color, Category, Supplier, Price, Available Inventory, Quantity Required for Aggregated Orders, Quantity Required for Forecasted Orders, Quantity Required for Showroom Orders, Type (Private or Public), Created Date and Actions. A column shows "-" when it has no value for that colour.
Choose the table columns
Click "Columns"
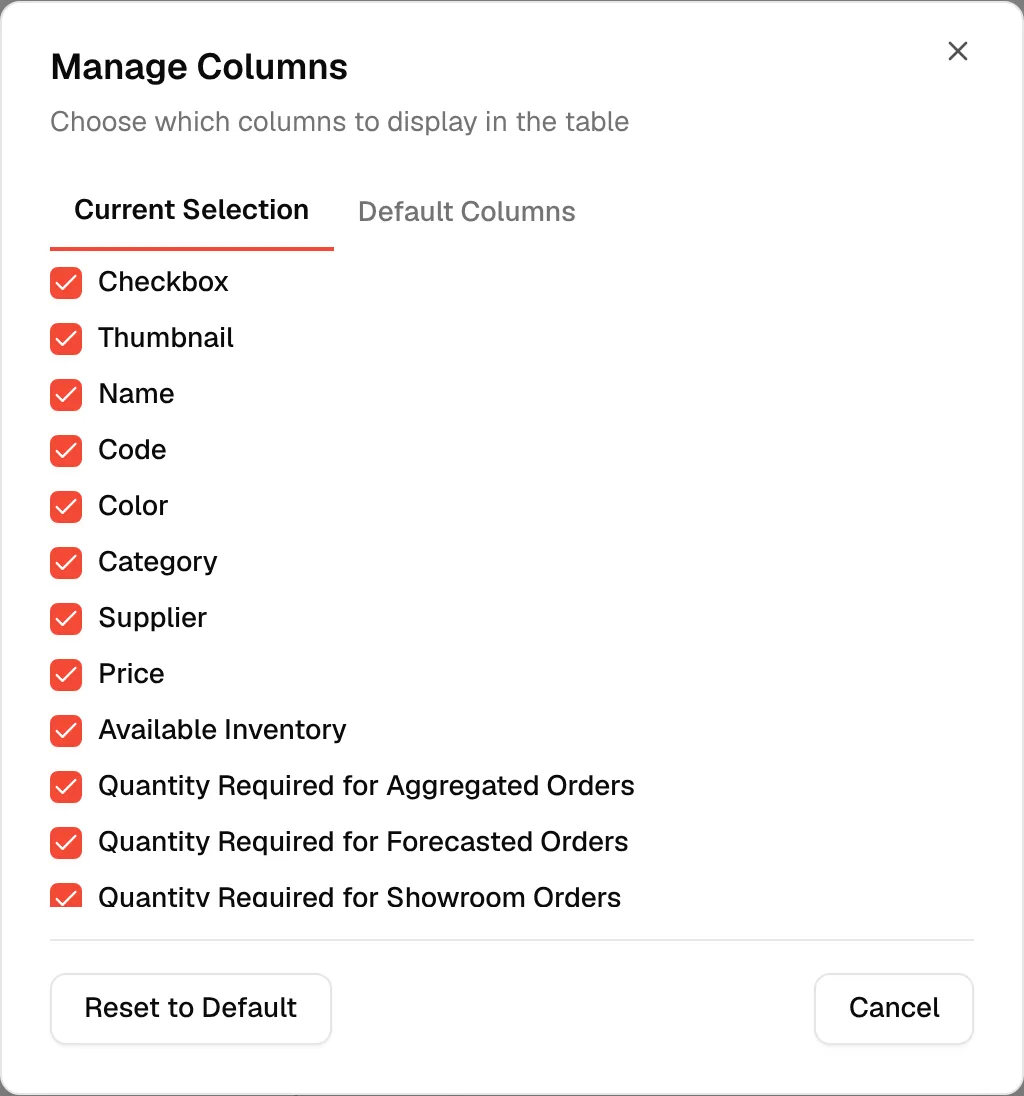
Click the Columns button next to the view buttons. The Manage Columns dialog opens.
Select the columns to show
On the Current Selection tab, choose which columns appear in the table. The Default Columns tab sets the layout new users start with.
Reset if needed
Click Reset to Default to go back to the default layout.
Note
The same column choice decides which columns end up in the Excel file when you export. See Import and export materials with Excel.
Edit directly in the table
For materials that belong to your brand, the Name, Code, Category, Supplier and Price cells are editable in place. Your change is saved on its own about a second and a half after you stop typing. You can also type a new value in Category or Supplier to create it on the spot; creating a supplier needs the permission to create suppliers.
Switch between your materials and the public library
Users can switch between My Materials and the Public Library.
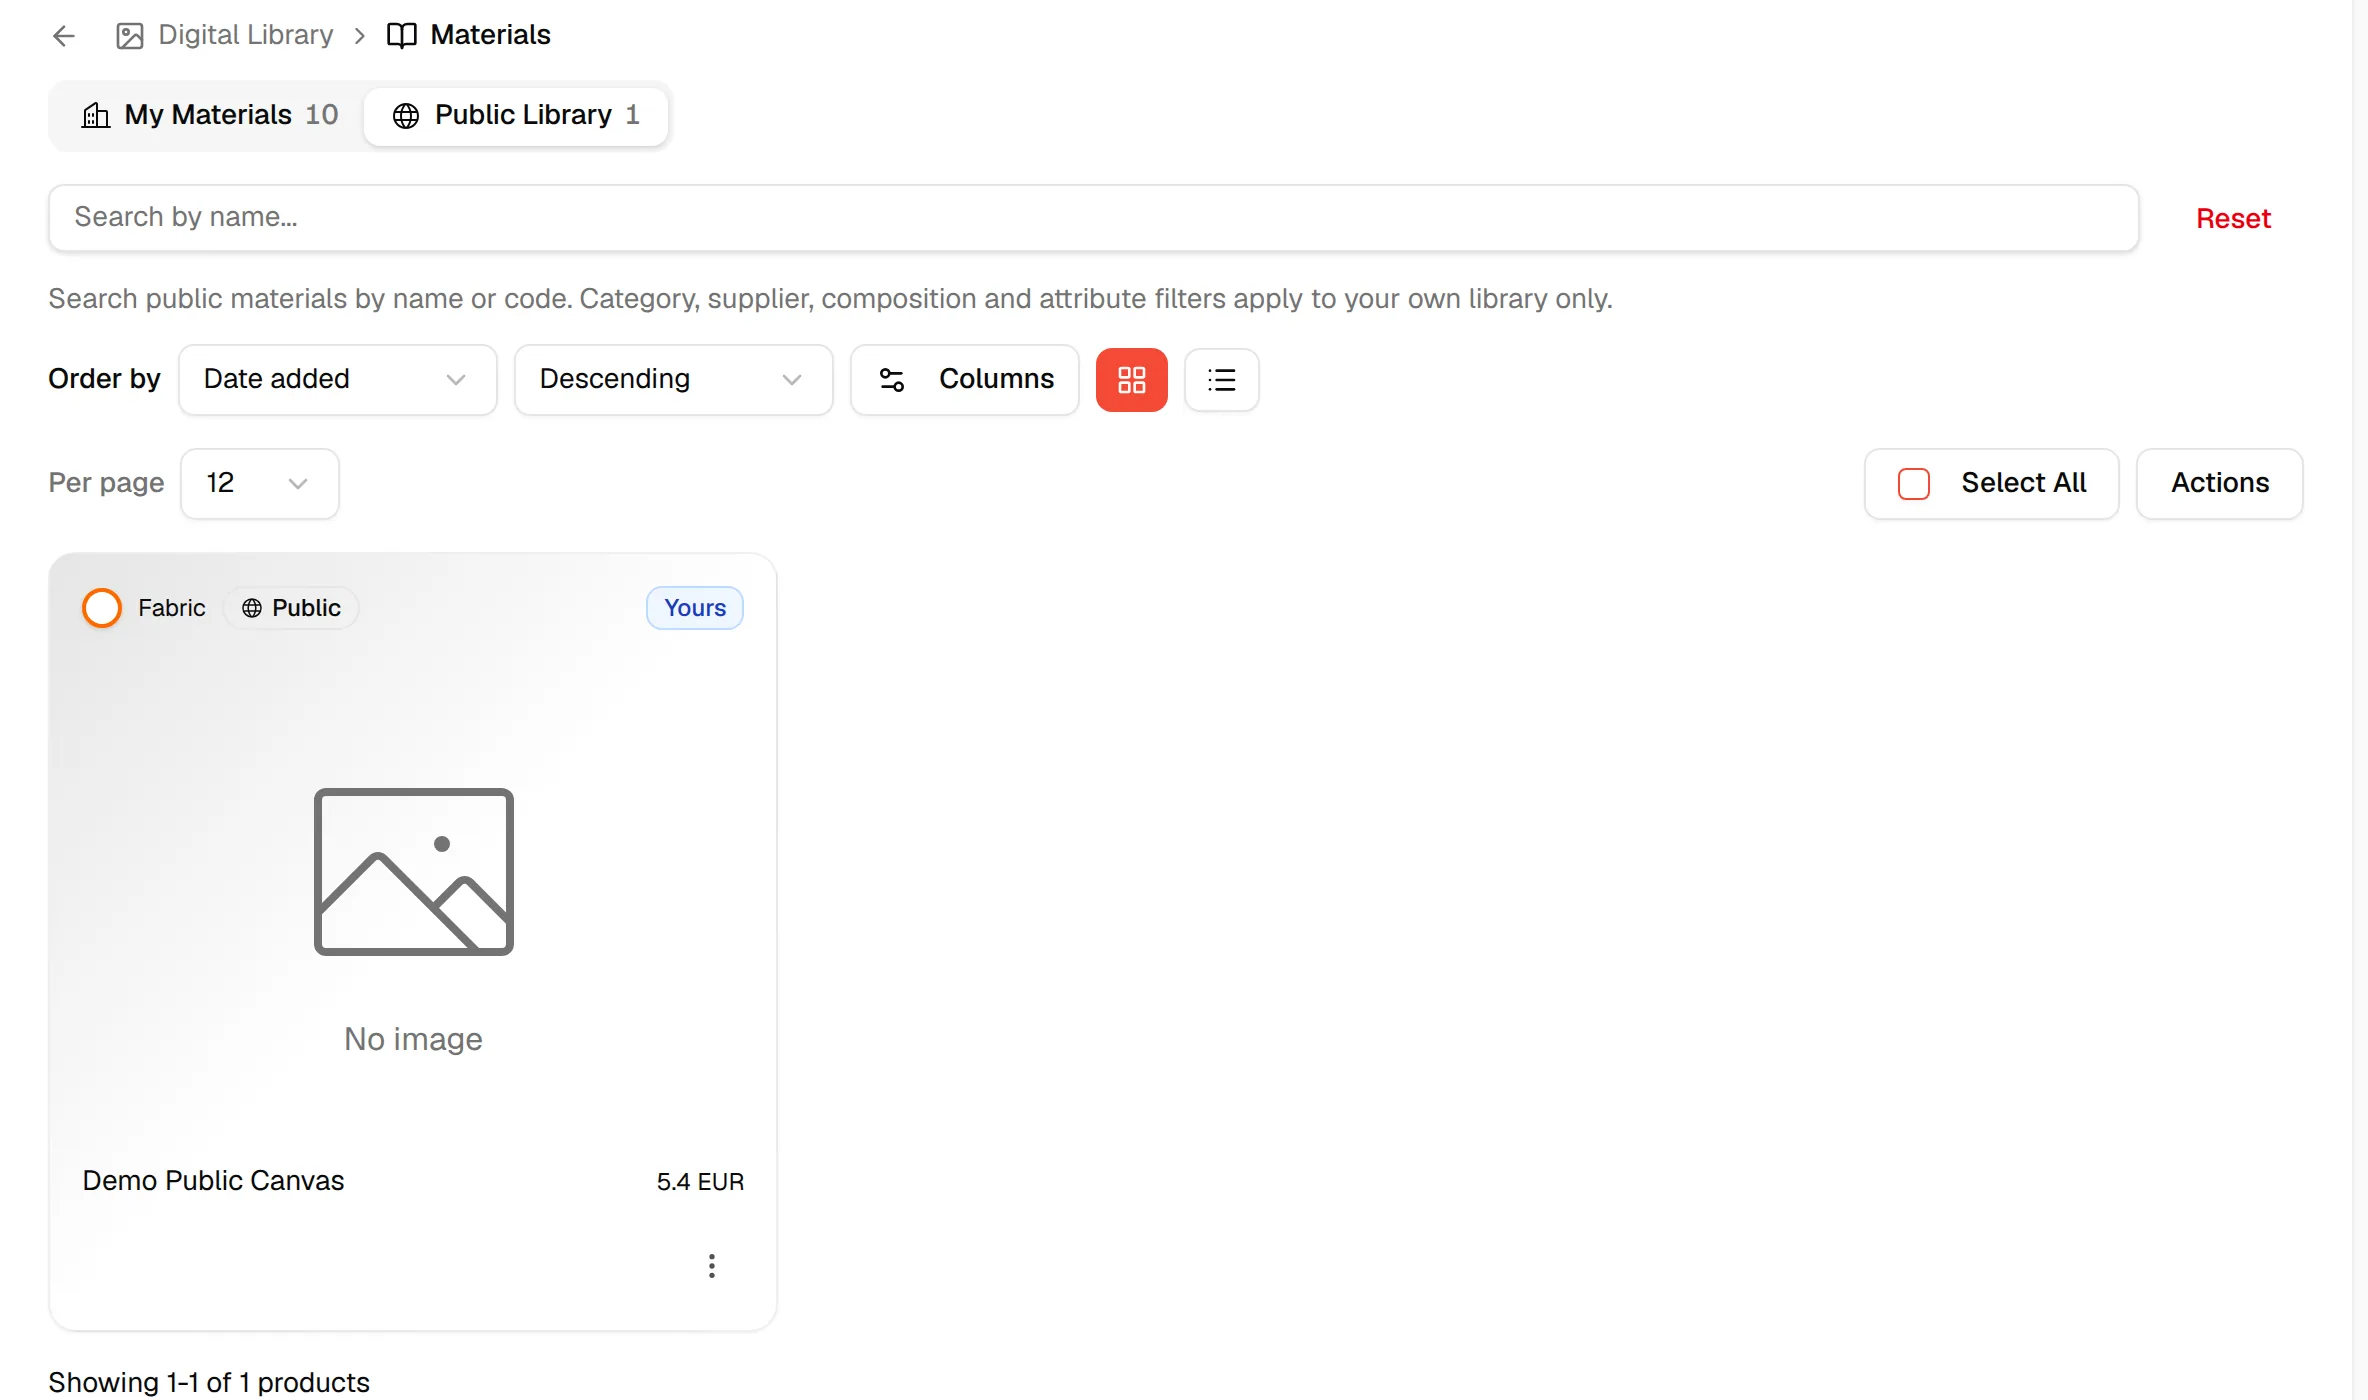
Public Materials are materials available in the Public Library that can be accessed and used by users across the platform.
- The two tabs only appear when your role has both the private and the public library permissions. With only one of them, you see that list and no tabs.
- On the Public Library tab the New, Create New With AI and Upload Excel buttons are hidden, and so are the Category, Supplier, Composition and Product Attributes Master filters. Search by name or code and the sort still work.
- Materials from other brands show "by" and the brand name. Your own public materials carry a Yours badge. You can only edit, duplicate or delete your own materials.
Create materials
+New: Create a New Product

The button reads New and opens the form described in Create digital material library. Next to it, Create New With AI (when it is turned on for your brand) builds a material from an image or a PDF, see Create a new AI-powered library material.
Upload Excel: Create a library material from bulk data in Excel
Upload your own Excel or you can download and use the template to upload it to the library page
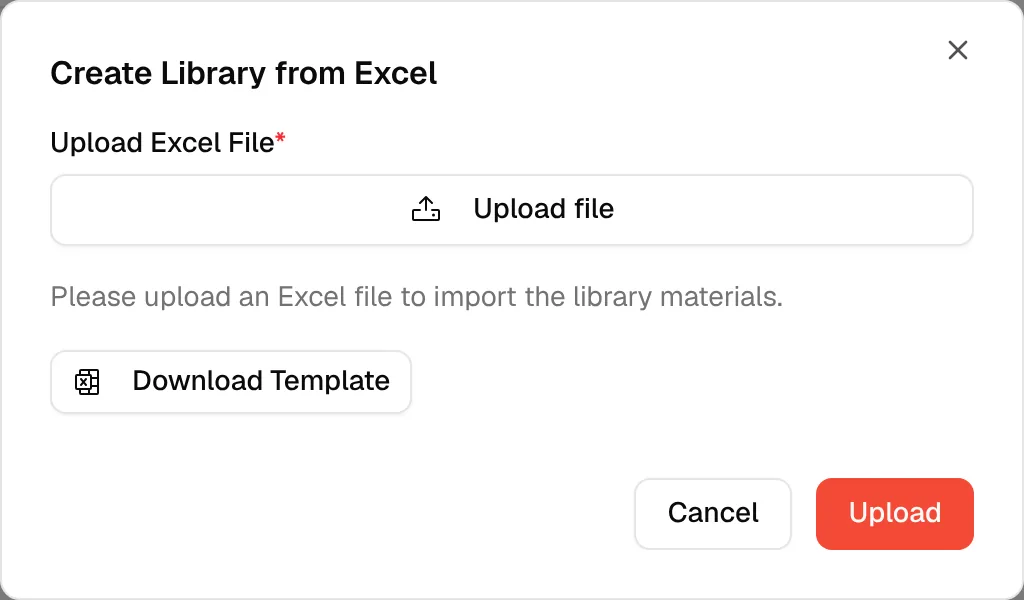
The full walkthrough, including the template columns, is in Import and export materials with Excel.
Important
New, Create New With AI and Upload Excel need the permission to update products.
Edit, duplicate or delete one material
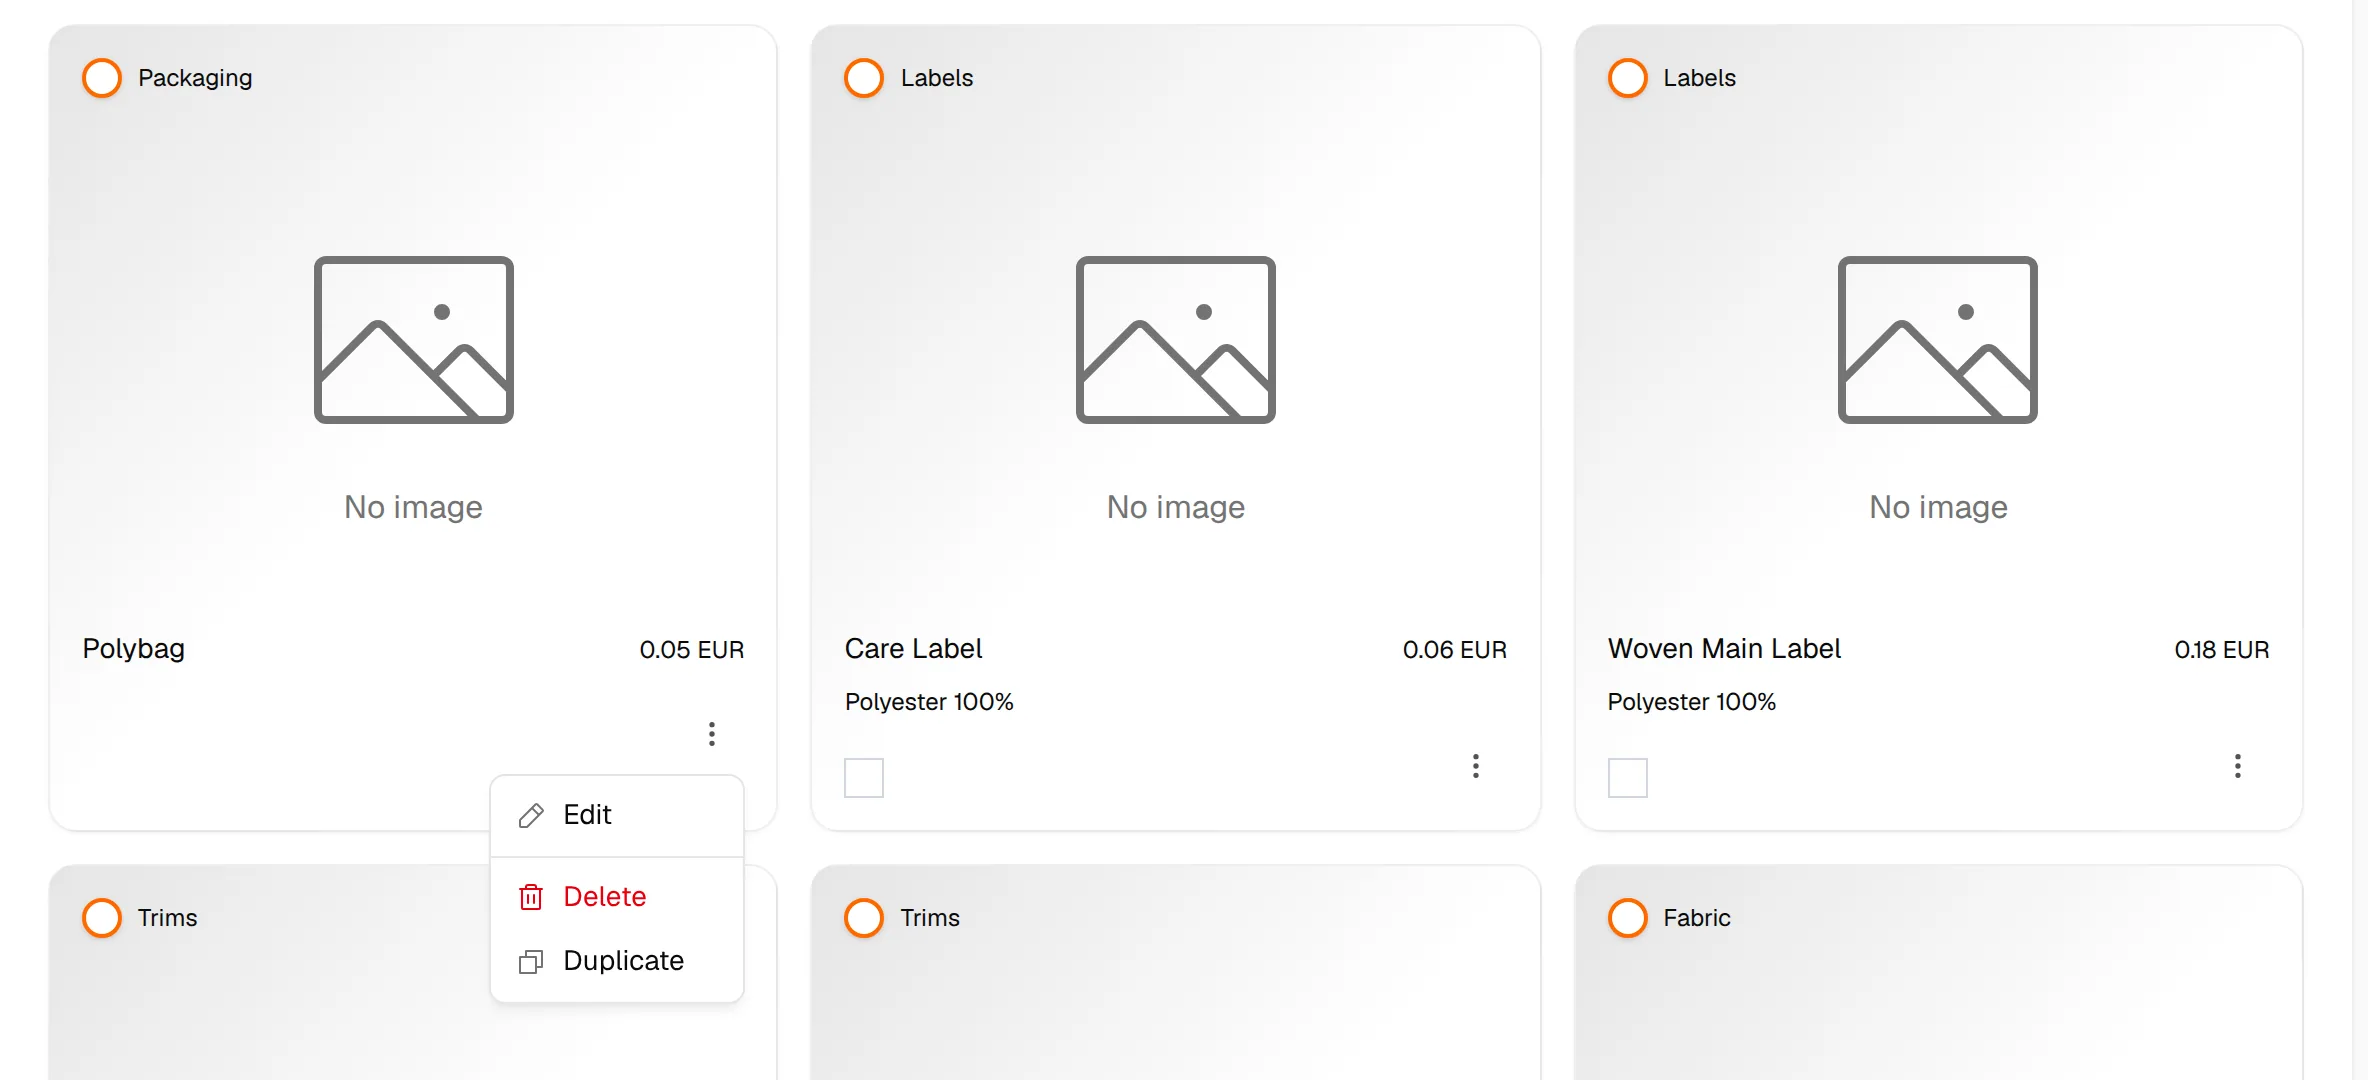
Three dots to select action for the selected Product to Edit, Duplicate, or Delete.
- Users can delete a library item only if it is not linked to any style.
- If the library item is linked to one or more styles, deletion is disabled until all style links are removed.
- To delete a linked library item, users must first unlink it from all associated styles.
Open the actions menu
Click the three dots on the card (or at the end of the row in the table view).
Duplicate a material
Click Duplicate. Vestis creates a copy and shows "Product duplicated successfully".
Delete a material
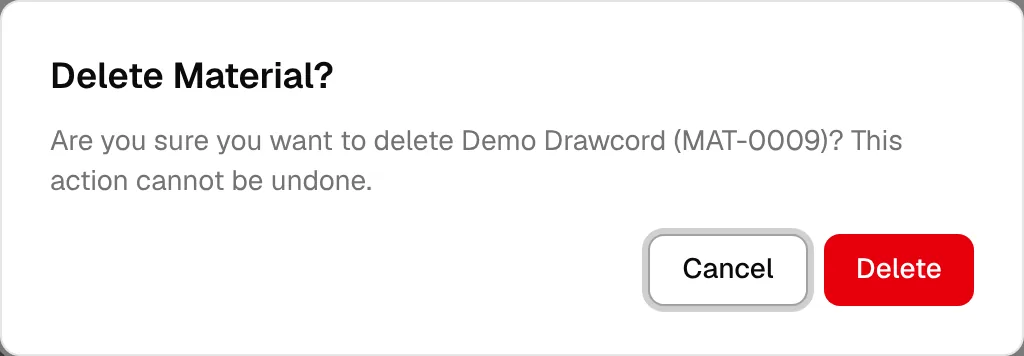
Click Delete. Vestis first checks whether the material is used by a style.
Confirm
If the material is free, the Delete Material? dialog asks "Are you sure you want to delete … ? This action cannot be undone." Click Delete to confirm.
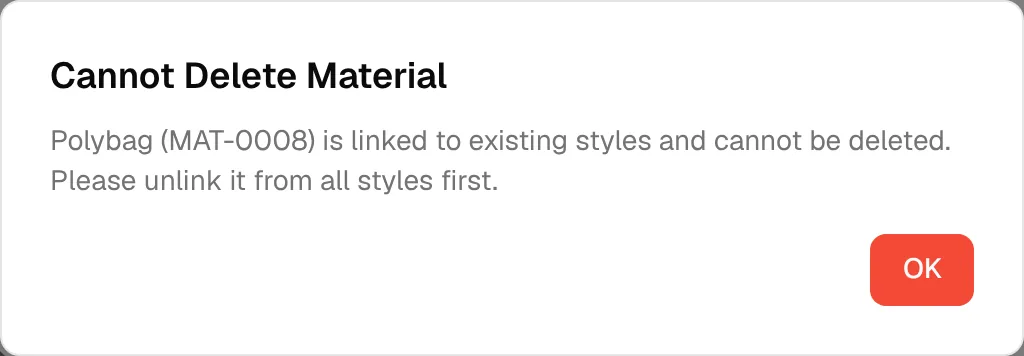
If the material is linked to a style, the Cannot Delete Material dialog tells you to unlink it from all styles first. Click OK, then remove the material from those styles (the material's Styles tab lists them).
Note
Edit and Duplicate need the permission to update products. Delete needs the permission to delete products. The three dots only appear on materials of your own brand.
Work with several materials
Every card and row has a checkbox. Above the list, Select All selects everything on the current page, and "N selected" counts your selection.
Select the materials
Check the materials you want, or click Select All.
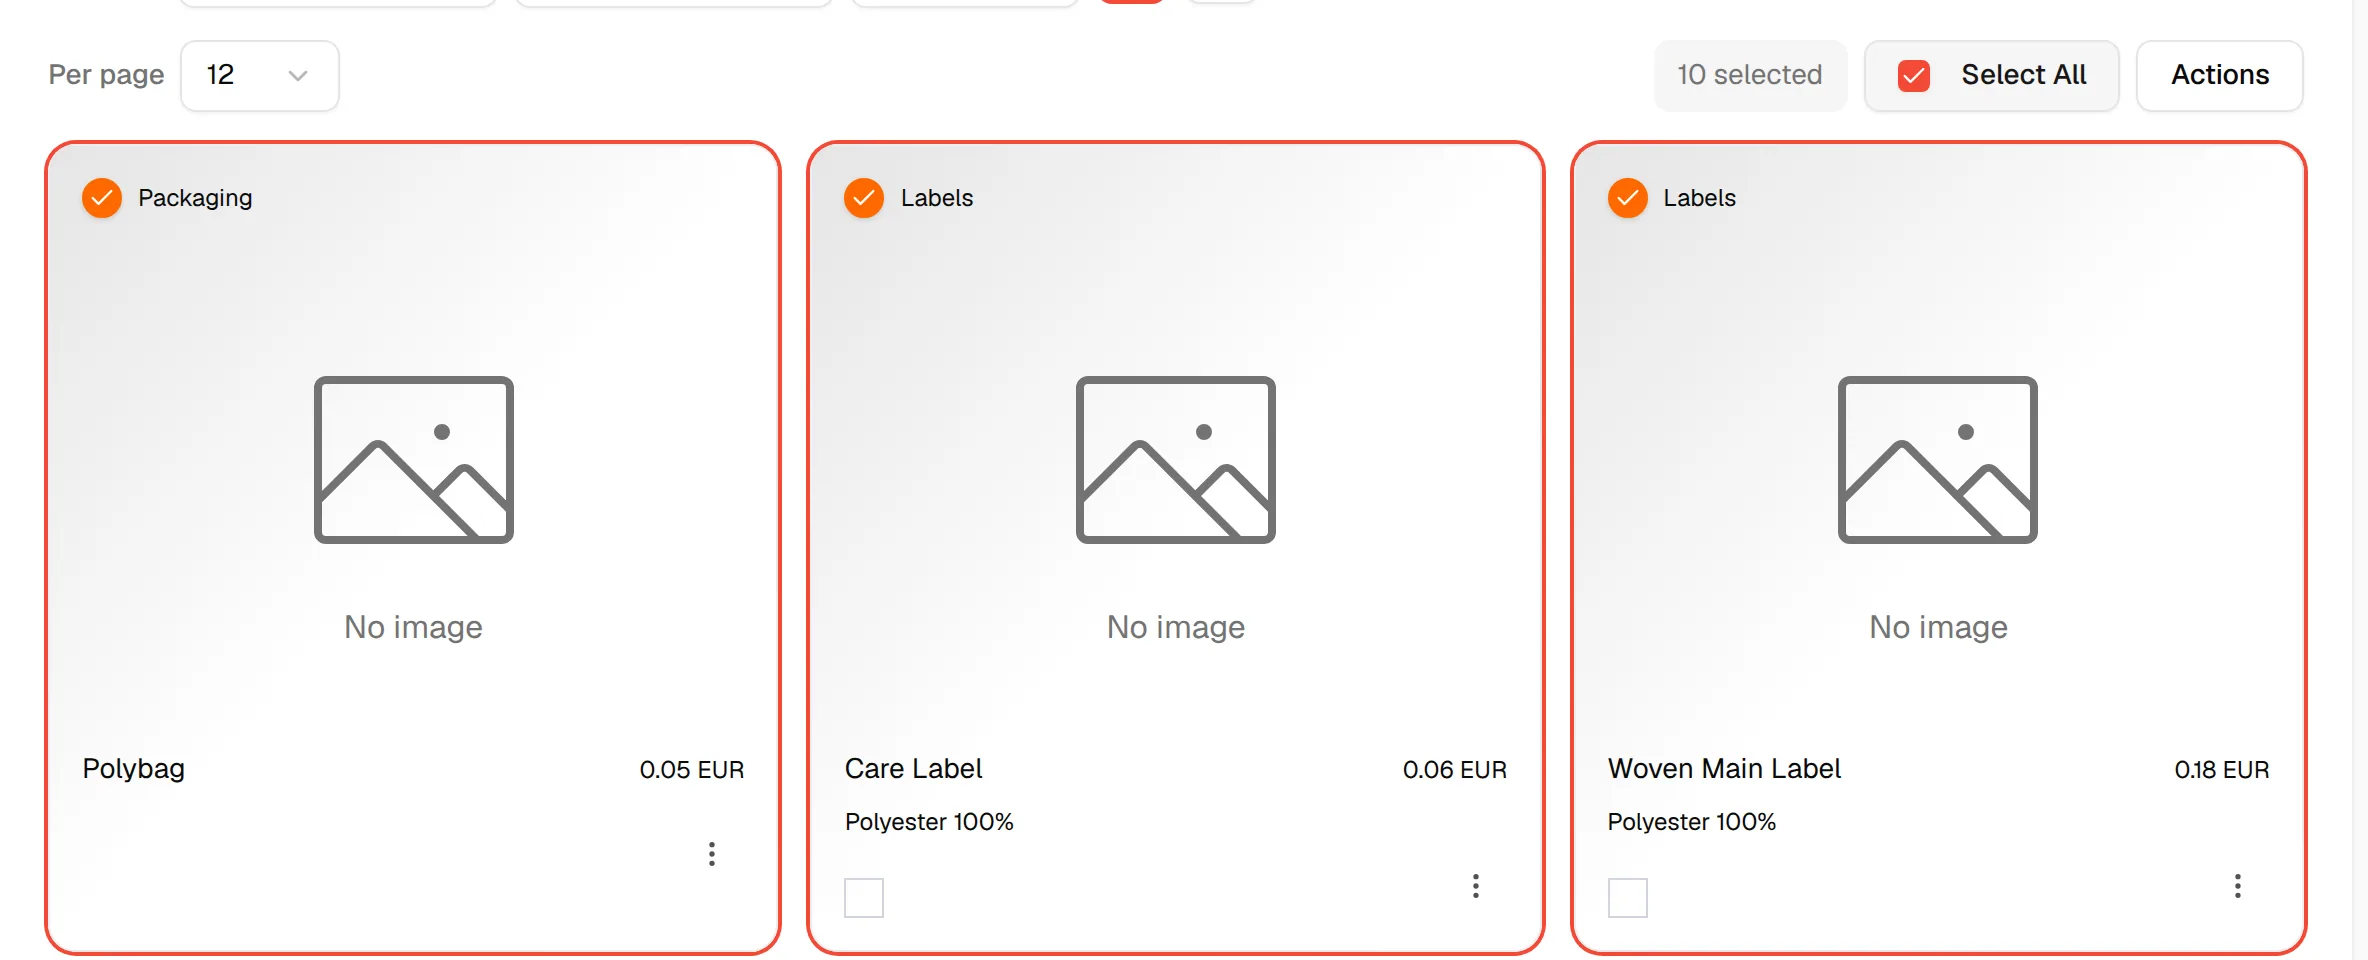
Click "Actions"
Open the Actions menu above the list.
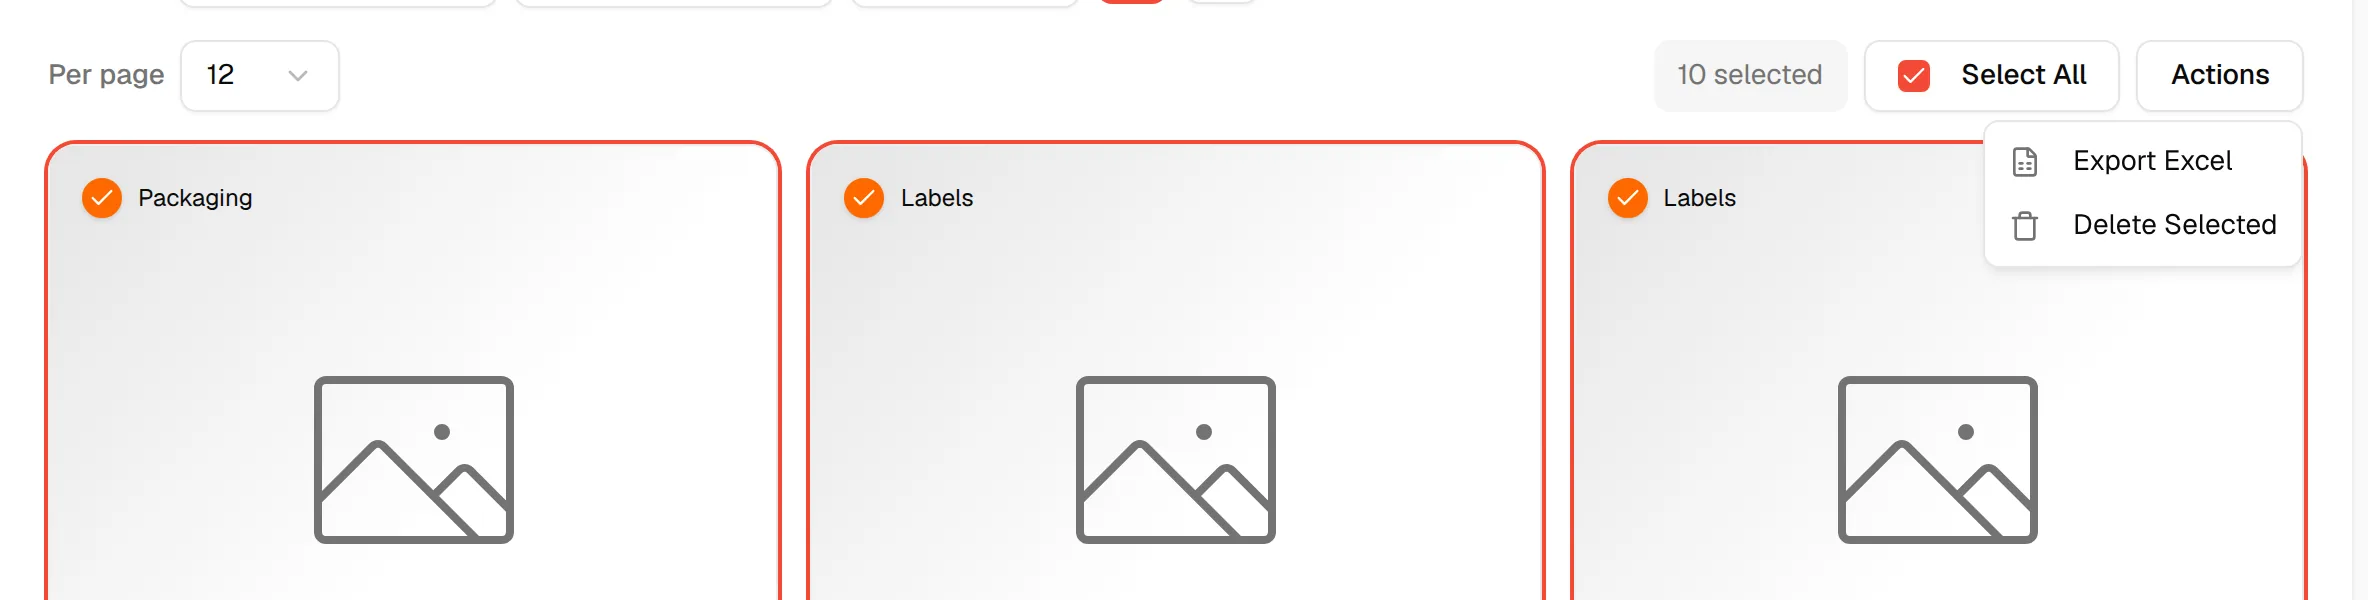
Pick an action
Choose one of the options below.
- Export Excel downloads the selected materials, or every material when nothing is selected.
- Delete Selected deletes the selection after you confirm. If any of them is linked to a style, nothing is deleted and the Cannot Delete Material dialog explains why. It needs the permission to delete products.
- Invite Users opens Invite Users to Products, where you search for users, select them and click the Invite button (its label shows how many users you selected). It only appears when material invitations are turned on for your brand.
Tip
The Actions menu needs the permission to update products.