Certificate settings
Learn how to configure automatic certificate status updates and define expiry notification thresholds to ensure compliance.
Under review. This page is published while we check it against the live app, so some details may have changed.
Screenshots may be out of date.
Learn how to configure automatic certificate status updates and define expiry notification thresholds to ensure compliance. This guide simplifies the process of setting up reminder schedules and adding new certificate types to keep your digital assets secure and up to date.
Navigate to Certificate Settings
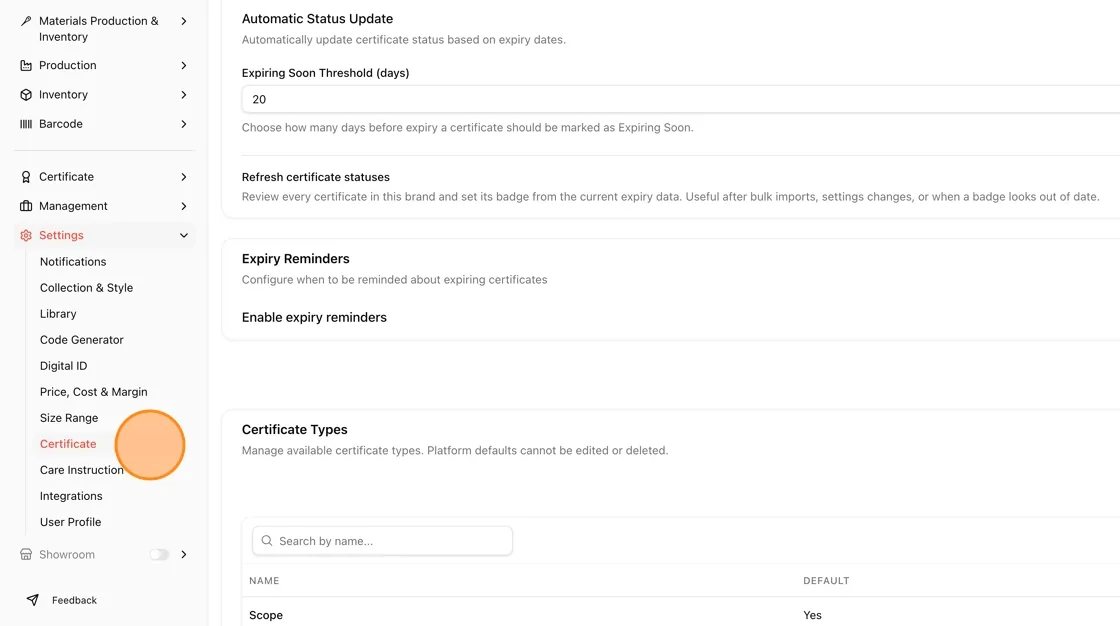
In the left sidebar, click Settings to expand the menu, then click Certificate.
Review Certificate Status Options
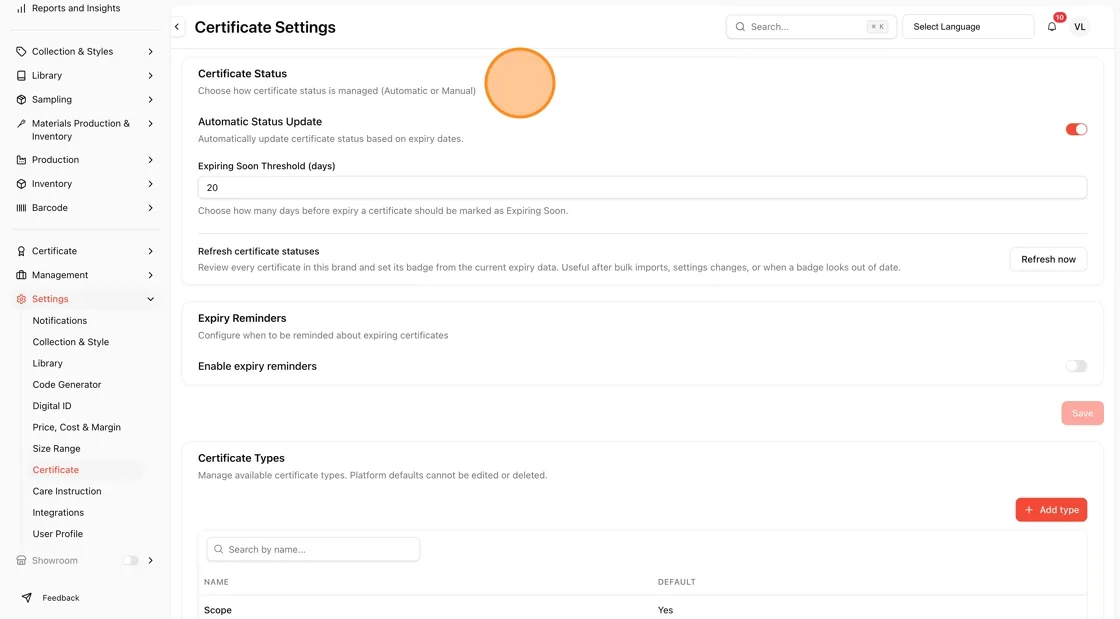
At the top of the page, the Certificate Status section explains that you can choose how certificate status is managed — either Automatic or Manual.
Enable or Disable Automatic Status Update
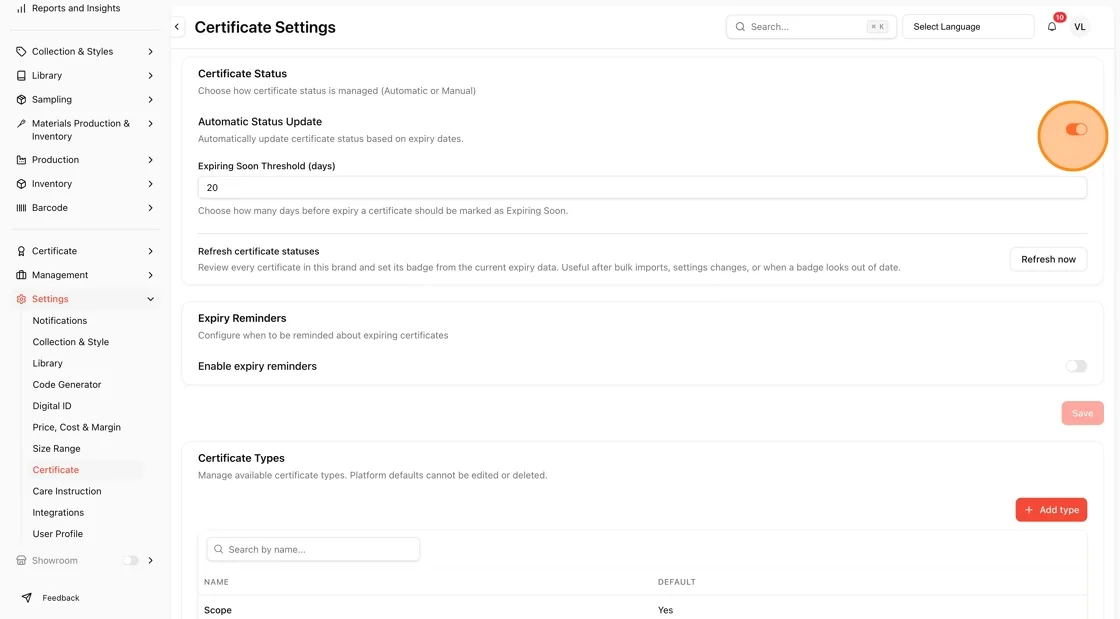
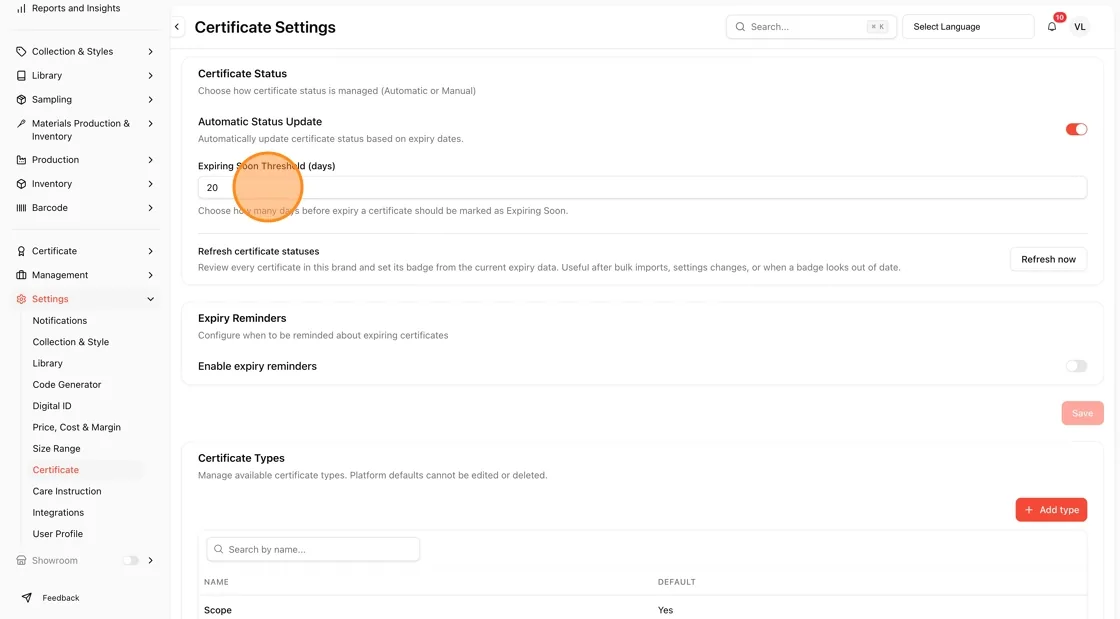
Toggle Automatic Status Update on or off. When enabled (shown in red/on), certificate statuses are automatically updated based on expiry dates rather than being set manually.
Set the Expiring Soon Threshold
In the Expiring Soon Threshold (days) field, enter the number of days before expiry that a certificate should be marked as Expiring Soon. Example: 20.
Note
The Expiring Soon Threshold (days) field appears only while Automatic Status Update is on. Turning it on and saving refreshes the status of every certificate straight away.
Refresh Certificate Statuses
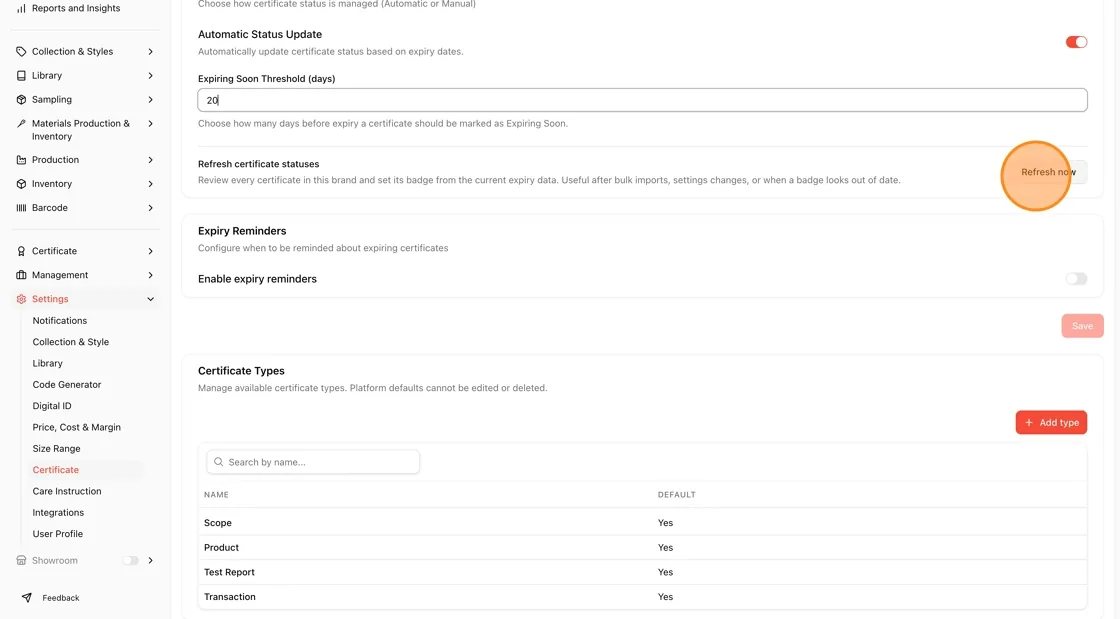
Click the Refresh now button next to Refresh certificate statuses to review every certificate in the brand and reset its badge based on the current expiry data.
Note: This is useful after bulk imports, settings changes, or whenever a certificate's badge looks out of date.
Open Expiry Reminders Settings
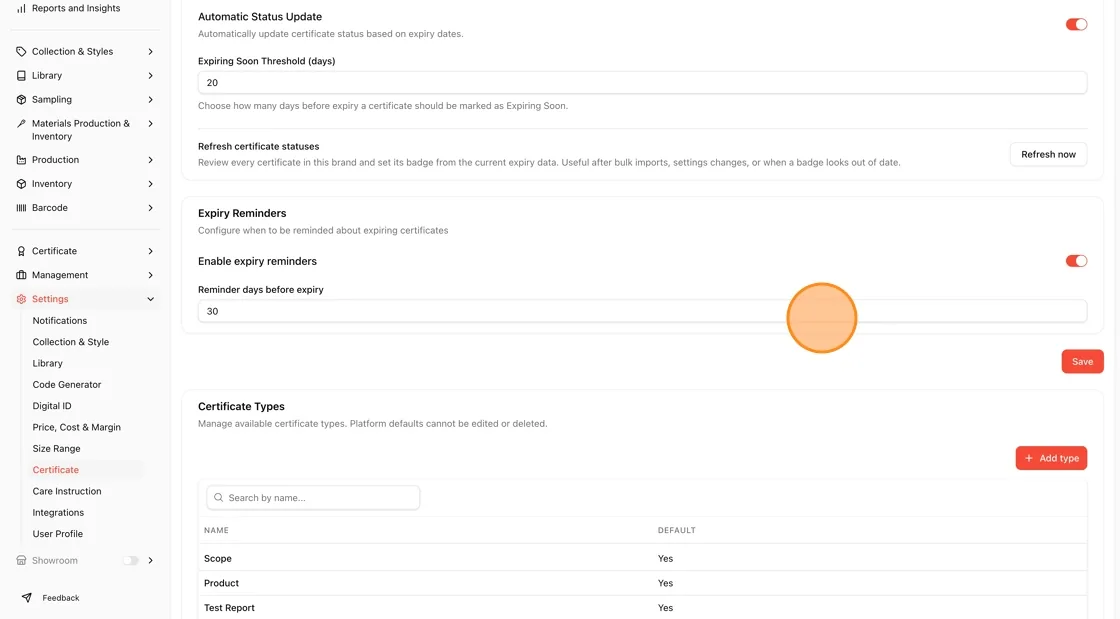
Scroll to the Expiry Reminders section to configure when you want to be reminded about expiring certificates.
Enable Expiry Reminders
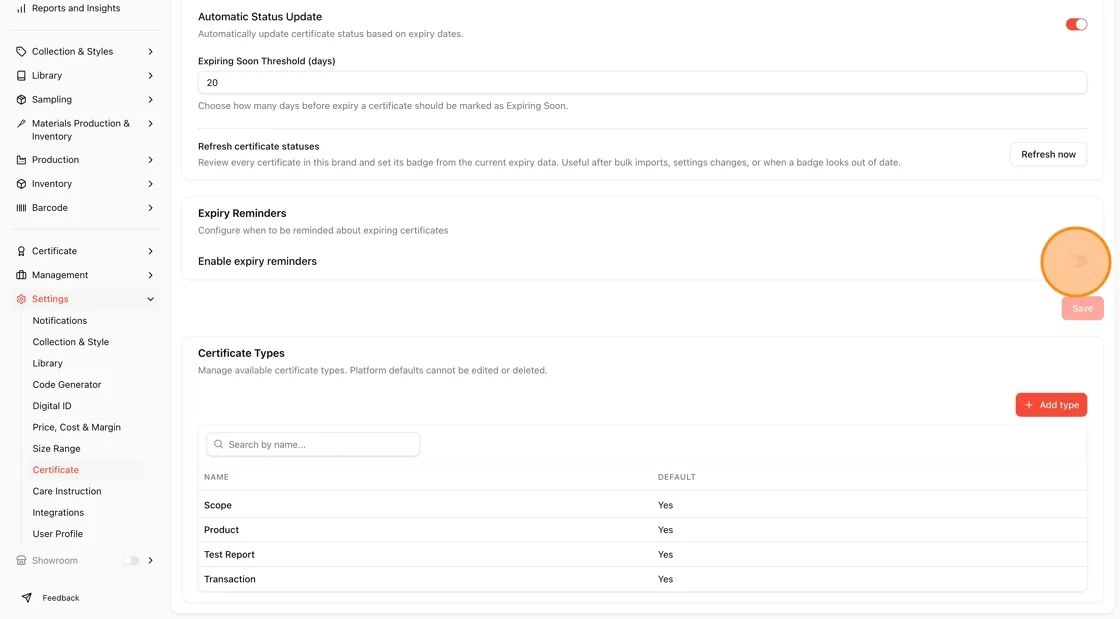
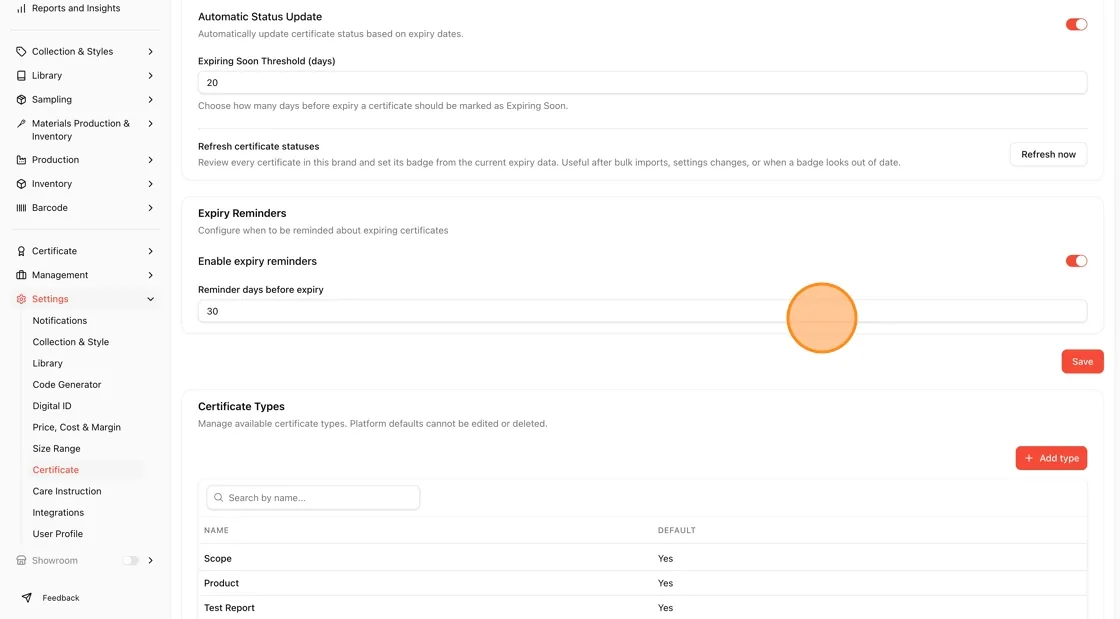
Toggle Enable expiry reminders on (shown in red) to activate reminder notifications.
Set Reminder Days Before Expiry
Once enabled, a Reminder days before expiry field appears. Enter the number of days in advance you want to be notified. Example: 30.
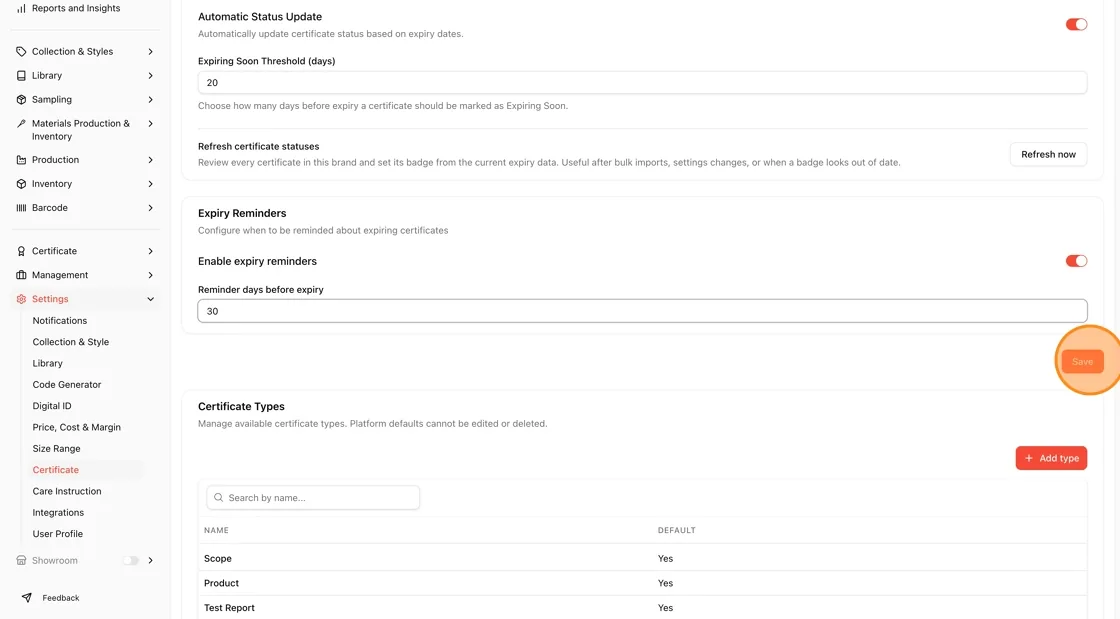
Save Your Settings
Click the Save button at the bottom-right of the Expiry Reminders section to apply your changes.
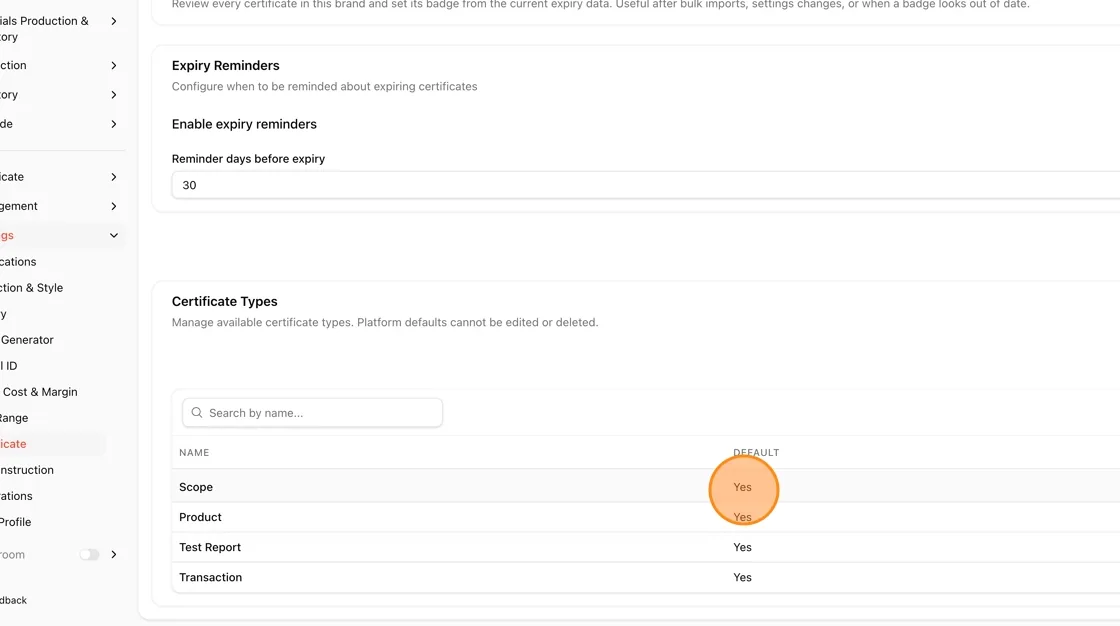
Review Certificate Types
Scroll down to the Certificate Types section to view the list of available certificate types (e.g., Scope, Product, Test Report, Transaction). Each type shows whether it is a Default (platform) type.
Note
Platform default types cannot be edited or deleted. Use the Search by name field to quickly find a specific type.
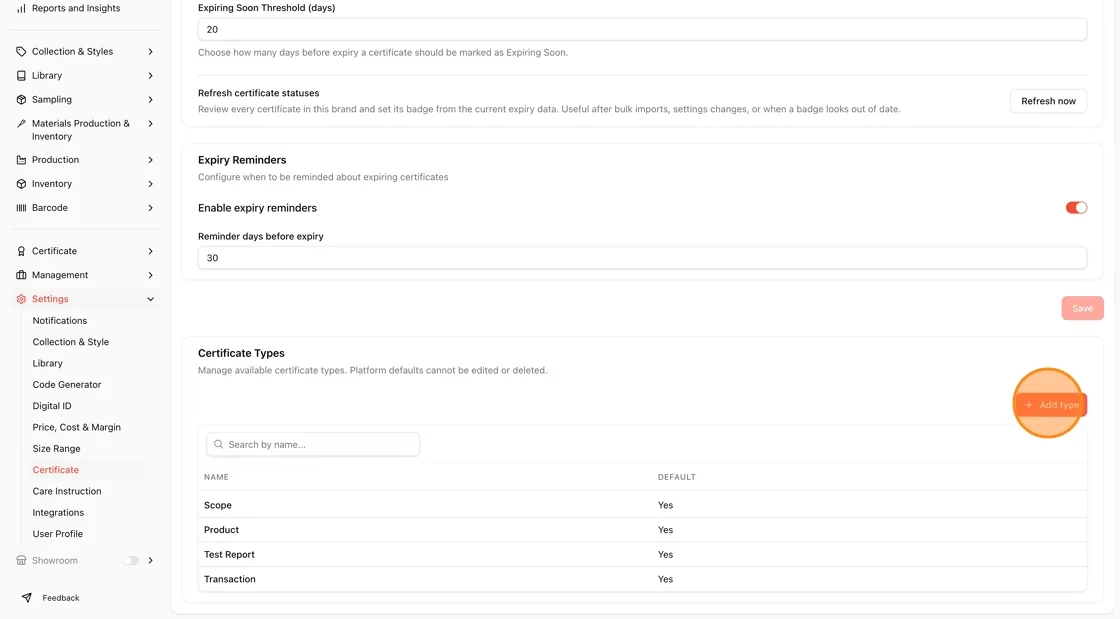
Click Add Type
Click the + Add type button in the top-right of the Certificate Types section to create a new custom certificate type.
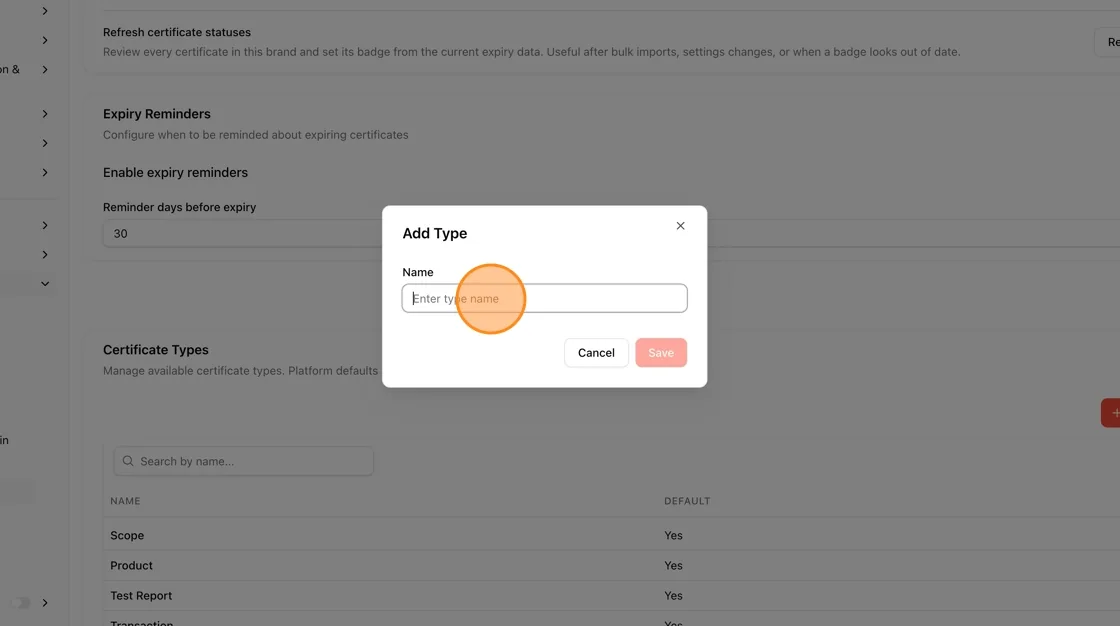
Enter the New Type Name
In the Add Type dialog, type a name for the new certificate type in the Name field.
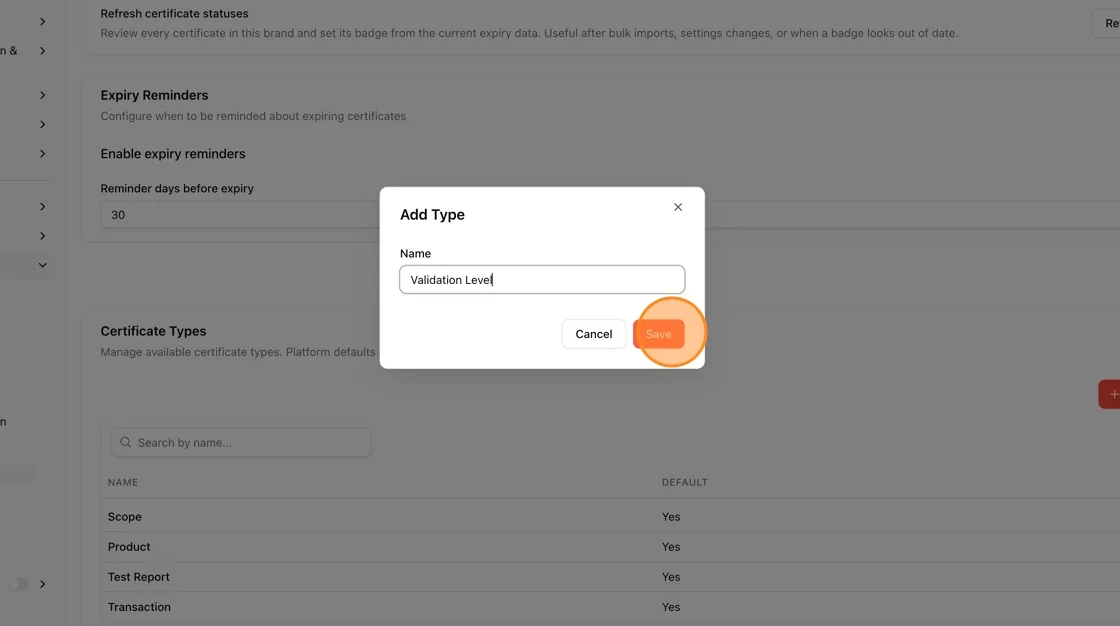
Save the New Type
Click Save to add the new certificate type to the list, or Cancel to discard it.
Confirm and Manage the New Type
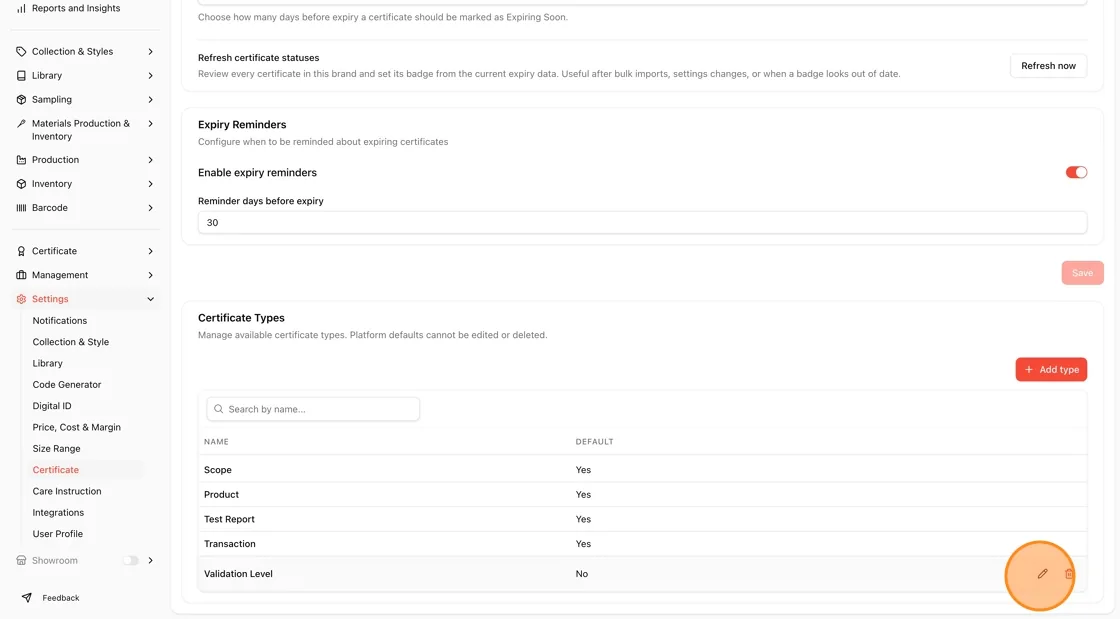
The new type (e.g., Validation Level) now appears in the Certificate Types list with Default marked as No, confirming it is a custom (non-platform) type. Hover over the row to reveal edit (pencil) and delete (trash) icons for managing custom types.