Set up your Vestis Labs account
This step helps you tailor the workspace to your needs by setting essential preferences such as your time zone, date format, base currency, and measurement units.
Under review. This page is published while we check it against the live app, so some details may have changed.
Screenshots may be out of date.
Set up personal preference
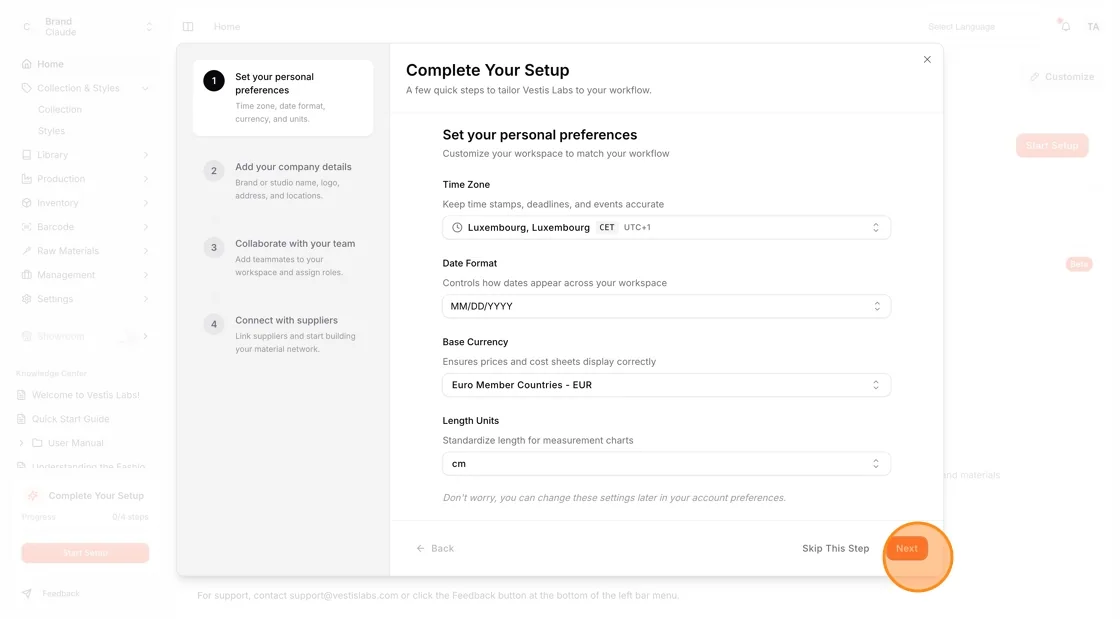
This step helps you tailor the workspace to your needs by setting essential preferences such as your time zone, date format, base currency, and measurement units. These settings ensure that timestamps, pricing, and data throughout the platform display accurately according to your workflow.
Navigate to Home from the left sidebar menu.
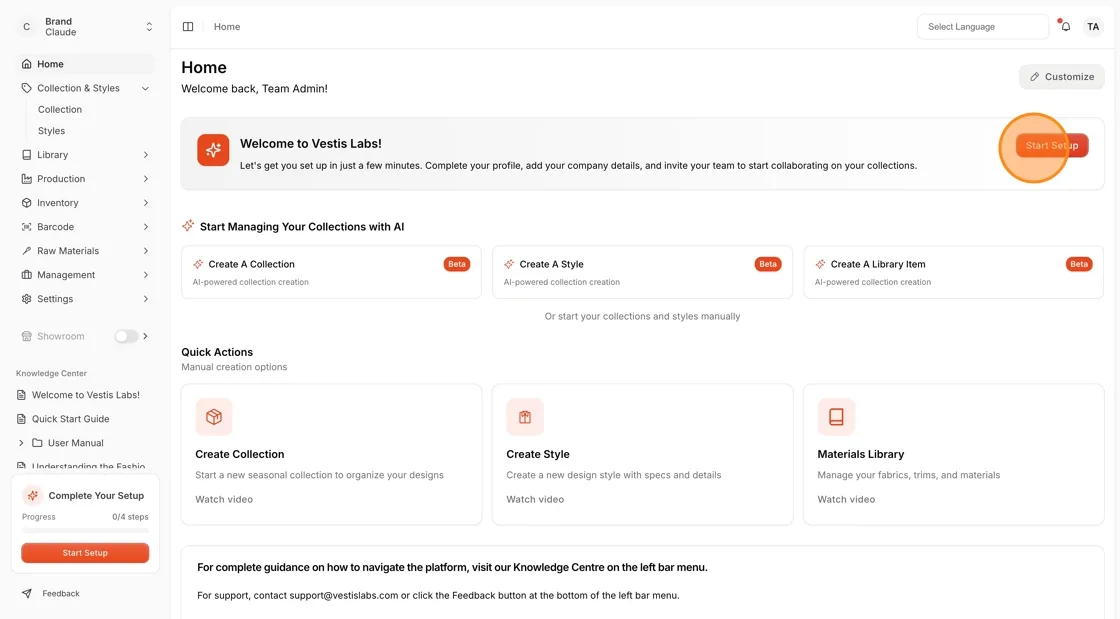
Complete your personal preferences:
If you prefer to skip this section, click Skip This Step to continue without filling out the fields.
Click Next to move to the following page.
Company profile
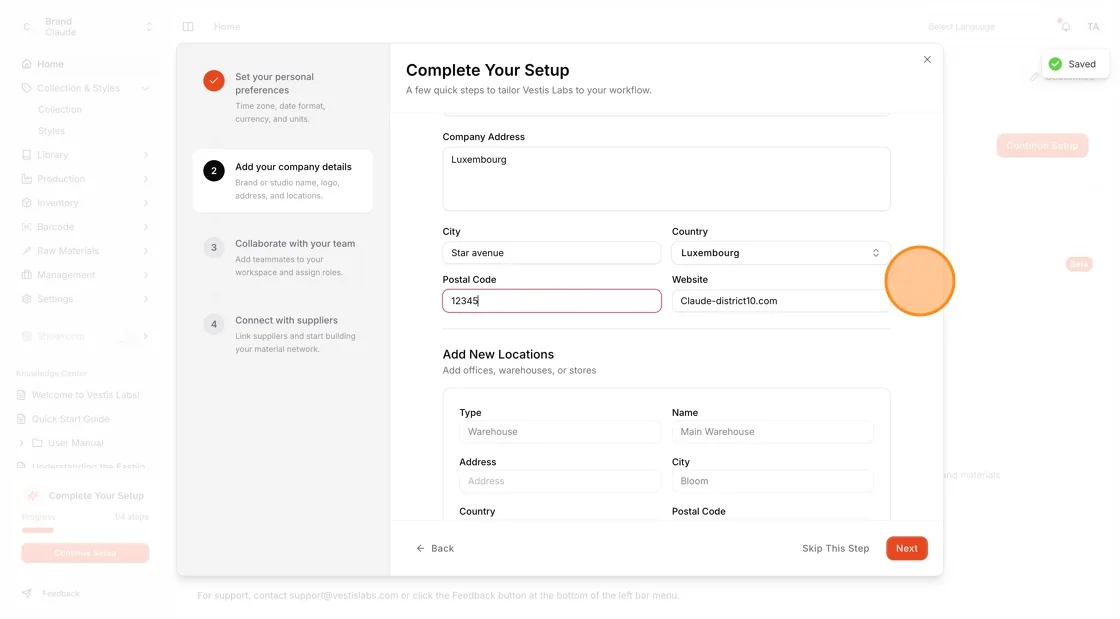
In this step, you’ll define the core identity of your brand or studio by entering key information such as your company name, logo, address, and business locations. Providing these details ensures your workspace is properly branded and ready for collaboration.
Set Up Your Company Information
- Upload your Company Logo.
- Enter your Company Name.
- Enter your VAT Number.
- Enter your EORI Number.
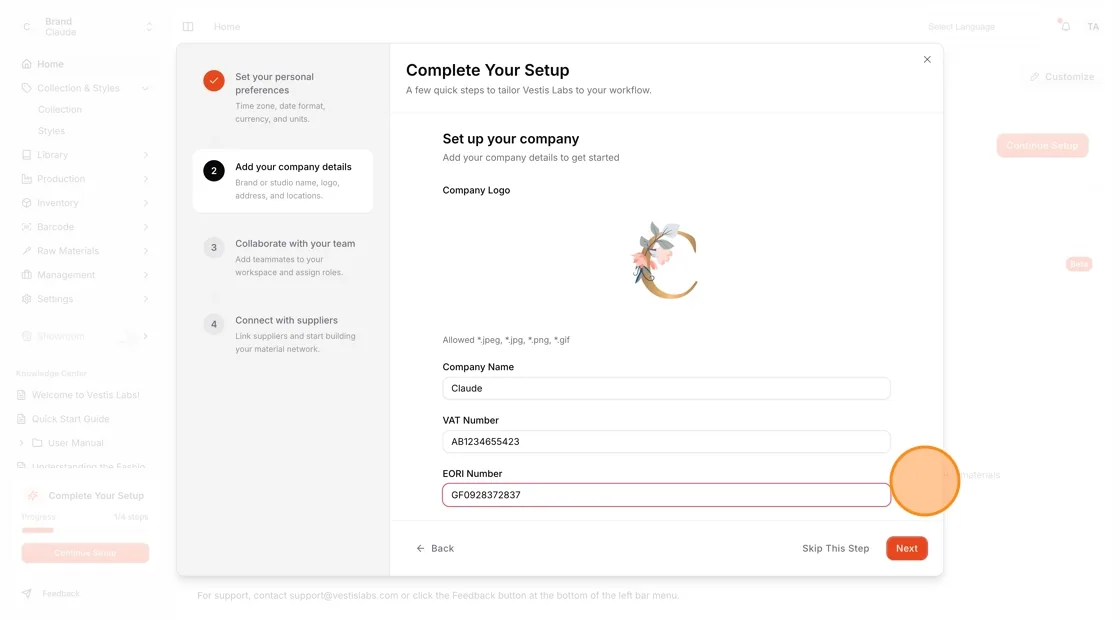
- Fill in your Company Address, City, Country, Postal Code, and Website.
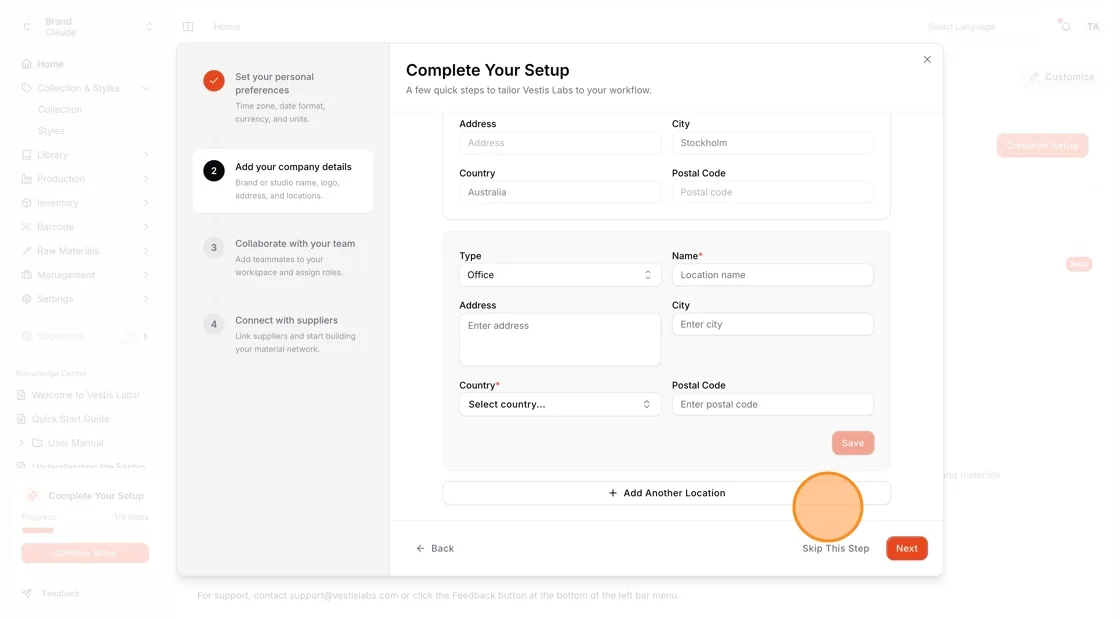
- To add more company locations (e.g., warehouse, office), select Add Another Location and enter the additional address.
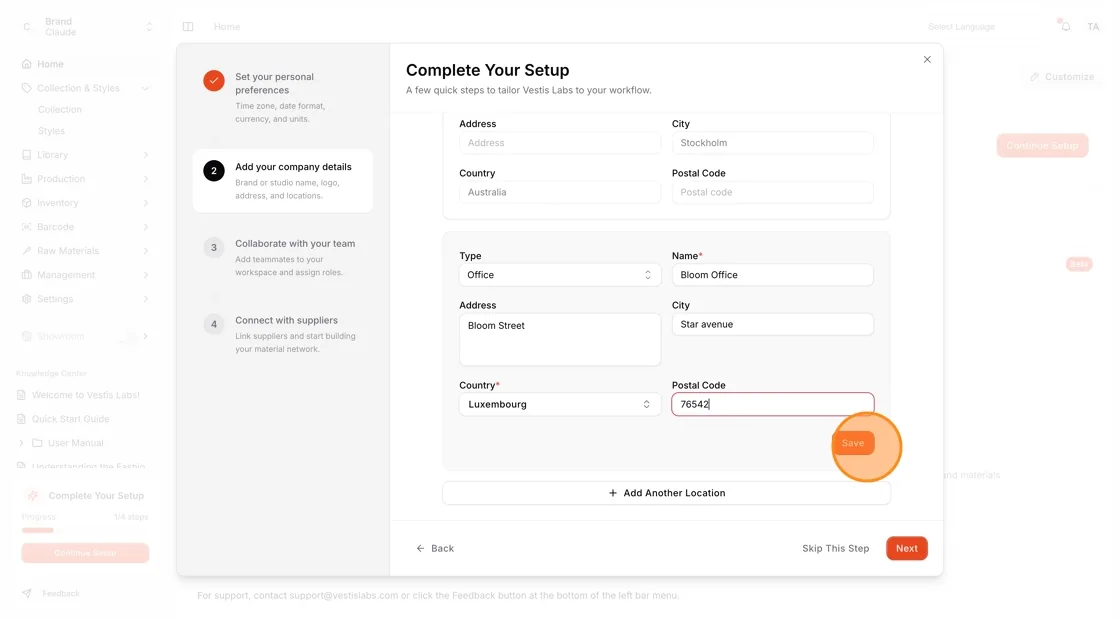
- Click Save to confirm your details.
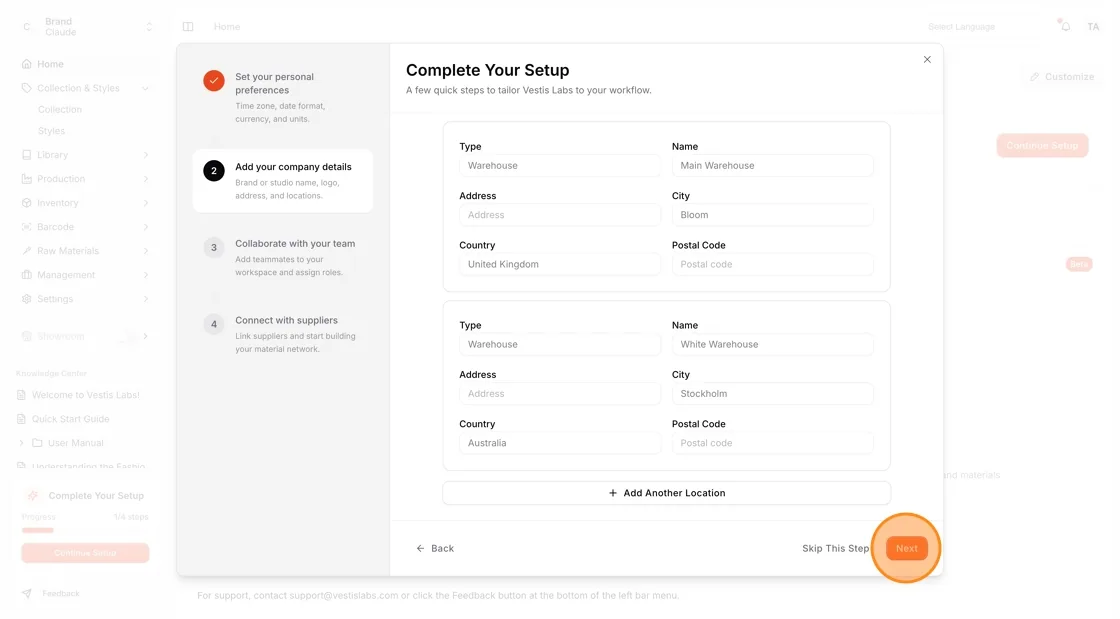
- Click Next to continue.
Collaborate with team
This step allows you to invite team members to your workspace and assign them the roles they need. By adding collaborators early, you can streamline communication, share responsibilities, and keep your production workflow organized from the start.
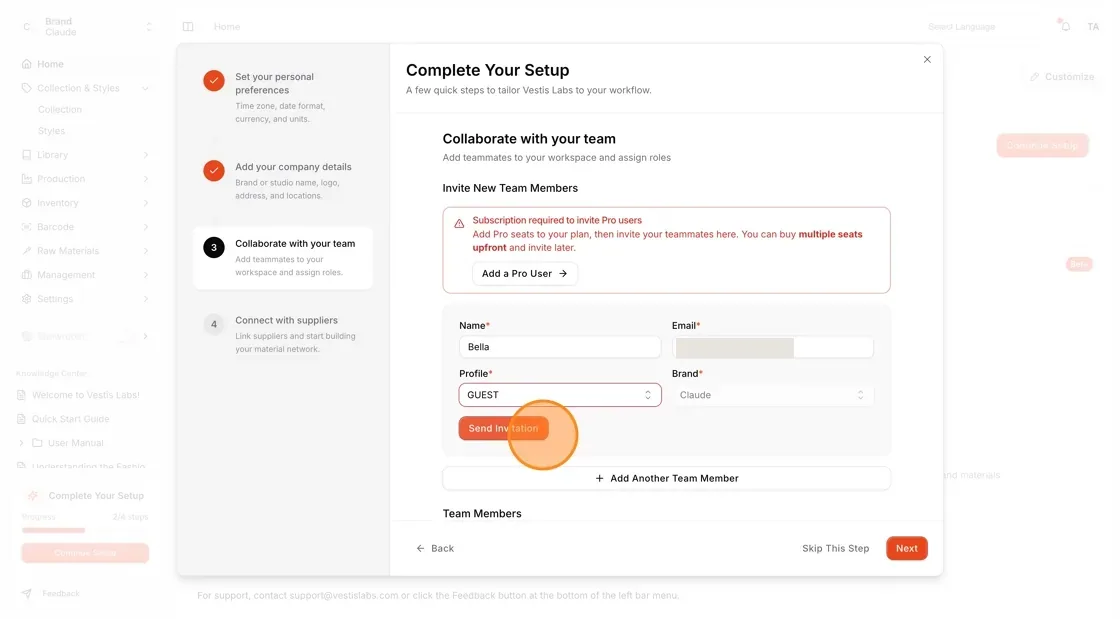
Collaborate With Your Team
- Enter the Team Member’s Name.
- Enter the Team Member’s Email.
- Select their Profile Type — choose either Pro or Guest.
Note: For suppliers or external partners, it is recommended to invite them as Guest.
- Click Send Invitation.
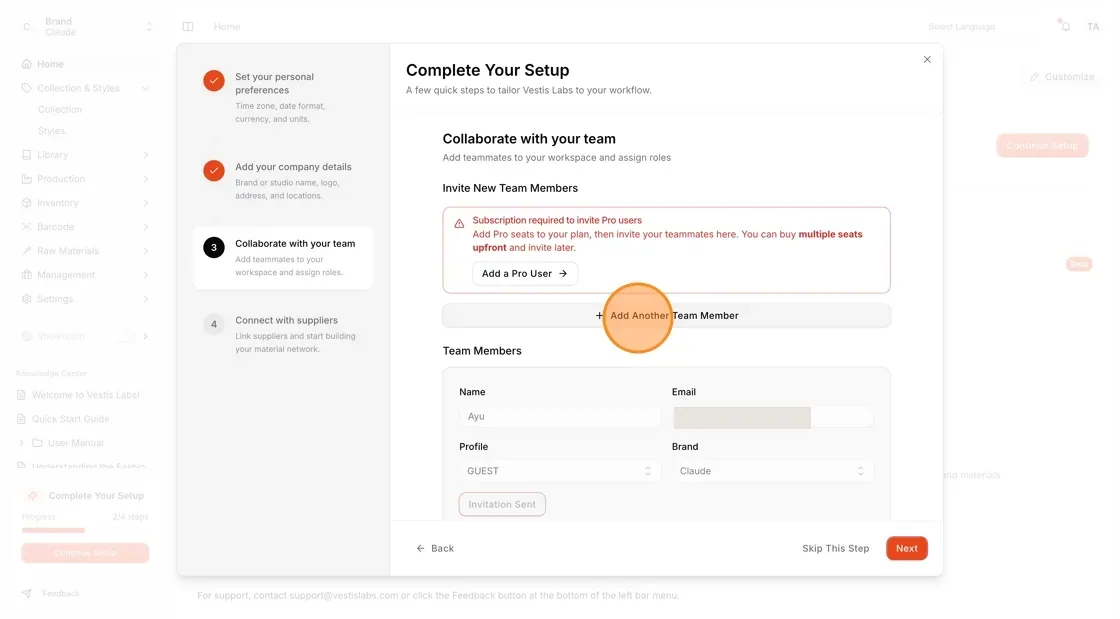
- To invite more team members, select Add Another Team Member.
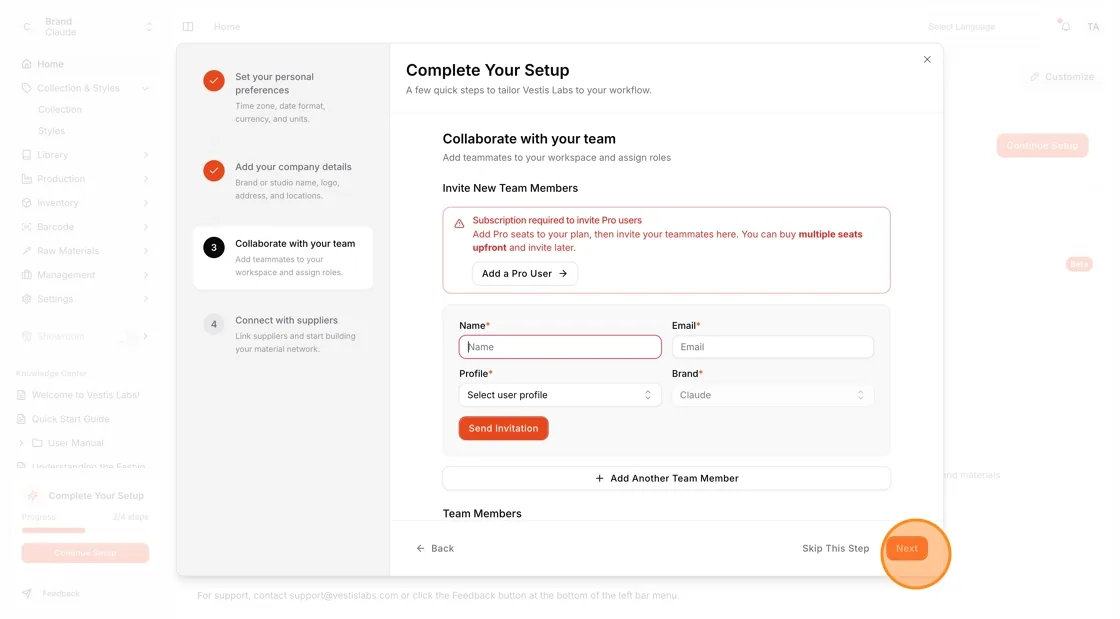
- Click Next to move to the next step.
Connect with supplier
Here, you can link your suppliers to begin building a connected materials network. Adding suppliers helps you manage fabrics, trims, and sourcing details efficiently. You can invite your supplier as a guest.
Connect With Your Suppliers
- Enter the Supplier Name.
- Enter the Supplier Code.
- Select the Supplier Country.
- Click Create Supplier to save.
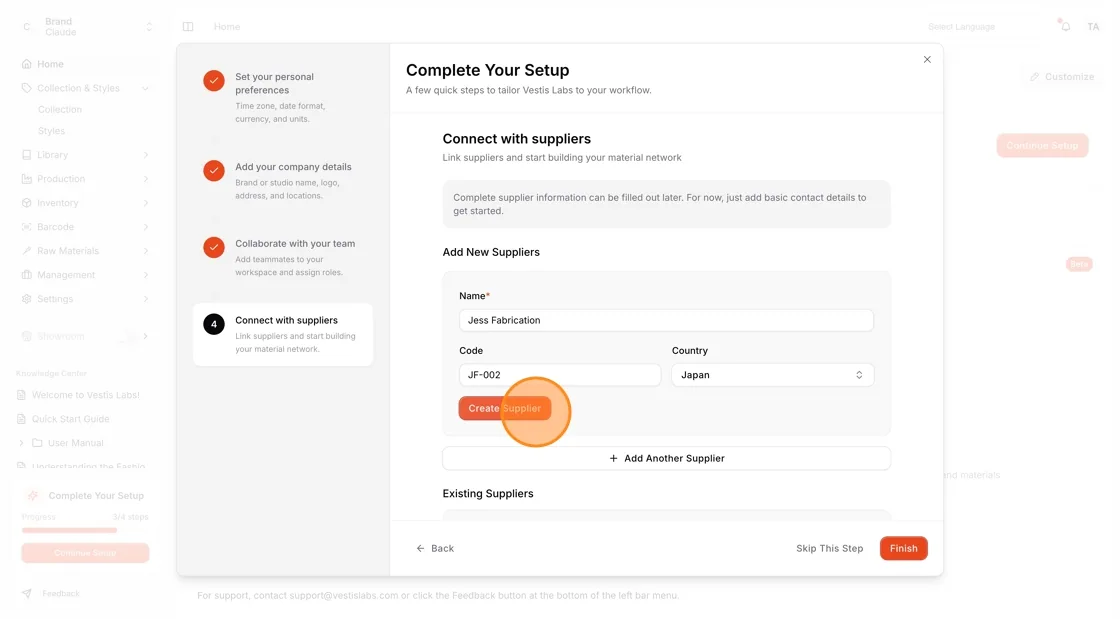
- To add more suppliers, select Add Another Supplier.
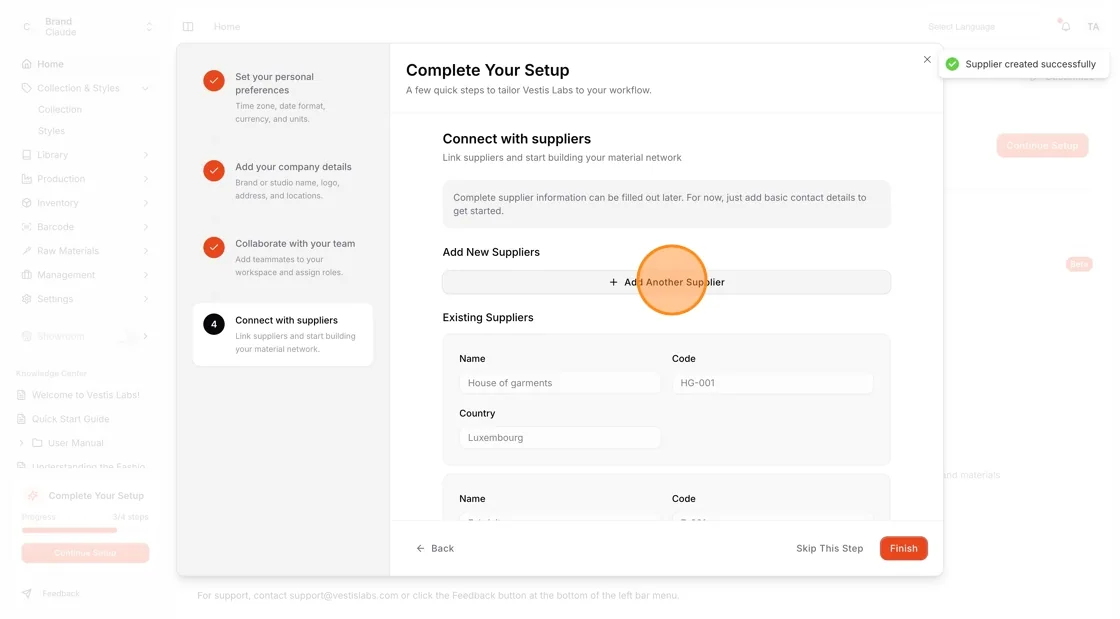
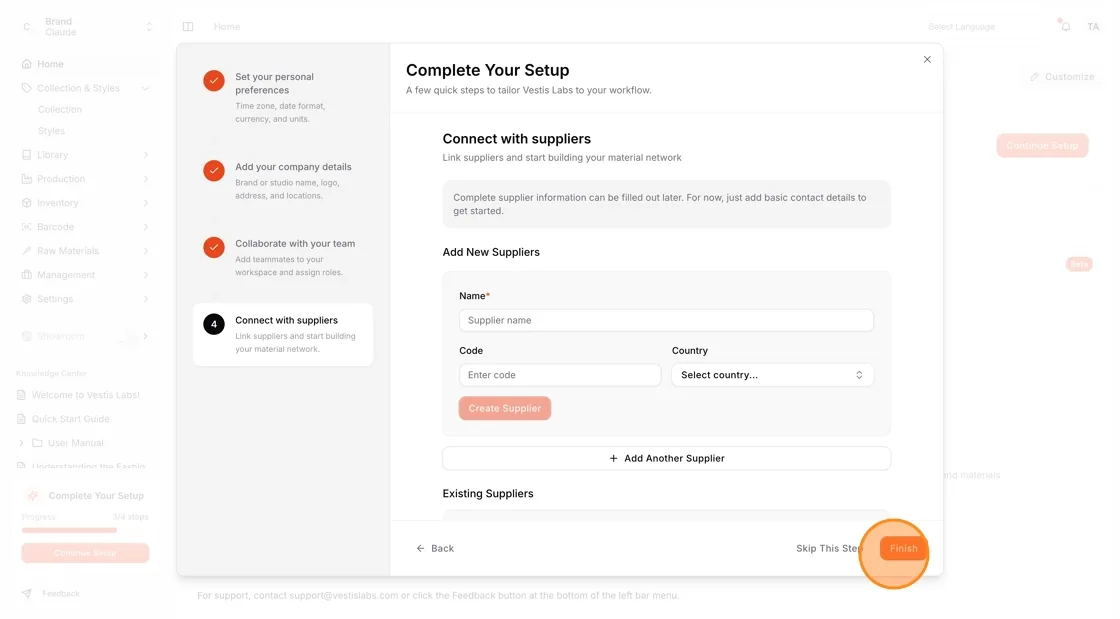
- Click Finish to complete the setup process.
You can track your setup progress at the bottom left corner of the page.
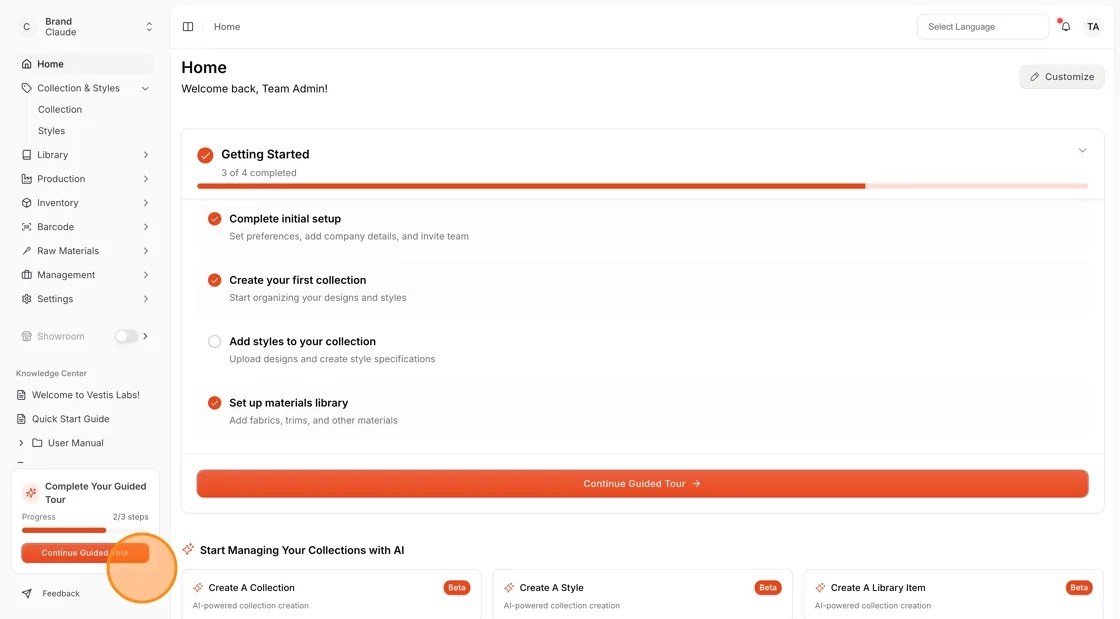
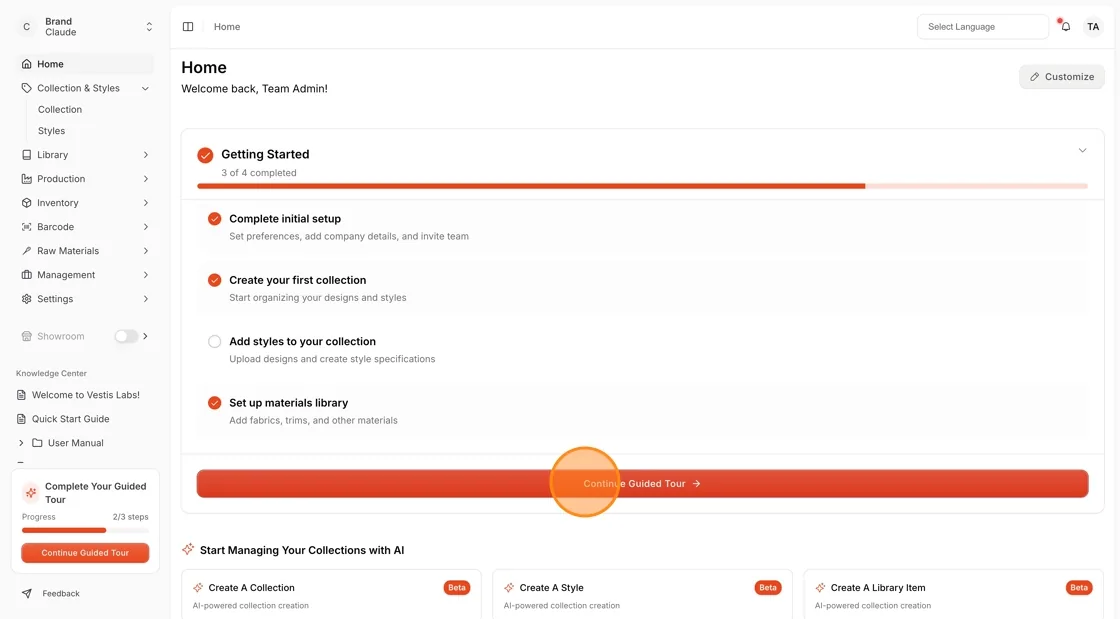
Select Continue Guided Tour to proceed with onboarding steps.
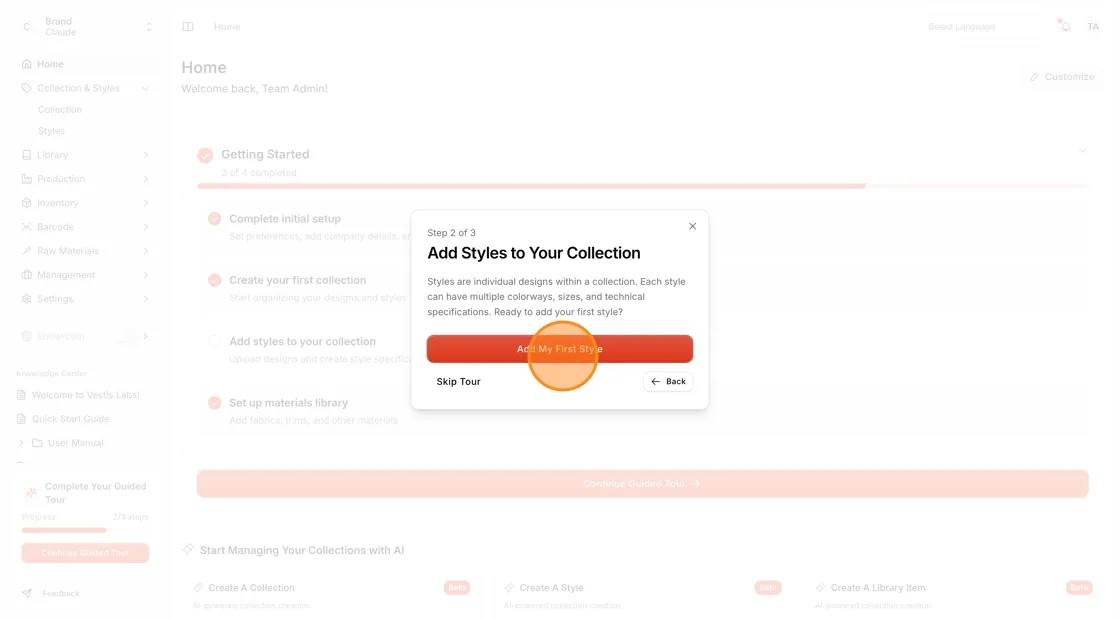
Choose Add My First Style to begin creating a new style for your collection.