Step 5 of 13 in Onboard your brand
Subscription management
Allows you to manage subscription products with fixed or custom billing intervals.
Under review. This page is published while we check it against the live app, so some details may have changed.
Screenshots may be out of date.
Allows you to manage subscription products with fixed or custom billing intervals. You may select a subscription plan that best suits your needs. Additionally, you have the option to subscribe by including add-ons for additional features you require, and manage the following subscription-related features from your Vestis Labs App
ManagementSubscription
Permission: UPDATE_BRAND
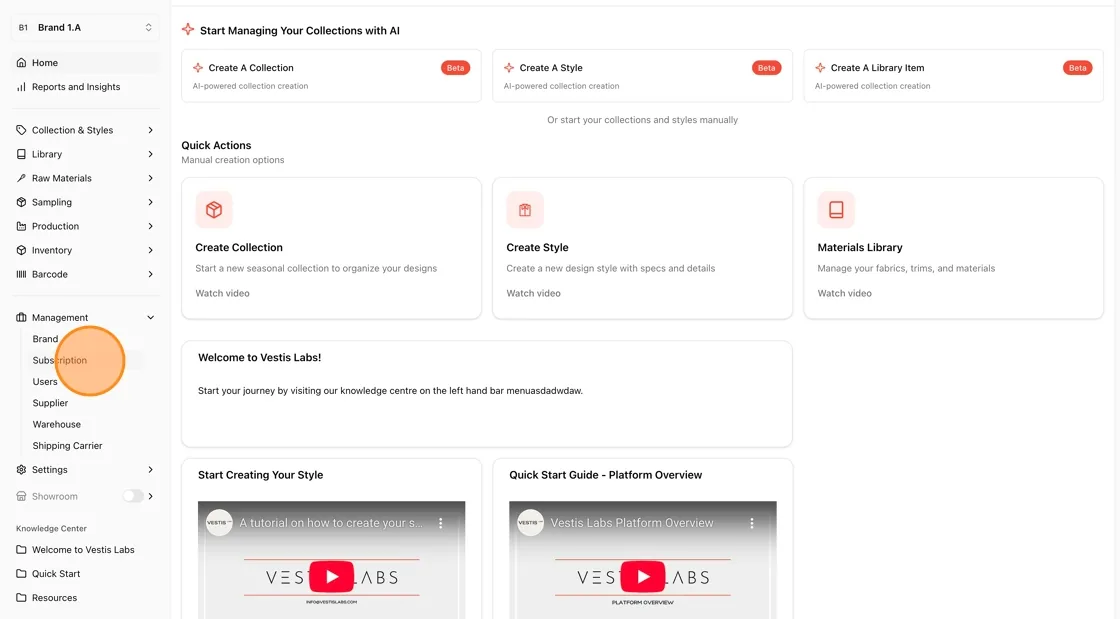
From your Vestis Labs Home dashboard, select Management → Subscription from the left bar menu.
Note
Only a PRO user can start a plan, and once you have a paid plan only the subscription owner can change it, add add-ons, apply a promo code or open Manage Subscription. For other users these buttons are disabled.
Choose a plan
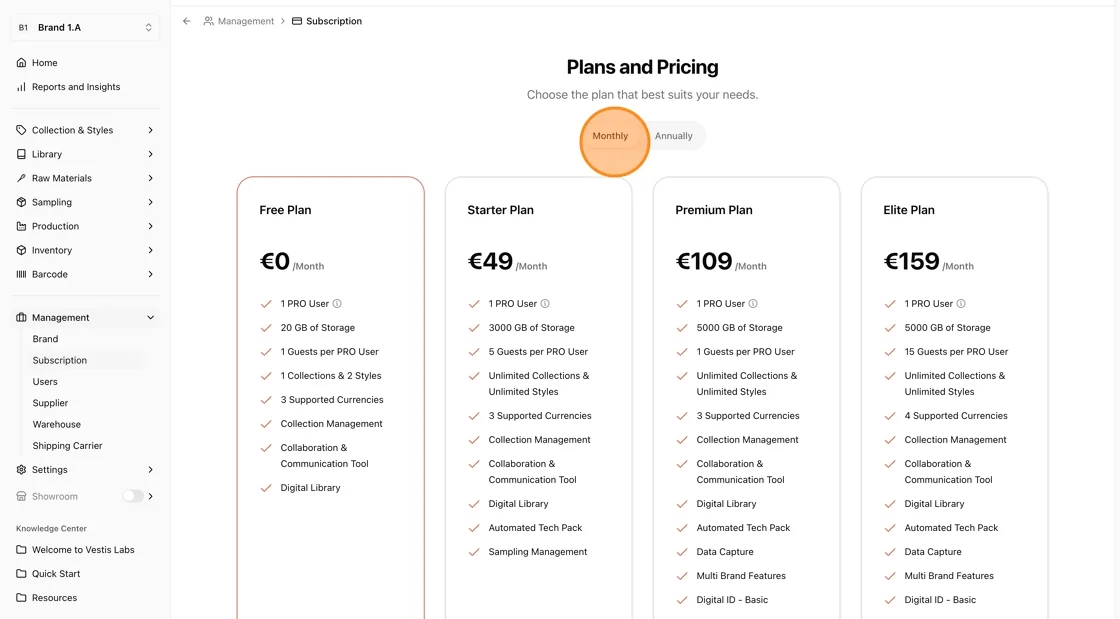
The Plans and Pricing section shows one card per plan. Use the Monthly and Annually switch to choose an auto-billed subscription that renews monthly or yearly. The prices change with the switch, and a note states that all prices are exclusive of taxes and VAT where applicable.
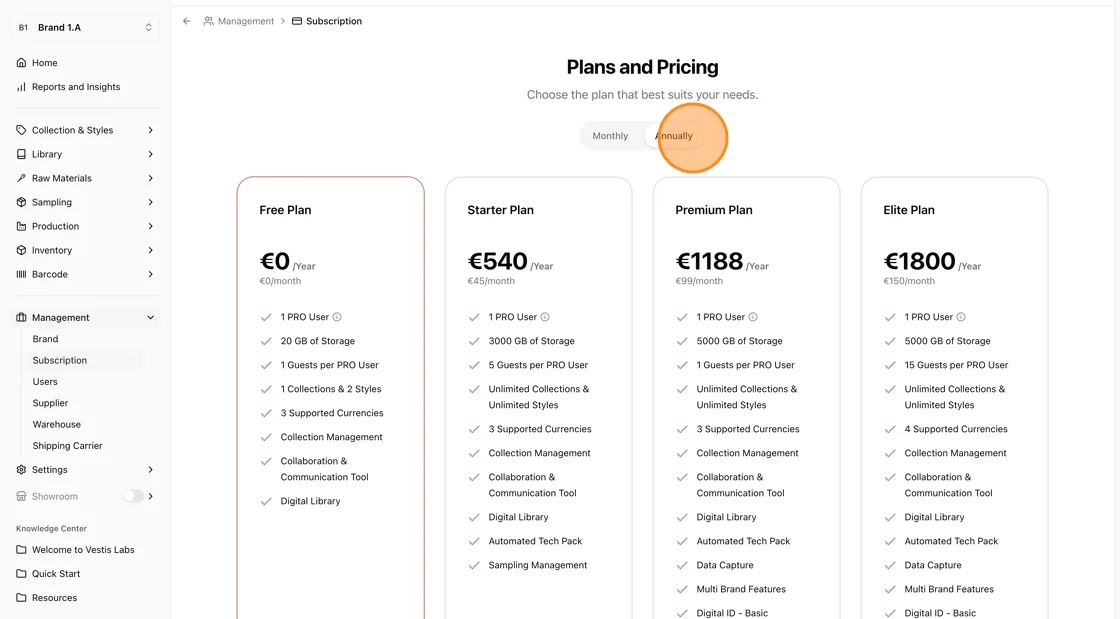
There are four available subscription plans:
- Free Plan – Basic access with limited features.
- Starter Plan – Ideal for individuals or small teams getting started.
- Premium Plan – Designed for growing businesses that need more advanced features.
- Elite Plan – Best for businesses requiring full access and maximum functionality.
Each card lists the included PRO user, storage, guests per PRO user, and the collection and style limits. Click Show features on a card, or Expand all features above the cards, to see the rest. Carefully compare the features included in each plan and select the one that best fits your needs. Your current plan is marked Current Plan.
Subscribe to a plan
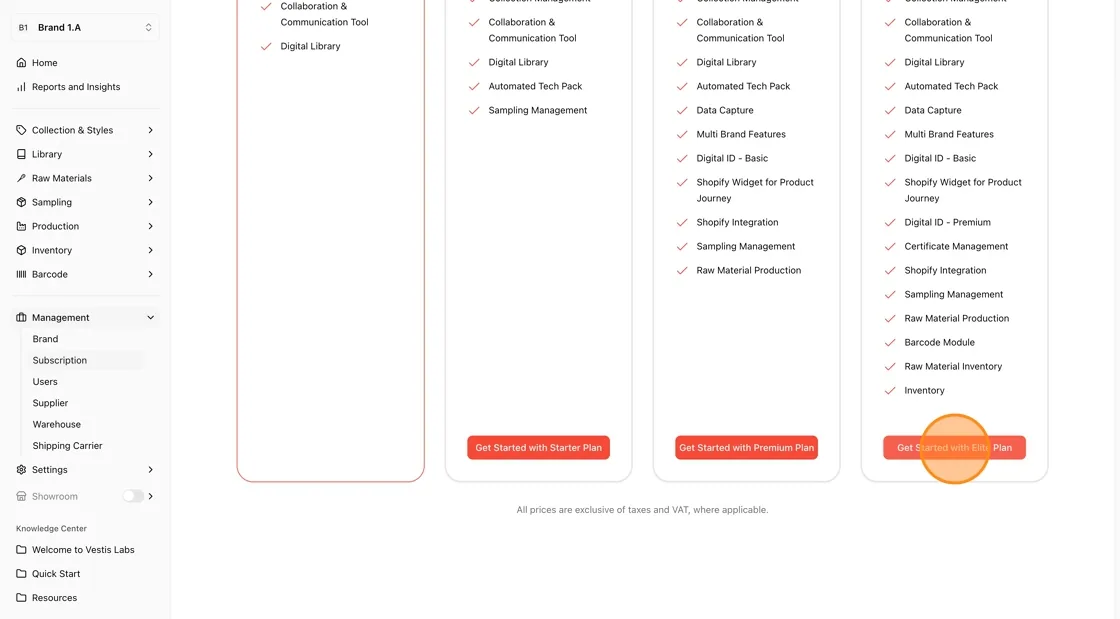
Click the plan button
Locate your chosen plan and click the button at the bottom of the card. It reads Get Started with the plan name when you are on the free plan, Upgrade to the plan name for a higher plan, or Switch to the plan name for a lower plan or another billing period. The free plan card has no button.
Check the plan details
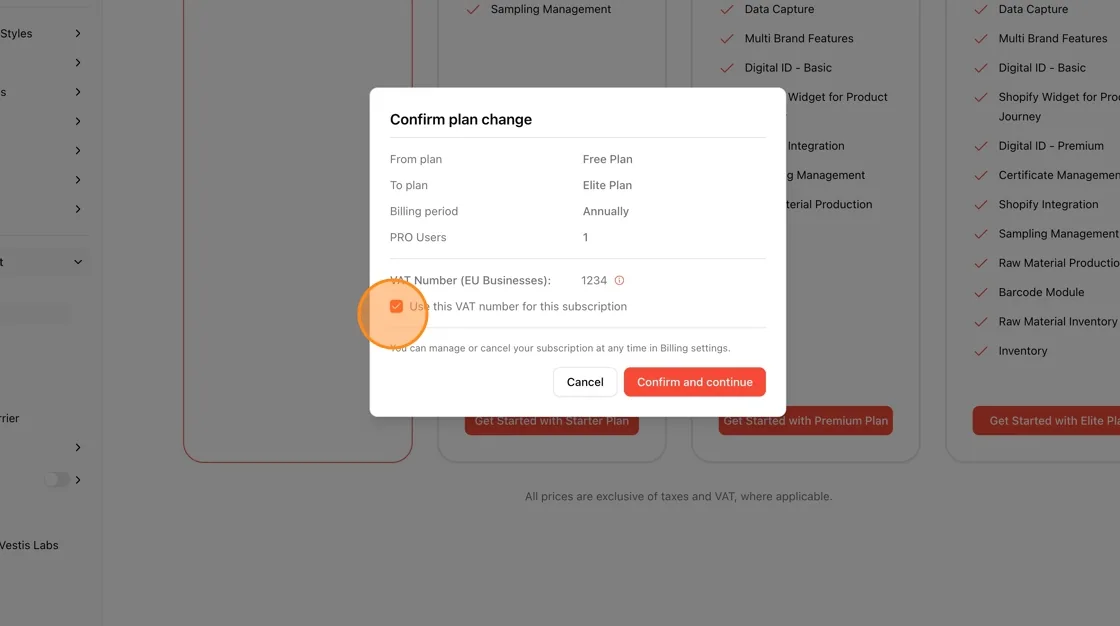
In Confirm plan change, make sure the plan and Billing period are correct.
Choose whether to use your VAT number
If your brand has a VAT number, tick Use this VAT number for this subscription. Without it, a warning says VAT may be charged in accordance with EU regulations.
Note
If your brand has no VAT number, VAT Number Missing appears. Click Open Brand Settings to add one. You can still continue, but tax may be applied to your subscription.
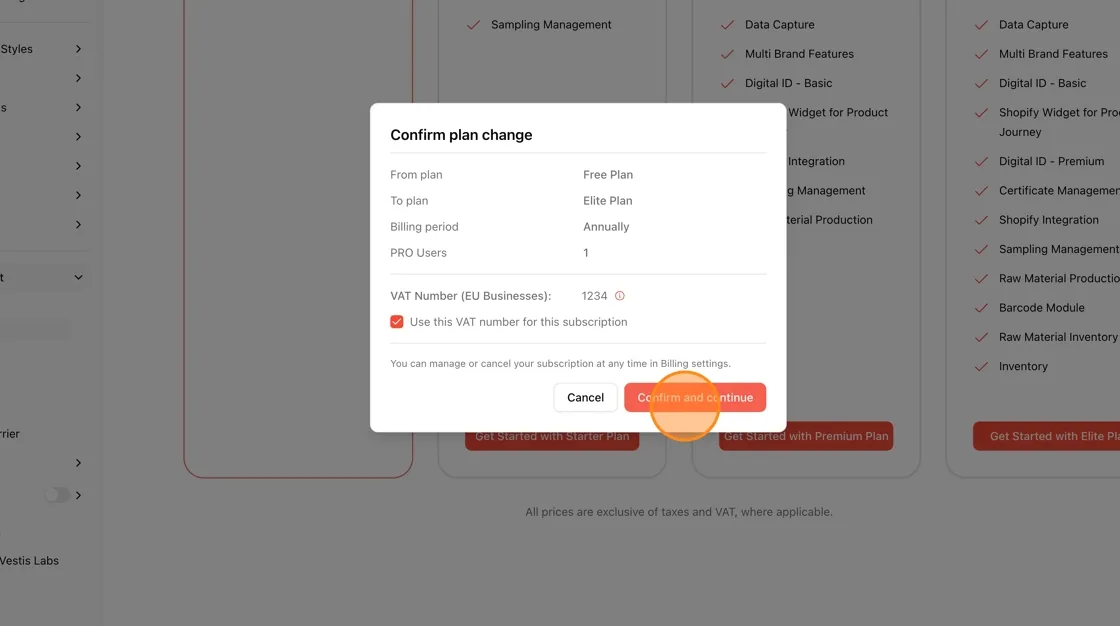
Click "Confirm and continue"
Click Confirm and continue. If you already have a subscription the plan is switched. Otherwise you are redirected to the payment page.
On the Payment Page, complete the following:
- If you have a promotion code, enter it in the designated field to apply the discount.
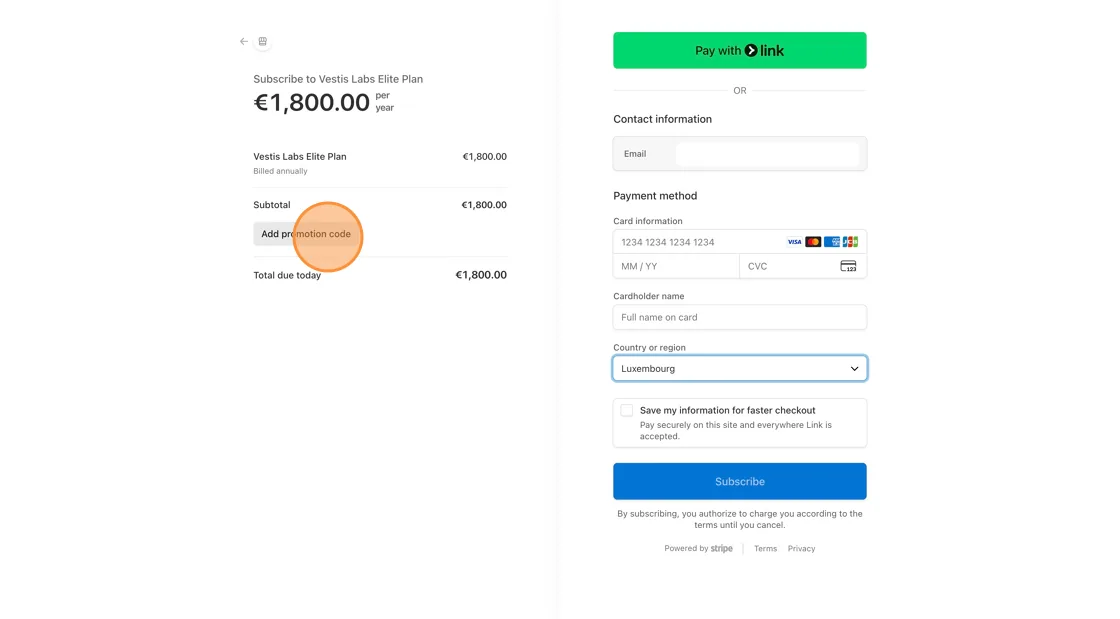
- Choose your preferred payment method:
- Link a Card (credit or debit card)
- Pay with Link
- Review your payment summary.
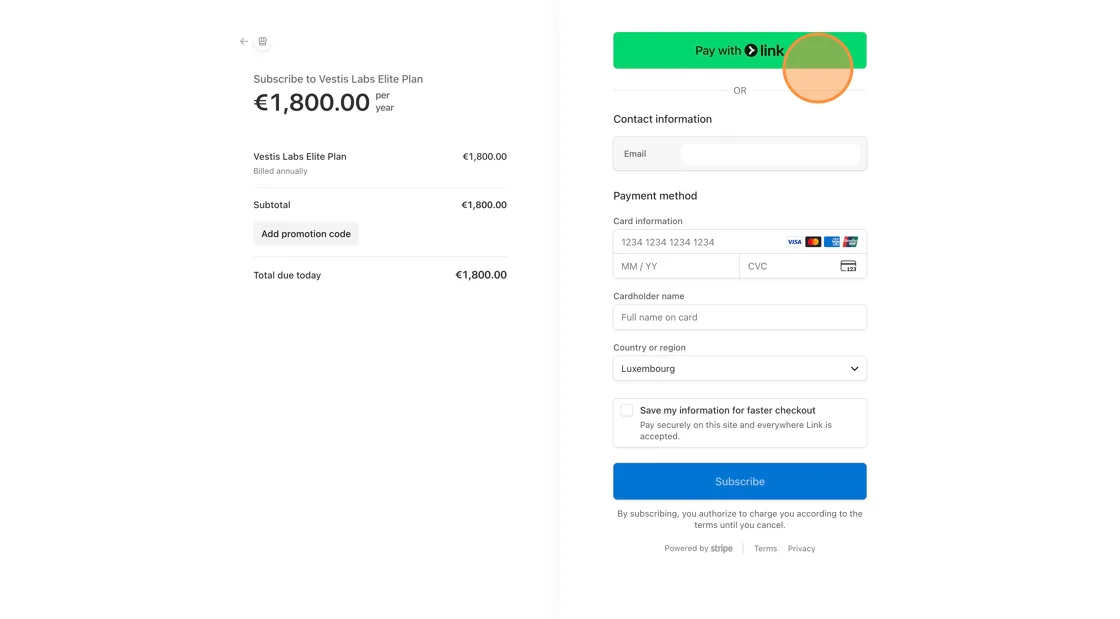
If you choose to link a card:
- Fill in all required billing details.
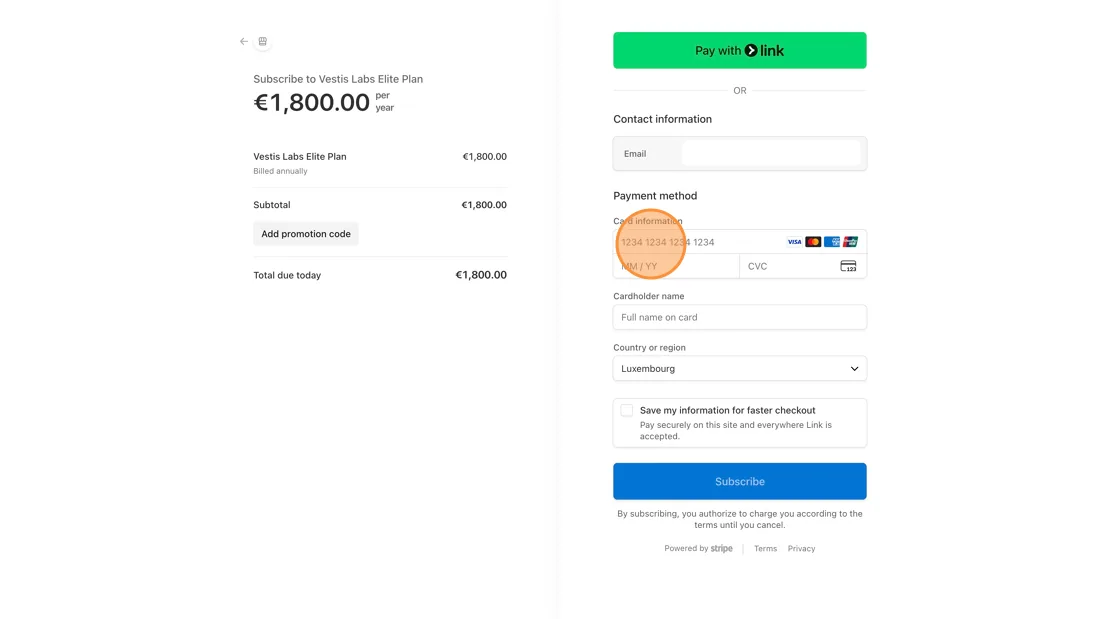
- Click Subscribe to proceed.
Wait until a confirmation message appears indicating that your payment was successful. Your subscription will then become active.
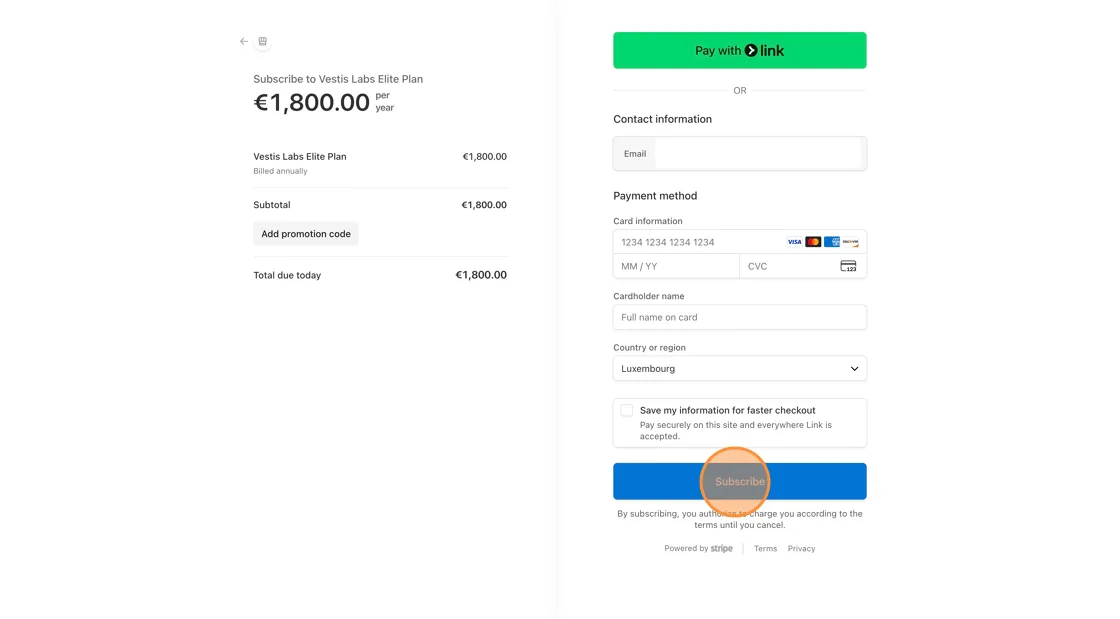
View your current subscription
The Current Subscription card shows your Plan, Price, Billing Interval, Current Period End, Storage, PRO Users, Guest Users Limit, Collection Limit, Style Limit and Supported Currencies.
To view or manage your subscription:
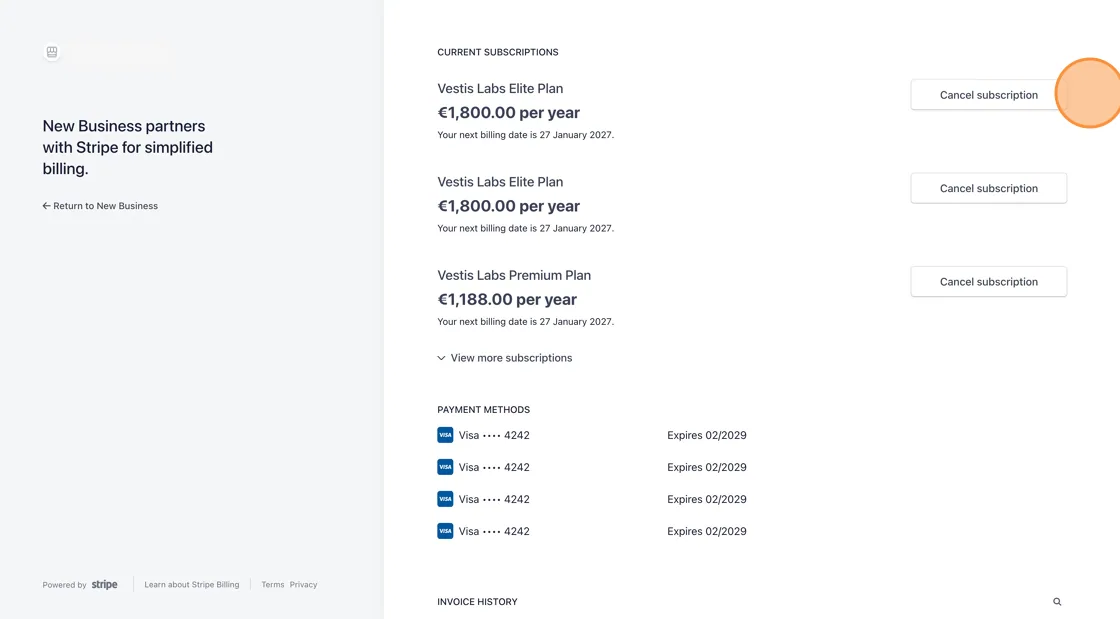
- Click Manage Subscription.
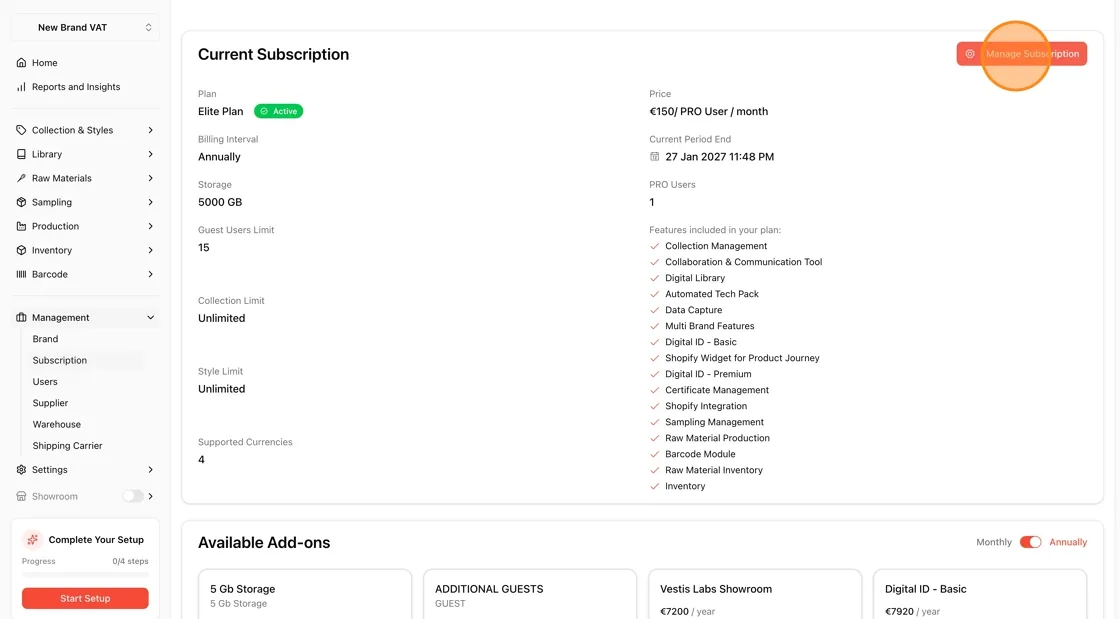
Users can manage:
- The current subscription plan or cancel the subscription plan
- Check or update your payment method
- Access the invoice history
Apply a promo code
If your subscription is active, click Apply Promo Code on the Current Subscription card. Enter the code in Promotion code and click Apply. You see Promo code applied, and the discount appears on upcoming invoices. A code that is already applied cannot be applied again.
Add add-ons
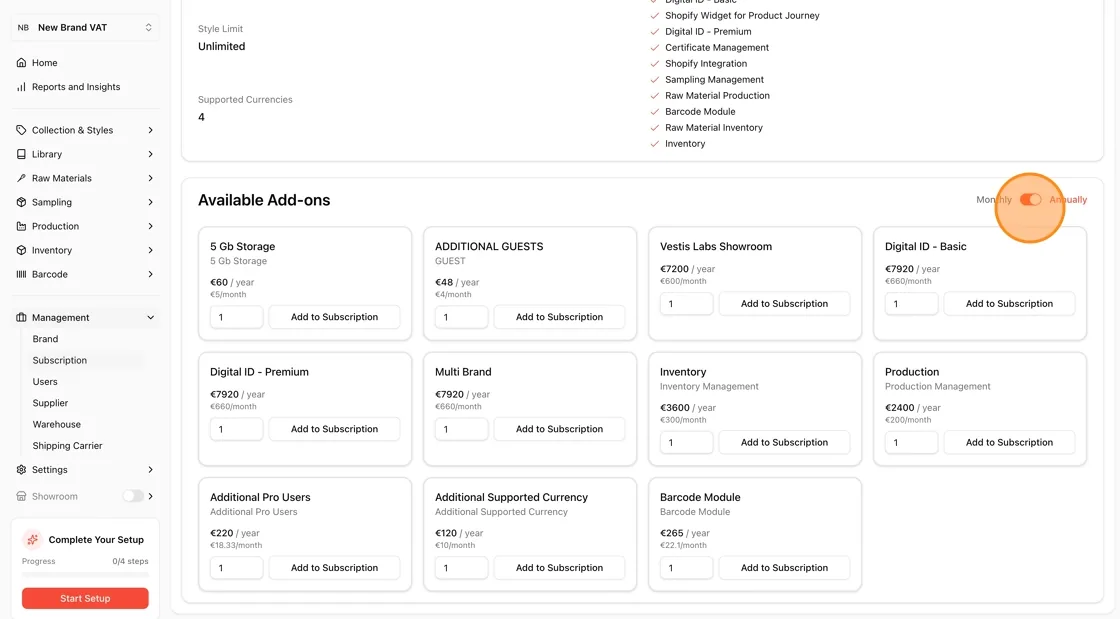
You may enhance your subscription with optional add-ons for additional functionality. All subscriptions and add-ons can be set to automatically renew monthly or yearly, depending on your selected billing cycle. If you cancel the subscription, the add-ons are cancelled too.
Find the add-on
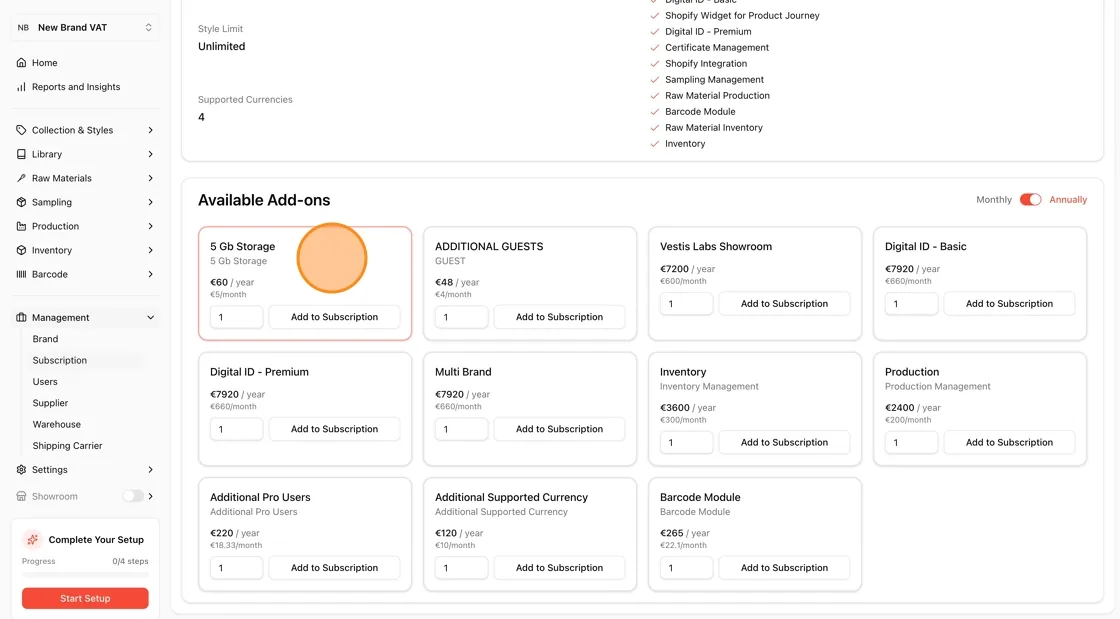
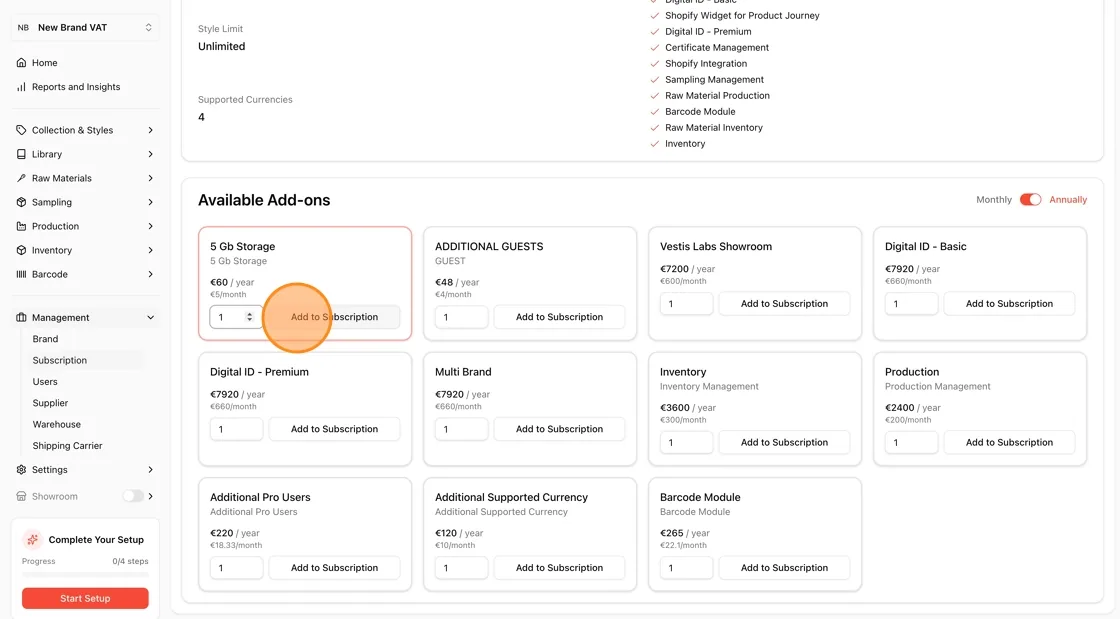
Scroll to Available Add-ons and find the additional feature you require.
Enter the quantity
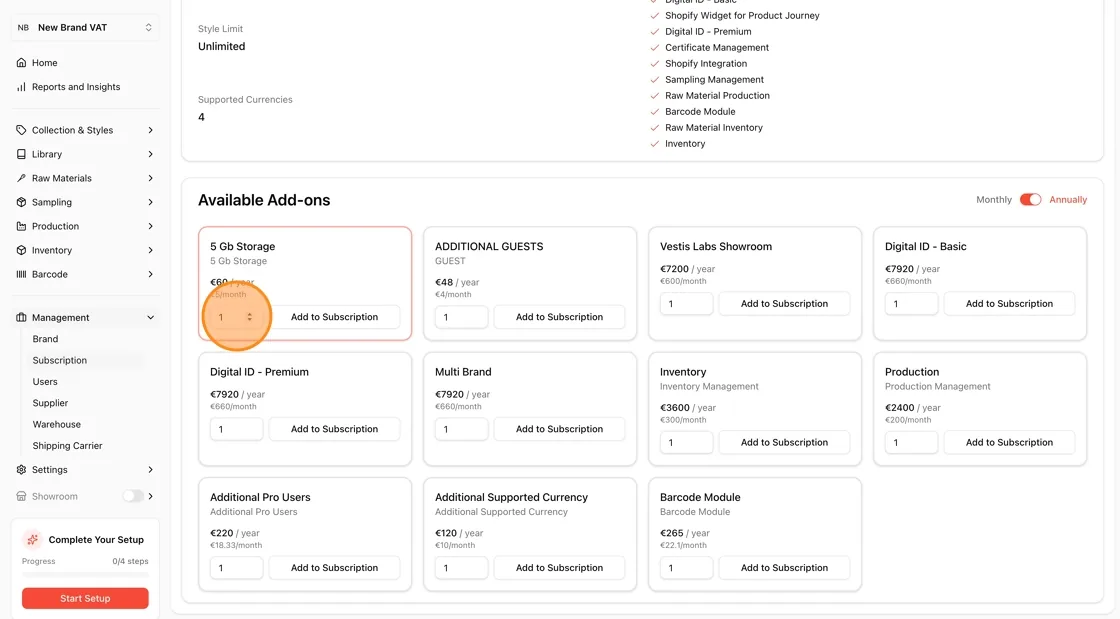
Enter the desired quantity for the add-on in the number field. The price shown is per month or per year, following the Monthly and Annually switch.
Click "Add to Subscription"
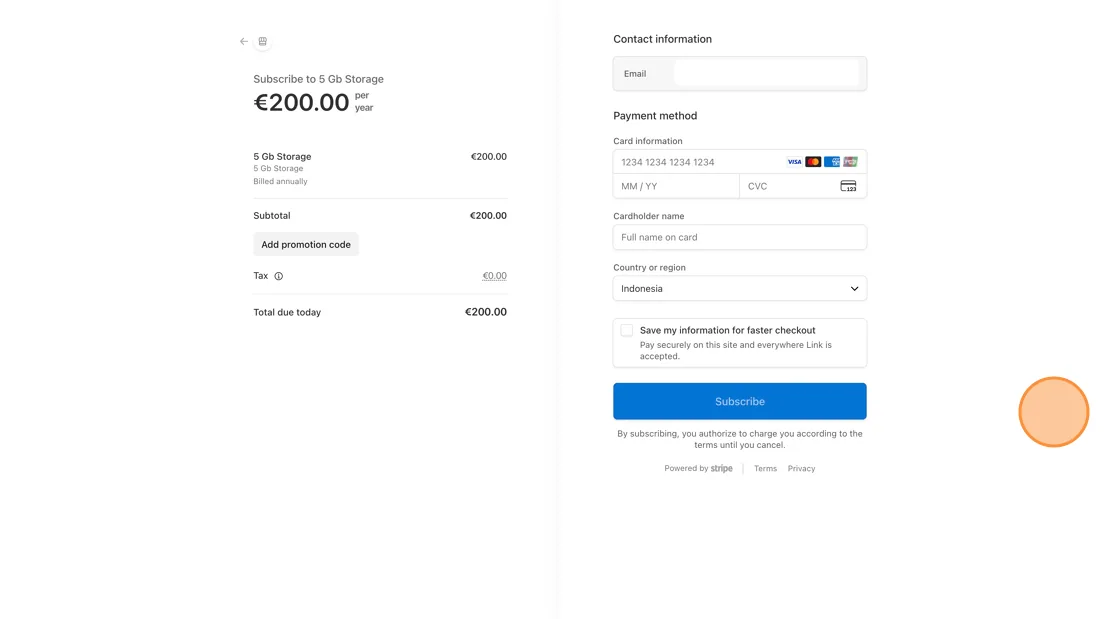
Click Add to Subscription. In Confirm add-on purchase, check the Add-on, Billing period and Quantity, and choose whether to use your VAT number with Use this VAT number for this add-on purchase. Confirm to be redirected to the payment page.
On the payment page, fill in all required payment details and choose your preferred payment method (Link a Card or Pay with Link). Carefully review the updated pricing, then click Subscribe to complete the purchase.
Your add-ons are listed under Active Add-ons with an Active badge, the price and the Quantity. Click the gear icon on an add-on to manage it.
Note
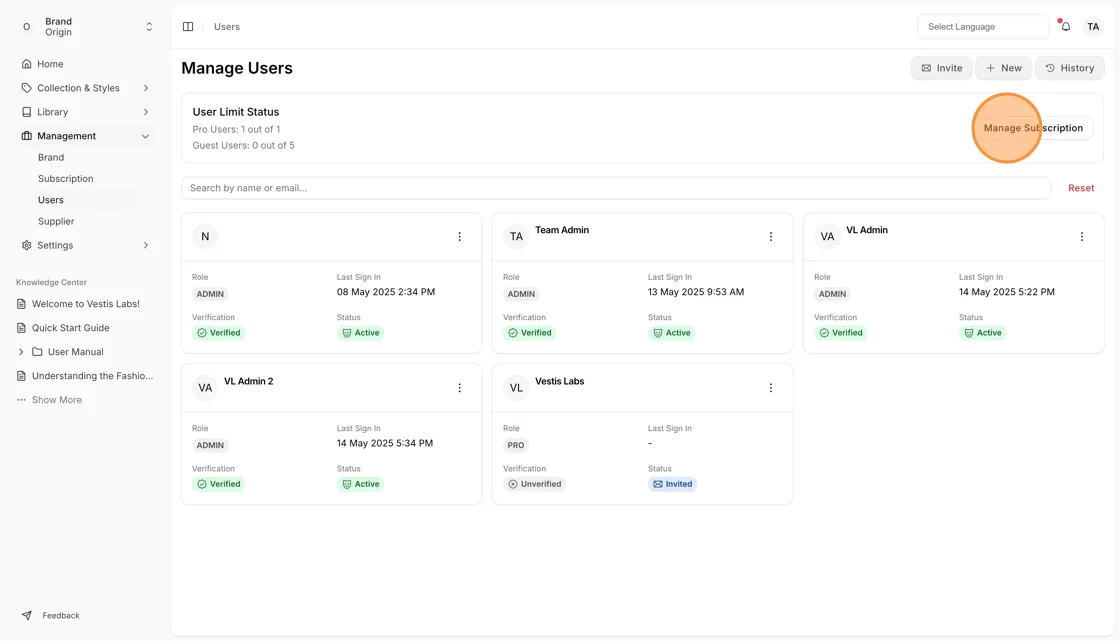
Users can also reach the subscription from the Users page. Click Manage Subscription in the User Limit Status box. See Users management.