
Sampling - shipping and tracking
The Shipping & Tracking module enables users to manage shipment details and monitor the delivery status of sampling orders to ensure timely, accurate, and transparent shipment updates…
The Shipping & Tracking module enables users to manage shipment details and monitor the delivery status of sampling orders to ensure timely, accurate, and transparent shipment updates throughout the sampling process.
SamplingShipping & Tracking
Permission: SAMPLING_VIEW,SAMPLING_UPDATE
On the Shipping & Tracking page, there are four tabs designed to help users efficiently manage and monitor shipment activities:
- Active Shipments: ongoing shipments that are being prepared or are in transit, or that have been cancelled. See Track sample shipments.
- Delivered: shipments that have been delivered. See Track sample shipments.
- Analytics: headline numbers for your shipments. See Sample shipment analytics.
- Documents: the documents attached to shipments. See Sample shipment documents.
Users who can update samples also see the Columns and Create Shipment buttons at the top right of the page, to choose the table columns and to create a new sample shipment.
Before you start
- Add your carriers in Shipping carriers. Each carrier has a number of delivery days that is used to estimate the delivery date.
- Add the places you ship to in Warehouses. They are the delivery locations of a shipment.
- Sample requests appear in a shipment only when they still have units left to ship and belong to the factory (supplier) you choose.
Create a shipment
Open Shipping & Tracking
Go to Sampling → Shipping & Tracking in the left sidebar. You land on the Active Shipments tab. If no shipments exist yet, the page says No shipments found and has a Create Shipment button in the centre, next to the one at the top right.
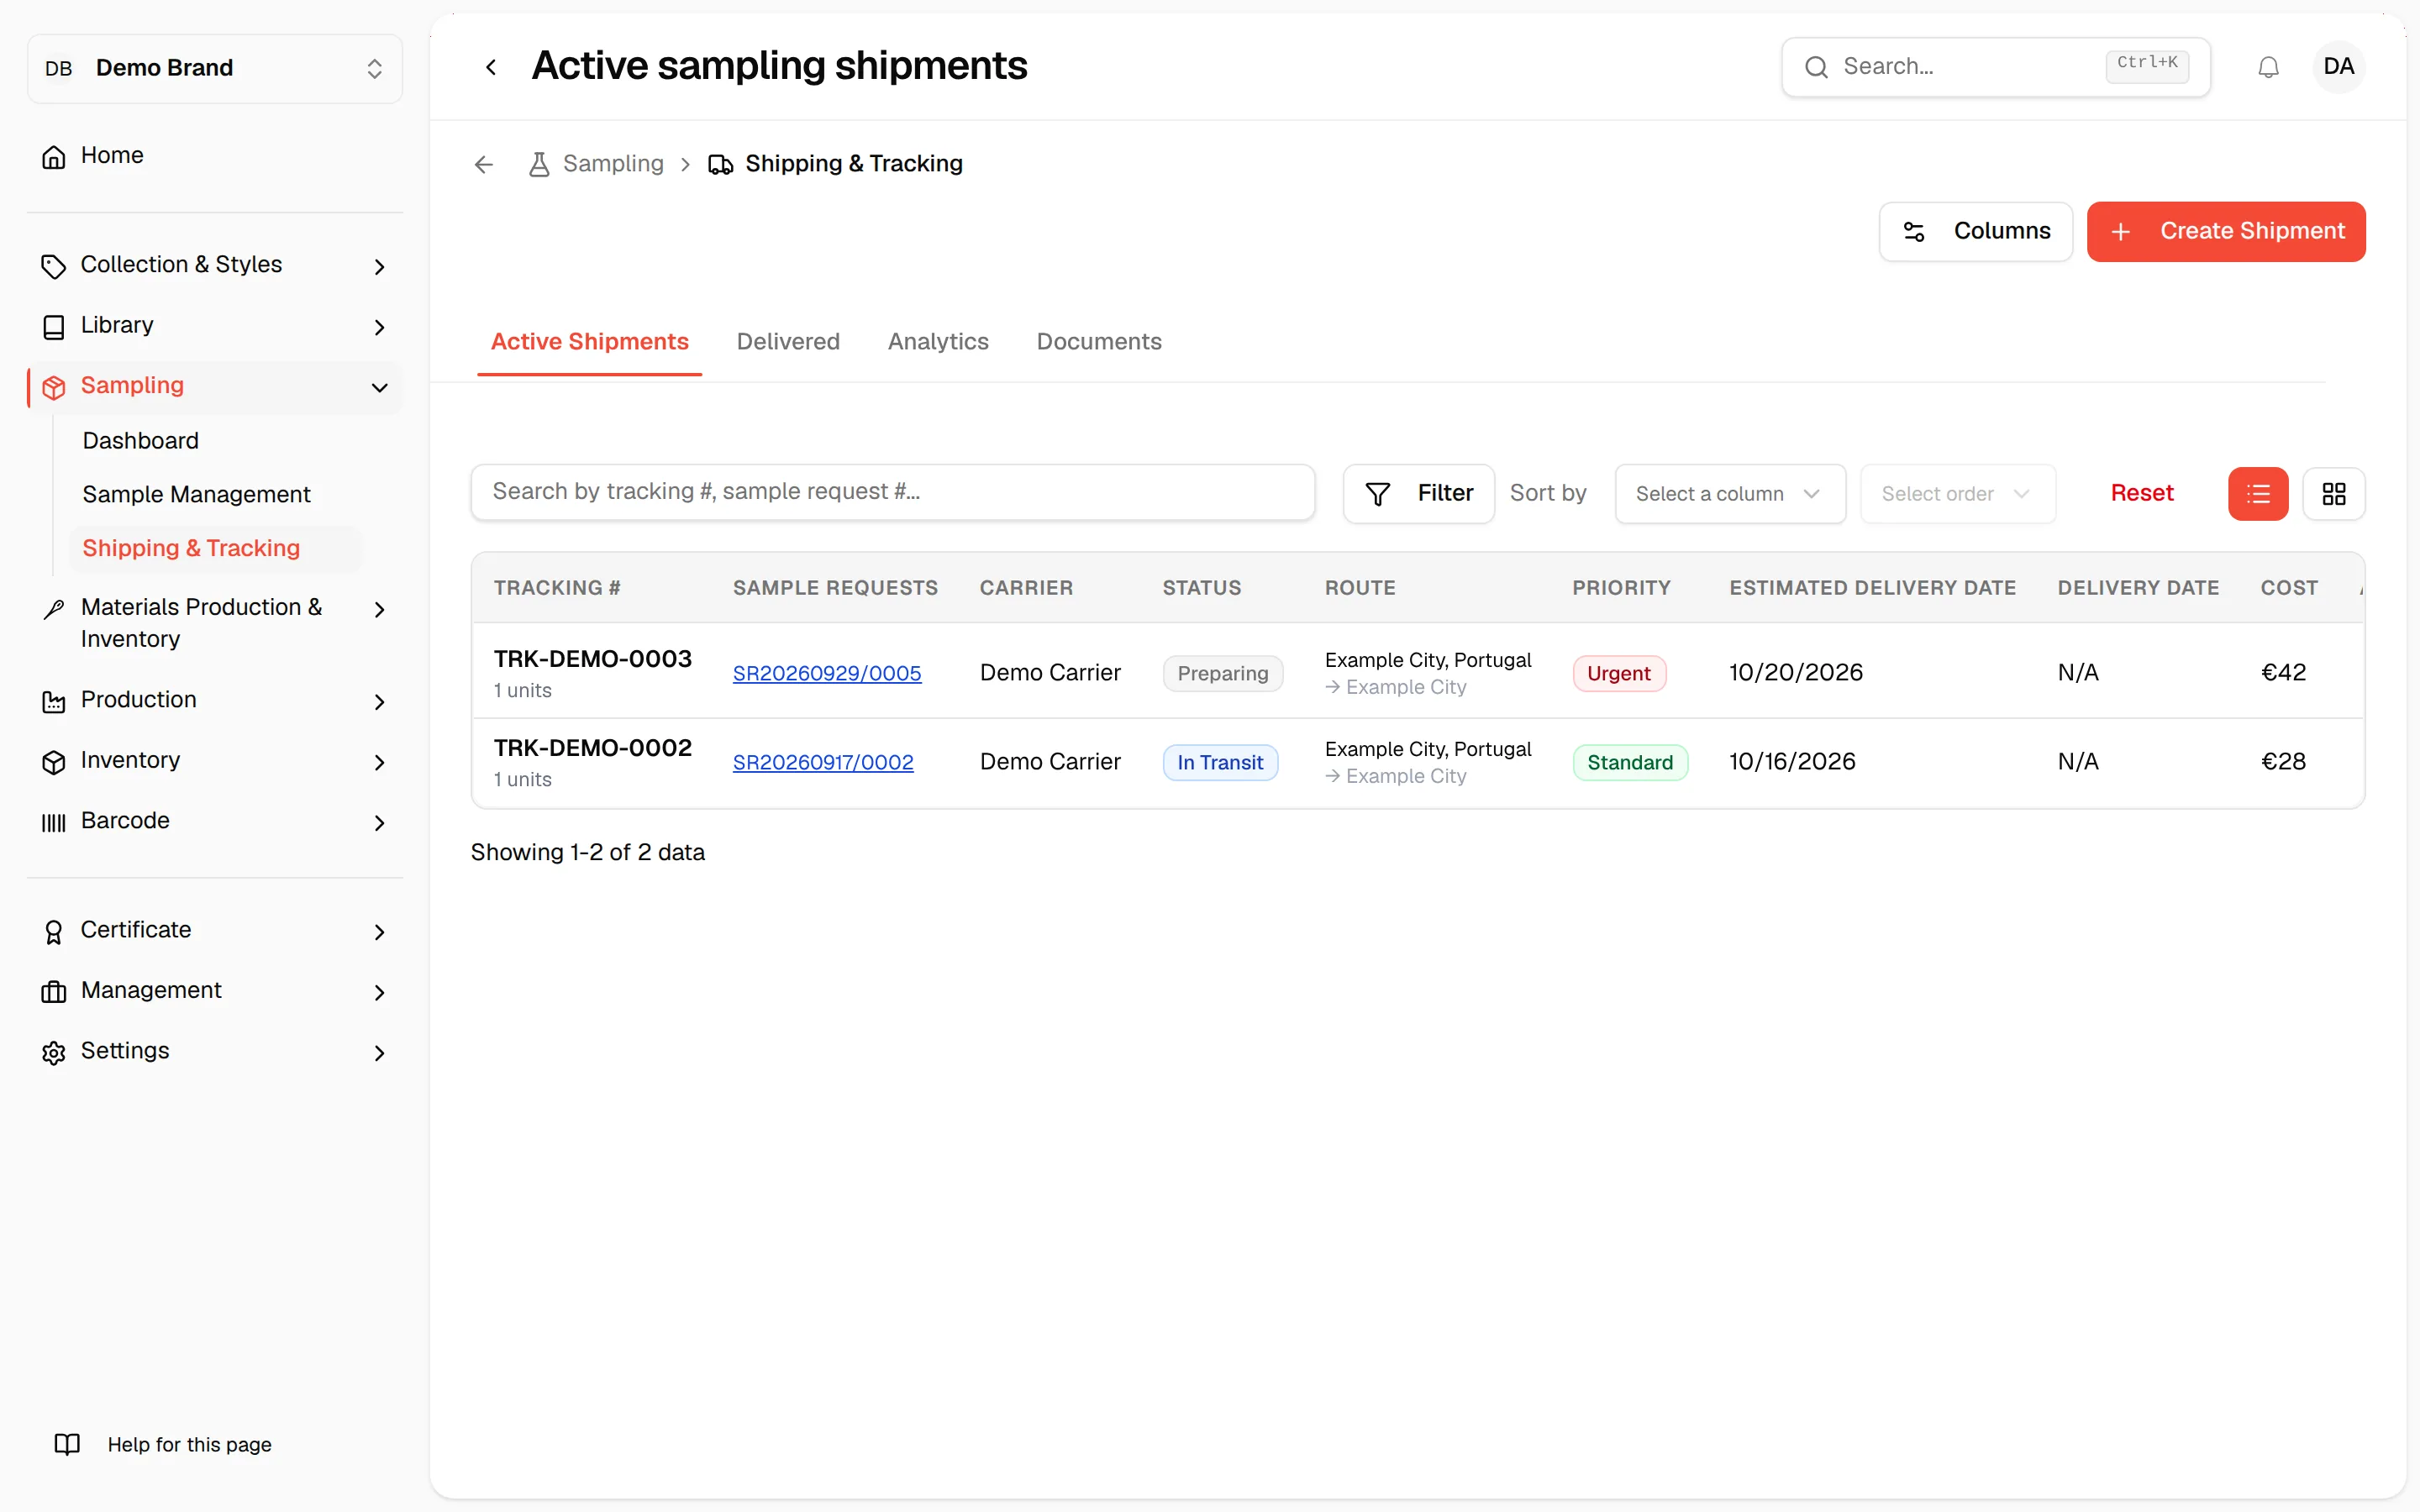
Click "Create Shipment"
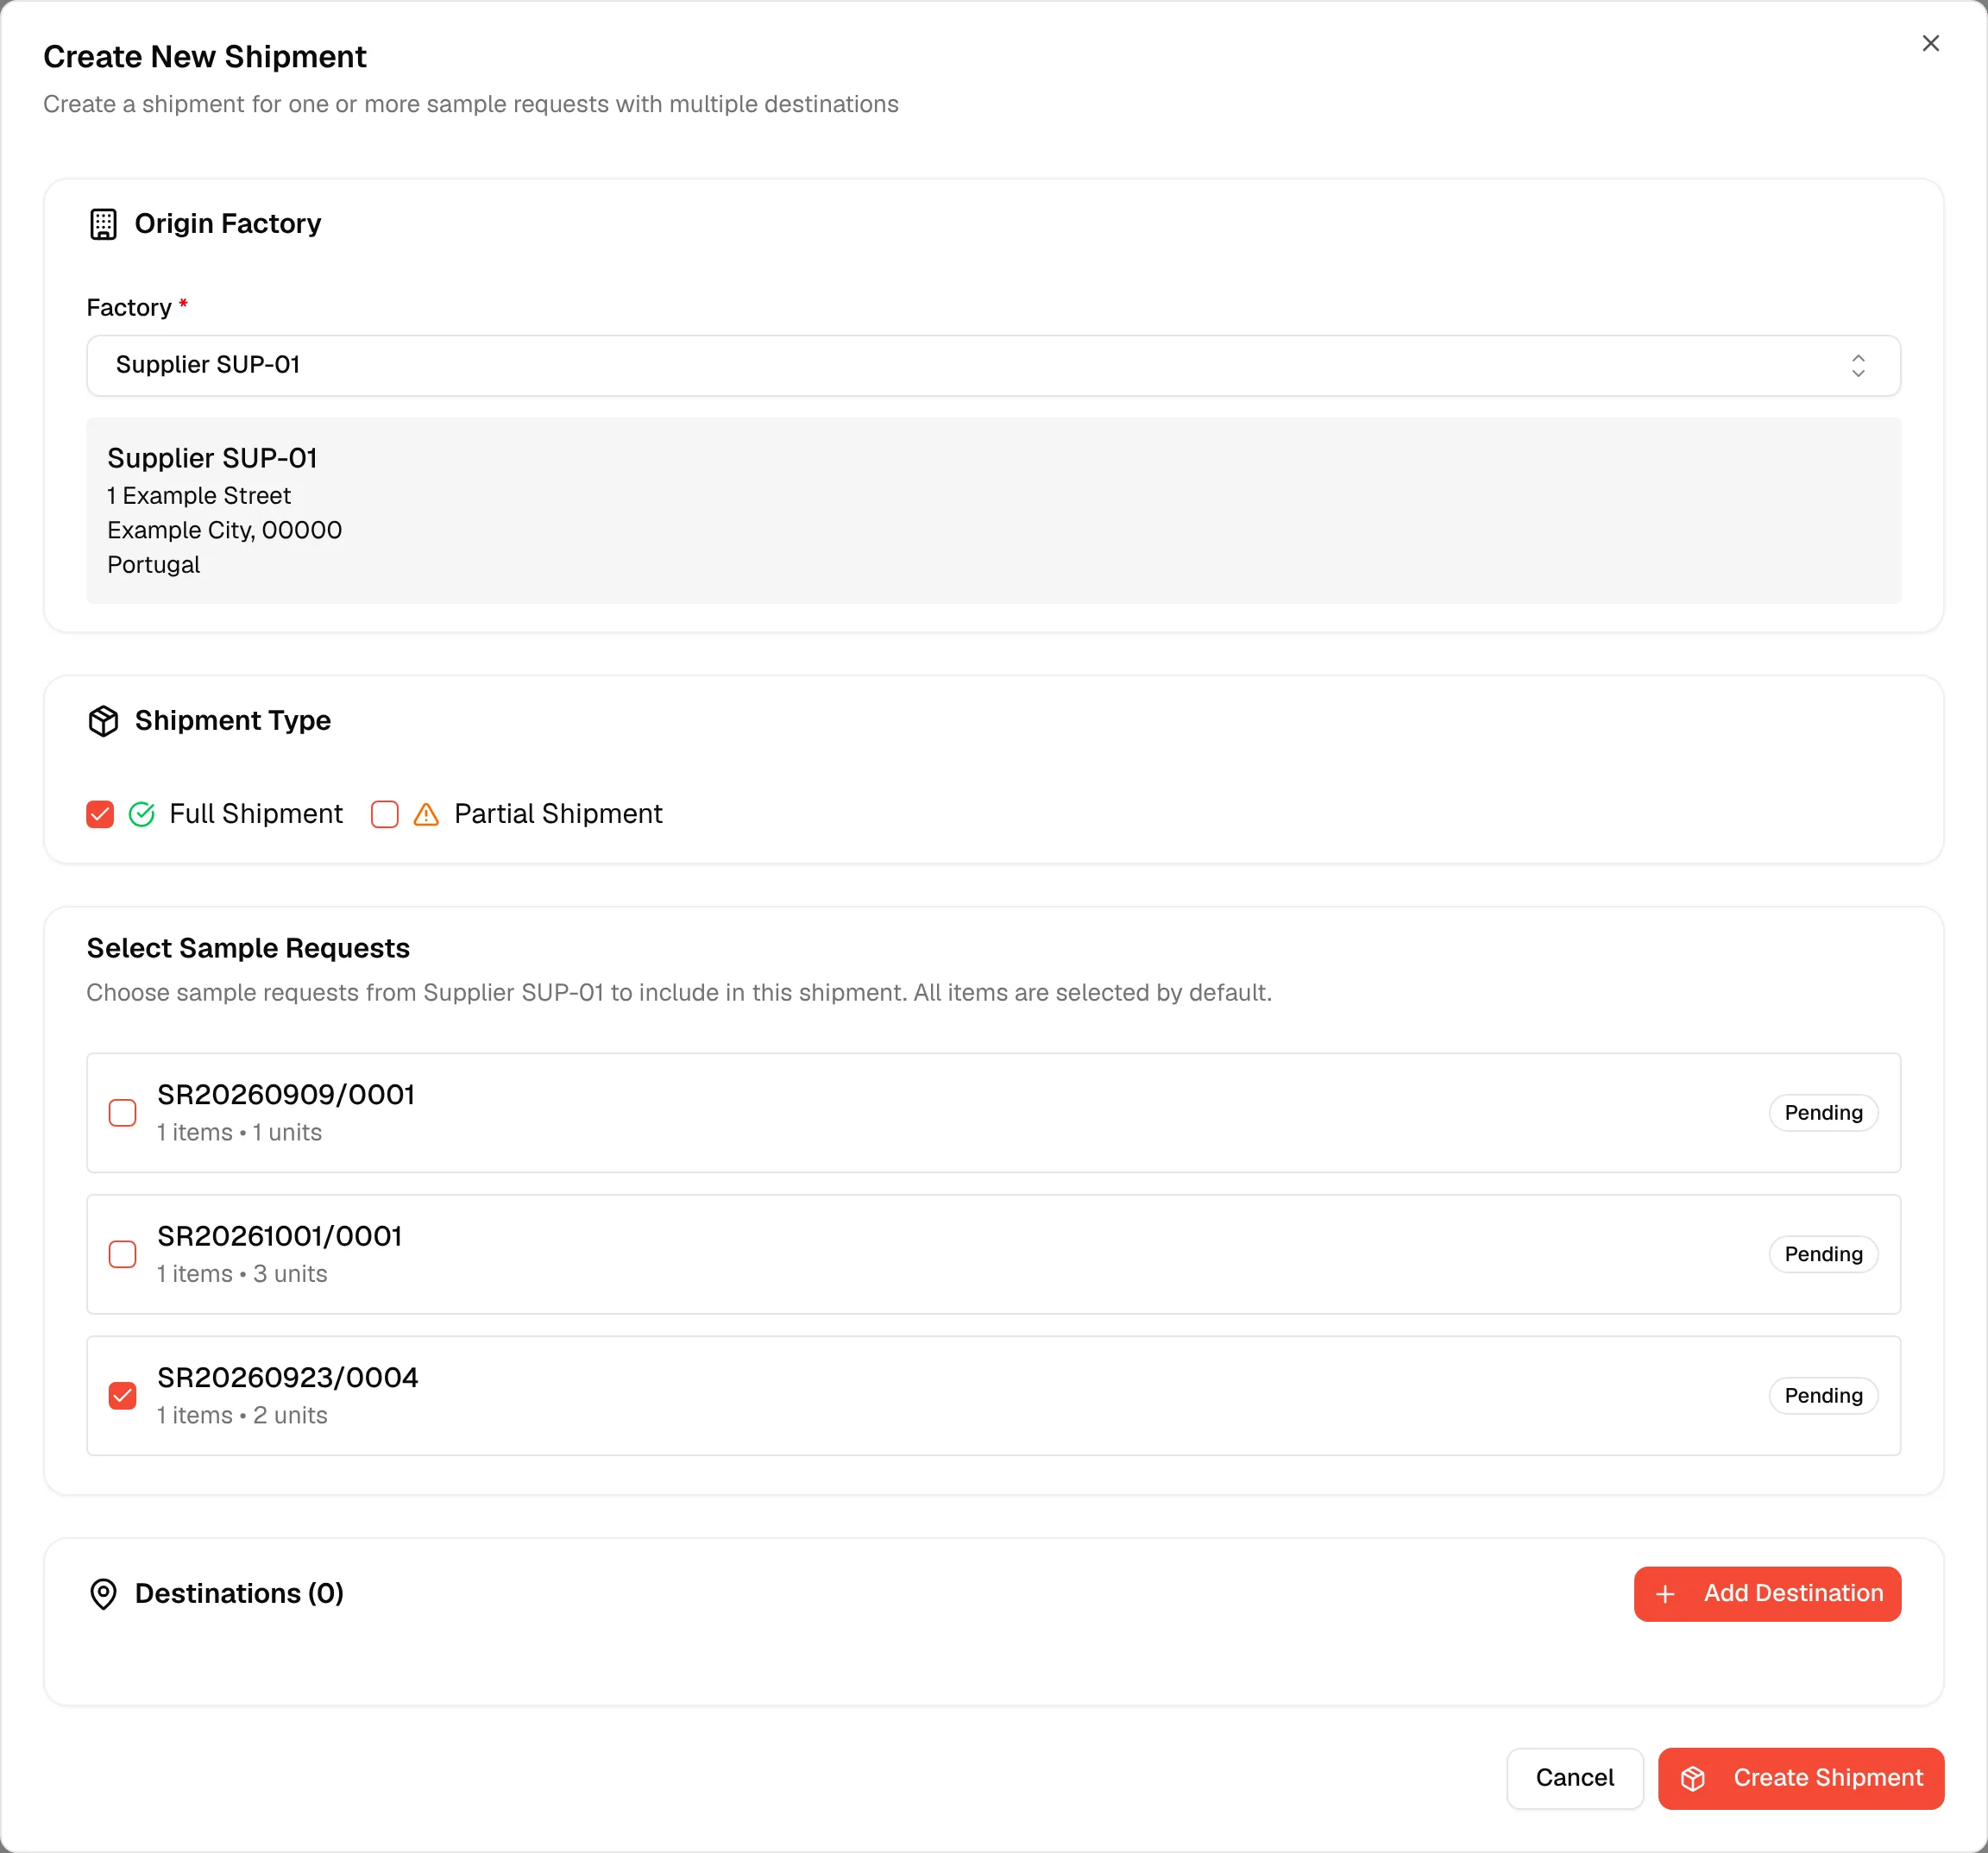
Click Create Shipment. The Create New Shipment window opens with the text Create a shipment for one or more sample requests with multiple destinations.
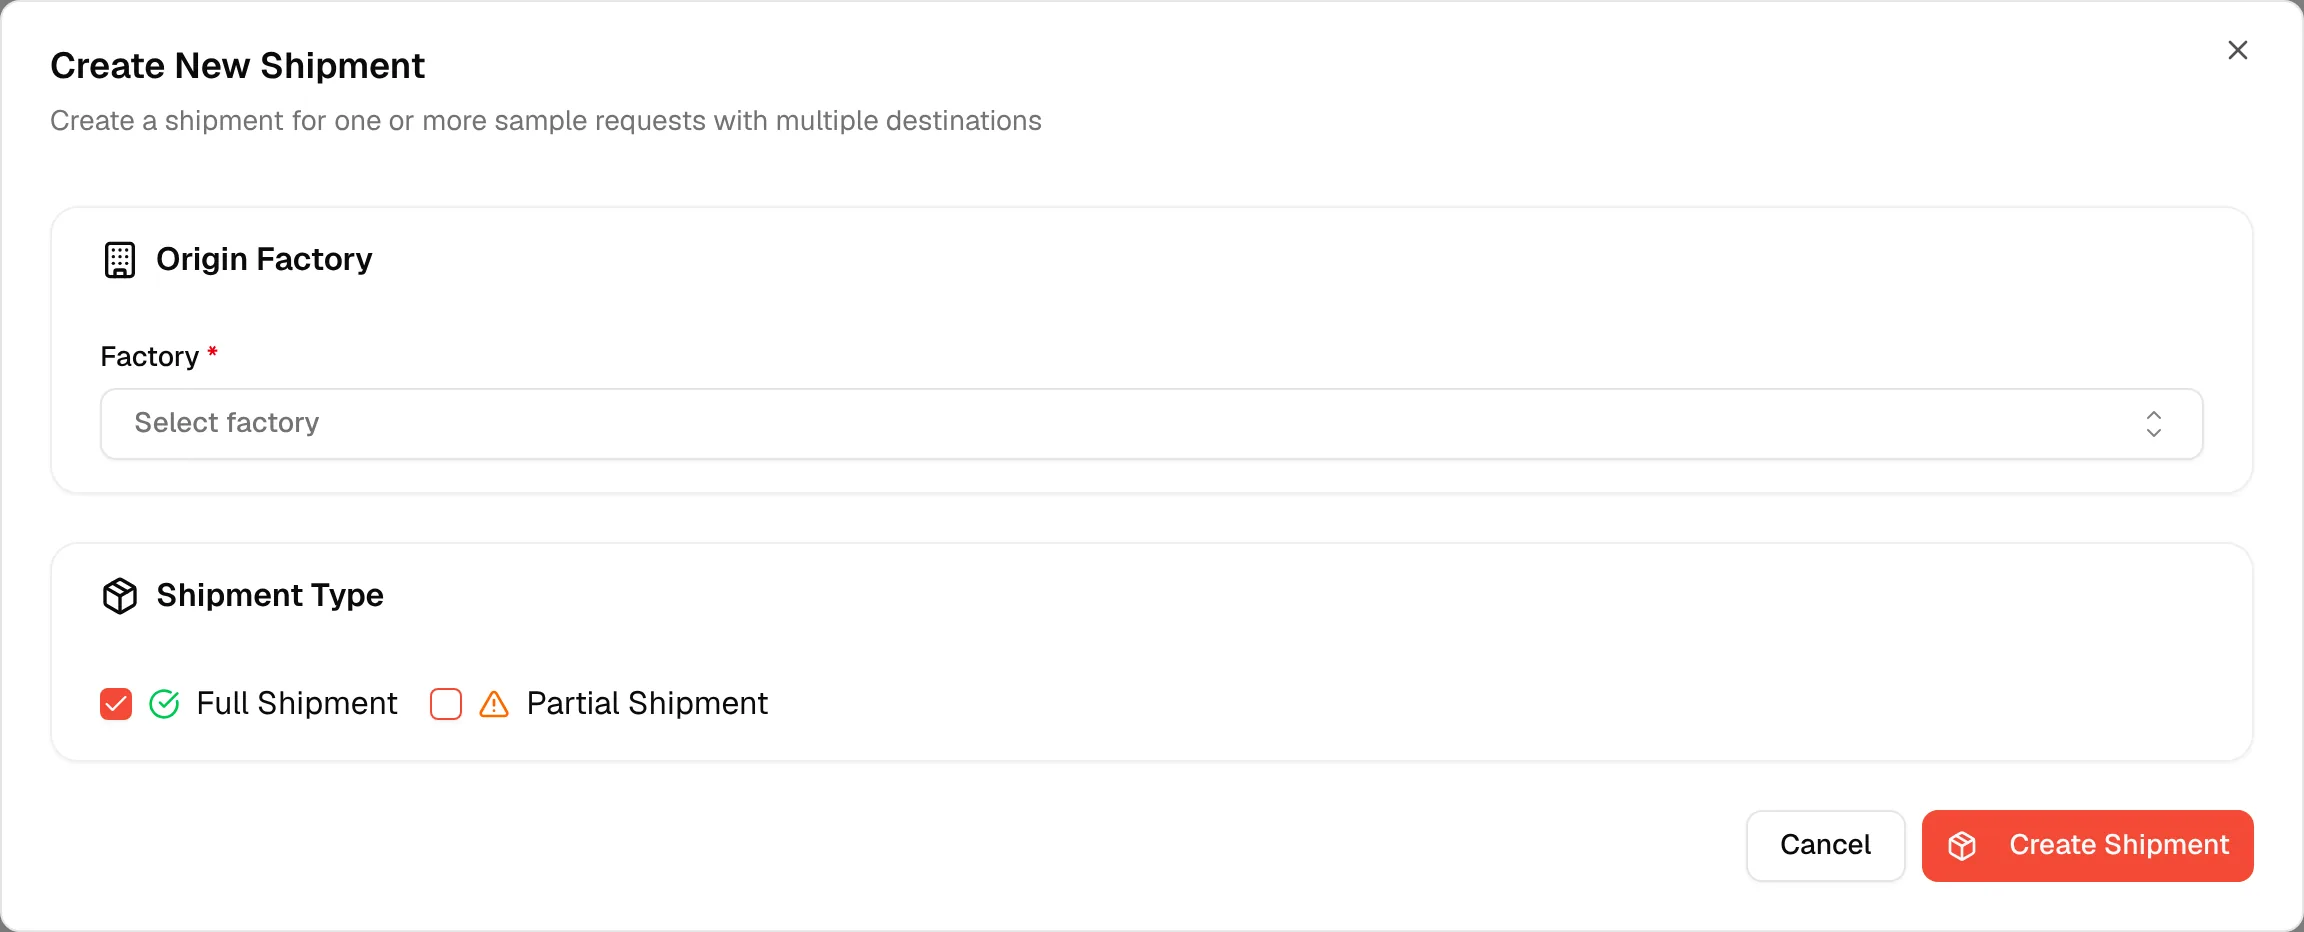
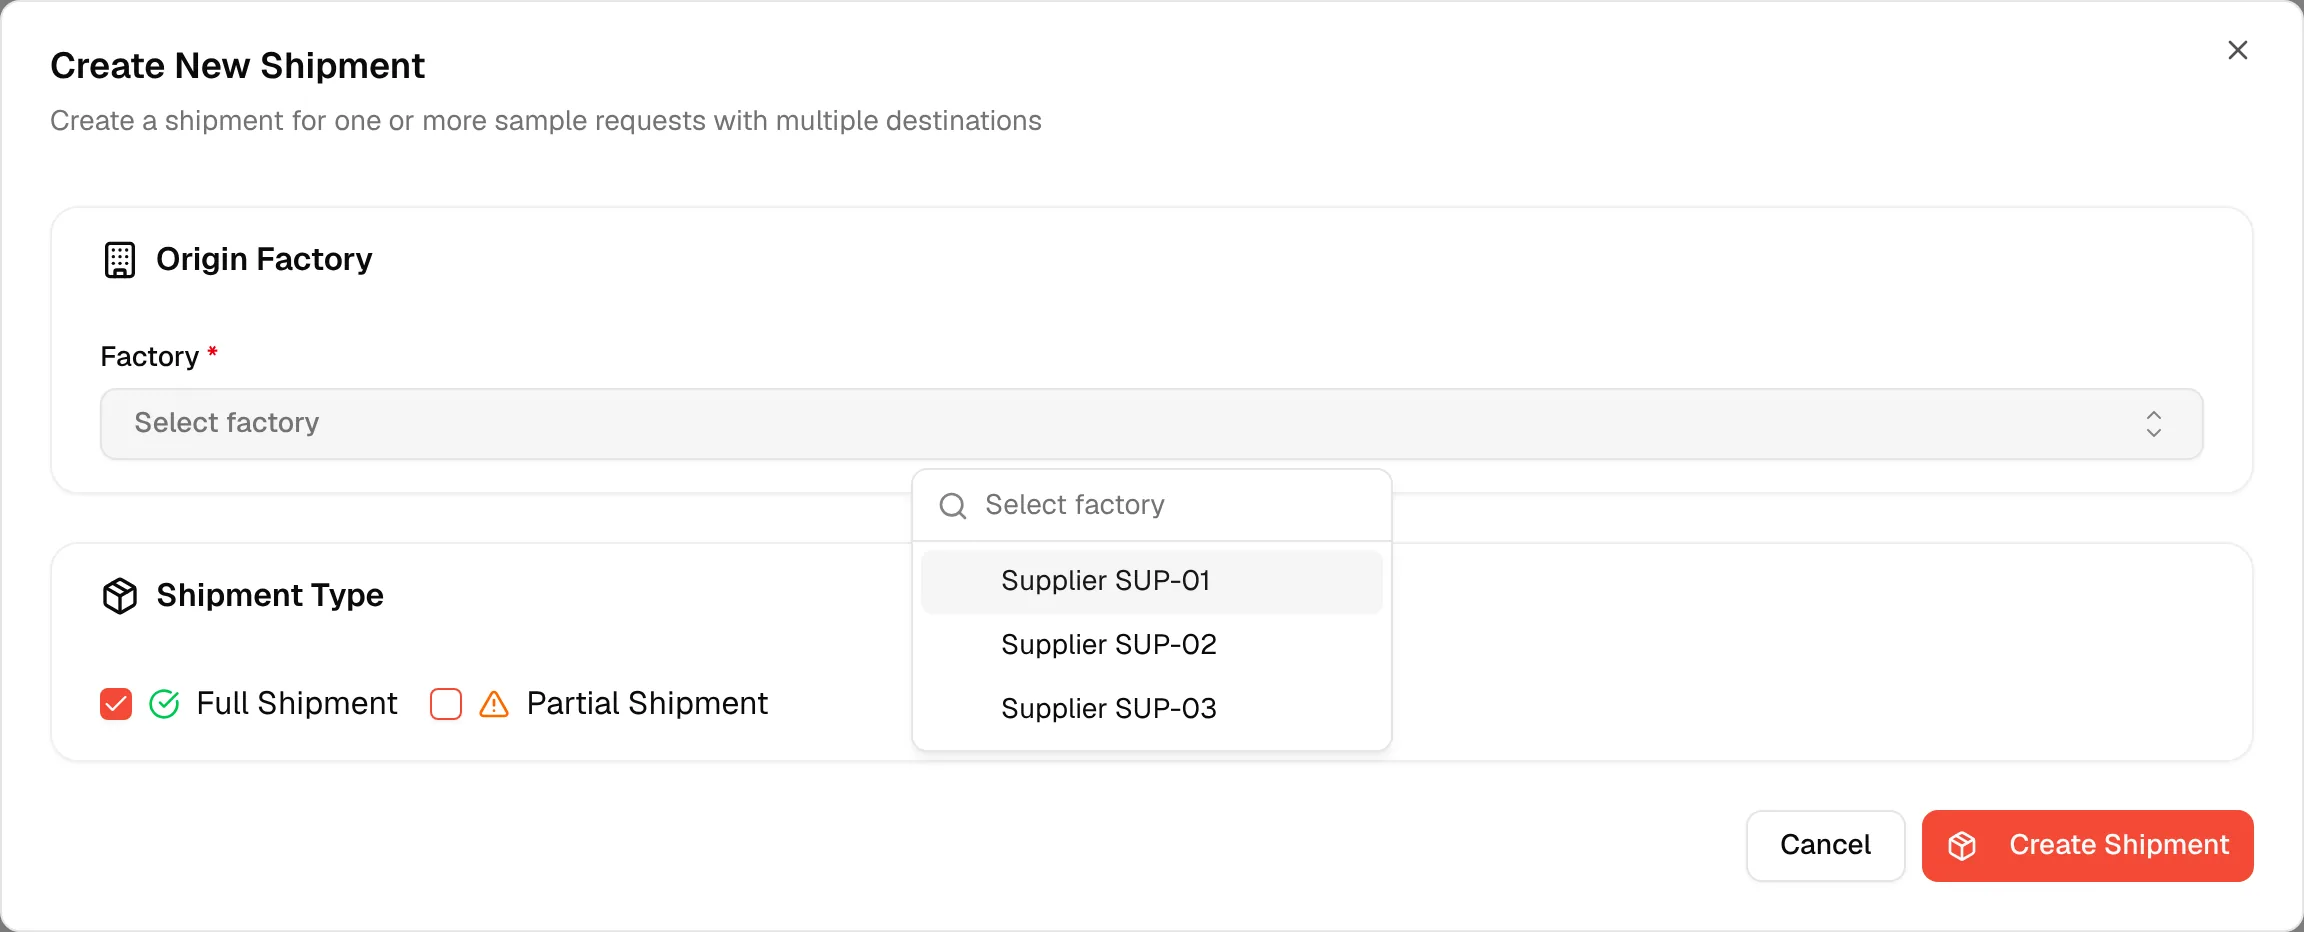
Select an origin factory
Under Origin Factory, open the Factory dropdown (required) and select the factory this shipment starts from. Its address, city and country are shown below.
Choose a shipment type
Under Shipment Type, check Full Shipment (all items) or Partial Shipment (selected items only). Full Shipment is selected by default.
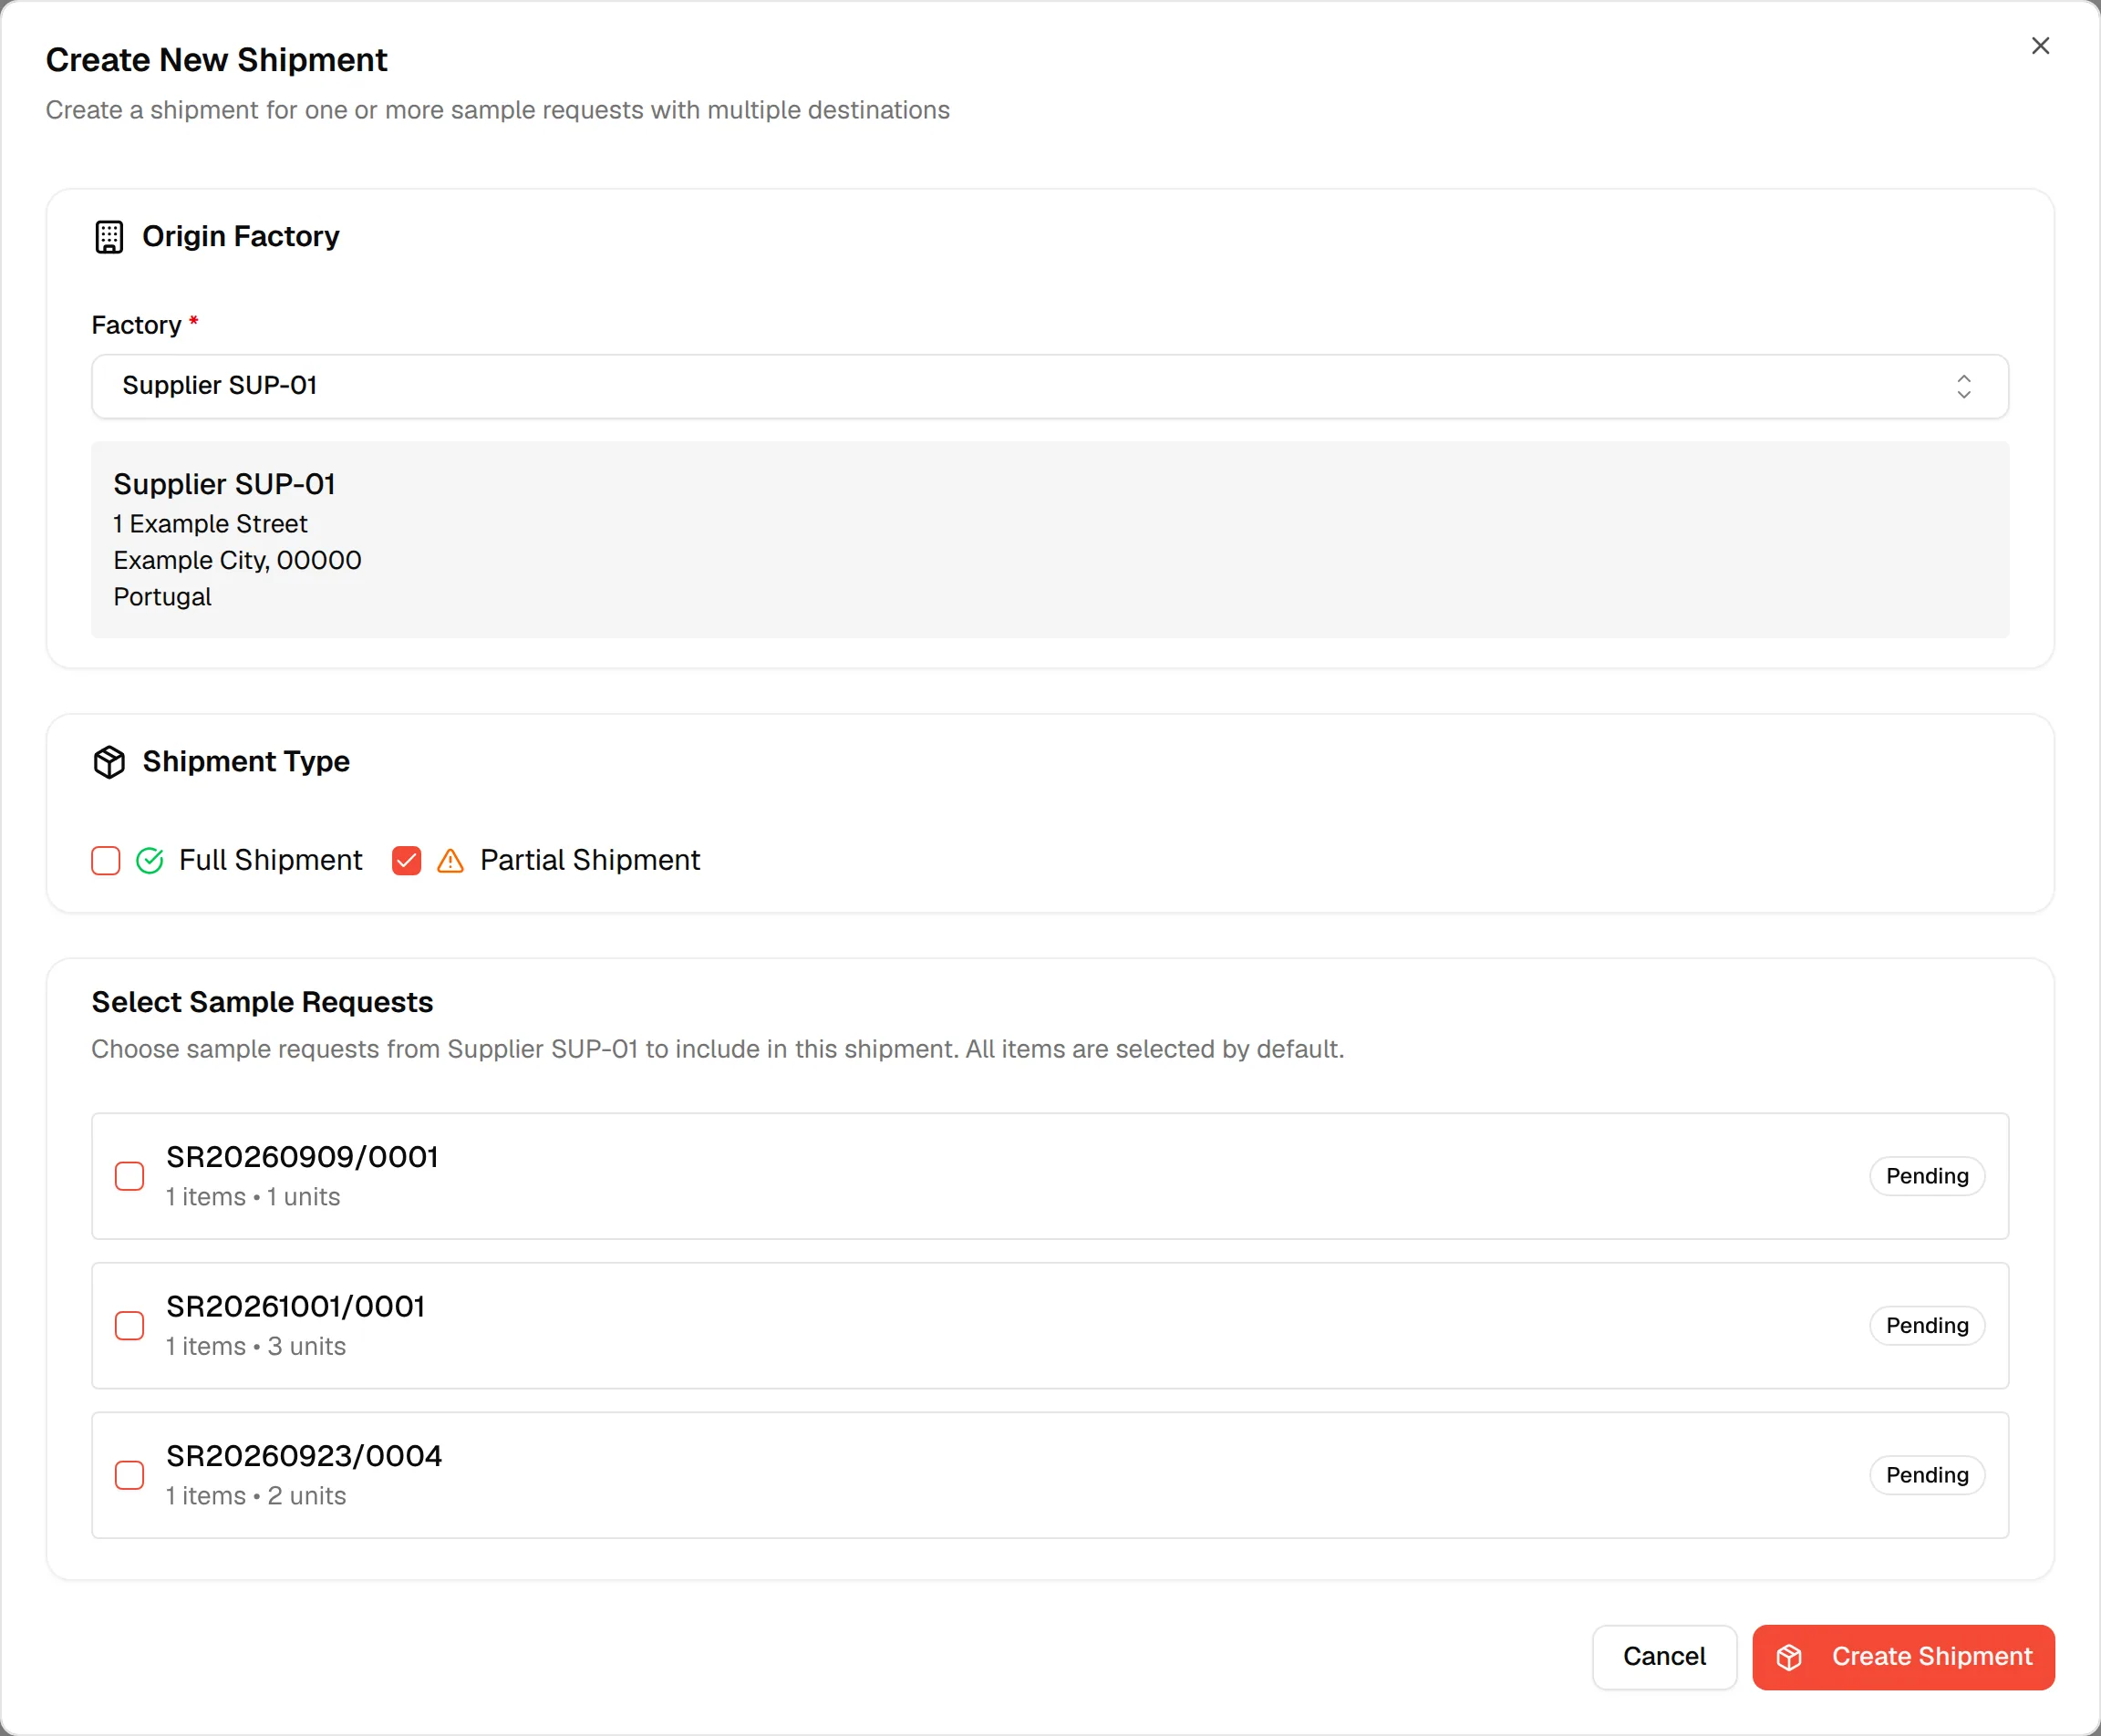
Select sample requests
Under Select Sample Requests, a list of the requests of the chosen factory appears, each with its request number, the number of items and units, and a Pending badge. Check the requests you want in this shipment. With Partial Shipment, the items of a checked request are all selected, and you uncheck the ones that are not shipped now.
Add a destination
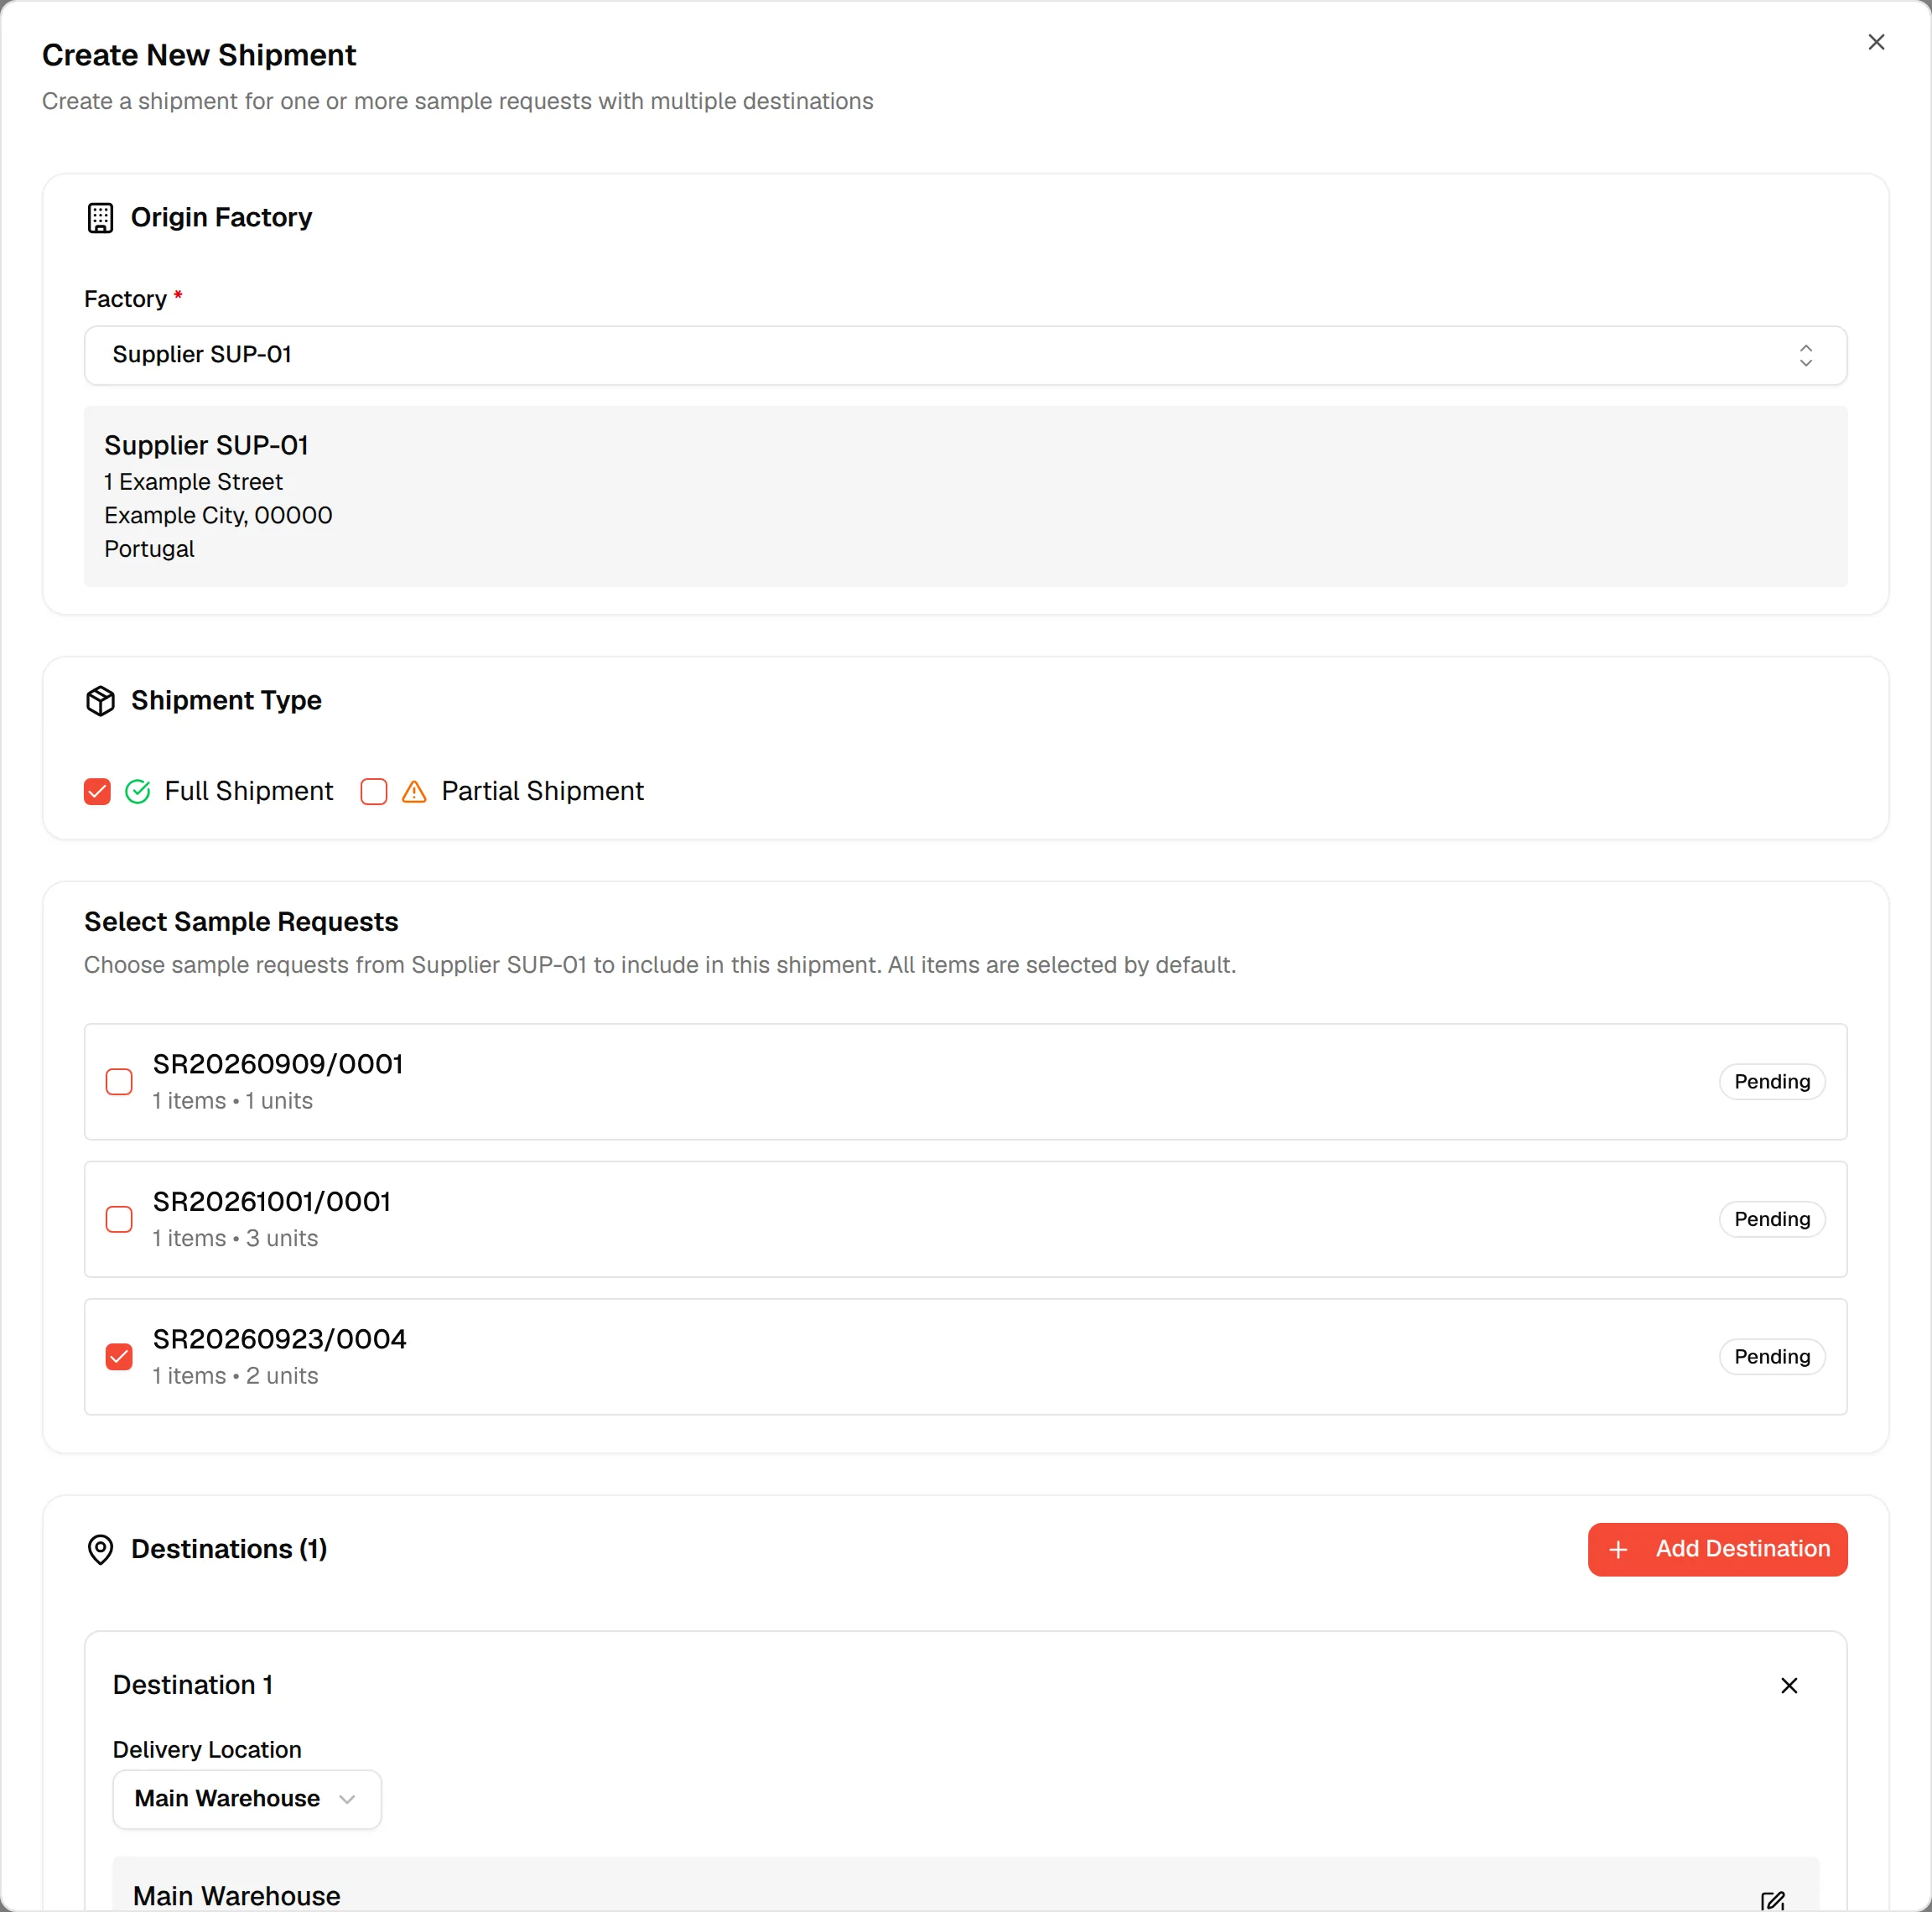
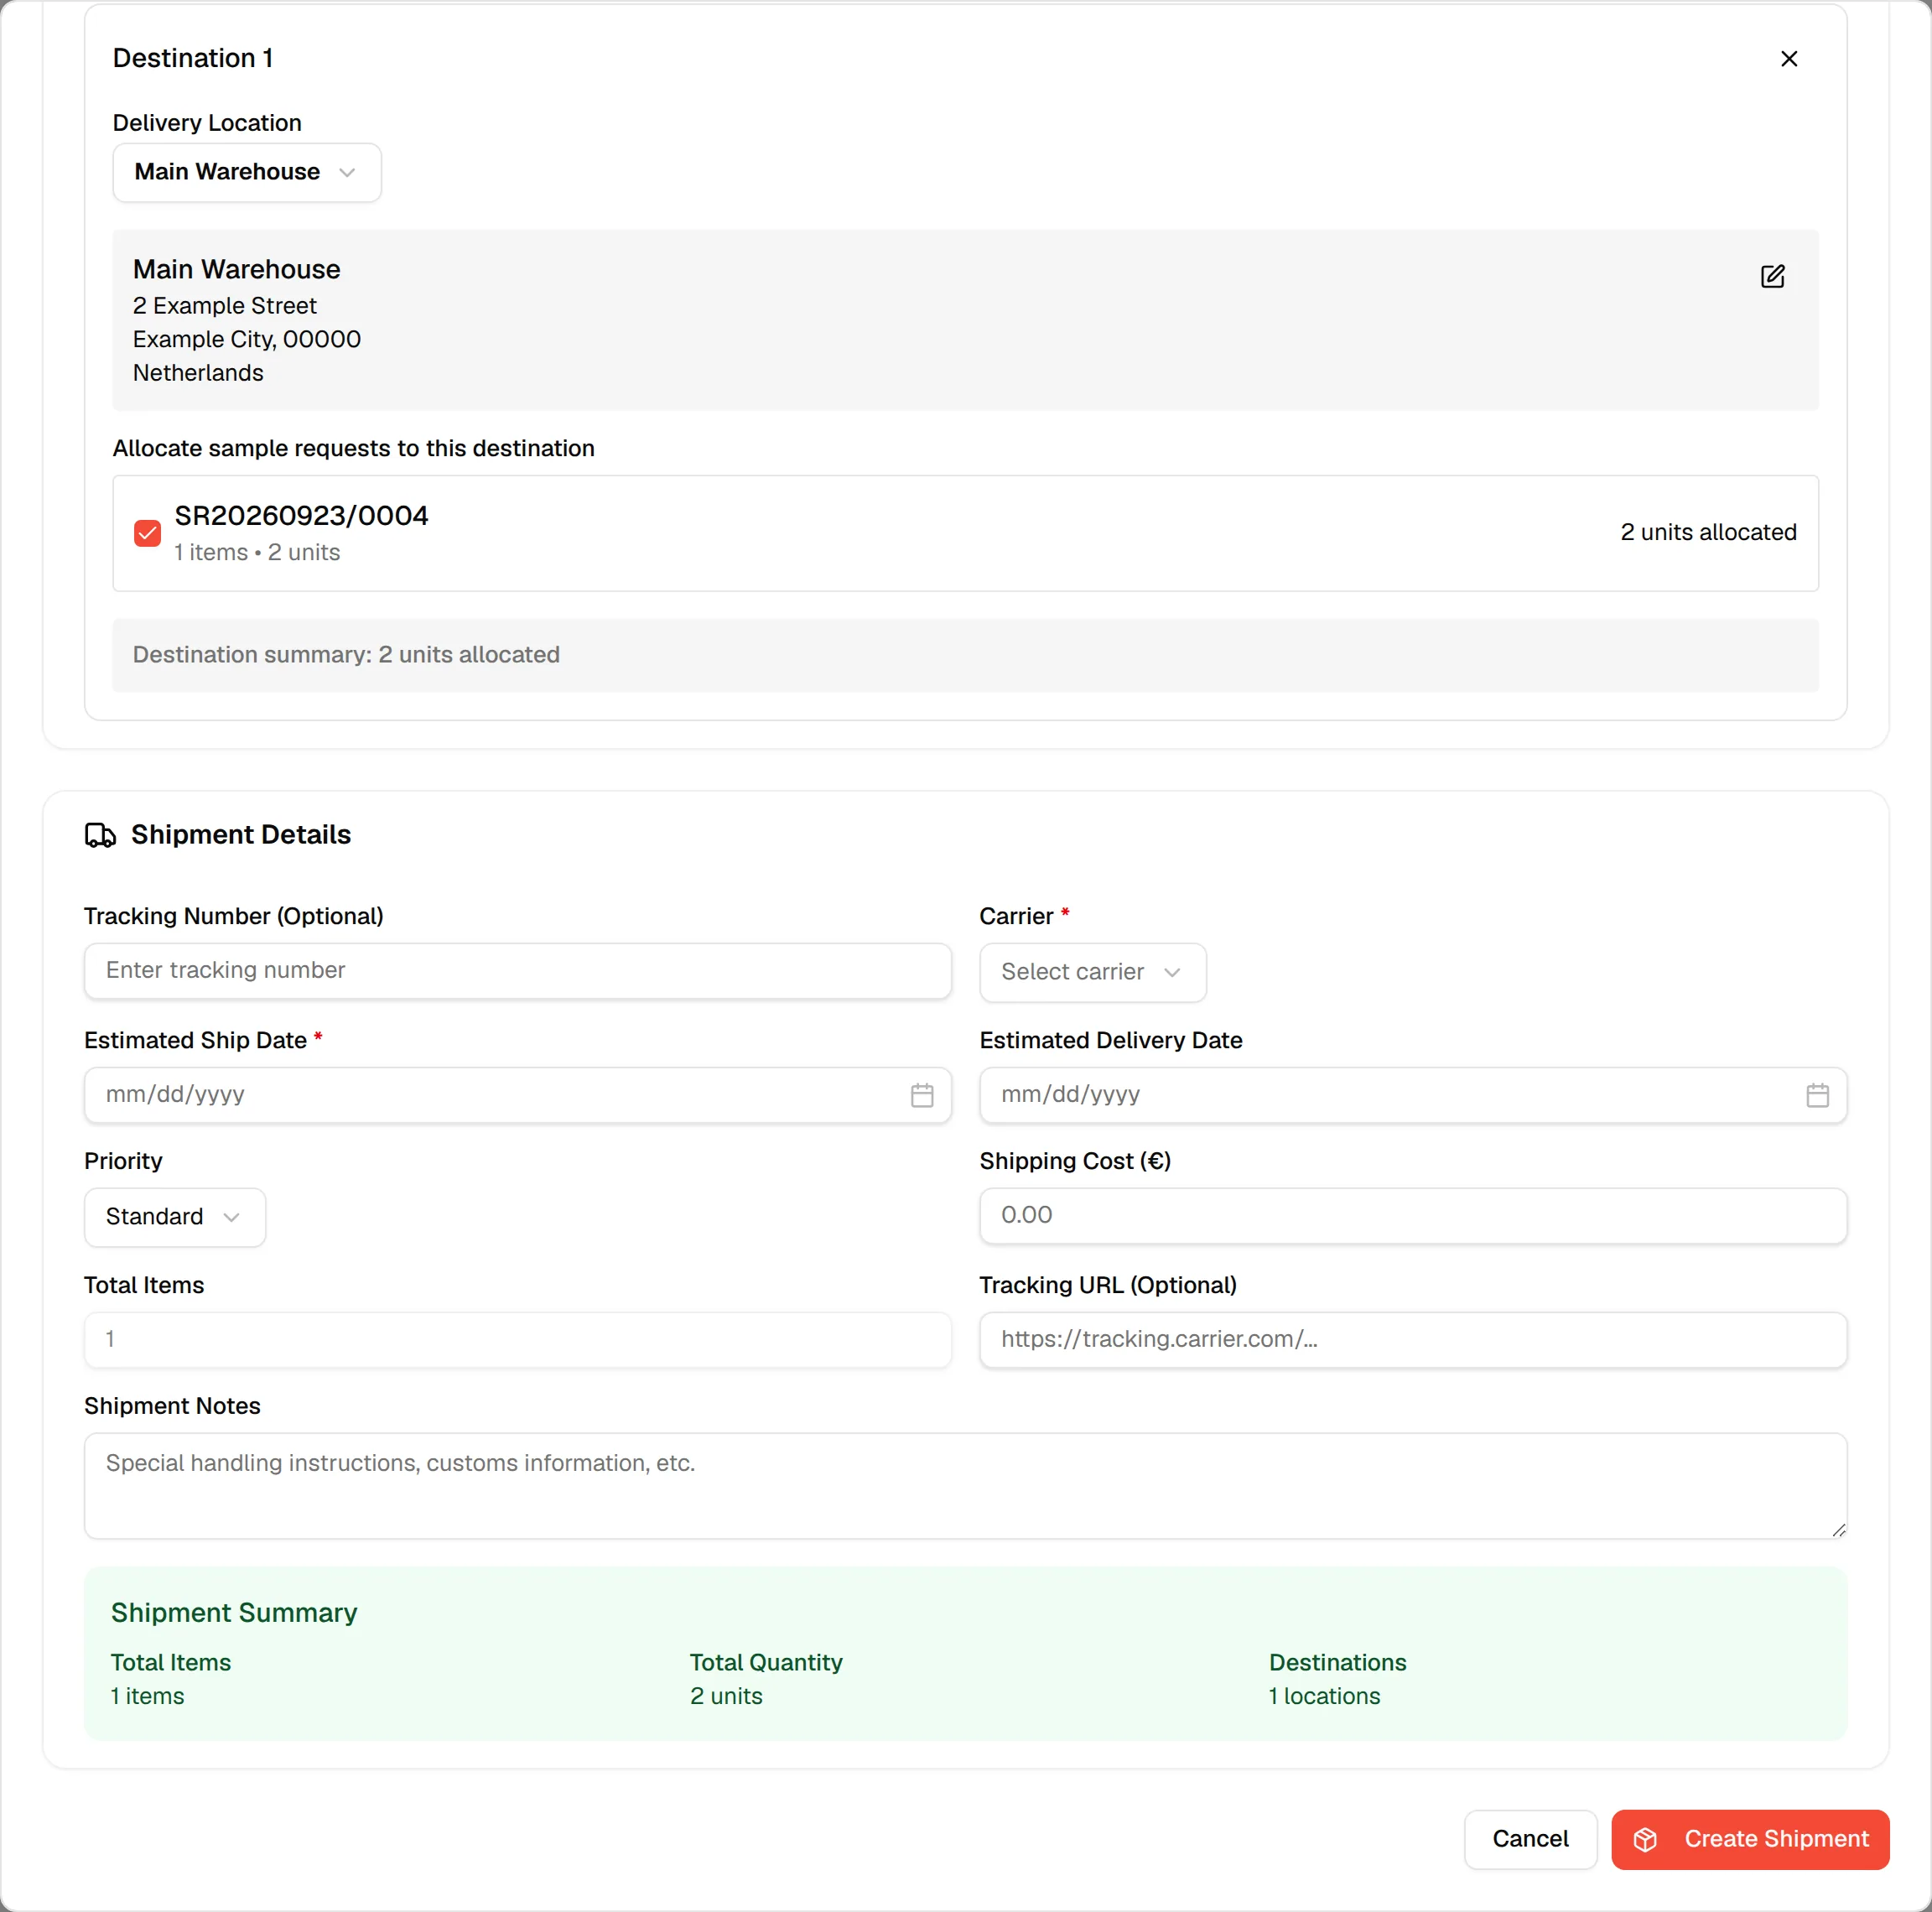
Once a request is checked, the Destinations (0) section appears. Click Add Destination. A Destination 1 card appears with a Delivery Location dropdown and your first saved location already selected. Click the x on a card to remove it. You need at least one saved warehouse for this to work.
Select a delivery location
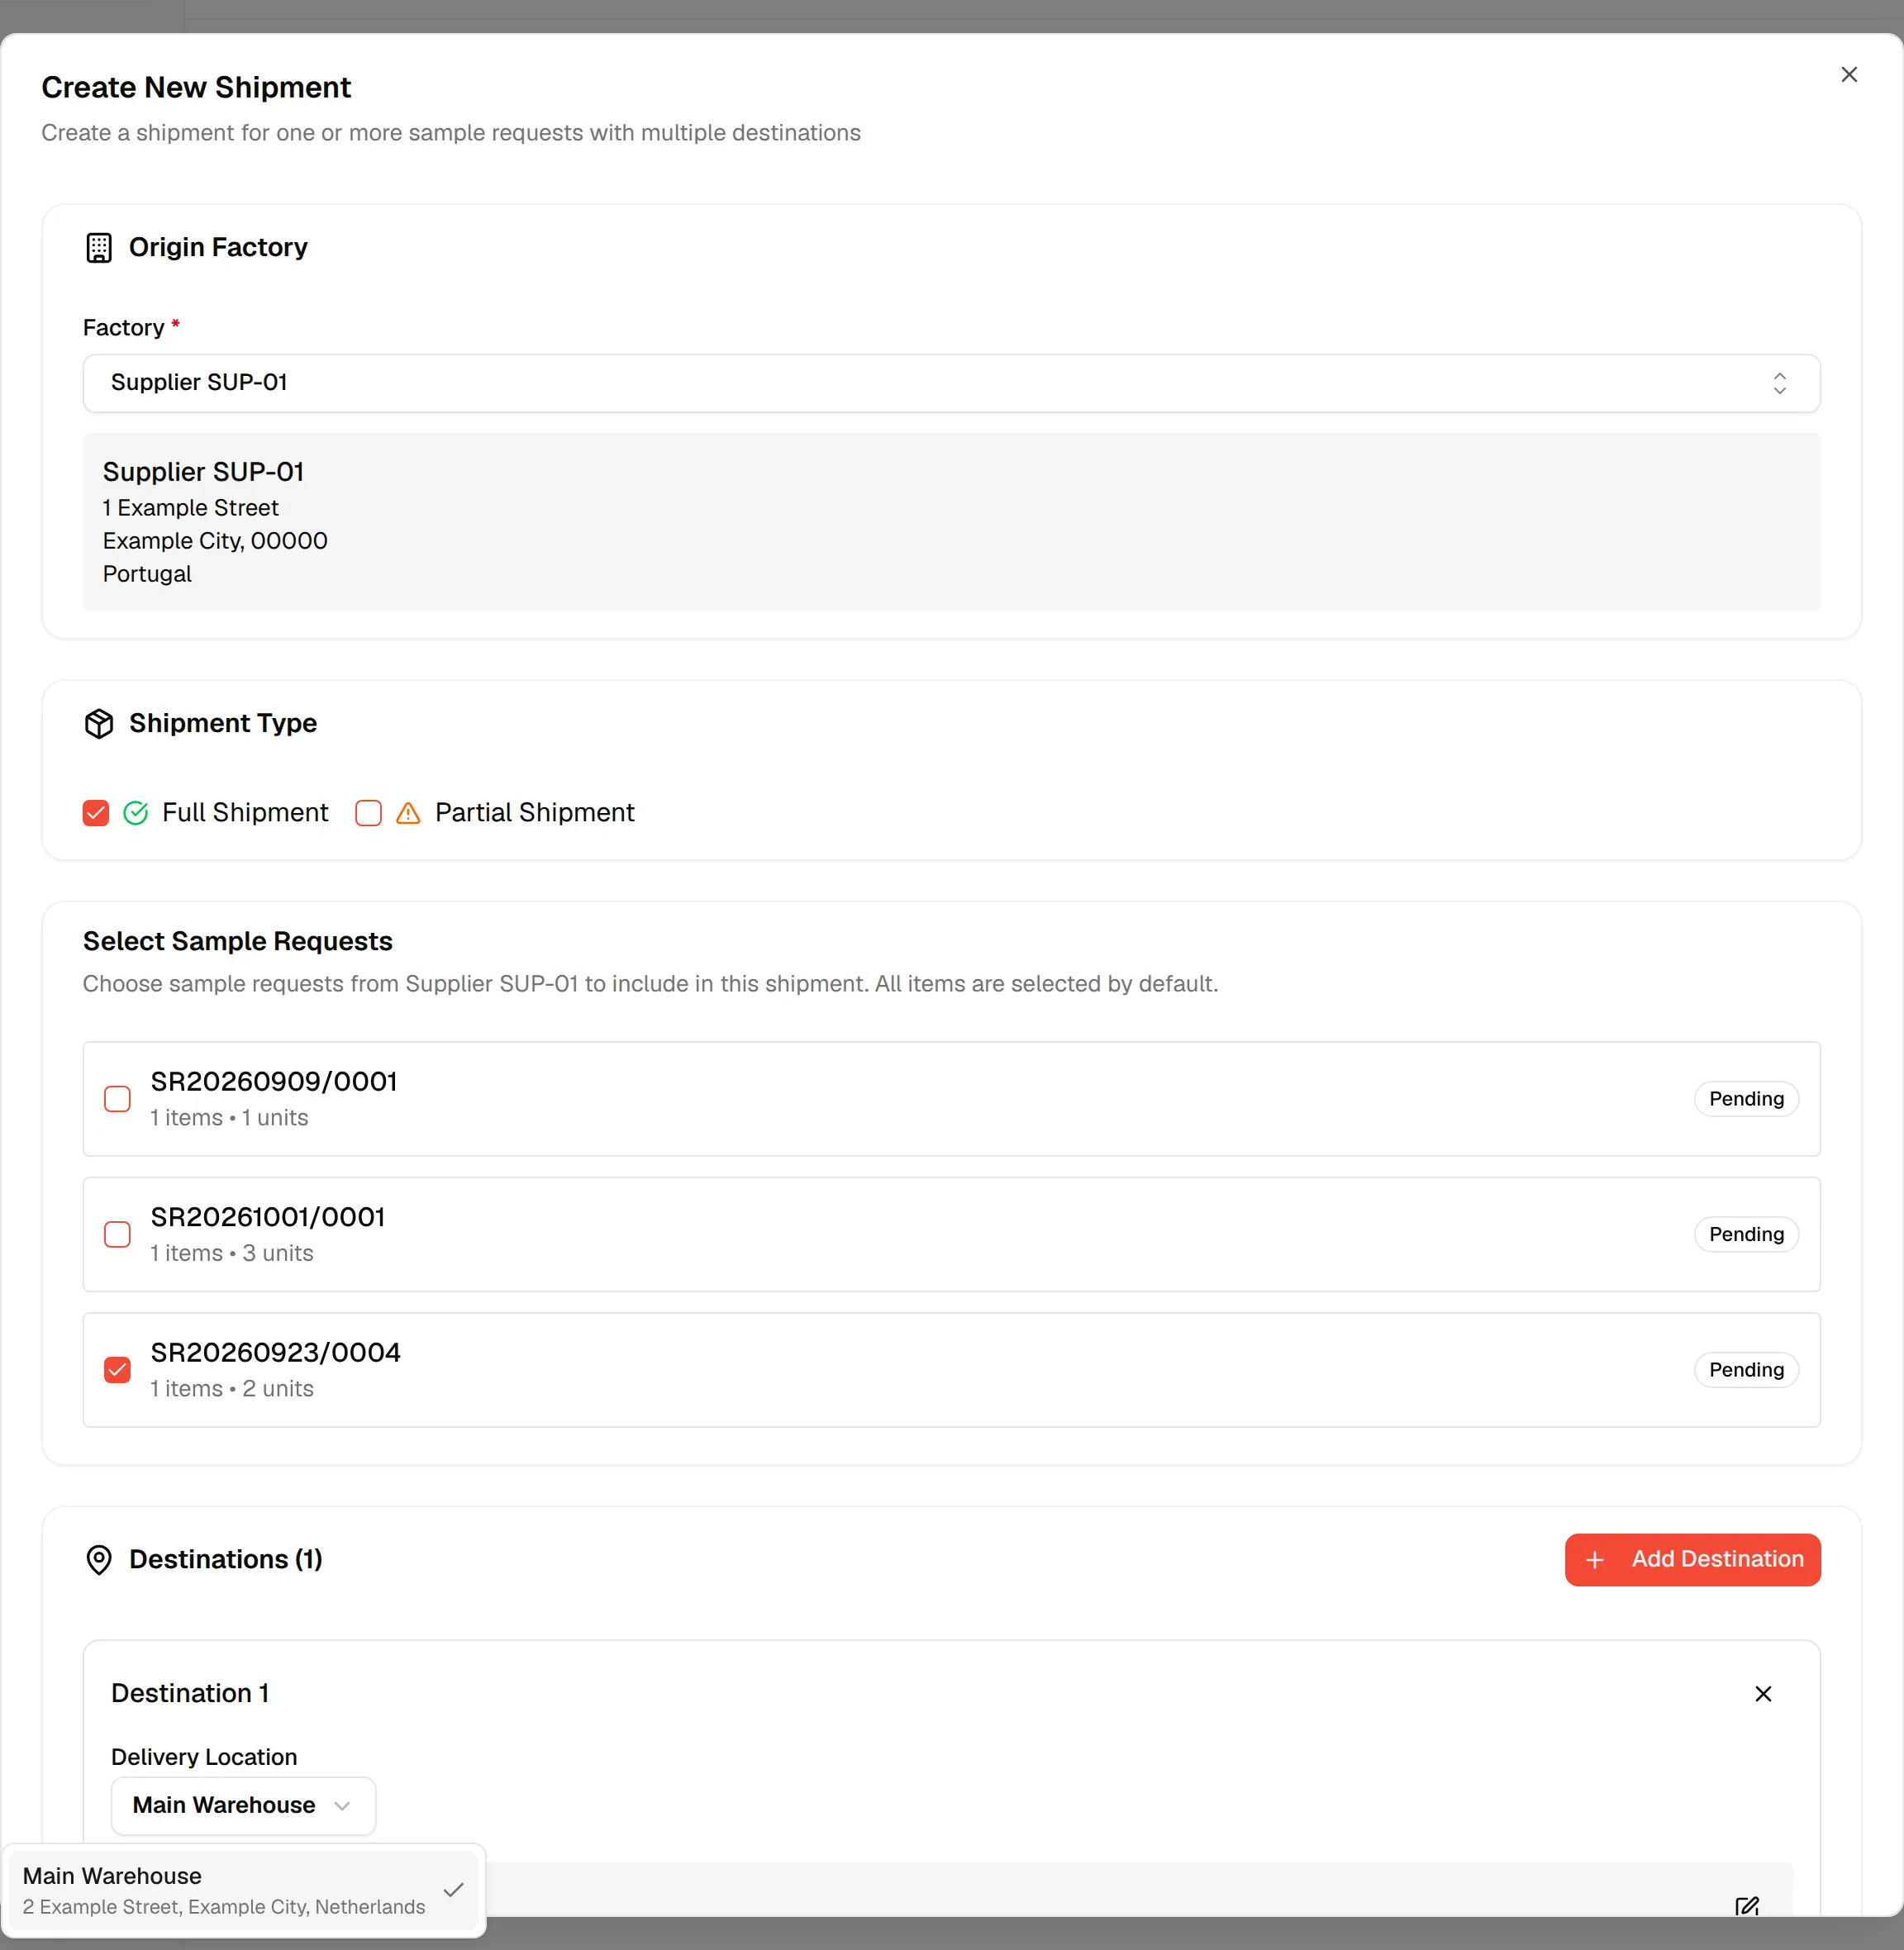
Click the Delivery Location dropdown and choose the location this part of the shipment goes to. Its address, city and country are shown below the dropdown. Changing the location clears the requests allocated to the card.
Allocate sample requests to the destination
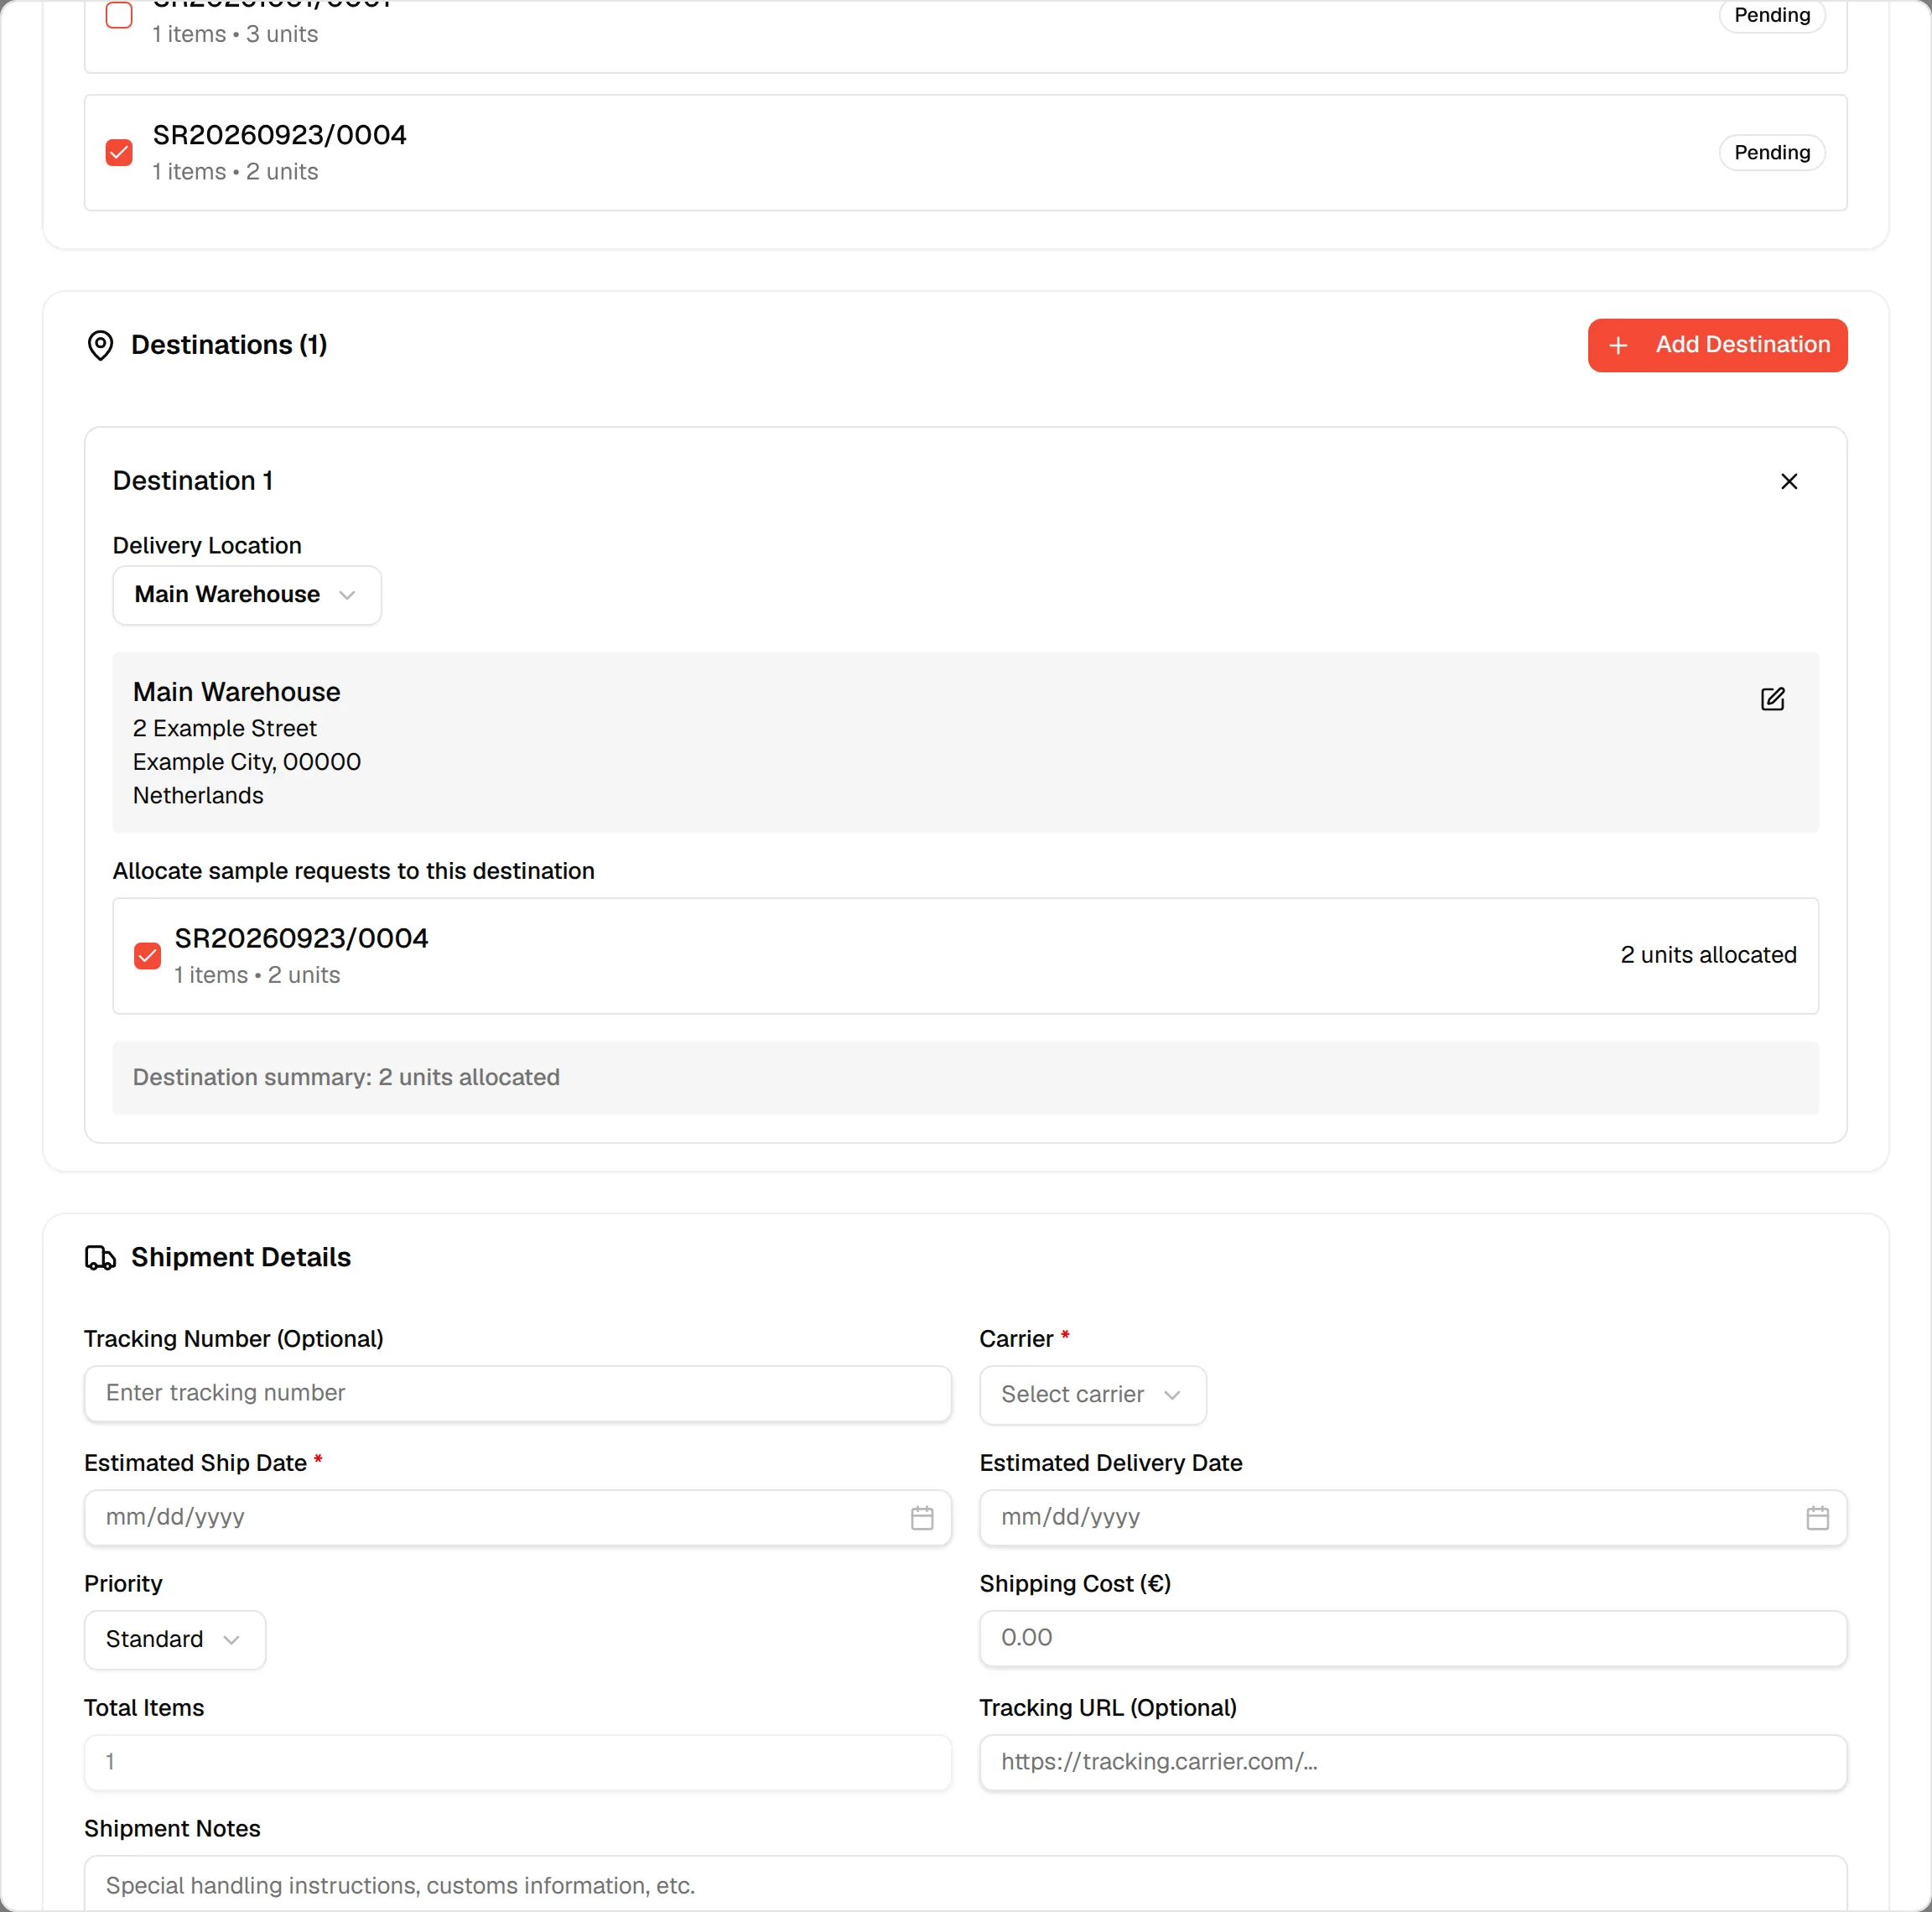
Under Allocate sample requests to this destination, check the requests that go there. For a partial shipment, you can also set the quantity for each item, up to the units available. The line Destination summary shows the total units allocated. A request allocated to one destination is not offered for another.
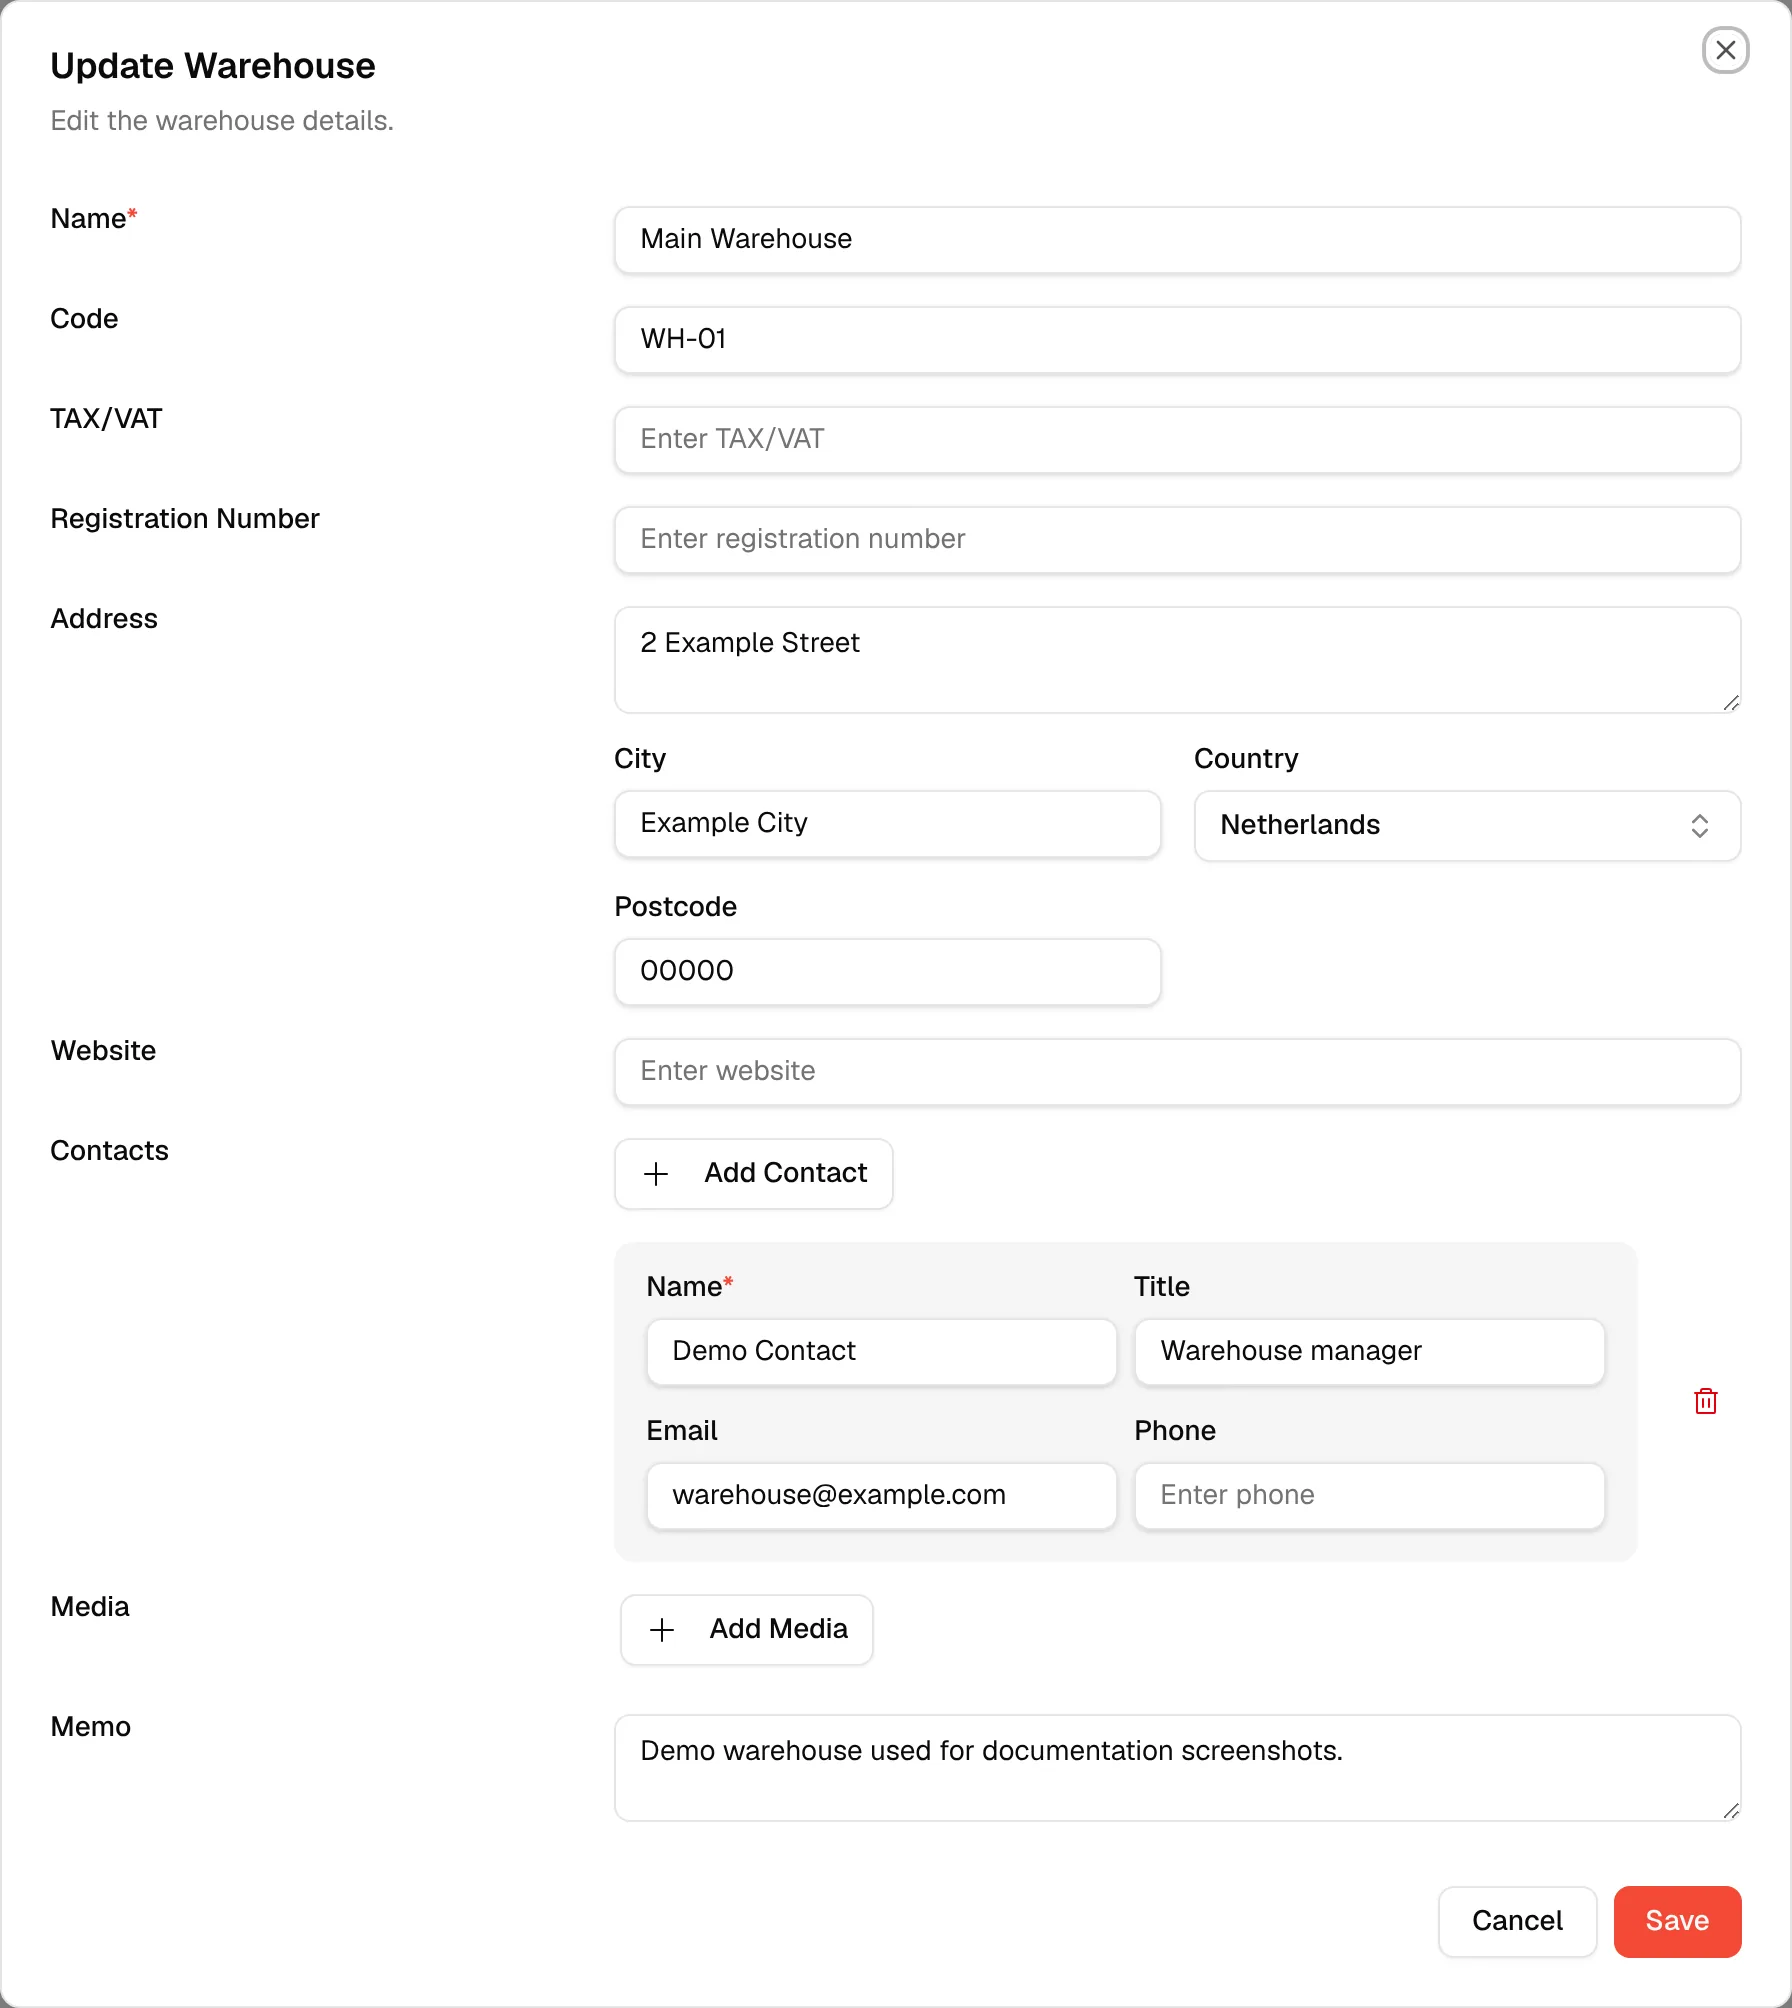
Edit the destination details (optional)
Click the pencil icon next to the location name to open Update Warehouse. You can change the name, code, TAX/VAT, registration number, address, city, country, postcode, website and contacts. Click Save when done.
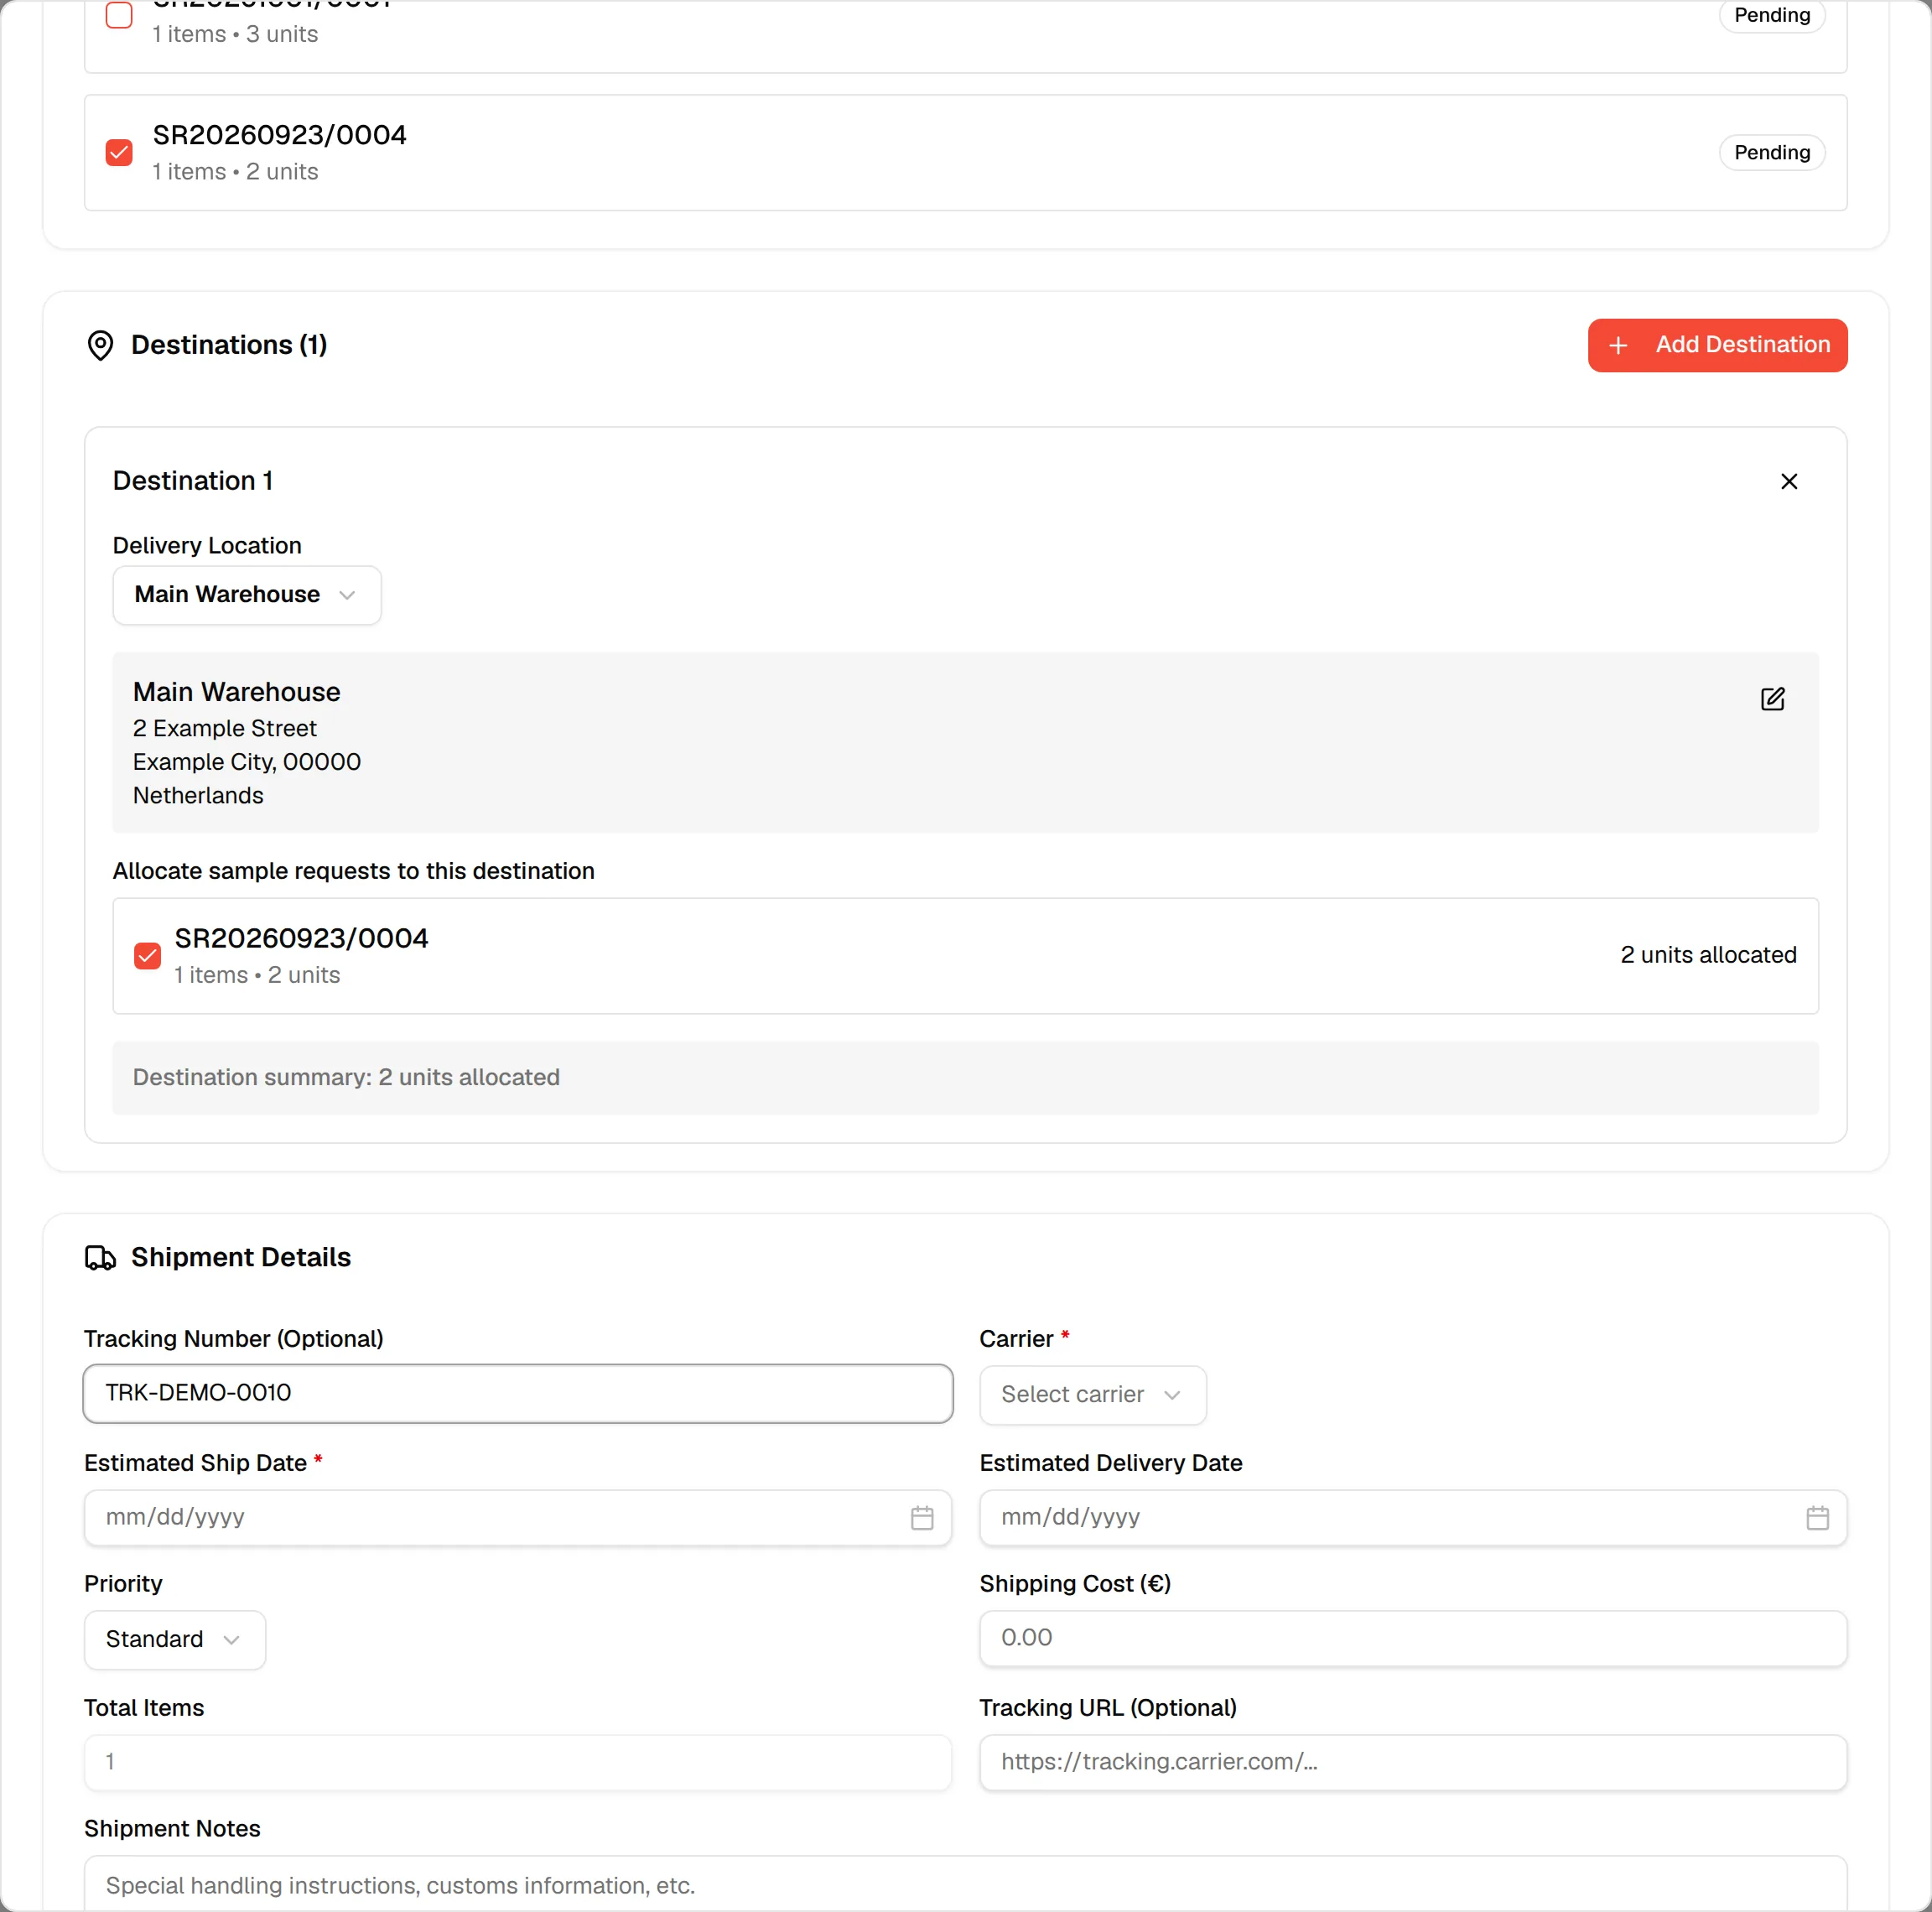
Enter a tracking number (optional)
In Shipment Details, type a tracking number in Tracking Number (Optional) if you already have one.
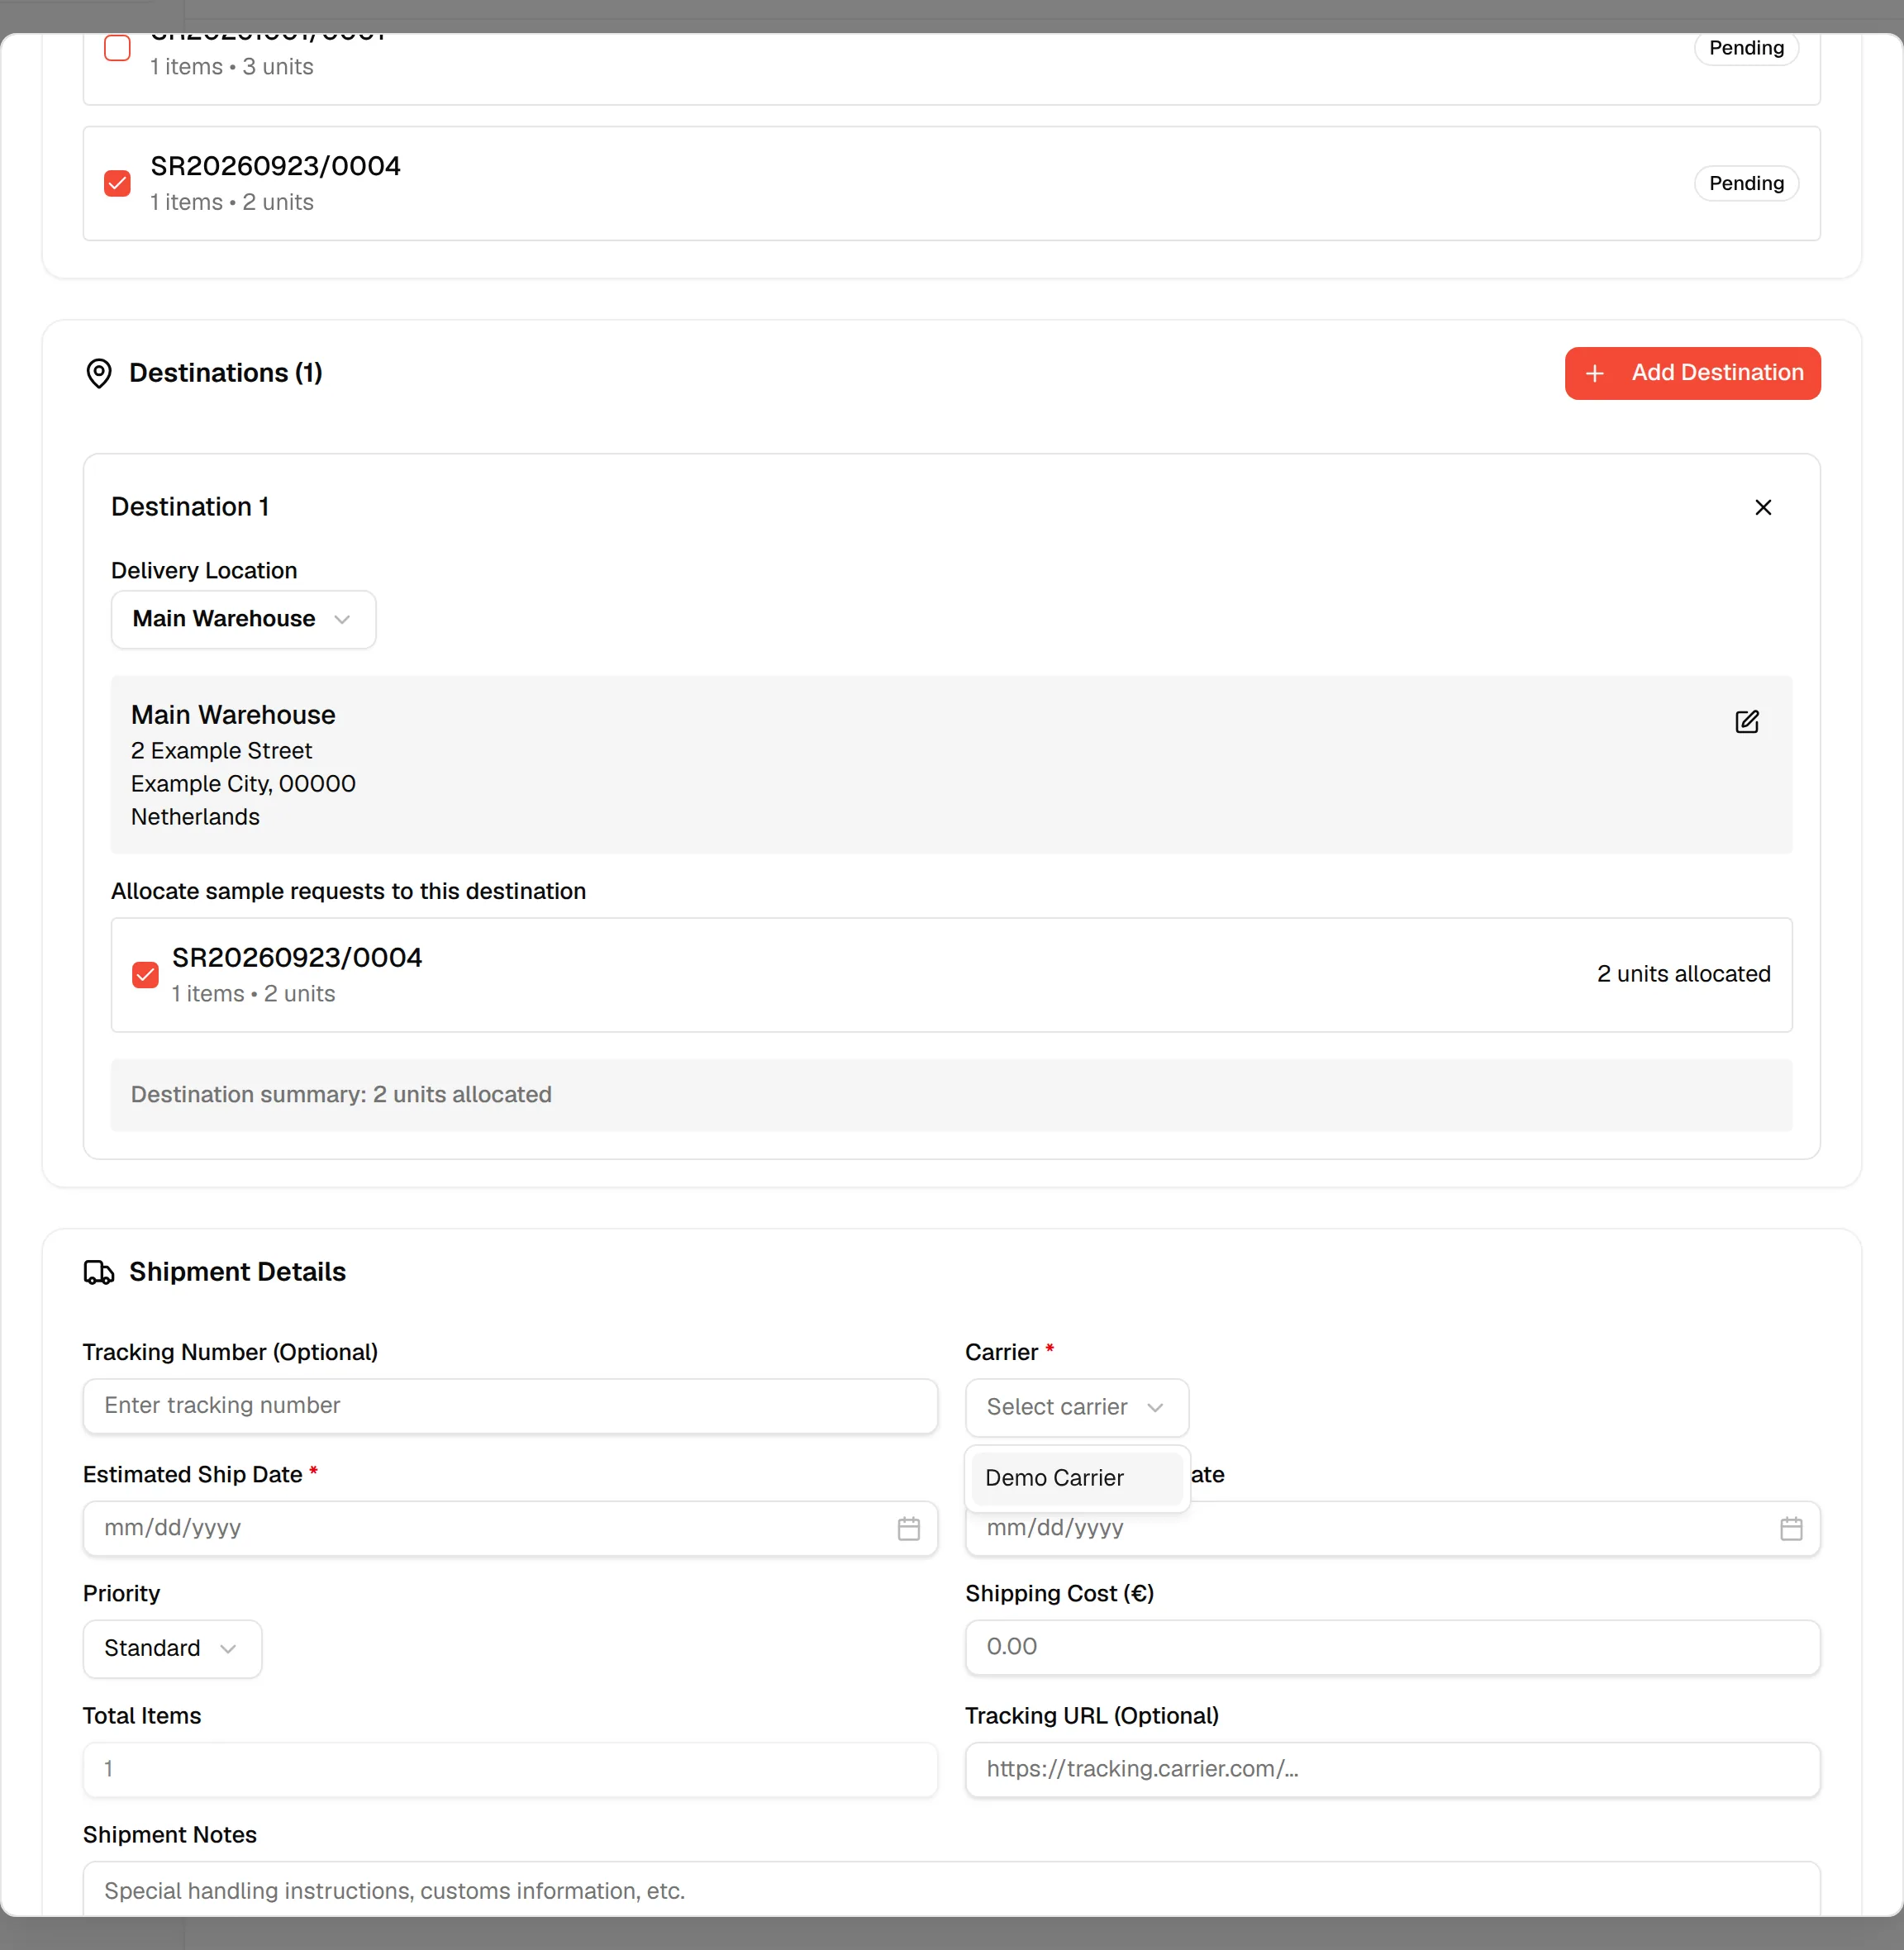
Select a carrier
Open the Carrier dropdown (required) and choose one of the carriers you set up.
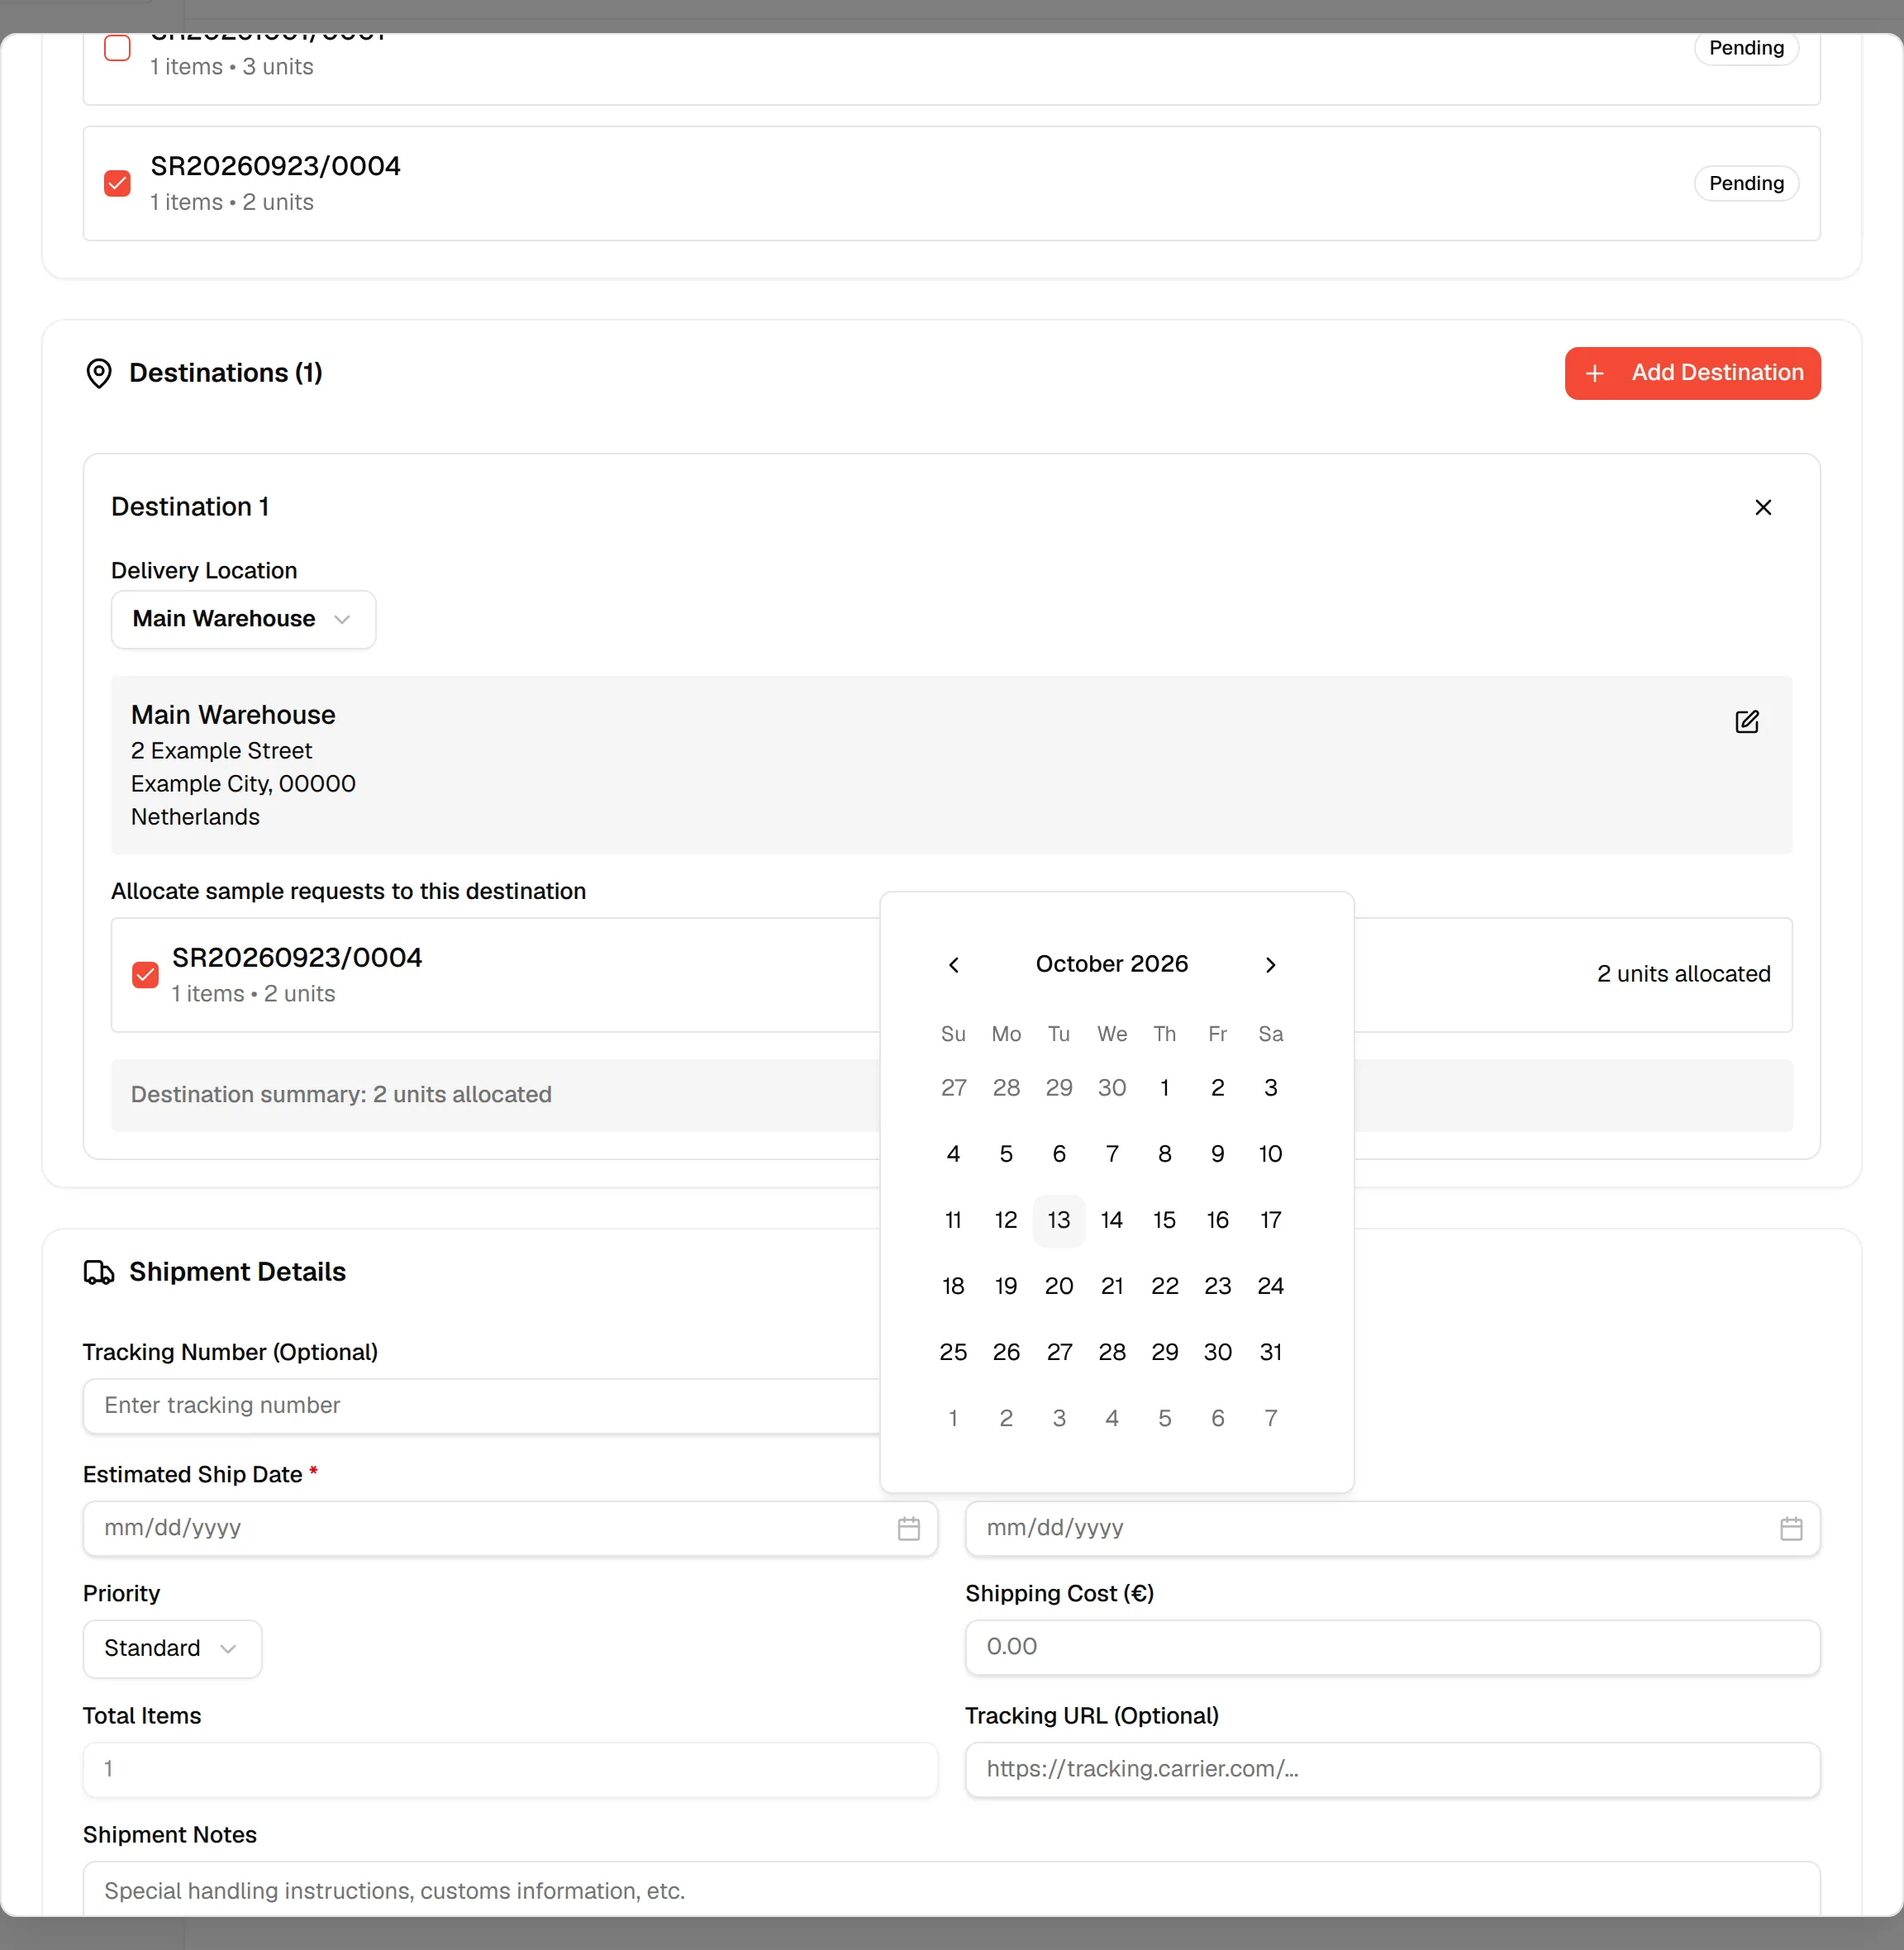
Set the estimated ship date
Next to Estimated Ship Date (required), click the calendar icon and pick a day. When a carrier is selected, Estimated Delivery Date fills in with the ship date plus the carrier's delivery days. You can change it, by typing a date or by picking one in its own calendar.
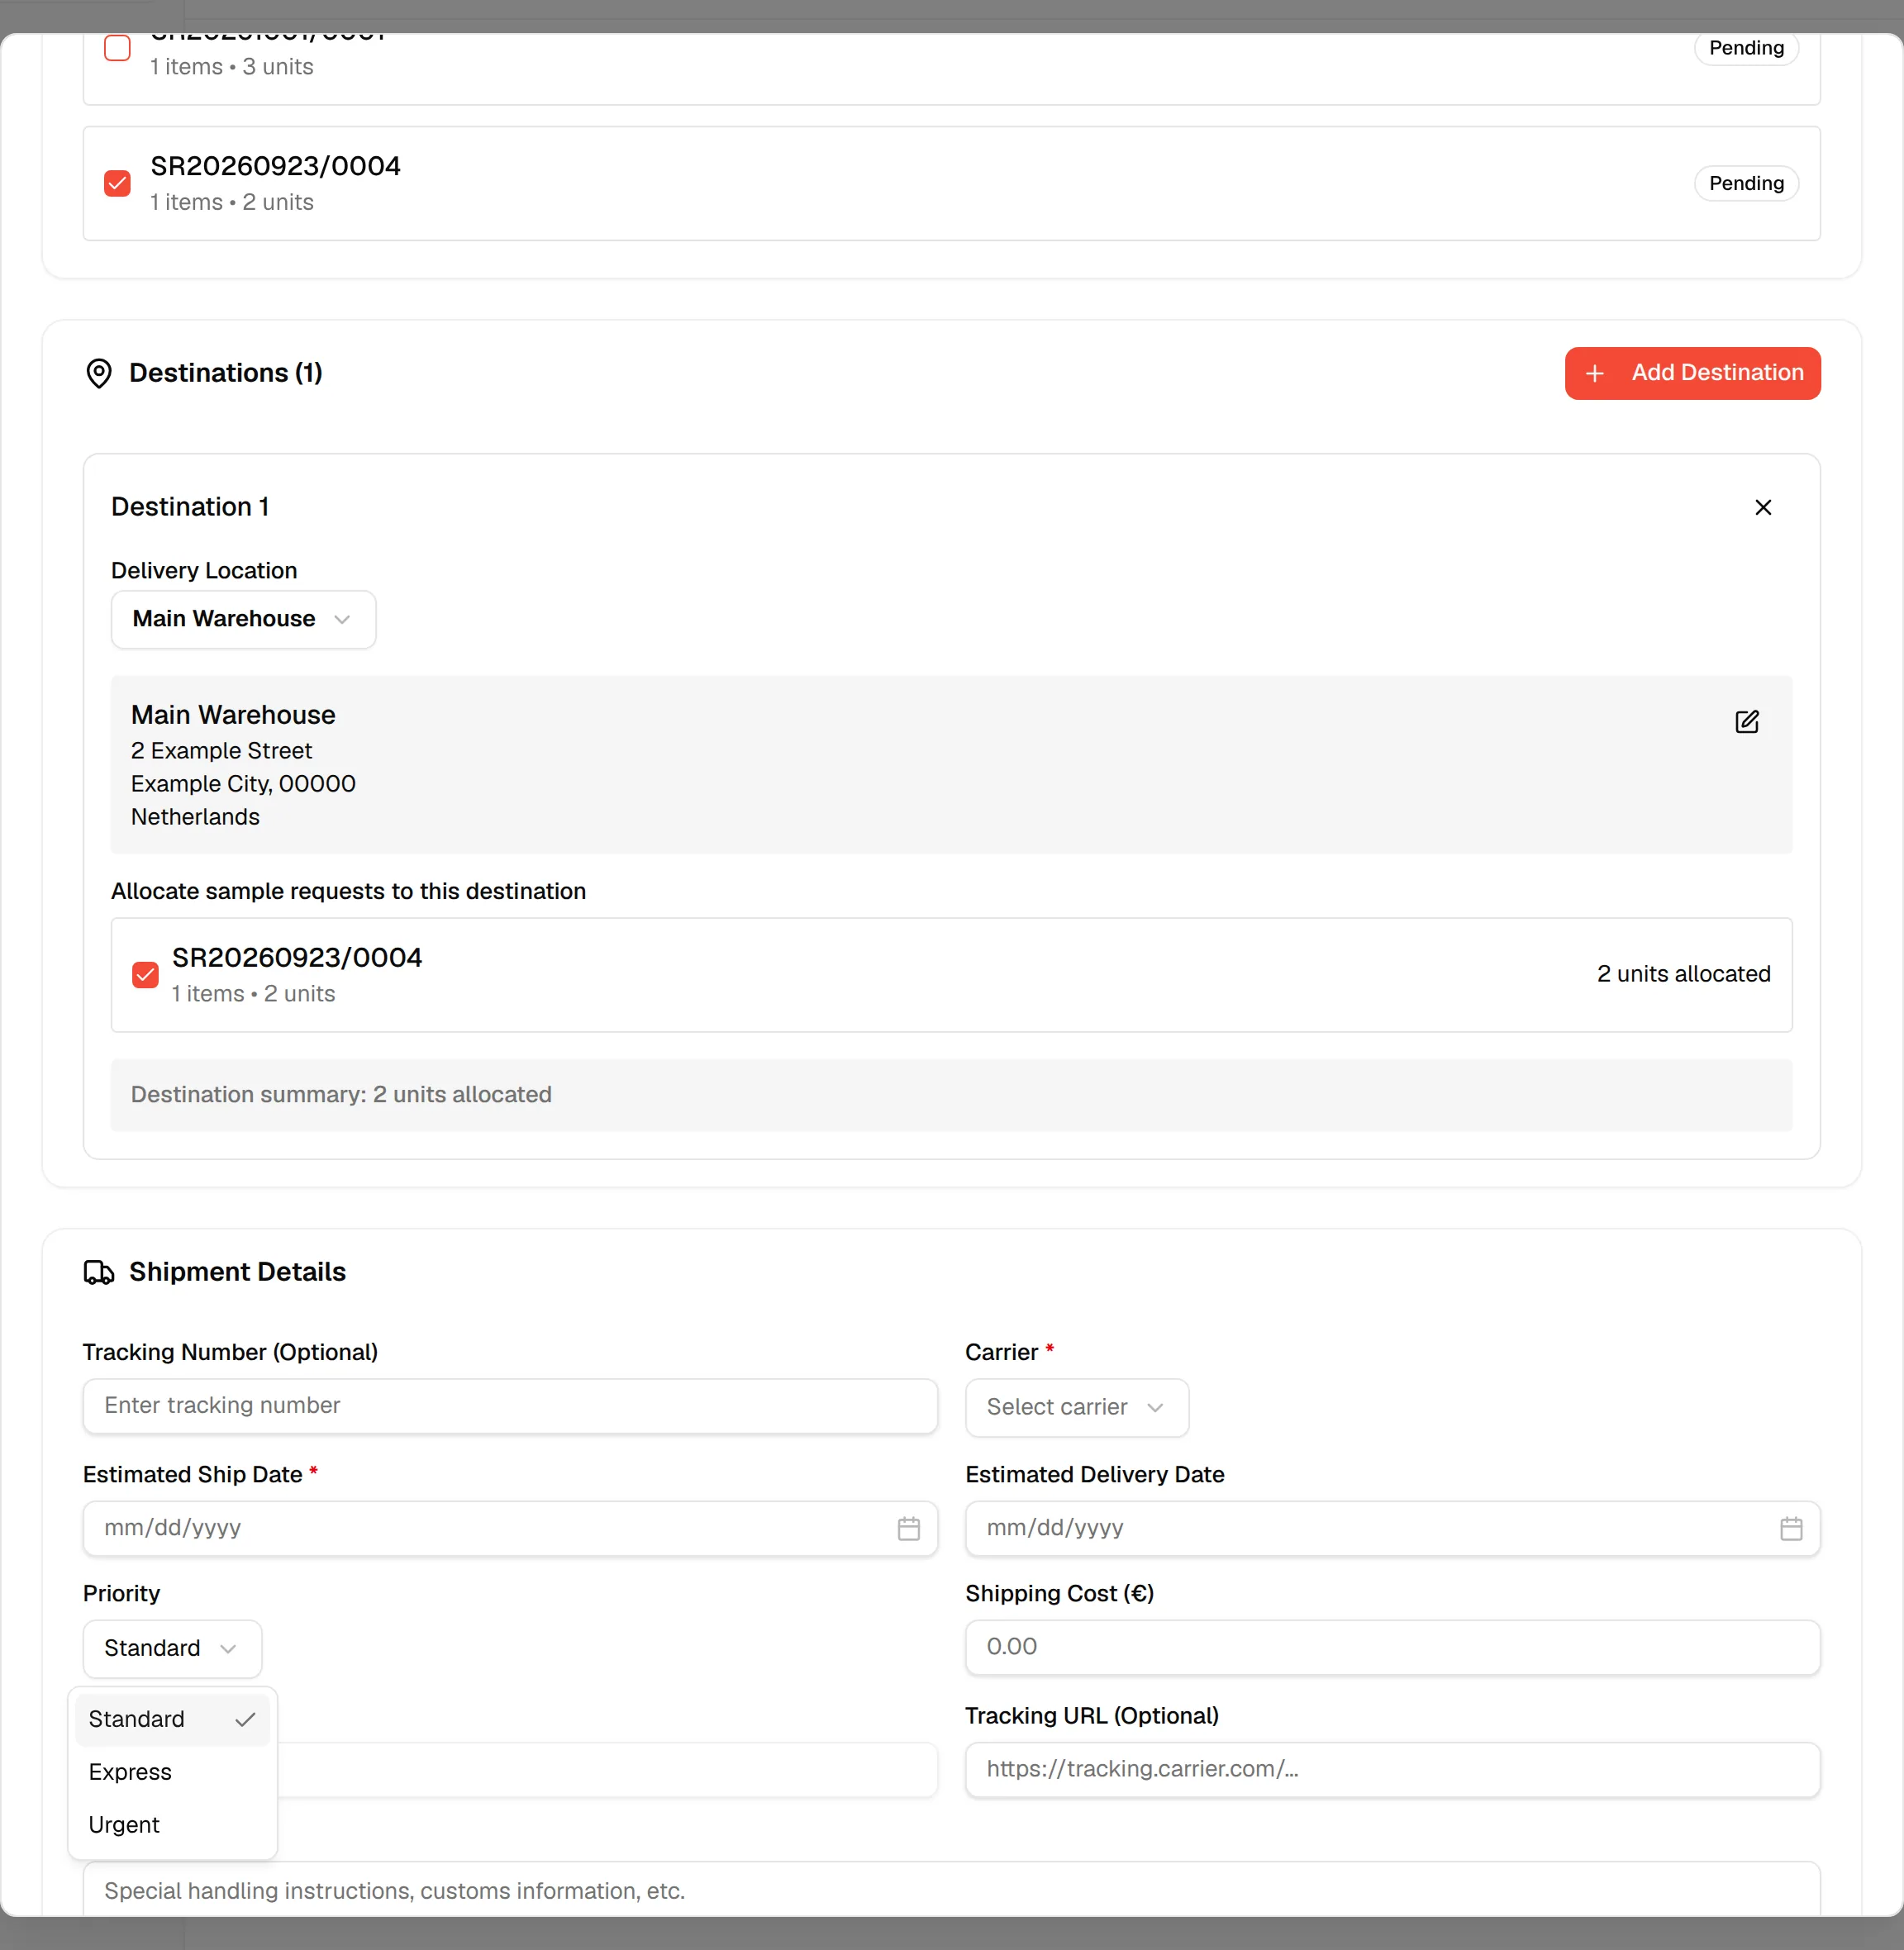
Choose a priority
In Priority, select Standard, Express or Urgent. Standard is selected by default.
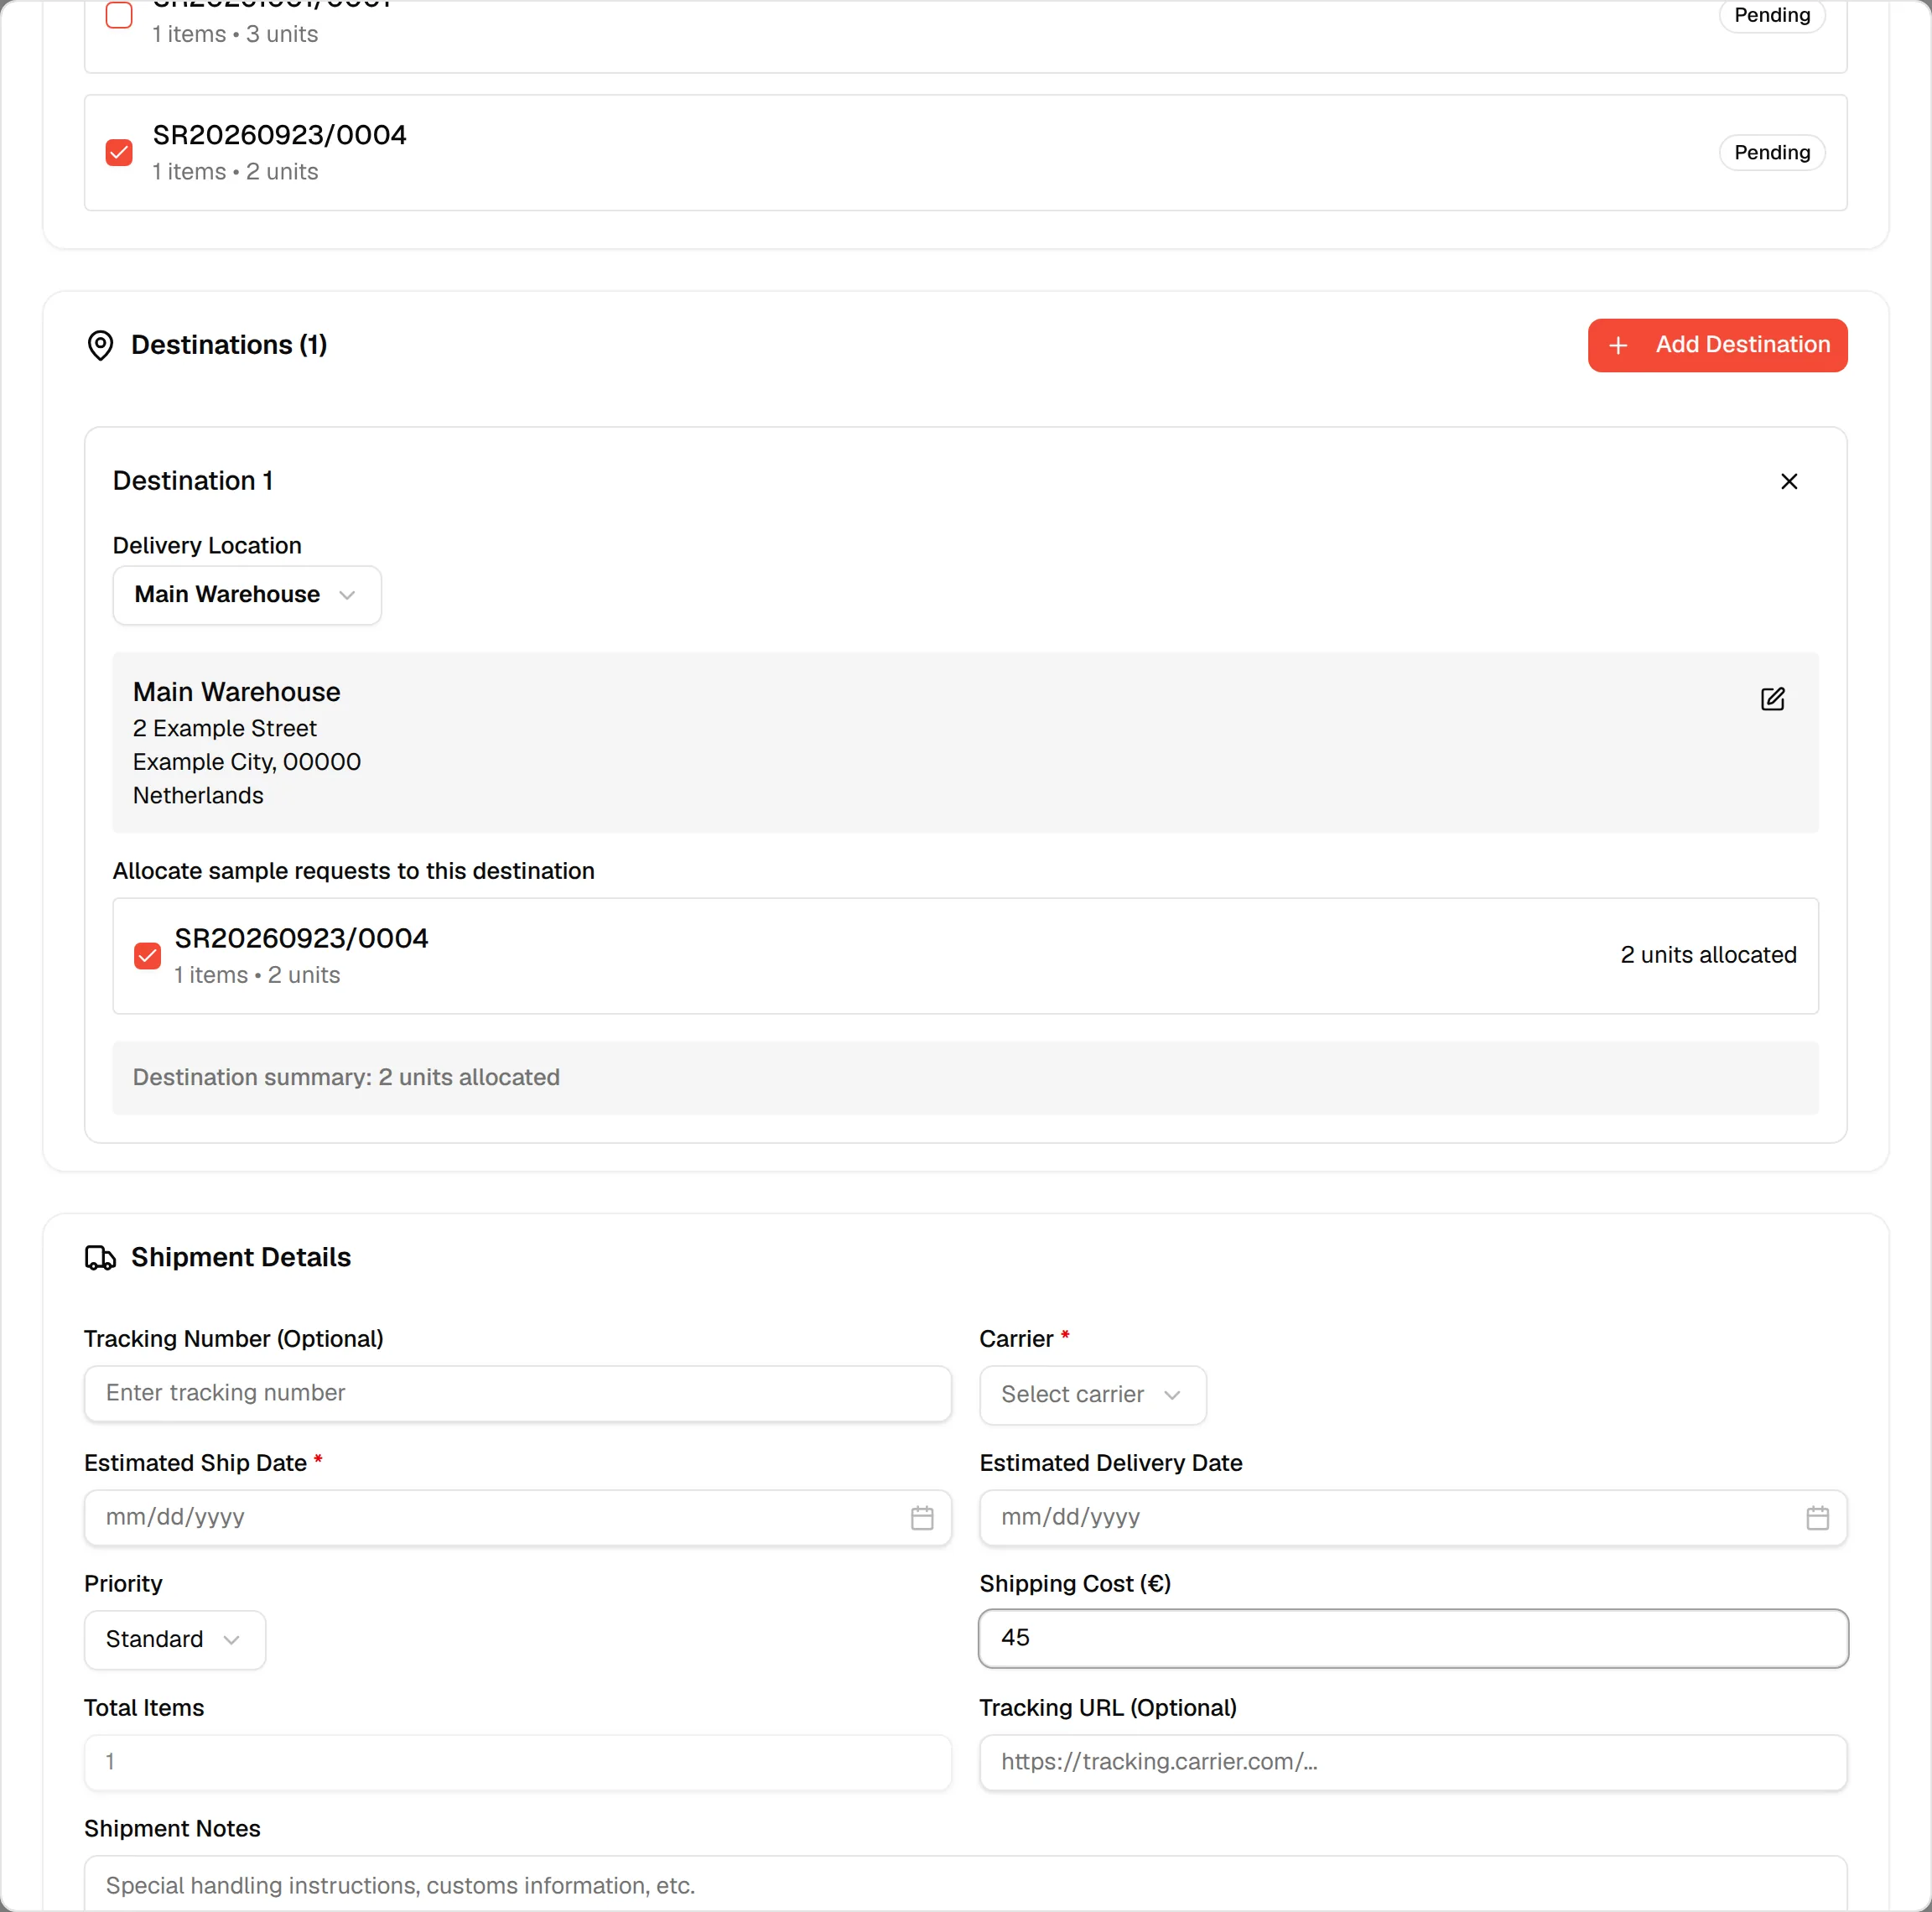
Enter the shipping cost
Type the cost in Shipping Cost (€). Total Items is calculated for you and cannot be edited.
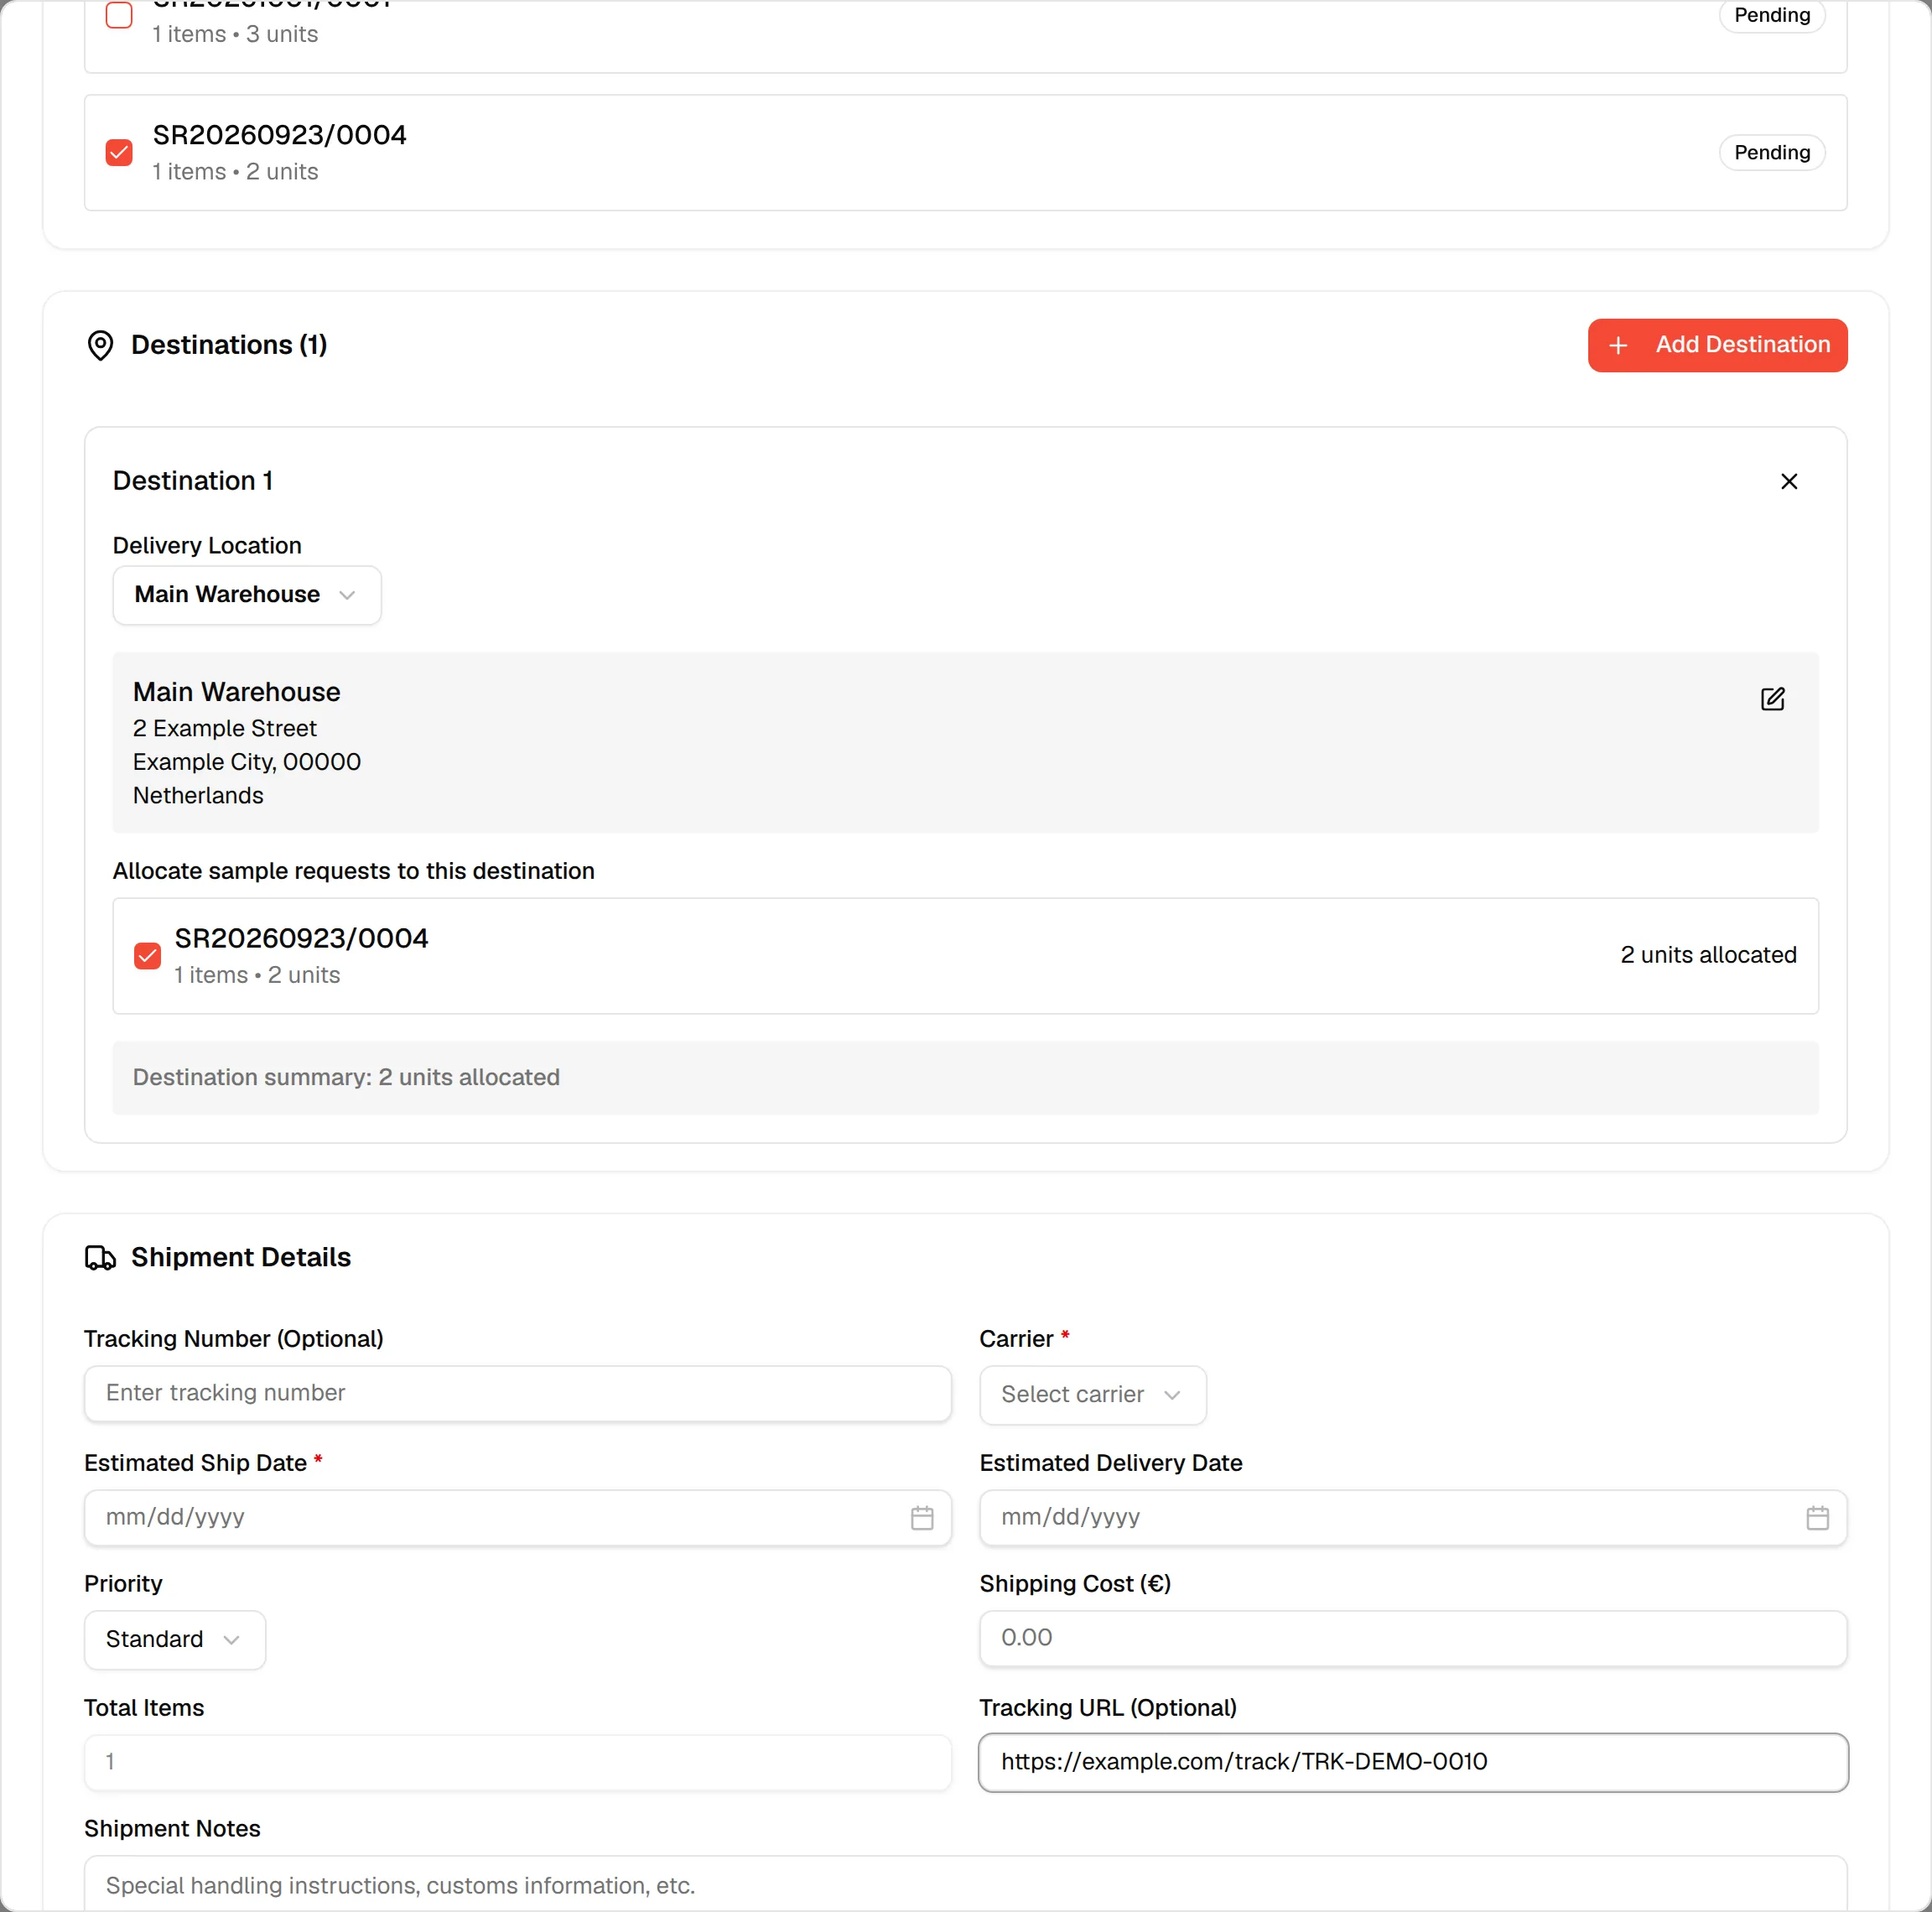
Add the tracking link (optional)
Paste the tracking link of the carrier in Tracking URL (Optional). It must be a valid web address. It enables Track Package on the shipment later.
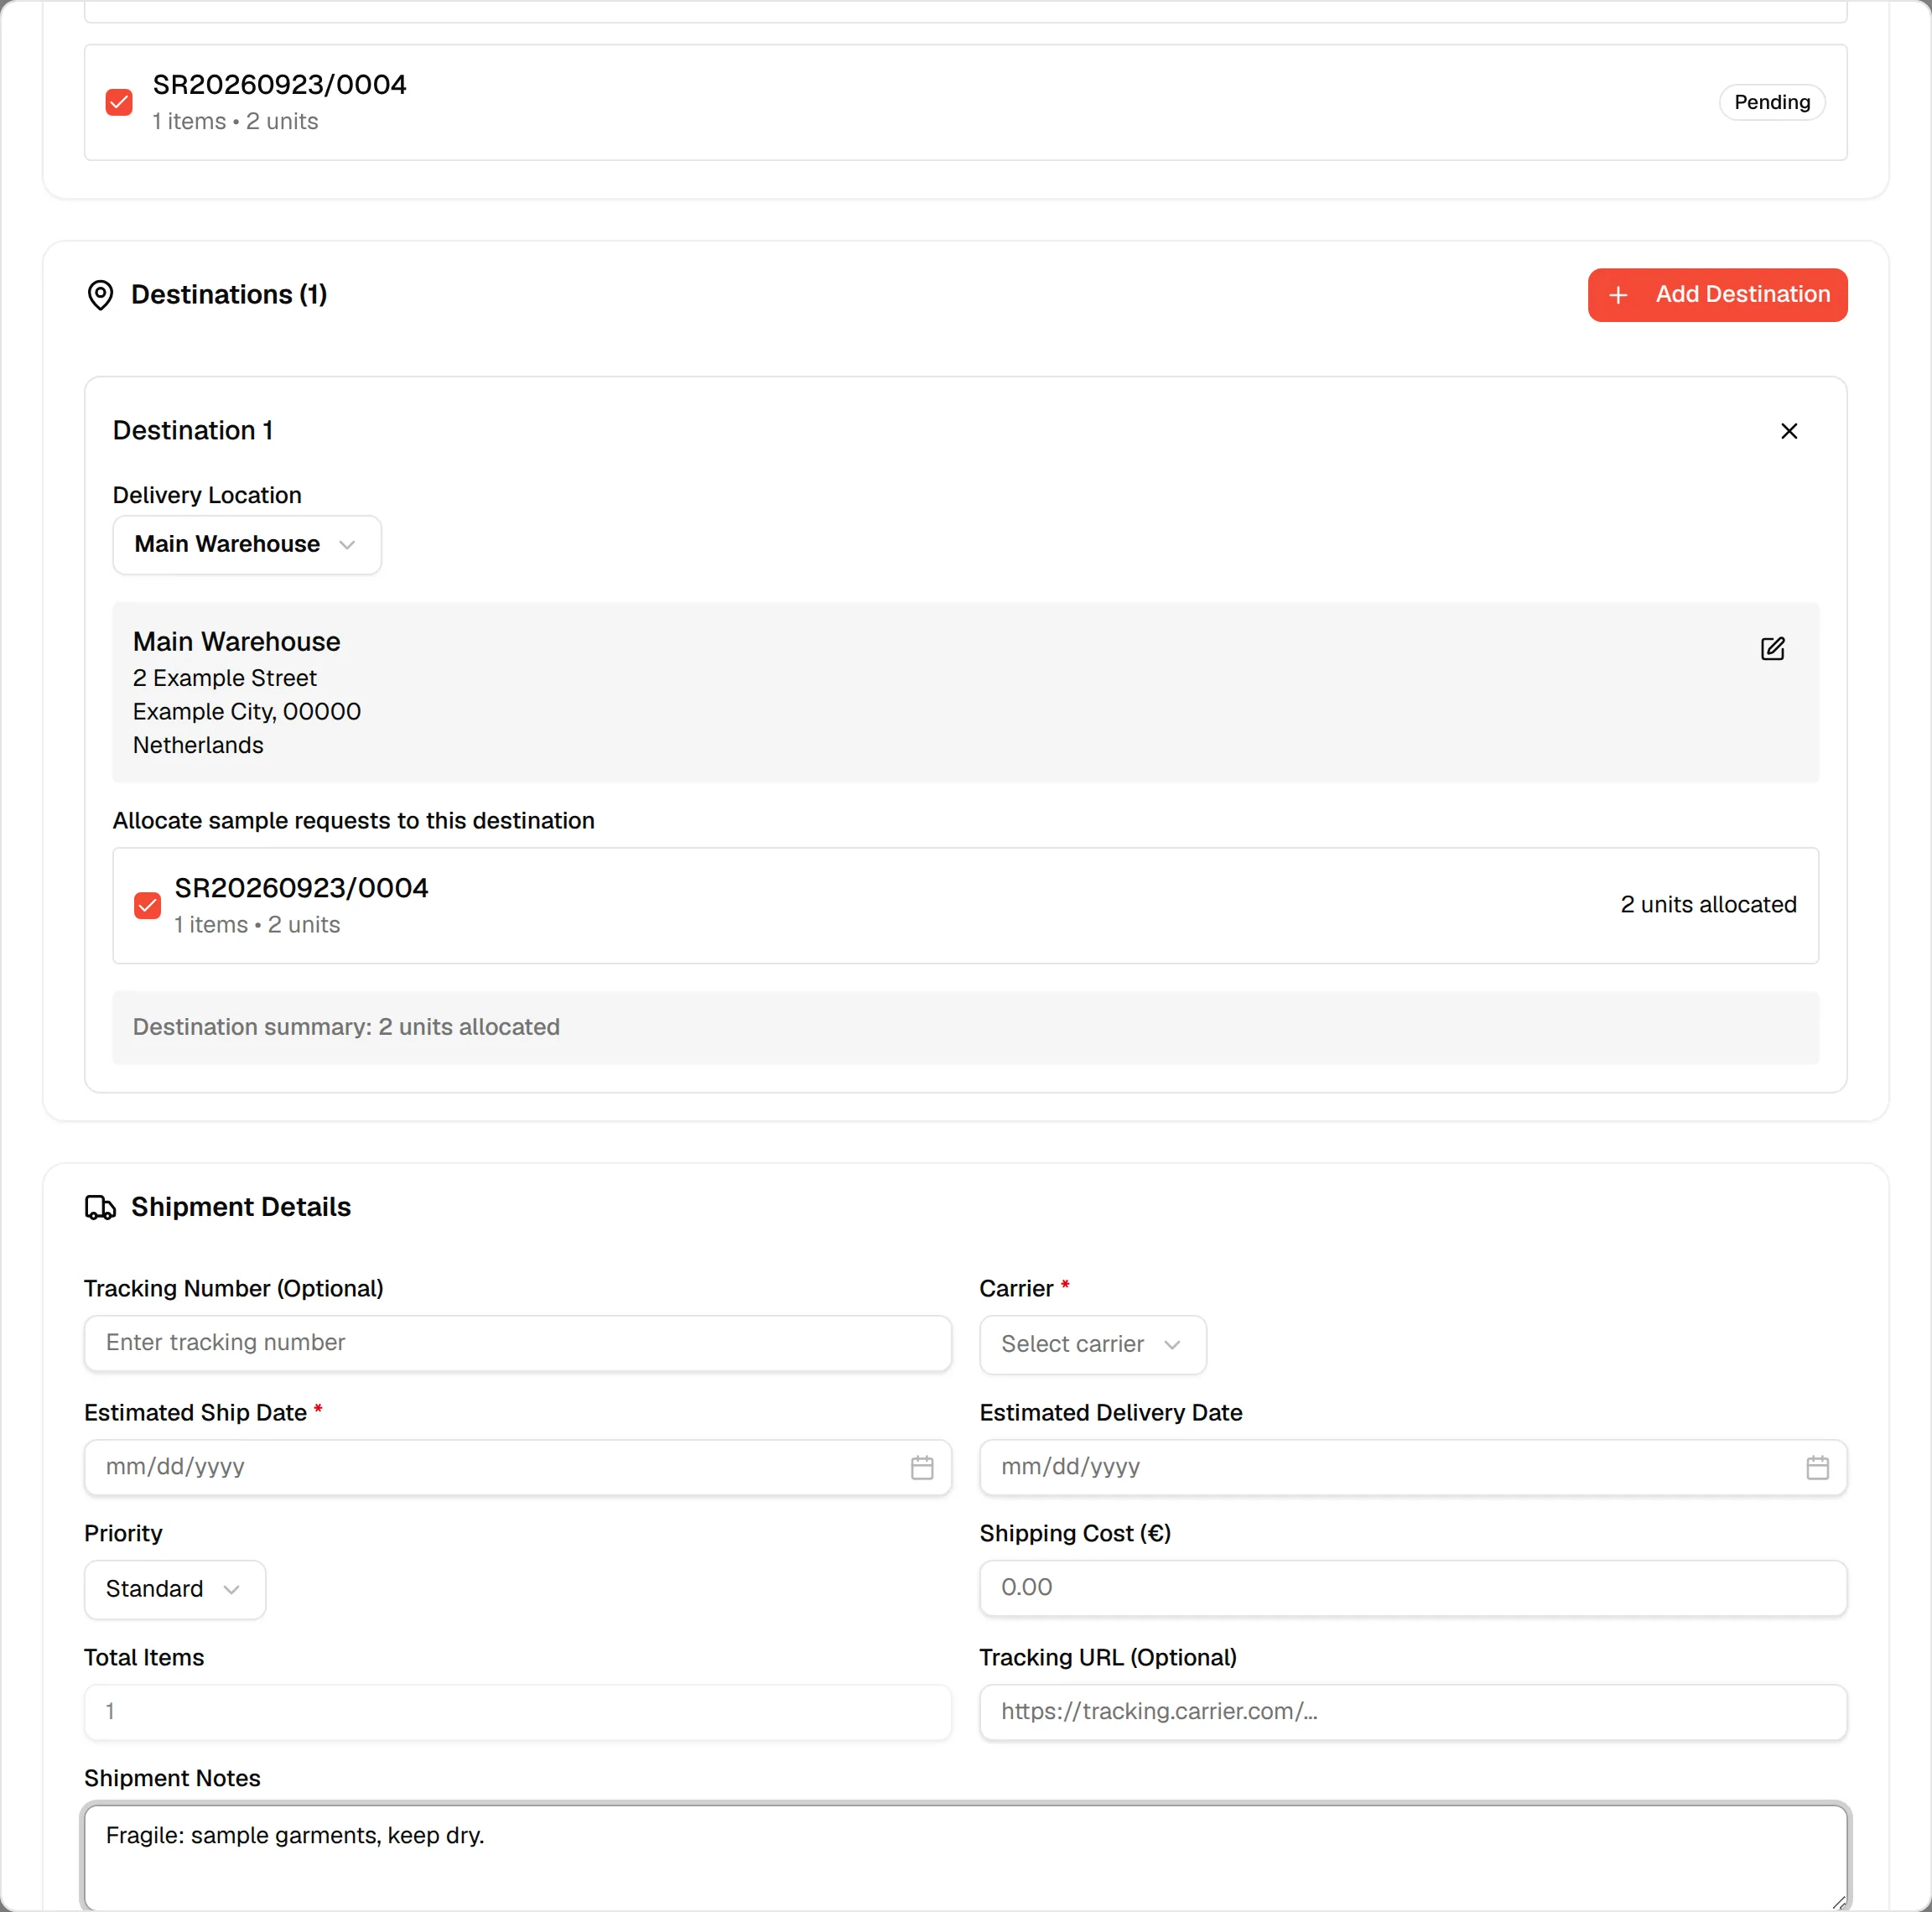
Add shipment notes (optional)
Use Shipment Notes for special handling instructions, customs information, or any other relevant notes.
Check the summary
Shipment Summary shows the Total Items, the Total Quantity and the number of Destinations. If some selected units are not allocated to a destination, an orange line tells you how many.
Click "Create Shipment"
Click Create Shipment at the bottom to save, or Cancel to close without saving.
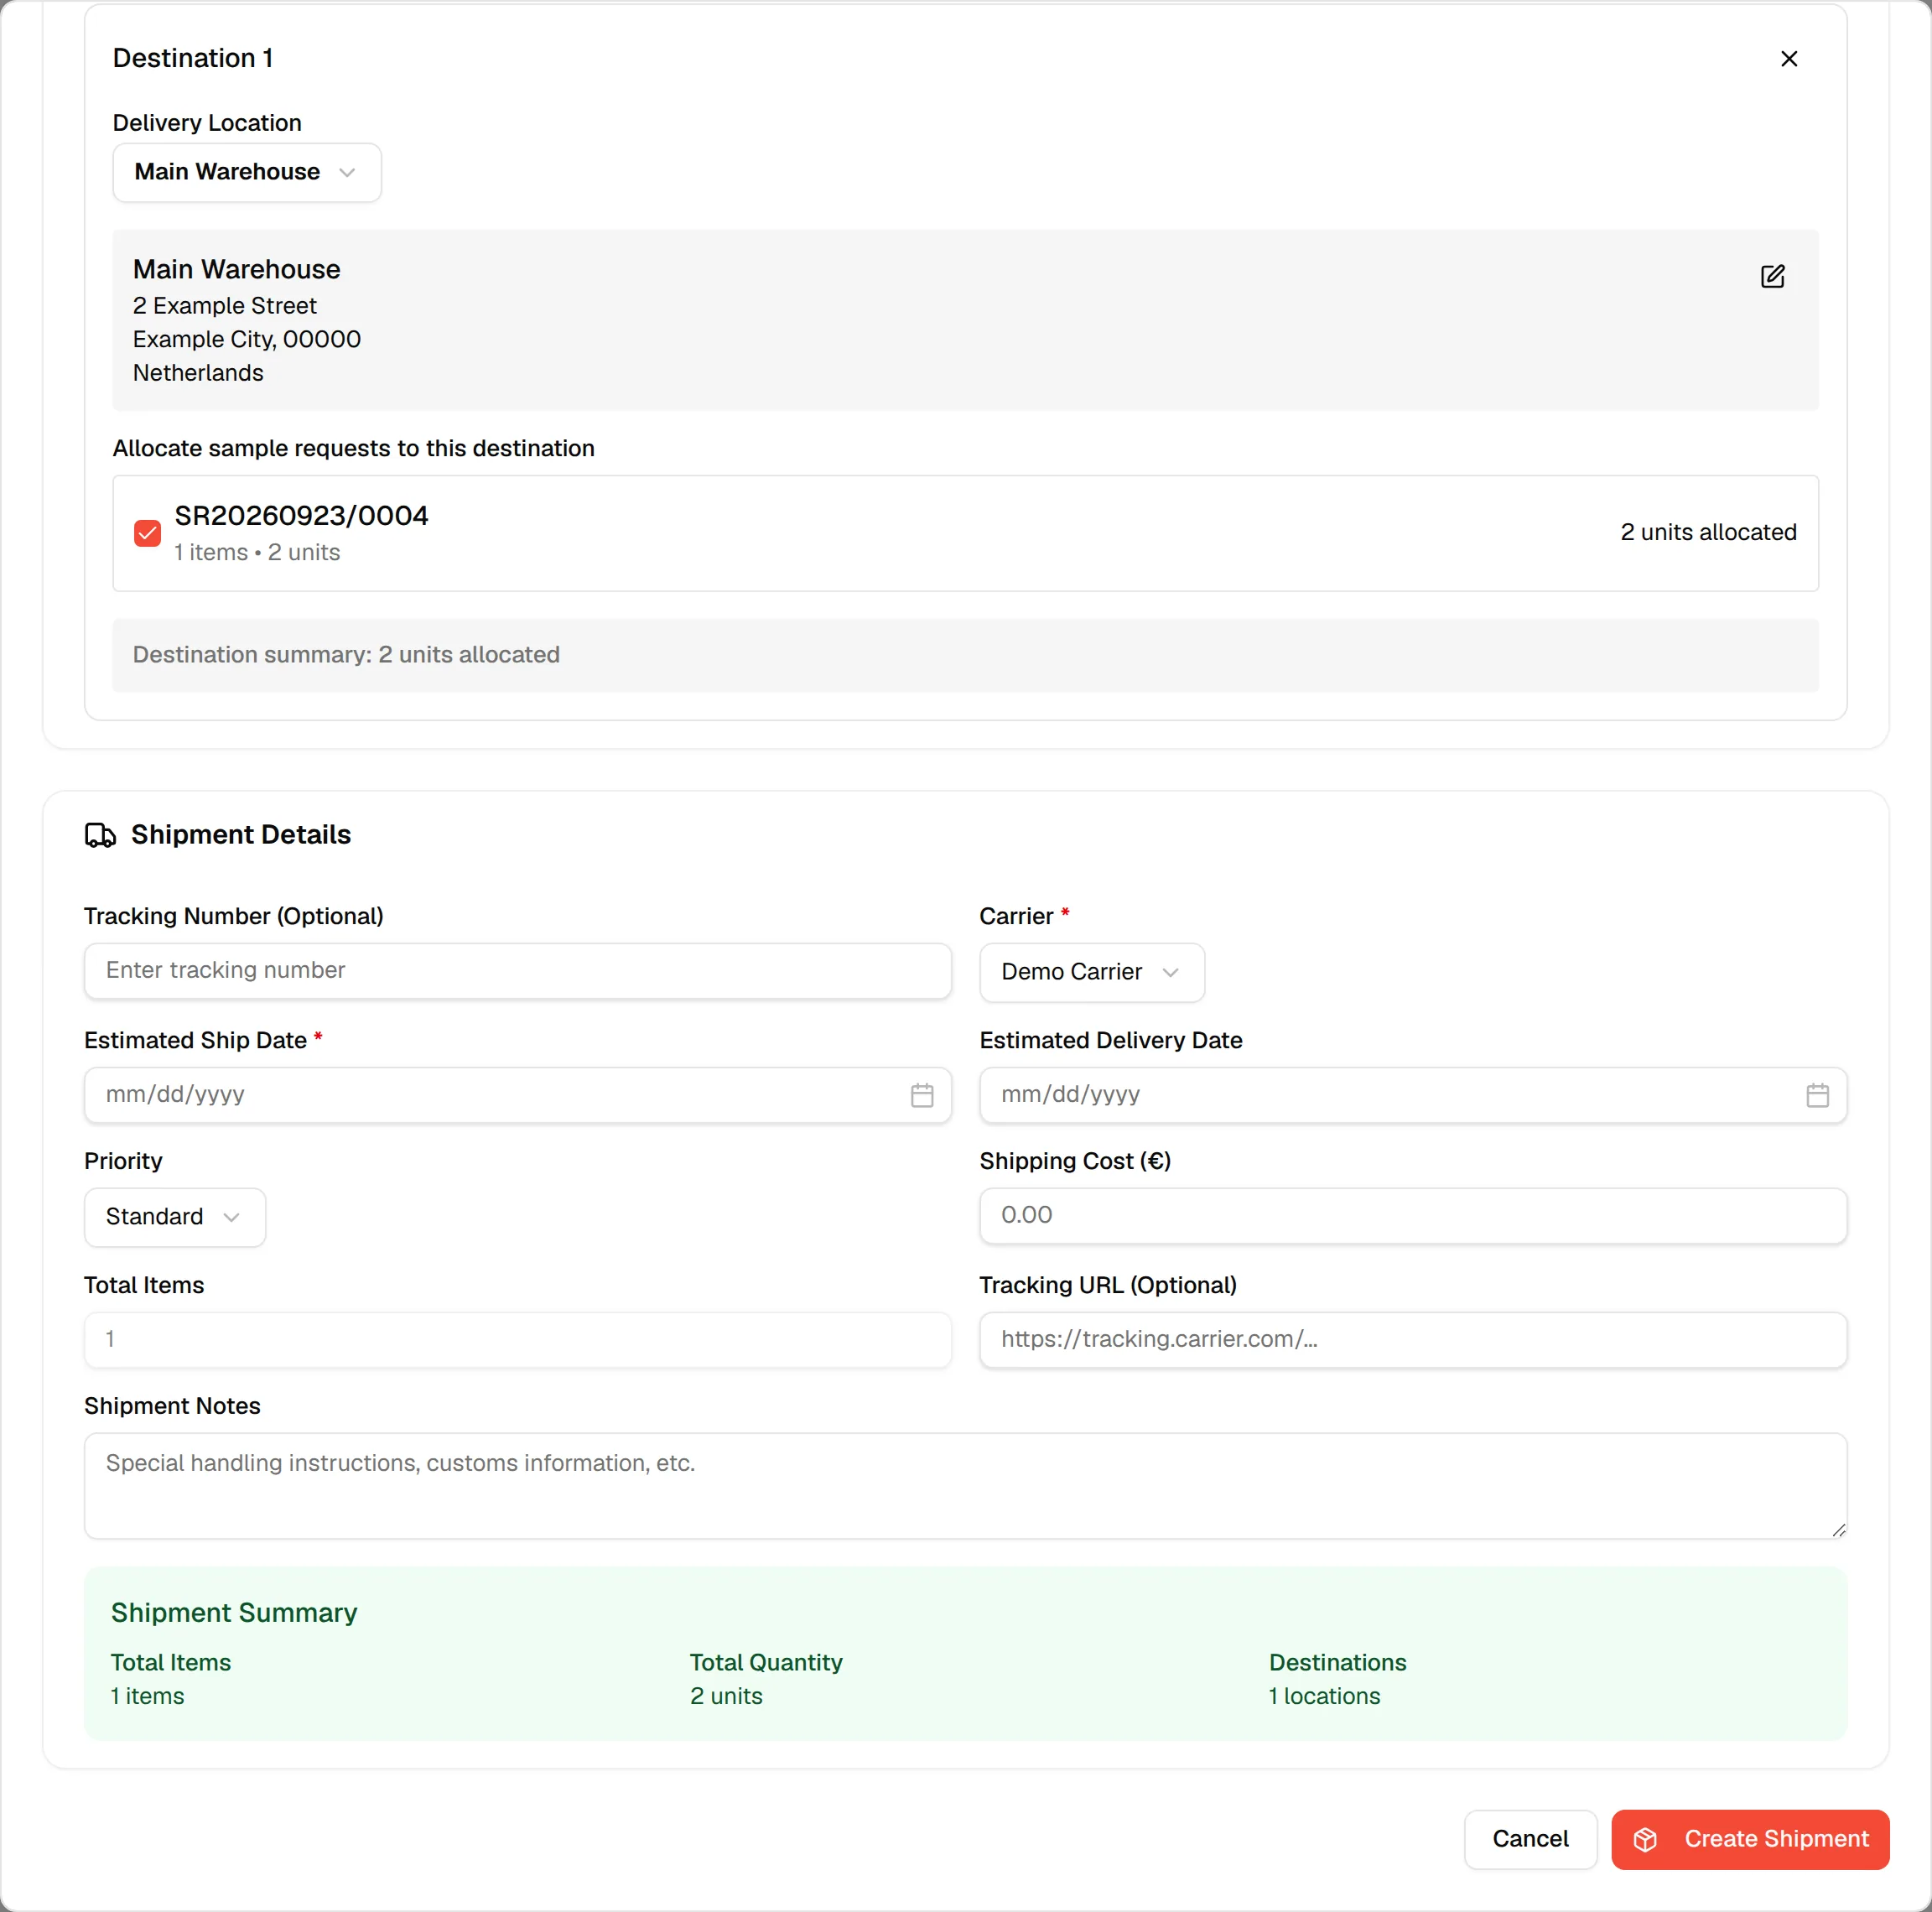
If something is missing, the form tells you what to fix: Please select a factory, Please select at least one sample, Please add at least one destination, Please select a carrier, Please select an estimated ship date or Please select an estimated delivery date.
You should now see the new shipment in the Active Shipments tab with the status Preparing.