
Step 8 of 12 in Stock materials and finished goods
Inventory stock adjustments
The Stock Adjustments page helps you track and manage all changes made to inventory quantities.
Under review. This page is published while we check it against the live app, so some details may have changed.
The Stock Adjustments page helps you track and manage all changes made to inventory quantities. It provides a clear log of increases and decreases, including the item affected, quantity change, reason, user, and date & time.
InventoryStock Adjustment
Permission: VIEW_STYLE_INVENTORY
- View a history of inventory increases and decreases.
- See who made the adjustment and when it was made.
- Review quantity changes and adjustment reasons.
- Use search and filters to locate specific records.
Read the adjustment history
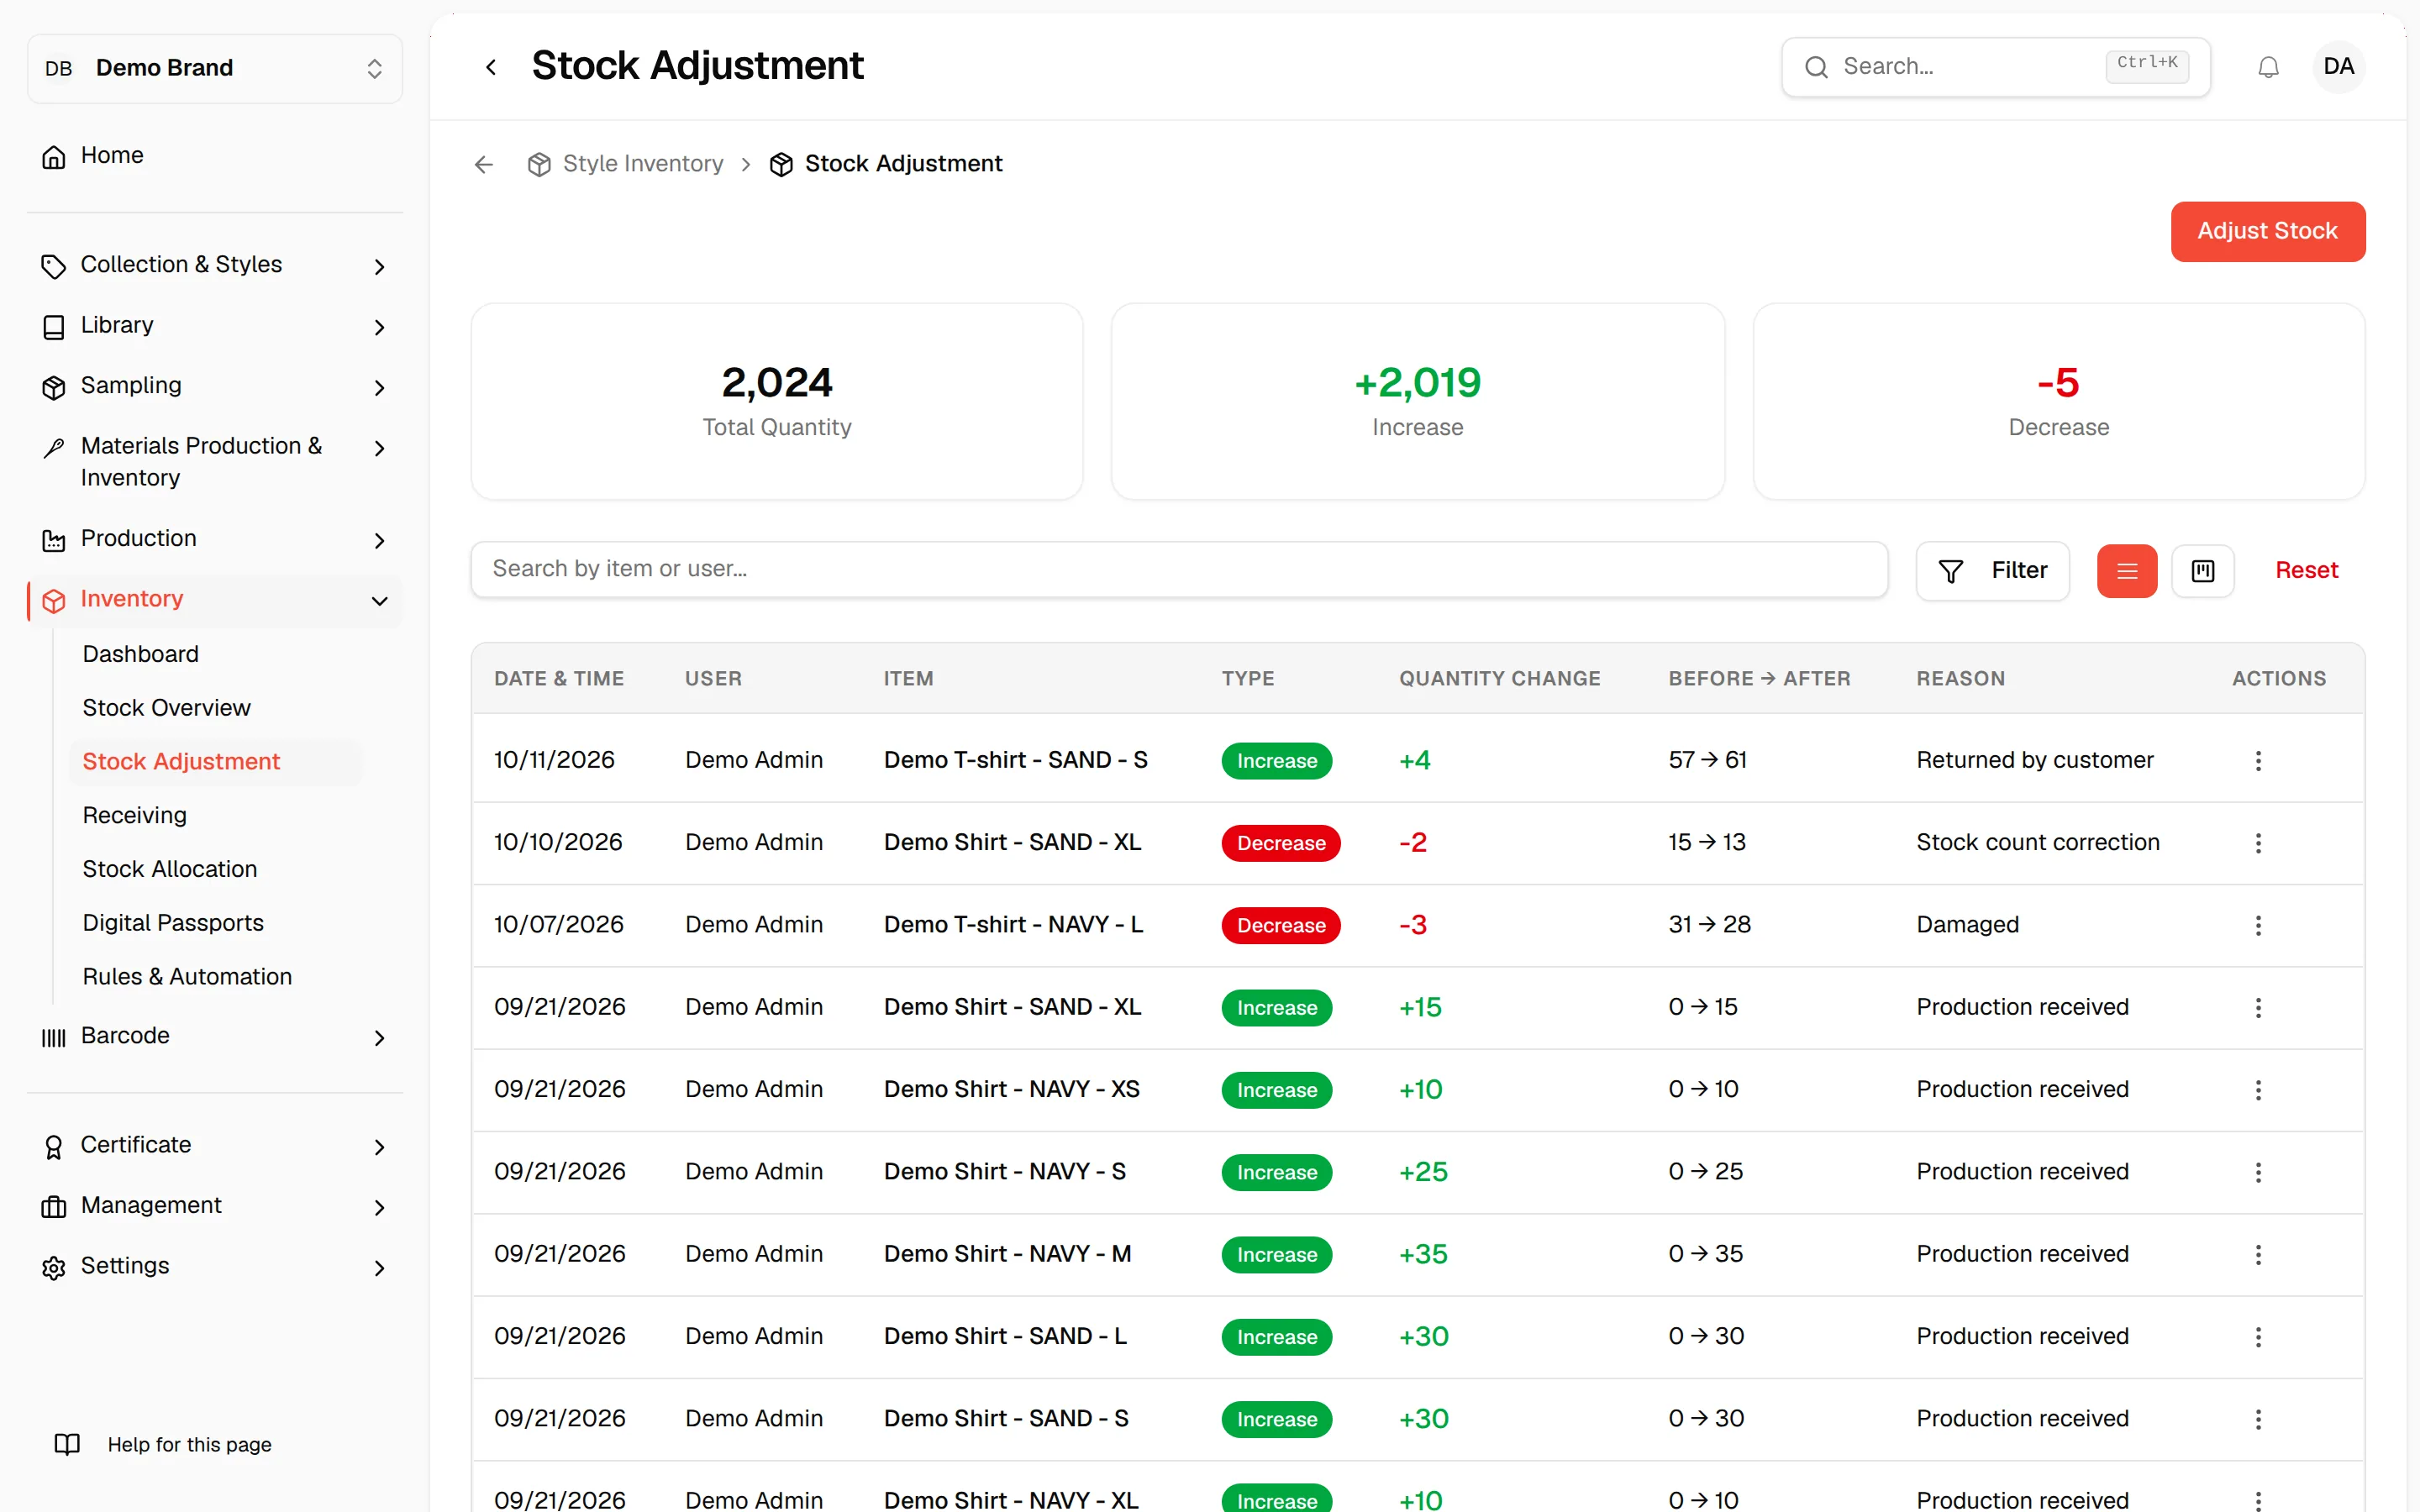
Three cards at the top show Total Quantity, Increase and Decrease across all adjustments.
The list has these columns: Date & Time, User, Item, Type, Quantity Change, Before → After, Reason and Actions. The Type shows Increase or Decrease, and the quantity change is shown with a + or a -.
- Search with Search by item or user....
- Click Filter options to show only Increase or only Decrease adjustments.
- Switch between the list view and the kanban view with the two view icons.
- Click Reset to clear the search and filters.
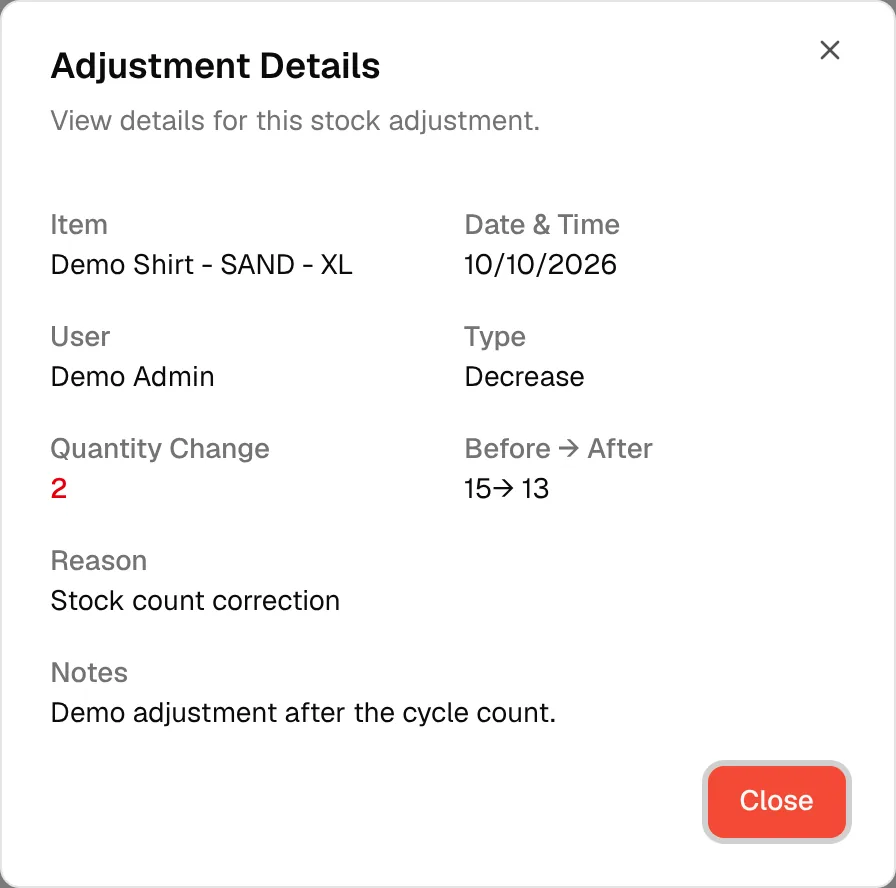
To see the full record, open the row's actions menu and click View Details. Adjustment Details shows the item, date and time, user, type, quantity change, reason and notes.
If nothing has been adjusted yet, the page shows No Inventory Found.
Create a stock adjustment
Important
Adjust Stock only appears if your role includes permission to update style inventory.
Click "Adjust Stock"
Click Adjust Stock at the top right of the page.
Find the product
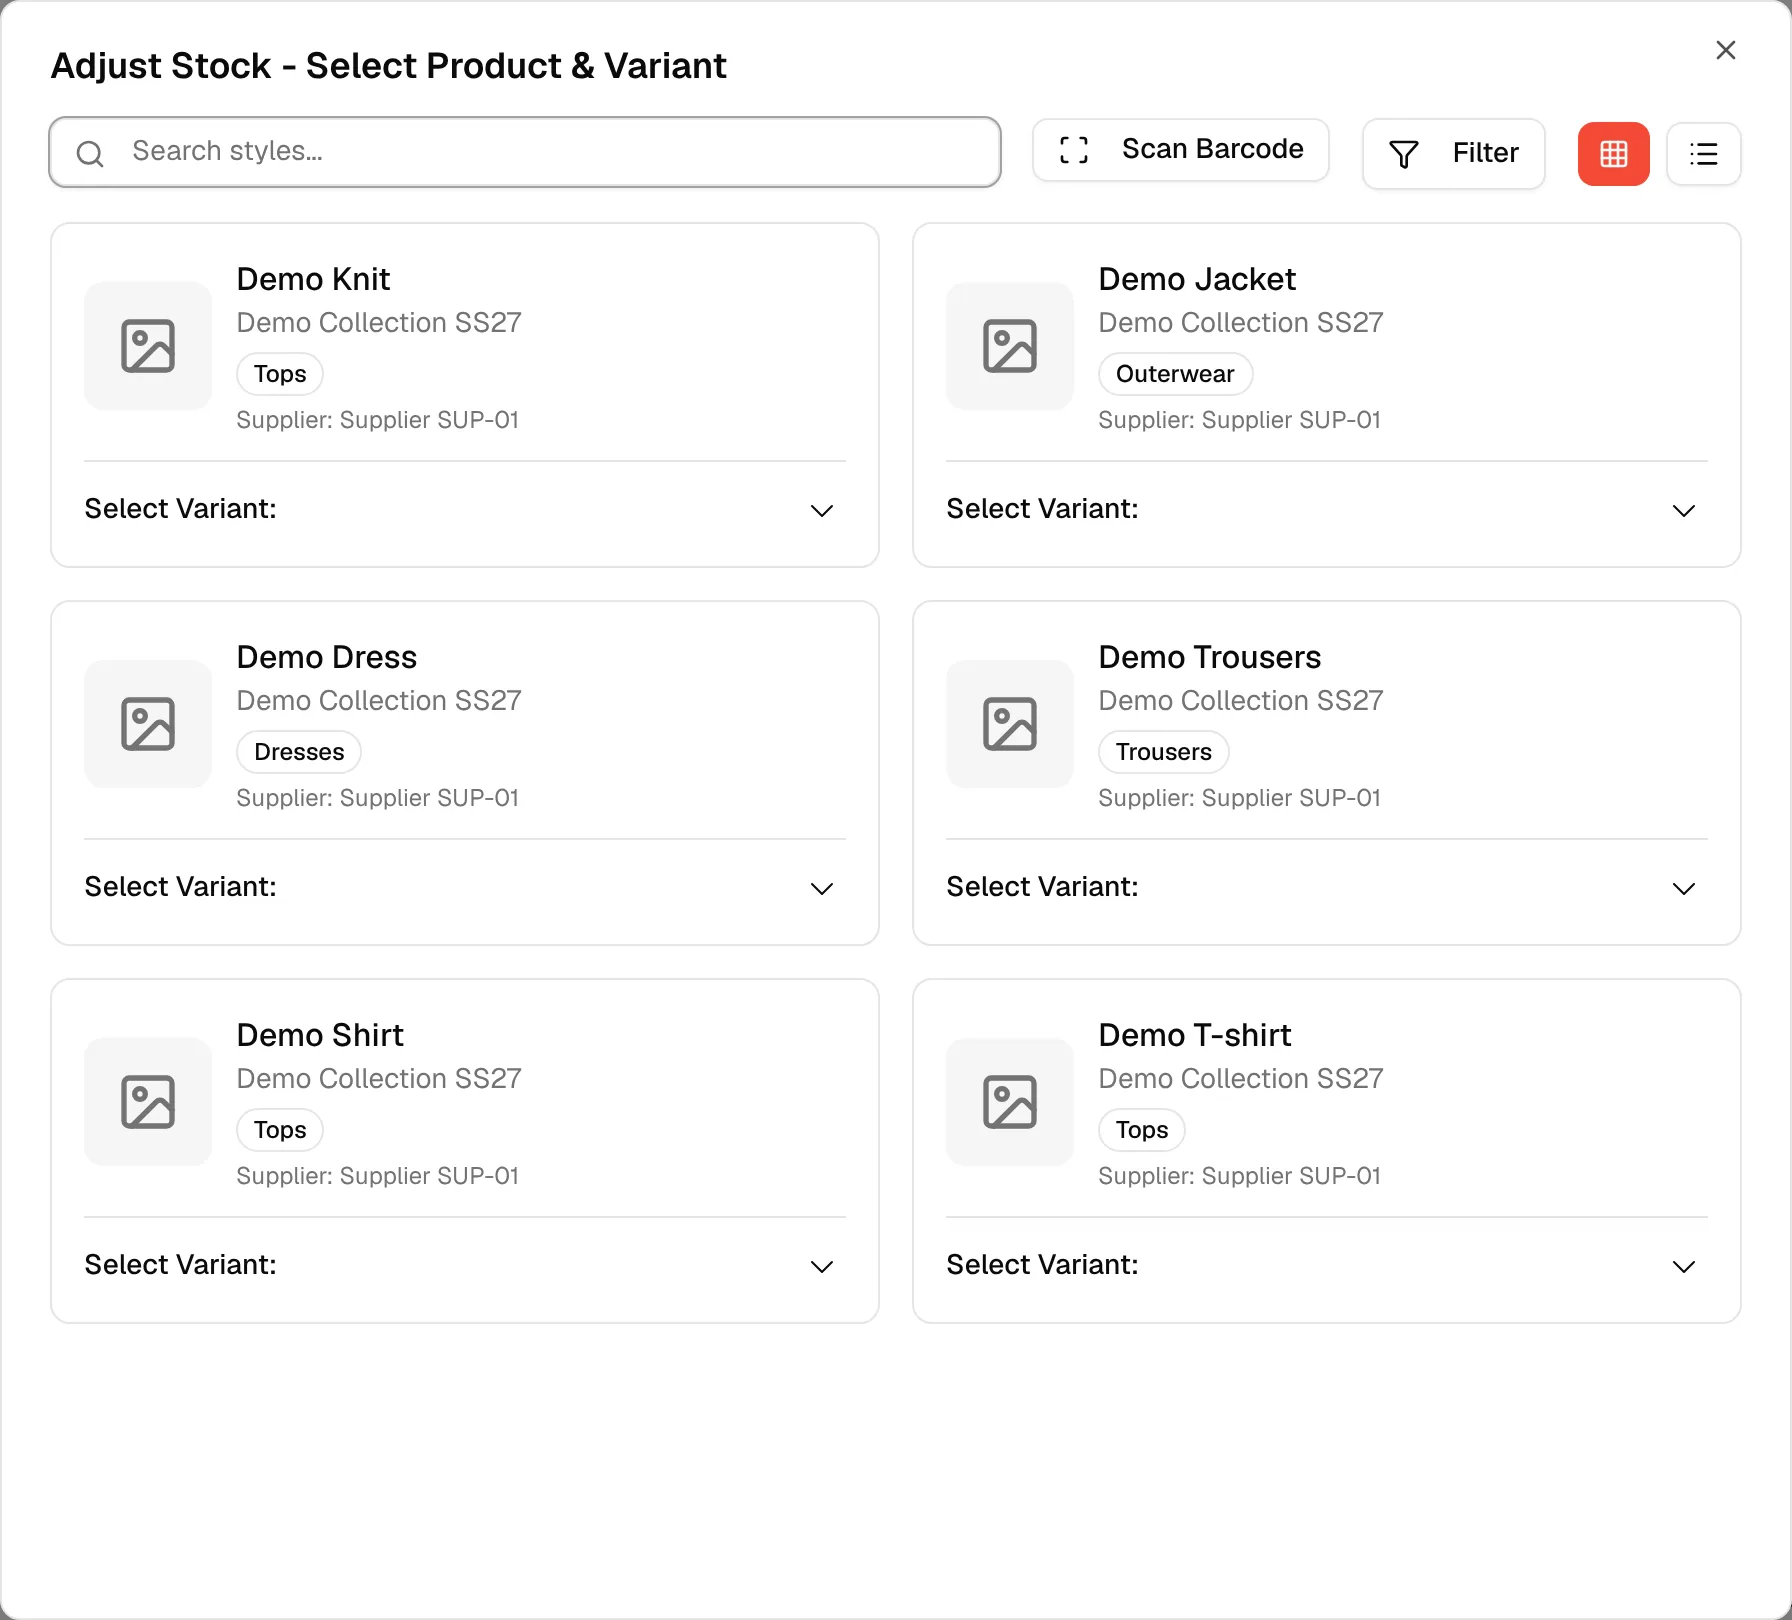
In Adjust Stock - Select Product & Variant, search with Search styles..., or click Scan Barcode to find the style by its barcode. You can also narrow the list by collection, category or supplier, and switch between the grid and table views.
Select the variant
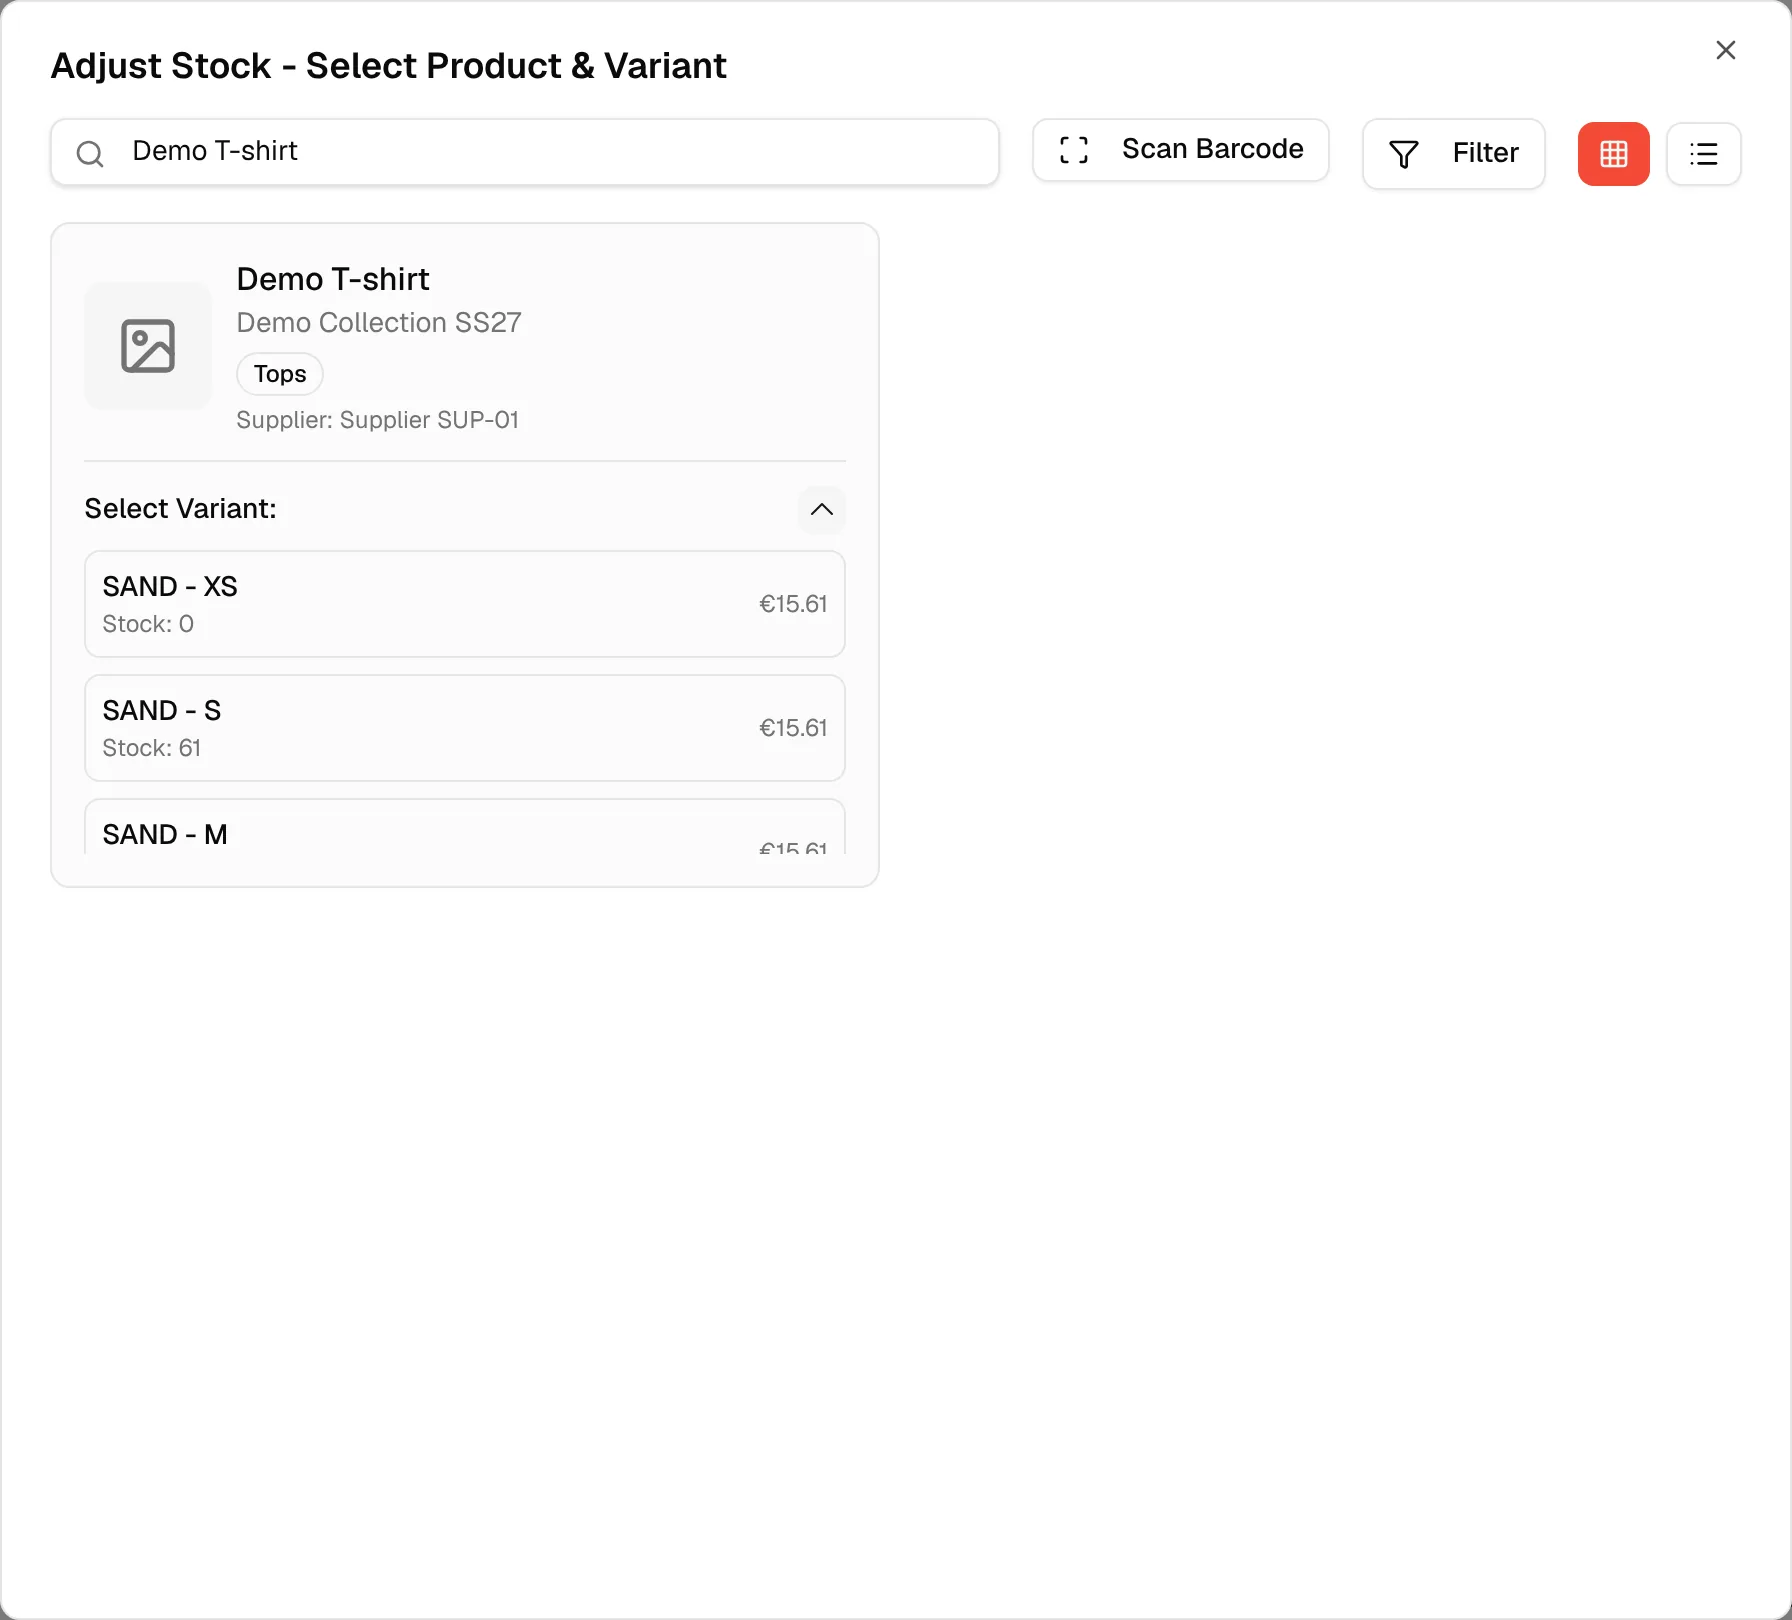
Expand the style, then click the colour and size you want to adjust. Each variant shows its current stock.
Select the adjustment type
In Adjustment Type, select Increase Stock or Decrease Stock.
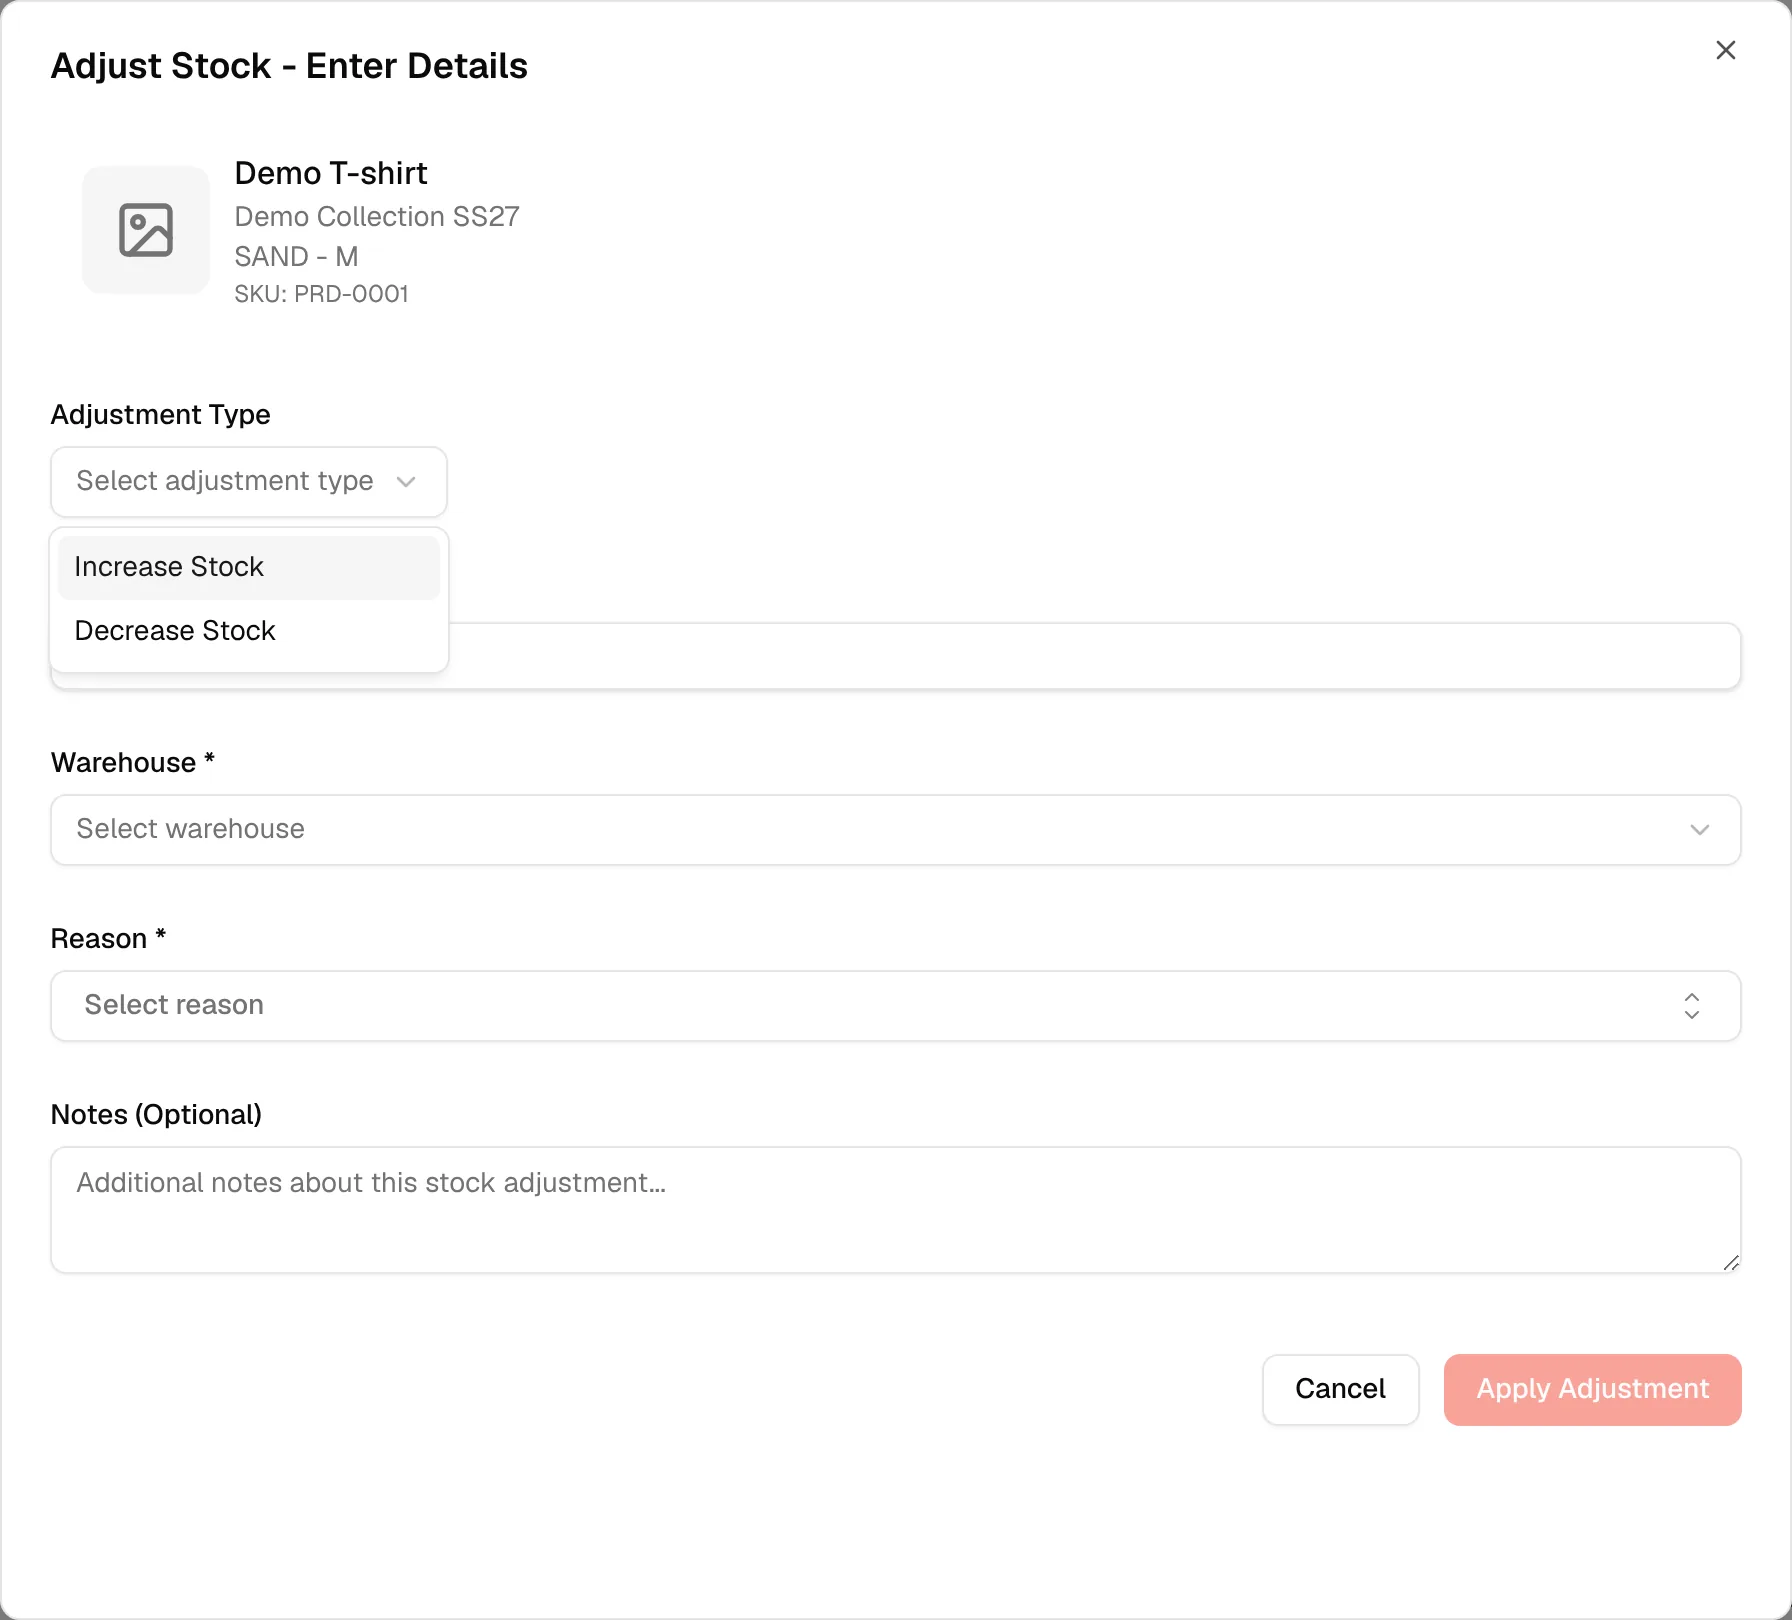
Enter the quantity
In Adjustment Quantity, type the number of units to add or remove. Whole numbers only.
Select the warehouse
In Warehouse *, select the warehouse the stock is in.
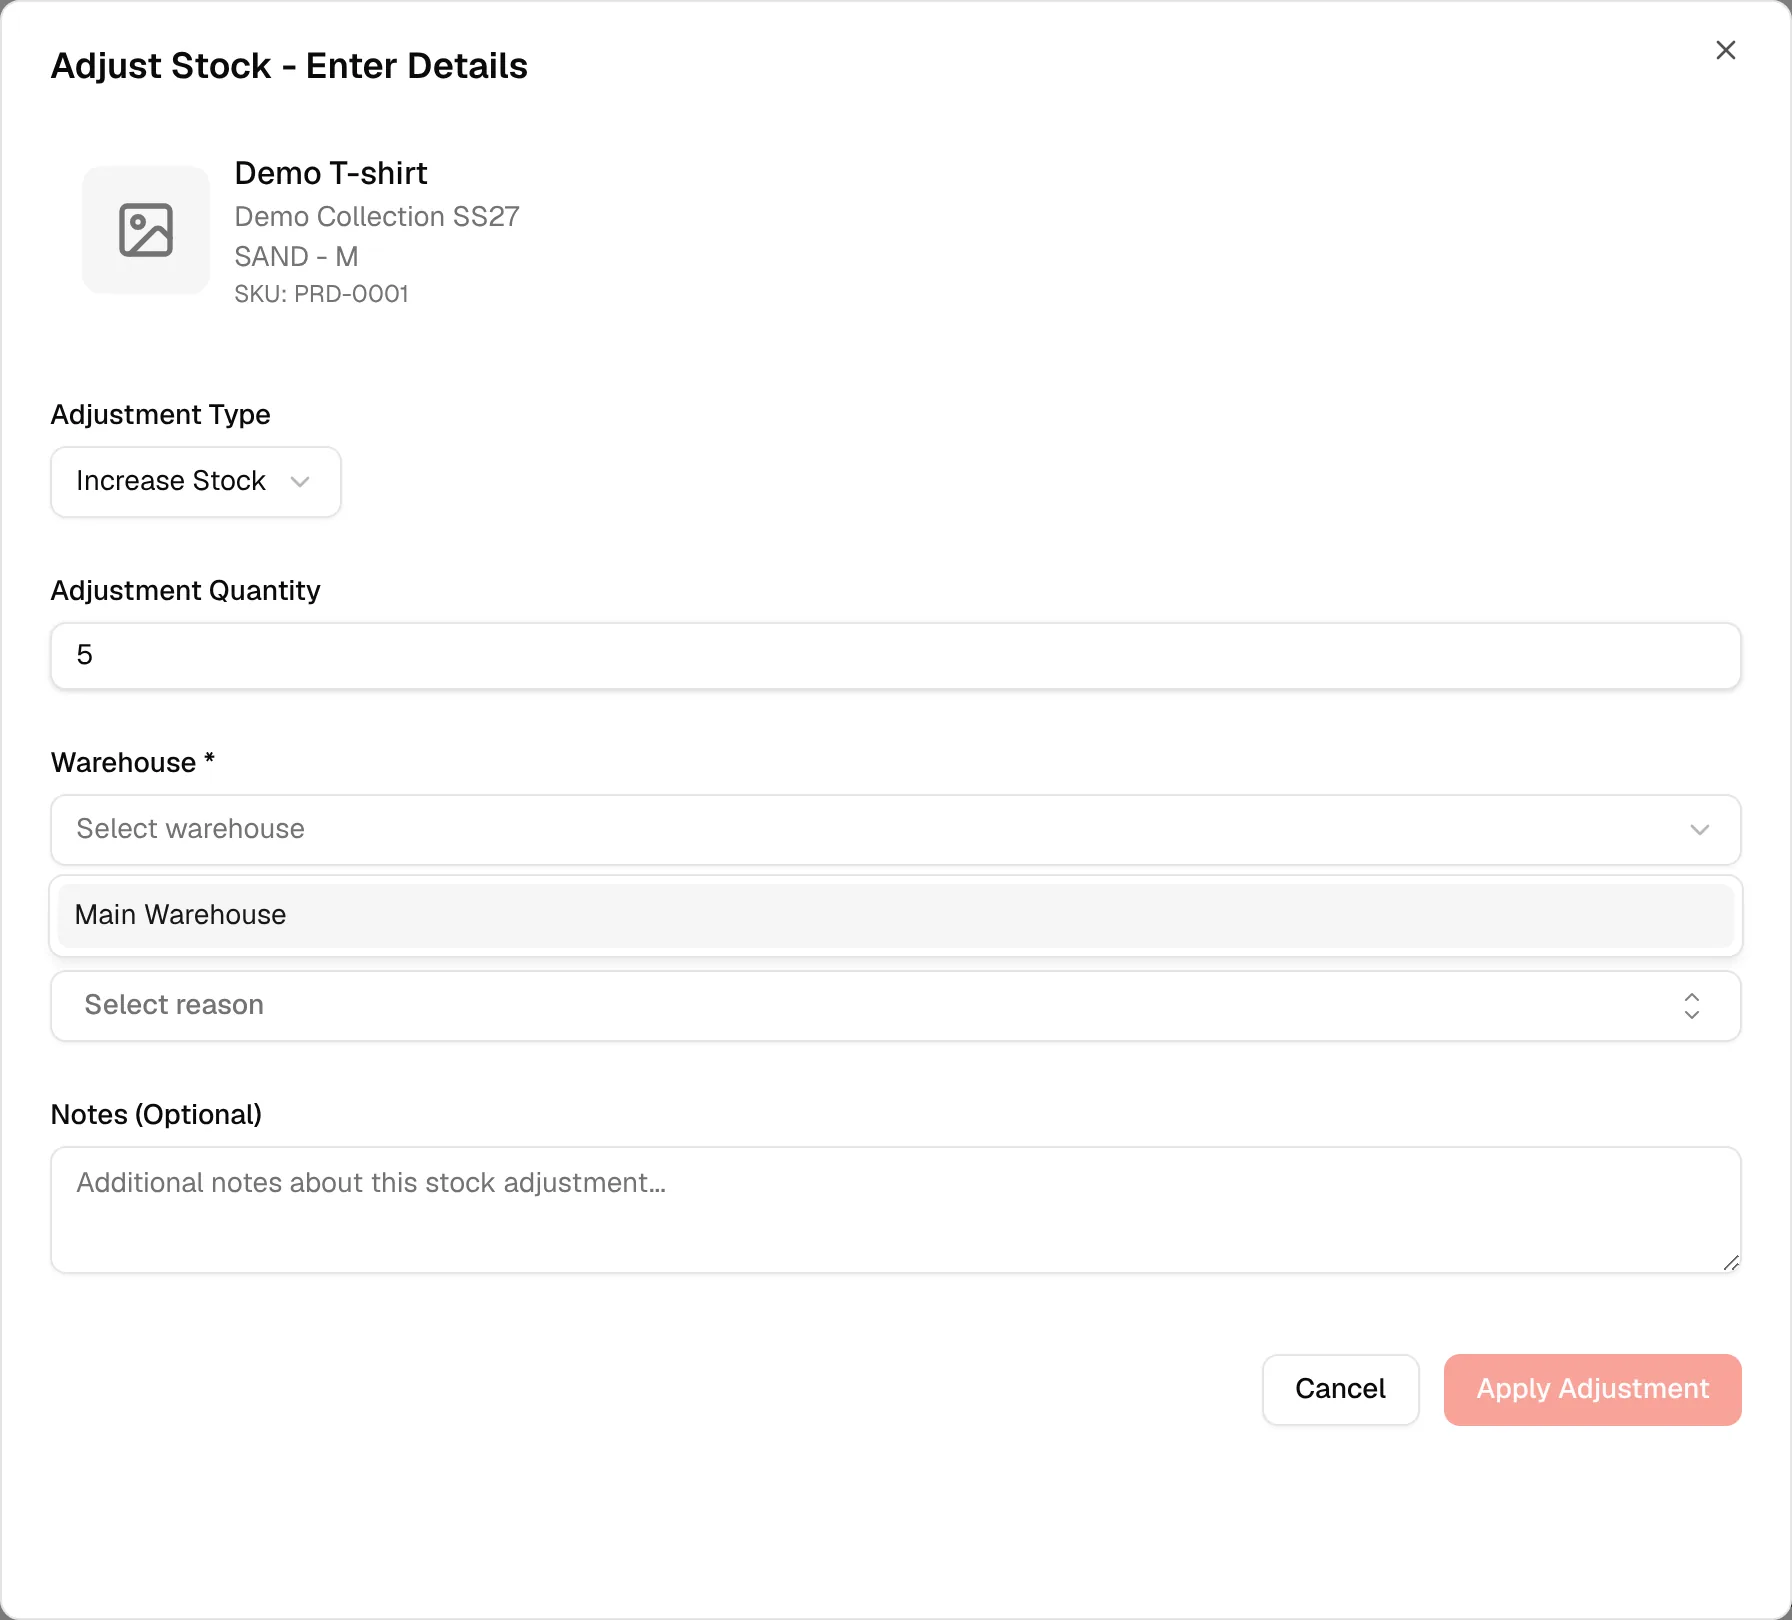
Select the reason
In Reason *, select a reason, or type a new one and create it.
Tip
You can rename the selected reason, or delete another reason, from the options in the reason list.
Add a note (optional)
In Notes (Optional), add any extra information about the adjustment.
Review the result
Current Stock Information shows the Available quantity and the Stock After Adjustment before you apply anything.
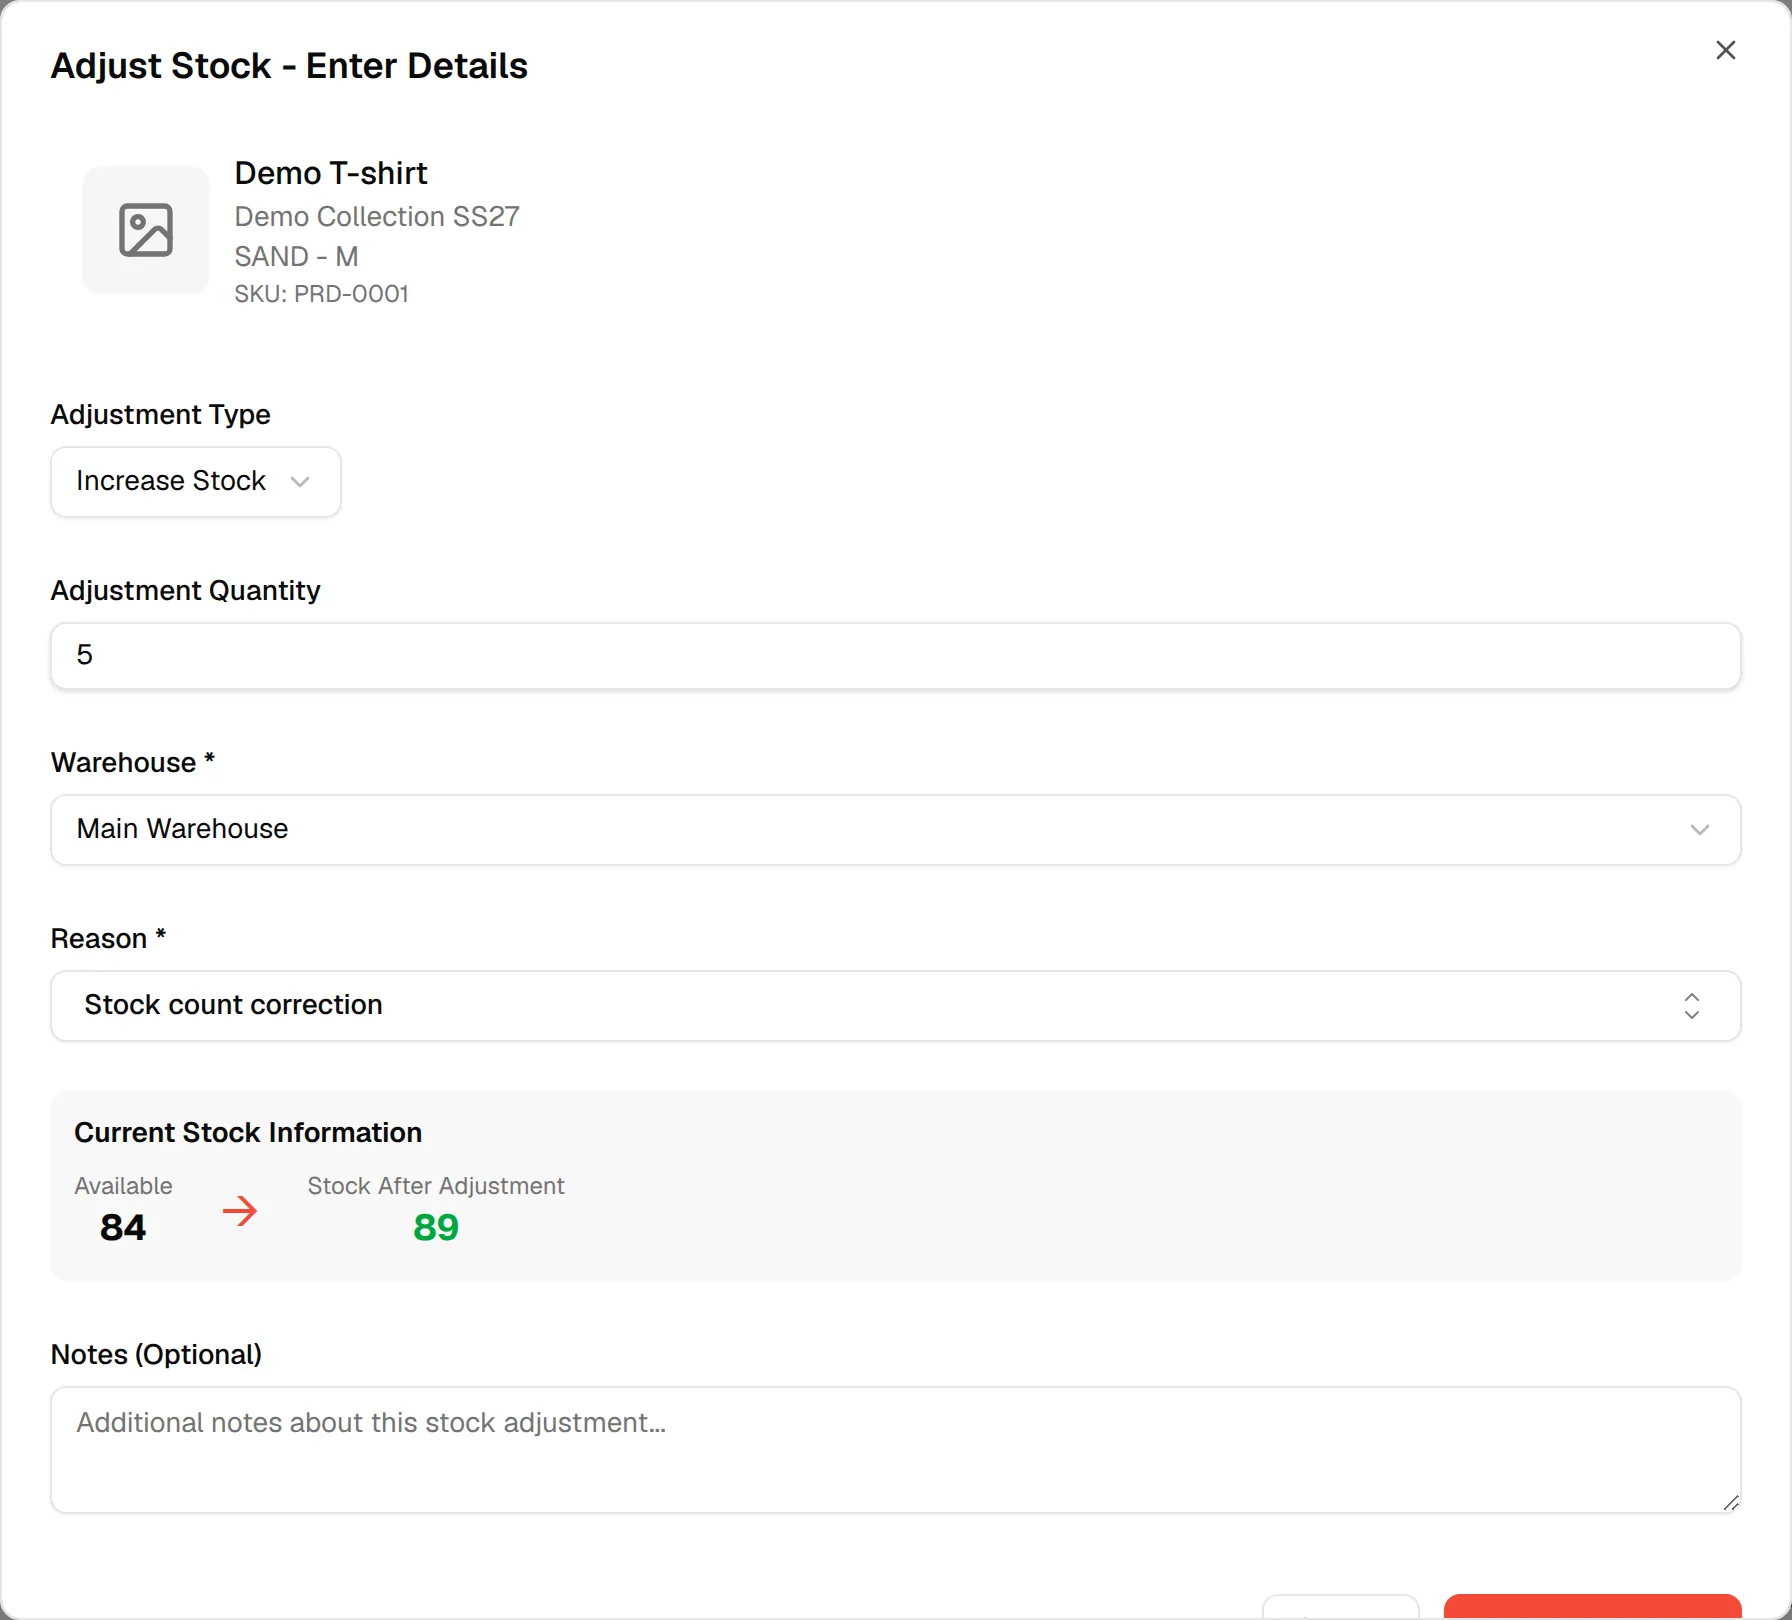
Click "Apply Adjustment"
Click Apply Adjustment to save. The button stays disabled until the type, quantity, warehouse and reason are filled in. Click Cancel to close without saving.
You are taken to the Stock Adjustment list, where the new adjustment appears at the top. This ensures all inventory changes are tracked clearly for accuracy and auditing.
Note
You can also open the same form from Adjust Stock on the dashboard, on an alert, or on a row of the Stock Overview. From an alert or a row, the product is already selected and you start at the details step.