
Notification settings
This article provides an overview of all the functionalities available under Notification Settings, which you can access via your user name in the upper-right corner of your Vestis Labs…
Under review. This page is published while we check it against the live app, so some details may have changed.
Screenshots may be out of date.
This article provides an overview of all the functionalities available under Notification Settings, which you can access from Settings in the left bar menu of your Vestis Labs workspace.
Introduction & best practice
In Vestis Labs, your Notification Settings allow you to customise how you receive updates related to your tasks, product orders, approvals, and other key activities. From here, you can choose which notifications you want to receive by email or in-app, ensuring you stay informed on important changes without unnecessary interruptions. Your in-app notifications can be found under the bell symbol in the top right corner of the Vestis Labs platform.
SettingsNotifications
Permission: VIEW_NOTIFICATION
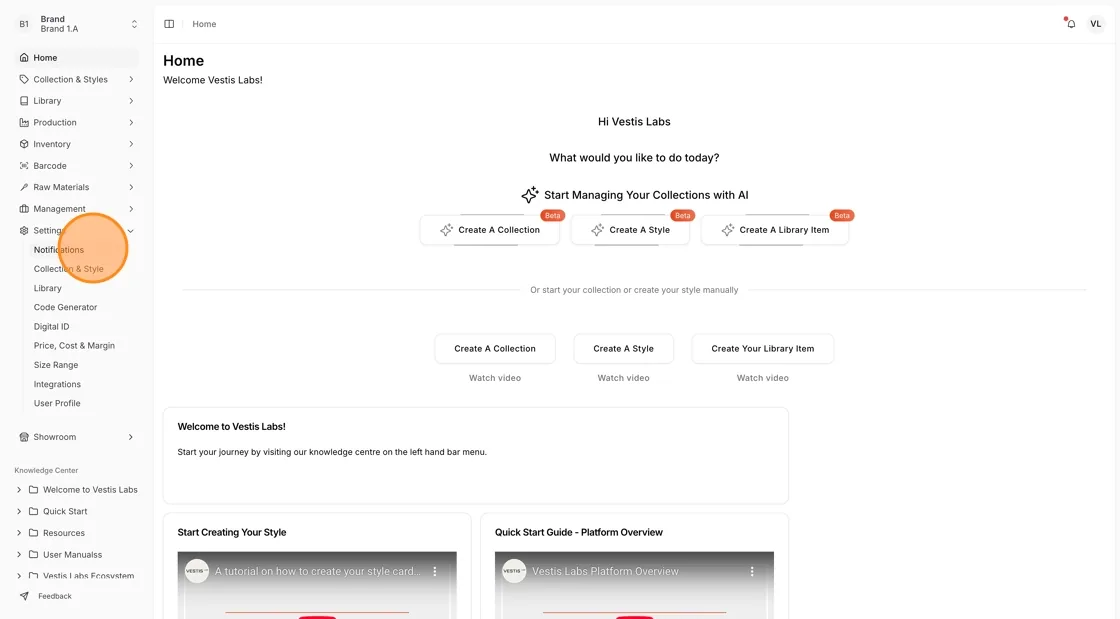
To set your notification preference, select Settings > Notifications in the left bar menu. The settings apply to your own user.
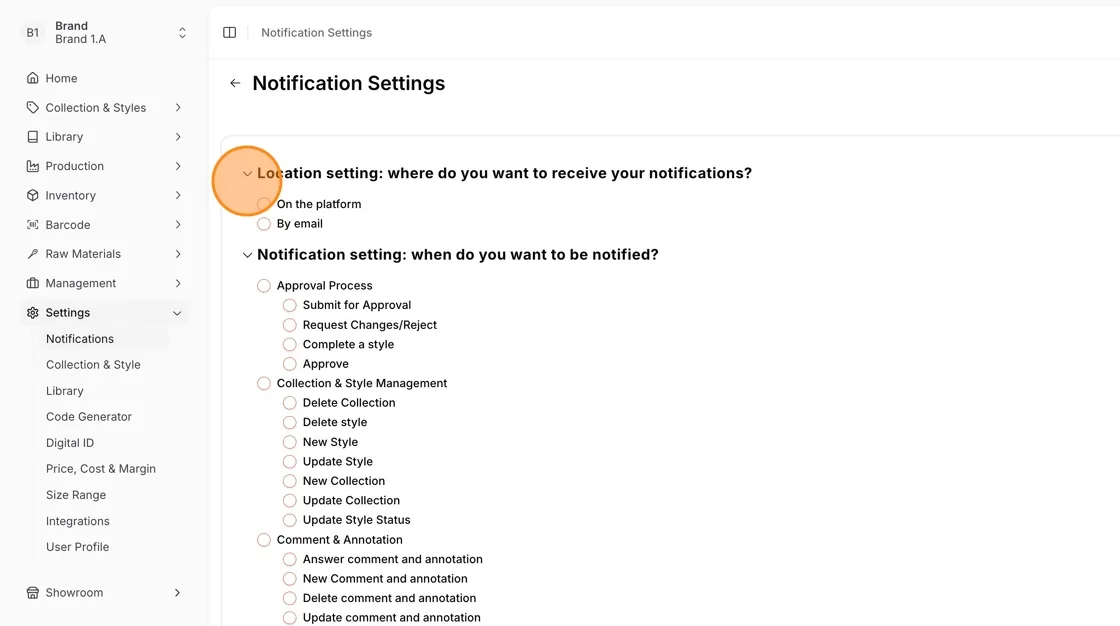
Every notification can be received in two places. Each one has its own toggle:
- Platform: the notification can only be seen on the platform, by clicking on the bell symbol in the top right corner.
- Email: the notification is sent to the email address registered for your user.
Changes are saved as soon as you click a toggle.
Certificate expiry notifications
The Certificate Expiry Notifications card lets you choose how you are notified when certificates are expiring soon or have expired. It has two rows, Expiring Soon ("Notify when a certificate first becomes Expiring Soon.") and Expired ("Notify when a certificate first becomes Expired."), each with a Platform and an Email toggle. After a change the page shows "Certificate expiry notification preference updated."
Notification categories
The Notification Categories card ("Select which types of notifications you want to receive") groups notifications by topic. The groups are Approval Process, Collection & Style Management, Comment & Annotation, File Management and the other groups shown for your brand.
- Turn a group's switch on to receive its notifications. A badge such as 2/5 shows how many notifications in the group are enabled. Turning the group on switches on both Platform and Email for all of its notifications; turning it off switches them all off.
- With the group on, use the Platform and Email switches next to each notification to fine-tune it.
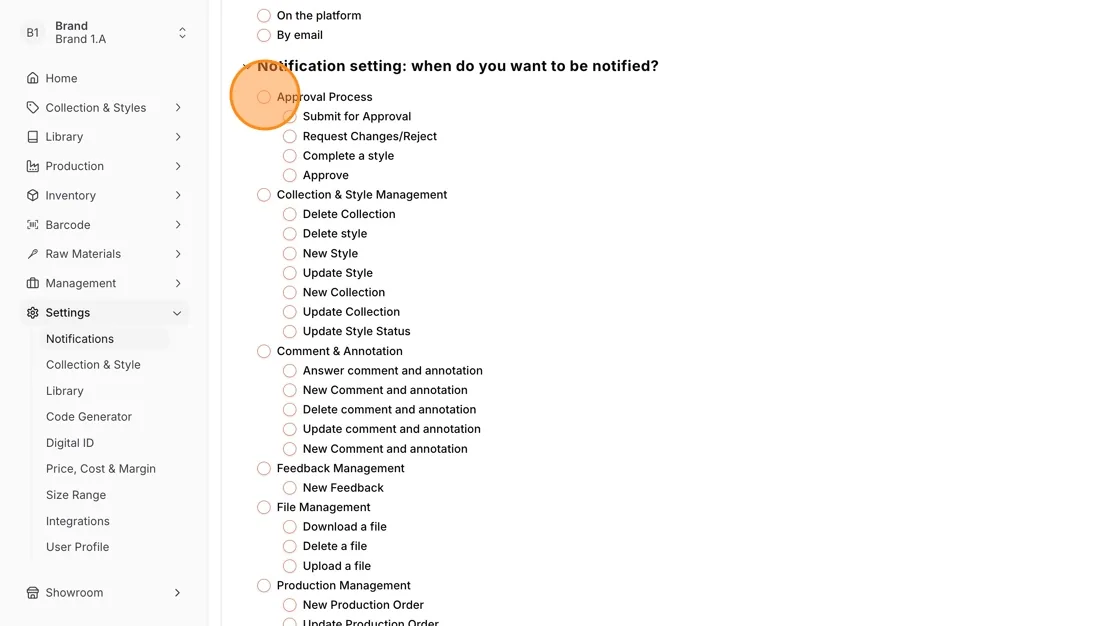
To avoid receiving too many notifications, Users might want to choose to receive only notifications for relevant actions. We recommend at the minimum that you receive notifications for any action under "Approval Process" and "Comment & Annotation".