Tier icon settings
This article outlines best practices for setting up and using tier icons in Vestis Labs to support clear visual communication and streamlined identification of tier levels across your…
Under review. This page is published while we check it against the live app, so some details may have changed.
Screenshots may be out of date.
Tier icon – admin setup
This article outlines best practices for setting up and using tier icons in Vestis Labs to support clear visual communication and streamlined identification of tier levels across your product development workflows.
Introduction & best practice
Tier icons in Vestis Labs allow you to visually represent different tiers—such as supplier tiers, material quality levels, cost tiers, or internal priority levels—ensuring clarity and consistency across your libraries and workflows. By assigning tier icons to relevant items, you create an intuitive visual system that helps teams quickly interpret tier classifications when reviewing materials, products, or supplier information.
While tier icons are optional, using them is highly recommended to maintain a clear and easily recognisable tiering structure as your product, supplier, and material libraries expand. Well-defined tier icons in Admin enhance visibility, improve cross-team understanding, and support a more efficient and aligned decision-making process across sourcing, development, and production teams.
SettingsLibraryTier Icons
Permission: VIEW_STYLE,VIEW_PRODUCT,UPDATE_TIER_ICON
Step-by-step guide
Create new tier icon
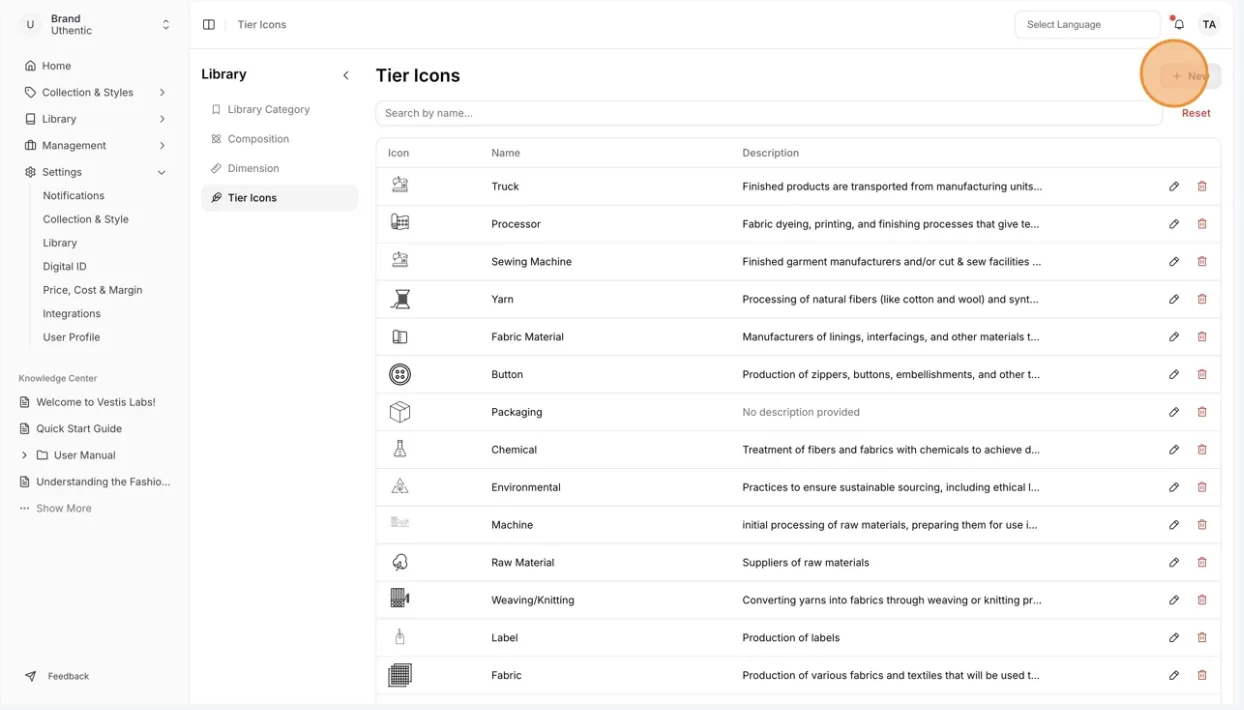
Navigate to Settings > Library from the left bar menu. Select Tier Icons.
- Click the '+ New' button - a tier icons Page will show up.
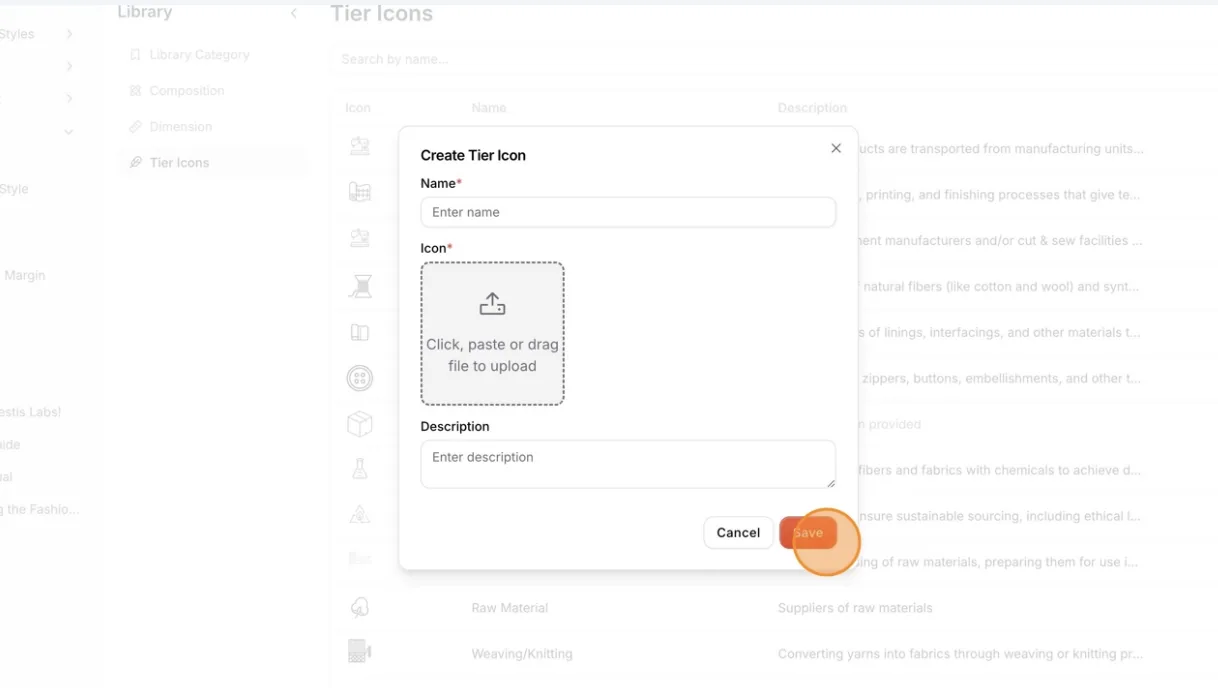
- Name - mandatory. Enter the tier icon name.
- Icon - click Upload Icon and choose the image that represents the tier (JPG, PNG or WebP, up to 3 MB). The button changes to Change Icon once an image is chosen. An icon is required when you create a tier icon.
- Description - optional additional information related to the tier icon.
- Click Create to finish
Edit tier icons
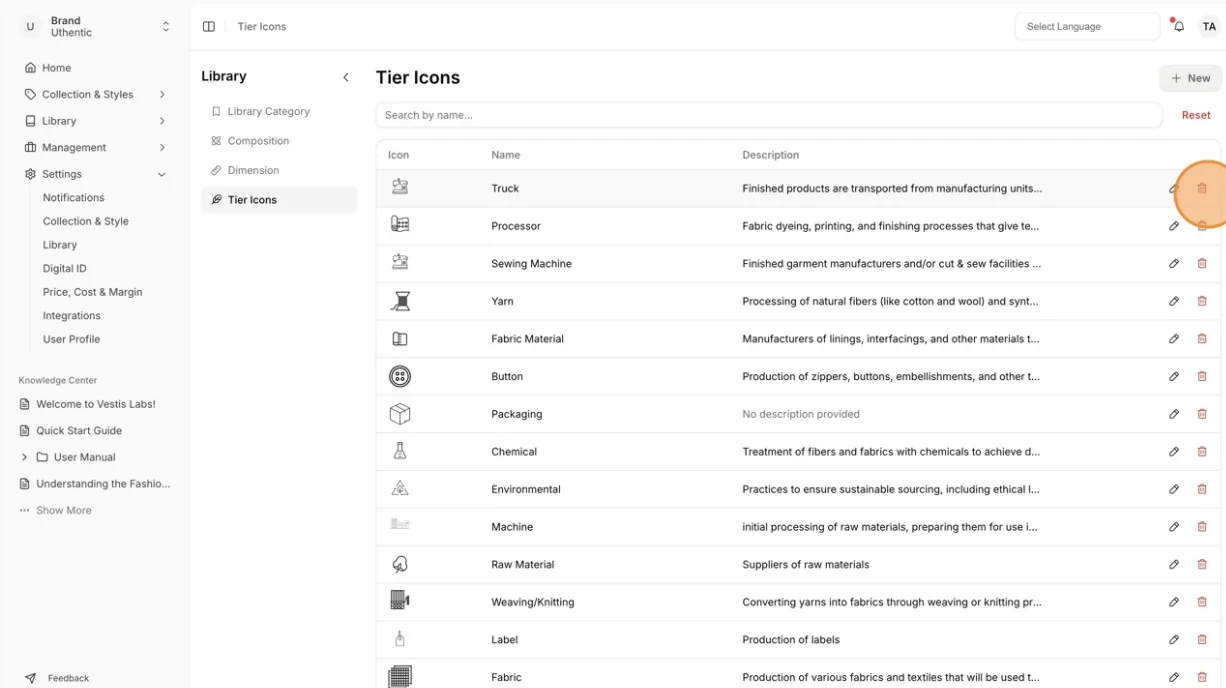
The created Tier Icons will be displayed and can be managed on the Tier Icons Page. This page stores all information related to the tier icons configured in the Tier Icons section within Admin Settings.
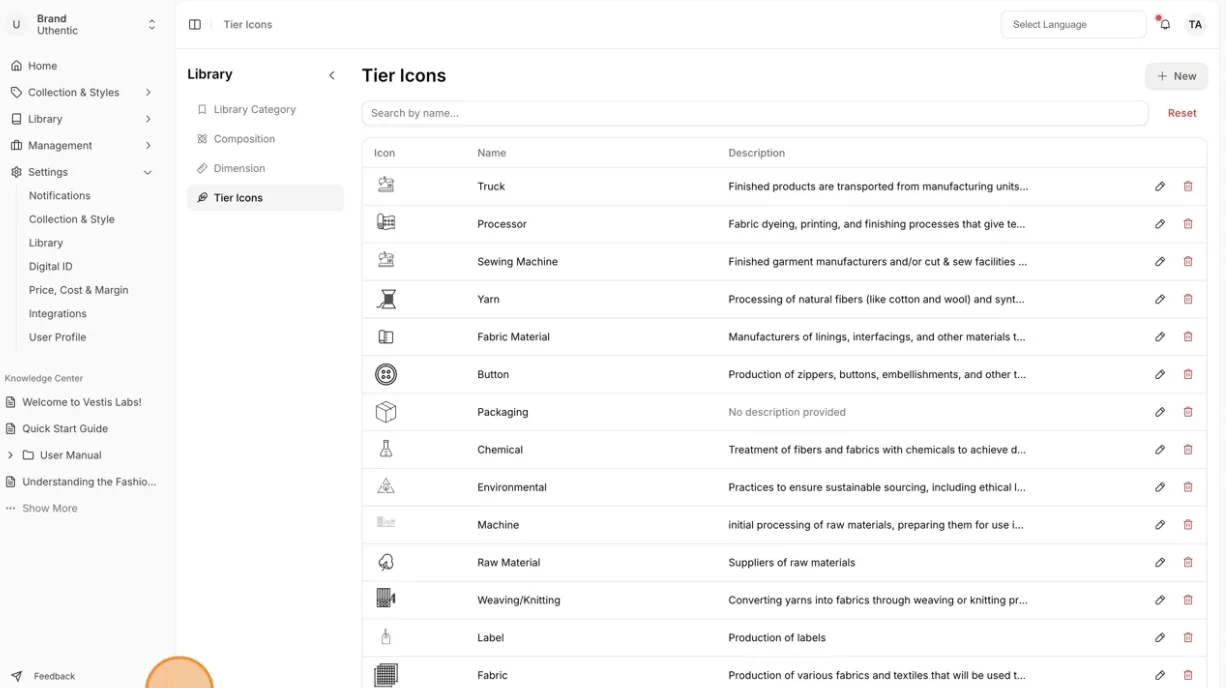
- To change the Tier Icons - Click on the 'pen' icon on its row. The Edit Tier Icon page opens
- Change the Name, Icon or Description
- Click Update to finish
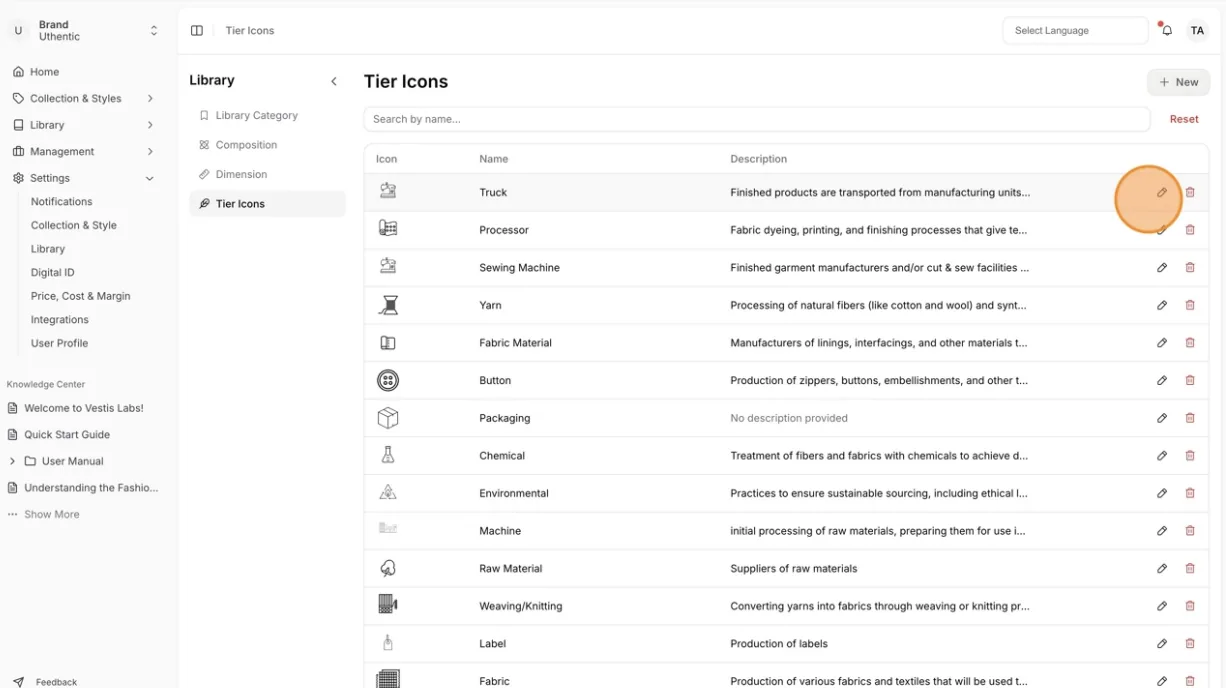
- Select the trash icon and confirm in the Delete Tier Icon window to remove the selected Tier Icons from Vestis Labs. This cannot be undone.
Note
The list shows the Icon, Name and Description of each tier icon. The New, edit and delete controls need the update tier icon permission.