
Style details
This section allows you to define and manage all key style information, including name, code, season, category, pricing, colours, and suppliers.
Under review. This page is published while we check it against the live app, so some details may have changed.
This section allows you to define and manage all key style information, including name, code, season, category, pricing, colours, and suppliers. You can add details gradually and update them as development progresses. All fields are connected to the wider platform, ensuring data remains structured, linked, and reusable across libraries and related features.
Collection & StylesStyles(select a style)Details
Permission: VIEW_STYLE,UPDATE_STYLE
Note
With only View style permission the Details tab is read-only: the fields and the Save button are not available.
Edit a style
Open the style
From Collection & Styles → Styles, select the style you want to edit. Alternatively, click the three-dot (⋯) action menu on the style and select Edit.
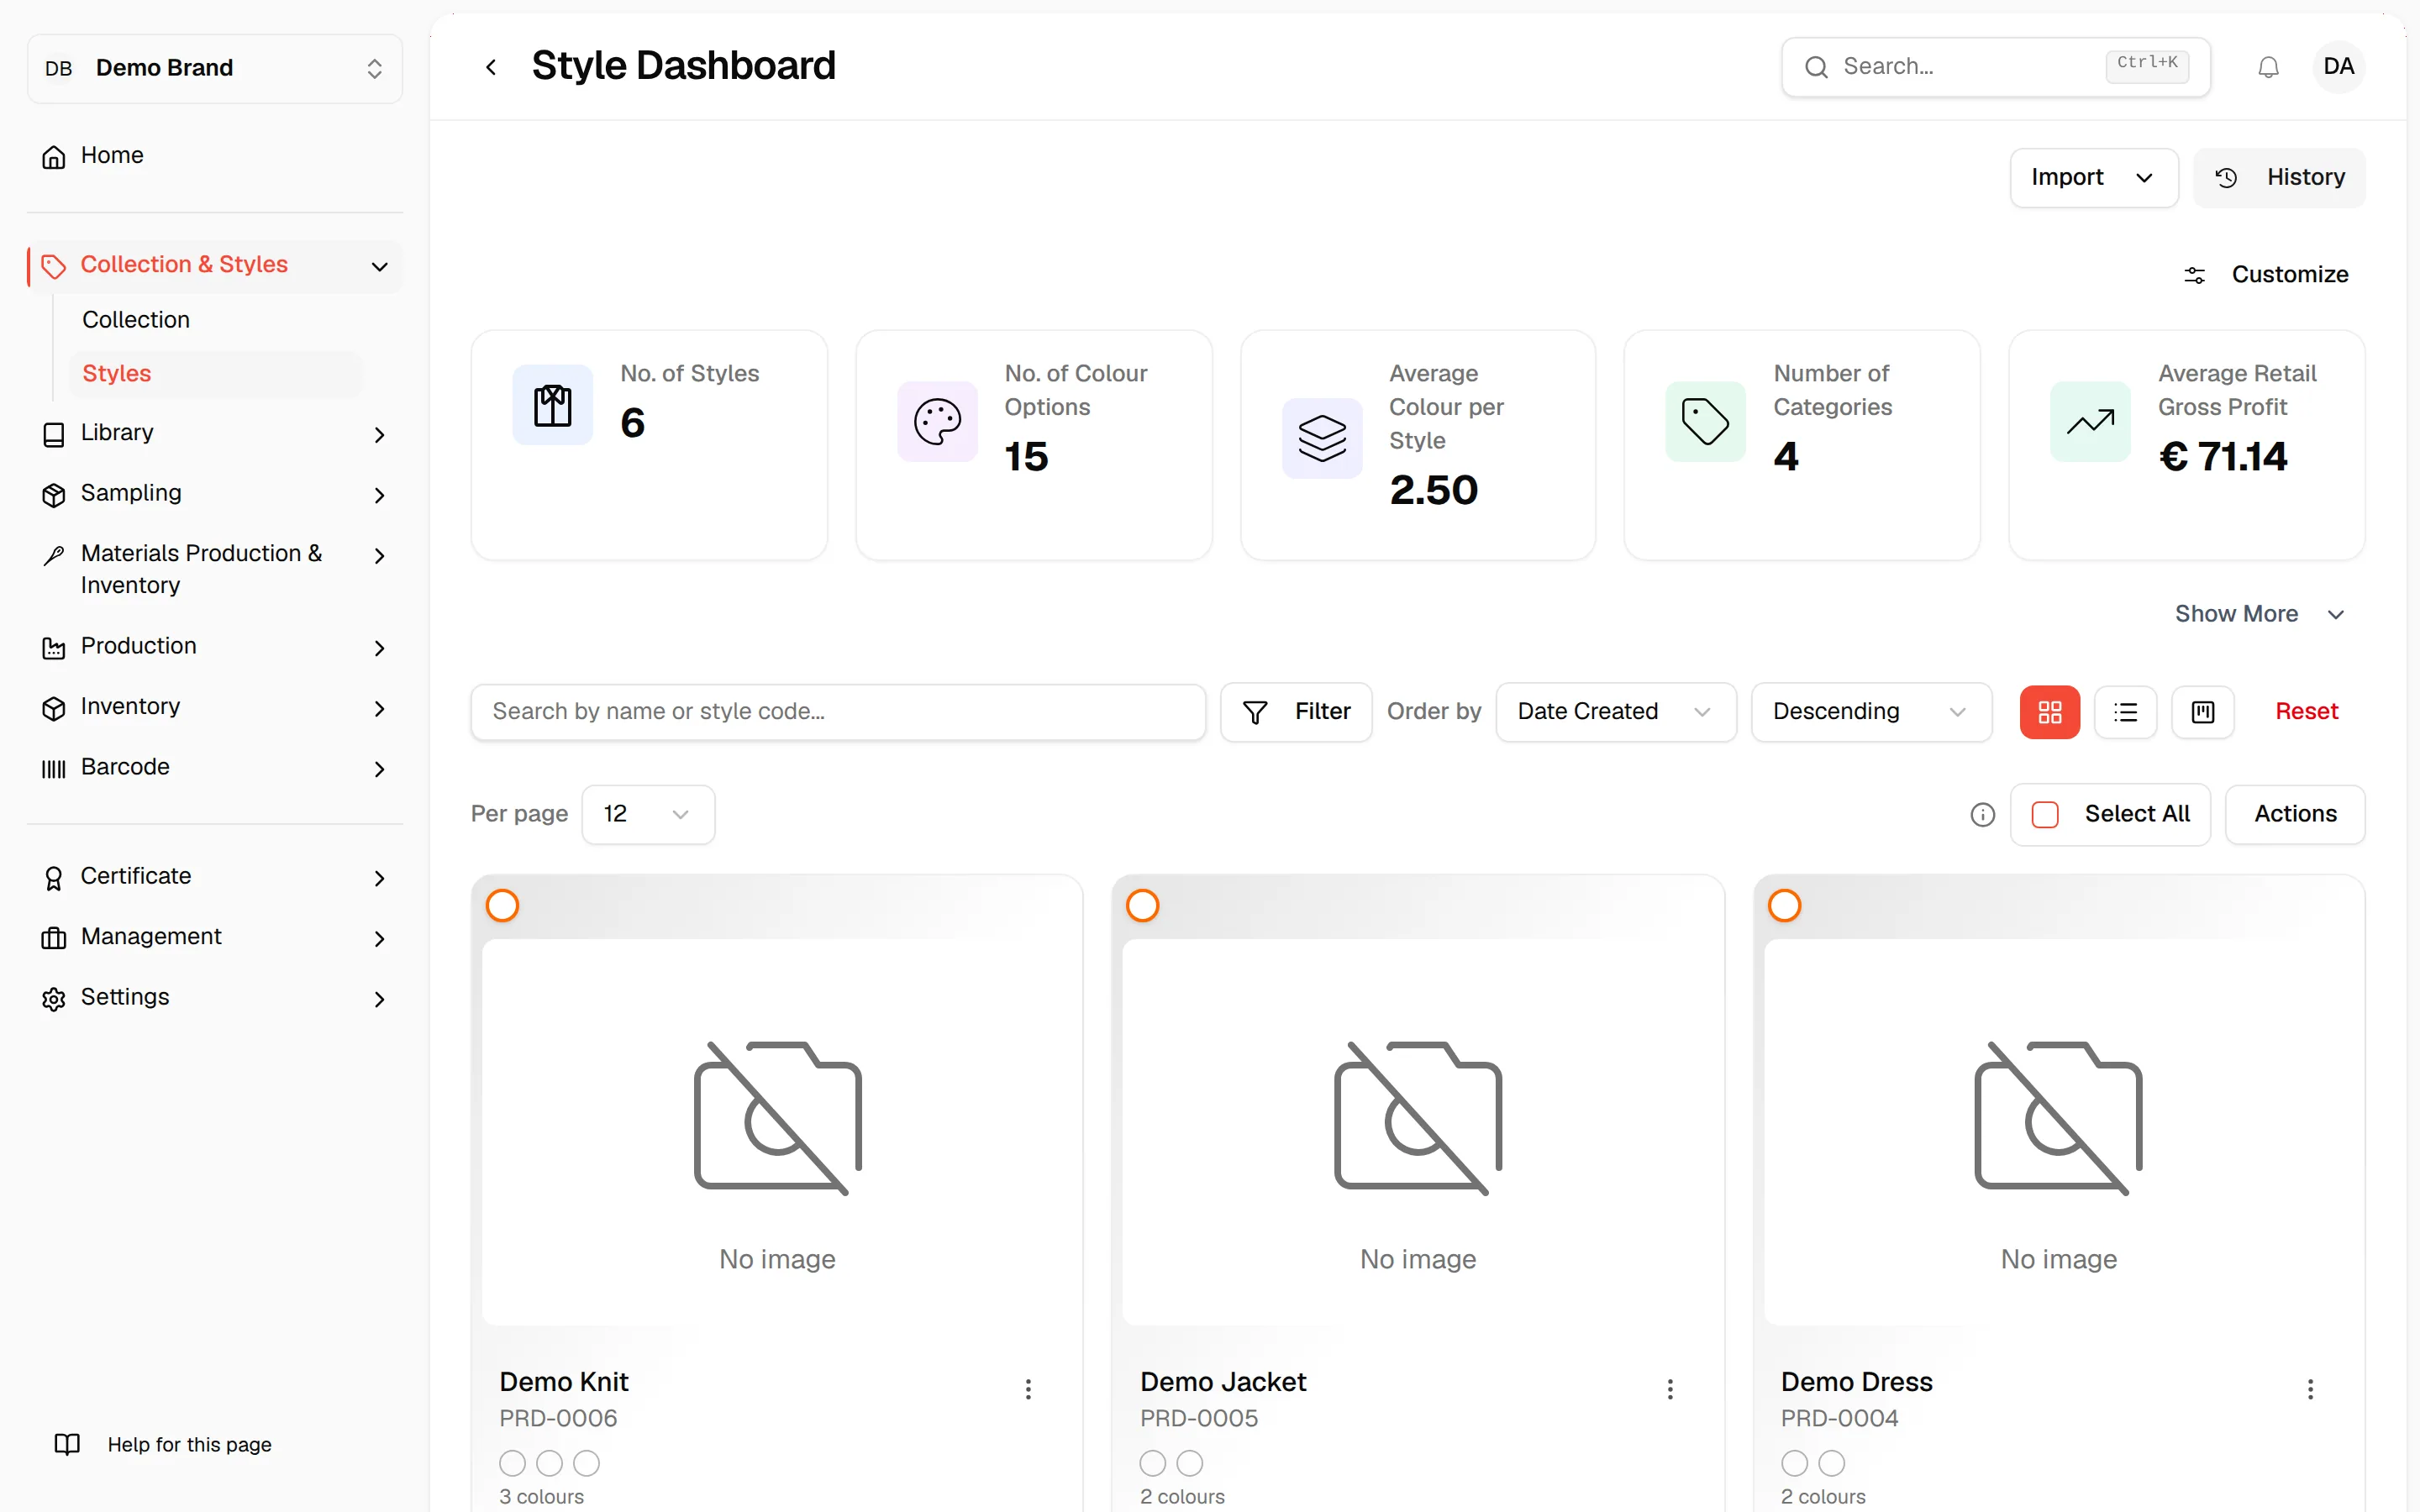
Open the Details tab
The Details tab is the first tab at the top of the style.
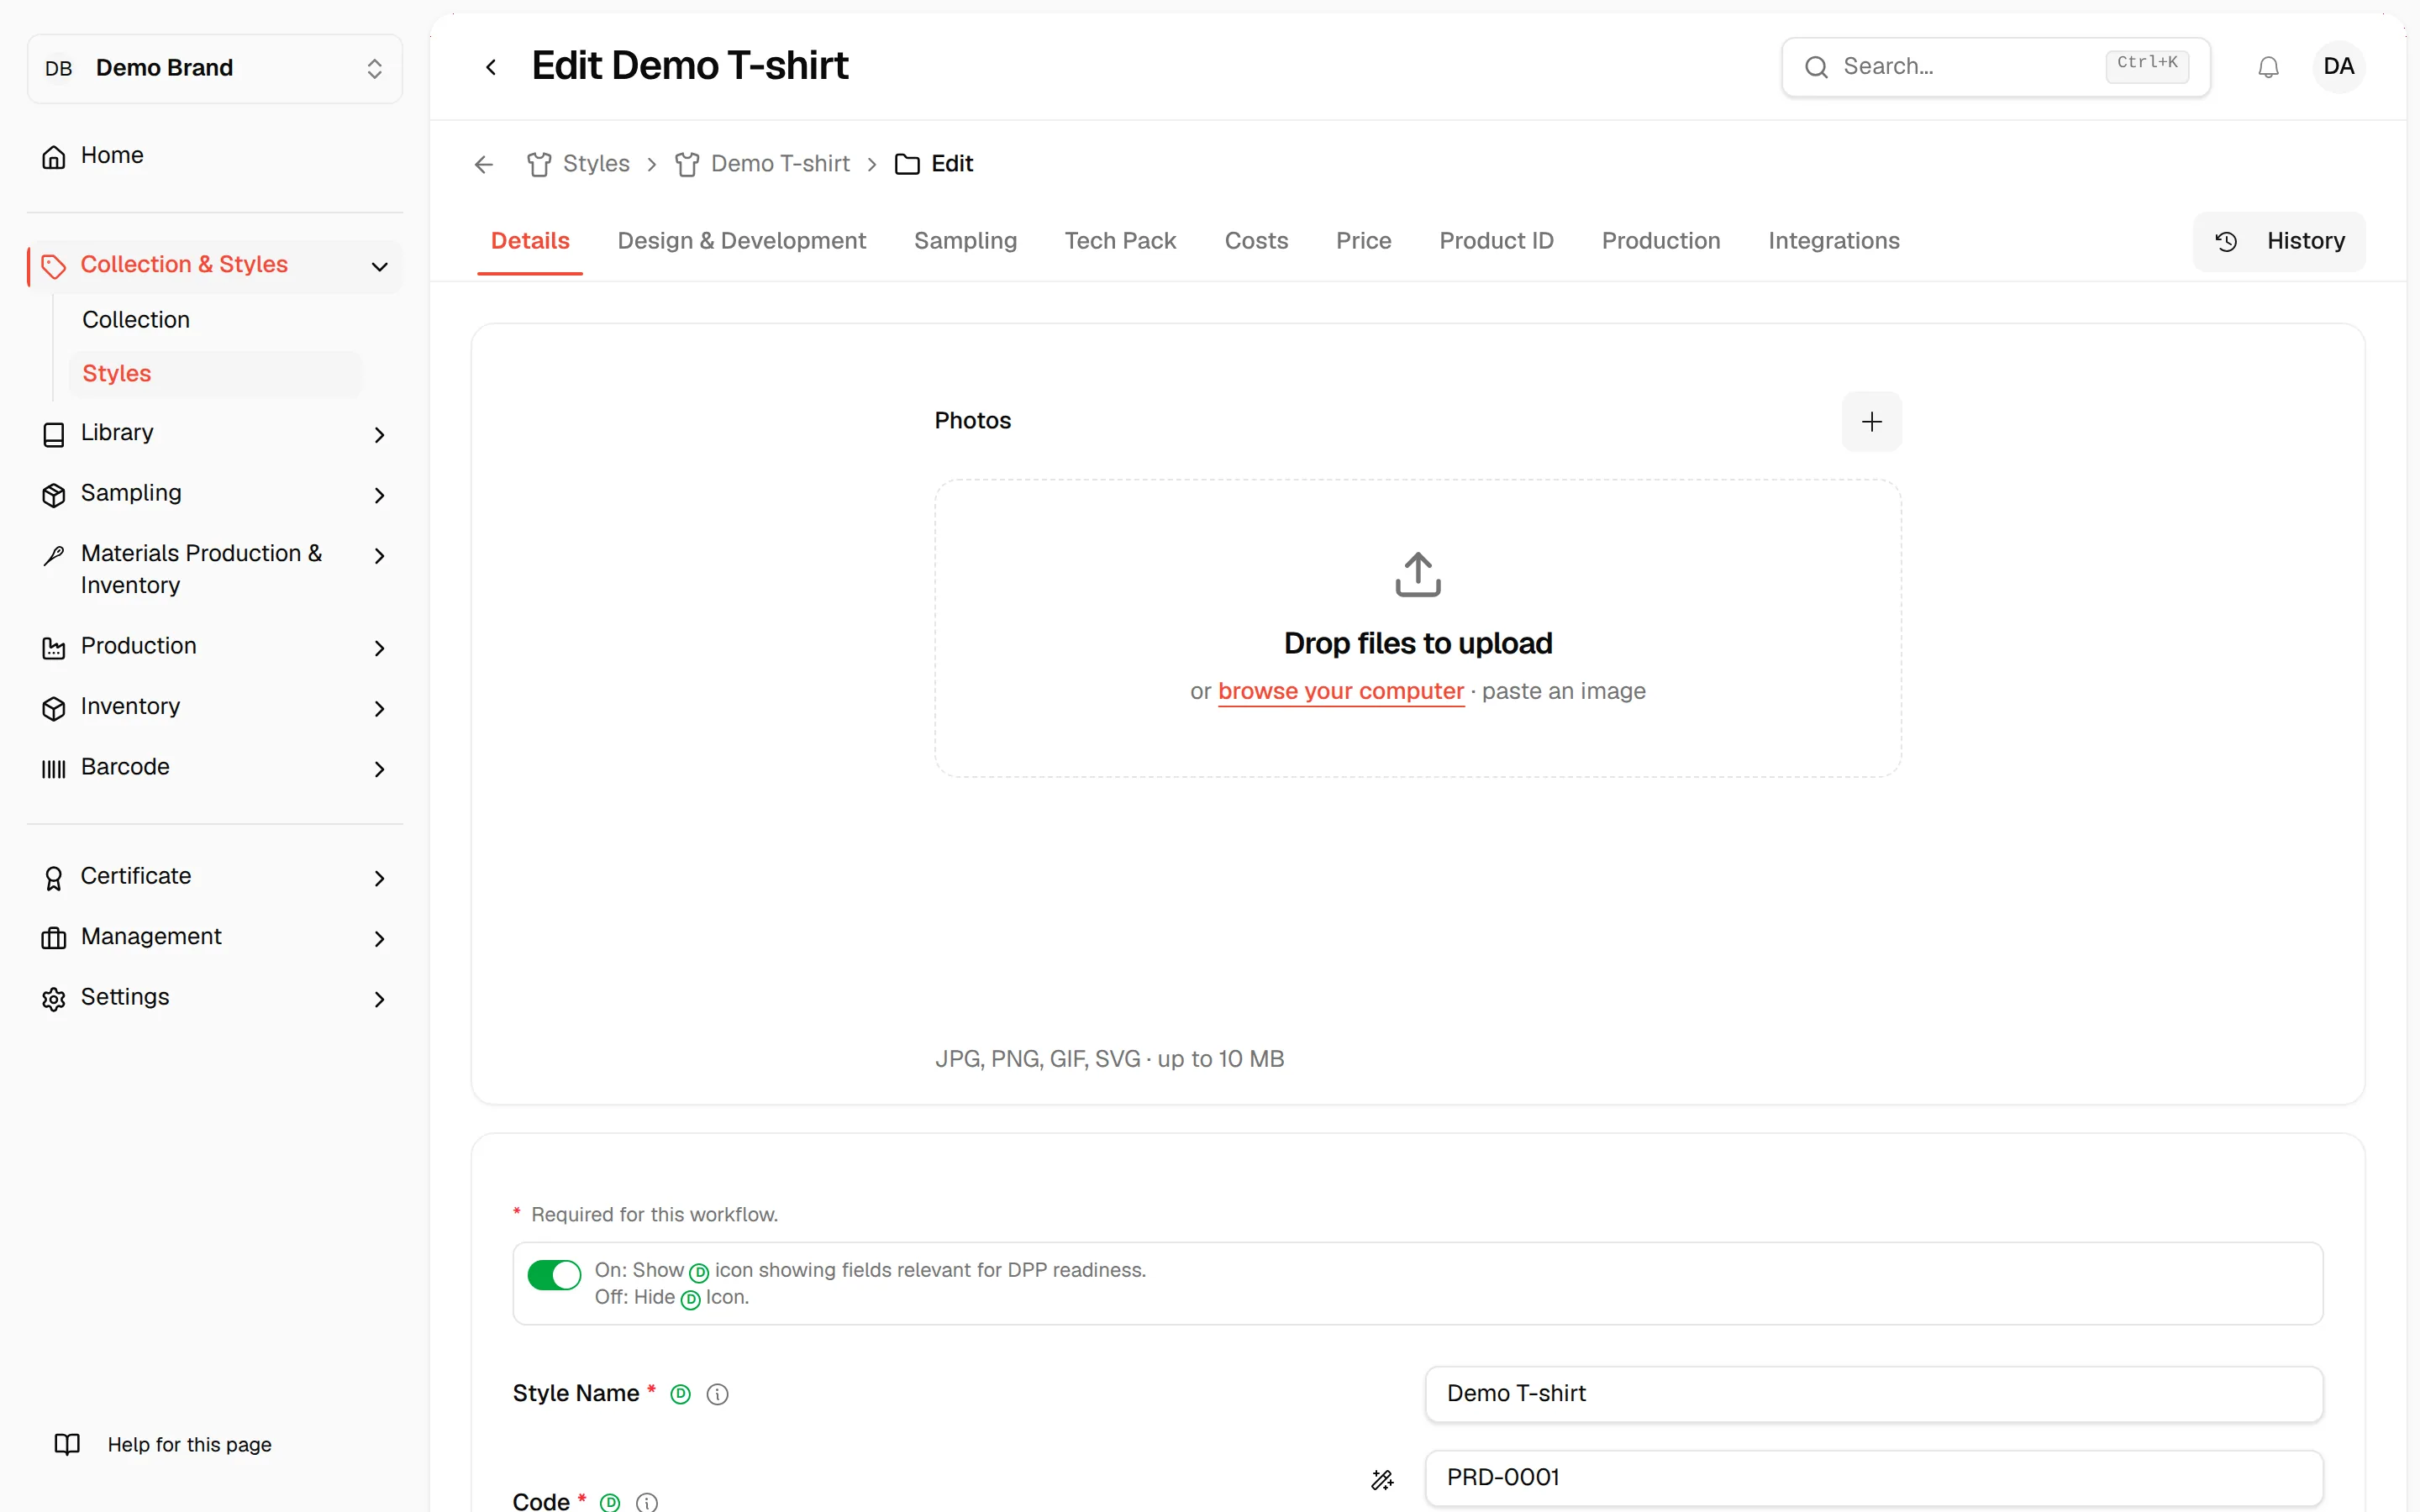
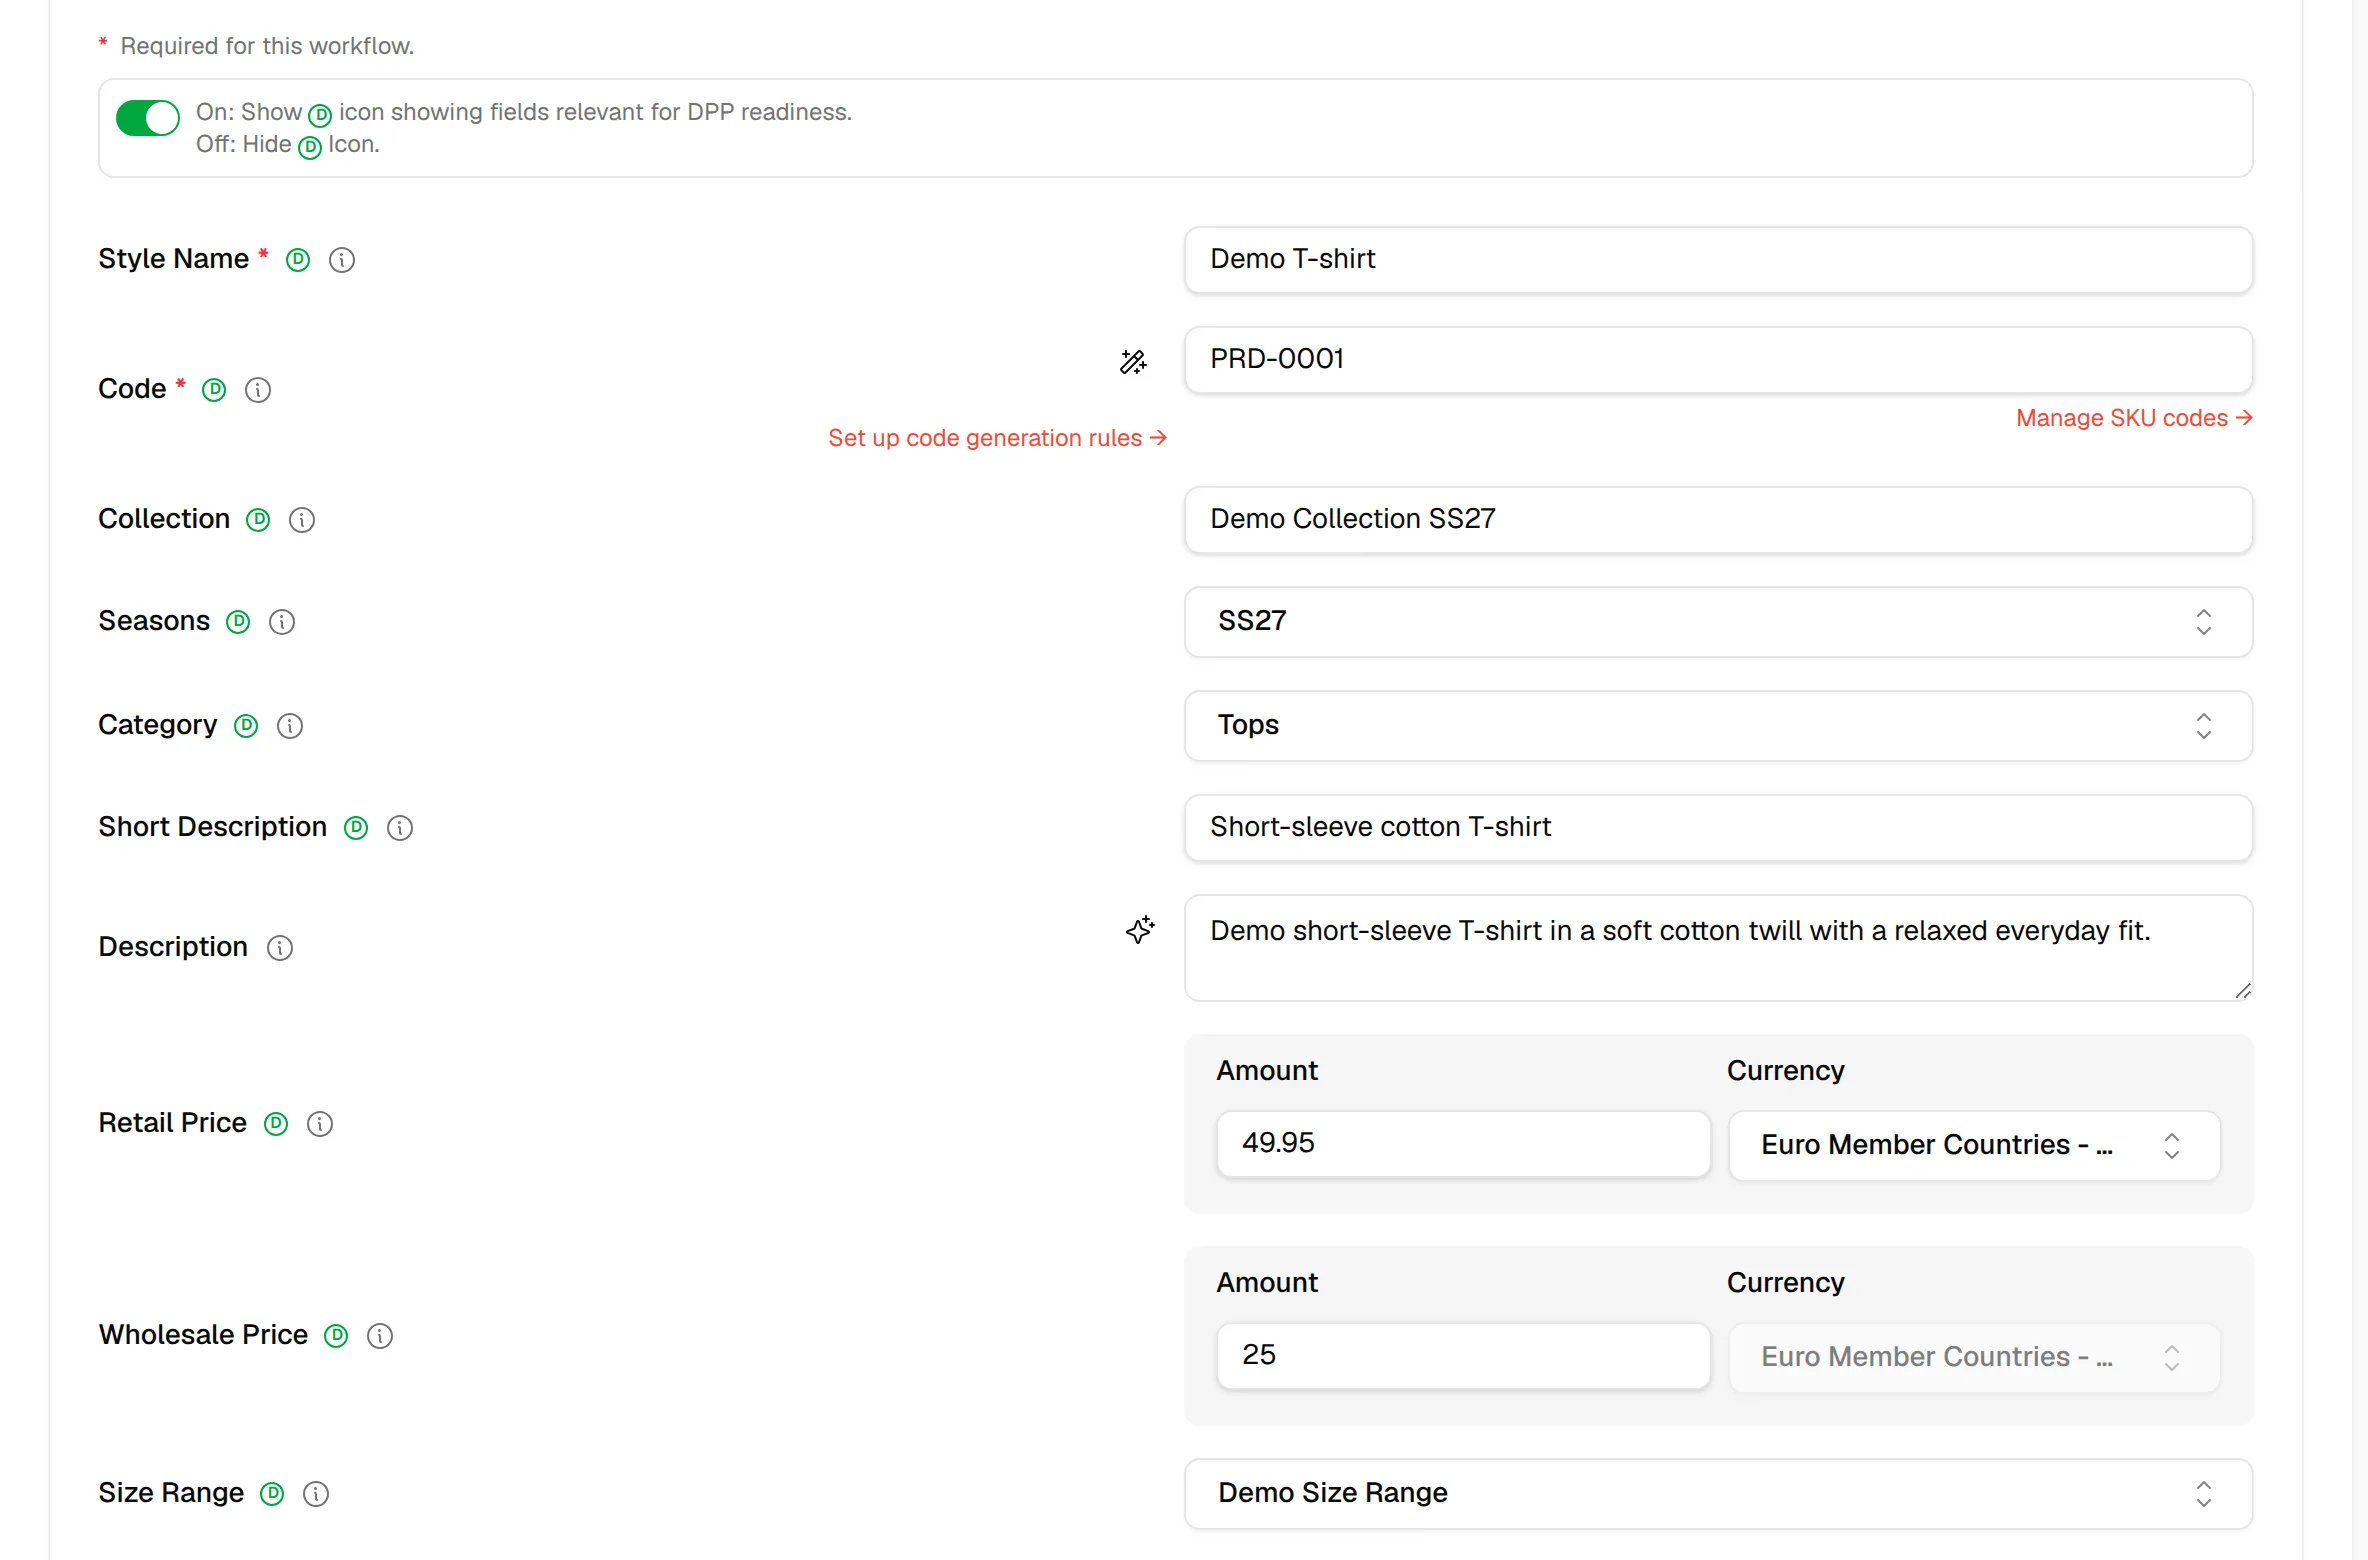
Update the style information
Change the fields you need. The fields are the same as on the create form, see Create a new style for guidance on each field.
Click "Save"
Click Save in the lower-right corner to apply your changes. You should see Style updated successfully.
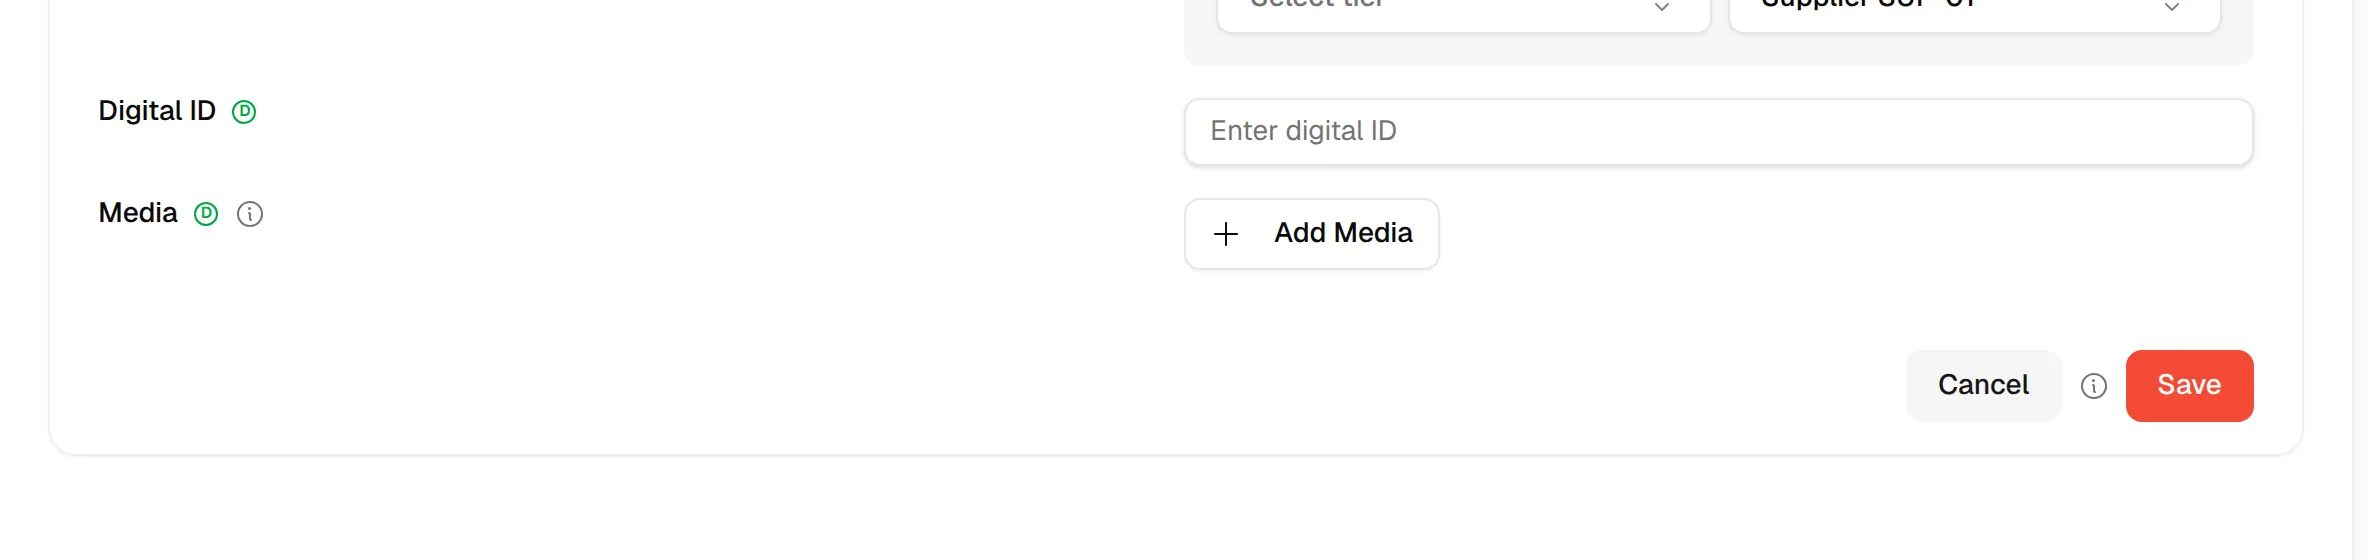
Tip
The form also saves by itself about a second and a half after you stop typing. The toast shows Saving..., then Saved. Cancel returns you to the style list without further changes.
What you can change
The Details tab has a Photos section on top and the style fields below it.
- Photos: drop files on the upload area, browse your computer or paste an image, and use the + button to add more. From the menu on a photo you can Set as main picture, Download, Connect to color or Delete it. Deleting asks for confirmation (Delete Photo).
- Collection: the collection the style belongs to.
- Style Name and Style Code: both are required. The wand icon next to Style Code generates a code from your code generation rules. If the rules are not set up yet, a link Set up code generation rules → is shown.
- Seasons, Category, Short Description, Description, Retail Price, Wholesale Price (each with Amount and Currency) and Size Range.
- Colors: add a colour with Add Color, either From Library or Custom Color. Each colour has Code, Pantone Code, Name (required) and Description. A colour from the library is read-only and carries a Color Library badge. Use the Colour status toggle to make a colour inactive; it then shows an Inactive badge.
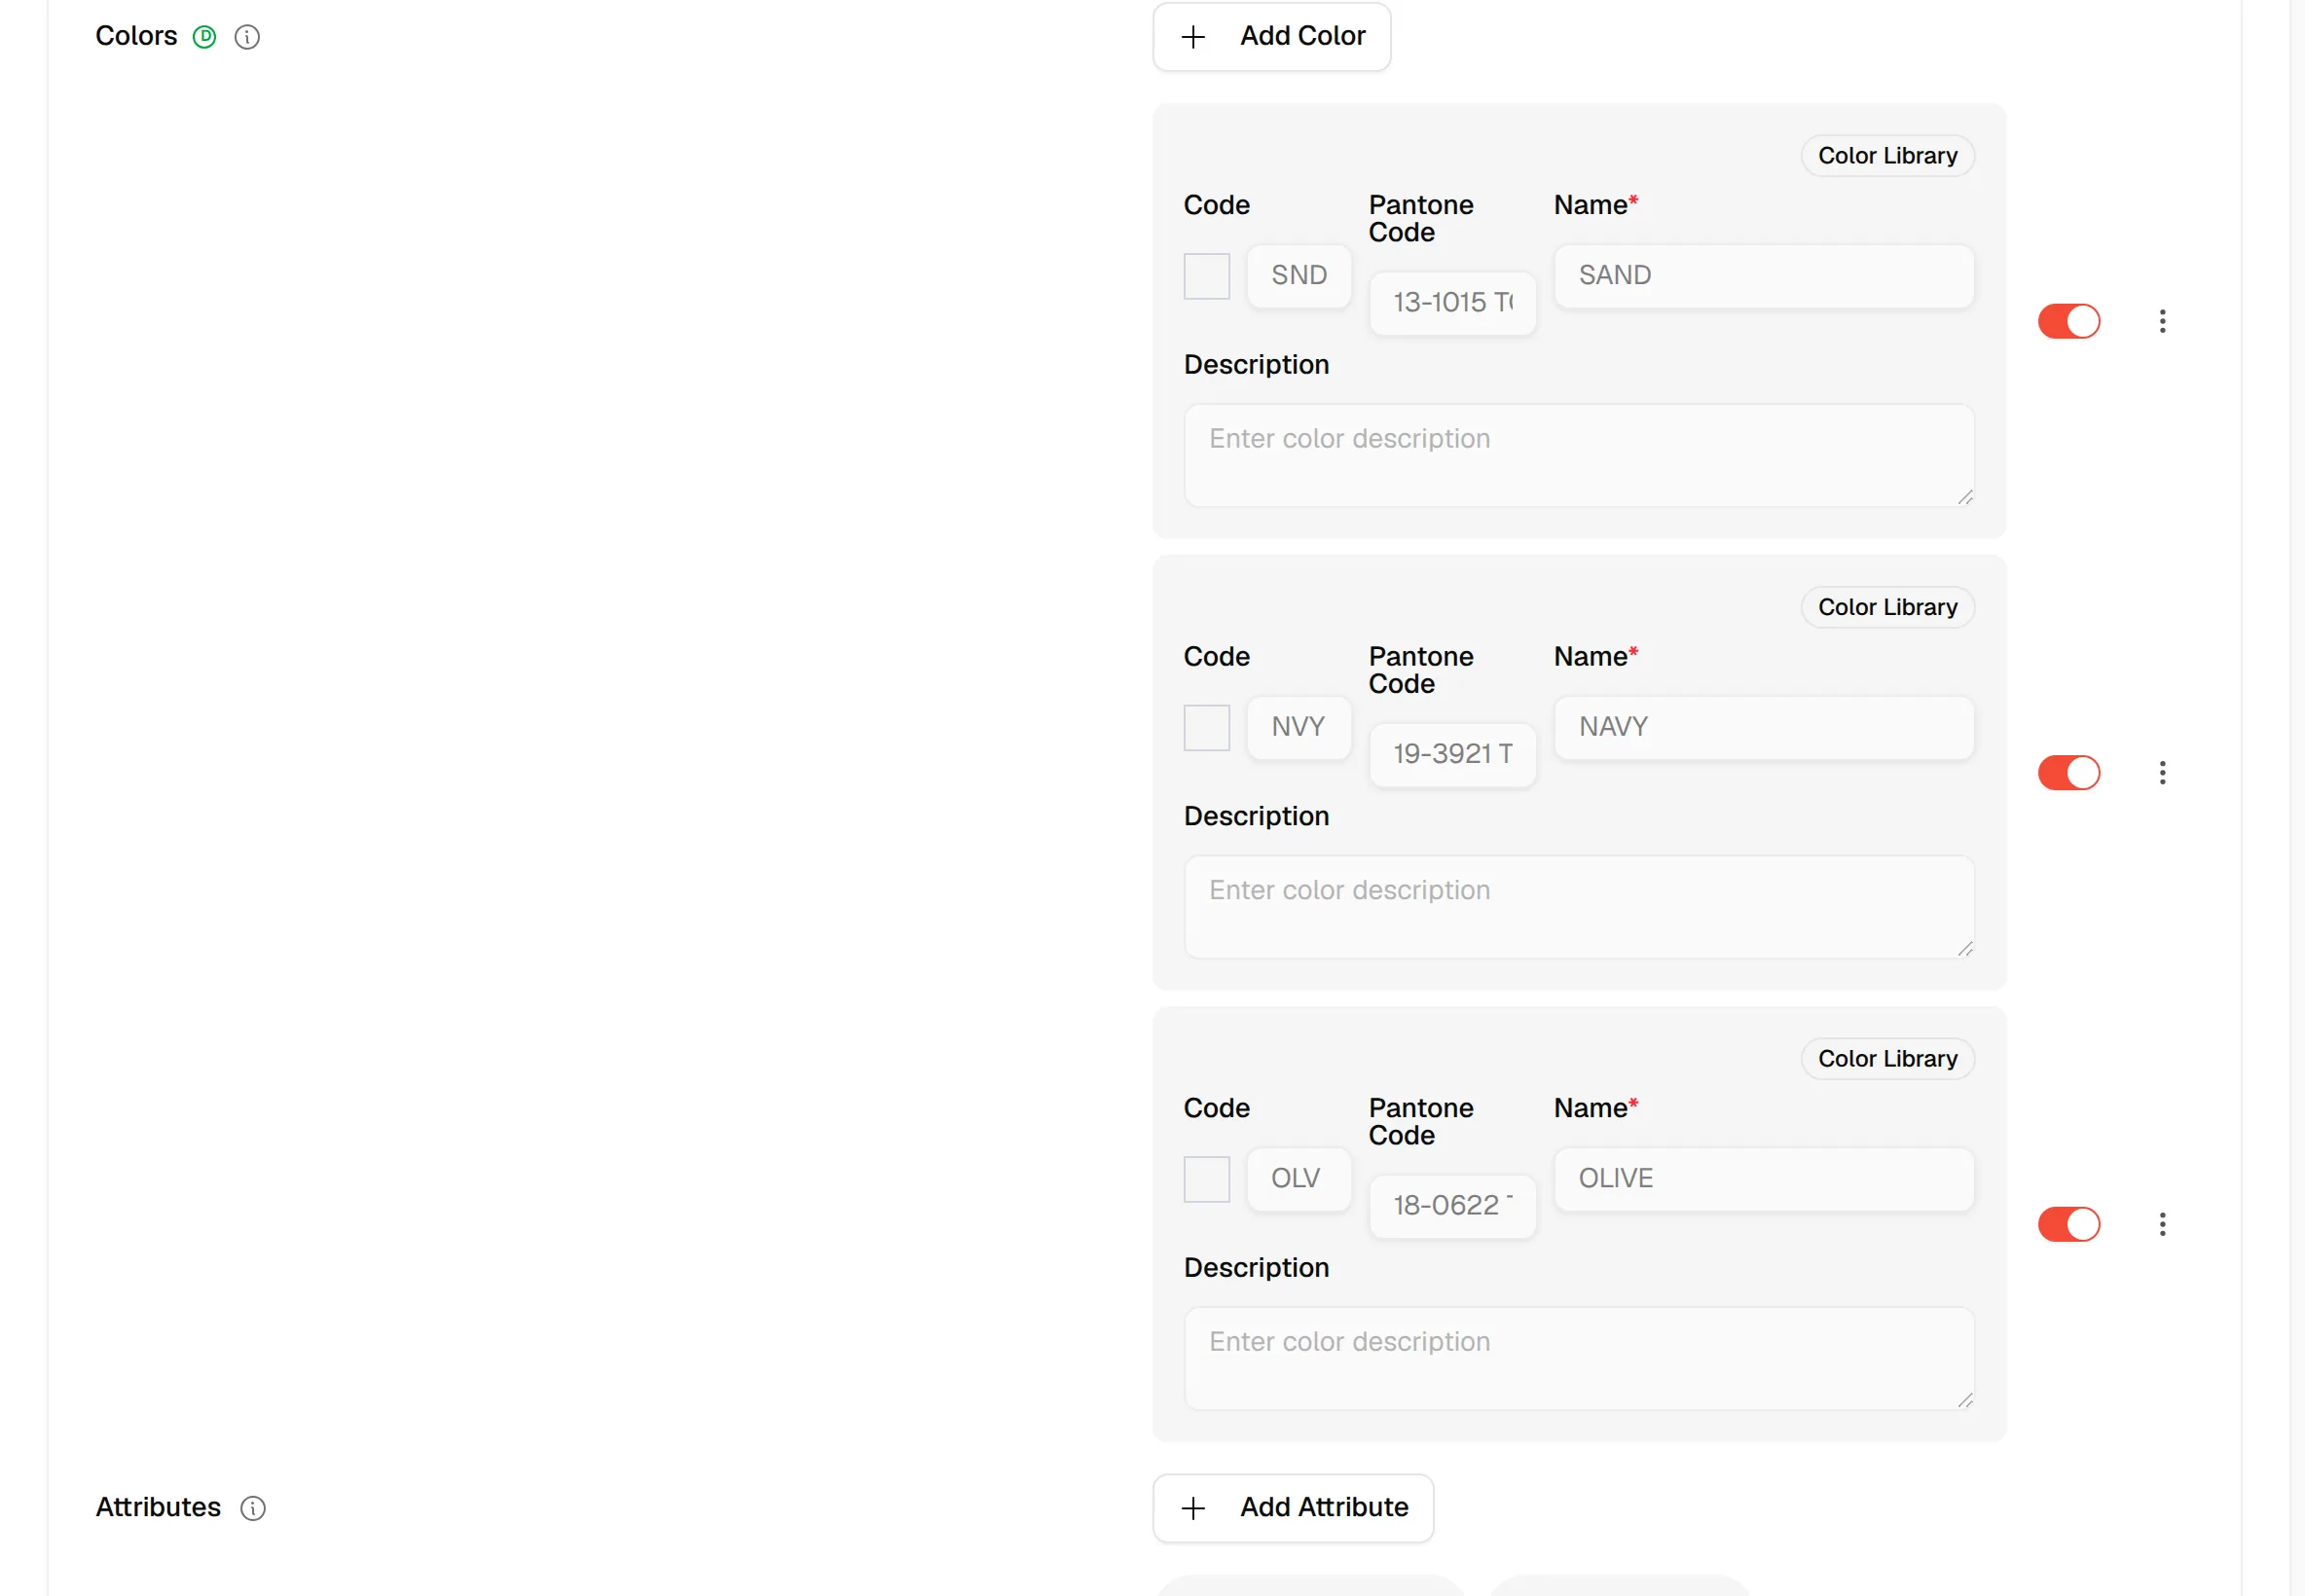
- Attributes: add style attributes with Add Attribute.
- Status: select the style status.
- Care Instructions: add instructions with Add Instruction.
- Supplier / Factory: select the Tier and the Supplier.
- Digital ID: the digital ID of the style.
- Media: add media with Add Media, then choose From file, From URL or From YouTube. Each item needs a Media title.
Warning
If you change the currency of a price, a warning dialog compares it with your brand's base currency and asks you to confirm.
Note
Fields marked with the DPP badge are used for the Digital Product Passport. The GEO Readiness and passport checks link back to this page with a Fix link that scrolls straight to the field that is missing.
Troubleshooting
Nothing happens when I click Save. A required field is empty. The first problem is shown in a message, for example Code must not be empty.
I cannot edit the fields. Ask your Brand Admin for the Update style permission.