Step 2 of 13 in From idea to a production-ready tech pack
Create a new style
This guide explains how to create new styles in Vestis Labs and establish a structured foundation for your product development process.
Under review. This page is published while we check it against the live app, so some details may have changed.
Screenshots may be out of date.
Style - admin setup
This guide explains how to create new styles in Vestis Labs and establish a structured foundation for your product development process.
Collection & StylesStyles+ New Style
Permission: CREATE_STYLE
Note
If your plan has a style limit and you have reached it, the + New Style button is disabled and the page shows You have reached the limit for styles. Upgrade your plan on the Subscription page to create more.
Introduction & best practice
To manage your product catalogue effectively in Vestis Labs, you should begin by creating your styles. Styles represent the core product concept and serve as the central reference for all related information, such as attributes, colors, sizes, materials, and pricing. We recommend creating styles as early as possible, either manually or with AI assistance, to ensure consistency across your workflow. Properly set up styles help streamline product development, support accurate classification and reporting, and ensure your products are well prepared before moving into sampling, costing, or sharing with internal teams, buyers, or suppliers.
Step by step
Create new style
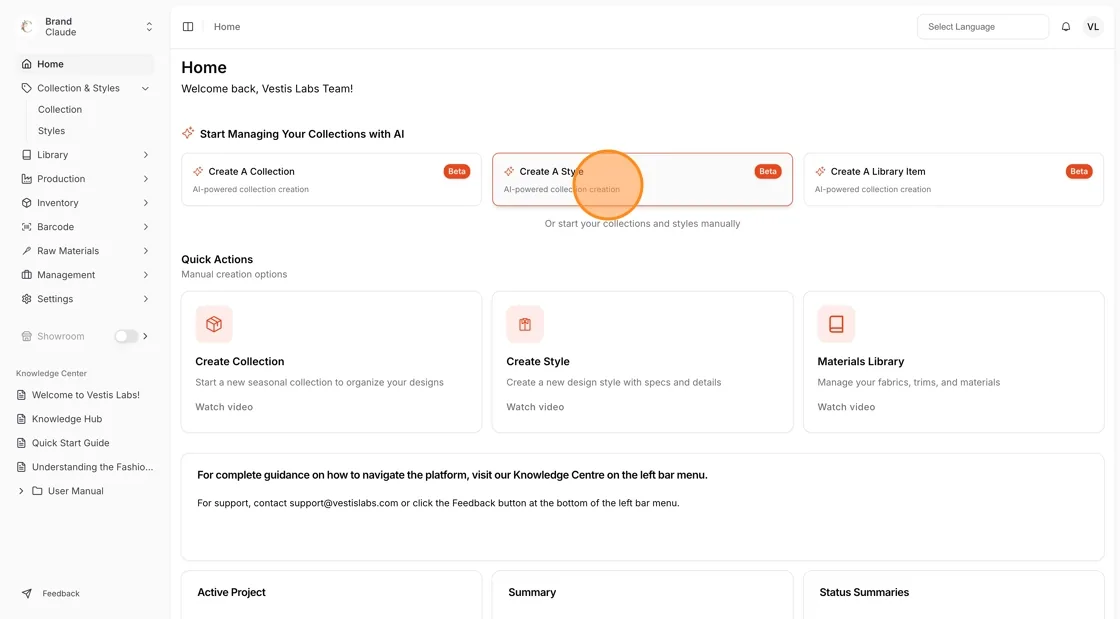
Navigate to the Home page, select Create new Style in the quick actions section
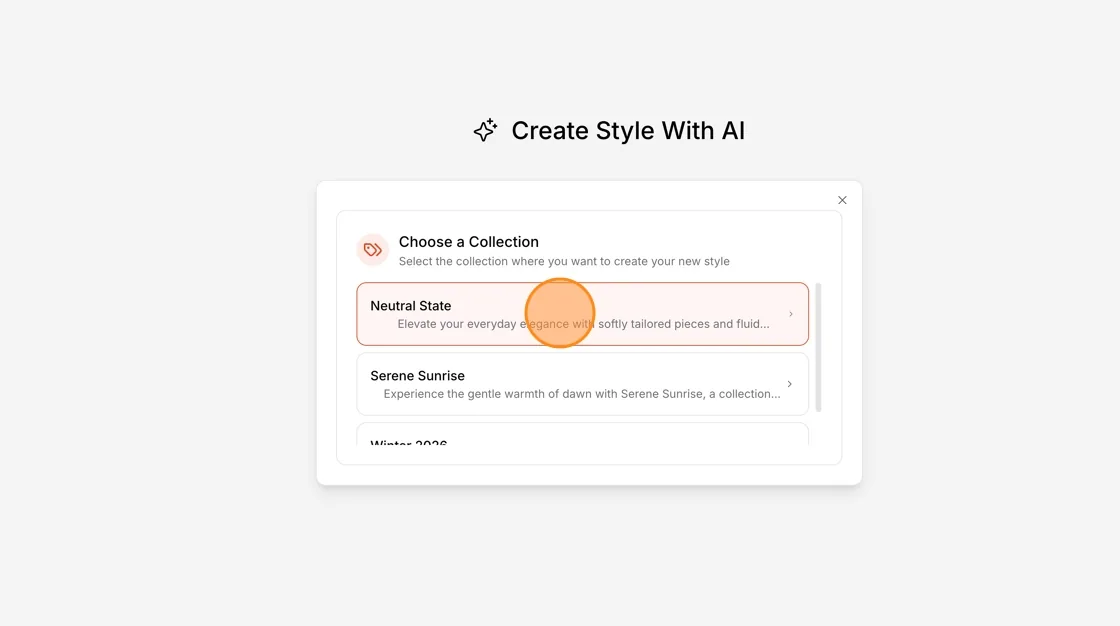
Select the collection
In the Create style page, you need to fill out all the required fields. Required fields are marked with a red asterisk icon (*).
Another way to create new style.
Click Collection & Styles, then click Collection.
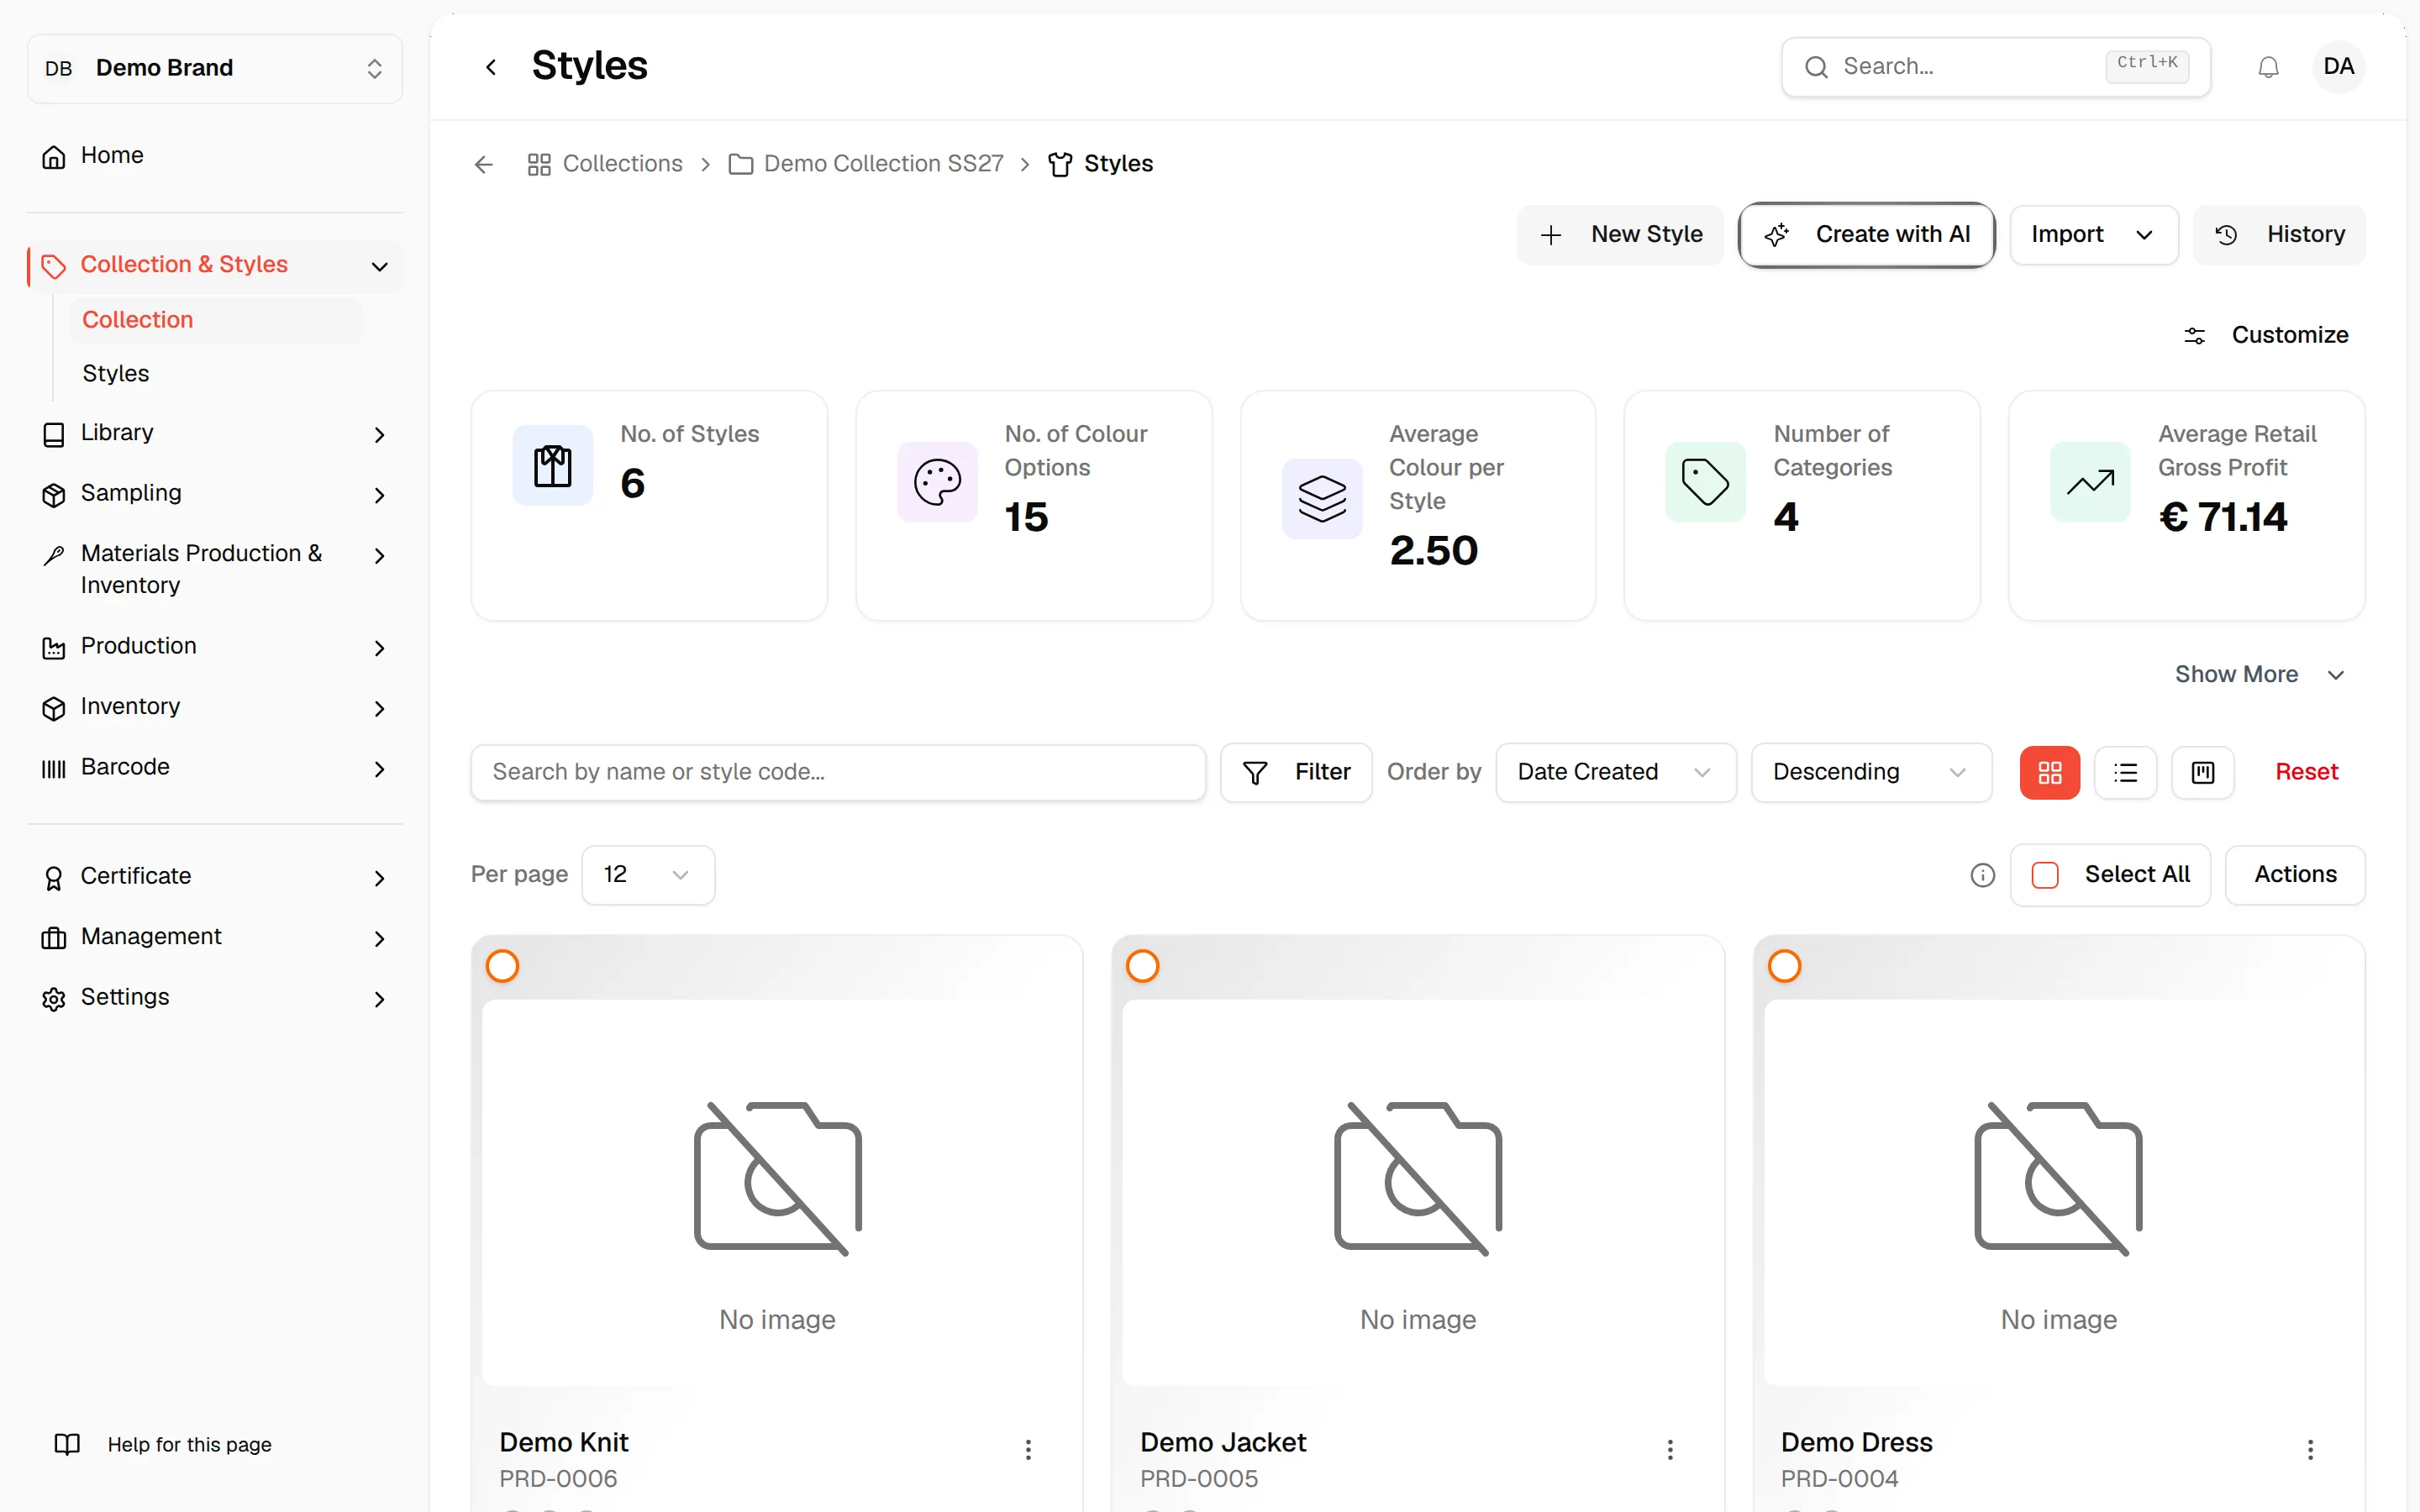
Click the + New Style button in the top-right area of the Styles page. The New Style creation form opens.
Below the photo section, find the DPP readiness toggle. When ON (green), it shows a 🟢 icon next to fields that are relevant for Digital Product Passport (DPP) readiness. When OFF, the 🟢 icons are hidden.
Toggle this ON or OFF according to your workflow requirements.

Click inside the upload area, or drag and drop an image file into it. You can also paste a file directly (a "Paste file here" tooltip appears). Maximum file size is 10 MB.
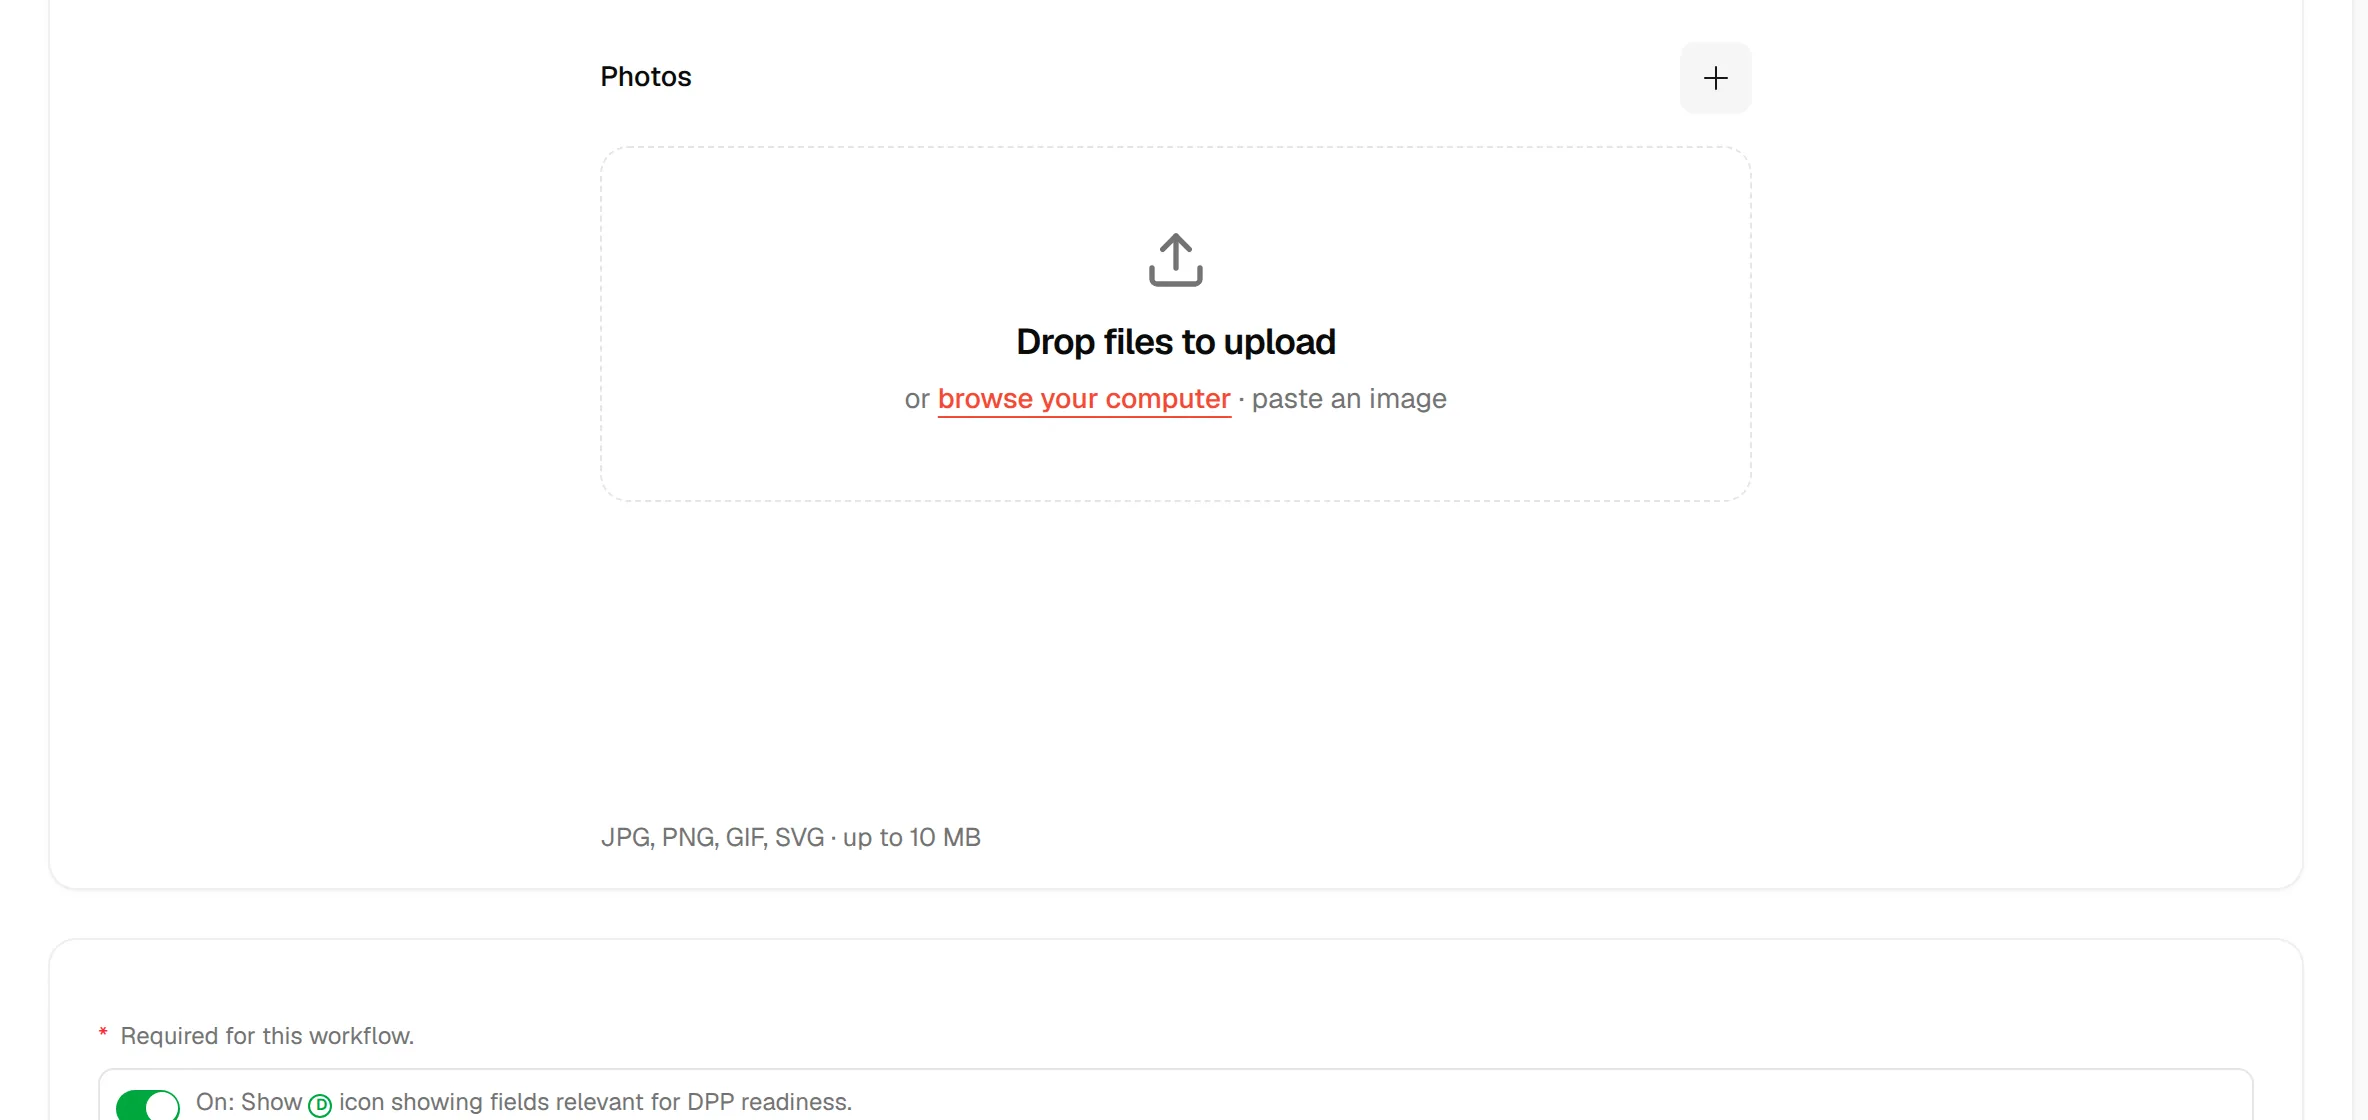
Image specification:
- The files that are allowed are .jpeg, .jpg, .png, .gif, .svg and .webp.
- The maximum size is 10 MB.
Style Name: Enter the style name (* Required Field). The form shows Name must not be empty if you leave it blank.
Style Code: Enter the style code (* Required Field). The form shows Code must not be empty if you leave it blank.
Seasons: Select one or more seasons from the dropdown.
Collection: The collection field cannot be changed. The collection is associated with the style.
Category: Select the style category. Users can create and manage the style category.
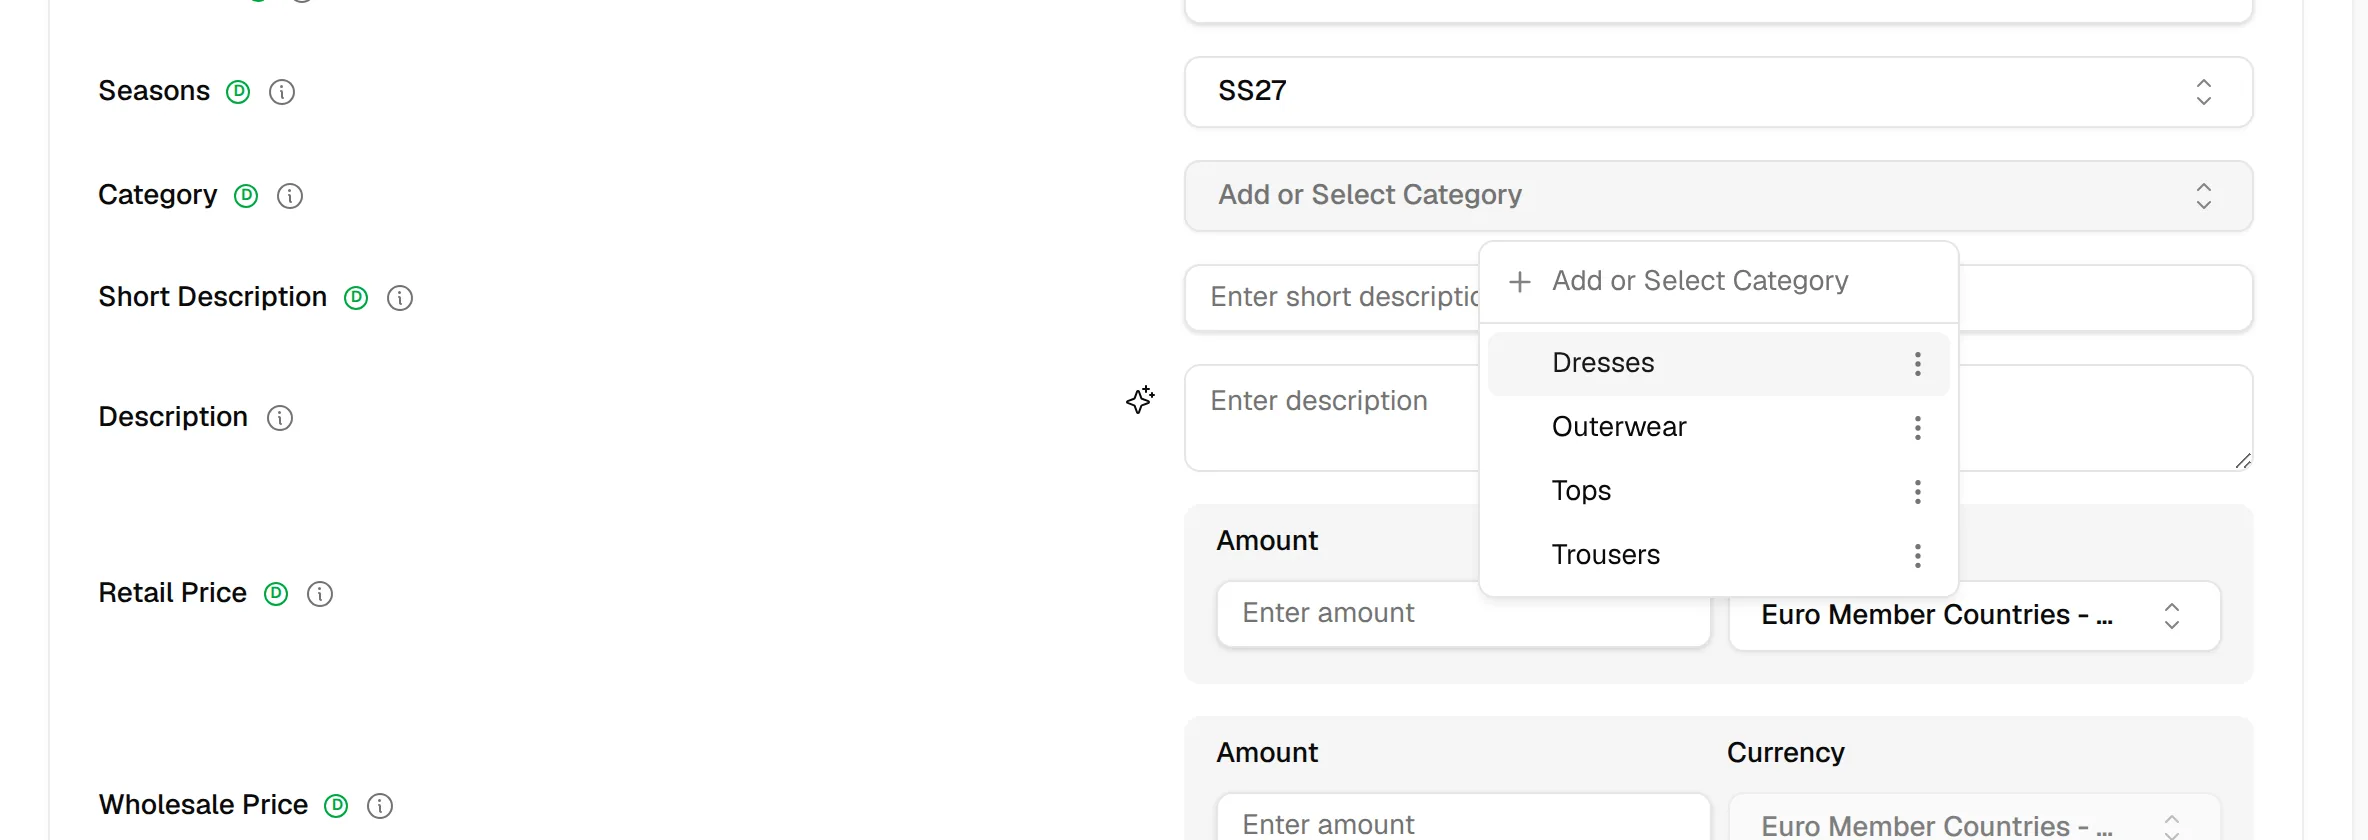
Enter a unique style code manually, or click the ✨ auto-generate icon next to the field to generate a code automatically. Required.
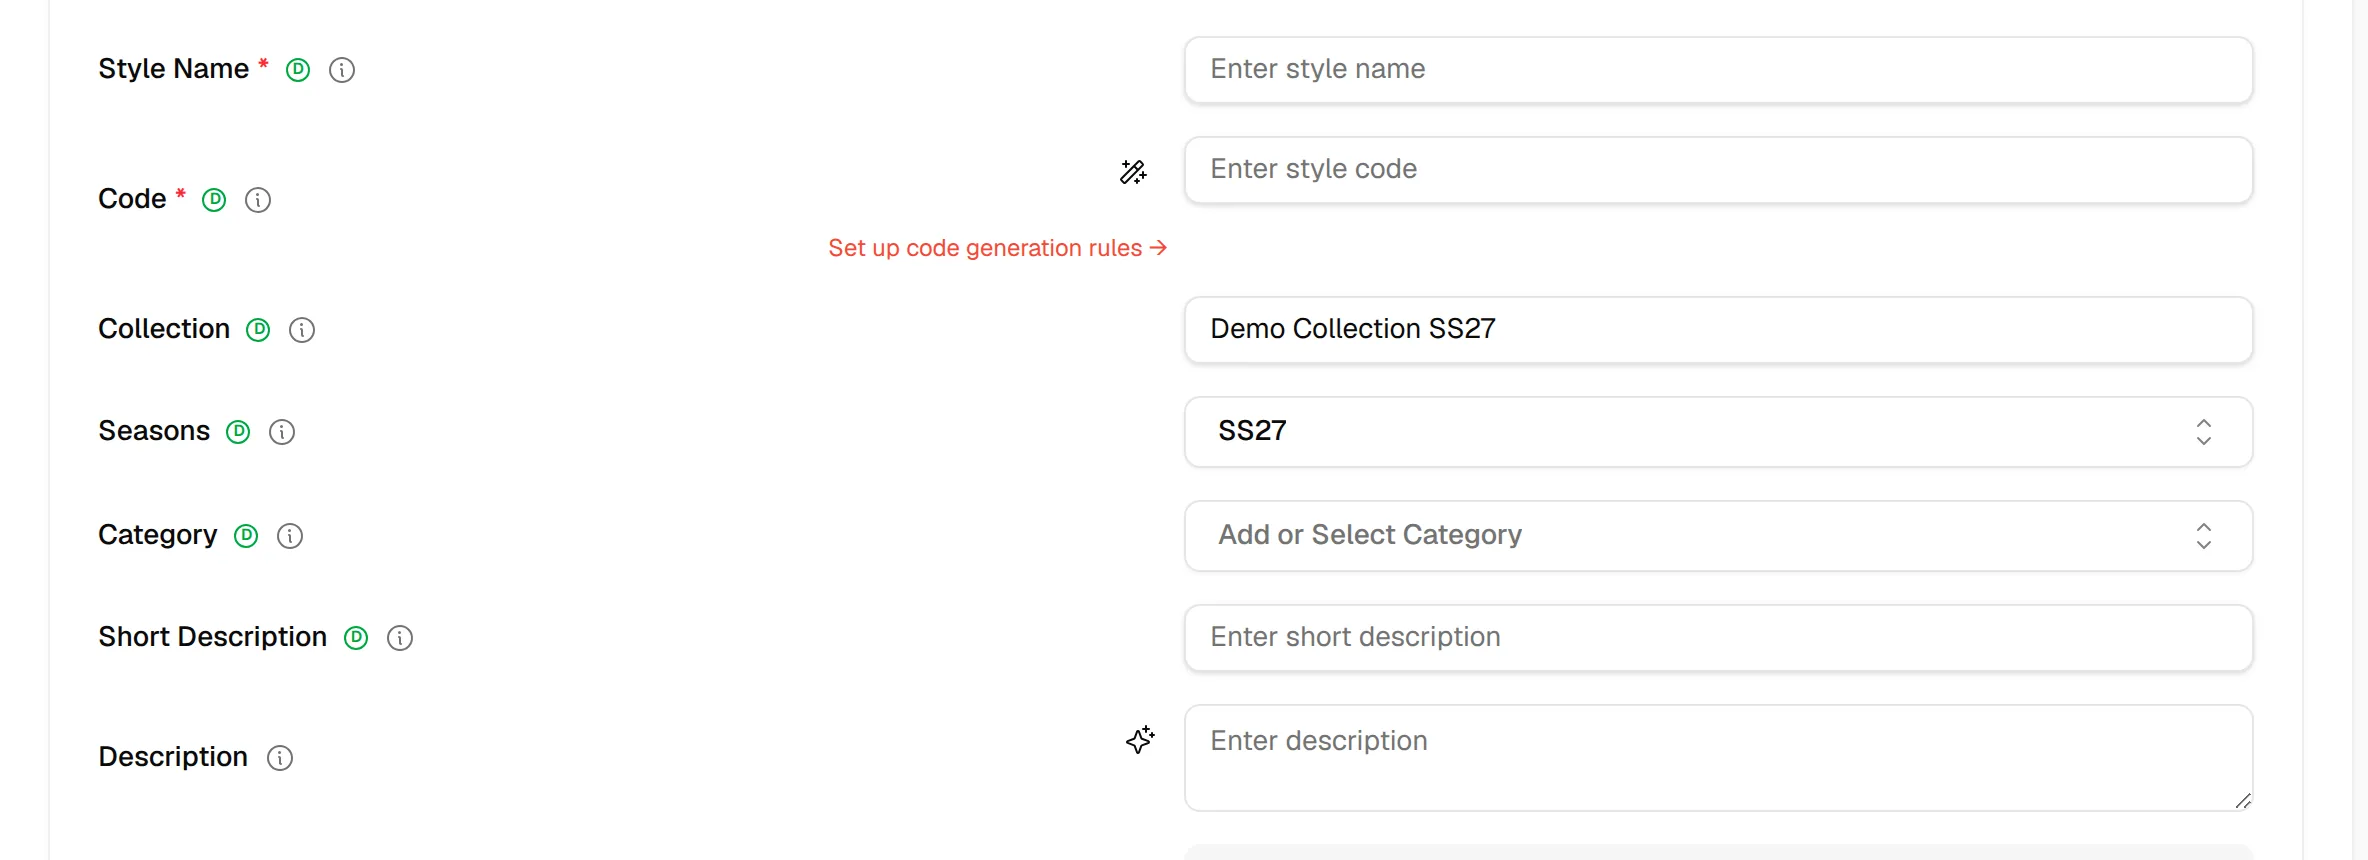
Users can enter their Style description in the description field, or they can create the Description using an AI Generator.
Retail Price Amount: Enter the price that a customer pays for a product in a retail store.
Wholesale Price Amount: Enter the price that a retailer will pay when buying the item from at wholesale. Select the price currency for each Retail and Wholesale Price.
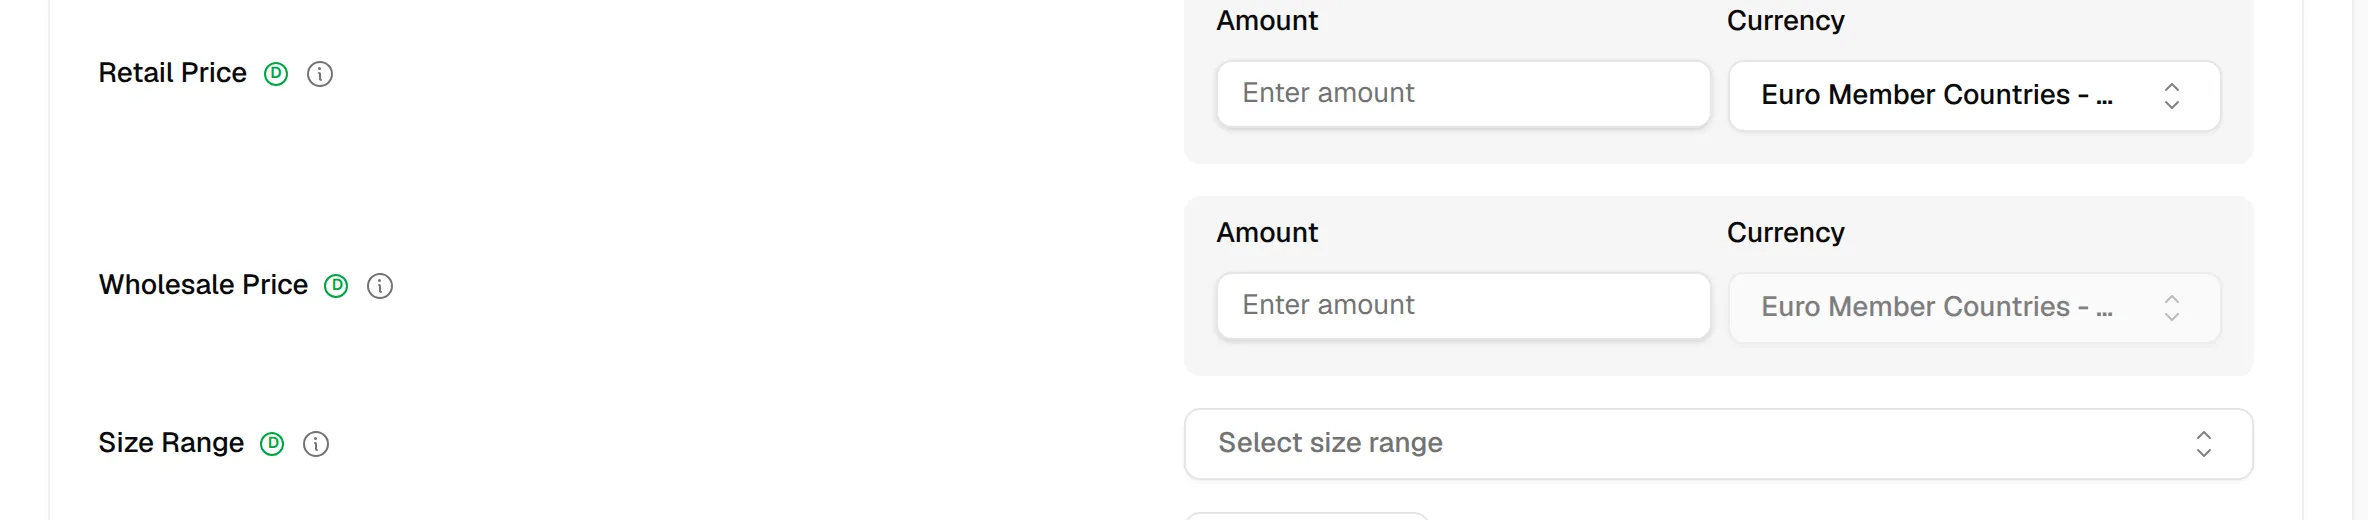
Size Range:Select the size range from the dropdown option.
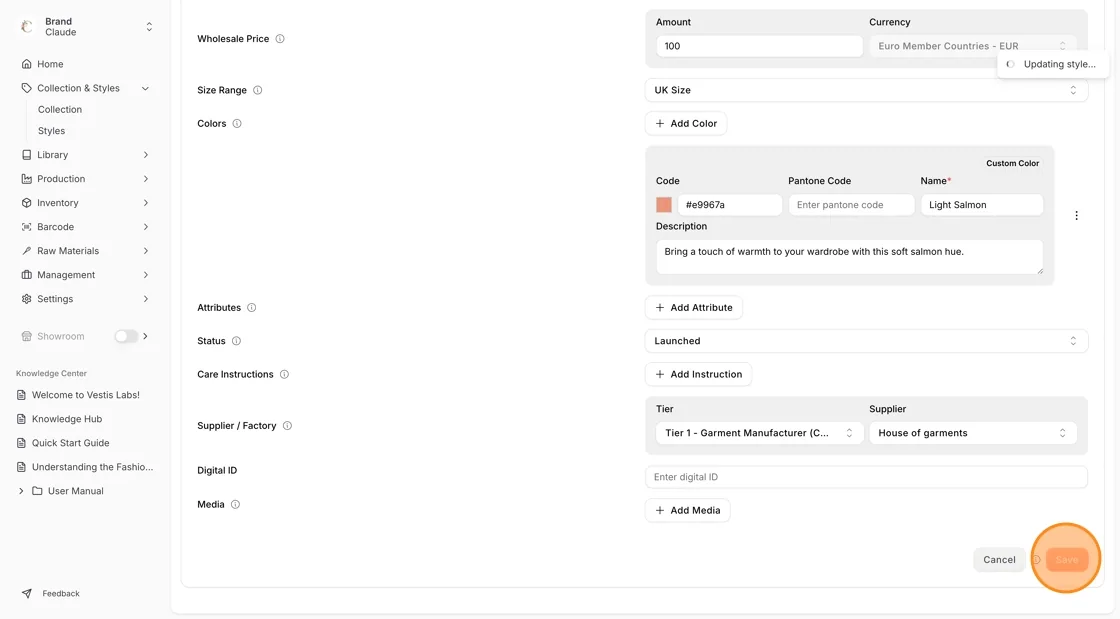
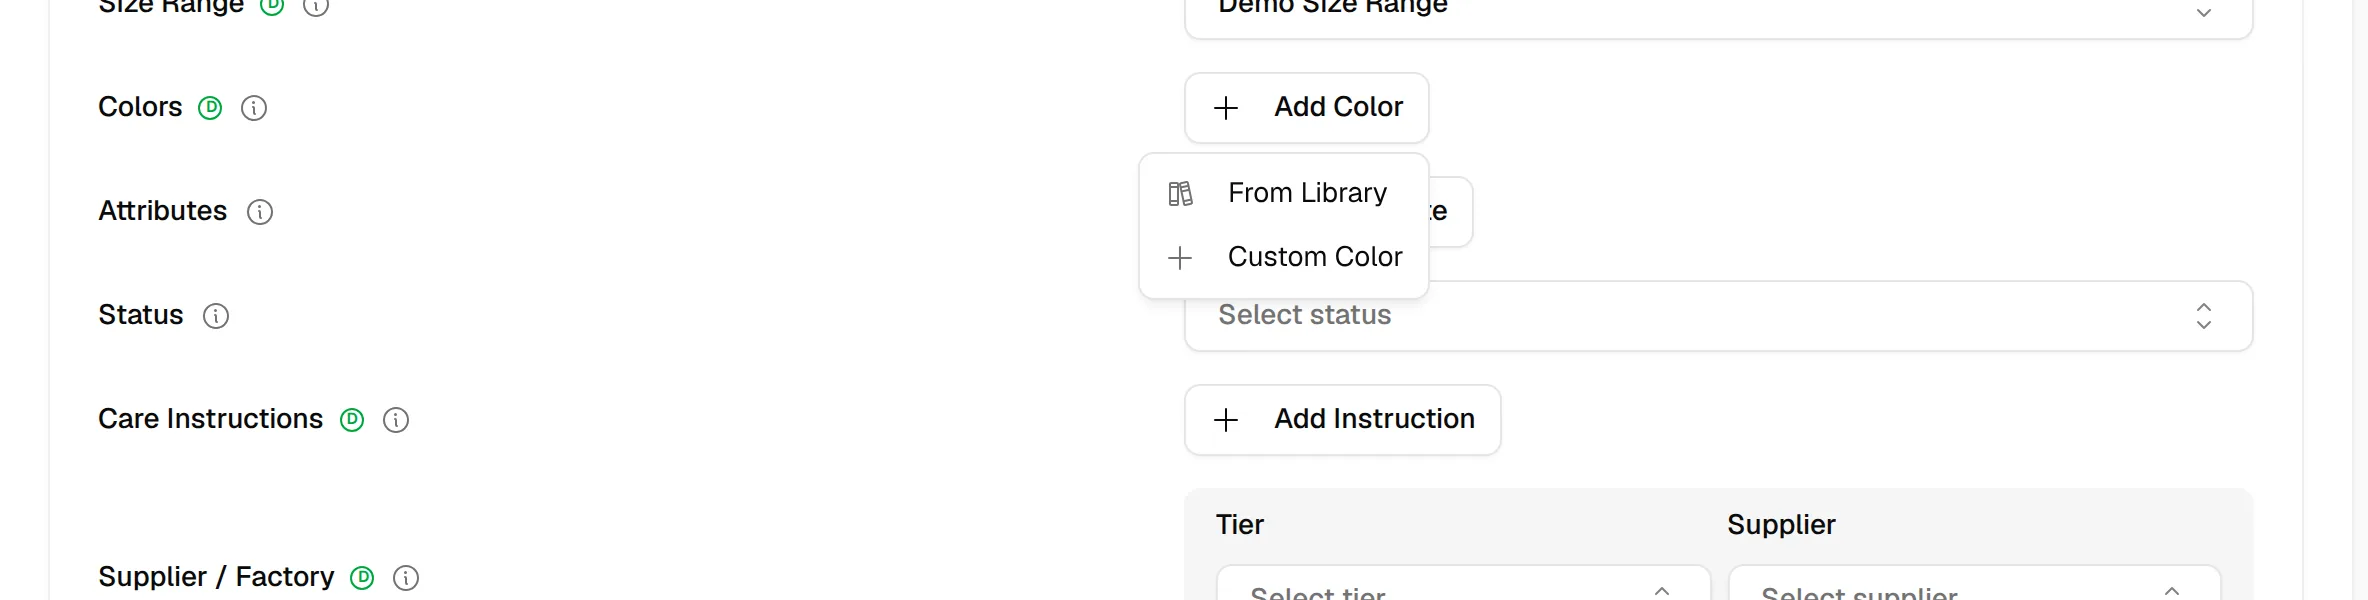
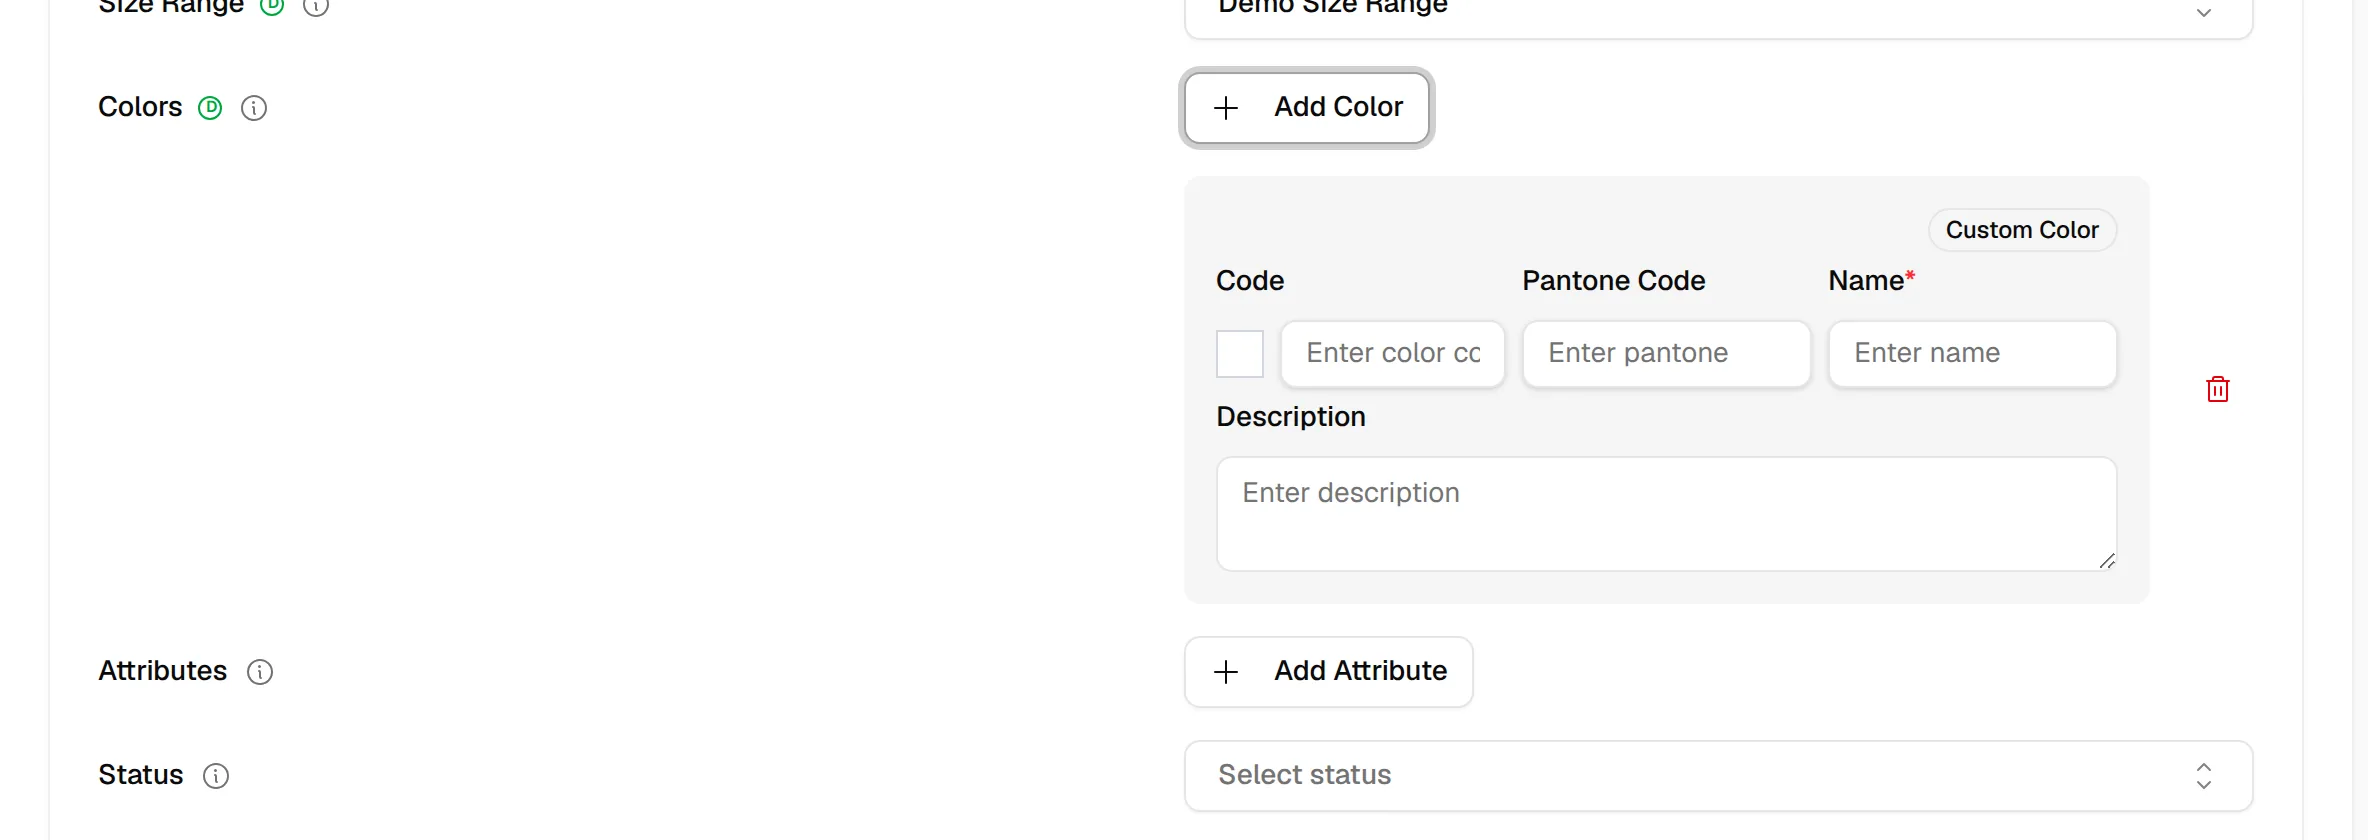
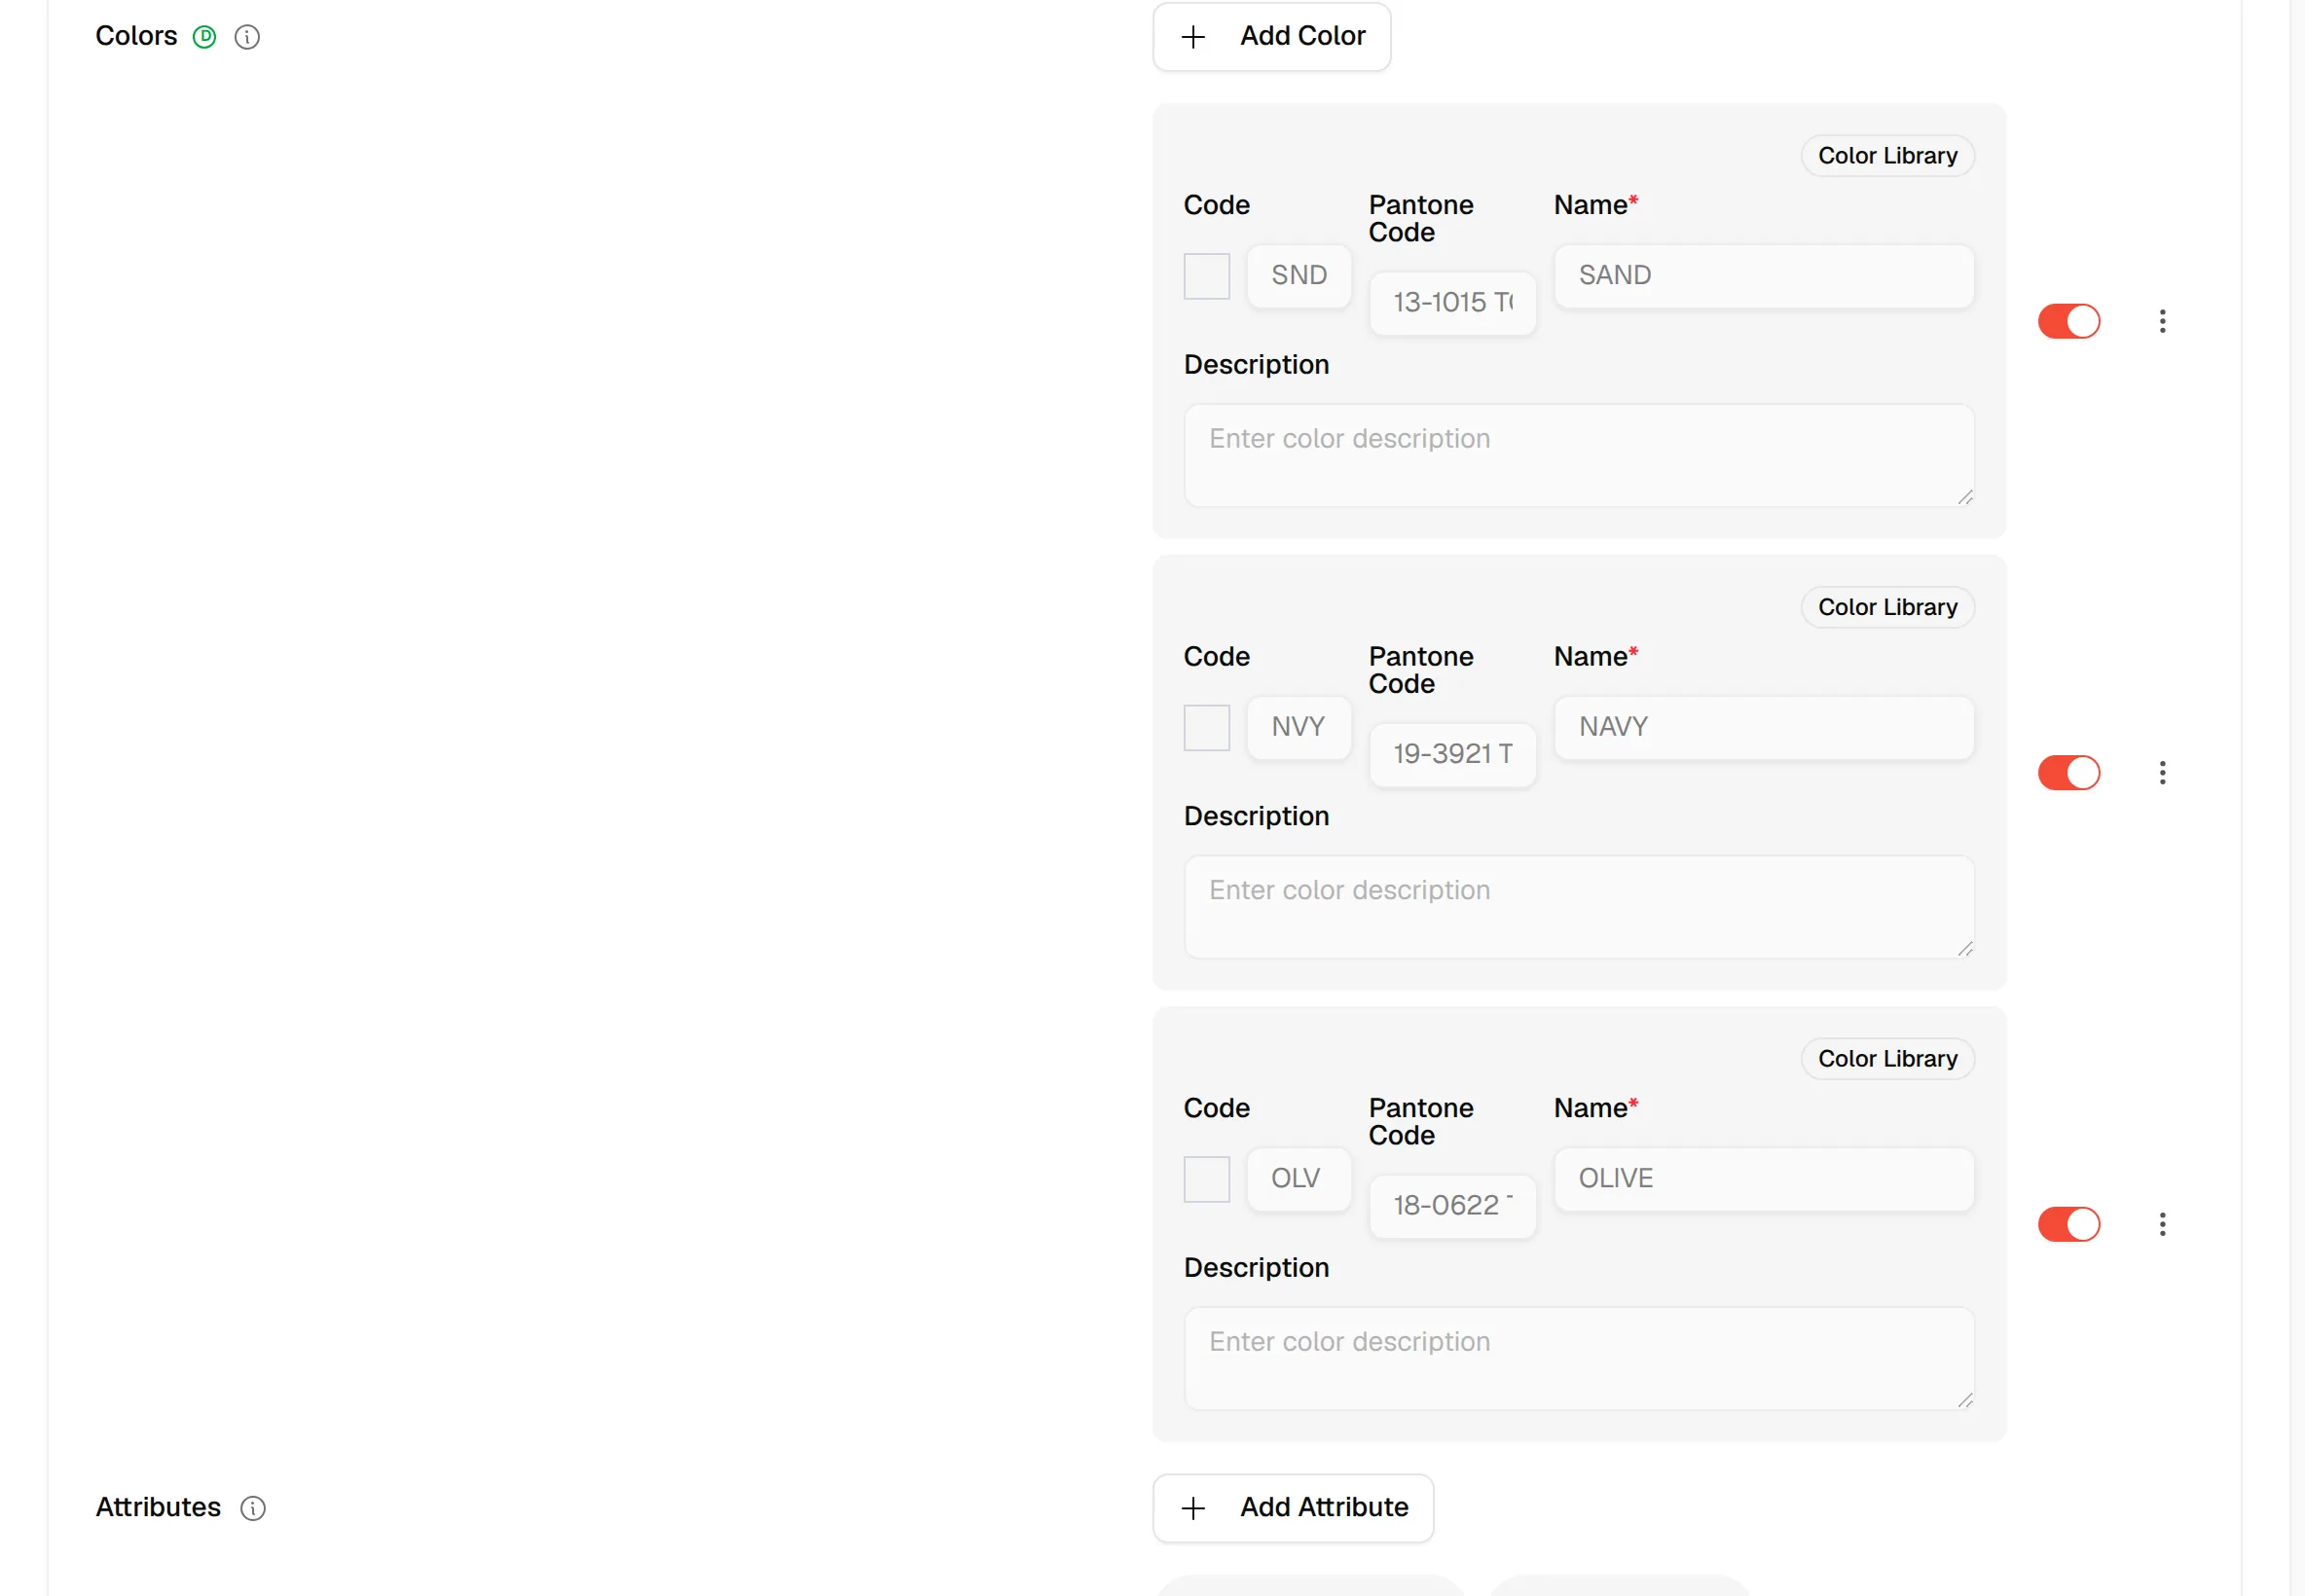
Colors: Click + Add Color to add the product colour. Each colour needs a name (Color name is required).
- From Library: select the created color pallete from library
- Custom Color: Enter the color code (hex code) and color name which normally is a commercial color name.
Other color descriptions and codes can be inserted in the color description field.
After the style is saved, open it from the Details tab to switch a colour on or off with the Colour status toggle. Inactive colours show an Inactive badge. This toggle is not on the create form.
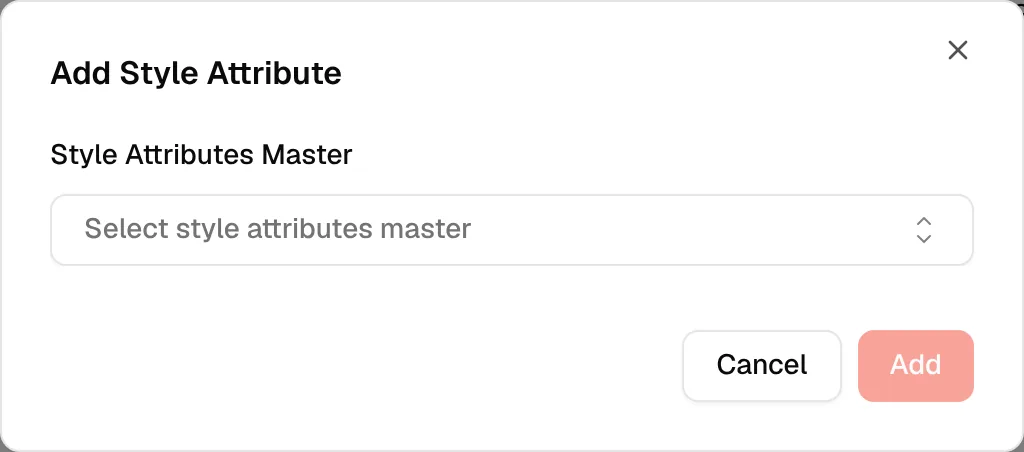
Click + Add Attribute to assign style attributes to the style. Attributes are used to categorise styles for efficient management.
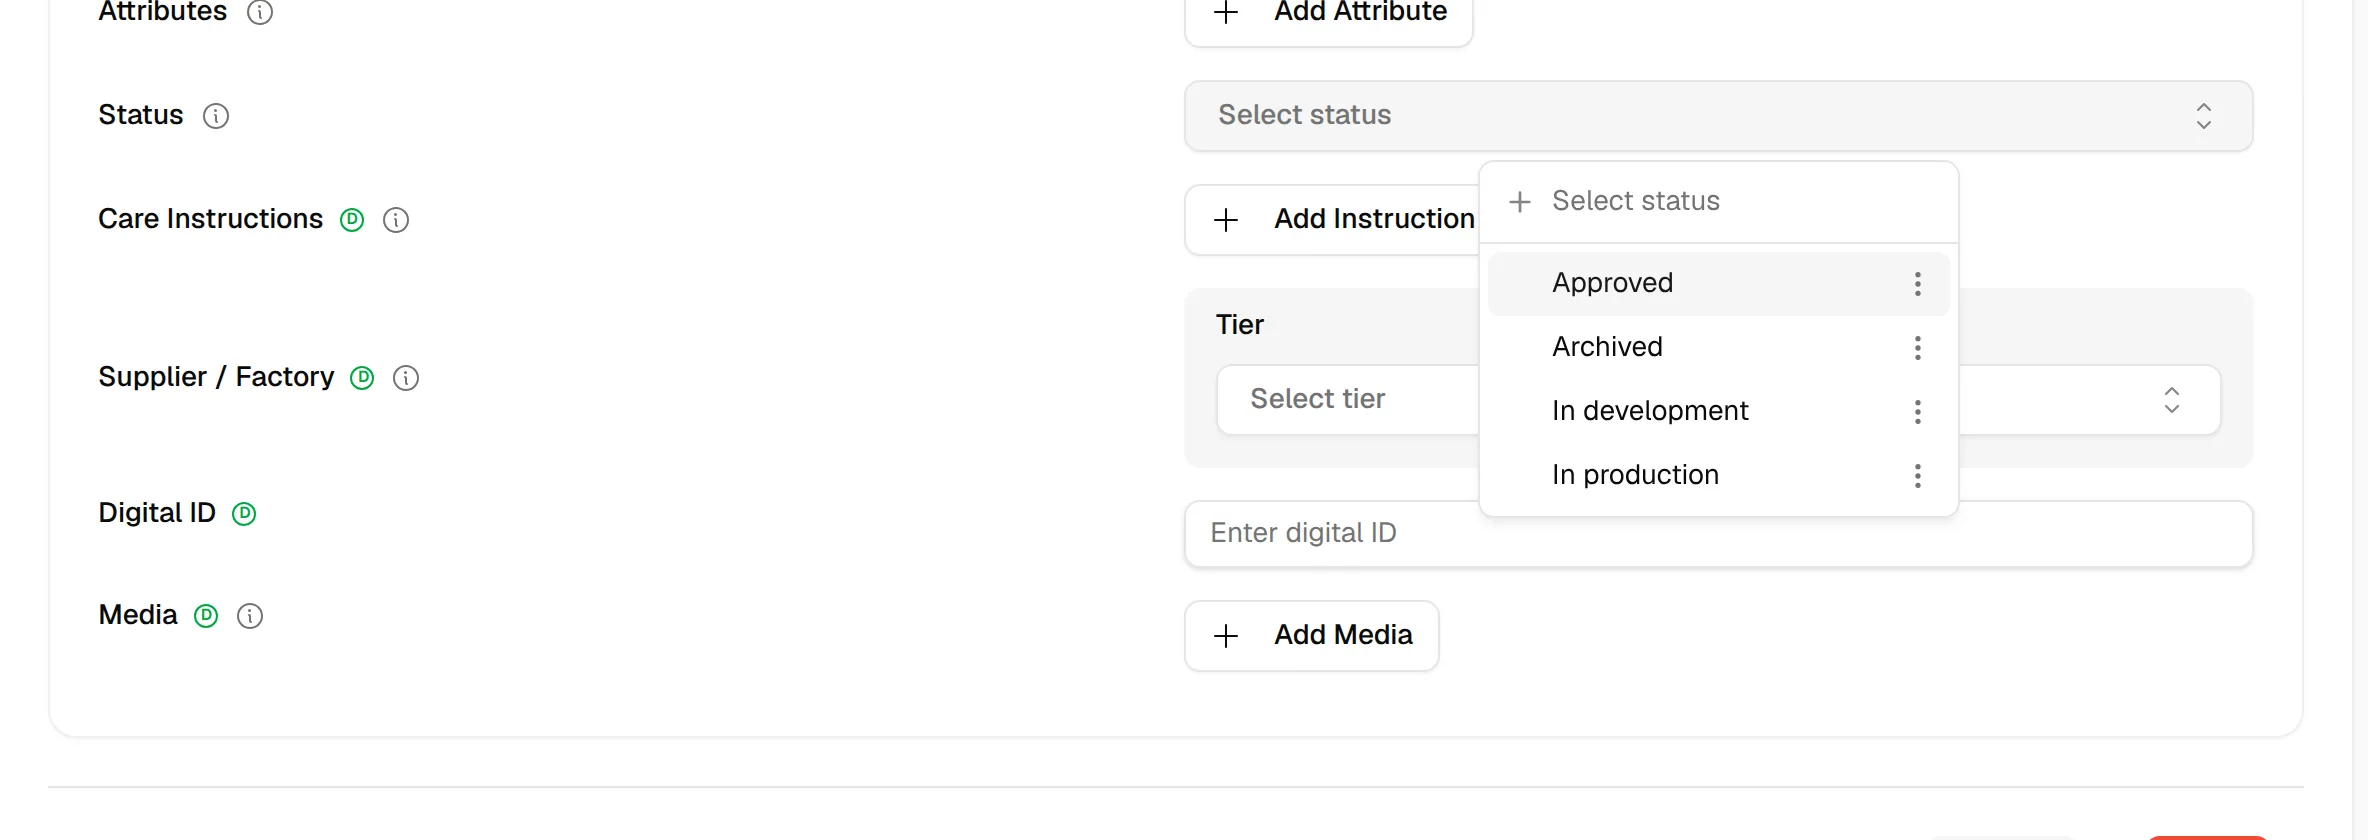
Status: Select a status from the Select status dropdown, or create a new one by typing its name in the dropdown field. Statuses are managed on the Style Status page. The status is often used to display the current state of your style. This Style Status is also displayed on the Style Cover.
Care Instruction: Select + Add Instruction and enter the care instructions to create a new one in the field, or select the created previous care instruction from the dropdown function.
Nb: You can assign multiple care instructions through the dropdown function.
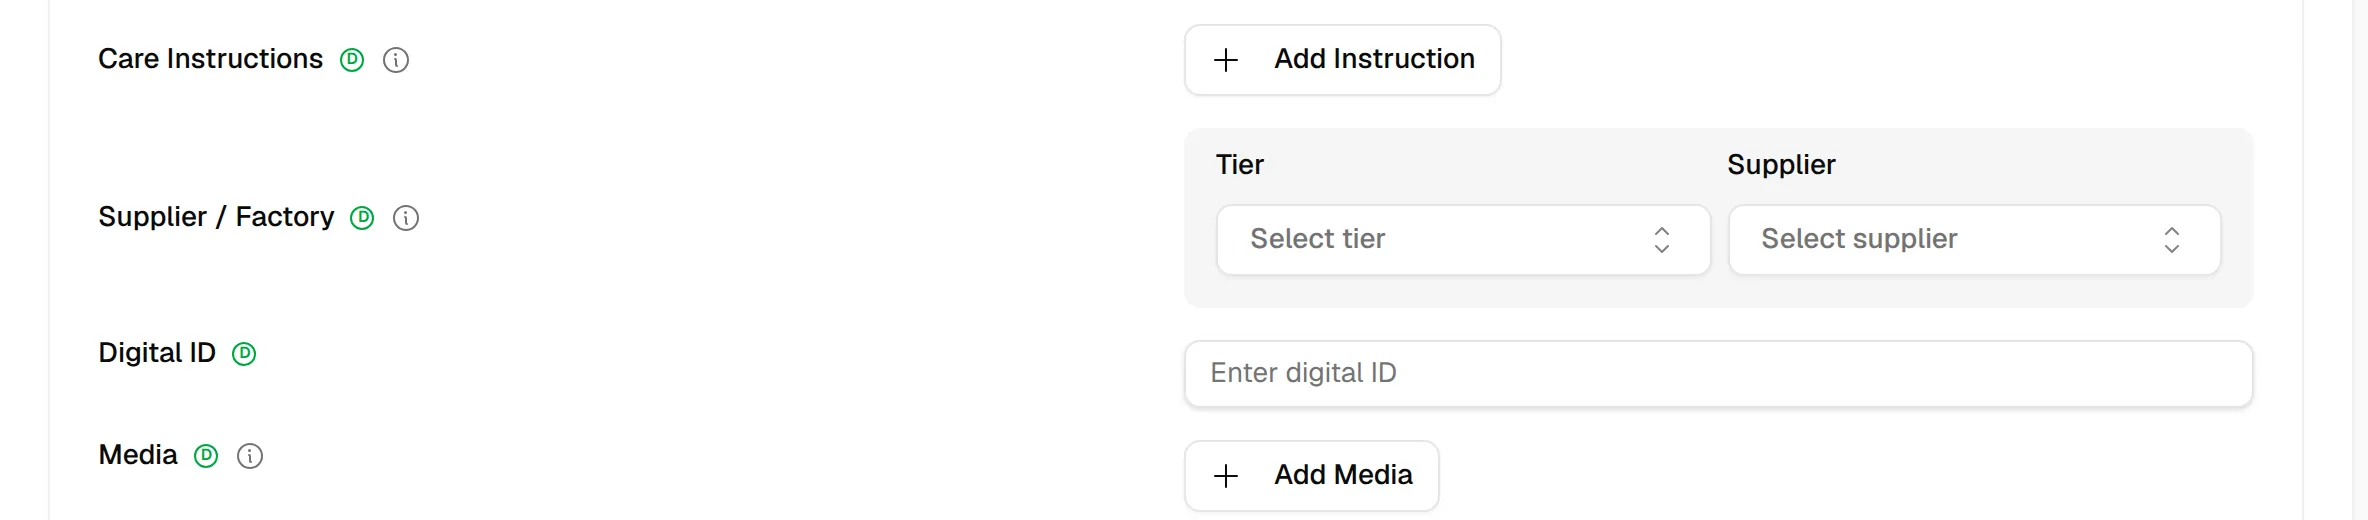
Supplier/Factory: users can select the tier supplier and add the suppliers of the style.
Digital ID: Enter the Digital ID of the style.
Upload the Product's media and assign multiple Media through the style page.
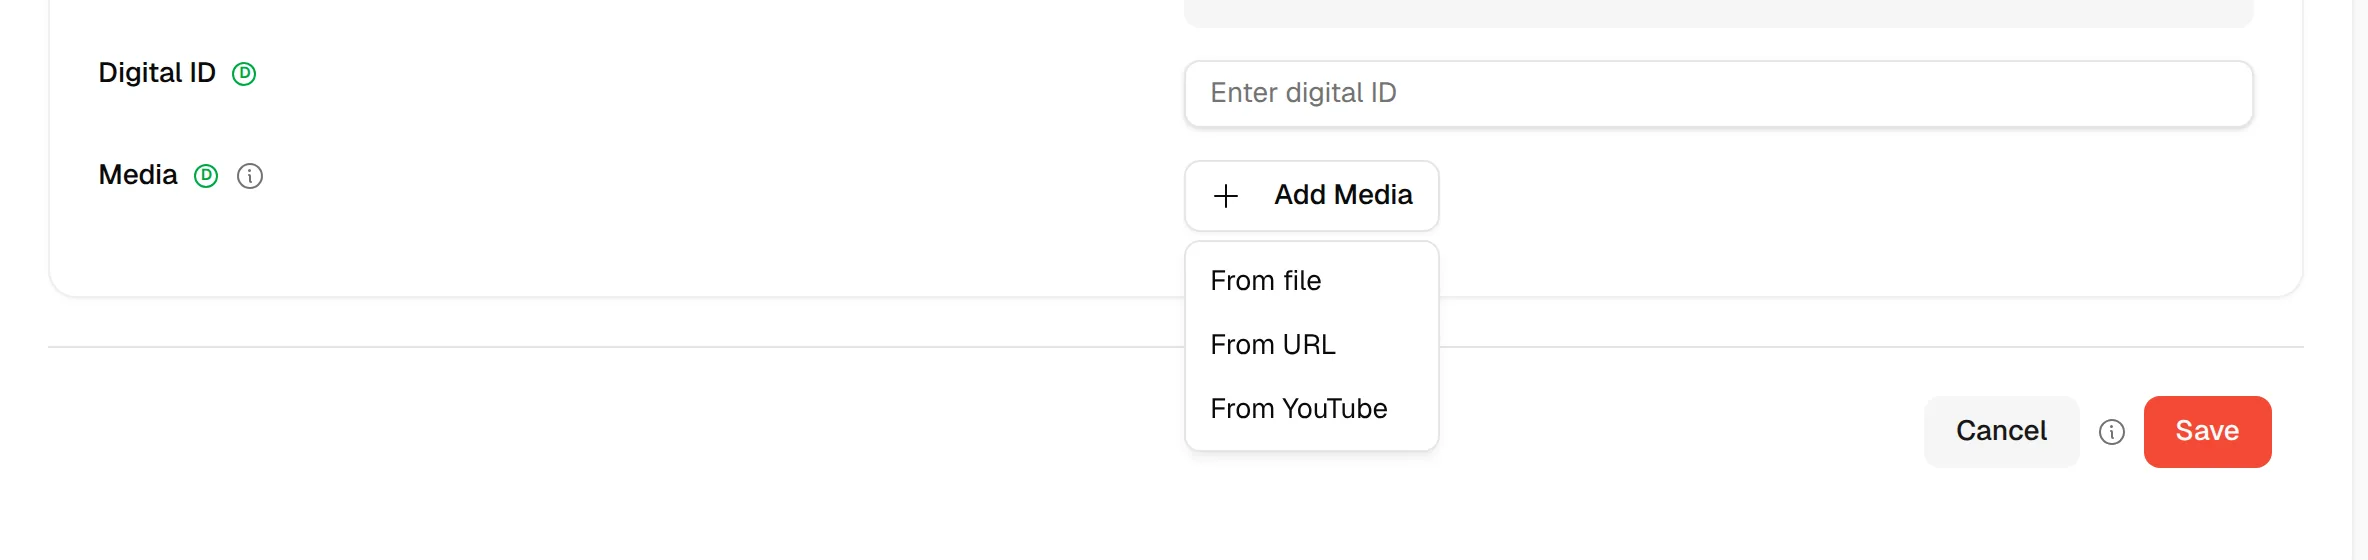
The dropdown option will appear on the page, and users can select the option:
- From a file: The files that are allowed to be uploaded are .jpeg, .jpg, .png, and .gif.
- From URL: The file that is allowed to be uploaded is the website URL.
- From YouTube: The file that is allowed to be uploaded from YouTube is the Embed URL.
The media you have added here will be displayed on the Product journey section in the Product ID. This allows brands to strengthen their communication through photos and/or videos.
**
**
Nb: You can see the preview page of your product journey through the Product ID and customize your product journey on the product journey page.
Select Save in the lower-right corner. Cancel returns you to the collection's style list without saving.
You should see Style created successfully, and you are taken to the style list of the collection.
Warning
If the style code is already used by another style in your brand, a Style code already used message appears and the style is not created. Select Change style code, enter a different code and save again.

Three dots to select action for the selected user.
- Select the Connect to Color on the dropdown option to connect the style color and select the color associated with the style.
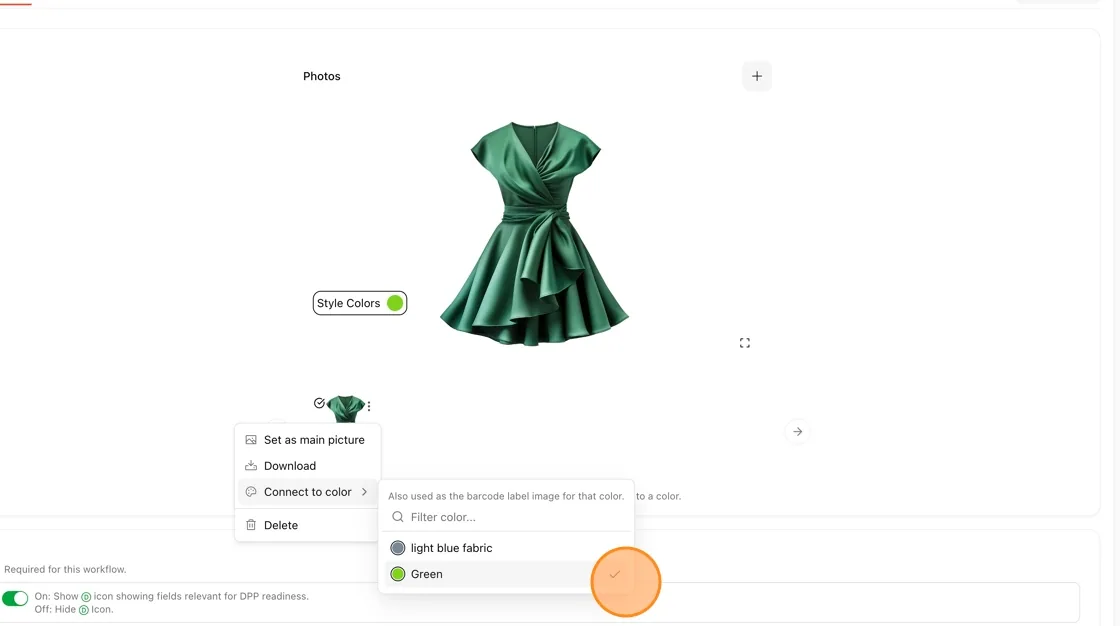
- Connect to color: to connect the color to the style option.
- Download: to download the image attachment.
- Set it as the main picture: to select the image attachment as the main picture shown on the Style Cover Card and Digital ID.
- Delete: to delete the image from the create style page.
Create style using AI generator
Navigate to the Home Page, select Create New Style
Select Collection
Set up style basics
- Style Name and code – Enter the style name, or select the circle button to let AI generate a name for you
- Style Image – Upload an image that represents your style
- Description Option – Select the option to let AI create the style description, or write your own
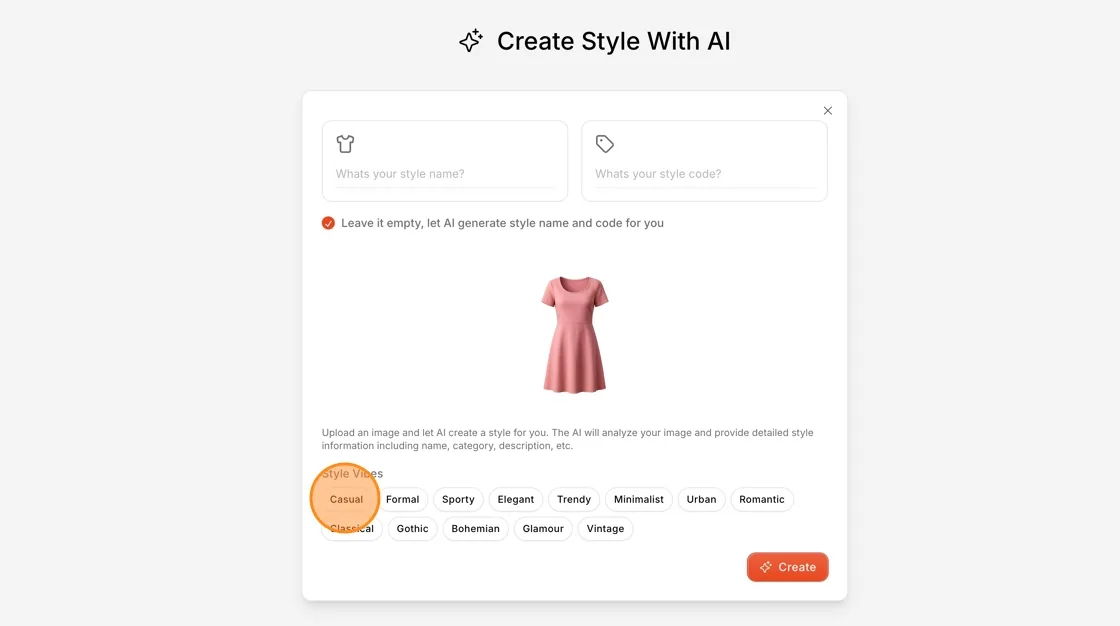
Click the Submit icon to proceed
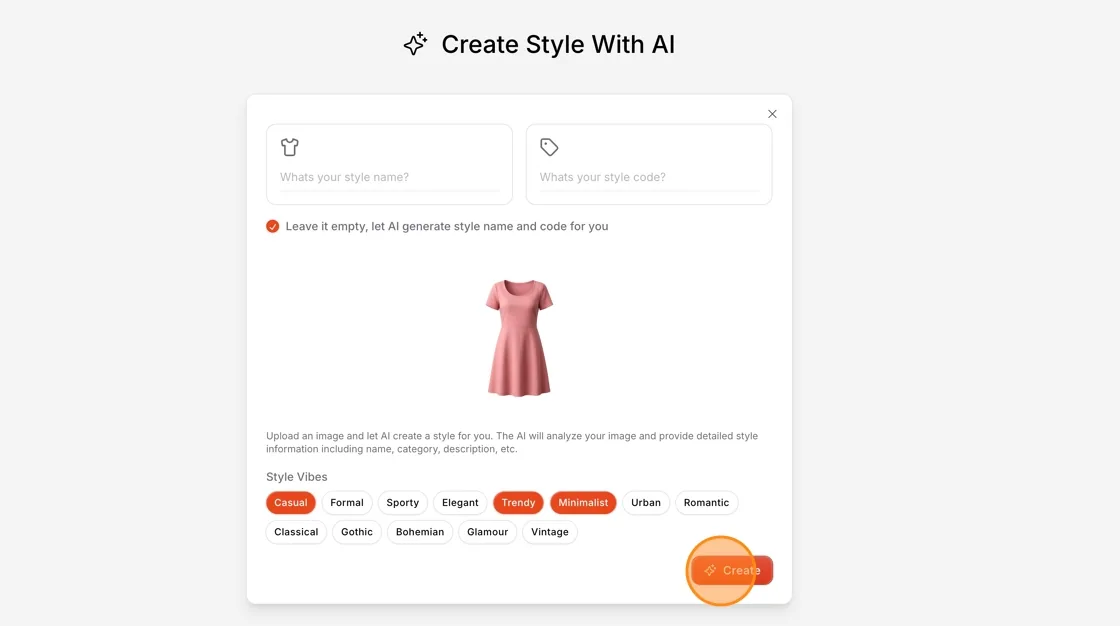
Review the generated collection details
- Make any necessary adjustments to the style details.
- Verify that the AI suggestions align with your vision.
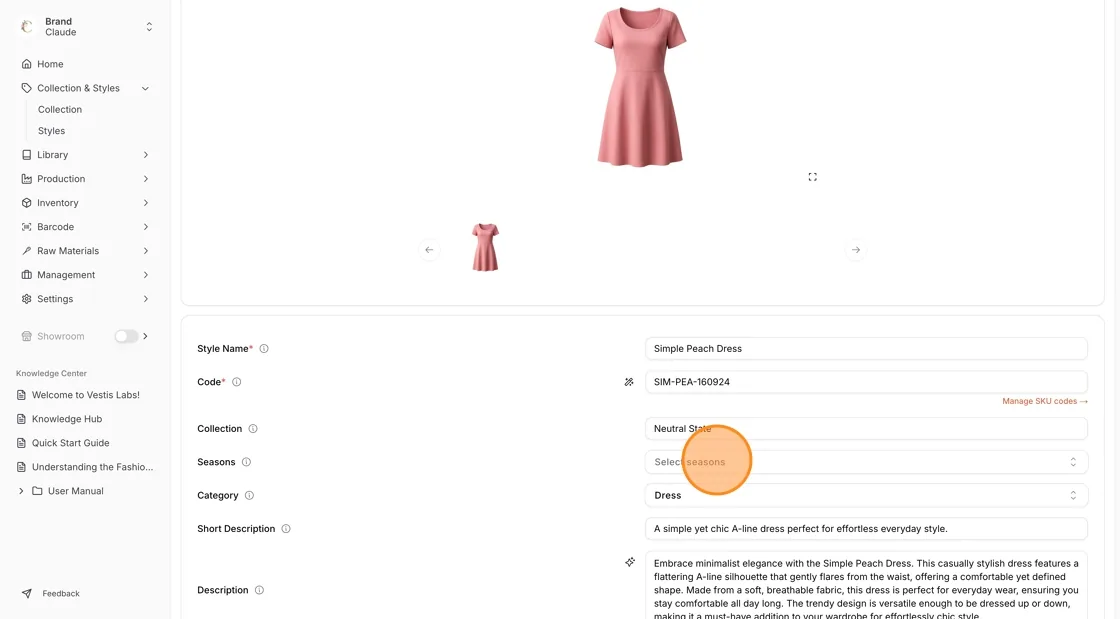
- Complete any additional detail information in the create style page
- Review all fields to ensure accuracy
- Click the Save icon to finish creating your style